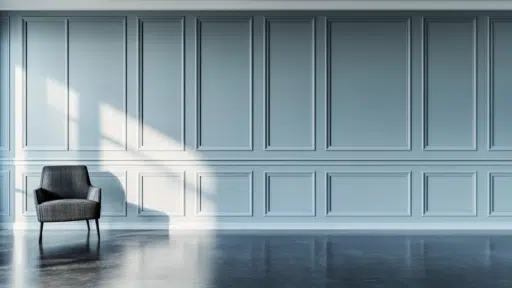

Board and batten originated as a simple solution in old barns, helping to keep them warm and dry.
When I first saw it in a friend’s home, I didn’t know this humble wall design would change how I felt about my own space.
Like many homeowners, my walls felt plain and empty. I wanted something different, but was worried about the cost.
That’s when I learned about board and batten, which uses basic wood strips laid over wide boards to create a beautiful layered look.
The best part? You can place it anywhere, from bedrooms to hallways. With some basic tools and a weekend of work, you can add lasting charm to your home. Let me show you how.
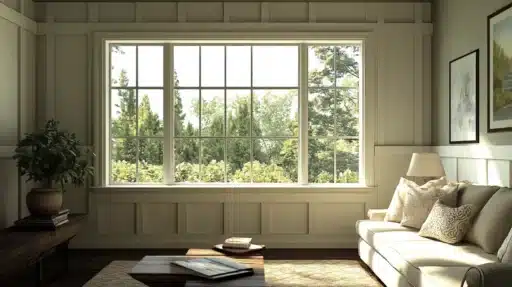
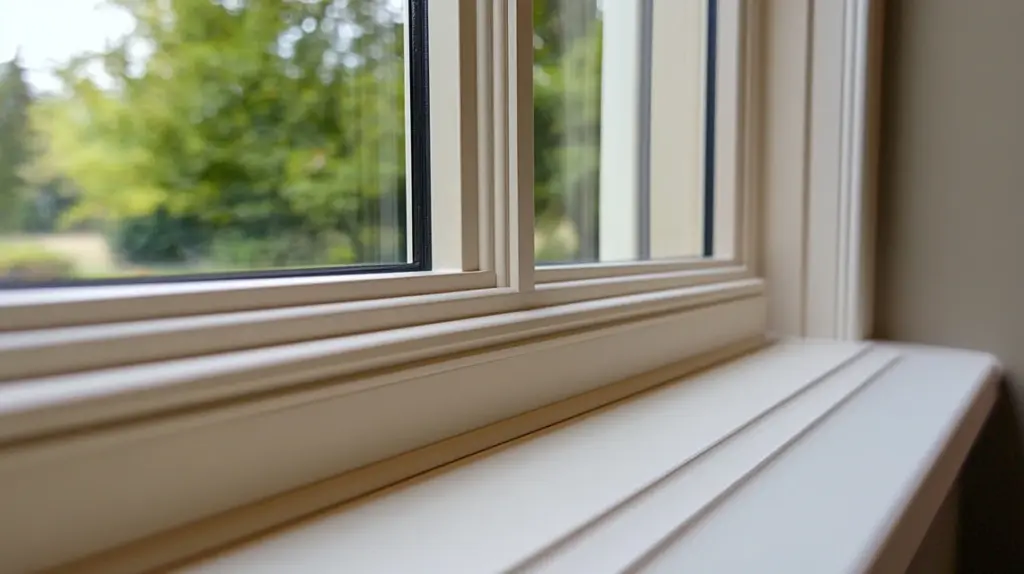
DIY Guide To Install Board And Batten Around a Window
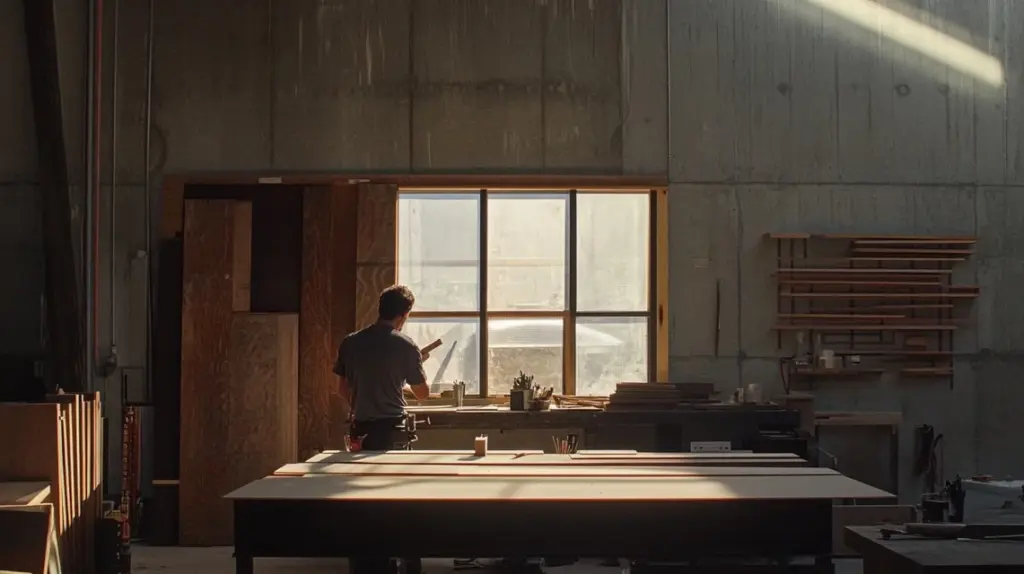
Create stunning window focal points that elevate your entire room with this comprehensive, step-by-step guide to installing board-and-batten trim.
Materials Needed
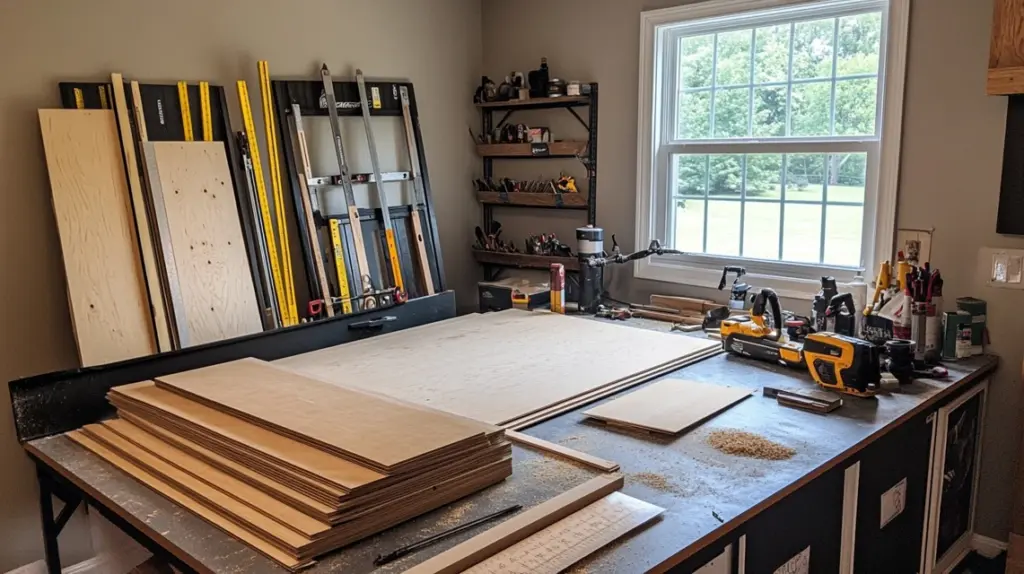
Essential Items:
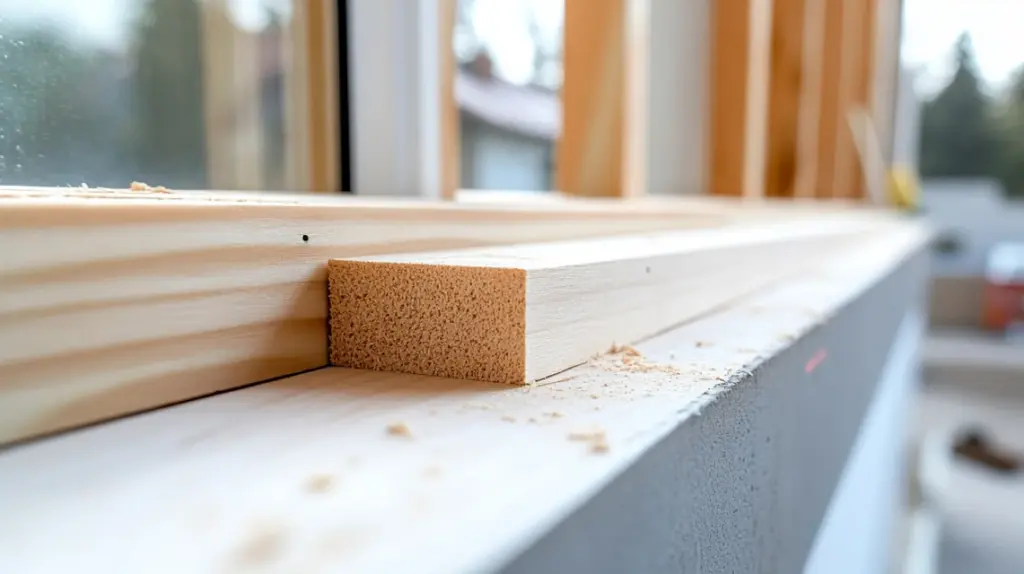
- Wide boards for base layer (MDF works well indoors)
- Wood strips for battens
- 4-foot level or longer
- Wall-specific nails
- Basic saw tool
- Measuring tape
- Writing pencil
- Simple hammer
Helpful Extra Items:
- Power saw for better cuts
- Nail gun for faster work
- Gap fill compound
- Wall compound
- Paint the base coat
- Final paint
- Small paintbrush
- Stud finder tool
Step 1: Measure And Plan The Layout

- First, check the full size of your window, noting both its height and width.
- Take extra care with older windows that might not be perfectly square.
- Most rooms look good with boards set 14 to 16 inches apart.
- Use your level to mark straight lines on the wall – this step matters more than you’d think.
- Draw your planned layout on paper first.
- Trust me, this saved me from making wrong cuts. Pull out your measuring tape and mark spots for each board.
Step 2: Cut Top And Bottom Trim Pieces
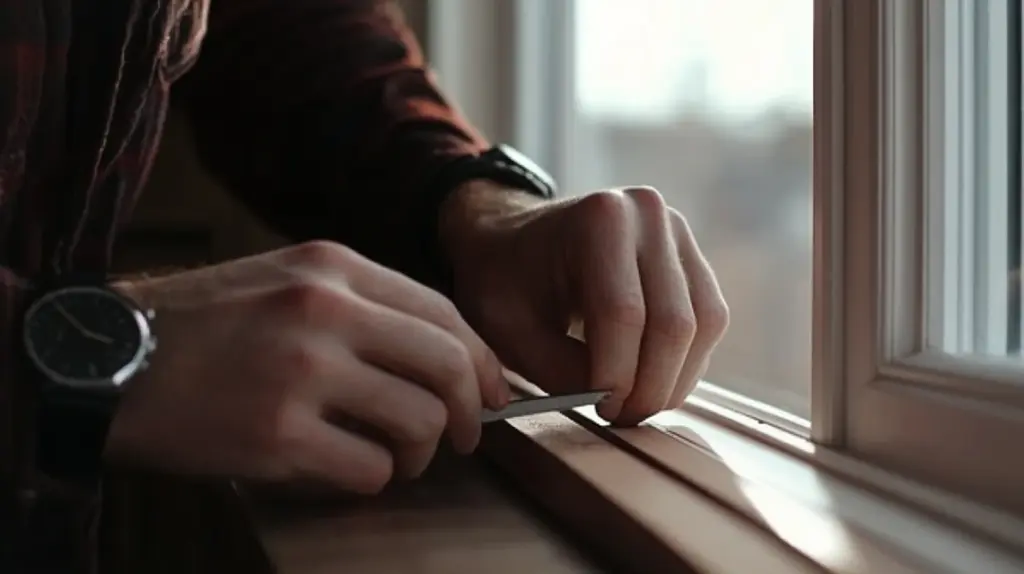
- Line up your boards with the window height first – it makes the whole job easier.
- Make sure your cut marks are clear and straight.
- When I started, I found that marking both sides of the board helped me stay on track.
- Cut the top piece and bottom piece to match the width of your window.
- Take time with these cuts – they set the base for everything else.
Step 3: Install Bottom Trim Piece
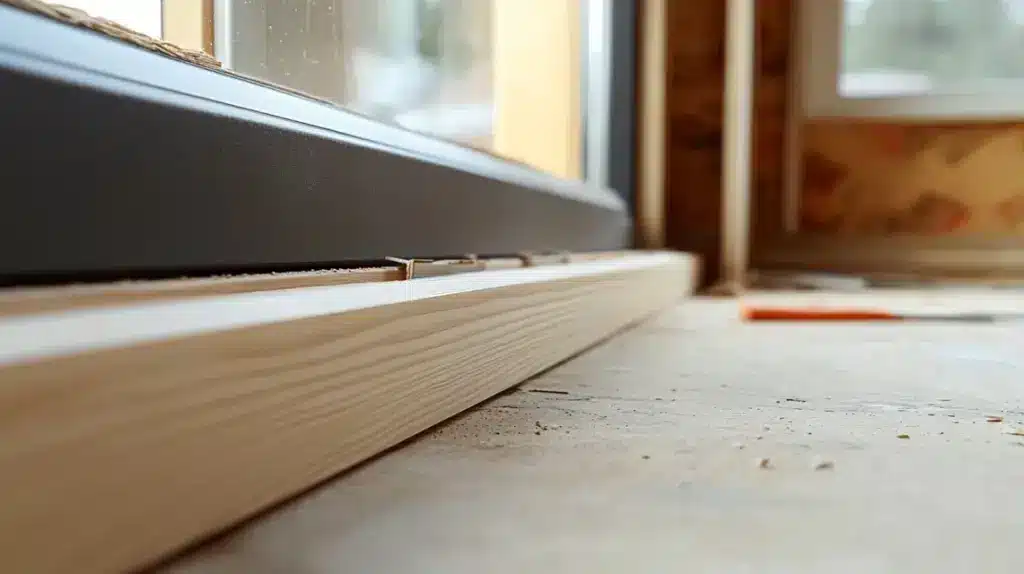
- Put your bottom trim in place first.
- Check its level – a crooked bottom piece will throw off your whole design.
- Press it firmly against the wall and mark where wall supports are.
- Use the right nails for your wall type – what works on drywall might not suit plaster.
- Keep checking the level as you nail it in place.
Step 4: Cut The Vertical Battens
- Measure from your bottom trim to where the top piece will sit.
- Add a small bit extra – you can always trim down, but you can’t add length back.
- Cut one batten first and test it fits. If it works well, use it as your guide for cutting the others.
- This saves time and helps keep all pieces the same size.
Step 5: Install Vertical Battens
- Start at one side of the window and work your way across.
- Use a scrap piece of wood as a spacer – this keeps gaps even between battens.
- Ensure each piece stands upright and level.
- Put nails near the top and bottom, plus one in the middle for taller pieces. Keep checking your work with the level.
Step 6: Install Top Trim Piece
- Place your top trim carefully over the vertical pieces. Like the bottom piece, check its level before nailing.
- Make sure it sits snug against all vertical battens. Nail it in place, working from one end to the other.
- Double-check that the corners meet nicely with your side pieces.
Step 7: Finish The Installation
- Fill every nail hole with a wall compound.
- Look for gaps between boards and walls – fill these, too.
- Let everything dry well. Sand until the surface feels smooth.
- Clean off all dust using a damp cloth.
- Apply the first coat of paint, then apply a second coat after it has dried.
- Thin coats work better than thick ones.
Step 8: Final Check
- Examine your work from various angles.
- Fill in any spots you missed.
- Ensure all boards are securely in place against the wall.
- Clean up any paint drips.
- Wipe everything down one last time.
- Take a step back and enjoy your work. You’ve just added real value to your room.
Some Unique Designs to Style Your Board and Batten
Explore creative board and batten design variations that transcend the traditional look, adding personality and visual interest to your walls. From modern geometric patterns to farmhouse-inspired layouts, these styling ideas help you customize this classic trim work to match your home’s character and style preferences.
1. Board and Batten Interior Walls

Let’s make those plain walls stand out. In living rooms, floor-to-ceiling board and batten creates clean lines that catch the eye without being too loud.
Many homeowners mix it up by putting board and batten halfway up the wall, then adding light paint or simple wallpaper above.
This combo works great in dining rooms, making the space feel put together without being stiff. For hallways, whiteboard and batten brighten up the space, while darker colors can add depth.
2. Board and Batten Entrance
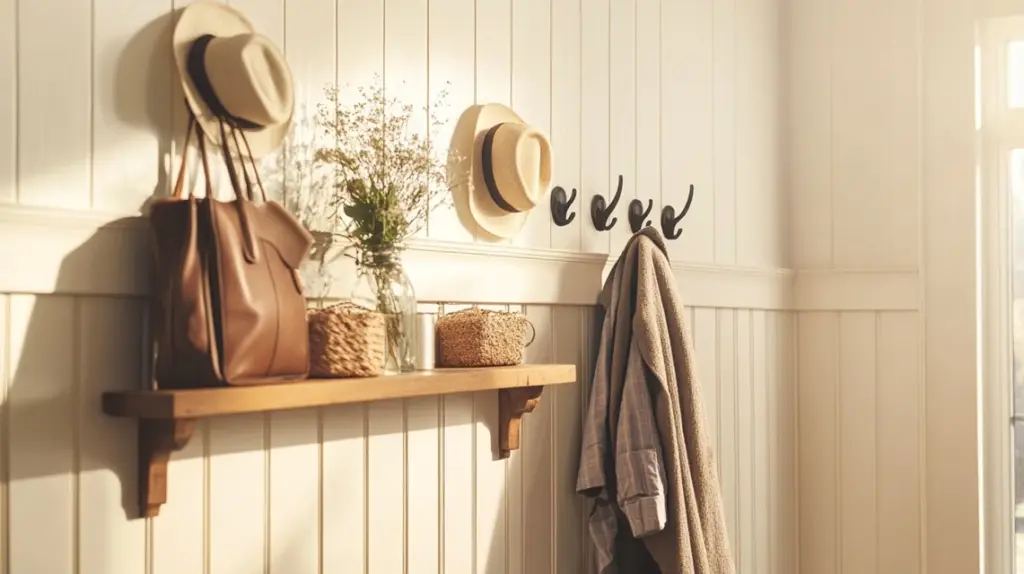
Your entrance sets the tone for your whole home. Board and batten can help make it special. Try putting hooks between the boards for coats and bags – it’s both aesthetically pleasing and functional.
Some folks extend their baseboards to match the board and batten height, making the whole entry feel more grand. You can still use board and batten for homes with curved doorways – keep it below the arch.
Add a small shelf at the top of your board and batten to display photos or seasonal items.
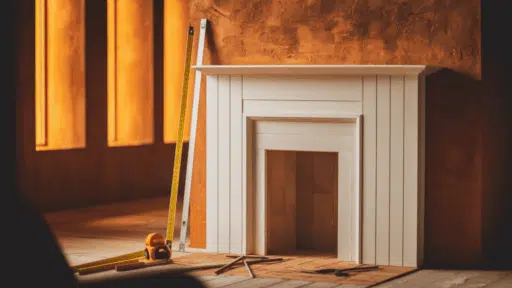
3. Board and Batten on Fireplace
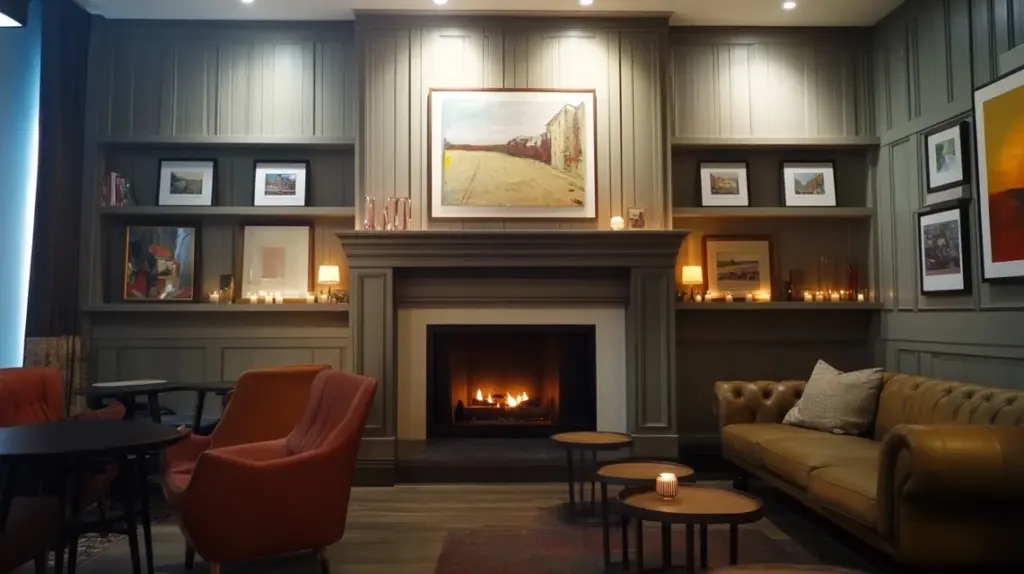
Make your fireplace the star it should be. Board and batten frames can extend from the mantel to the ceiling, drawing the eye upward and making your room feel taller.
You might add simple shelves between the boards for candles or art pieces. Whiteboard and batten look clean and fresh, while black or navy can make your fireplace area feel more dramatic.
The key is keeping the design simple – let the fireplace, board, and batten work together without competing.
4. Board and Batten For Bedroom
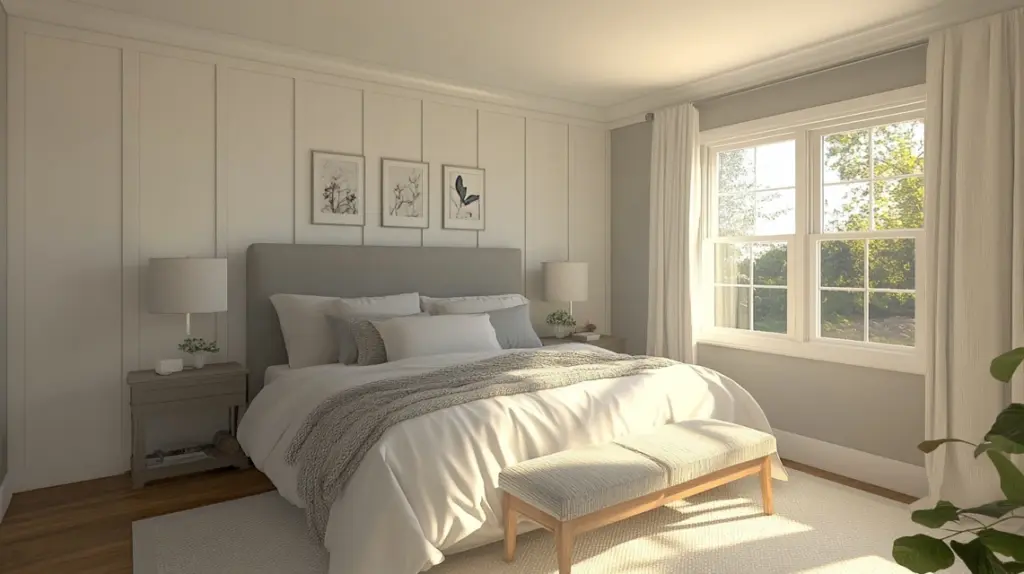
Change your bedroom into a cozy retreat with a well-planned board and batten design. Behind the bed, it functions like a built-in headboard, eliminating the need for extra furniture.
Paint it in soft grays or gentle blues to create a calm feeling. Some people put thin strips close together for a modern look, while others space them wider for a more open feel.
Match your bedding to the board and batten color for a pulled-together look, or create contrast with different shades. Add wall lights between the boards for both style and function.
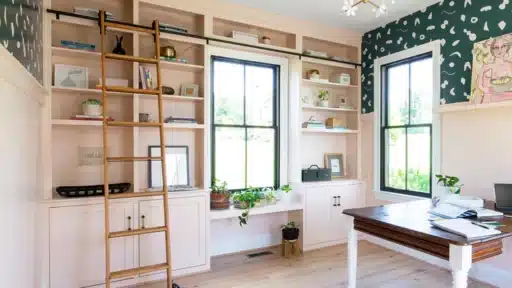
5. Board and Batten For Office
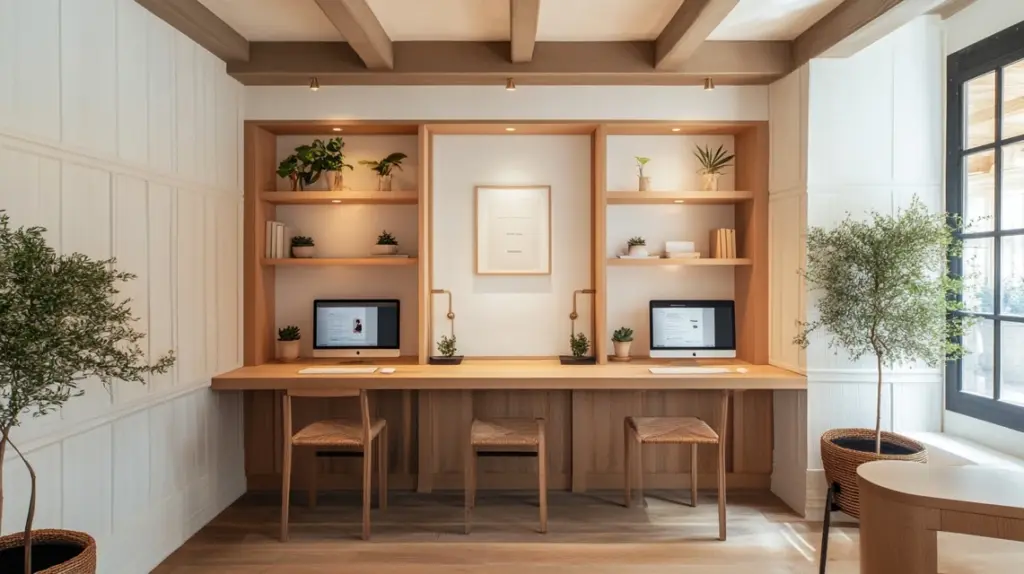
Make your home office feel more like a genuine workspace with board-and-batten walls. You can put it behind your desk to frame your video call background or use it to create a focus wall to improve your concentration.
Build shallow shelves between the boards for books and files; it saves space and creates a neat appearance.
Paint the room in light colors to keep it bright and open during work hours. The clean lines help reduce visual clutter, making it easier to focus on tasks.
Conclusion
When I started putting board and batten around my window, I wasn’t sure I could do it. But looking at my finished work now, I can tell you it’s worth every minute spent.
The way it frames my window gives the whole room a different feel. This project taught me that good planning and basic tools are all that is needed. You don’t have to be an expert. Just follow each step carefully.
Whether you choose MDF for indoor spaces or solid wood for outside, your walls will look better than before. Take your time, measure well, and soon you’ll have a window that stands out.
Ready to start? Your tools are waiting!
Frequently Asked Questions
Can you do Board and Batten on a Wall with a Window?
Yes, you can install board and batten around windows. Frame the window with vertical boards and maintain consistent spacing with the rest of the wall pattern.
Will Board and Batten Go Out of Style?
No, board and batten have been used for centuries and remain a popular choice. Its simple, clean look fits both modern and classic home styles.

Stephanie Grace, a graduate with a degree in Fine Arts from the Savannah College of Art and Design, has been inspiring DIY enthusiasts with her creative and practical guidance for over 14 years. Her career in design and crafting began in a small artisan workshop, where she developed a passion for transforming everyday materials into beautiful and functional items. Stephanie joined our website in 2018, rapidly gaining popularity for her easy-to-follow DIY tutorials and innovative project ideas. Since then, she has been the creative mind behind our DIY section, helping readers bring their artistic visions to life. Outside her professional pursuits, Stephanie enjoys pottery and urban gardening, hobbies that showcase her love for hands-on creativity and nature.