Imagine walking into your kitchen tomorrow morning and barely recognizing it – not because you spent thousands on new cabinets, but because you wielded a paintbrush with purpose.
Kitchen cabinet painting is the ultimate home improvement magic trick: maximum visual impact with minimal financial investment.
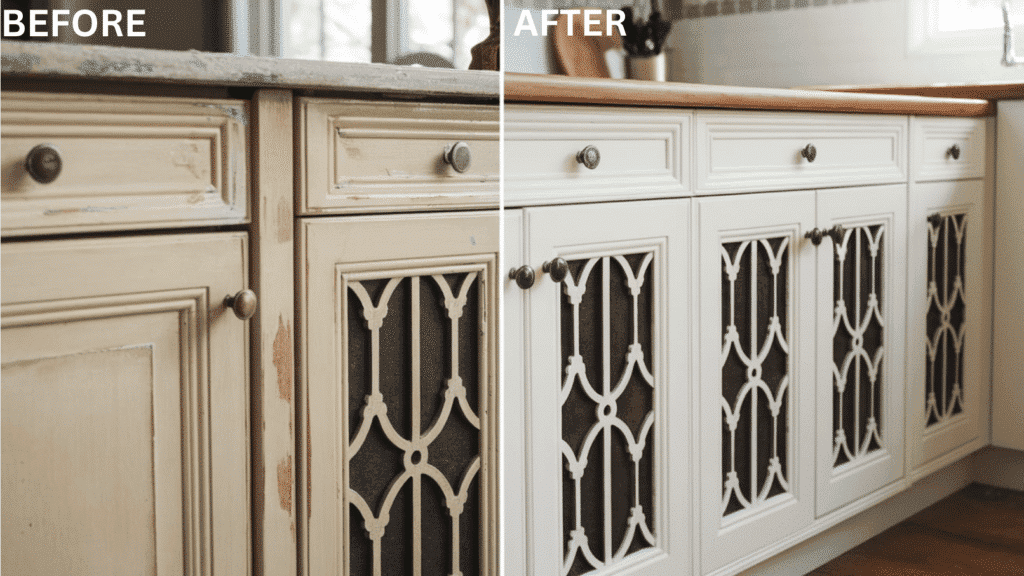
Those cabinets that dominate your kitchen’s landscape can go from dated eyesores to magazine-worthy centerpieces in a matter of days.
Suppose you dream of crisp whites that brighten your space, moody blues that add refined drama, or something boldly unique that showcases your personality. In that case, a modification awaits at the end of your paintbrush.
It’s not just a cosmetic upgrade – it’s a creative tour that can save you thousands while delivering professional-level results that will have visitors asking for your contractor’s number.
Understanding Your Cabinet Materials
The material of your cabinets plays a crucial role in paint adhesion and longevity. Solid wood cabinets (oak, maple, cherry) are perfect candidates, readily accepting paint for beautiful results.
Engineered wood products like MDF require light sanding and a good primer to ensure proper adhesion.
Laminate or thermofoil cabinets pose the greatest challenge, needing special primers and techniques—always test in an inconspicuous area first.
For difficult surfaces, consider specialty options like General Finishes Milk Paint or Fusion Mineral Paint, formulated to adhere to various materials.
Points to Remember:
- Always identify your cabinet material before starting
- Use appropriate primer specific to your cabinet surface
- Sand-engineered wood products carefully—avoid sanding through thin surfaces
- Test specialty paints on a hidden area before committing
Dealing with Existing Finishes
The existing finish on your cabinets will inform your preparation process: Stained and sealed wood typically needs light sanding to provide texture for the paint to grip.
Previously painted cabinets might require vast preparation, especially if the paint is chipping or peeling.
Glossy finishes need to be deglossed before painting, either with sandpaper or a liquid deglosser.
Why Consider Painting Your Kitchen Cabinets?
Kitchen cabinets typically account for most of your kitchen’s visual real estate. Giving them a fresh coat of paint can completely change your space at a fraction of the cost of a full cabinet replacement.
A professional cabinet replacement can cost thousands of dollars, while a DIY painting project might run you just a few hundred.
Painting offers creative freedom in addition to cost savings. You can choose bold colors that express your personality or timeless neutrals that appeal to broader tastes.
Either way, you’ll be shocked at how different your kitchen looks after this simple update.
The Art of Painting Kitchen Cabinet
1. Setting Yourself Up for Success
The expedition to stunning cabinets begins long before the first brushstroke. Imagine your kitchen as a blank canvas, waiting for your artistic touch.
Start by gathering premium materials that will ensure your masterpiece stands the test of time.
High-quality primers like
- Benjamin Moore Styxx
- Sherwin-Williams Extreme Bond
Durable cabinet paints such as Sherwin-Williams Emerald Urethane and proper tools, including fine brushes and foam rollers.
Clear everything out in your kitchen to turn it into a proper workspace—empty those cabinets, clear those countertops, and protect your floors and appliances with drop cloths.
2. Breaking Down Your Kitchen
Now comes the organized deconstruction—carefully remove each door and drawer, numbering them like pieces of a puzzle you’ll reassemble later.
This attention to detail makes all the difference between a professional-looking finish and a DIY disaster.
As you remove hinges and hardware, consider whether those dated knobs and pulls might be worth replacing for a complete transformation.
3. Finishing Touches
Apply your chosen paint with deliberate, careful strokes—working from the backs of doors to the fronts, from inside cabinet frames outward.
Each thin layer builds richness and durability far better than a single thick coat ever could. As you work, imagine the finished kitchen taking shape, with each brushstroke bringing you closer to your vision.
After allowing your masterpiece to cure for at least 48 hours (patience rewards the artist), reassemble your kitchen with the care of a jeweler.
Consider complementing your work with thoughtfully chosen hardware—perhaps dark bronze pulls against newly brightened cabinets or gleaming brass hardware to accent deeper cabinet colors.
Planning Your Budget Wisely
Even though painting is more affordable than replacing, you’ll still need to budget for supplies.
For a DIY project, expect to spend several hundred dollars on paint, primer, brushes, rollers, sandpaper, and other materials.
If you want to upgrade your hardware simultaneously, you could approach the $1,000 mark.
If you’re considering professional help, be prepared for higher costs. Professional painters typically charge around $100 per drawer face and $175 per cabinet door, which averages about $4,500 for a standard kitchen.
This price reflects their expertise but doesn’t guarantee perfect results—always check references and past work before hiring.
Common Mistakes to Avoid When Painting Kitchen Cabinet
Don’t let your cabinet makeover turn into a disaster. Skipping proper surface preparation is probably the biggest mistake you can make.
Those cabinets need a good cleaning and light sanding before any paint touches them, or you’ll end up with peeling and chipping down the road.
Materials Matter:
- Using the wrong paint type can lead to scratches and wear within months.
- Skipping primer (especially on wood or laminate) almost guarantees adhesion problems.
Patience is absolutely crucial during this project. Those cabinet doors need plenty of time to dry between coats – rushing this step is asking for trouble.
And don’t forget about setting up your workspace properly with good ventilation. Paint fumes can be nasty, and dust from sanding needs somewhere to go besides your lungs!
The Bottom Line
Painting your kitchen cabinets is a cost-effective way to change your kitchen’s appearance dramatically.
While it requires patience and attention to detail, the results can be stunning and long-lasting.
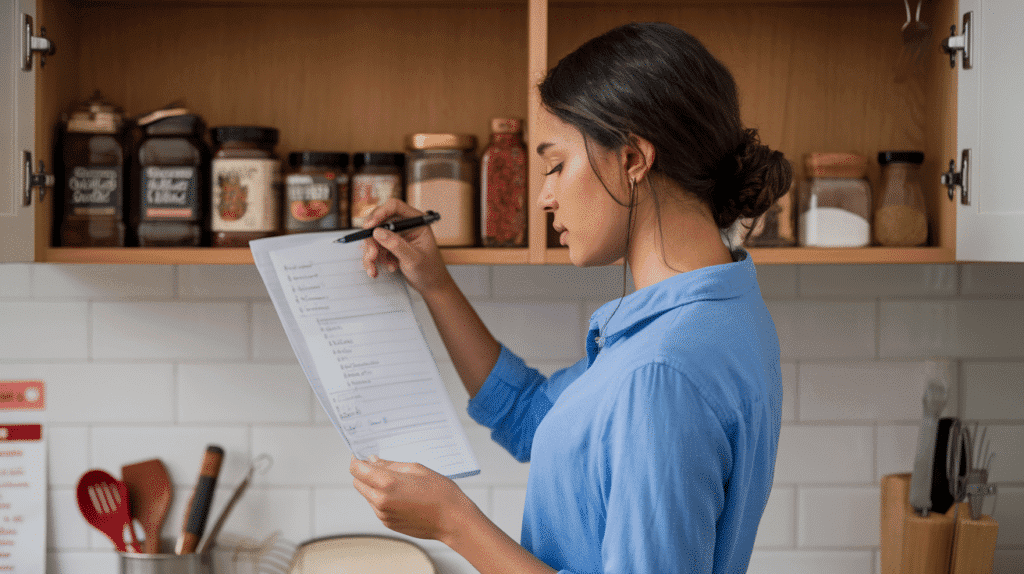
By asking yourself the right questions before starting and following a systematic approach during the project, you can achieve professional-looking results that will make your kitchen feel brand new without replacing a single cabinet.
Remember: the key to success is proper preparation, quality materials, and patience.
Take your time, follow the steps carefully, and you’ll be rewarded with beautiful cabinets that can withstand the demands of daily kitchen life for years to come.

Alex Guerrero, a graduate with a Fine Arts degree from the Rhode Island School of Design, has been a visionary in the world of color and design for over 15 years. His professional journey began in the heart of the fashion industry in Milan, where he developed an acute sense for color harmonies and trends. Alex joined our team in 2018, offering fresh and innovative perspectives on color utilization in various spaces. Renowned for his ability to blend contemporary trends with timeless elegance. Outside of work, Alex is an accomplished painter and a volunteer art therapist, his artistic talents further enriching his professional insights.