Making your own window treatments costs less than buying ready-made ones and lets you control every detail.
The fabric you choose, the way you measure, and how you finish each edge all affect how the final panels look and function.
Getting the steps right means your curtains will hang evenly, move smoothly, and last through regular use.
Learning how to make curtains requires basic sewing skills, the right materials, and a clear understanding of each stage in the process.
This guide walks through fabric selection, cutting, stitching, and installation methods that produce clean results without professional equipment.
Different Types of Fabric for Curtains
Curtain fabric plays a big role in how much light enters a room, how well privacy is maintained, and how the finished panels fall once hung. The right choice depends on the room’s purpose, sunlight exposure, and the overall look you’re going for.
Here are the most commonly used curtain fabrics and what makes each one work:
- Cotton: Cotton offers balanced thickness, moderate light control, and good privacy. It holds its shape well and suits most rooms with regular daily use.
- Linen: Linen provides a natural texture and allows soft light through. It works well in spaces where you want brightness without full exposure.
- Polyester: Polyester resists wrinkles, fading, and shrinking. It performs well in sunny rooms and suits curtains you want to last without much fussing.
- Velvet: Velvet is dense and heavy, keeping light out and improving insulation. It helps curtains hang straight and works well in rooms where you want the space to feel darker.
- Sheer Fabric: Sheer fabric lets natural light pass through while keeping prying eyes out. It’s often used on its own for brightness or layered with thicker panels for added flexibility.
- Blackout Fabric: Blocks most outside light and adds insulation. It’s commonly used in bedrooms and other rooms where you need total control over lighting.
Selecting the right fabric helps your curtains function properly while keeping your space looking clean and pulled together during the process of choosing curtains.
Tools and Materials Needed to Make Curtains
Making curtains at home requires a small set of basic tools and materials.
Having everything ready before starting helps keep measurements accurate and the sewing process consistent.
| Item | Measurement / Size | Quantity |
|---|---|---|
| Curtain fabric | Window width × 2 (for fullness), window height + 8 – 10 inches | As per the window size |
| Thread | Standard spool matching fabric | 1 spool |
| Curtain rod | Window width + 6–12 inches | 1 rod |
| Curtain rings or grommets | Based on curtain width (every 6–8 inches) | 8–12 per panel |
| Measuring tape | Minimum 60 inches | 1 |
| Fabric scissors / rotary cutter | Standard fabric size | 1 |
| Straight pins or fabric clips | — | 20–30 pieces |
| Sewing machine or hand needle | — | 1 |
| Iron and ironing board | Full-size | 1 |
| Fabric marking chalk or pencil | — | 1 |
Having correct measurements and sufficient quantities reduces errors during cutting and sewing, resulting in curtains that hang evenly and function as intended.
How to Make Curtains?
Curtains can be made at home by following a clear, step-by-step process.
Each stage builds on the previous one, helping ensure accurate sizing, clean stitching, and panels that hang evenly once completed.
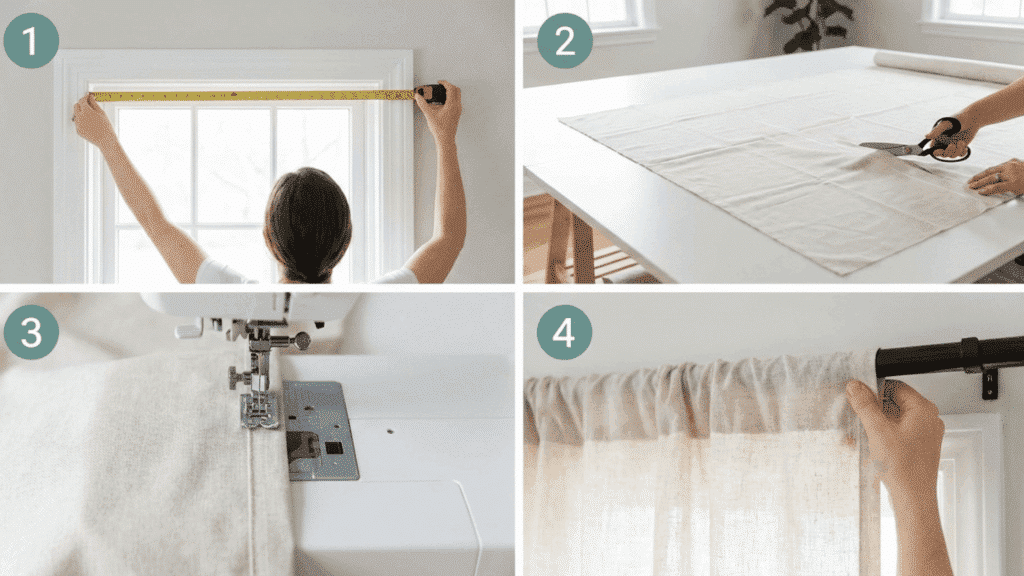
1. Measure the Window
- Measure the full width of the window frame
- Measure height from the rod position to the desired curtain length
- Add extra inches for hems and top finishing
Accurate measurements help prevent uneven panels and ensure the curtains fit the window correctly without appearing too short or overly wide.
Take your time here because even small miscalculations can throw off the entire project.
Double-check each measurement before moving forward, and write the numbers down so you don’t forget them while cutting fabric.
2. Cut the Fabric
After measuring, transfer the dimensions onto the fabric using a marking tool. Cut slowly along straight lines to keep edges even and ensure both panels are the same size.
Rushing through this step often leads to crooked cuts that are hard to fix later.
Use sharp fabric scissors for cleaner edges, and lay the fabric flat on a large surface to avoid bunching or shifting while you work.
3. Sew the Side and Bottom Hems
Fold the fabric edges inward to create side hems, then stitch them securely. Repeat the process for the bottom hem, keeping the fold consistent to maintain balance across the panel.
Uneven hems make curtains look homemade, so press each fold with an iron before sewing.
This step gives your curtains a polished, professional finish that holds up well over time and repeated washing.
4. Make the Curtain Top
The top section is finished according to the selected hanging style. A rod pocket, tabs, or rings can be created by folding and stitching the fabric to support the curtain hardware.
The top determines how your curtains hang and move, so choose a style that matches your room’s look and your functional needs.
Make sure the stitching is strong here since this area bears the weight of the entire panel when hung.
Completing each step carefully helps produce curtains that look neat, function properly, and hold their shape over time.
How to Hang Your Curtains?
Properly hung curtains sit evenly and operate smoothly once installed. Placement and spacing play a key role in how the panels frame the window and cover the opening.
Follow these steps to hang curtains correctly:
- Install the curtain rod securely above the window frame
- Slide panels, rings, or hooks onto the rod
- Center the rod and check that both sides extend evenly
- Adjust panel spacing to allow smooth opening and closing
After installation, step back and check alignment from a distance.
Well-hung curtains maintain balance, improve coverage, and help the finished setup look organized and complete.
Different Ways of Hanging Curtains
Curtains can be hung in several ways, depending on the fabric type, room use, and the finish you’re aiming for. Each hanging method affects how the panels move, how they fall, and how visible the hardware remains.
Below are common curtain-hanging methods and how each works:
1. Rod Pocket Hanging

Rod-pocket curtains feature a sewn channel at the top through which the rod slides. This method creates soft gathers across the width and keeps the rod mostly hidden.
It works well for lightweight to medium fabrics and suits spaces where curtains stay mostly closed. Movement is limited, making this better for decorative use.
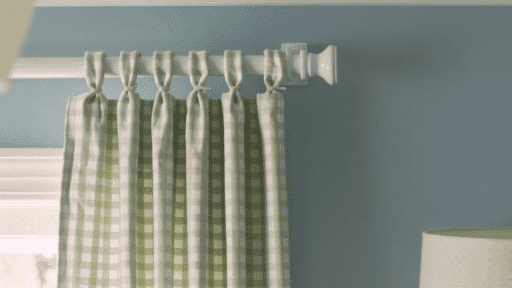
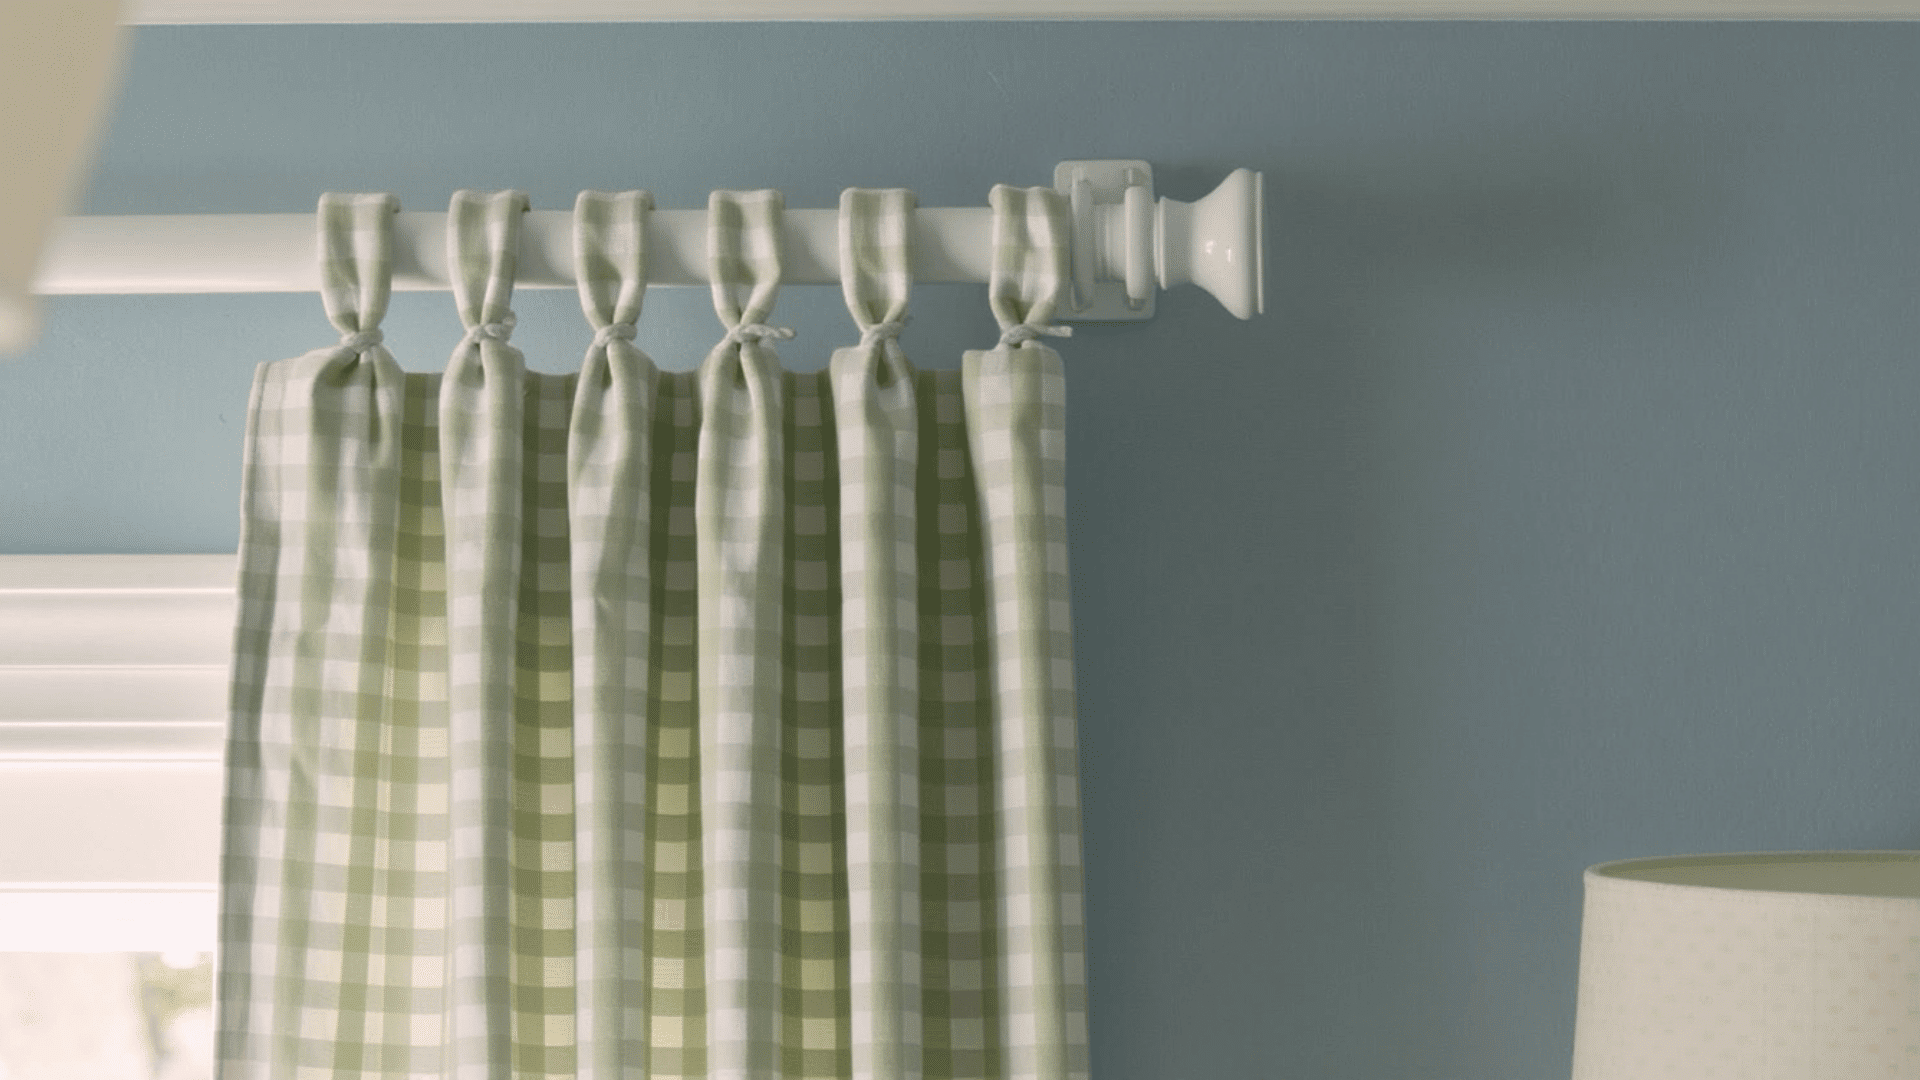
2. Ring Hanging
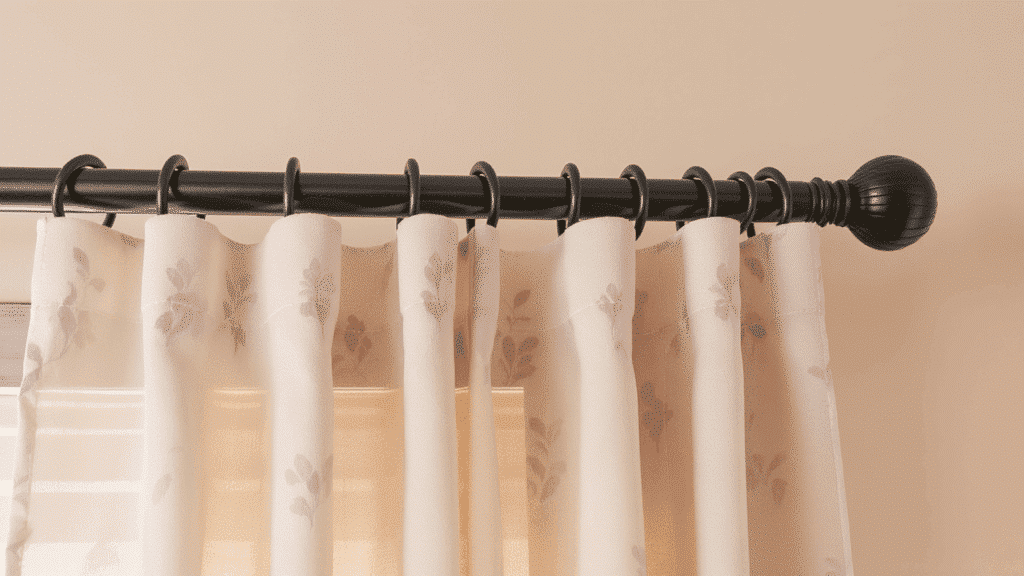
Ring hanging uses separate rings that attach to the curtain top and slide along the rod. This method allows smooth movement and even spacing between panels.
Rings can be clipped or sewn in place, making them adaptable for different fabrics and skill levels.
The visible rings add structure and help heavier fabrics hang more evenly without pulling at the top edge or creating awkward bunching.
3. Grommet Hanging
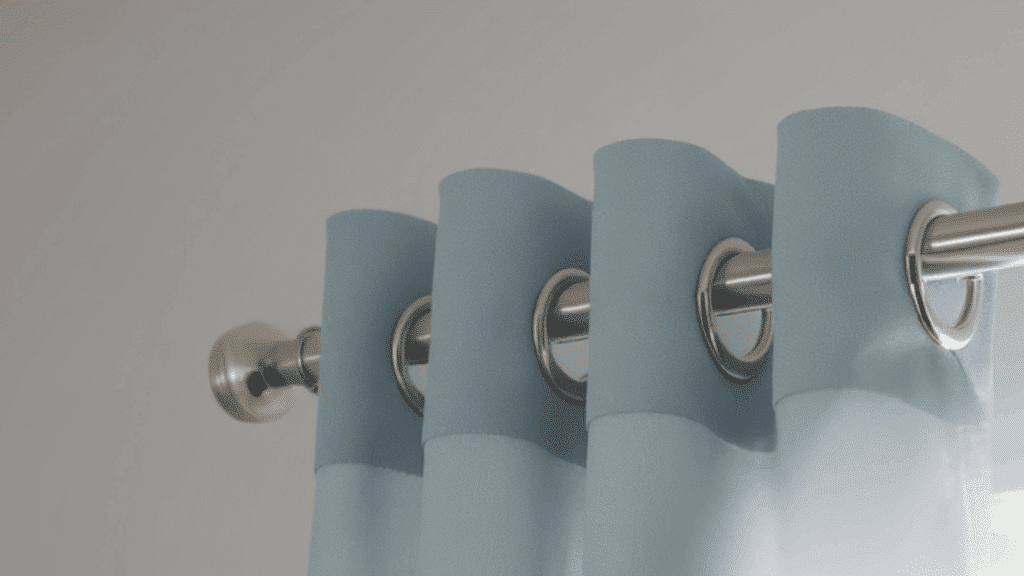
Grommet curtains include metal or reinforced holes along the top edge through which the rod passes.
This creates uniform folds and allows curtains to slide easily across the rod.
The method supports heavier fabrics and keeps panels evenly distributed. Grommet hanging offers a clean appearance and works well for frequent use.
4. Curtain Track Hanging

Curtain tracks use gliders or hooks mounted on a fixed rail, usually on the ceiling or wall. This provides precise control and suits wide windows or layered panels.
Tracks keep hardware discreet and support smooth operation, making them suitable for flexible positioning.
Choosing the right hanging method helps ensure curtains move easily, sit correctly, and match the intended use of the space without throwing off the overall look.
Final Checks Before Hanging Curtains
Before placing curtains on the rod or track, a few final checks help prevent uneven hanging and fitting issues.
These quick reviews ensure the panels sit correctly and function as intended:
- Confirm the curtain length matches the planned drop
- Check that side hems are straight and even
- Press all seams to remove folds or creases
- Ensure both panels are equal in width
- Verify hardware spacing is consistent
Taking a few minutes to review these details helps avoid adjustments later and results in curtains that hang cleanly and look properly finished.
Wrapping Up: Your Curtain
Creating custom window treatments at home brings together careful planning, precise execution, and attention to detail.
From selecting the right fabric type to taking accurate measurements, each decision shapes the final outcome.
Cutting straight lines, stitching clean hems, and choosing the appropriate hanging method all contribute to panels that function properly and look professional.
Understanding how to make curtains means mastering these foundational steps while avoiding common mistakes that lead to uneven results.
The process becomes easier with practice, and having the right tools on hand makes every stage more manageable.
Your finished curtains should hang evenly, move smoothly, serve their intended purpose, and complement your space.
Now that you’ve learned the complete process, share your experience or favorite curtain-making tip below in the comments.

James McLaren, with a rich background in architecture from the University of Manchester, has been contributing his expertise to the world of creative construction and home innovation for over 20 years. His journey began as a project manager for a leading construction firm, where he honed his skills in bringing complex designs to life. James joined our platform as a freelancer in 2019, quickly becoming a favorite for his insightful and practical advice. He has been a pivotal force to our wing ever since, bringing our readers a blend of technical know-how and creative flair. Beyond his professional life, James is an avid woodworker and enjoys restoring vintage furniture, a hobby that complements his professional insights beautifully.