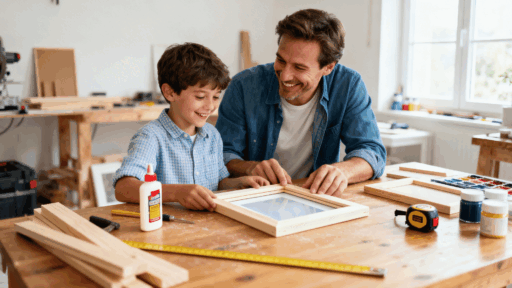
Replacing cabinet doors can be expensive, but what if you could build them yourself at a fraction of the cost?
DIY cabinet doors are more achievable than most people think. With the right materials, a few basic tools, and clear steps, you can make cabinet doors that look great and last for years.
From selecting the right wood to the final sanding pass, this guide provides clear instructions for making cabinet doors from scratch.
No fancy workshop needed, just practical steps that actually work.
The Simple Reason DIY Cabinet Doors Make More Sense Than Buying
DIY cabinet doors are doors you cut, assemble, and finish yourself using basic woodworking materials.
Instead of replacing entire cabinets, you simply swap out the doors, saving money and getting a result that fits your exact measurements and style preferences.
Building your own doors also gives you full control over the wood type, finish, and size. That matters a lot when you have older or non-standard cabinets that do not fit store-bought sizes.
And once you get the hang of the process, it is a skill that comes in handy for just about any future kitchen or storage upgrade.
Tools and Materials for DIY Cabinets
Getting your materials and tools ready before you start is one of the most important steps in the whole process. Here is everything you will need to build both shaker and fluted cabinet doors:
| Item | Key Notes |
|---|---|
| Solid Wood | Strong, long-lasting, higher cost, ¾ inch thick |
| Plywood | Stable, widely available, edges may need finishing, ¾ inch thick |
| MDF | Smooth paint finish, less moisture resistant, ¾ inch thick |
| Hardwood Plywood | Shows wood grain, durable, ¼ inch thick |
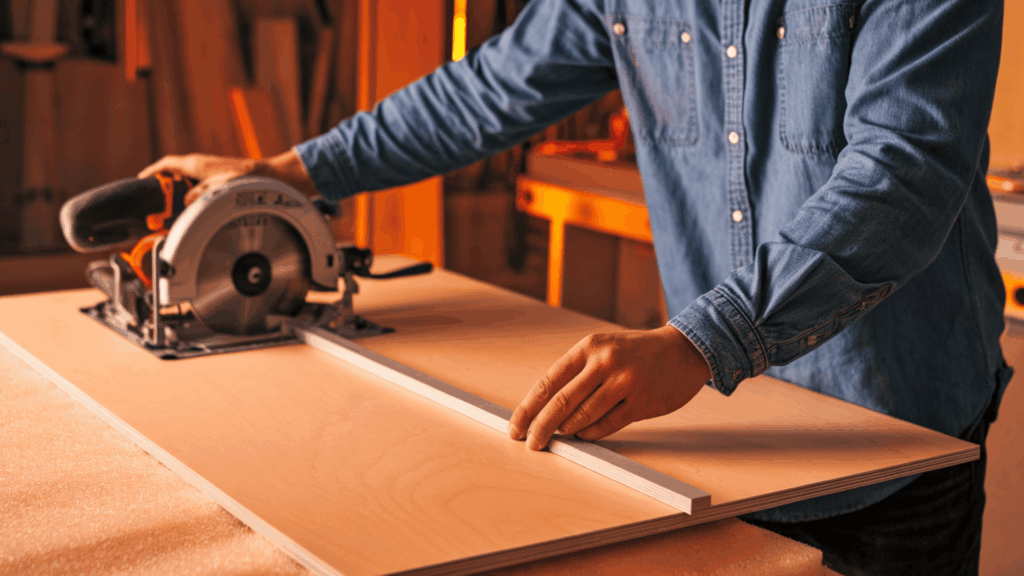
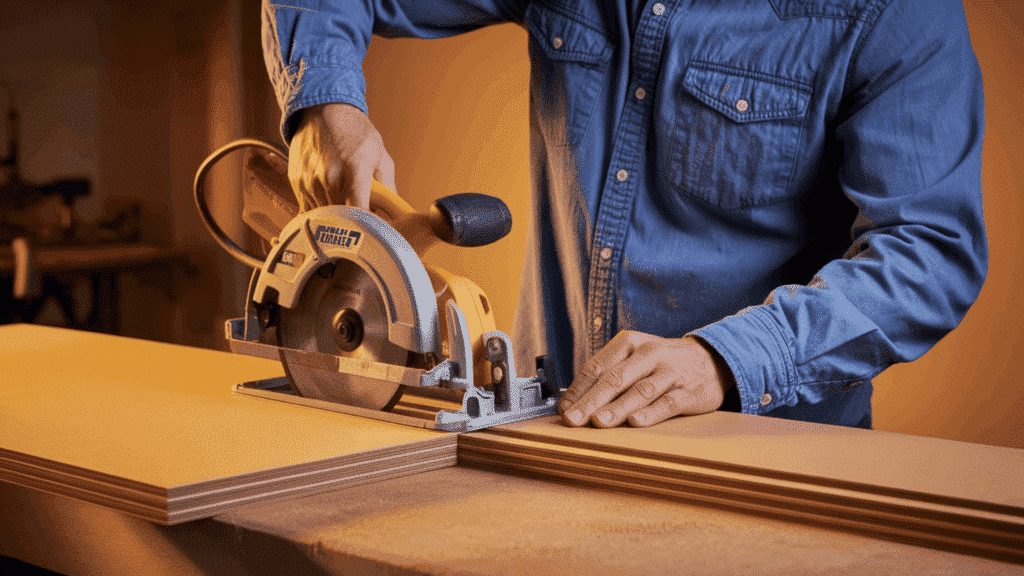
| Table Saw / Circular Saw | Required for all door styles |
| Miter Saw | Improves cut accuracy |
| Drill and Driver | Needed for frame assembly |
| Clamps | Corner clamps keep frames square |
| Measuring Tape and Carpenter Square | Keeps cuts and assembly square |
| Pocket Hole Jig | Especially useful for shaker cabinet doors |
| Router | Optional, but improves finish quality |
From wood and hinges to paint and sandpaper, building one cabinet door yourself usually runs between $25 and $80 in materials, far less than buying a ready-made door.
How to Make Shaker Cabinet Doors: Step-by-Step Process
Shaker cabinet doors use a simple frame-and-panel build that is beginner-friendly and works well in almost any kitchen style. Follow these steps to build one from scratch:
Step 1: Cut the Stiles and Rails
Stiles are the vertical pieces of the frame, and rails are the horizontal ones. For most shaker cabinet doors, stiles and rails are cut to 2 to 2.5 inches wide using solid wood or ¾-inch-thick plywood.
Measure your cabinet opening carefully before cutting. The overall door size should account for a small overlap or inset, depending on how your cabinets are built.
Step 2: Cut the Center Panel
The center panel sits inside the frame and is typically cut from ¼ inch plywood or MDF. Measure the inside opening of your frame and add about ½ inch on each side so the panel fits snugly into the grooves.
MDF works well here if you plan to paint the door. For a stained finish, hardwood plywood gives a much cleaner look.
Step 3: Drill Pocket Holes in the Rails
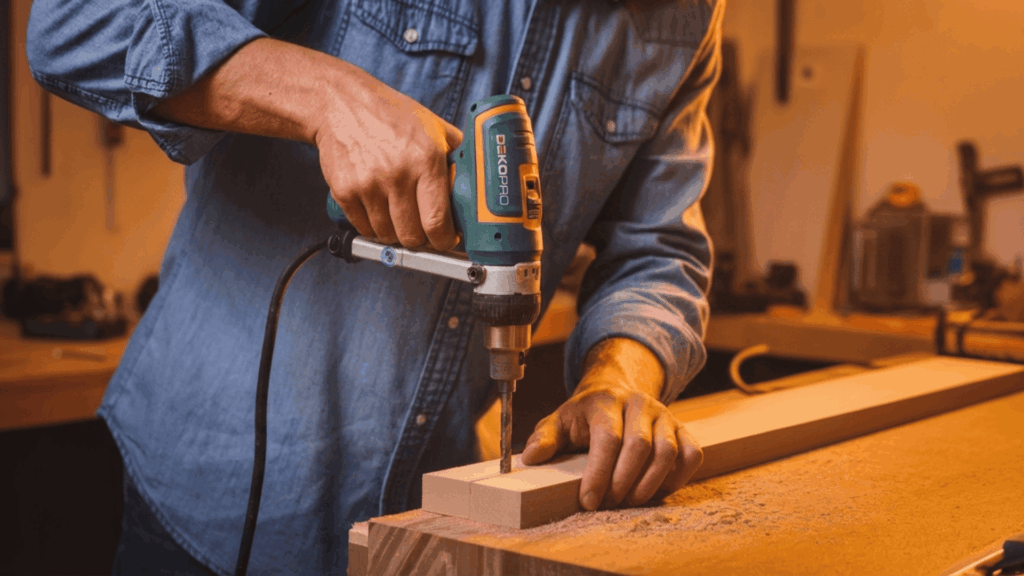
Using a pocket hole jig, drill two pocket holes at each end of both rails. This is one of the easiest and most reliable ways to join the frame pieces when learning how to make shaker cabinet doors.
Set the jig to match your wood thickness before drilling. Clean, accurate holes here make the assembly much smoother.
Step 4: Assemble the Door Frame
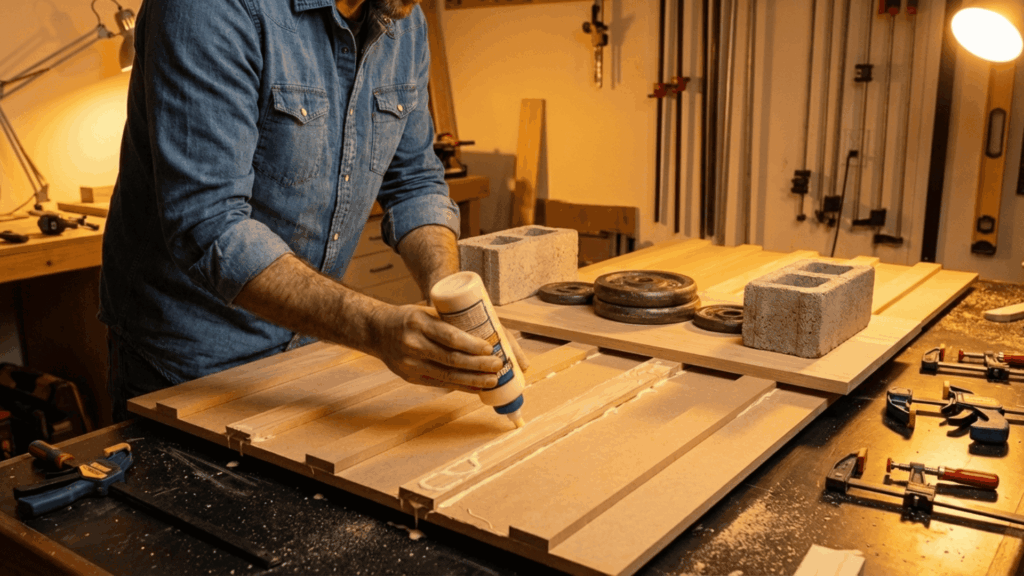
Apply wood glue to the ends of the rails, then attach them to the stiles with pocket screws. Use corner clamps to keep everything square while the glue sets.
Check the frame with a carpenter’s square before the glue dries. A frame that is even slightly out of square will cause problems when you hang the door.
Getting this step right is the core of making cabinet doors that hang straight and last for years.
Step 5: Install the Center Panel
Slide the center panel into the frame grooves before fully tightening the screws. Do not glue the panel in place: it needs room to expand and contract with changes in humidity.
Once the panel is seated correctly, finish tightening the pocket screws, then let the full assembly dry with the clamps in place.
Step 6: Sand the Door Surface

Start with 120-grit sandpaper to smooth out any rough spots or uneven joints. Then move to 220 grit for a finer finish before painting or staining.
Pay extra attention to the edges and corners. A well-sanded door takes paint or stain much more evenly and gives a cleaner final result.
That covers the full build for shaker cabinet doors. If you want something with a bit more texture and character, fluted cabinet doors are a great next option.
Your Shaker Cabinet Door is Ready!
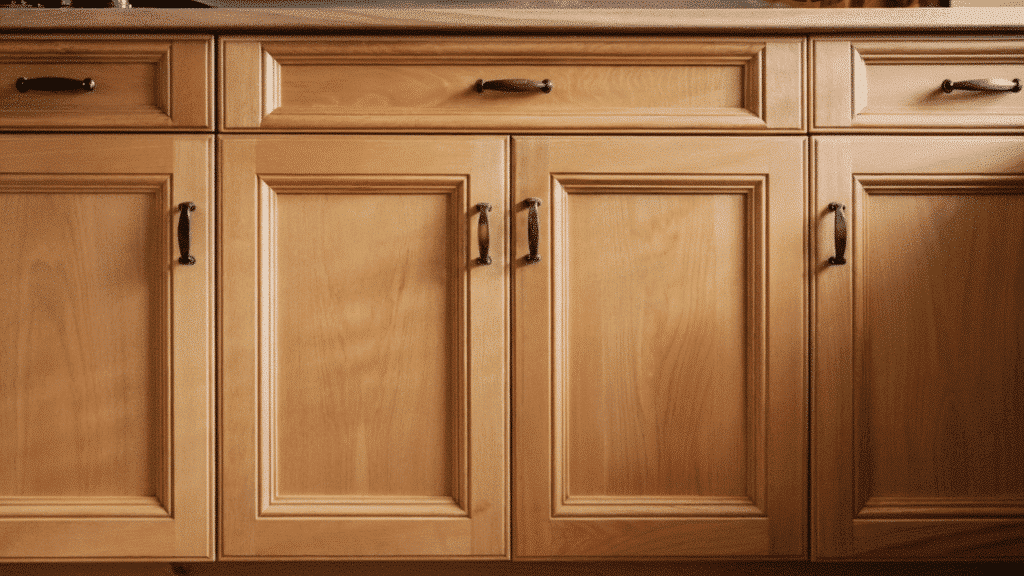
Once the glue dries and sanding is complete, you will have a solid shaker cabinet door ready to hang. The frame-and-panel build gives it a clean, structured look that works in almost any kitchen.
If the surface feels smooth with no raised joints, it is ready for paint or stain.
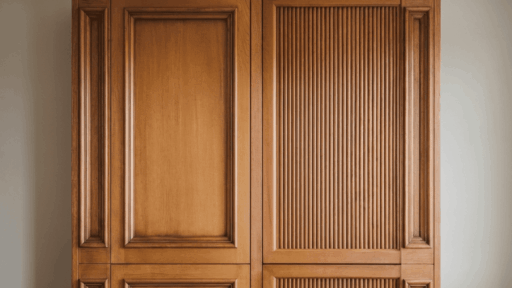
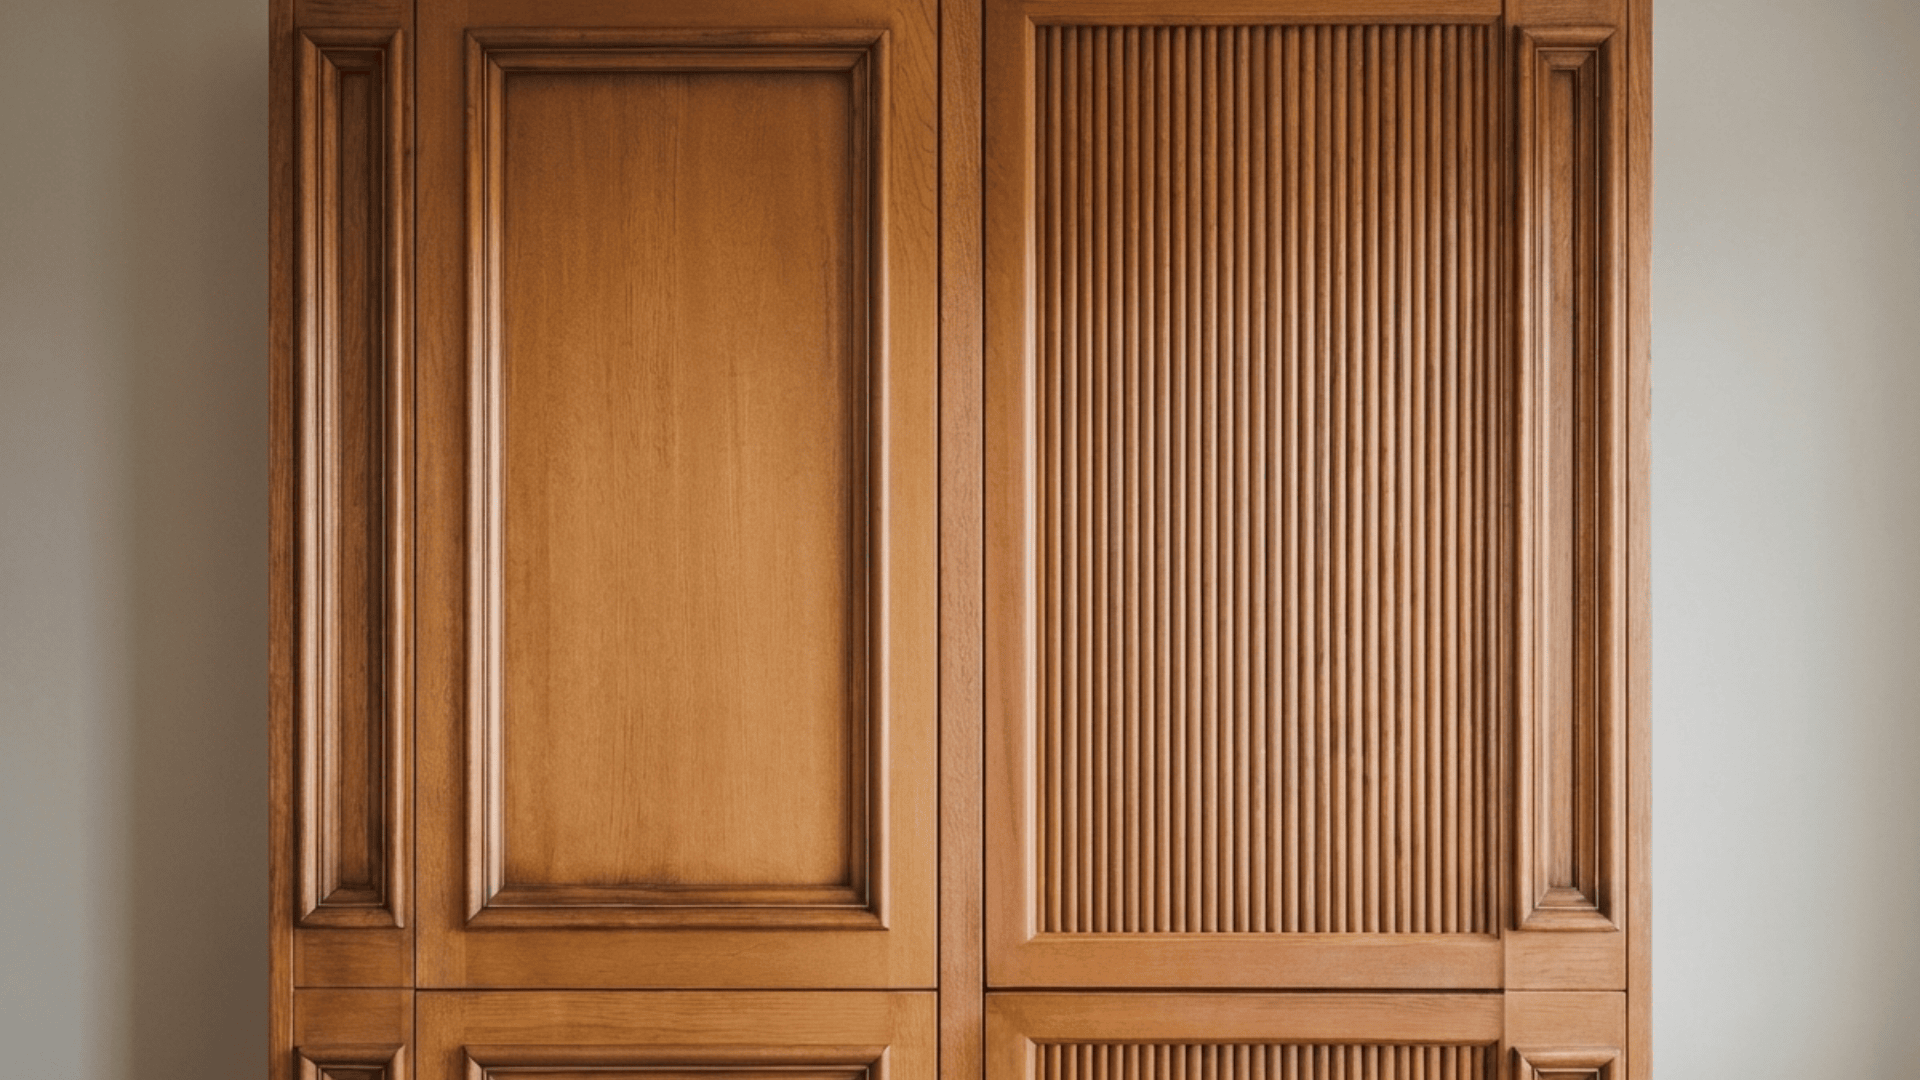
How to Make Fluted Cabinet Doors: Step-by-Step Process
Fluted cabinet doors add a textured, modern look to any space and are fairly straightforward to put together once you have your materials ready. Here is how to build one:
Step 1: Cut the Base Door Panel
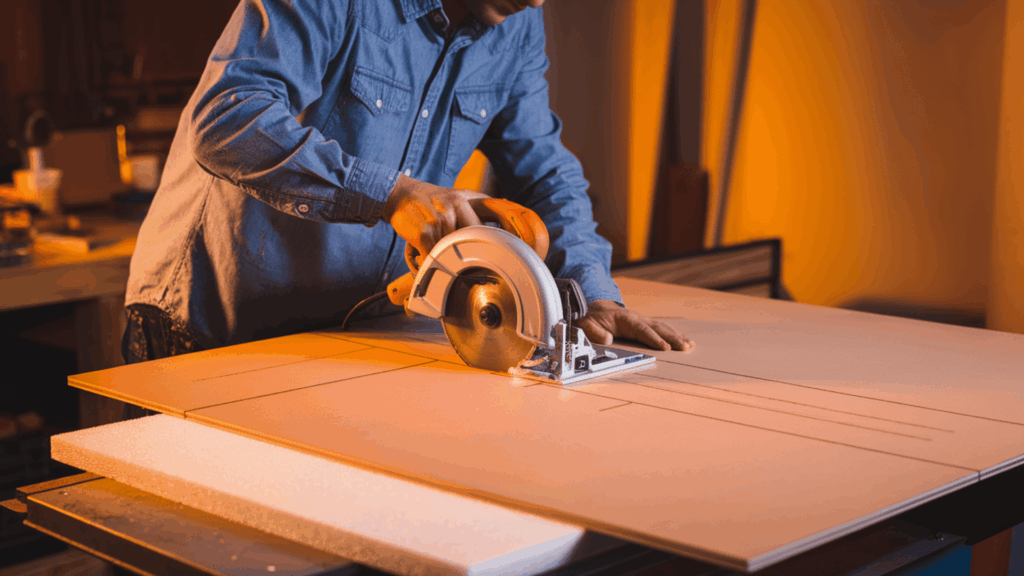
The base panel is the foundation of a fluted cabinet door. Cut it from ¾-inch plywood or MDF to match your cabinet opening, keeping the edges straight and clean.
Take your measurements twice before cutting. An accurate base panel makes every step after this much easier to manage.
Step 2: Prepare Fluted Strips
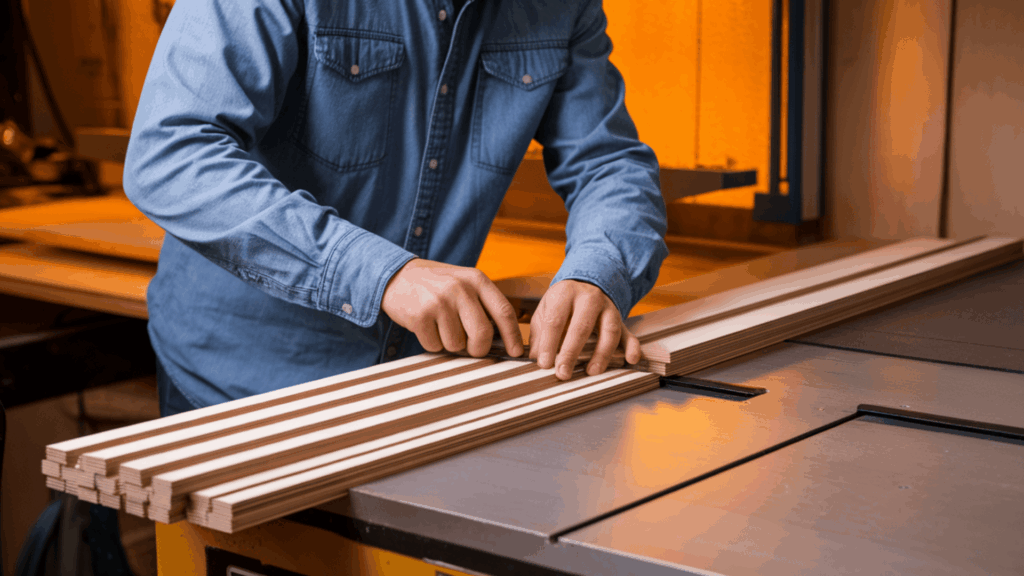
Fluted strips are thin vertical pieces that run across the face of the panel. You can cut them yourself from solid wood using a table saw or buy ready-made fluted boards from a lumber supplier.
Each strip should be uniform in width and thickness. Consistency here is what gives the door that clean, even look across the full panel.
Step 3: Attach the Fluted Pieces
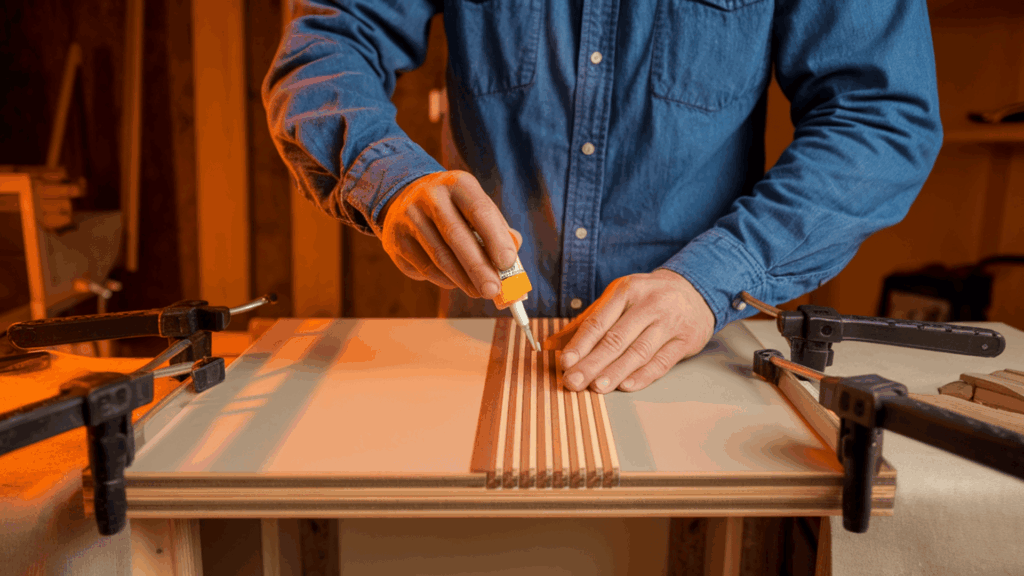
Apply wood glue evenly to the back of each strip and press them onto the base panel one at a time. Use clamps to hold each piece firmly in place while the glue sets.
Space the strips evenly across the panel before committing to glue. A quick dry layout first helps you spot any spacing issues early.
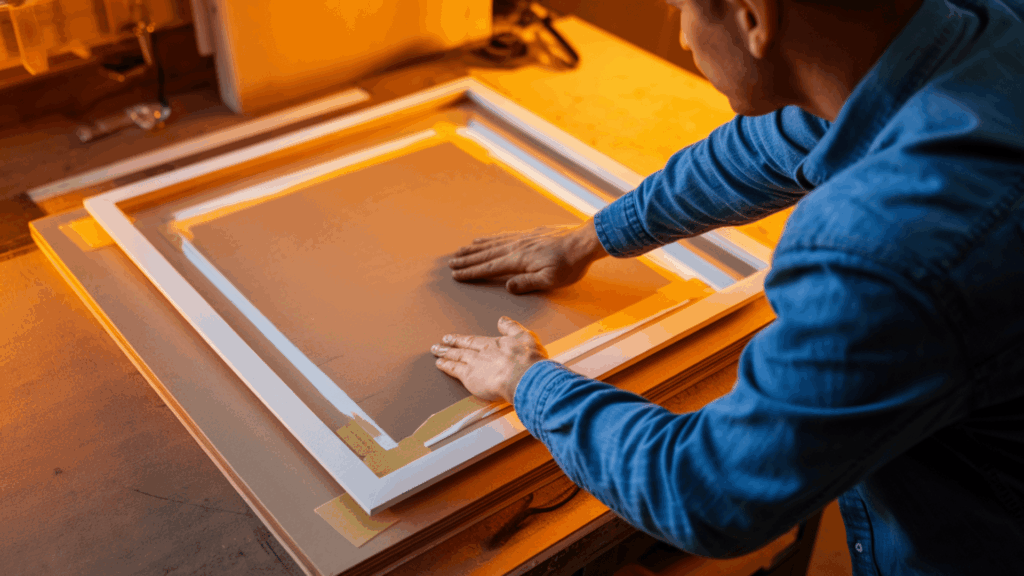
Step 4: Trim and Square the Edges
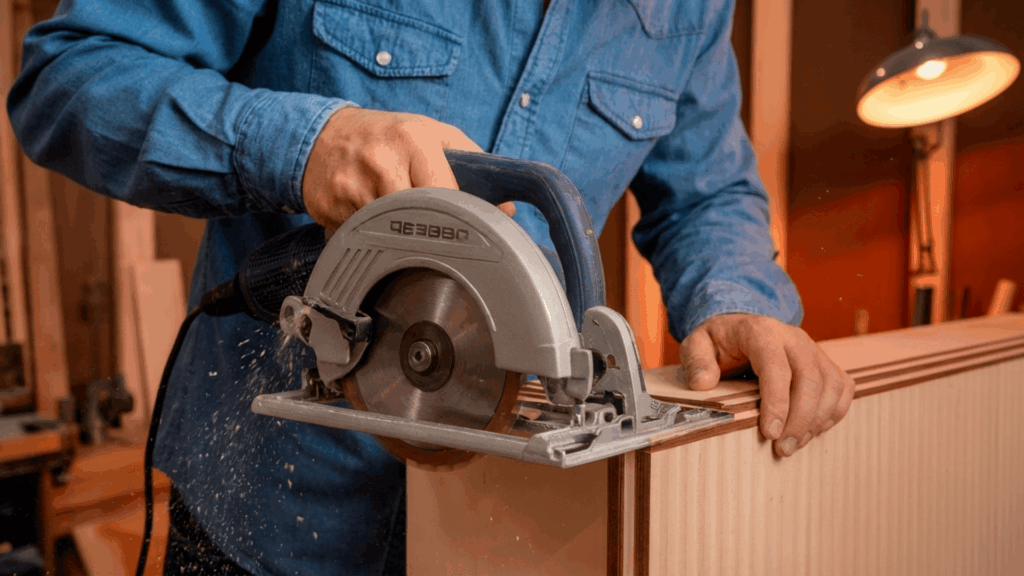
Once the glue has dried, check all four edges with a carpenter square. Trim any strips that extend past the panel edge with a circular saw or a flush-trim router bit.
Clean, straight edges make a big difference when hanging the door and creating an even gap around the frame.
Step 5: Sand the Panel
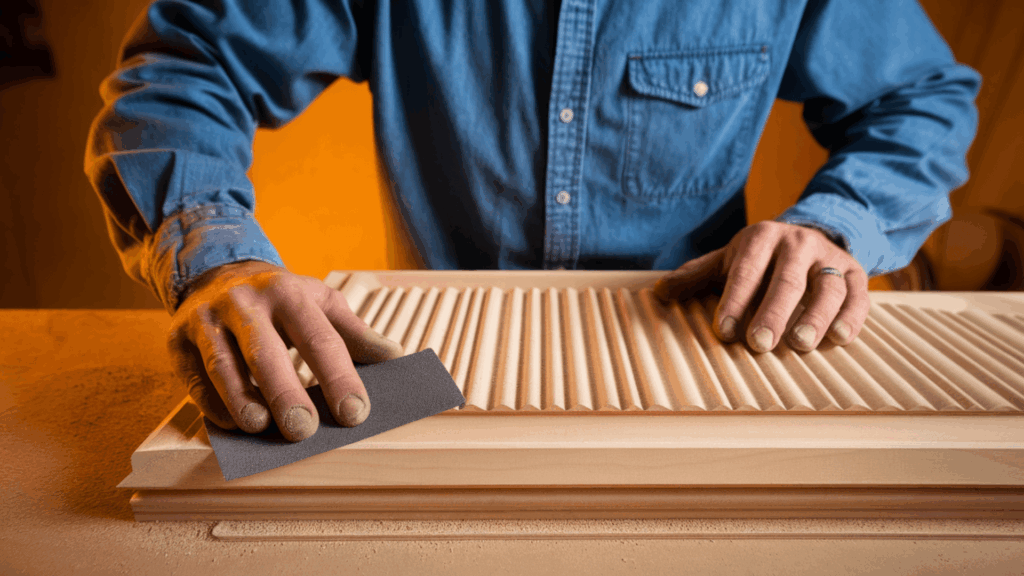
Start with 120-grit sandpaper to smooth out any raised edges where the strips meet the base panel. Follow up with 220 grit for a finer surface before applying paint or stain.
Run your hand across the full surface to check for any uneven spots. A smooth, flat finish ensures the paint or stain goes on evenly without any rough patches showing through.
The Finished Fluted Cabinet Door
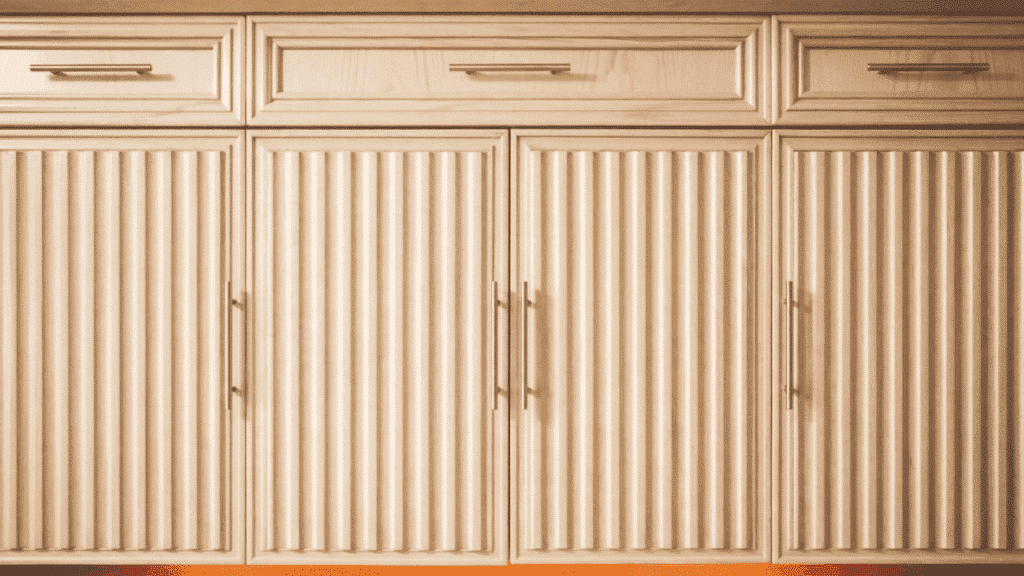
Once the final sanding pass is complete, you will have a textured cabinet door with evenly spaced vertical strips across the panel.
The fluted pattern creates a natural light-and-shadow effect, giving the door a modern, high-end look. Check that all strips sit flush before moving on to paint or stain.
Common Mistakes to Avoid
Even with the right tools and materials, small oversights can affect the final result. Here are the most common mistakes to watch out for when building DIY cabinet doors:
- Incorrect measurements before cutting: Always measure the cabinet opening twice before cutting any material. A small measurement error leads to doors that do not fit properly.
- Frame pieces not aligned during assembly: Check all corners with a carpenter square before the glue dries. Misaligned frames are difficult to fix once the glue has set.
- Not clamping the door while the glue dries: Skipping clamps can cause joints to shift as the glue dries. Keep clamps in place until the glue has fully cured.
- Skipping sanding before painting or staining: Unsanded surfaces show brush marks and uneven patches in the final finish. Always sand with 120-grit first, then follow up with 220-grit.
- Uneven spacing when attaching fluted strips: Do a dry layout of all strips before applying glue. This helps you catch spacing issues before they become permanent.
Conclusion
Building your own cabinet doors is one of the most cost-effective ways to refresh a kitchen or bathroom without a full renovation.
Now that you know how to make cabinet doors from scratch: the materials, the tools, and each step of the build process, you have everything you need to get started. If this is your first project, start simple.
Take your time with measurements, do not rush the glue, and sand before you finish. Good DIY cabinet doors come down to patience and the right preparation.

James McLaren, with a rich background in architecture from the University of Manchester, has been contributing his expertise to the world of creative construction and home innovation for over 20 years. His journey began as a project manager for a leading construction firm, where he honed his skills in bringing complex designs to life. James joined our platform as a freelancer in 2019, quickly becoming a favorite for his insightful and practical advice. He has been a pivotal force to our wing ever since, bringing our readers a blend of technical know-how and creative flair. Beyond his professional life, James is an avid woodworker and enjoys restoring vintage furniture, a hobby that complements his professional insights beautifully.