
Concrete driveway resurfacing is a budget-friendly way to fix up an old, cracked driveway without the huge cost of tearing it out completely.
If your driveway is looking a little worse for wear but still has some life left, you can opt for resurfacing, which helps restore its smoothness and boost your home’s curb appeal.
Plus, it’s a much quicker and cheaper fix than going all in on a full replacement.
If you’re looking to make your driveway look fresh without breaking the bank, resurfacing is definitely worth considering.
What is Concrete Driveway Resurfacing?
Concrete driveway resurfacing is the process of applying a new layer of material over an existing concrete surface to restore its appearance and functionality.
This involves cleaning, repairing cracks, and spreading a resurfacing compound to cover imperfections.
It’s an excellent cost-effective alternative to replacing the entire driveway, as it extends the lifespan of the surface without the high cost of full removal and installation.
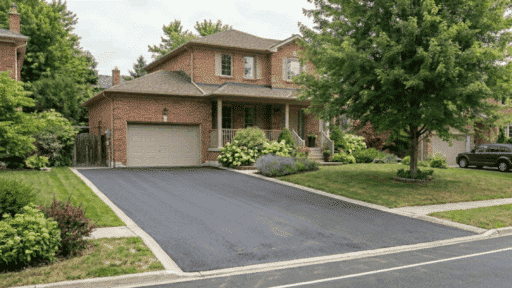
Resurfacing boosts your home’s curb appeal and is quicker and cheaper than replacement, making it popular for homeowners refreshing driveways on a budget.
Step-by-Step Guide for Concrete Driveway Resurfacing
Follow this simple step-by-step guide to resurface your concrete driveway, and you’ll have a smooth, durable surface in no time!
Tools and Materials Required
Before you start resurfacing your concrete driveway, it’s important to have all the right tools and materials on hand.
| Tools | Materials |
|---|---|
| Broom or Pressure Washer | Concrete resurfacing compound |
| Trowel or Squeegee | Concrete patching compound |
| Bucket | Bonding agent (if needed for deep cracks) |
| Mixing paddle or Drill (for mixing) | Water (for mixing and curing) |
| Caulk Gun (for cracks) | Sealant for finishing |
| Gloves | Gravel or base rock (for deep holes) |
| Safety goggles | Plastic sheeting (to protect areas) |
| Long-handled trowel (optional) | Masking tape (to protect edges) |
| Hammer and Chisels (for deep cracks) | Concrete bonding adhesive (optional) |
| Wheelbarrow (for mixing large amounts) | Clear plastic tarp (to protect from rain during curing) |
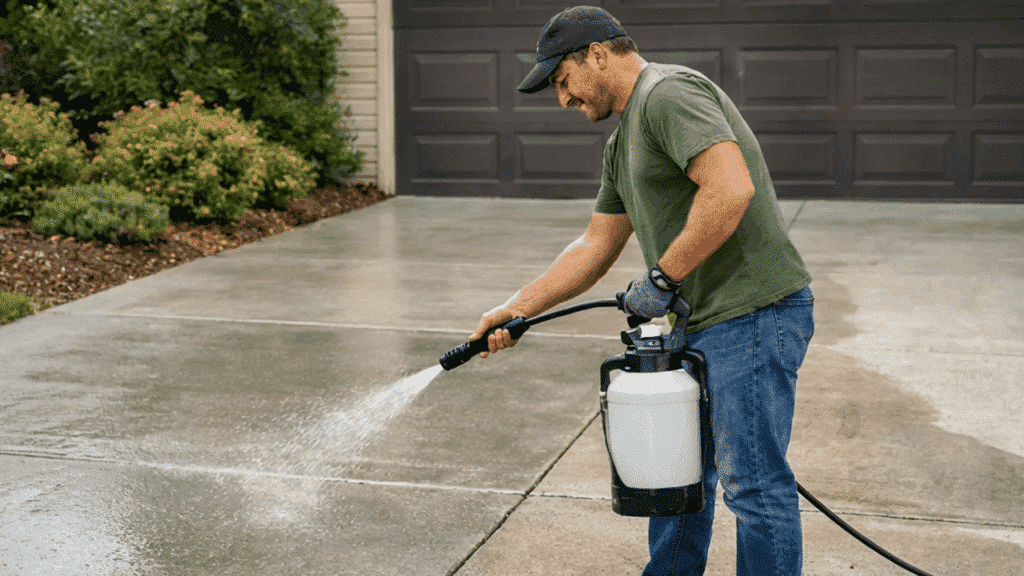
Step 1: Prepare the Surface
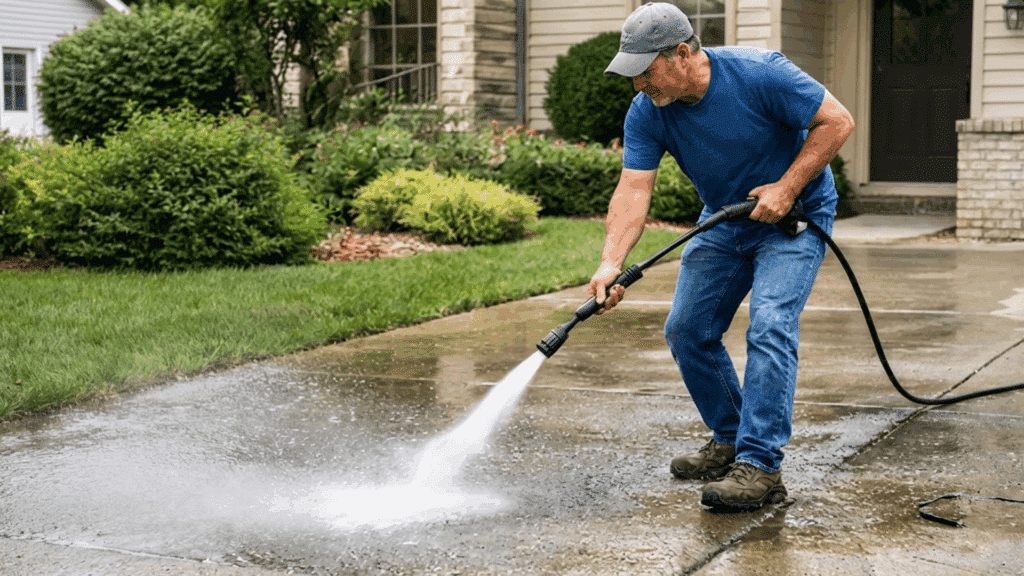
Clear the driveway of any vehicles, debris, and outdoor items to give yourself enough space to work.
Sweep or use a pressure washer to remove dirt, stains, and any old sealant, and allow the surface to dry completely before starting.
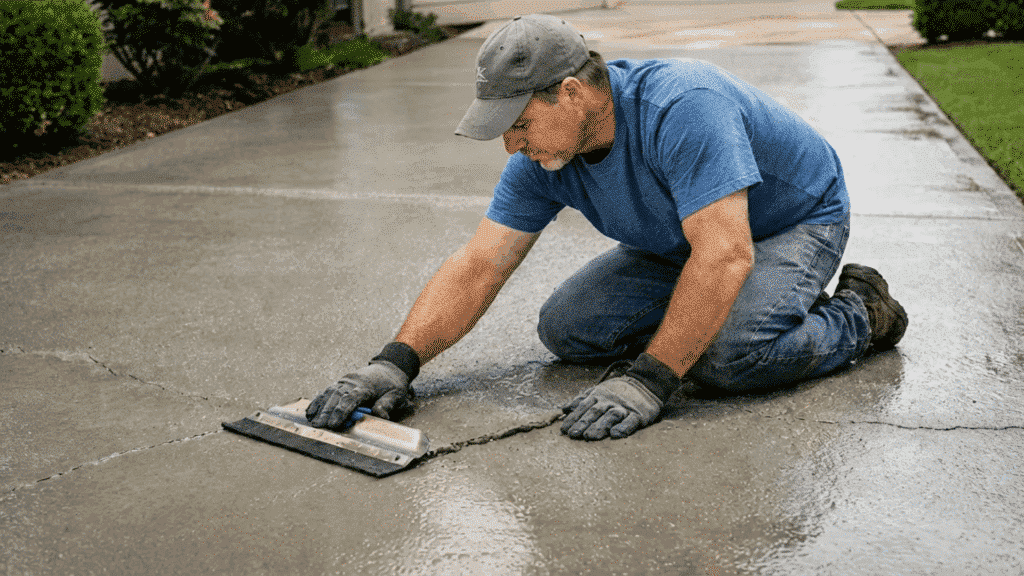
Step 2: Repair Cracks and Holes
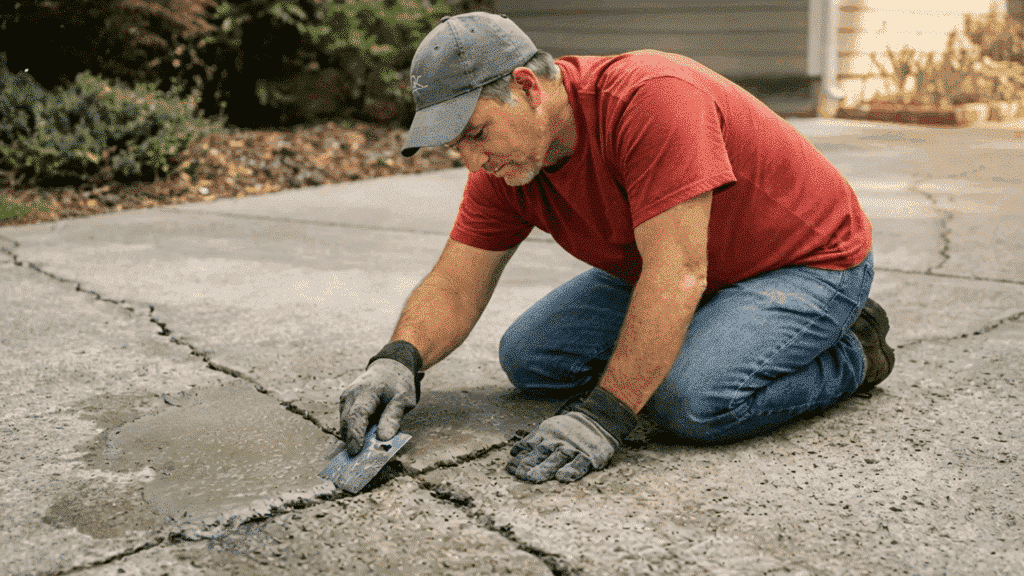
Inspect the surface for any visible cracks or holes and fill them with a concrete patching compound.
Smooth out the surface with a trowel to ensure an even finish, and let it dry completely before moving on. If the cracks are deep, apply a bonding agent before patching for a stronger bond.
Step 3: Mix the Resurfacing Compound
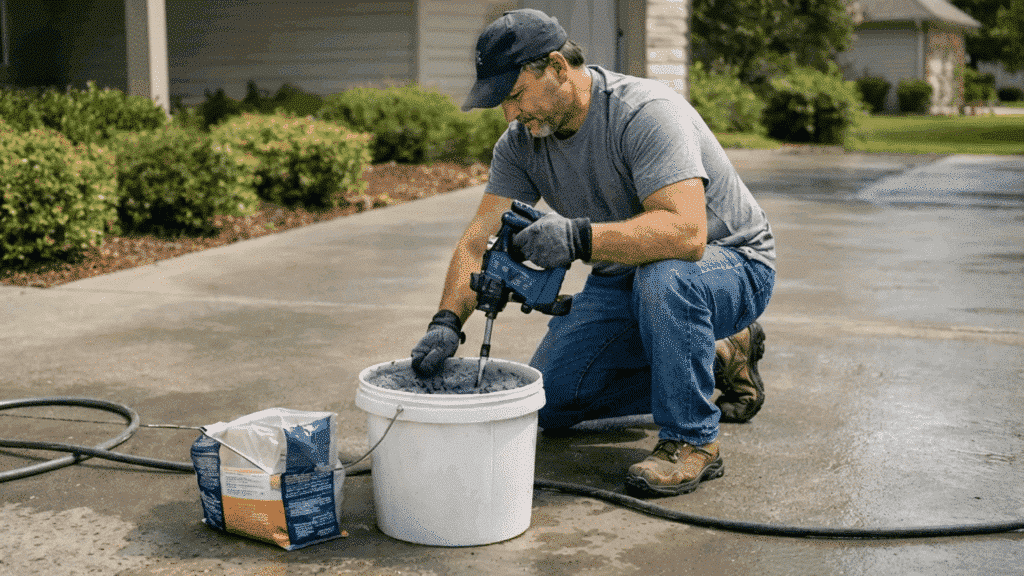
Carefully follow the manufacturer’s instructions to mix the resurfacing compound in a bucket. Mix thoroughly to avoid lumps, ensuring you achieve the right consistency for application.
It’s important to work quickly as the mixture may start to set after a short time. Be sure to mix in small batches to avoid waste and maintain control over consistency.
Step 4: Apply the Resurfacer
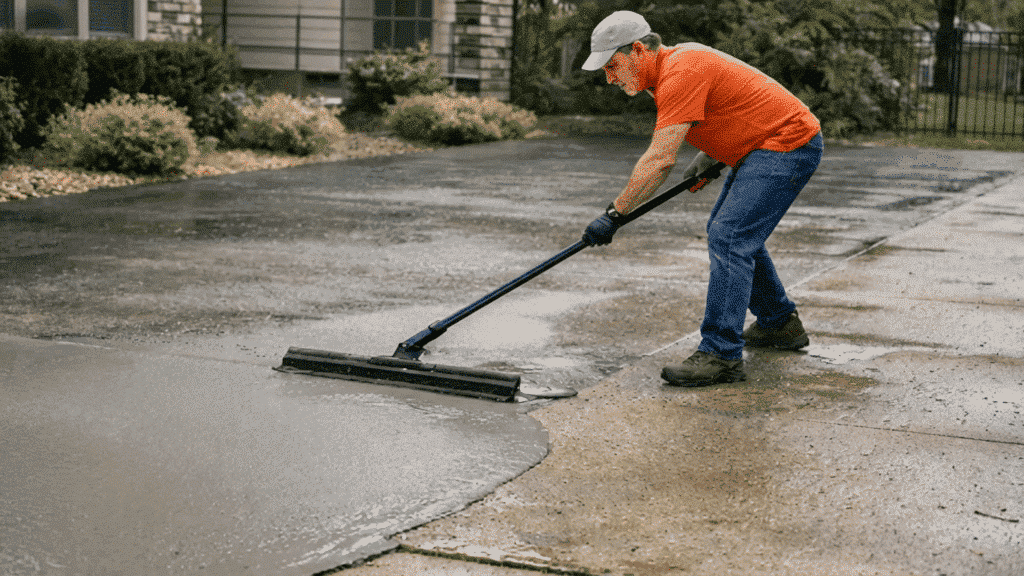
Start at one end of the driveway, pour the resurfacer onto the surface, and use a trowel or squeegee to spread it evenly across the concrete.
Work in small sections to keep the compound from drying too quickly and to maintain an even layer. Don’t apply the compound too thickly, as it may crack as it dries.
Step 5: Smooth and Level the Surface
As you apply the resurfacer, use the trowel or squeegee to smooth out any uneven areas and ensure a level finish.
Keep a steady pace to avoid leaving patches or lines that may show once the compound dries. Use a long-handled tool for larger areas to maintain a consistent, smooth surface.
Step 6: Allow Curing Time
Allow the resurfaced driveway to cure for 24-48 hours, keeping it moist to prevent cracks from forming.
After curing, apply a sealant to protect the new surface and give it a clean, finished look. Be sure to follow the recommended curing time to ensure durability and prevent premature wear.
What Worked and What Didn’t: People’s Opinions
When it comes to resurfacing a concrete driveway, homeowners often share mixed experiences, with a few common successes and challenges that many face along the way.
One user stressed that resurfacing a driveway should involve more than just fixing visible issues. They recommended addressing underlying cracks and thoroughly prepping the surface before applying a new layer.
A patch will never look good or last for long. My advice would be to rent a saw then remove and replace the broken sections.- wanttostaygottogo ,Reddit
Another shared an important tip for fixing deep holes in a driveway. They recommended filling the holes with a larger base rock, like #3 gravel, before applying a finer layer on top.
You need to fill those deep holes with a larger base rock like #3s before putting a finer layer on top, otherwise, they’ll just swallow new gravel in a month. I had a similar washout on my property last spring and I used Gravelshop to get the delivery handled since they coordinate with the local pits. Just make sure you compact the base layer really well before it rains again.- velvet-night_want,Reddit
Another User shared a straightforward approach to driveway repairs, advising that it’s better to do it properly the first time rather than opt for temporary fixes.
They emphasized addressing the root cause of issues, such as drainage problems, to avoid ongoing expenses and repairs.
Best to just bite the bullet and do it right and be done with it…the drainage, the driveway…all of it. Patching and tarring isn’t cheap either and it’s going to keep happening if you don’t take care of the root cause.- MajorEbb1472, Reddit
Professional vs. DIY Concrete Driveway Resurfacing
This comparison table breaks down the differences between professional and DIY concrete driveway resurfacing, so you can choose the option that best fits your budget and skills.
| Factor | Hiring a Professional | Doing It Yourself |
|---|---|---|
| Cost | Higher upfront cost due to labor and expertise | Lower cost; you only pay for materials and tools |
| Skill Level Required | Professional with experience and specialized tools | Requires basic DIY skills, but can be challenging for beginners |
| Time | Faster completion; professionals handle everything | Takes more time, as you’ll need to learn and apply each step |
| Quality of Work | High-quality results with a professional finish | Quality depends on your preparation and skill level |
| Long-Term Durability | Likely to last longer due to expert execution | May need rework if not done properly |
| Risk of Mistakes | Minimal risk of errors; professionals avoid common pitfalls | Higher risk of uneven surfaces, cracks, or improper curing |
Conclusion
Choosing the right concrete driveway resurfacing method depends on your budget, skill level, and the condition of your driveway.
If you’re comfortable with DIY projects and want to save on labor costs, resurfacing the driveway yourself can be a great option.
However, if you’re looking for a more polished finish and want to avoid mistakes, hiring a professional might be the way to go.
No matter which route you take, proper preparation is key to ensuring long-lasting results. Get your driveway resurfaced now and enjoy a fresh, smooth surface for years to come!

Tommy Hardy, an alumnus of the Georgia Institute of Technology with a degree in Mechanical Engineering, has been a go-to figure in residential upkeep and innovation for over 18 years. His career commenced in a leading home appliance manufacturing company, where he mastered the intricacies of household systems. Joining our platform in 2020, Tommy quickly became a reader favorite for his practical and easy-to-follow guides. He took the helm of our DIY section in 2019, consistently delivering content that empowers homeowners. Beyond his professional pursuits, Tommy is a passionate gardener and enjoys woodworking, skills enhancing his hands-on approach to home care.