Painting a room sounds simple, but many people still wonder what they need to paint a room before getting started. Missing the right tools can quickly turn the job messy and frustrating.
The good news is that learning how to paint a room doesn’t require anything complicated. A few basic supplies can help you get smooth, clean walls without stress.
This blog covers everything you need, from brushes and rollers to prep tools and safety items, to how to effectively paint a room.
Why Regularly Painting a Room Matters?
Many people focus on how to paint a room, but forget why repainting it regularly is important. Over time, walls collect dust, stains, and small damage that make a space look worn out.
Knowing what you need to paint a room helps maintain a clean and fresh environment without much effort.
Fresh paint not only improves the look of a room but also protects walls from moisture, marks, and daily wear.
Repainting every few years keeps the space feeling updated, comfortable, and well cared for, making a noticeable difference in both appearance and overall home upkeep.
Basic Tools Needed to Paint a Room
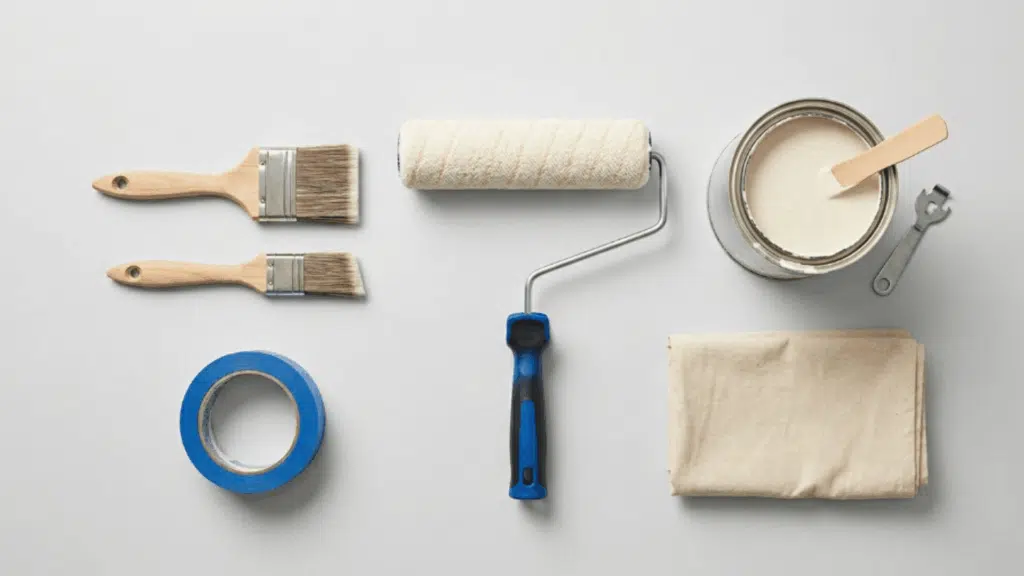
Having the right tools ready makes painting a room much easier, faster, and less messy from start to finish.
- Paint Rollers and Roller Frames: Rollers help cover large wall areas quickly and evenly, giving a smooth finish while saving time compared to using brushes alone, and choosing the right nap ensures better results based on wall texture.
- Paint Brushes for Edges: Brushes are useful for corners, trims, and tight spaces where rollers cannot reach, allowing better control and clean lines, especially when using angled brushes for neat edges.
- Painter’s Tape for Clean Lines: Painter’s tape protects areas like trims and switches, helps create sharp lines, and reduces the need for touch-ups by preventing paint from spreading into unwanted areas.
- Drop Cloths to Protect Surfaces: Drop cloths protect floors and furniture from spills and splashes, making cleanup easier and keeping the painting area neat and organised throughout the project.
- Paint Stirrer and Can Opener: Stirrers help mix paint evenly for consistent color and texture, while can openers allow easy and mess-free access, keeping the painting process smooth.
Step-By-Step Guide to Painting a Room
Painting a room may seem like a big task at first, but breaking it into simple steps makes the process much easier to follow and manage.
1. Gather All Supplies First
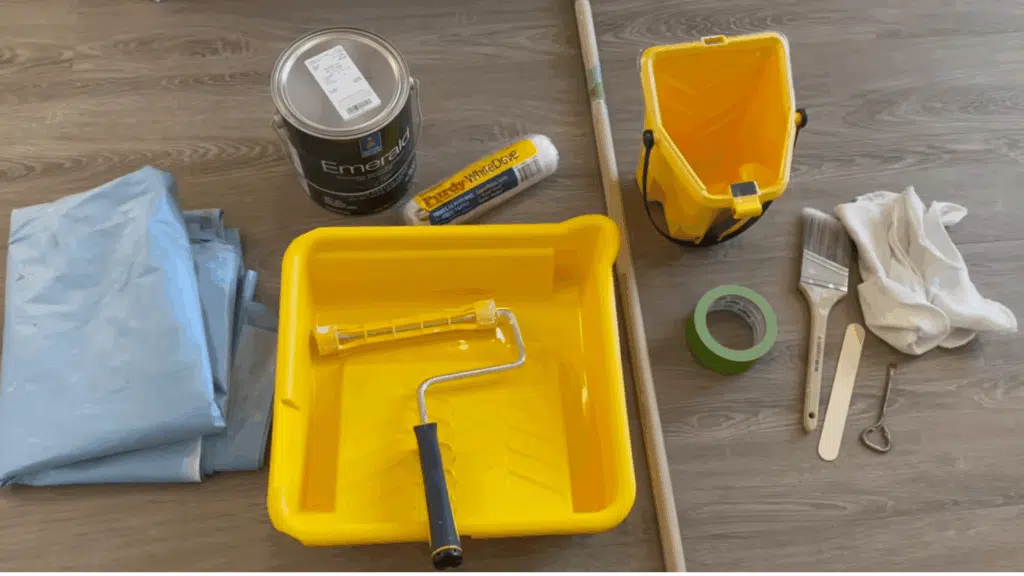
Before starting how to paint a room, make sure you have everything ready in one place to avoid interruptions later.
This is the step where you collect all essential tools like rollers, brushes, painter’s tape, drop cloths, sandpaper, and paint supplies.
Having everything nearby saves time and keeps the process smooth without stopping in between.
2. Cover Furniture and Prep Surfaces
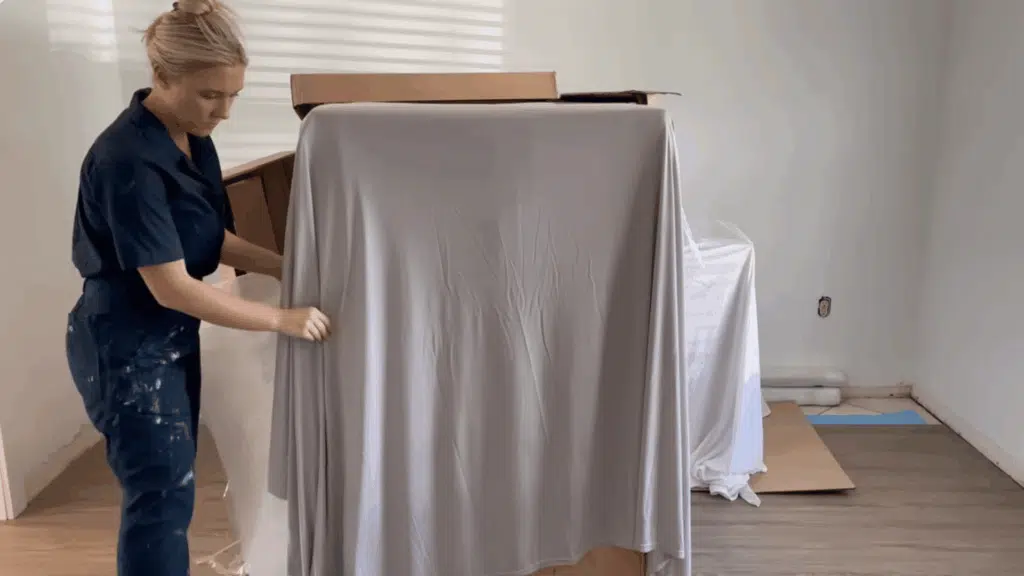
Start by covering sofas and furniture with drop cloths or sheets to protect them from paint spills and dust.
Once everything is covered, remove the outlet and switch covers using a screwdriver and keep them safely aside.
This step helps prevent accidental stains and keeps your belongings safe during the painting process. Taking a few extra minutes here makes cleanup easier and avoids damage to furniture.
3. Clean the Walls Properly
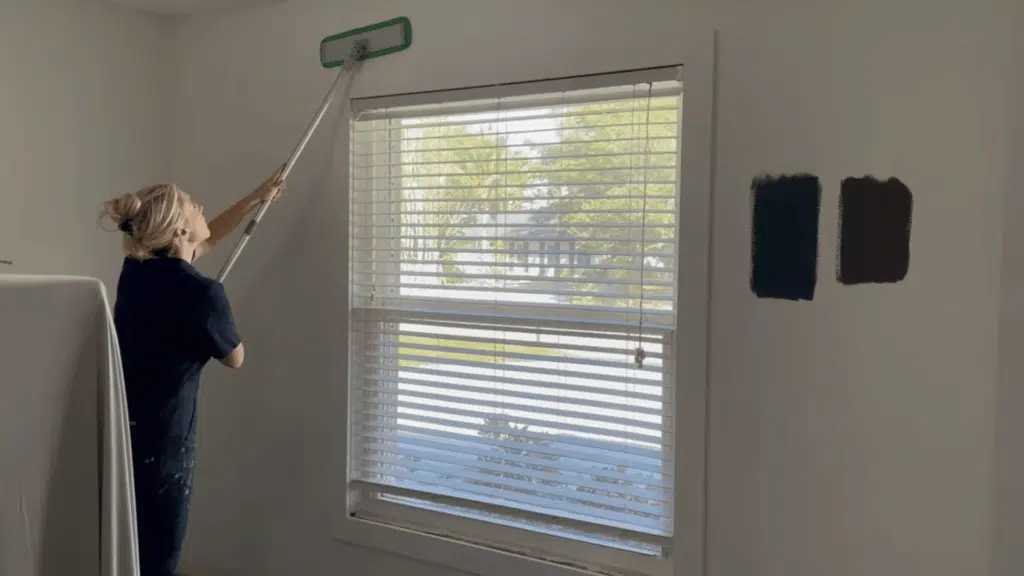
Wipe all walls using a damp cloth or mop. Make sure it’s not too wet. This step removes dust, grease, and dirt so the paint sticks better and looks even.
Cleaning the surface also helps avoid bumps or uneven texture after the paint dries.
A clean wall ensures a smoother finish and improves how long the paint lasts.
4. Apply Painter’s Tape Carefully
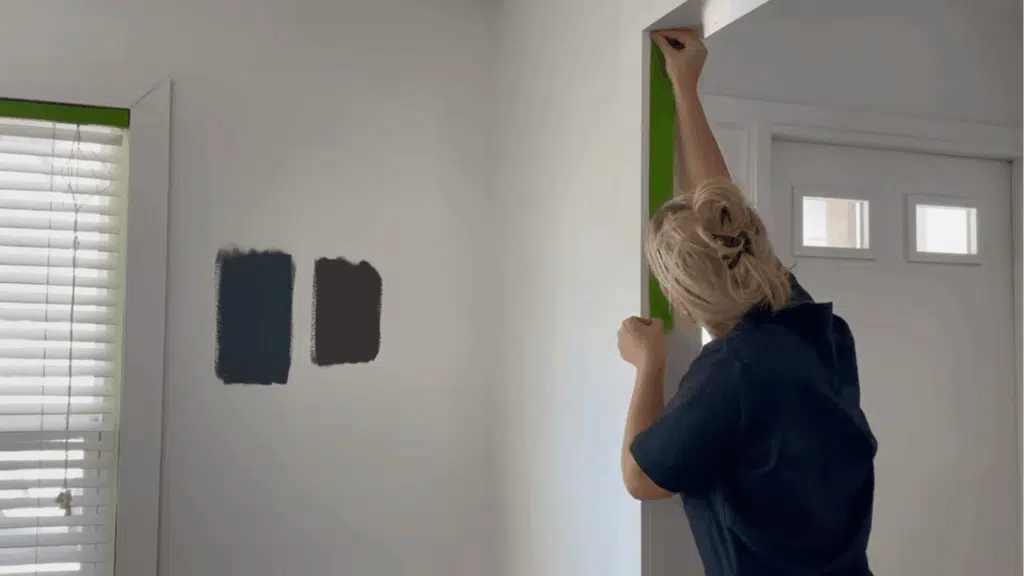
Place painter’s tape along edges like trims, windows, baseboards, and door frames. Press it firmly so the paint does not seep underneath. This helps create clean, sharp lines.
Take your time while applying tape to ensure straight and even placement along all edges.
Proper taping reduces the need for touch-ups and gives a neater and more polished final look.
5. Start with Edges
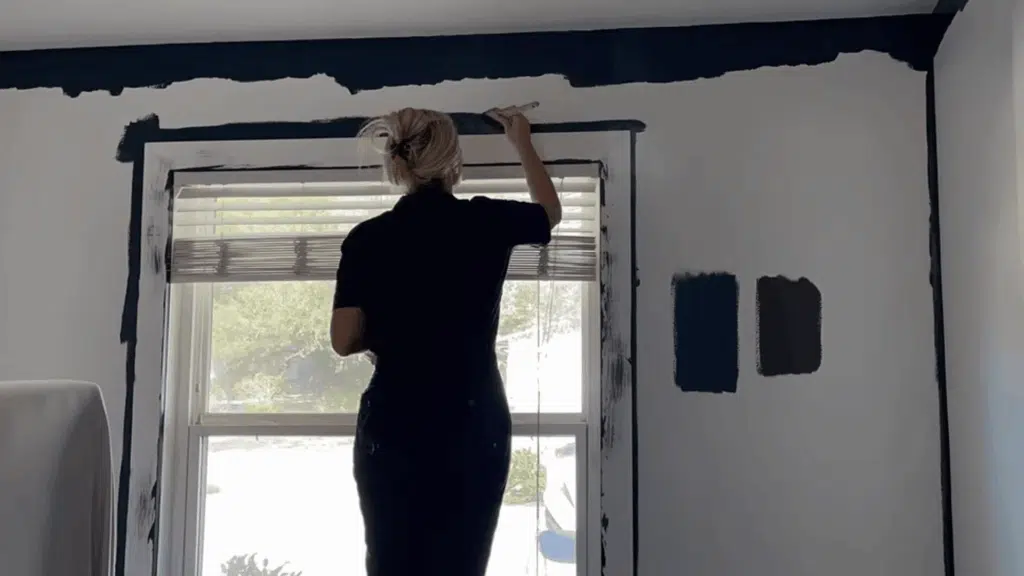
Use an angled brush to paint edges around ceilings, corners, trims, and baseboards. Work slowly and apply a solid, even coat. This step creates a border before using the roller.
Careful edging helps define the painted areas and makes the overall finish look cleaner.
It also makes it easier to use the roller without worrying about reaching tight spots later.
6. Roll Paint on Walls
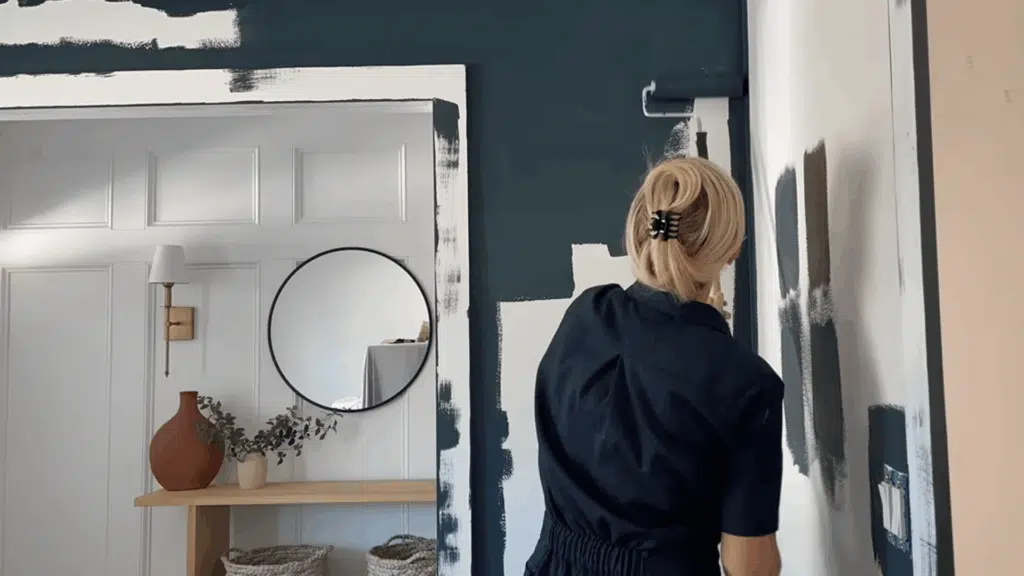
Use a roller to paint large sections of the wall. Work in small areas using a “W” pattern, then fill in the gaps. Apply light pressure at first, then increase slightly.
Let the first coat dry, then apply a second coat for full coverage.
This method helps spread the paint evenly and avoids visible roller marks on the surface.
Applying multiple coats ensures better color depth and a smoother and more consistent finish.
7. Check the Final Finish

Once you’ve completed how to paint a room, take a step back and carefully check the walls for any missed spots, streaks, or uneven areas.
Good lighting helps you see imperfections more clearly, especially near edges and corners.
Make small touch-ups where needed to improve the overall look of the painted walls.
This final check ensures a clean and complete result that makes the room feel fresh and well finished.
You can check out the full video below:
Safety Items You Shouldn’t Skip
Painting may feel simple, but using the right safety items can make the process more comfortable and help avoid common issues.
- Gloves and Old Clothes Protection: Wearing gloves and old clothes protects your skin and prevents paint stains from ruining your everyday outfits during the process.
- Mask or Ventilation for Fresh Air: Using a mask or a proper ventilation setup helps reduce exposure to paint fumes and keeps the air fresh while working indoors.
- Proper Airflow in the Room: Keeping windows open and fans running improves airflow, making the space safer and more comfortable while painting for longer periods.
- Eye Protection While Painting: Wearing safety glasses can protect your eyes from paint splashes, especially when working on ceilings or higher wall areas.
- Stable Ladder for Safety: Using a sturdy step ladder with a good grip ensures better balance and reduces the risk of slips or falls while reaching higher sections.
Conclusion
Painting a room becomes much easier when the right tools and clear steps are followed carefully from start to finish.
Knowing what I need to paint a room helps avoid delays and keeps the process smooth, organised, and less stressful overall.
Simple preparation, like cleaning walls, taping edges, and protecting surfaces, plays a big role in achieving clean and even results.
Once you understand how to paint a room properly, each step feels manageable, and the final finish looks neat and well done.
Now that everything is clear, gather your supplies and start painting your room with confidence and enjoy the results.

With a Master’s in Architecture from the University of California, Berkeley, Alexander Martin has dedicated the last 18 years to enhancing outdoor living through thoughtful and robust structure design. His career kicked off in urban planning, giving him a unique perspective on integrating structures into diverse environments. In 2019, Alexander brought his expertise to our website, offering insights into creating versatile outdoor spaces. Since then, he has been the lead advisor for our outdoor design projects and is known for his ability to merge functionality with environmental consciousness. Alexander enjoys rock climbing outside of work and participates in community development projects, activities that reflect his passion for the outdoors and sustainable design.