Planting roses can feel tricky at first, but it becomes much easier once you understand the basics. The way a rose is planted affects how well it grows, how strong the roots become, and how many blooms it produces later.
If you are wondering when to plant roses or trying to figure out how to plant a rose bush the right way, a few simple steps can make a big difference.
This blog walks through everything step by step, from choosing the right location to placing the plant correctly in the soil.
Follow the process carefully, and your roses will have a much better start in the garden.
Growing Strong Roses from Day One
The first few decisions you make, such as planting time, sunlight, drainage, and spacing, shape how well a rose settles in and grows later on.
Strong rose growth starts with a site that gets full sun and drains well, since roses generally perform best with at least six hours of sunlight and soil that does not stay soggy.
That is why this stage matters more than many gardeners expect.
Modern rose guides also stress that newer roses are easier to grow than their reputation suggests, but they still respond best when planted in workable soil and given the right start.
Choosing the Right Type of Roses Before Planting
Picking the right rose variety before you plant is just as important as the planting process itself. Different types suit different spaces, climates, and purposes: so it’s worth taking a moment to choose wisely.
| Type of Rose | Description | Best Use |
|---|---|---|
| Hybrid Tea Roses | Large classic blooms | Cutting gardens |
| Floribunda Roses | Clustered blooms | Garden beds |
| Shrub Roses | Hardy and low maintenance | Landscape planting |
| Climbing Roses | Long canes that grow vertically | Trellises and arches |
| Miniature Roses | Compact plants | Containers or small gardens |
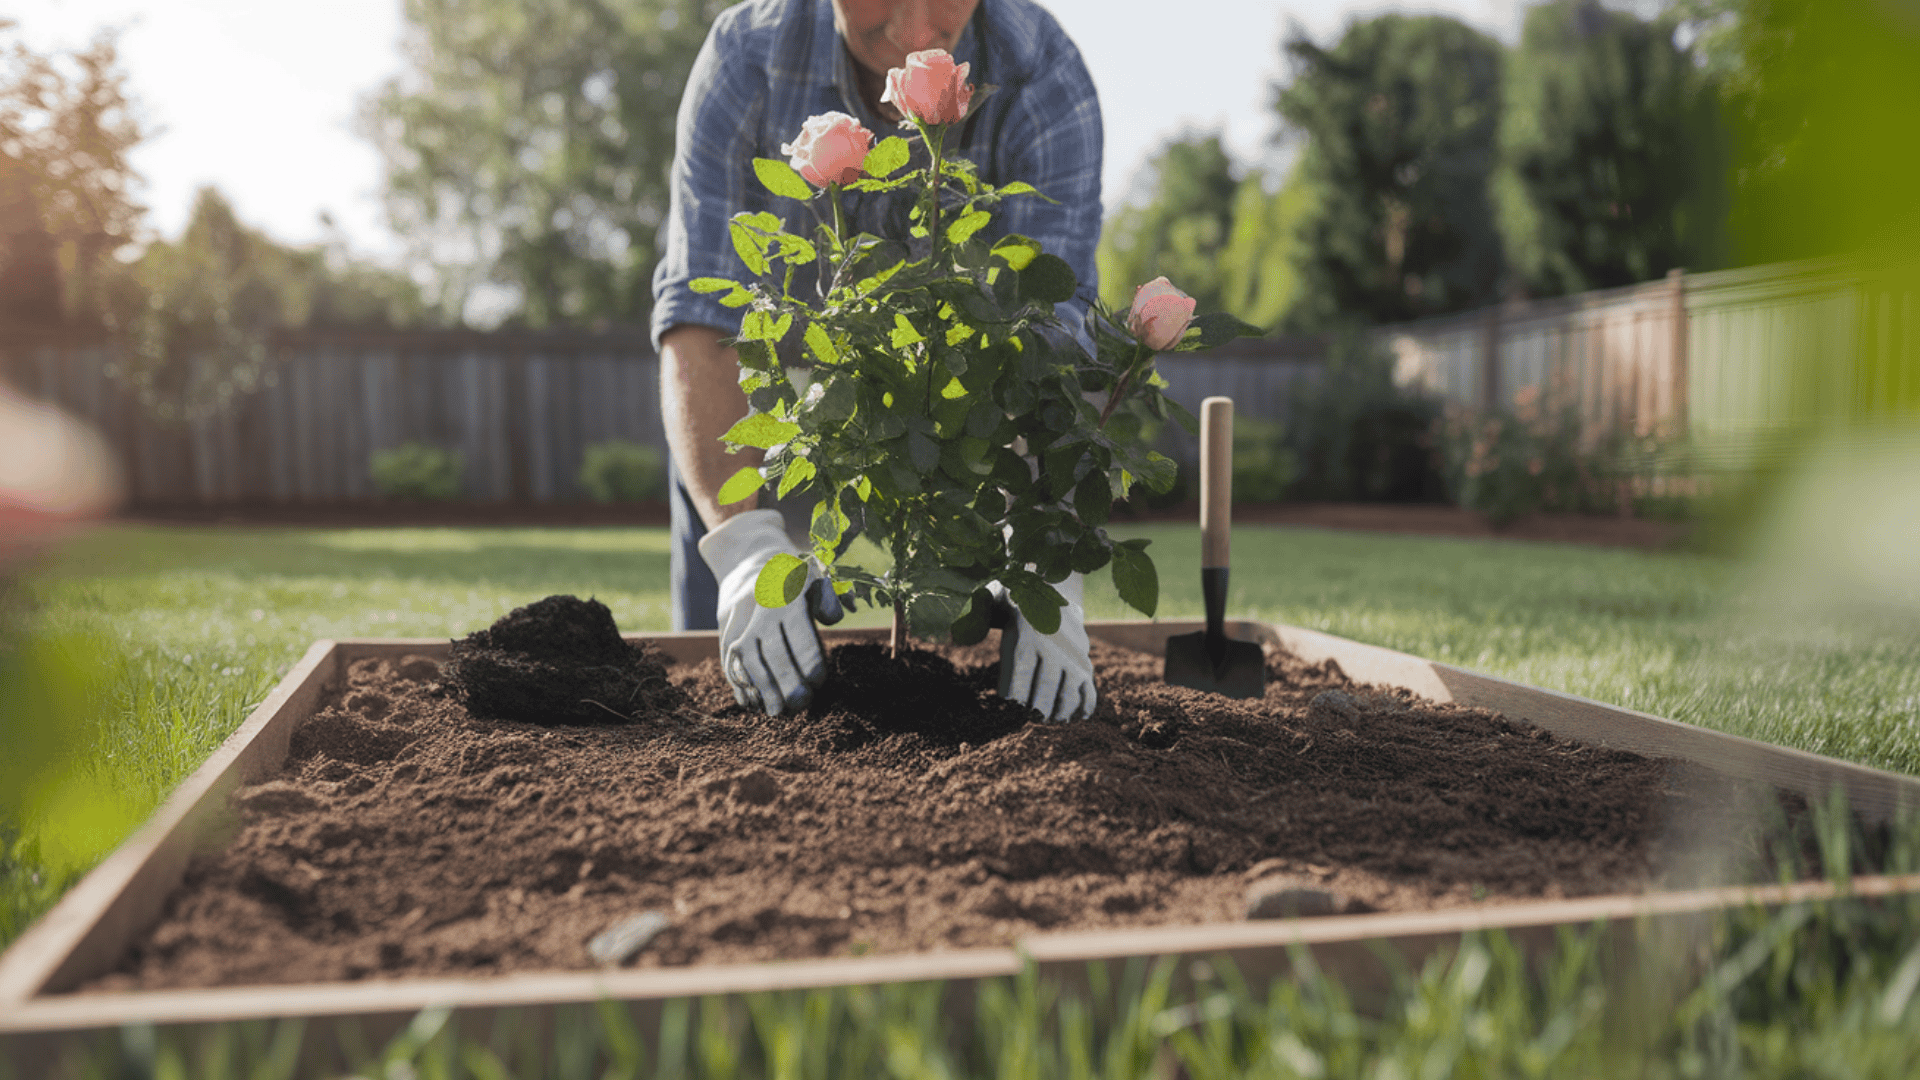
How to Plant a Rose Bush
Knowing how to plant a rose bush the right way sets the foundation for strong root development and healthy growth. Follow these steps, and you’ll give your roses the best possible start.
Step 1: Choose the Right Location
Roses need a good amount of direct sunlight to thrive. Pick a spot that gets at least six hours of sun per day: morning sun is especially beneficial as it helps dry out dew on the leaves, which reduces the risk of fungal disease.
Air circulation matters just as much. Avoid planting roses in tight, crowded spaces where airflow is restricted.
Good air circulation around the plant helps keep moisture levels in check and helps prevent common rose diseases like black spot and powdery mildew. Common leaf diseases spread quickly in damp, poorly ventilated conditions.
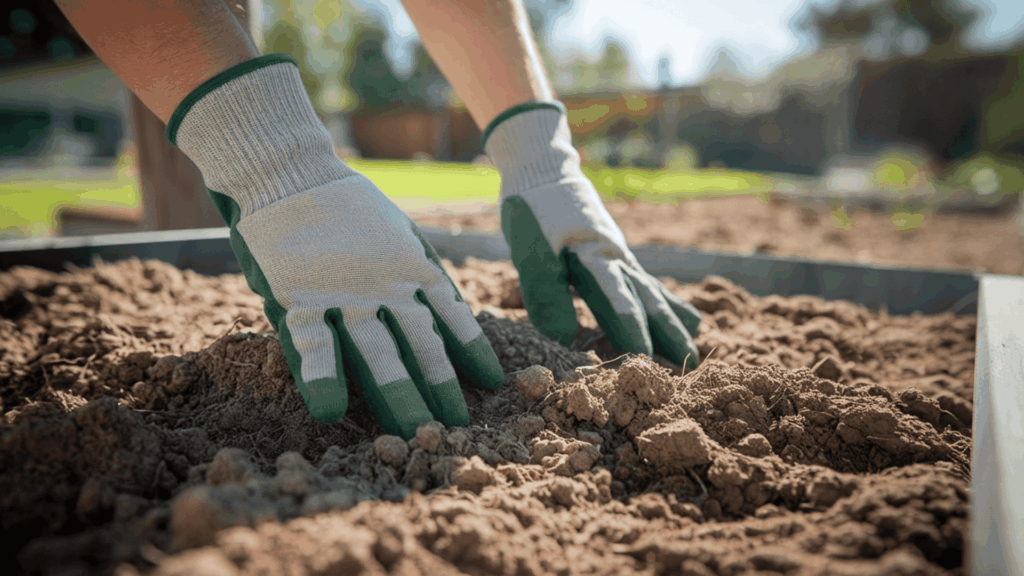
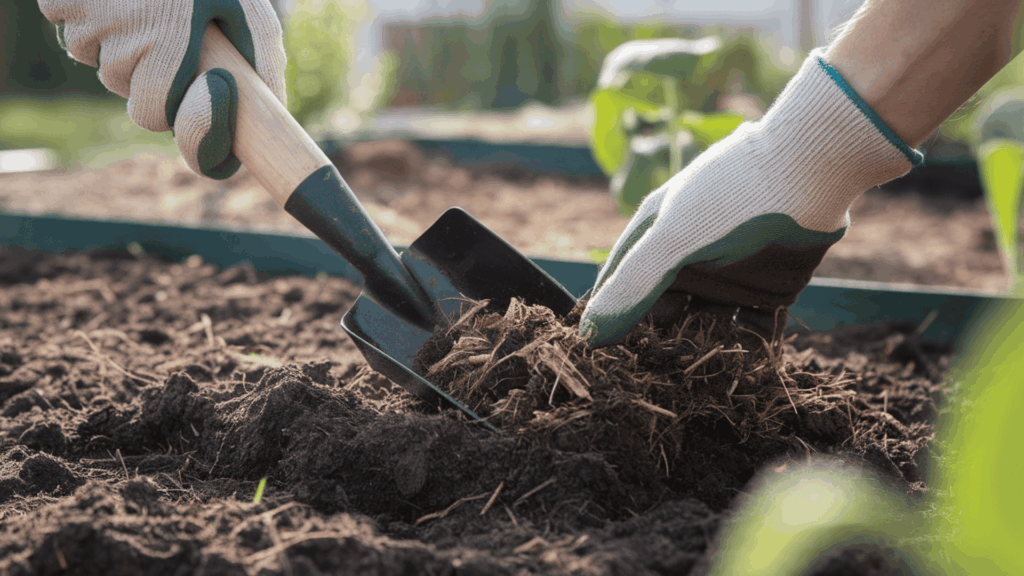
Step 2: Prepare the Soil
Roses prefer well-draining soil. If water sits around the roots for too long, it leads to root rot, which can kill the plant fairly quickly.
Work compost or aged organic matter into the soil to improve drainage and give the the ground a looser, more workable texture.
Beyond drainage, soil fertility plays a big role in how well roses grow. A slightly acidic pH, somewhere between 6.0 and 6.5, is ideal. You can use a basic soil test kit to check your levels and amend accordingly before planting.
Step 3: Dig the Planting Hole
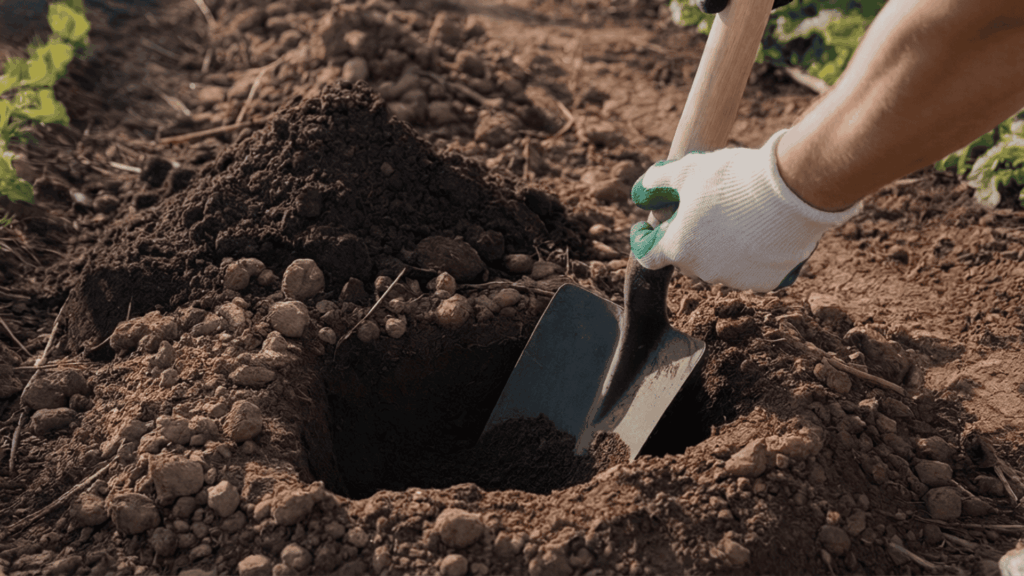
The hole should be wide enough to comfortably fit the root system without cramping or bending the roots.
A good rule of thumb is to dig a hole about 12 to 18 inches wide and about 12 to 15 inches deep. Once the hole is ready, form a small mound of soil at the bottom.
This cone-shaped mound supports the base of the plant and allows the roots to spread outward and downward naturally, giving them a much better start.
Step 4: Prepare the Rose Plant
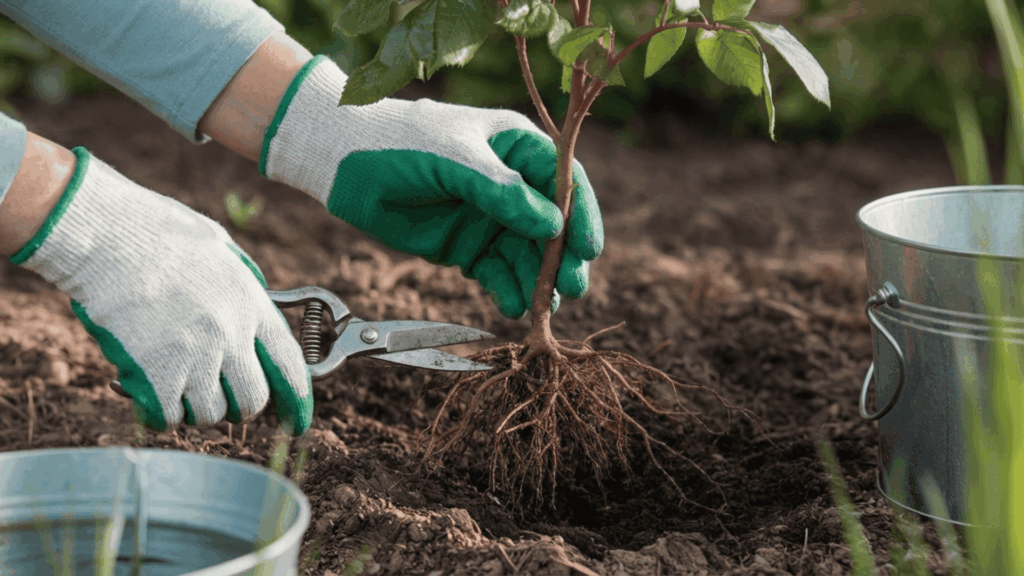
Before placing the rose in the ground, take a close look at the roots and stems. Trim away any damaged, broken, or dead roots with clean pruning shears. Removing these helps the plant focus its energy on healthy new growth.
If you’re working with a bare-root rose, soak the roots in a bucket of water for at least 12 to 24 hours before planting. This rehydrates the plant after storage and gives it a stronger start once it goes into the ground.
Step 5: Position the Rose in the Hole
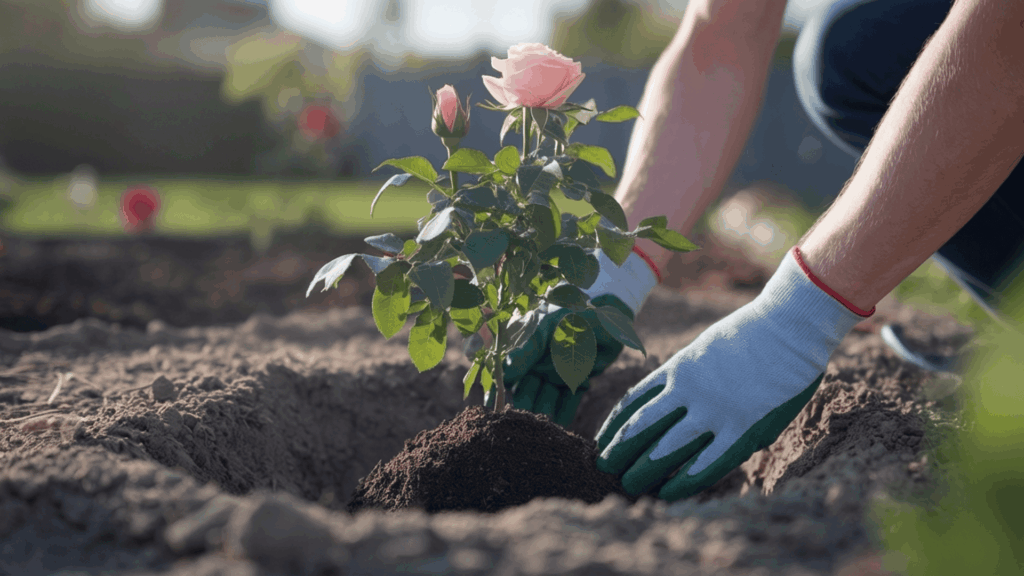
Set the rose plant onto the soil mound inside the hole, and spread the roots outward and downward over the mound. Avoid letting the roots curl up or bunch together: they need room to anchor properly.
Pay close attention to the bud union: the swollen knob where the canes meet the roots. It looks like a bumpy lump near the base of the plant.
In warmer climates, it should sit just above the soil surface. In colder regions, position it about an inch below ground level to protect it from frost damage.
Step 6: Fill the Hole with Soil
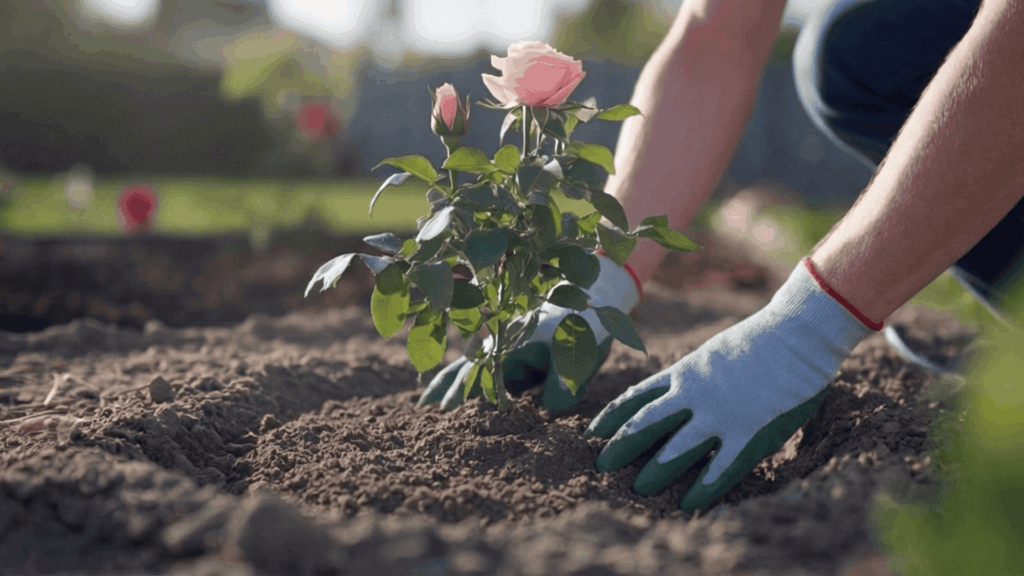
Start filling the hole gradually: add soil in layers rather than dumping it all in at once. Lightly firm each layer down as you go to close any air pockets that form around the plant. Air pockets can dry out the roots and significantly slow establishment.
Once the hole is filled, gently press the soil down around the base of the plant with your hands. The soil should be firm but not packed too tightly.
After the first watering, the soil may sink slightly. Just top it up with a little extra soil to keep the level consistent around the base.
Step 7: Water the Newly Planted Rose
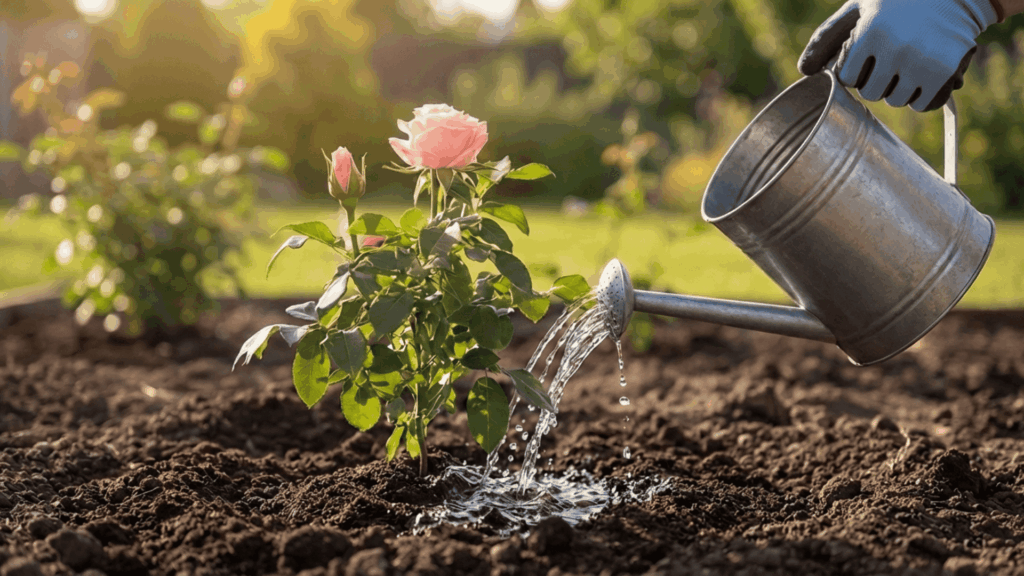
Water deeply right after planting: don’t just wet the surface. A thorough soak helps the soil settle around the roots and starts the process of root establishment.
Aim to water slowly so the moisture reaches deep into the ground. For the first few weeks, keep the soil consistently moist but not waterlogged.
Newly planted roses haven’t yet developed a deep root system, so they depend on regular watering to get established. Once the plant starts putting out new growth, it’s a good sign the roots are taking hold.
Step 8: Apply Mulch Around the Base
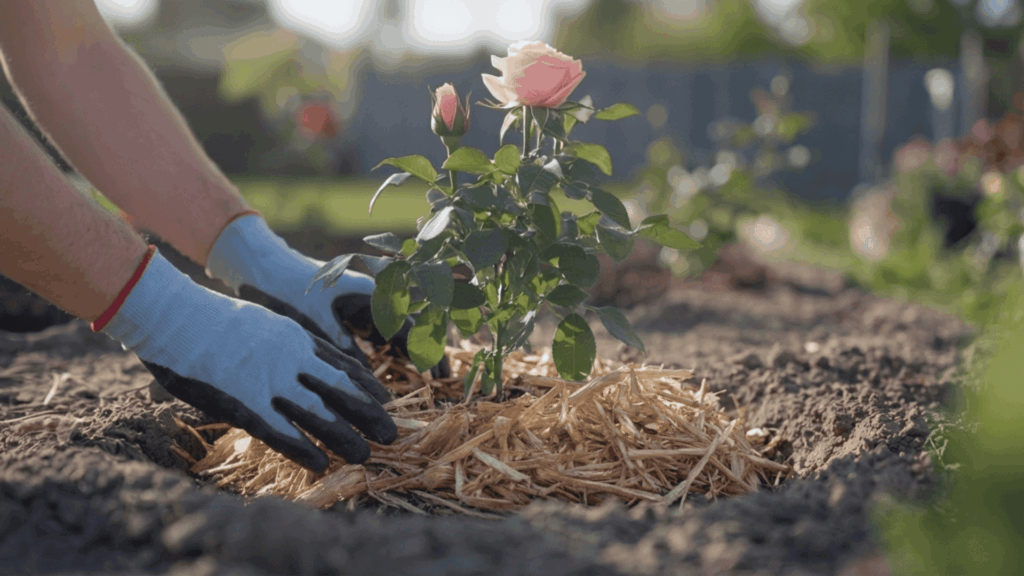
Once the rose is watered in, spread a 2- to 3-inch layer of mulch around the base of the plant. Organic options like wood chips, bark, or straw work well. Keep the mulch a few inches away from the main stem to prevent rot.
Mulch retains soil moisture, keeps soil temperature stable, and suppresses weed growth around your newly planted rose.
A few weeks after planting, once you start seeing new growth, apply a light balanced fertilizer to give the plant an early boost. That combination of mulch and timely feeding sets your rose off the a good start.
When to Plant Roses for Best Results?
Timing plays a major role in how well roses establish themselves after planting.
In most regions, early spring is the ideal planting period, once the final frost has passed and the soil begins to warm slightly. Planting during this window allows the roots to settle and start growing before the hotter summer weather arrives.
In areas with milder winters, early fall can also be a good time to plant roses. Cooler temperatures help reduce stress on the plant while roots develop steadily in the soil.
Avoid planting during extreme heat or when the ground is frozen, since both conditions make it difficult for young roots to establish properly and can slow early growth.
Common Mistakes to Avoid When Planting Roses
Most rose planting problems aren’t caused by bad luck: they come down to a few avoidable mistakes. Here are the ones you should know before you start. Here are the most common ones to watch out for:
- Planting roses in too much shade: Roses need at least six hours of direct sunlight. A shaded spot leads to weak stems and poor blooms.
- Poor soil drainage: Waterlogged soil can quickly damage roots. Always check that your planting area drains well before you start.
- Planting roses too close together: Crowding plants too closely together makes disease spread much faster and harder to control. Give each plant enough room to breathe.
- Digging holes that are too small: A cramped hole forces roots to bend and bunch up, limiting healthy development from the start.
- Not watering immediately after planting: The roots need moisture right away to begin anchoring into the ground. It’s one of those small steps that genuinely matter.
- Skipping soil preparation: Planting into unprepared soil is a missed opportunity. A little prep work upfront leads to noticeably stronger growth.
- Planting during extreme weather: Very hot days or late cold snaps can shock a newly planted rose. Always aim for mild, stable conditions.
Conclusion
Planting roses successfully comes down to a few key things: the right timing, well-prepared soil, and a proper planting technique.
Knowing when to plant roses gives your plants a strong start before conditions turn against them. Following a clear process ensures the roots settle in the way they should.
Planting a rose isn’t complicated once you know what to do, and the results are absolutely worth the effort.
Now get those roses in the ground!

With a Master’s in Landscape Architecture from the University of Virginia, Sophia Stephenson has dedicated the last 20 years to creating and maintaining vibrant outdoor spaces. Her professional journey started in landscape design, where she gained a reputation for innovative and sustainable approaches. Sophia became a part of our editorial team as a freelancer in 2019, offering a fresh perspective on outdoor living. Since 2020, she has been the chief for our outdoor design content, blending aesthetic appeal with environmental stewardship. In her leisure time, Sophia is a keen photographer, capturing the beauty of natural landscapes, a hobby that complements her professional expertise.