You are standing in the garden center, staring at a wall of seed packets and onion sets, with absolutely no idea where to begin.
Do you buy the sets or the seeds? Does the time of year matter? If that sounds familiar, you are in exactly the right place.
Knowing how to plant onions is one of those things that sounds more complicated than it actually is. Once you understand the basics, the whole process clicks into place fast.
This blog walks you through everything a beginner needs, from choosing the right type of onion for your space and climate to planting, caring for your crop through the season, and harvesting and storing them properly.
Understanding the Onion Plant
An onion plant is a cool-season vegetable that grows as a bulb underground, fed by hollow green leaves above the soil.
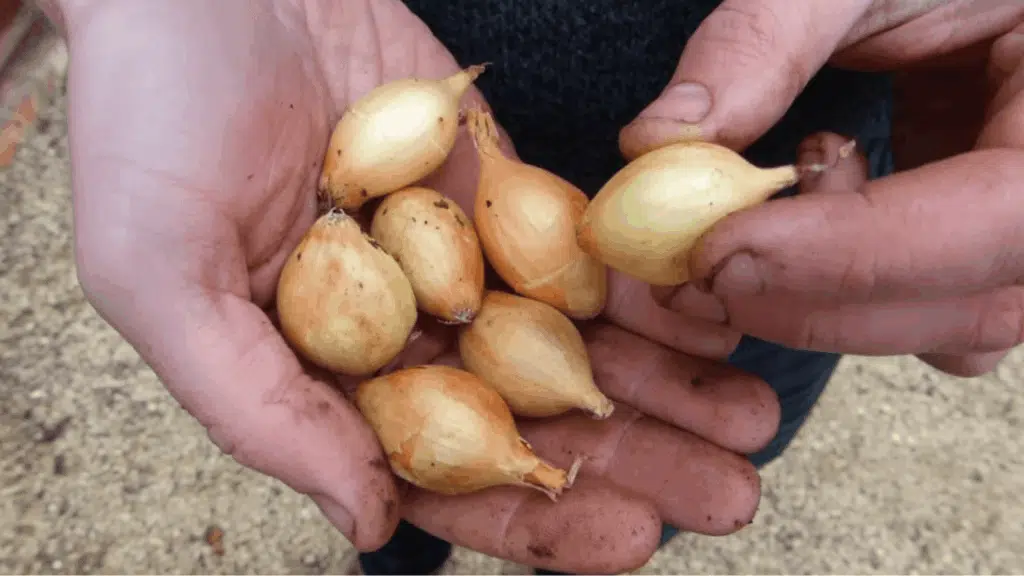
They grow well across most of the US, require little space, and suit both backyard beds and container gardens. For most beginners, sets are the simplest starting point.
They are widely available at Home Depot, Lowe’s, and local nurseries, easy to plant, and reach harvest faster than seeds or transplants.
Different Onion Planting Methods
Context | Sets | Seeds | Transplants |
What it is | Small dormant bulbs | Grown from scratch | Seedlings started indoors |
Best for | Beginners | Experienced growers | Moderate experience |
Time to harvest | Fastest | Longest | Moderate |
Cost | Low | Lowest | Moderate |
Risk of failure | Low | Higher | Low to moderate |
Flavor | Mild | Most intense | Balanced |
One more thing worth knowing before you buy: onions form bulbs in response to the length of daylight. Short-day onions need around 10 to 12 hours of daylight to bulb.
Long-day onions need 14 to 16 hours of daylight. Day-neutral varieties bloom regardless of daylight hours, making them the most flexible option if you are unsure which suits your region.
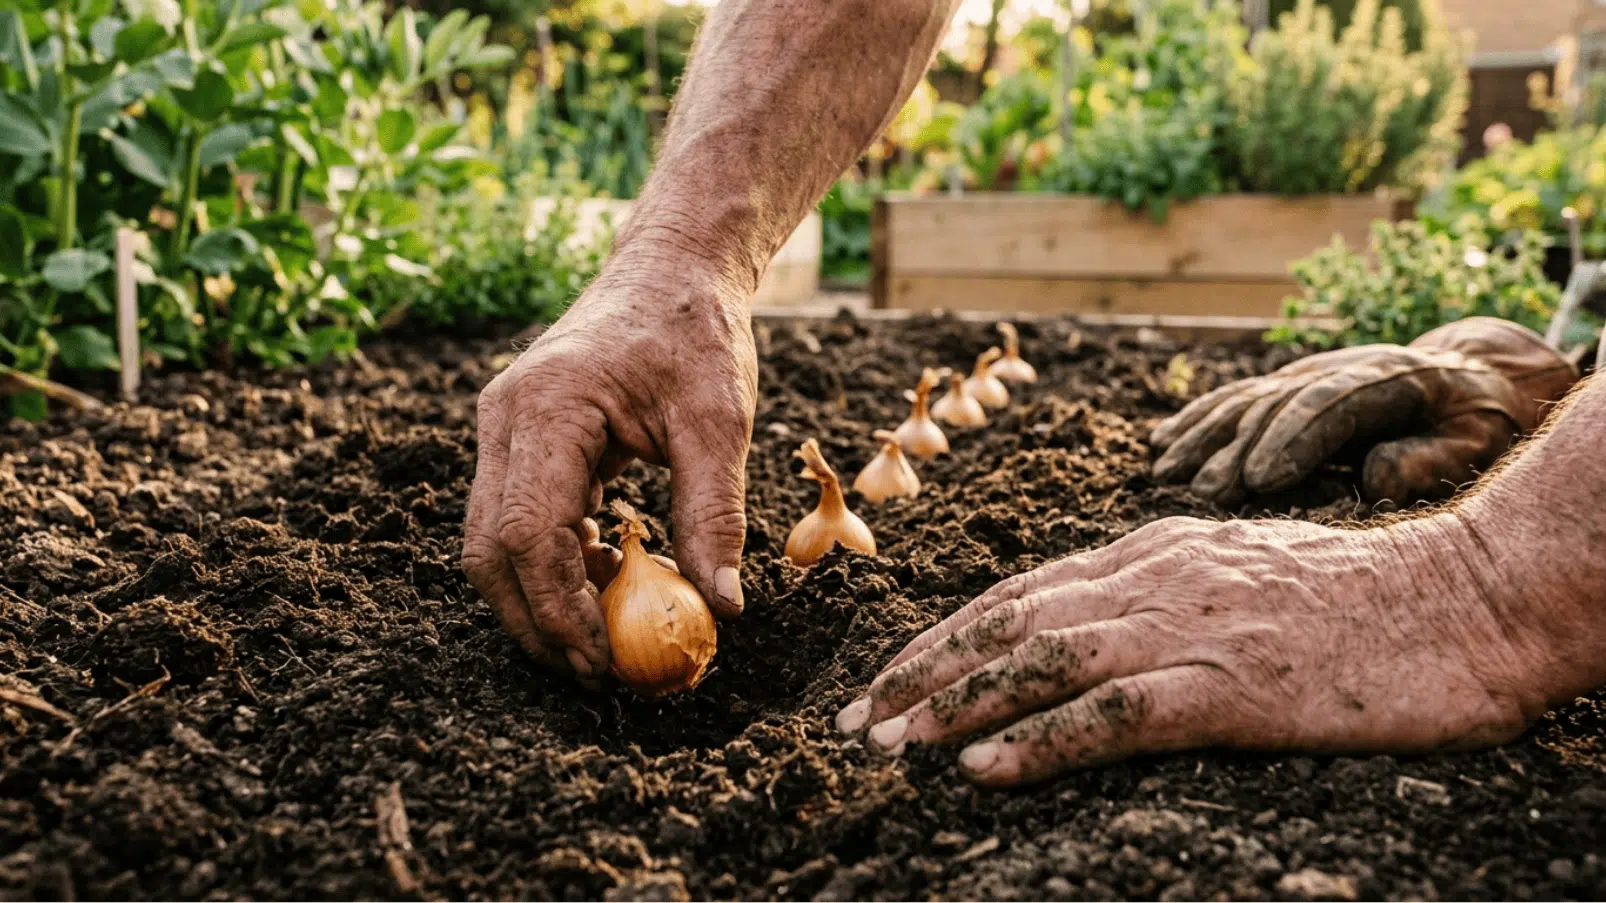
How to Plant Onions: Step-by-Step
Once you have your sets, seeds, or transplants ready, planting onions is more straightforward than most beginners expect.
Step 1: Prepare Your Soil
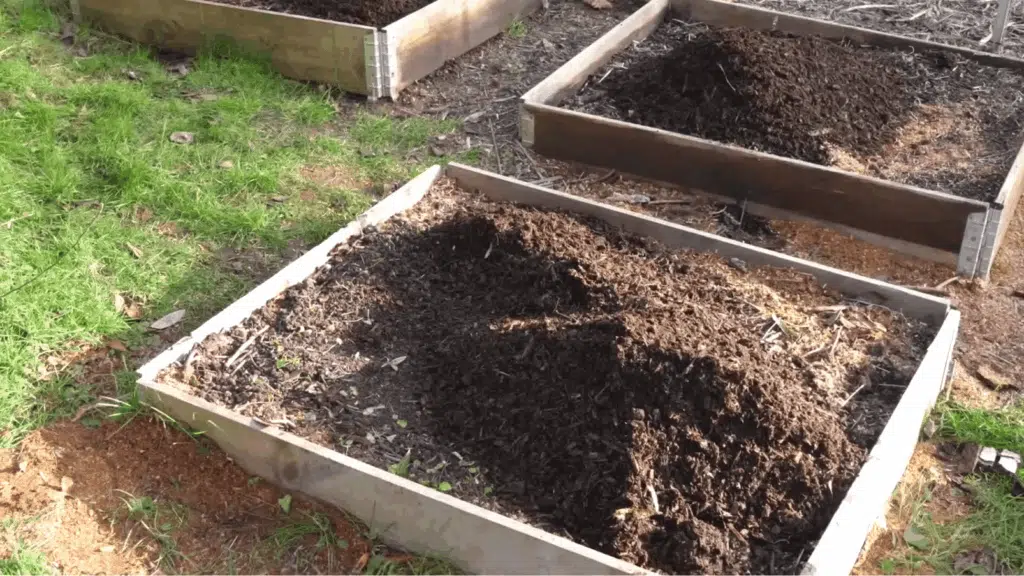
Add compost or well-rotted manure to the soil several weeks before planting, ideally the winter before. At planting time, add a general-purpose organic fertilizer for an extra boost.
If you have heavy clay soil, consider a raised bed to improve drainage and prevent rotting.
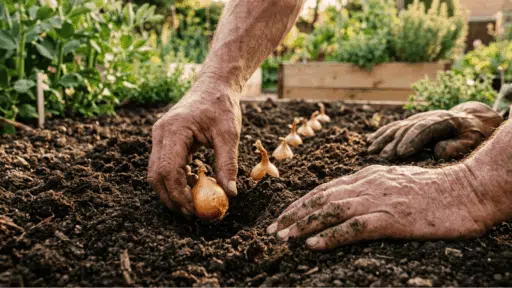
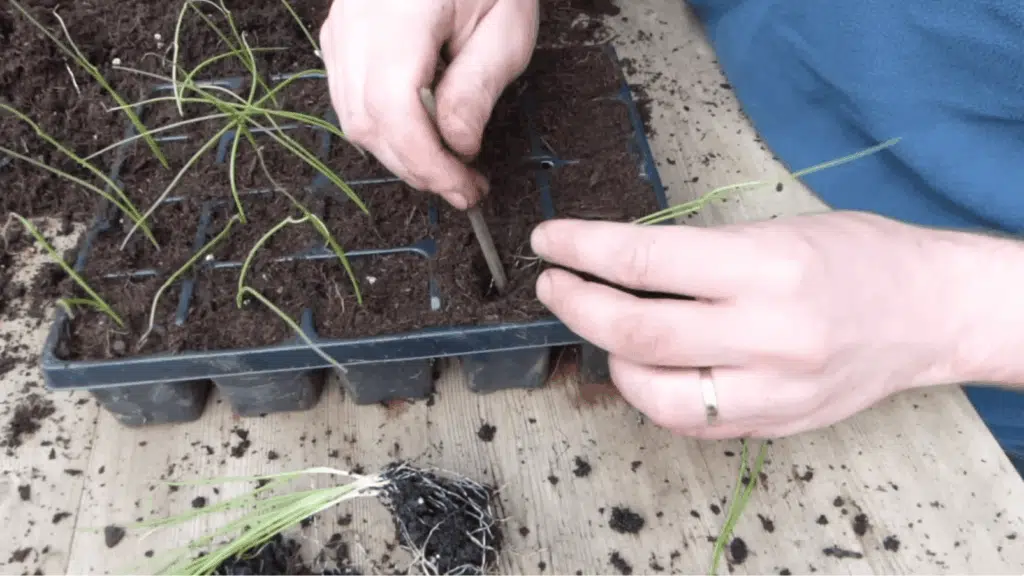
Step 2: Choose Your Starting Method and Timing
Onions can be started from sets, young plant starts, or seedlings.
Autumn is the ideal time for overwintering and short-day varieties, as autumn-planted onions mature several weeks earlier than spring-planted ones.
Step 3: Space Your Plants Correctly
Space rows about twelve inches apart to allow room for hoeing between plants.
Within each row, space onions four inches apart for medium-sized bulbs, or more for fewer but larger bulbs, or eight inches or more apart for fewer but larger bulbs.
Step 4: Stay on Top of Weeds
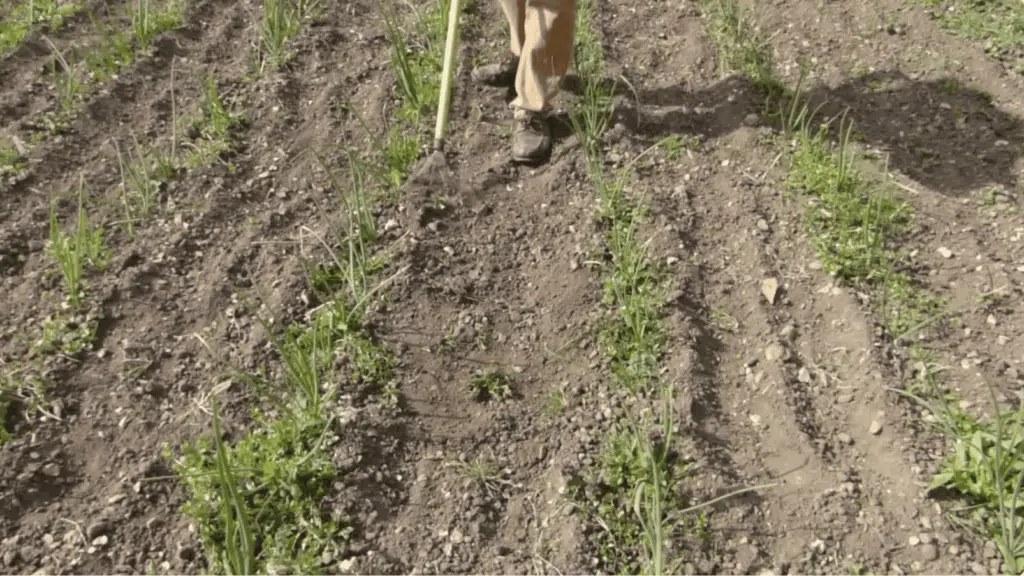
Onions have thin leaves that do not shade the soil, making weeds a constant challenge. Hoe between rows early in the season while plants are young, then hand weed as plants grow larger.
Consistent weeding also improves soil conditions for the following crop.
Step 5: Prevent and Manage Bolting
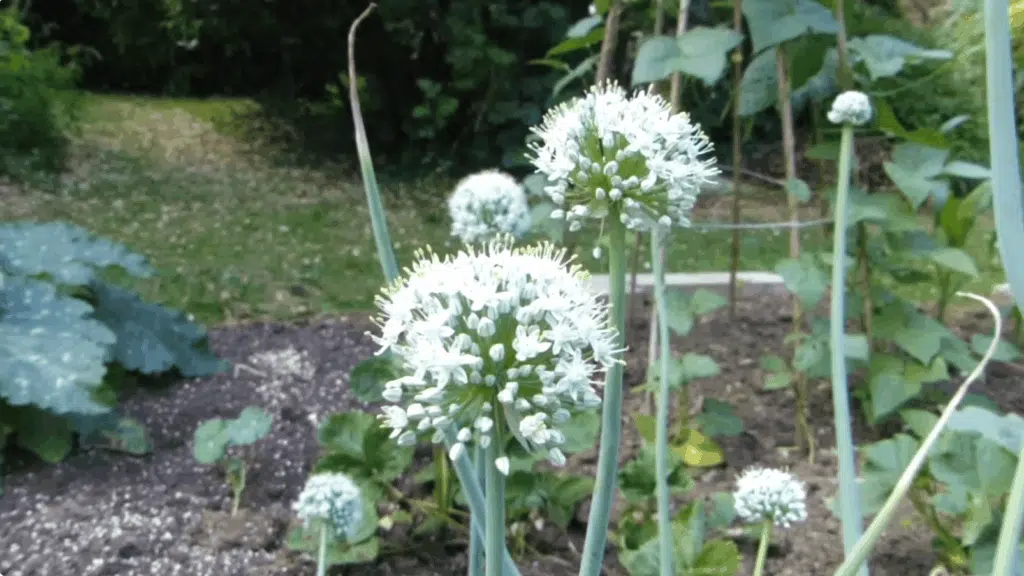
Cold snaps trigger bolting after planting or hot, dry summers. Avoid planting sets too early in spring when hard frosts are still likely.
Water consistently during hot weather to keep plants cool and support bulb development. If bolting occurs despite your efforts, cut off the flower stalk and use the onions as soon as possible.
Want to see the full process in action? You can watch the complete video below.
How to Care for Your Onion Plant Through the Season
Onions are low-maintenance once established, but a little attention at the right moments makes a significant difference in your harvest.
| Stage | Timeframe | Key Tasks | What To Do |
|---|---|---|---|
| Early Season | Weeks 1–4 | Watering, Germination, Thinning | Keep soil evenly moist (1 inch/week), expect shoots in 7–14 days, thin seedlings to 4 inches apart |
| Mid-Season | Weeks 4–10 | Fertilizing, Weeding, Pest Control | Apply nitrogen fertilizer every 3–4 weeks, hand-pull weeds, use neem oil and row covers for pests |
| Late Season | Weeks 10–Harvest | Stop Feeding, Reduce Watering, Monitor Growth | Stop fertilizing, reduce watering 2 weeks before harvest, harvest when tops yellow and fall over |
How to Harvest and Store Your Onions
Getting the timing right on harvest and following through with proper storage is what turns a good growing season into a supply of homegrown onions that lasts for months.
Harvesting
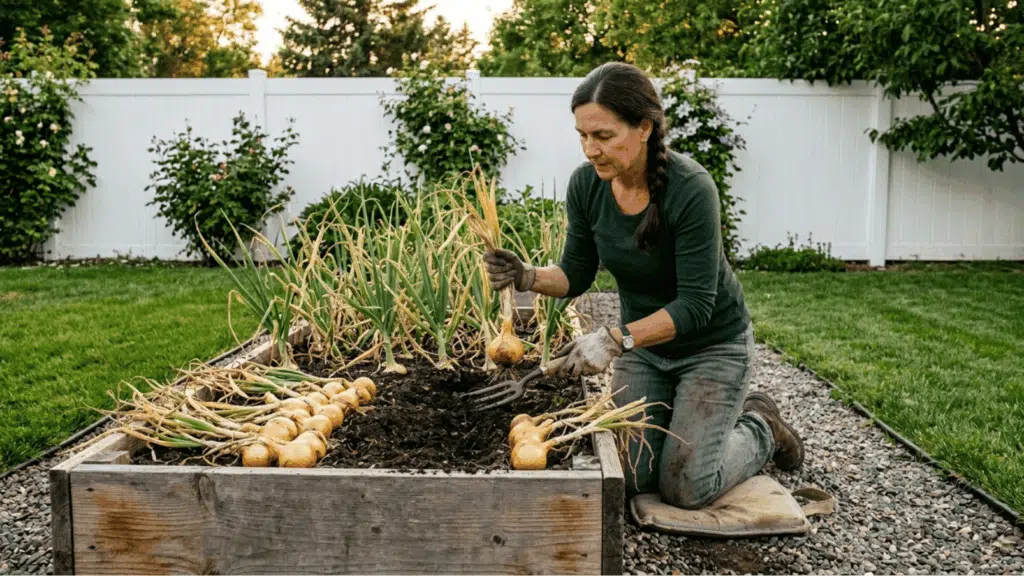
The clearest signal that your onions are ready to harvest is when the green tops yellow and fall over naturally, flopping to one side.
This typically happens around 100 to 120 days after planting for sets and transplants, and up to 150 days for seed-grown onions. Once at least half the tops in your bed have fallen, choose a dry day and begin pulling.
- Use a garden fork or hand trowel a few inches away from the base to loosen the soil without piercing the bulb.
- Grip the base of the tops firmly and lift the bulb straight out of the loosened soil rather than yanking it sideways.
- Place pulled bulbs in a single layer on top of the soil or on a dry, flat surface, with the tops still attached. This is the start of the curing process, covered below.
Storing
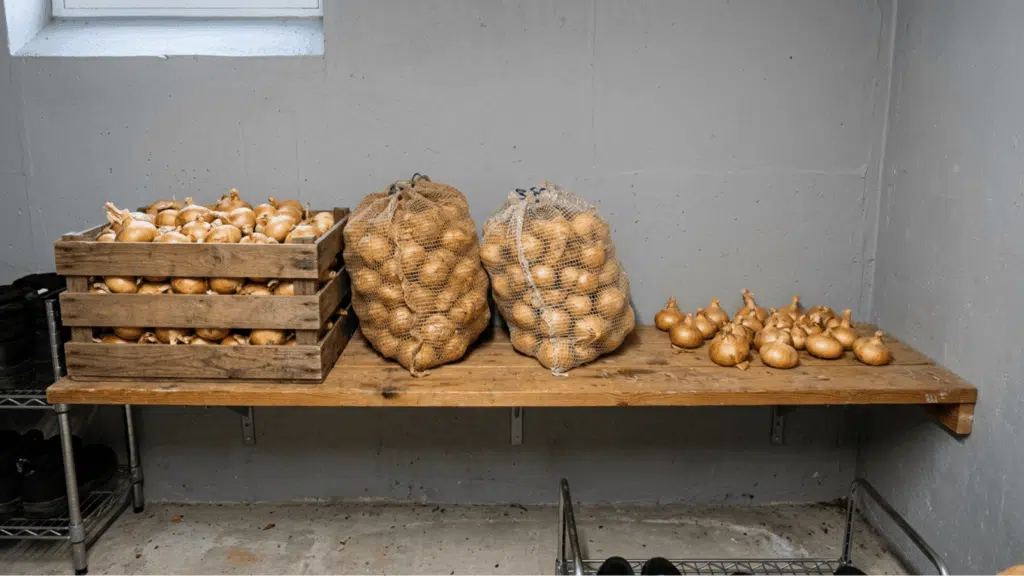
Proper storage starts with curing, and skipping it is the most common reason homegrown onions spoil too quickly. Spread your harvested onions in a single layer in a warm, dry, well-ventilated space out of direct sunlight, such as a covered porch, garage, or shed.
Leave them for 2-4 weeks until the outer skin feels completely papery and the neck has tightened and closed. Once cured, trim the tops to about one inch above the bulb and brush off any loose soil.
- Store in a cool, dark spot with good airflow between 35 and 50 degrees Fahrenheit.
- Use mesh bags or open baskets, not sealed plastic.
- Keep away from potatoes, as they release moisture, which can accelerate spoilage.
- Check every week or two and remove any soft or moldy bulbs immediately.
Note: A well-cured, properly stored homegrown onion can last three to six months.
Growing Onions in Different Spaces
No matter what your outdoor setup looks like, there is a way to grow onions that works for you. Here is what to expect from each option.
In-Ground is best for large harvests but offers less soil control. Native garden soil is often too compacted and needs preparation before planting; see the steps below.
Raised bed gives you full soil control from the start and better drainage than most in-ground setups—one of the most reliable options for beginners.
A container is ideal for limited spaces, such as balconies or patios. Use a pot at least eight inches deep with drainage holes, and check moisture more frequently since containers dry out faster.
Common Growing Mistakes and How to Avoid Them
Every beginner makes a few missteps along the way. These are the ones that are easy to miss.
- Ignoring bolting: Snap off any flower stalks immediately to keep energy directed toward the bulb.
- Not hardening off transplants: Gradually expose indoor transplants to outdoor conditions over seven to ten days before planting.
- Planting near other alliums: Keep onions away from garlic, leeks, and chives, and rotate their position each season.
- Poor drainage: Waterlogged soil causes bulb rot. Choose the right setup before planting.
- Planting too deep: Onion bulbs need to sit close to the surface. Planting them too deeply can lead to small or misshapen bulbs.
- Overwatering: Onions need consistent moisture, but too much water can slow growth and cause rot. Let the soil dry slightly between watering.
Conclusion
Onions are one of the most beginner-friendly crops you can grow, and the process is simpler than most people expect. Learning how to plant onions doesn’t require advanced skills. It just takes a bit of planning and the right setup.
The two things that matter most are choosing the right variety for your region and preparing your soil properly before planting. Good soil makes a big difference in how well your onions grow and develop.
Get those two things right, and everything else becomes much easier to manage. With a little care and patience, your first harvest is closer than you think.

With a Master’s in Landscape Architecture from the University of Virginia, Sophia Stephenson has dedicated the last 20 years to creating and maintaining vibrant outdoor spaces. Her professional journey started in landscape design, where she gained a reputation for innovative and sustainable approaches. Sophia became a part of our editorial team as a freelancer in 2019, offering a fresh perspective on outdoor living. Since 2020, she has been the chief for our outdoor design content, blending aesthetic appeal with environmental stewardship. In her leisure time, Sophia is a keen photographer, capturing the beauty of natural landscapes, a hobby that complements her professional expertise.