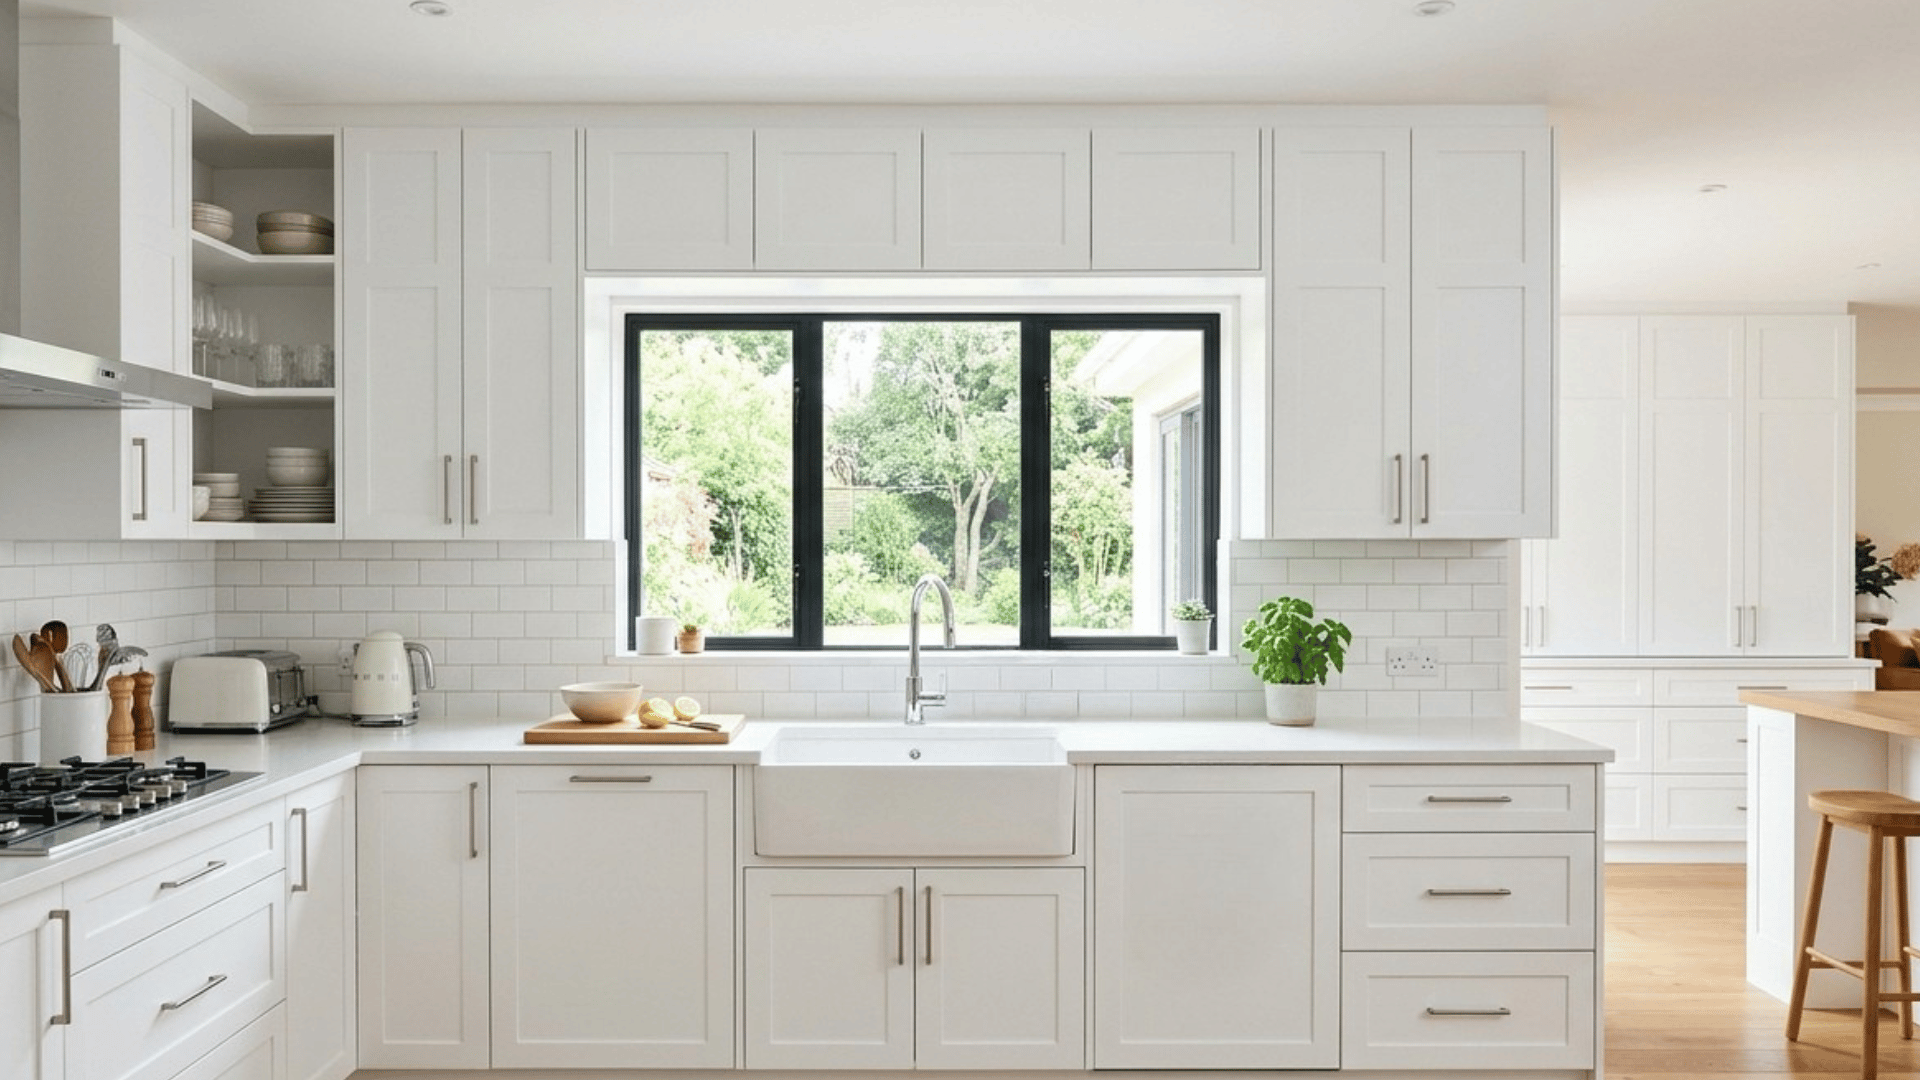
Painted cabinets can make a kitchen or bathroom look neat and bright, but they also tend to show dirt, grease, and fingerprints more easily.
Over time, this buildup can dull the finish if not cleaned the right way. The key is to use gentle methods that remove grime without harming the paint.
Luckily, cleaning painted cabinets doesn’t require anything complicated. This guide covers simple, safe ways to clean painted cabinets and avoid common mistakes.
Why Painted Cabinets Need Gentle Cleaning
Painted cabinets need gentle care to keep their finish smooth and long-lasting.
- Use Mild Cleaners: Harsh chemicals can damage paint and cause fading or peeling
- Avoid Rough Scrubbing: Soft cloths prevent scratches and dull patches
- Limit Water Use: Excess moisture can weaken paint and leave marks
- Clean Regularly: Light, frequent cleaning keeps buildup from damaging the surface
- Handle with Care: Gentle methods help maintain a fresh and well-kept look
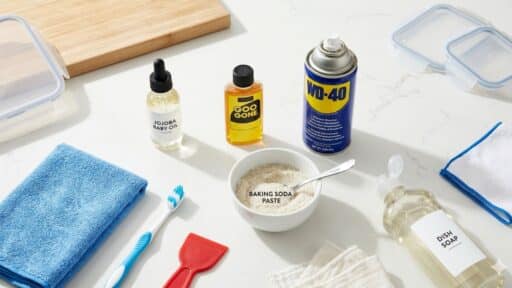
Materials Needed
Having the right tools on hand makes cleaning easier and helps protect the painted surface from damage.
| Material/Tool | Purpose |
|---|---|
| Microfiber Cloths (3) | Used for cleaning, rinsing, and drying (three-towel method) |
| Warm Water | Base for cleaning and rinsing |
| Dish Soap (e.g., Dawn) | Gentle cleaner for painted or laminated cabinets |
| Bucket | To mix and hold cleaning solution |
| Swiffer Duster / Duster | Removes dust before wet cleaning |
| Vacuum with Soft Brush | Cleans dust without scratching surfaces |
| Soft Bristle Brush | Helps clean stubborn spots safely |
| Non-Scratch Sponge | Used for light scrubbing on tough grime |
| Toothbrush | Cleans corners, grooves, and detailed areas |
| Melamine Sponge (Magic Eraser) | Removes marks and stains (use gently) |
| Dry Microfiber Towel | Dries and buffs cabinets to prevent streaks |
Step-by-Step Guide to Cleaning Painted Cabinets
Cleaning painted cabinets is simple when you follow the right steps and use a gentle approach to protect the finish.
Step 1: Dust or Vacuum First
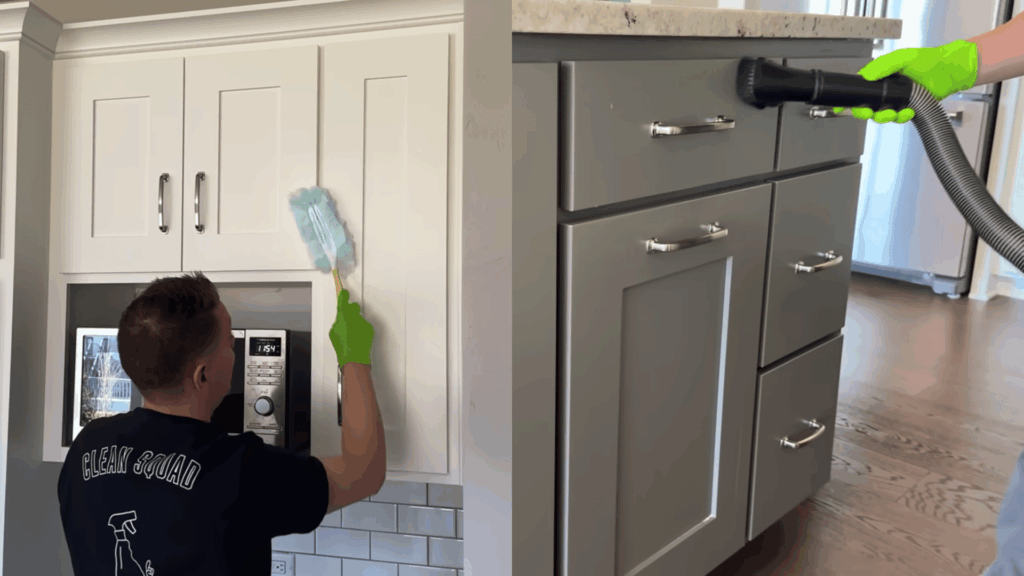
Start by removing loose dust and debris before using any liquid. This step helps prevent dirt from turning into a muddy layer during cleaning.
Use a microfiber cloth, a duster, or a vacuum with a soft brush attachment. Always work from the top cabinets down to the lower ones so dust doesn’t fall onto already cleaned areas.
Pay close attention to corners, edges, and ledges where buildup tends to collect. Taking a few extra minutes here makes the rest of the cleaning process smoother and more effective.
Step 2: Mix a Gentle Cleaning Solution
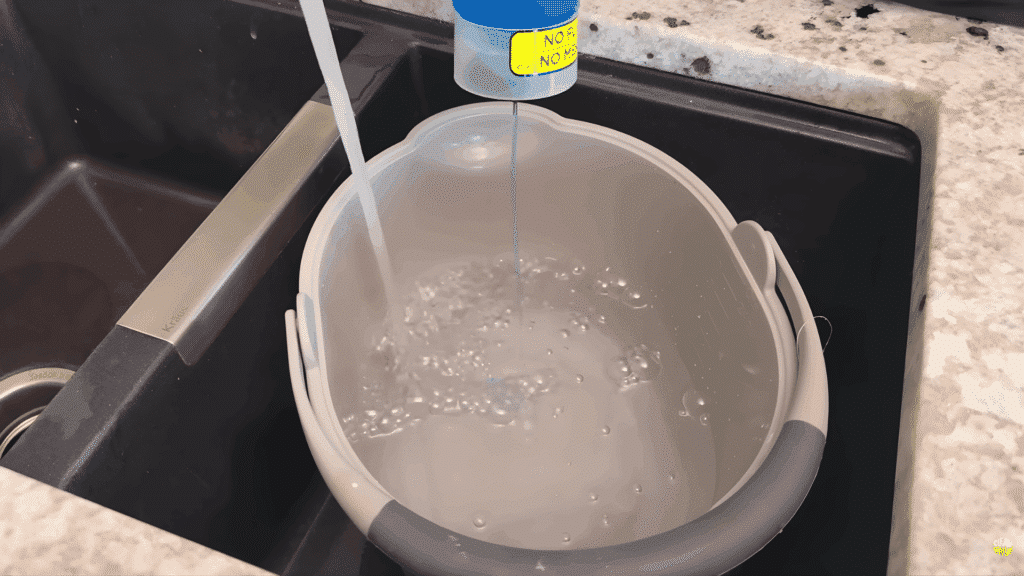
Fill a bucket with warm water and add just a few drops of mild dish soap. Keep the mixture light, since too much soap can leave behind a film that attracts more dirt later.
Stir it gently so it blends well without creating too many bubbles. This simple solution is safe for painted cabinets and works well for everyday cleaning.
Avoid strong cleaners or heavy chemicals, as they can damage the paint over time. A mild mix keeps things clean without affecting the finish.
Step 3: Use the Three-Towel Method
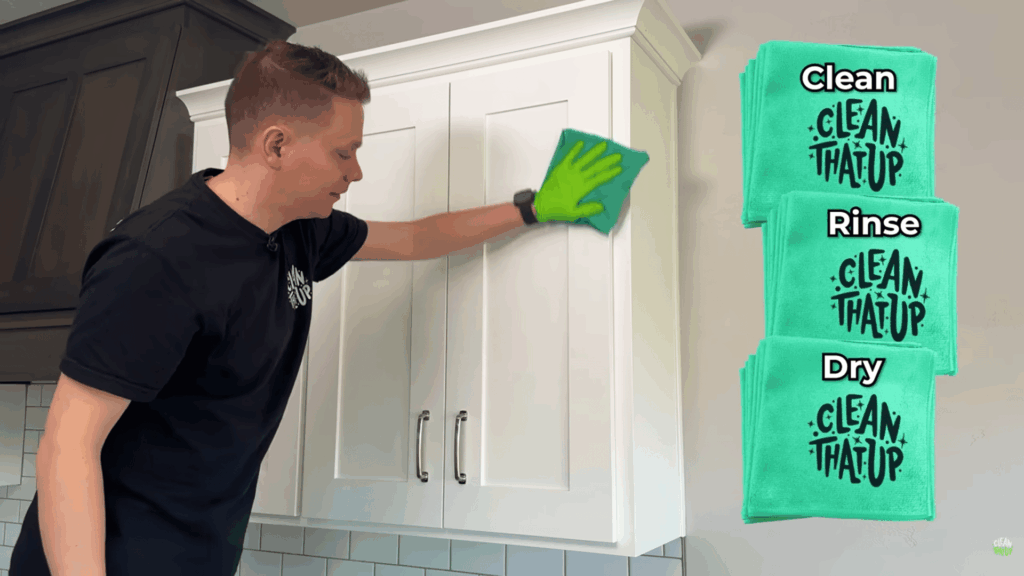
Using three separate cloths helps you clean cabinets more effectively and avoid streaks. The first cloth is for cleaning with the soapy solution, the second is for rinsing with plain water, and the third is a dry microfiber towel for drying and buffing.
This method keeps dirt from spreading and ensures no residue is left behind. It also helps protect the painted surface by controlling moisture. Keeping each towel for a specific task makes the process more organized and gives better results overall.
Step 4: Wipe Cabinets from Top to Bottom
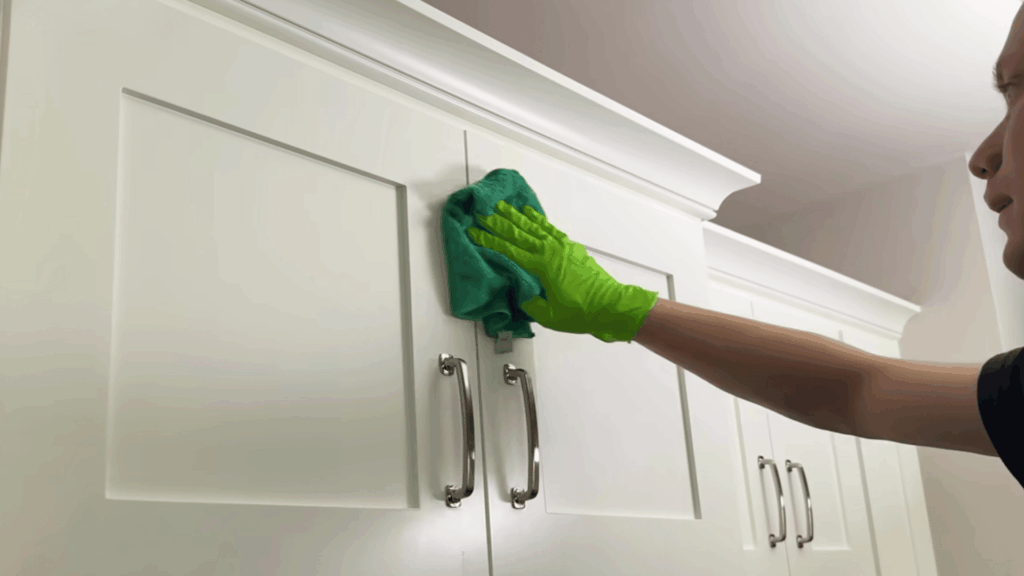
Dip your cleaning cloth into the solution and wring it out well so it’s damp, not wet. Start wiping from the top cabinets and move downward in small sections.
This prevents drips from running over areas you’ve already cleaned. Use gentle pressure and avoid scrubbing too hard, as painted surfaces can get damaged easily.
Focus more on areas that are touched often, like handles and edges. Working in sections helps you stay consistent and ensures no spot is missed during cleaning.
Step 5: Tackle Greasy Areas Carefully
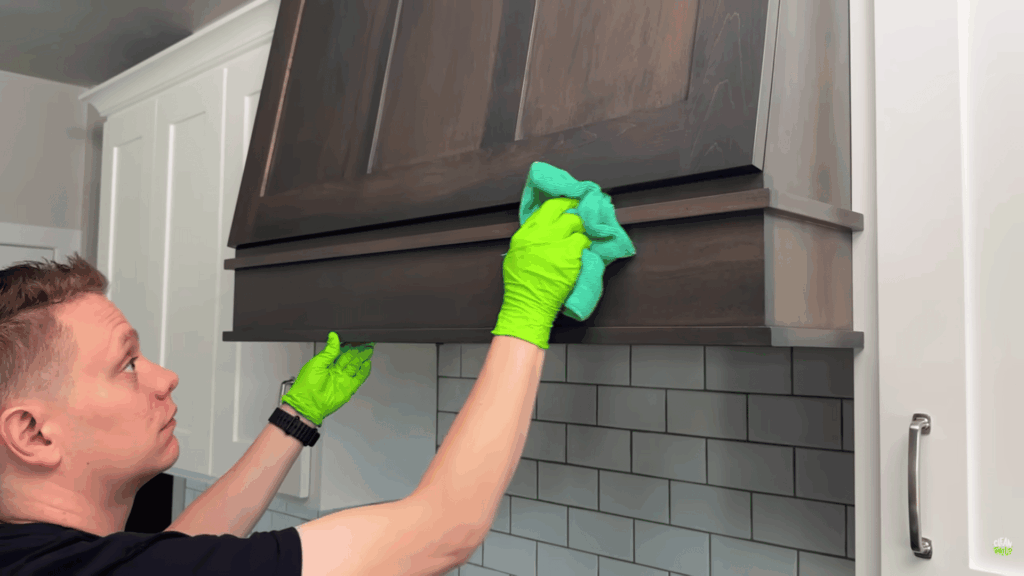
Cabinets near the stove or cooking area often collect grease and sticky residue. These spots may need a little extra attention. Go over them once with your cleaning cloth, and if needed, repeat the process.
For tougher buildup, use a soft brush or a non-scratch sponge to gently loosen the grime. Avoid pressing too hard, as it can affect the paint. Taking your time with these areas helps remove grease properly without leaving marks or damaging the cabinet surface.
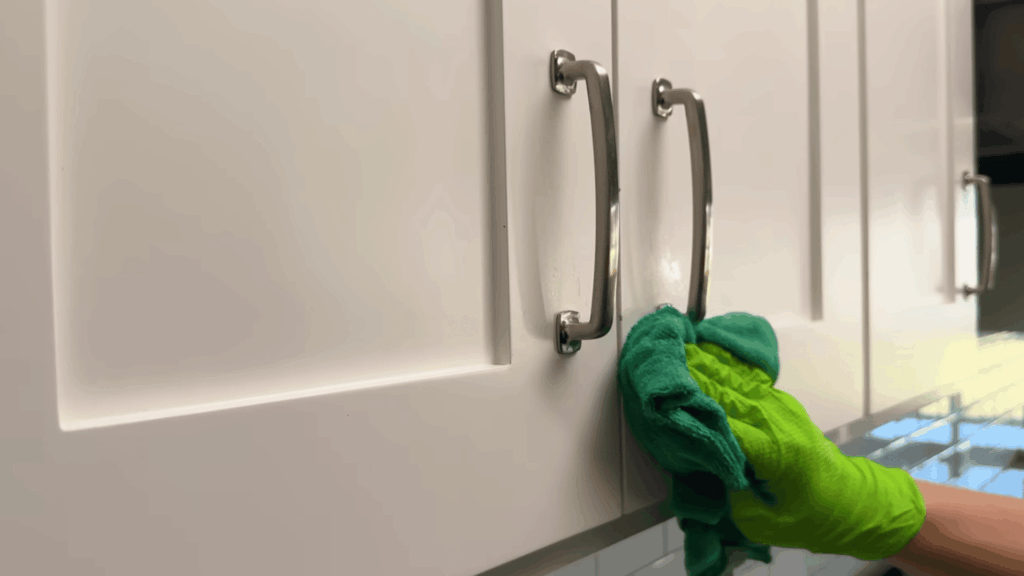
Step 6: Clean Details and High-Touch Spots
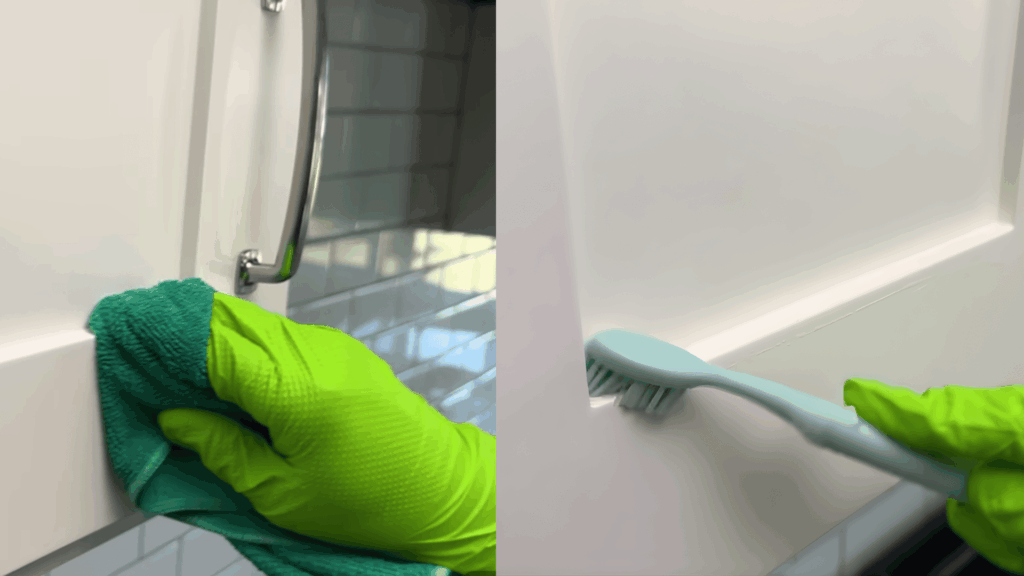
Handles, knobs, edges, and corners tend to collect the most dirt because they’re used daily. Use your damp cloth to clean around these areas carefully. For tight spots or grooves, a soft toothbrush works well and helps reach areas a cloth might miss.
Also, check ledges and trim where dust and grease can settle over time. Paying attention to these small details makes a big difference in how clean your cabinets look. It also helps prevent buildup from getting worse over time.
Step 7: Rinse and Dry Immediately
After cleaning, wipe all surfaces with a separate cloth dipped in clean water to remove any soap residue. Make sure this cloth is only slightly damp.
Once that’s done, use a dry microfiber towel to wipe every surface right away. Drying is an important step because leftover moisture can leave streaks or damage the paint over time.
It also gives the cabinets a clean, polished look. Taking a few extra minutes to dry everything properly helps maintain the finish and keeps cabinets looking fresh.
For a better understanding of the process, watch this video for clear visual guidance.
How Often To Clean Painted Cabinets
A regular cleaning routine helps painted cabinets stay in better shape and prevents buildup over time. Staying consistent with these habits helps keep cabinets looking clean and well-maintained.
| Cleaning Task | Frequency | Notes |
|---|---|---|
| Light Wipe Down | Weekly | Removes dust, grease, and surface dirt |
| Spot Cleaning | As needed | Clean spills and stains immediately to prevent buildup |
| Deep Cleaning | Monthly | Use mild cleaner to clean all cabinet surfaces |
| Hardware Cleaning | Monthly | Wipe handles and knobs to remove oils and grime |
| Inside Cabinets | Every 2–3 months | Clear out crumbs and check for spills |
Final Thoughts
Keeping your space clean doesn’t have to feel like a big task, especially when it comes to painted cabinets.
With the right routine and gentle methods, it’s easy to remove dirt, grease, and buildup without harming the finish.
The key is consistency and using simple tools that get the job done safely. Once you understand how to clean painted cabinets and how to clean wood cabinets and make them shine the right way, maintenance becomes quicker and less stressful.
A little regular care can go a long way in keeping cabinets looking fresh, smooth, and well-kept for years.

Tommy Hardy, an alumnus of the Georgia Institute of Technology with a degree in Mechanical Engineering, has been a go-to figure in residential upkeep and innovation for over 18 years. His career commenced in a leading home appliance manufacturing company, where he mastered the intricacies of household systems. Joining our platform in 2020, Tommy quickly became a reader favorite for his practical and easy-to-follow guides. He took the helm of our DIY section in 2019, consistently delivering content that empowers homeowners. Beyond his professional pursuits, Tommy is a passionate gardener and enjoys woodworking, skills enhancing his hands-on approach to home care.