
Chipped paint on walls can make even a clean room feel unfinished. Those small flakes and rough patches catch your eye every time you walk by.
It can feel frustrating, especially when the rest of the space looks just right. The silver lining is that fixing it isn’t as hard as it seems.
With a few basic tools and a little time, you can make your walls look smooth again.
This guide on how to repair chipped paint walks you through an easy, practical approach so you can handle the issue without stress and get your walls back to looking neat, fresh, and well-maintained, without calling a professional.
What Causes Chipped Paint on Walls?
In many homes, walls take daily wear from furniture bumps, door handles, or small impacts that slowly weaken the paint layer.
Moisture is another common issue, especially in kitchens, bathrooms, and homes with damp walls, where paint tends to struggle to stick. Sometimes the problem starts during painting itself.
Skipping proper cleaning or priming can lead to poor adhesion. Using low-quality paint or applying thick coats can also cause early peeling.
Changes in temperature and humidity can cause paint to expand and contract, leading to cracks. These factors make it easier to understand how to repair chipped paint and prevent damage.
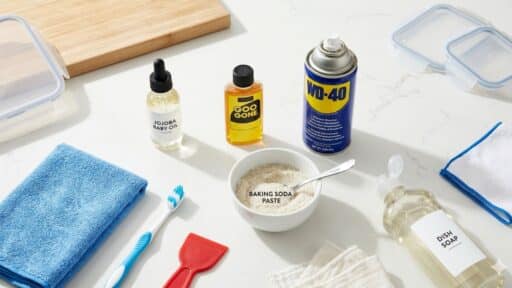
Materials and Tools Required
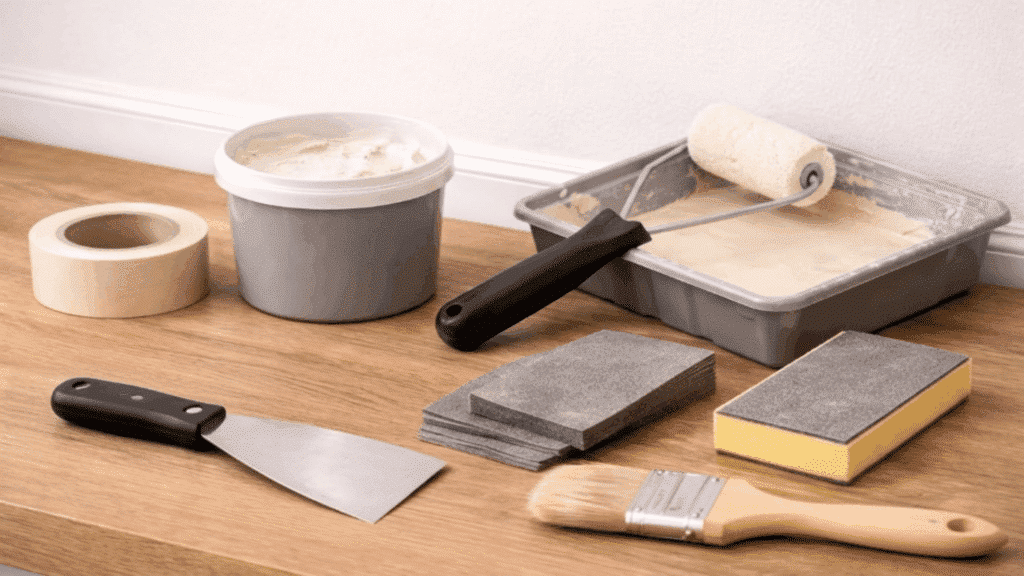
Have a look at the required materials and tools. Keeping everything ready makes the process smoother and helps you avoid interruptions.
| Material / Tool | Why You Need It |
|---|---|
| Damp Cloth | To clean dust and dirt from the wall surface |
| Putty Knife | To remove loose paint and apply filler smoothly |
| Scraper | To get rid of peeling or flaking paint |
| Fine-Grit Sandpaper | To smooth and blend the repaired area |
| Spackling Compound | To fill the chipped section of the wall |
| Primer | To help paint stick and avoid patchy results |
| Matching Wall Paint | To restore the wall’s original finish |
| Paint Brush / Roller | To apply paint evenly and blend the area |
Steps to Repair Chipped Paint on Walls
Fixing chipped paint may look tricky, but the process is simple. Taking your time with each stage helps the final result look smooth and natural. Follow this method to get a clean finish without patchy spots.
Step 1:Clean the Damaged Area
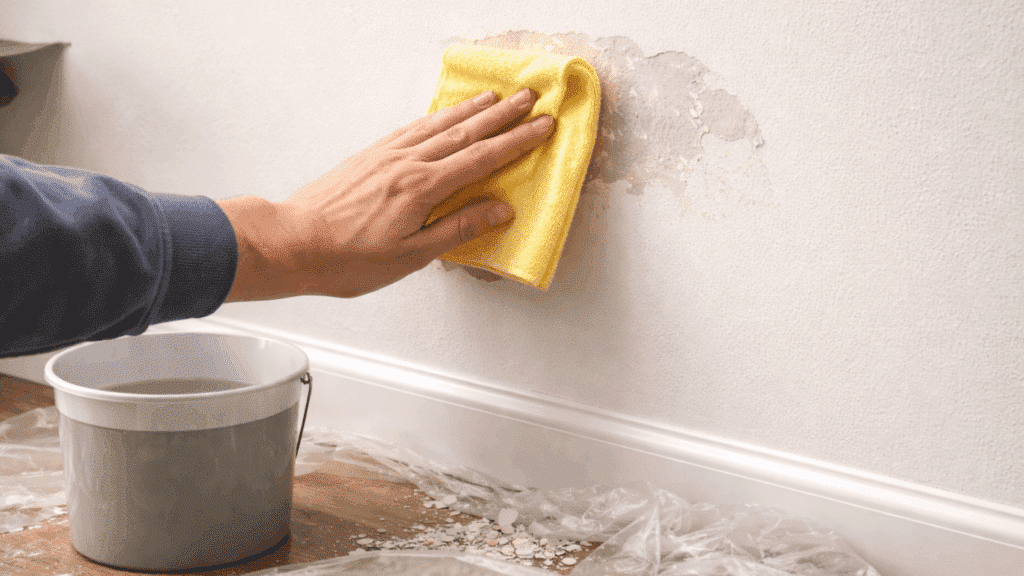
Start by wiping the chipped area with a damp cloth to remove dust, dirt, or grease. Any leftover residue can stop new paint from sticking properly.
If the wall is greasy, use mild soap and water for better cleaning. Make sure the surface is smooth and clean before proceeding.
Step 2: Remove Loose Paint
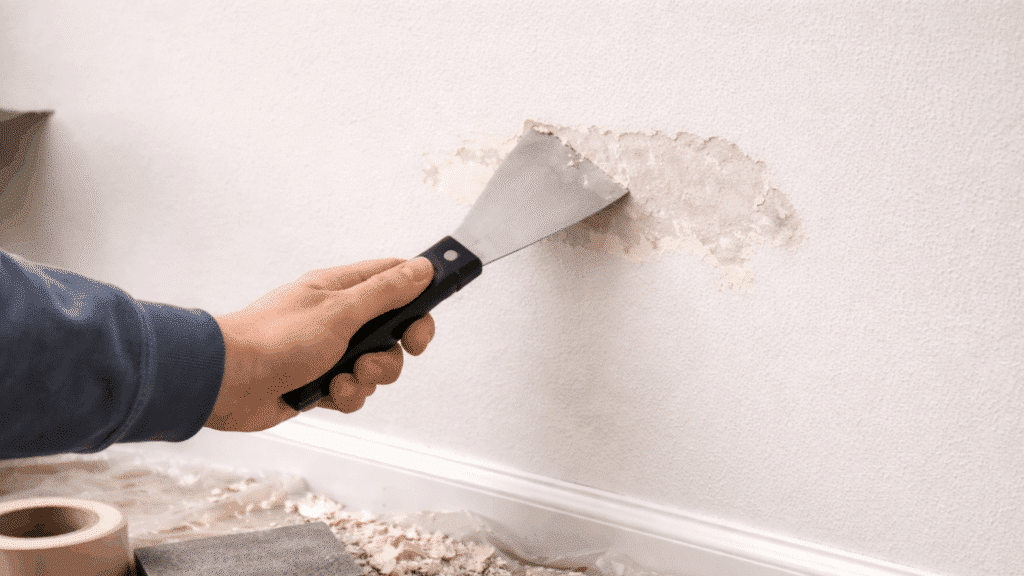
Use a putty knife or scraper to gently remove any peeling or flaking paint. Be careful not to damage the surrounding wall while doing this.
The goal is to create a stable surface with no loose edges. After scraping, lightly sand the area to smooth out rough edges.
This helps the repaired spot blend better with the rest of the wall once painted.
Step 3: Fill the Chip
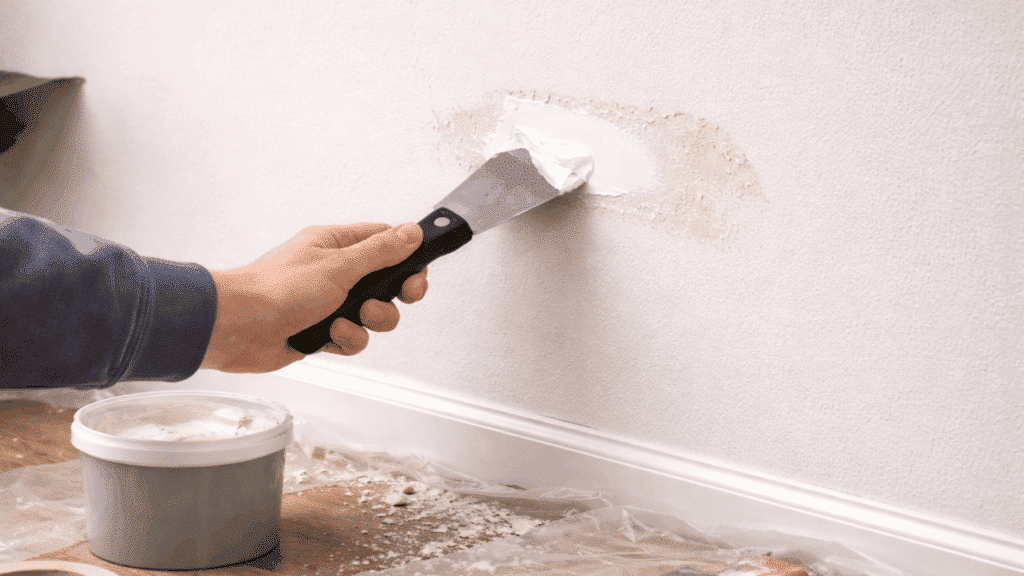
Apply a small amount of spackling compound or wall filler to the chipped area. Spread it evenly with a putty knife, making sure it completely fills the gap.
Smooth out the surface as much as possible while applying. Allow it to dry fully based on the product instructions before moving to the next step.
Step 4: Sand for a Smooth Finish
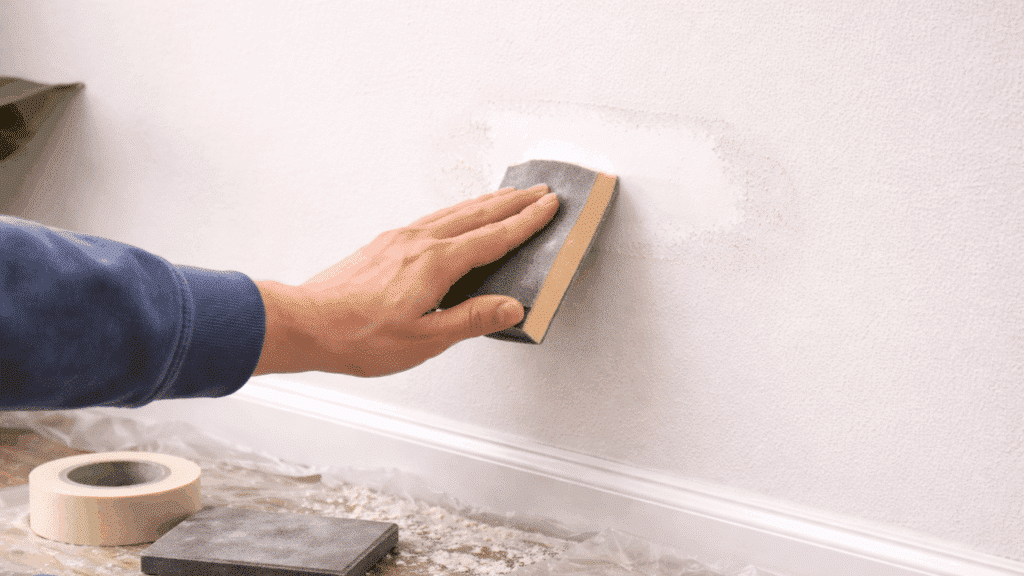
Once the filler is dry, use fine-grit sandpaper to smooth the repaired area. Light sanding helps level the patch with the surrounding wall.
Focus on blending the edges so there’s no visible difference between old and new surfaces. Avoid over-sanding, as it can create dips or uneven spots.
Wipe away dust after sanding to prepare for the next step.
Step 5: Apply Primer
Apply a thin coat of primer over the repaired area to help the paint stick properly. Primer also prevents the patch from absorbing paint differently from the rest of the wall.
This step is important for avoiding uneven color or texture. Let the primer dry completely before painting. Skipping this step can make the repair stand out rather than blend in.
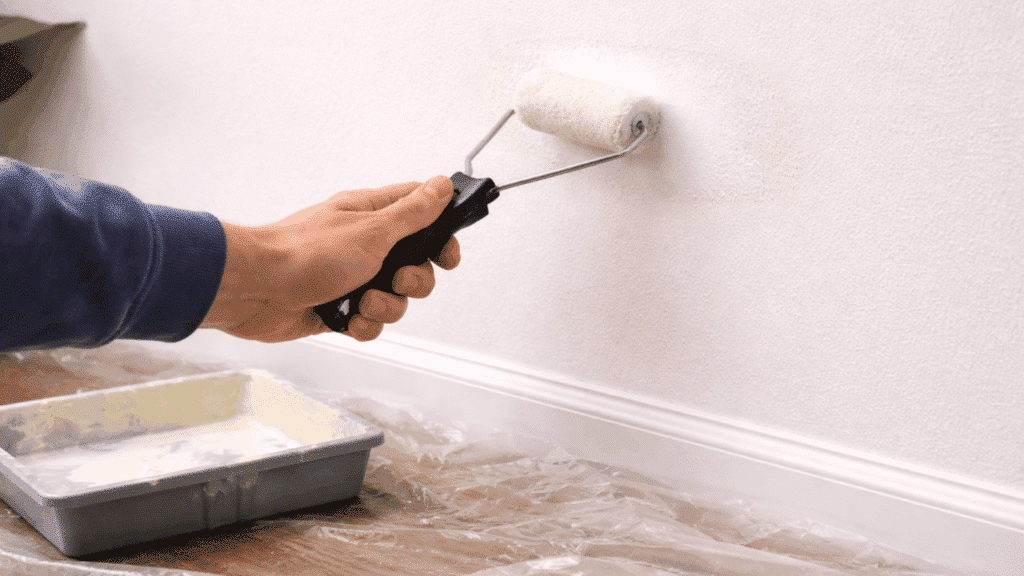
Step 6: Repaint The Area
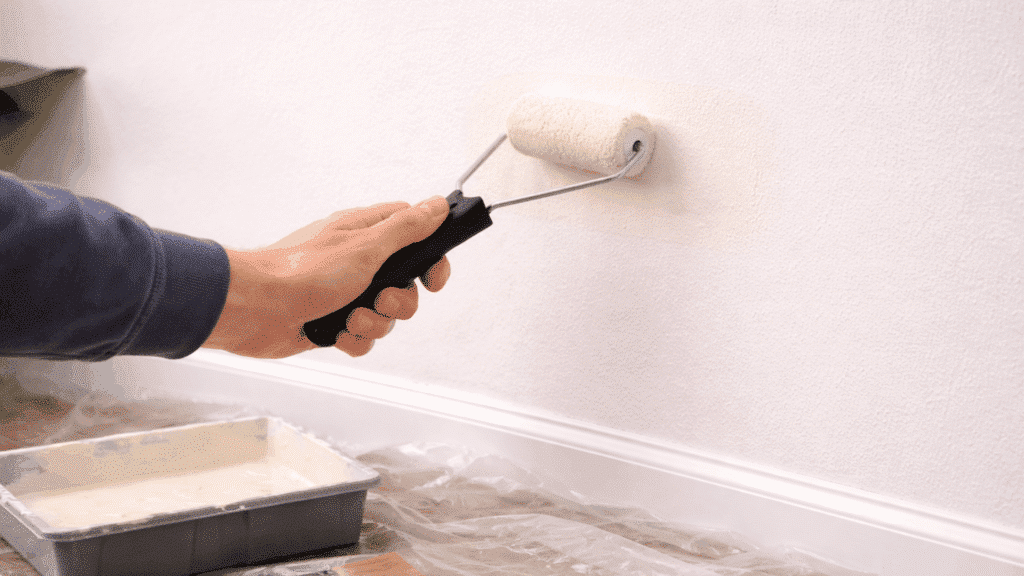
Use paint that matches your wall color and finish for the best results. Apply thin coats using a brush or roller, starting from the center and blending outward.
Let each coat dry before adding another if needed. Avoid thick layers, as they can look uneven. With careful blending, the repaired spot will match the rest of the wall and look clean again.
Step 7:Let the Paint Dry and Set
Allow the freshly painted area to dry completely before touching or placing anything near it. Drying time may vary depending on the paint type and room conditions.
Avoid rushing this step, as handling the area too soon can leave marks or damage the finish. Keep the room well-ventilated to help the paint dry evenly.
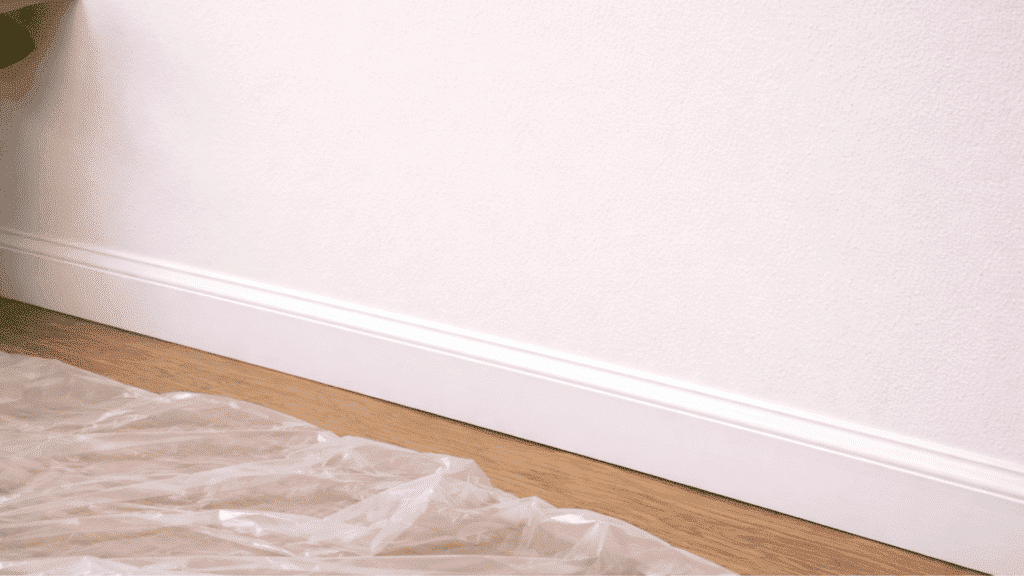
Once fully dry, the repaired section will blend smoothly with the rest of the wall, leaving it clean and complete.
How to Blend New Paint with Existing Wall Color?
Blending repaired paint with the existing wall color takes a bit of patience, but small details make a big difference in the final result.
Start by checking the paint finish, as matte, satin, or gloss can reflect light differently. Use a slightly damp roller to soften edges while the paint is still fresh.
Work in light strokes instead of pressing too hard, which helps avoid harsh lines. Painting in a feathering motion outward from the repaired spot helps the paint merge with the old surface.
Try to paint during daylight so you can clearly see how the color is settling. When learning how to repair chipped paint, this blending approach helps the patch disappear into the wall.
Tips to Prevent Paint from Chipping Again
A little care after repair can keep your walls looking neat longer and help prevent frequent touch-ups.
- Prepare the Surface Properly: Always clean and smooth the wall before painting so the paint sticks well and lasts longer.
- Use Quality Paint and Primer: Choose good-quality paint with a primer to improve adhesion and reduce the chances of early chipping.
- Avoid Excess Moisture: Keep walls dry and fix any leaks or damp areas quickly to prevent paint from weakening over time.
- Apply Thin and Even Coats: Use light coats rather than thick layers to help the paint dry evenly and remain intact.
- Protect High-Traffic Areas: Be mindful around corners and furniture to reduce impact damage that can chip paint.
The Bottom Line
Small wall damage can quietly build up and make a space feel less put-together over time.
Fixing chipped paint is not just about appearance; it also helps protect the wall surface from further wear. Paying attention to detail during each step makes a clear difference in how well the repair blends in.
Once done properly, the patched area becomes almost unnoticeable and keeps the room looking fresh. Regular checks and quick touch-ups can save time later and keep walls in good shape.
If there are still a few spots left to fix, now is the perfect time to handle them and give your walls a clean, even look again.

Tommy Hardy, an alumnus of the Georgia Institute of Technology with a degree in Mechanical Engineering, has been a go-to figure in residential upkeep and innovation for over 18 years. His career commenced in a leading home appliance manufacturing company, where he mastered the intricacies of household systems. Joining our platform in 2020, Tommy quickly became a reader favorite for his practical and easy-to-follow guides. He took the helm of our DIY section in 2019, consistently delivering content that empowers homeowners. Beyond his professional pursuits, Tommy is a passionate gardener and enjoys woodworking, skills enhancing his hands-on approach to home care.