A slate roof is known for its strength and long lifespan. It’s one of those roofing choices that can last for decades when done right.
At the same time, installing slate is not as straightforward as working with standard shingles. It takes careful planning, the right tools, and steady hands to get everything in place.
Small mistakes during installation can lead to bigger problems later, especially with alignment or water protection.
This blog breaks the process into simple steps so you can understand what to do and how to approach slate roof installation with confidence.
What is Slate Roof Installation?
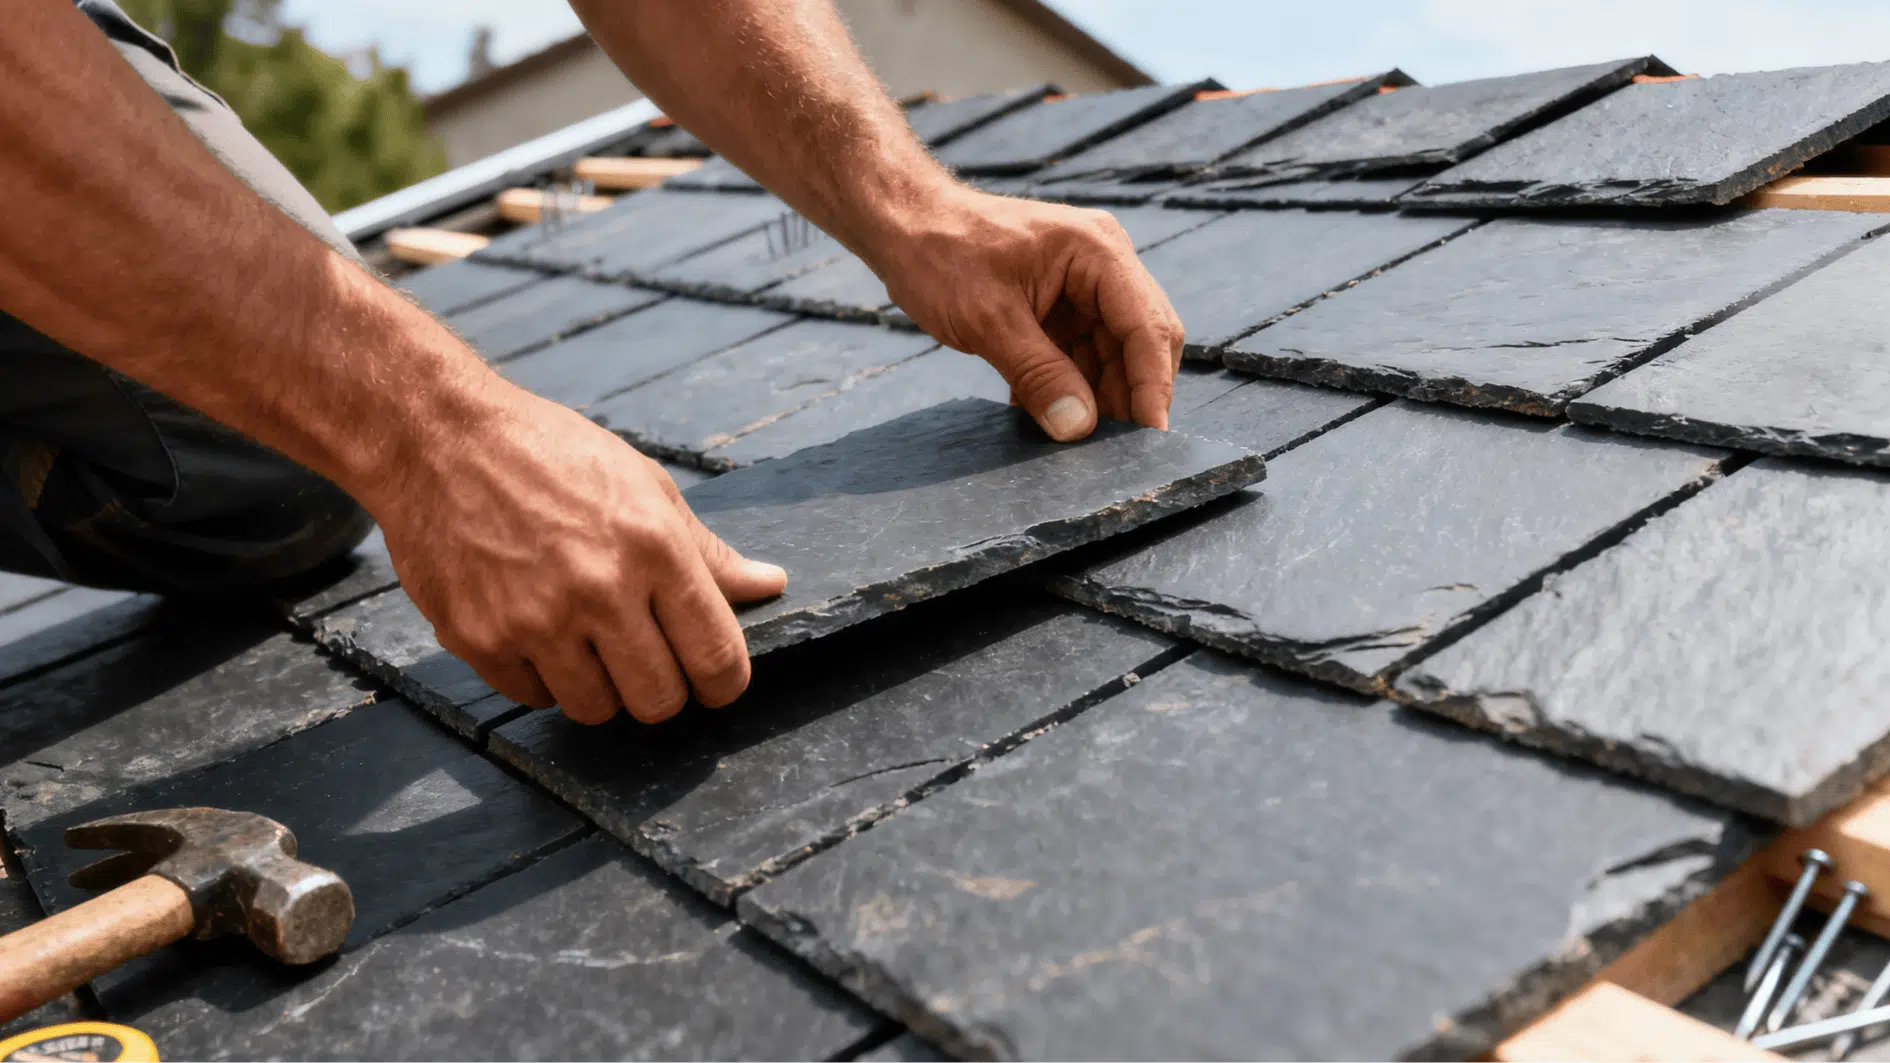
Slate roof installation is the process of installing natural stone tiles on a roof in a structured, secure pattern. Each tile must be positioned correctly to ensure proper overlap and protection from the weather.
Unlike other roofing materials, slate requires more precision because it is heavier and more fragile. Slate roofing is a good choice as it is known for its durability and resistance to weather.
It can last much longer than many other materials when installed properly. It also requires less frequent replacement, which makes it a long-term option for homeowners.
A few challenges you should know before installation:
- Slate tiles are heavy, which means your roof structure must be strong enough to support them.
- They can also crack if handled roughly, so careful installation is important.
- The process takes time, and rushing can lead to alignment issues or damage.
Tools and Materials Needed
Before you begin, having the right tools and materials ready can make the entire process smoother and more efficient. It also helps you work with better accuracy and reduces the chances of mistakes during installation.
| Item | Type | Description |
|---|---|---|
| Slater’s hammer | Tool | Used for cutting, shaping, and fixing slate tiles in place |
| Chalk line | Tool | Helps mark straight guidelines for accurate tile alignment |
| Con saw | Tool | Used to cut slate tiles cleanly to the required size |
| Measuring tape | Tool | Ensures precise measurements for proper placement |
| Ladder and safety gear | Tool | Provides safe access to the roof and protects during work |
| Slate tiles | Material | The main roofing material that provides durability and weather resistance |
| Copper or stainless steel nails | Material | Rust-resistant fasteners are used to secure slate tiles |
| Underlayment | Material | A protective layer beneath the tiles to prevent water infiltration |
| Flashing | Material | Installed around joints and edges to direct water away from vulnerable areas |
| Battens (if required) | Material | Wooden strips that support and align slate tiles during installation |
Preparing Your Roof for Slate Installation
Preparation plays a big role in how well your slate roof performs over time. A strong and properly prepared base helps improve durability and prevents future issues. Taking time at this stage can save you from costly repairs later.
- Before installing slate tiles, carefully inspect the roof structure. Since slate is heavy, the roof must be strong enough to handle the load without strain. Look for any weak areas, damaged wood, or signs of wear.
- Reinforce the structure if needed to ensure it can evenly support the weight. Skipping this step can lead to sagging or structural damage over time.
- Once the structure is ready, install the underlayment properly. This layer acts as a barrier that protects the roof from moisture. It should be evenly distributed across the entire surface, without gaps or overlaps that could cause issues.
A well-installed underlayment helps prevent water from reaching the base structure. It also adds an extra layer of protection in case any water gets past the slate tiles.
Step-by-Step Slate Roof Installation Process
Following a clear process helps keep everything aligned, secure, and long-lasting. Taking your time with each step will make a big difference in the final result.
Step 1: Mark Guidelines on the Roof
Start by marking straight lines across the roof using a chalk line. These lines serve as a guide for evenly placing each row of slate tiles. Make sure the line spacing matches the size and overlap required for your tiles.
This step helps avoid uneven rows and keeps the layout consistent from bottom to top. Accurate marking at the beginning makes the rest of the installation much easier.
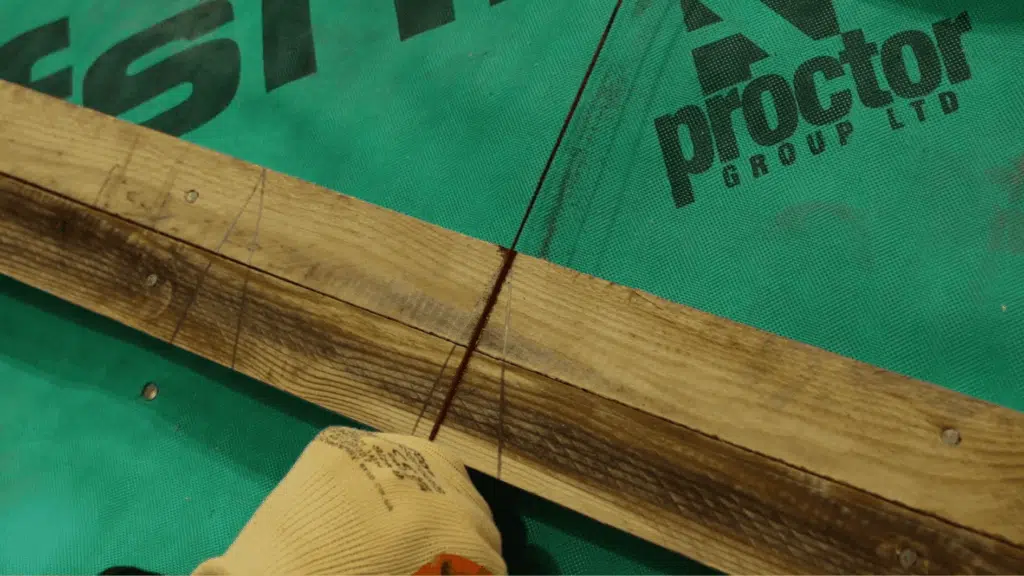
Step 2: Measure and Cut Slates to the Required Size
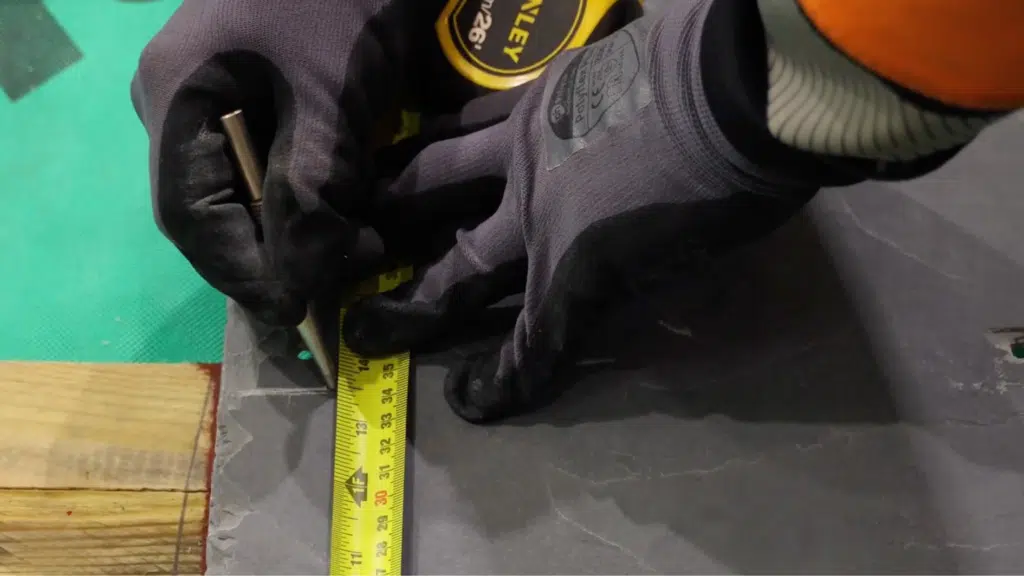
Measure each slate tile carefully based on your roof layout and spacing guidelines. Use a slate cutter to trim the tiles to the required size, ensuring clean and even edges.
Accurate cutting helps maintain uniform rows and proper alignment during installation. Take your time with this step to avoid uneven pieces that can affect the overall look. Well-sized slats make the installation smoother and more precise.
Step 3: Drill Holes for Nails
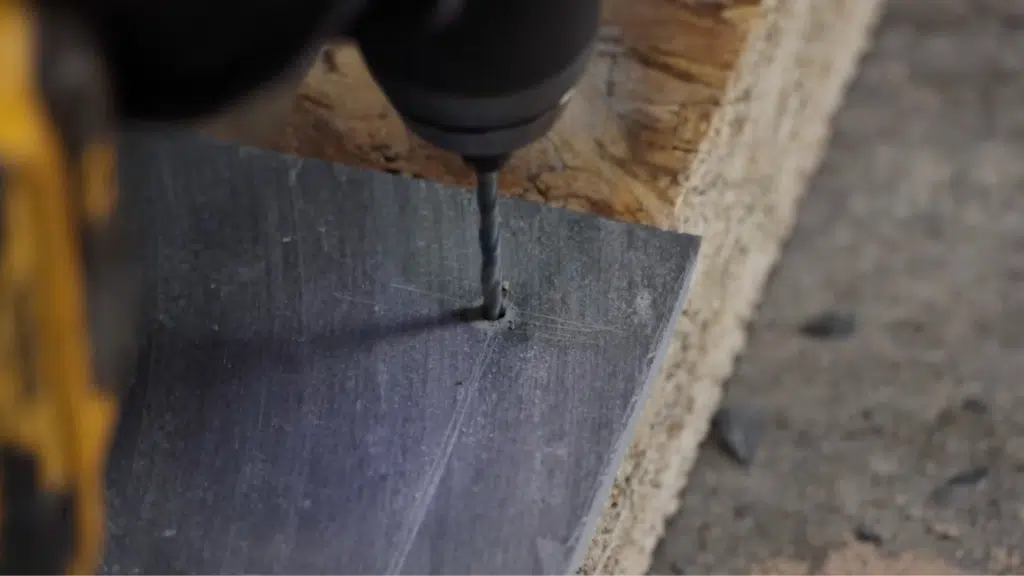
Drill nail holes in each slate tile at the correct position before placing them on the roof. The holes should be evenly spaced and set slightly below the top edge of the slate.
This allows the nails to hold the tile securely without being exposed. Proper drilling reduces the risk of cracking during installation. Consistent hole placement also helps keep the rows aligned.
Step 4: Secure Slates from the Bottom Edge
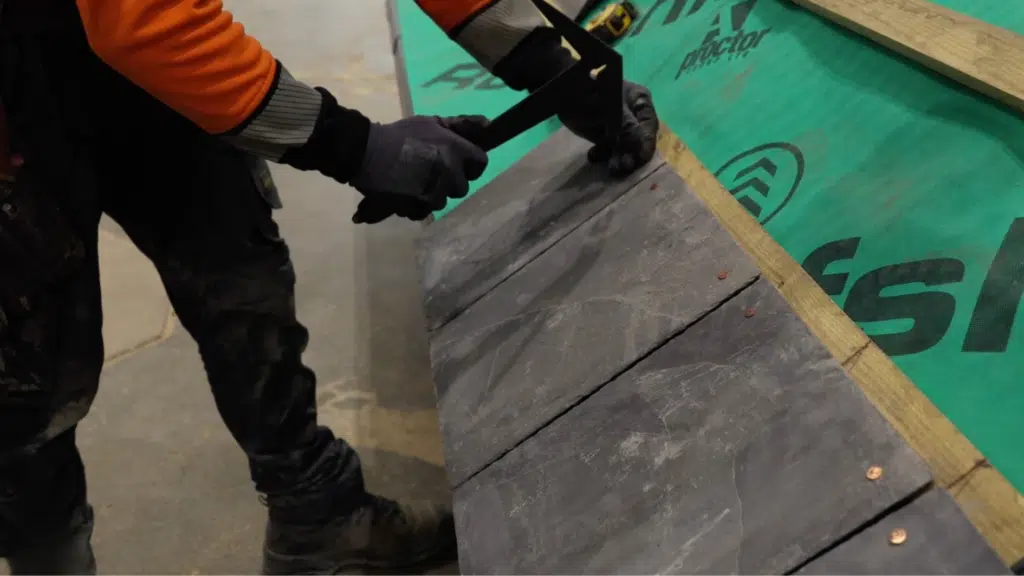
Start securing the slate tiles from the bottom edge of the roof using nails and slate hooks. Place each tile carefully and fix it in position so it stays stable.
The combination of nails and hooks helps keep the slates firmly in place while allowing slight movement. Make sure each tile sits flat against the surface before securing it. A strong base row supports the rest of the installation.
Step 5: Continue Layering Upward with Consistent Overlap
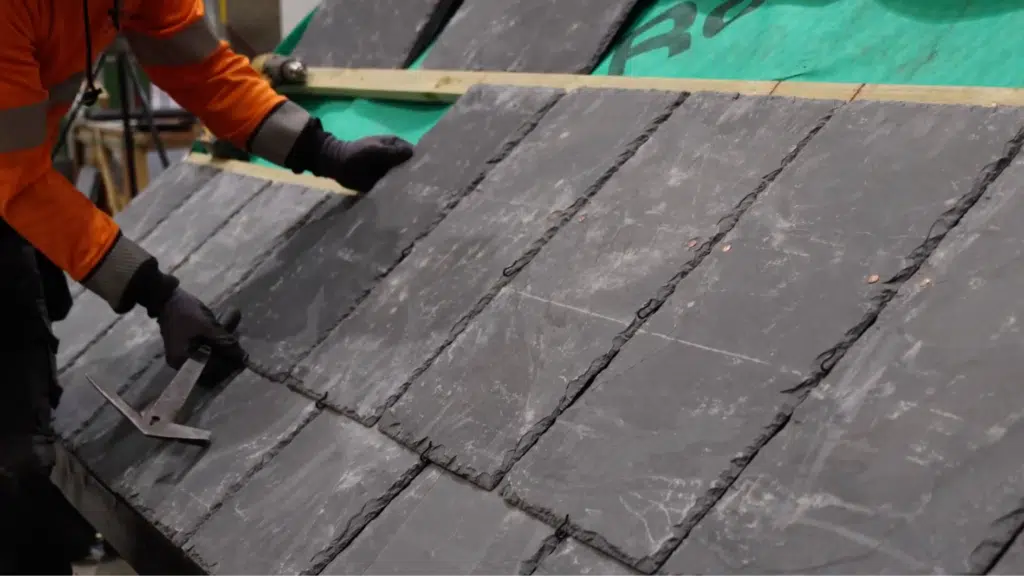
Place the next rows of slate tiles above the base layer, working your way upward across the roof. Keep the overlap consistent so water flows down without entering gaps.
Align each tile properly with the guidelines to maintain straight rows. Check spacing regularly as you move upward to avoid errors. A consistent pattern ensures both durability and a clean finished look.
Step 6: Install Ridge Tiles at the Top
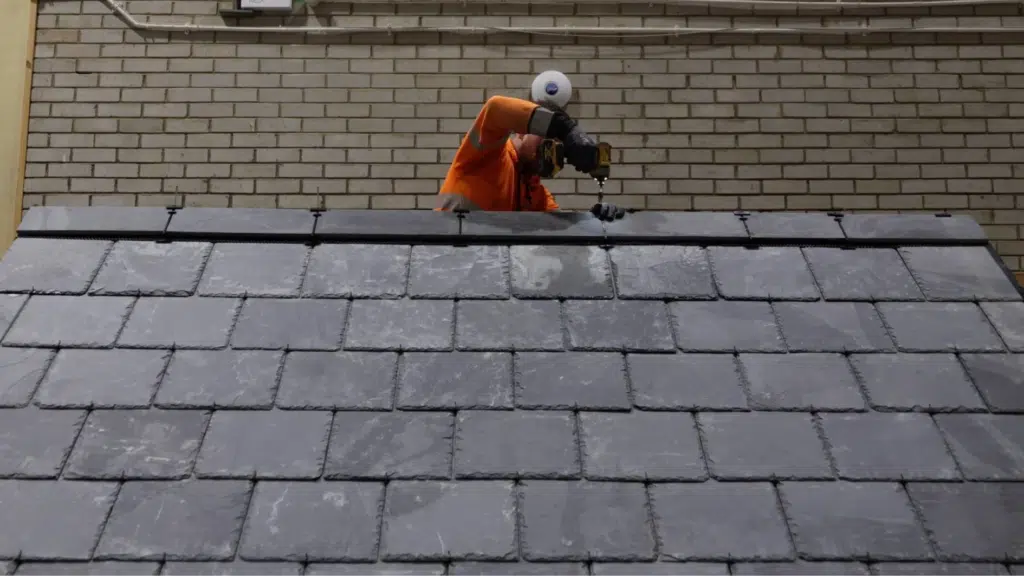
Once all slate tiles are in place, install ridge tiles along the top where the two roof slopes meet. These tiles are designed to cover the ridge and seal the highest point of the roof. Place them carefully so they sit evenly on both sides.
Secure them properly to keep them in place during strong winds. Ridge tiles act as a protective barrier, helping prevent water from entering the roof and improving overall durability.
For a visual guide, watch the video below:
Safety Tips for Slate Roof Installation
Working with slate on a roof requires careful attention, not just to the installation but also to your safety. Taking the right precautions helps you work more confidently and reduces the chances of accidents during the process.
- Use proper safety gear: Wear gloves, sturdy shoes, and a safety harness to reduce the risk of slipping or injury
- Work in good weather conditions: Avoid working during rain or strong winds to ensure better stability and control
- Handle the slate carefully: Carry and place tiles gently to prevent cracks or damage.
- Use a stable ladder setup: Make sure your ladder is placed on a flat surface and secured properly before climbing
- Wear non-slip footwear: Shoes with a good grip help prevent slipping, especially on sloped surfaces
- Avoid working alone: Having someone nearby can help in case of emergencies or if you need assistance
- Secure tools and materials: Keep tools in a tool belt or secure area to prevent them from falling
- Take regular breaks: Working on a roof can be tiring, so short breaks help maintain focus and reduce mistakes
Conclusion
Slate roof installation requires patience, planning, and attention to detail. While it may seem challenging at first, breaking it down into clear steps makes the process easier to manage.
By preparing your roof properly and following the right installation method, you can build a roofing system that lasts for decades.
Focusing on alignment, secure fastening, and careful handling of materials will help ensure a strong result that stands up to everyday conditions.

Veronica Lee holds a Master’s degree in Landscape Architecture from Cornell University and has dedicated more than 15 years to transforming outdoor areas into artistic and sustainable spaces. Her career took off in a renowned landscape design firm, where she excelled in creating visually stunning and environmentally responsible designs. In 2019, Veronica brought her expertise to our platform, quickly becoming a key contributor to our outdoor design and sustainability sections. As the lead of our landscape innovation series ever since joining, she has inspired readers with her forward-thinking and practical approach. When not drafting designs, Veronica enjoys pottery and participates in local conservation efforts, activities that complement her professional ethos of blending art with nature.