

Your kitchen takes a lot of daily cooking, spills, steam, and grease that quietly build up in places a regular wipe-down never reaches. At some point, a quick clean isn’t enough.
That’s where kitchen deep cleaning comes in.
In this tutorial, you’ll get a clear, step-by-step process to deep clean every part of your kitchen, along with tips on what to use, what to avoid, and how to keep it clean long after you’re done.
How Kitchen Deep Cleaning Differs from Regular Cleaning
Most of us clean our kitchens regularly, but wiping counters and washing dishes is only part of the picture.
Regular cleaning tackles what you can see, while deep cleaning goes after what you can’t: the grease, bacteria, and build-up hiding in the corners you rarely think about.
Understanding this difference is the first step to a truly clean kitchen.
| Category | Regular Cleaning | Deep Cleaning |
|---|---|---|
| Frequency | Daily / Weekly. | Periodically (monthly or seasonally). |
| Focus | Visible mess and surfaces. | Hidden build-up and hard-to-reach areas. |
| Common Tasks | Wiping counters, washing dishes, and mopping floors. | Cleaning range hood grease, fridge door seals, and oven back walls. |
| What It Addresses | Surface-level dirt and spills. | Grease films, bacteria, and baked-on food residue. |
| Hygiene Impact | Maintains basic cleanliness. | Eliminates bacteria like Salmonella & E. coli. |
| Pest Risk | Low (fresh mess cleaned quickly). | High if skipped, grease and food particles attract pests. |
| Odour & Food Quality | Minimal effect. | Accumulated build-up can affect smell and food flavour. |
| Appearance vs. Reality | The kitchen looks clean. | The kitchen is clean, including hidden corners. |
Pro tip: A good rule of thumb if your oven smells when it heats up, or your fridge has an unexplained odour, that’s your kitchen telling you it’s overdue.
Signs Your Kitchen Needs a Deep Clean
If you’re noticing any of these, don’t wait for your next scheduled deep clean; the work will only get harder.
- Sticky residue on cabinet fronts or the stovetop that won’t wipe off with a damp cloth.
- A fridge that smells even after removing old food.
- Grease is visible on the range hood filter.
- Discolouration around the sink drain. Dark build-up in tile grout.
Supplies You’ll Need
Starting a deep clean without the right tools is like cooking without ingredients; you’ll get partway through and stall. Gather everything before you start so you don’t stop mid-task with a half-cleaned oven.
Cleaning Agents
You don’t need a cabinet full of specialty products. A handful of reliable staples will handle almost everything:
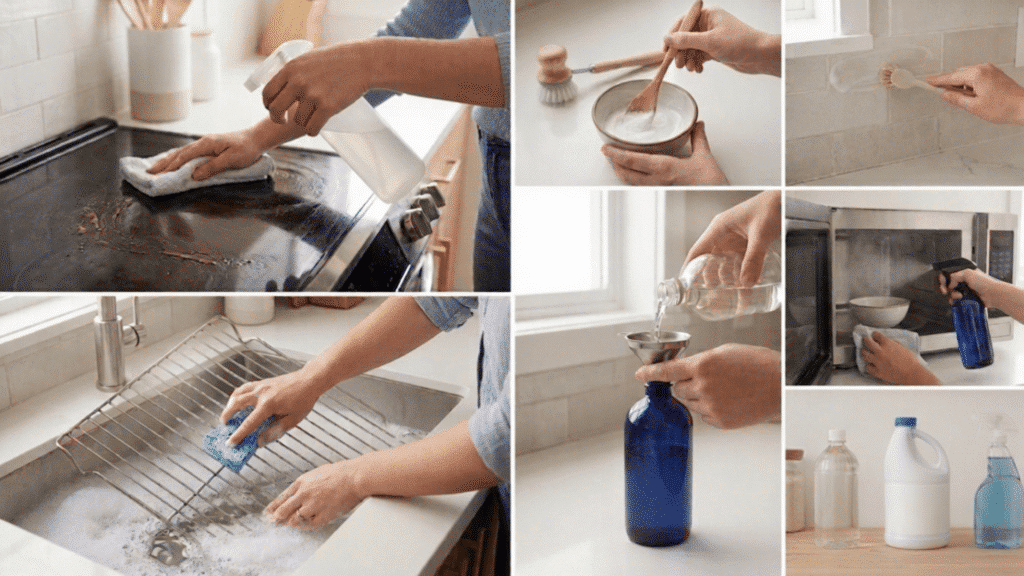
- All-purpose degreaser: Your workhorse for stovetops, range hoods, cabinet fronts, and appliance exteriors. Choose one that’s safe for the surfaces you have. Check whether your countertops are natural stone or laminate before spraying anything.
- Baking soda: A mild abrasive that’s gentle enough for most surfaces. Mixed with a little water into a paste, it works excellently on oven interiors, sink stains, and tile grout.
- White vinegar: cuts through mineral deposits, dissolves light grease, and deodorises. Useful for microwaves, faucets, and the inside of dishwashers.
- Dish soap: For soaking removable parts like oven racks, fridge shelves, and stovetop grates.
Note: Never mix bleach with vinegar or ammonia-based cleaners. The combination produces toxic fumes. If you’re using multiple products, rinse surfaces thoroughly between applications.
Tools
Using the right tools isn’t just about convenience; it directly impacts how well your kitchen gets cleaned. With these basics, you can handle tough grime without wasting time or effort.
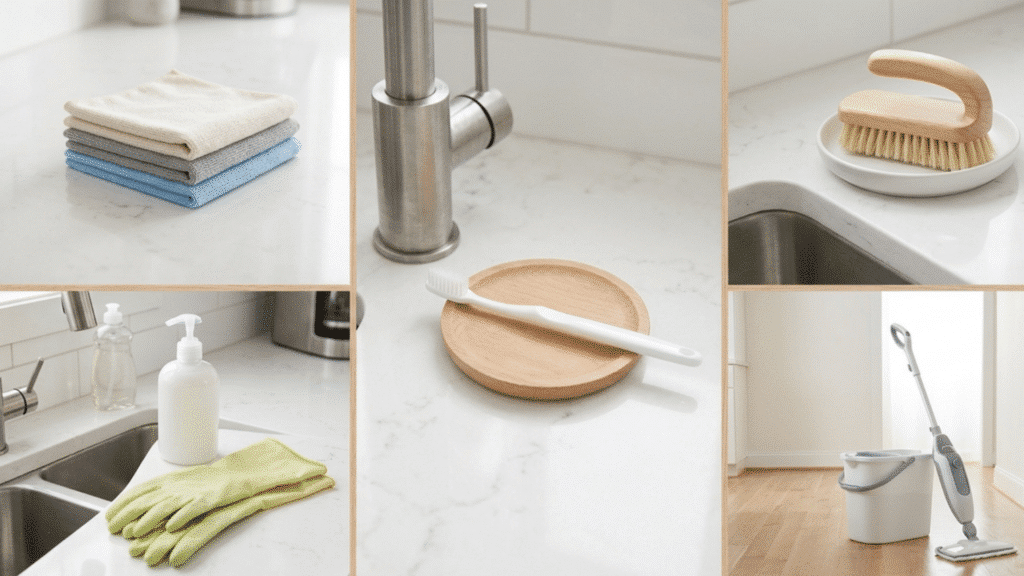
- Microfibre cloths: Several of them. They pick up grease and bacteria far better than cotton cloths or paper towels, and they’re reusable. Keep a few dedicated to different surfaces, one for appliances, one for counters, to avoid cross-contamination.
- Scrub brush: Essential for oven grates, grout lines, and the inside of the sink. Choose one with stiff bristles and a comfortable grip so you can apply real pressure without tiring your hand mid-session.
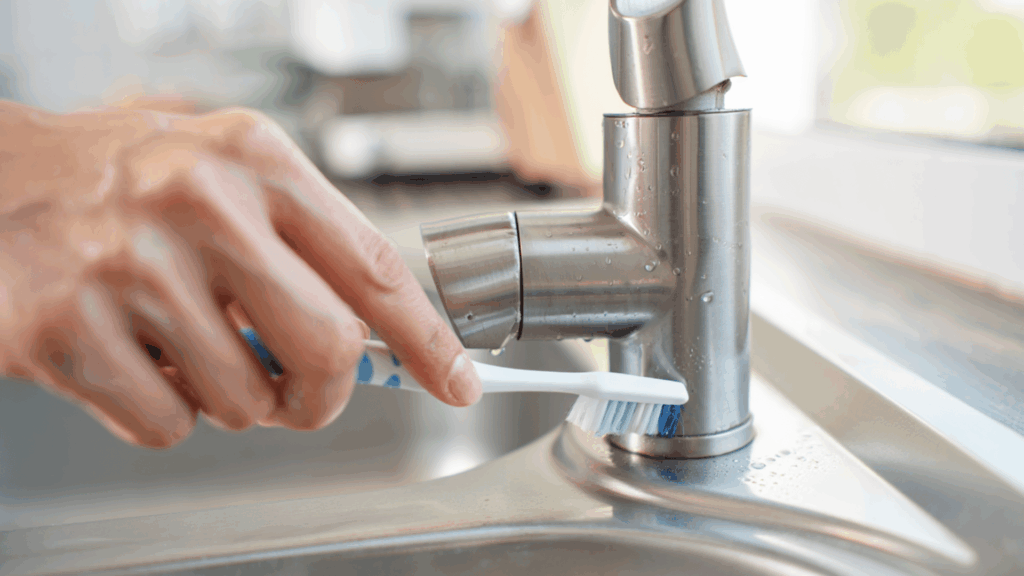
- Old toothbrush: Indispensable for tight spots: the area around faucet bases, tile grout, and the rubber seal on your fridge door. Keep a dedicated one just for cleaning so it never gets mixed up with bathroom supplies.
- Rubber gloves: Protect your hands from degreasers and prolonged exposure to hot water. Worth wearing for the entire session. Choose a pair that fits snugly; loose gloves reduce grip and make handling scrub brushes and bottles awkward.
- Bucket and mop: For the floors at the end of your cleaning. A steam mop is a smart investment if you have tile or hardwood. It sanitizes without chemicals and dries faster than a traditional wet mop, leaving no residue behind.
Pro tip: Open a window or run the exhaust fan before you start. Good ventilation protects you from fumes and helps surfaces dry faster as you go.
Kitchen Deep Cleaning: Step-by-Step Process
Follow this in order; the sequence matters, working top to bottom, and large to small, which means you won’t be re-cleaning surfaces you’ve already finished.
1. Declutter and Clear All Surfaces

Before any cleaning product comes out, remove everything from countertops, the stovetop, and the top of the fridge. Take items out of the cabinets you plan to clean inside.
This isn’t just about access; it forces you to assess what’s actually in your kitchen, discard expired pantry items, and return things to where they actually belong.
Set appliances, utensil holders, and décor items to one side. You’ll clean these separately and return them to clean surfaces at the end.
2. Clean Inside Cabinets and Drawers
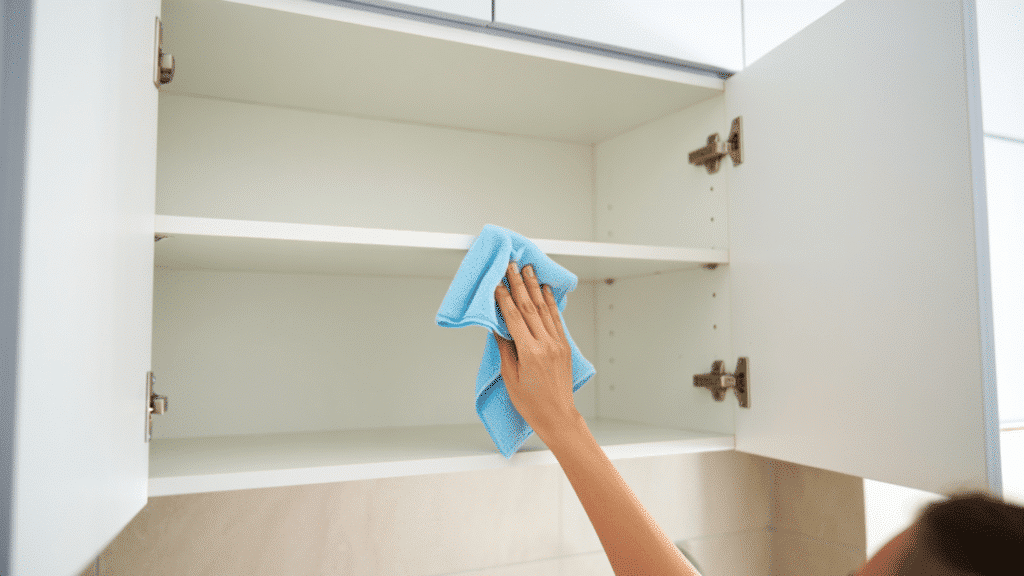
Remove everything from each cabinet. Wipe the interior with a damp microfibre cloth, then a dry one.
Pay attention to corners and shelf edges where crumbs and moisture collect. For sticky spots, a diluted all-purpose cleaner works well.
Just let it sit for a minute before wiping. Wipe down the cabinet doors and handles on the outside, too. These are among the most touched surfaces in any kitchen and rarely get a thorough clean during regular sessions.
Pro tip: Line shelves with removable shelf liner after cleaning. It makes future deep cleans significantly faster — just lift, wash, and replace.
3. Deep Clean the Oven, Stovetop, and Range Hood
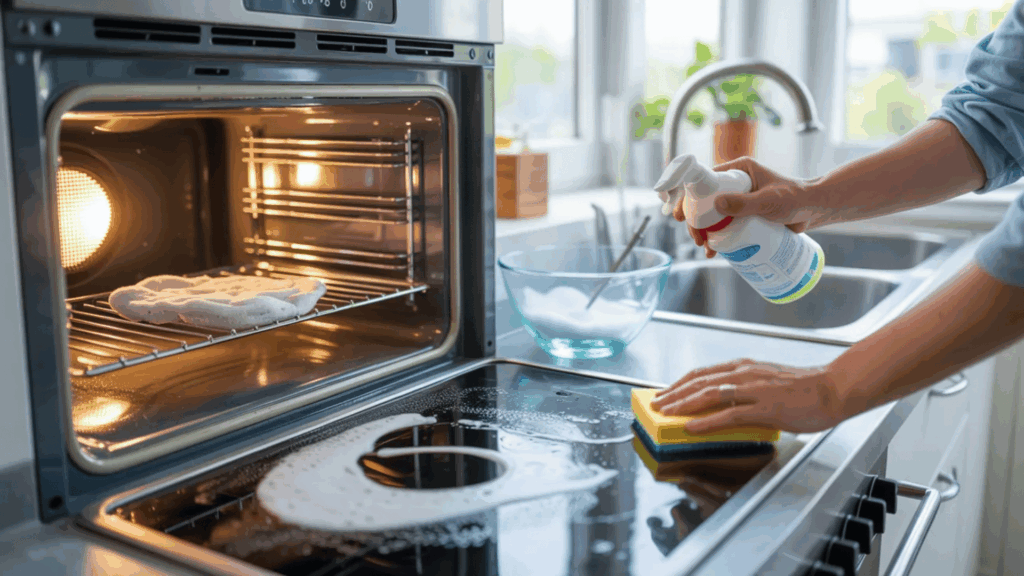
Oven: Remove the racks and soak them in hot soapy water in the sink or bathtub. While they soak, apply a baking soda and water paste to the interior walls, floor, and door, avoiding the heating element.
Leave it for at least 30 minutes, or overnight for heavy build-up. Wipe away with a damp cloth, then spray lightly with white vinegar to lift any remaining residue.
- Stovetop: Remove burner grates and soak them as you did the oven racks. Spray the stovetop surface with degreaser, let it dwell for five minutes, then scrub and wipe clean. For gas stoves, clean around the burner ports with a toothbrush.
- Range hood: Remove the filter and soak it in hot water with a few drops of dish soap and a tablespoon of baking soda. While it soaks, wipe the exterior of the hood with degreaser.
Rinse and dry the filter before replacing it. A clogged filter is a fire risk if yours hasn’t been cleaned in over three months. This step alone is worth the whole effort.
4. Tackle the Refrigerator
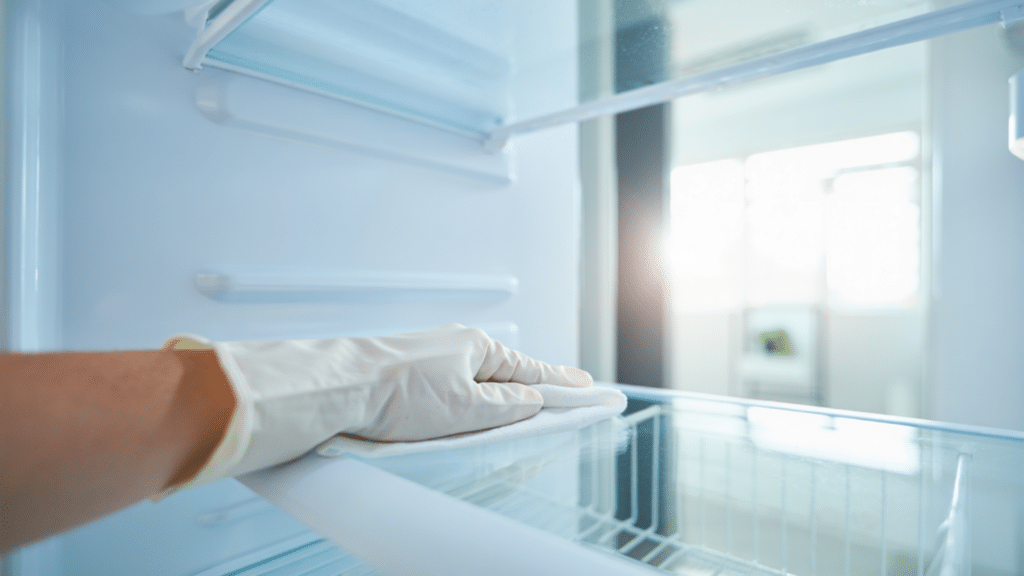
Unplug the fridge and remove all food. Take out every shelf and drawer and wash them in warm soapy water. Avoid hot water on glass shelves, as it can cause cracking.
Wipe the interior with a warm water and baking soda solution, then use a toothbrush to clean the rubber door seal, where mould commonly builds up.
Finally, pull the fridge out and vacuum the condenser coils at the back. Dusty coils raise energy bills. Wipe the top and sides, then push it back into place.
5. Clean Microwave, Dishwasher, and Small Appliances

- Microwave: Place a bowl of water with a few lemon slices or a splash of white vinegar inside, then run it on high for 3 minutes. The steam loosens everything stuck to the walls. Wipe clean immediately; it should take almost no effort.
- Dishwasher: Remove and rinse the filter (usually found at the bottom of the interior check your manual. Run a hot cycle with a cup of white vinegar placed on the top rack and no dishes inside. For persistent odours, sprinkle baking soda on the floor of the machine and run a short hot cycle.
- Small appliances: Toasters should be emptied by sliding out the crumb tray, then turned upside down and gently shaken out before wiping externally. Wipe down the kettle, coffee machine, and any other appliances, paying attention to where they meet the countertop, where crumbs and moisture tend to collect.
6. Clean Sink, Faucet, and Garbage Disposal
Scrub the sink basin with baking soda and a damp sponge. For stainless steel, wipe with the grain to avoid scratches. For ceramic or porcelain, a diluted bleach solution can lift stubborn staining.
Use a toothbrush to clean around the faucet base where grime and mineral deposits collect. Wrap a vinegar-soaked cloth around a calcified faucet for 20 minutes to dissolve limescale without scrubbing.
For the garbage disposal, run a handful of ice cubes and a few lemon slices through it to clean the blades and neutralise odours, then run dish soap and cold water through it.
7. Clean Countertops, Backsplash, and Tile Grout
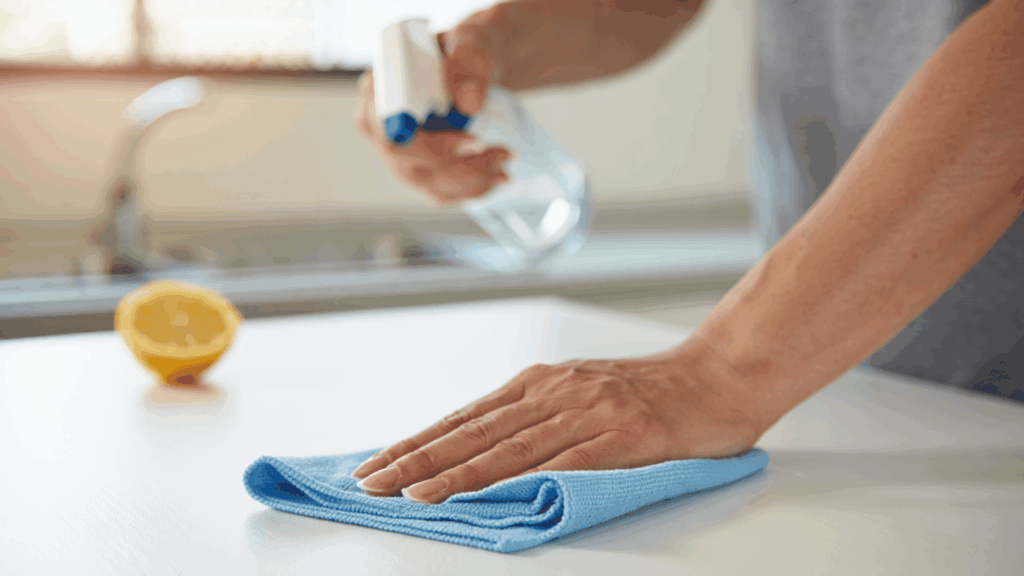
Clear all appliances and clutter, then spray countertops with a surface-appropriate cleaner. Stone countertops need a pH-neutral product; avoid vinegar or other acids on marble or granite, as they will etch the finish. Wipe down and dry to prevent streaking.
Spray the backsplash with degreaser and let it sit for a couple of minutes before wiping. The area directly behind the stovetop will have the heaviest build-up and may need a second pass.
For grout, scrub with a baking soda paste and an old toothbrush using small circular motions. For darkened or mouldy grout, apply a diluted bleach solution, leave for 10 minutes, then scrub and rinse clean.
8. Floors: Sweep, Mop, and Baseboards
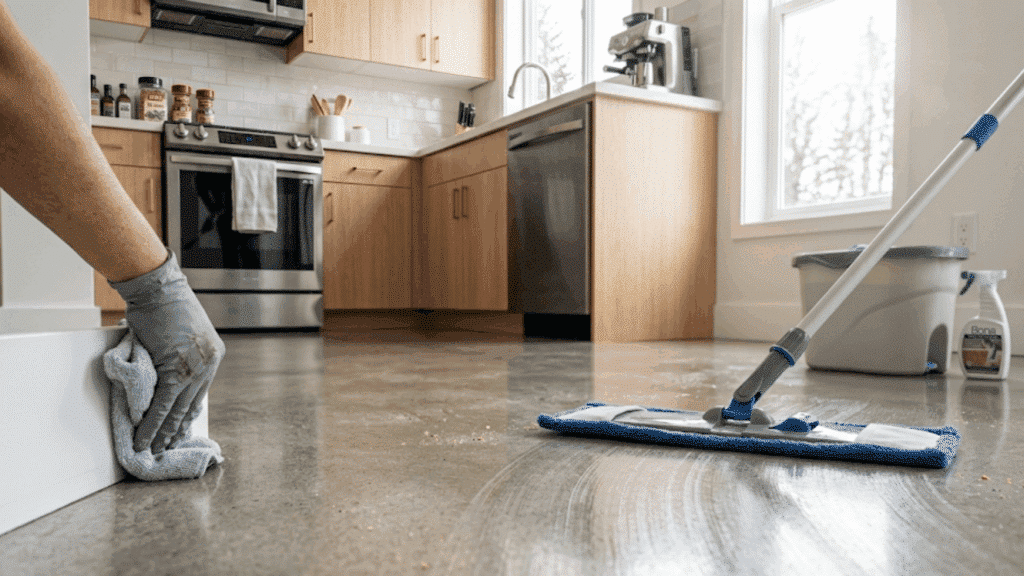
Always clean the floors last. By this point, crumbs and dust from shelves, cabinets, and appliances will have settled to the ground.
Sweep or vacuum thoroughly, including under any movable appliances, then mop with a cleaner suited to your floor type. For tile, a steam mop works best. For hardwood or laminate, use a damp, not wet, mop to prevent warping.
Finish by wiping down the baseboards with a damp cloth. They collect more dust and grease than most people realise, and cleaning them makes the whole kitchen feel noticeably fresher.
Mistakes that Undo Your Deep Clean
Even the most thorough cleaning session can fall short if you’re making a few of these easy-to-miss errors. Here’s what to watch out for before you start.
- Vinegar on marble or granite etches the surface permanently.
- Scrubbing stainless steel against the grain leaves visible scratches.
- Wipe the degreaser off immediately, then let it sit for 2–5 minutes.
- Cleaning floors before appliances, you’ll dirty them again.
- Skipping the range hood filter is a fire risk.
- Forgetting the fridge coils, dusty coils raise your energy bill.
- Using a soaking-wet cloth near control panels can cause moisture to damage electronics.
- Spray cleaner directly onto appliance buttons. Spray the cloth, not the surface.
How to Maintain a Clean Kitchen Between Deep Cleans
Staying on top of your kitchen doesn’t take much. A few small habits done consistently will make your next deep clean far easier.
Daily
- Wipe the stovetop after every cook; grease lifts easily when warm.
- Clean the sink before bed. Don’t leave food residue overnight.
- Wipe countertops after meal prep, not just after eating.
- Put dishes straight into the dishwasher, not the sink.
- Empty the bin before it overflows; lingering waste breeds odour.
Weekly
- Wipe the fronts and handles of the fridge, oven, and dishwasher.
- Sweep or vacuum under the kitchen table and appliances.
- Empty and rinse the dish drainer.
- Check the fridge for expiring food, don’t let it rot and smell.
- Give the microwave a quick wipe inside.
Monthly
- Rinse the dishwasher filter.
- Clean the rubber seal on the fridge door.
- Wipe the inside of the toaster and empty the crumb tray.
- Degrease the range hood exterior.
- Wipe down cabinet fronts, fingerprints, and grease build-up fast.
Conclusion
A clean kitchen isn’t the result of one big effort; it’s the result of the right effort, done in the right order.
If you’re working through the full step-by-step process or simply staying on top of daily habits, every bit of consistency makes the next deep clean easier than the last.
Set a reminder every three to four months, keep your supplies within reach, and don’t wait for visible grime to take action. Your kitchen is the most used room in your home it deserves the attention.
Bookmark this kitchen deep cleaning blog, work through it at your own pace, and come back to it whenever your kitchen needs a proper reset.

Tommy Hardy, an alumnus of the Georgia Institute of Technology with a degree in Mechanical Engineering, has been a go-to figure in residential upkeep and innovation for over 18 years. His career commenced in a leading home appliance manufacturing company, where he mastered the intricacies of household systems. Joining our platform in 2020, Tommy quickly became a reader favorite for his practical and easy-to-follow guides. He took the helm of our DIY section in 2019, consistently delivering content that empowers homeowners. Beyond his professional pursuits, Tommy is a passionate gardener and enjoys woodworking, skills enhancing his hands-on approach to home care.