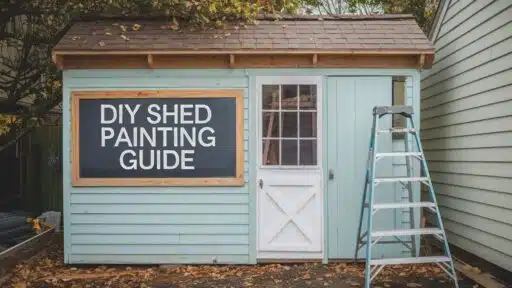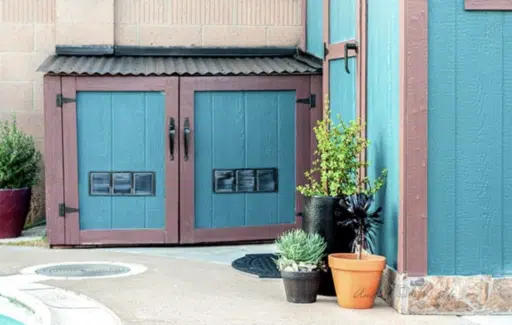

Is your shed looking worn and dull? A fresh coat of paint can make a world of difference. Painting a shed might seem like a big task, but it’s easier. Our guide will show you how to transform your shed from shabby to spectacular in no time.
You’ll learn the best techniques, tools, and tips for a professional finish. Following our step-by-step instructions, you’ll save money and feel proud of your accomplishment.
Ready to give your backyard a boost? Let’s dive into the world of shed painting and create a stunning focal point for your outdoor space.
Get ready to turn heads and impress your neighbors with your newly painted shed!
Essential Tools and Materials to Paint Sheds
| Tool/Material | Function |
|---|---|
| Pressure Washer | Cleans the shed’s surface by removing dirt, dust, and loose paint for better adhesion. |
| Painter’s Tape | Protects areas you don’t want to paint, such as windows, fixtures, and trim. |
| Plastic Tarp or Pre-Taped Plastic | Covers the ground and other surfaces to protect them from paint spills and drips. |
| Sanding Block & 180 Grit Sandpaper | Smooth the surface and remove any glossy finish to help the paint stick better. |
| Paint Sprayer (e.g., Wagner FLEXiO 3000) | Applies primer and paint evenly across large surfaces, saving time and effort. |
| Exterior Primer | It seals the shed surface and improves paint adhesion, increasing its durability. |
| Exterior Grade Paint | It provides a protective and aesthetic coating to the shed, making it resistant to weather conditions. |
| Good Quality Paintbrush | They are used for precision painting on trim, edges, and small areas where the sprayer may not reach. |
| Paint Pail | Holds paint for easy access while working, especially when painting trim and details. |
| Outdoor Metallic Spray Paint (Optional) | Refreshes or updates the shed’s hardware, like hinges and door handles, for a cohesive look. |
| Motion Detector Lights (Optional) | It adds functionality and decorative lighting as a finishing touch to the shed exterior. |
Step-by-Step Process to Paint Your Shed
Step 1: Prepping the Shed Exterior
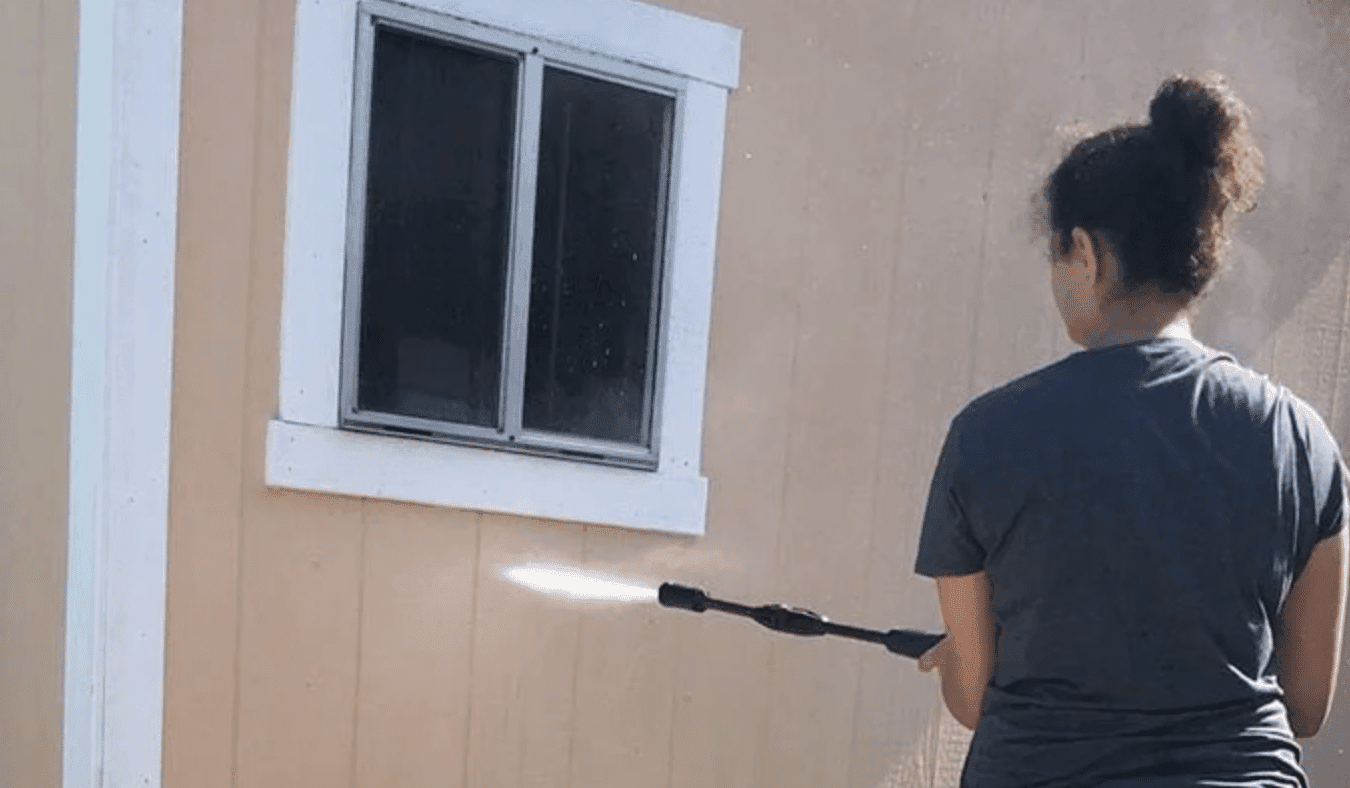
Begin by thoroughly cleaning your shed. Use a pressure washer to blast away dirt, grime, and loose paint. A stiff brush and soapy water will do the job if you don’t have a pressure washer. Remove all fixtures, such as lights, handles, and hooks.
A clean surface is essential for paint to adhere properly. This step might take some time, but it’s crucial for a professional-looking finish.
Step 2: Sanding and Surface Preparation
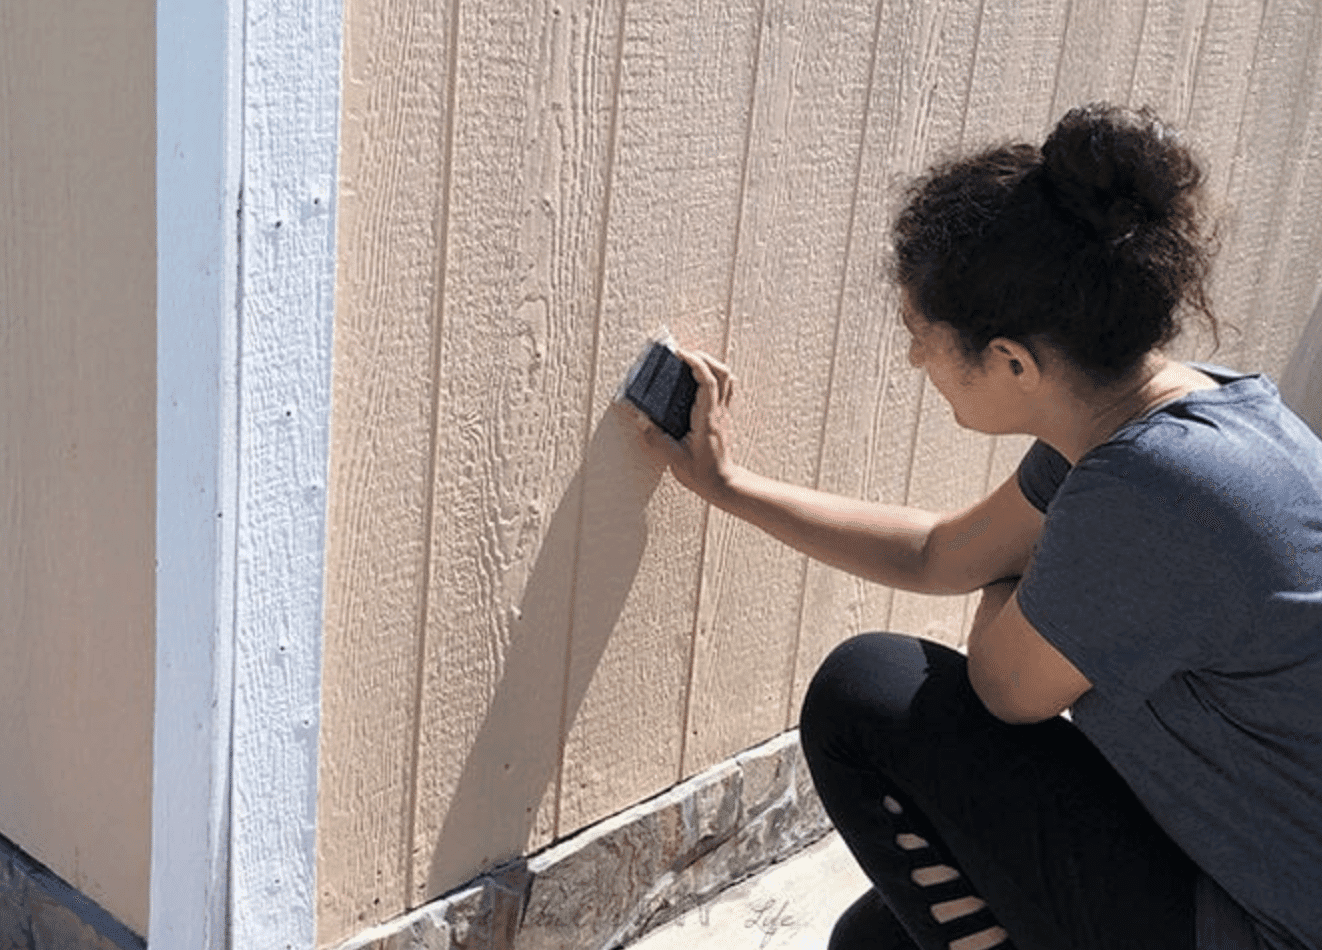
Once clean and dry, sand the shed’s exterior using 180-grit sandpaper. This creates a slightly rough surface that helps the new paint grip better. Pay extra attention to glossy areas or spots where old paint is peeling.
After sanding, clean off all the dust with a damp cloth or air compressor. A dust-free surface ensures your paint goes smoothly without any bumps or imperfections.
Step 3: Applying Primer for Better Coverage
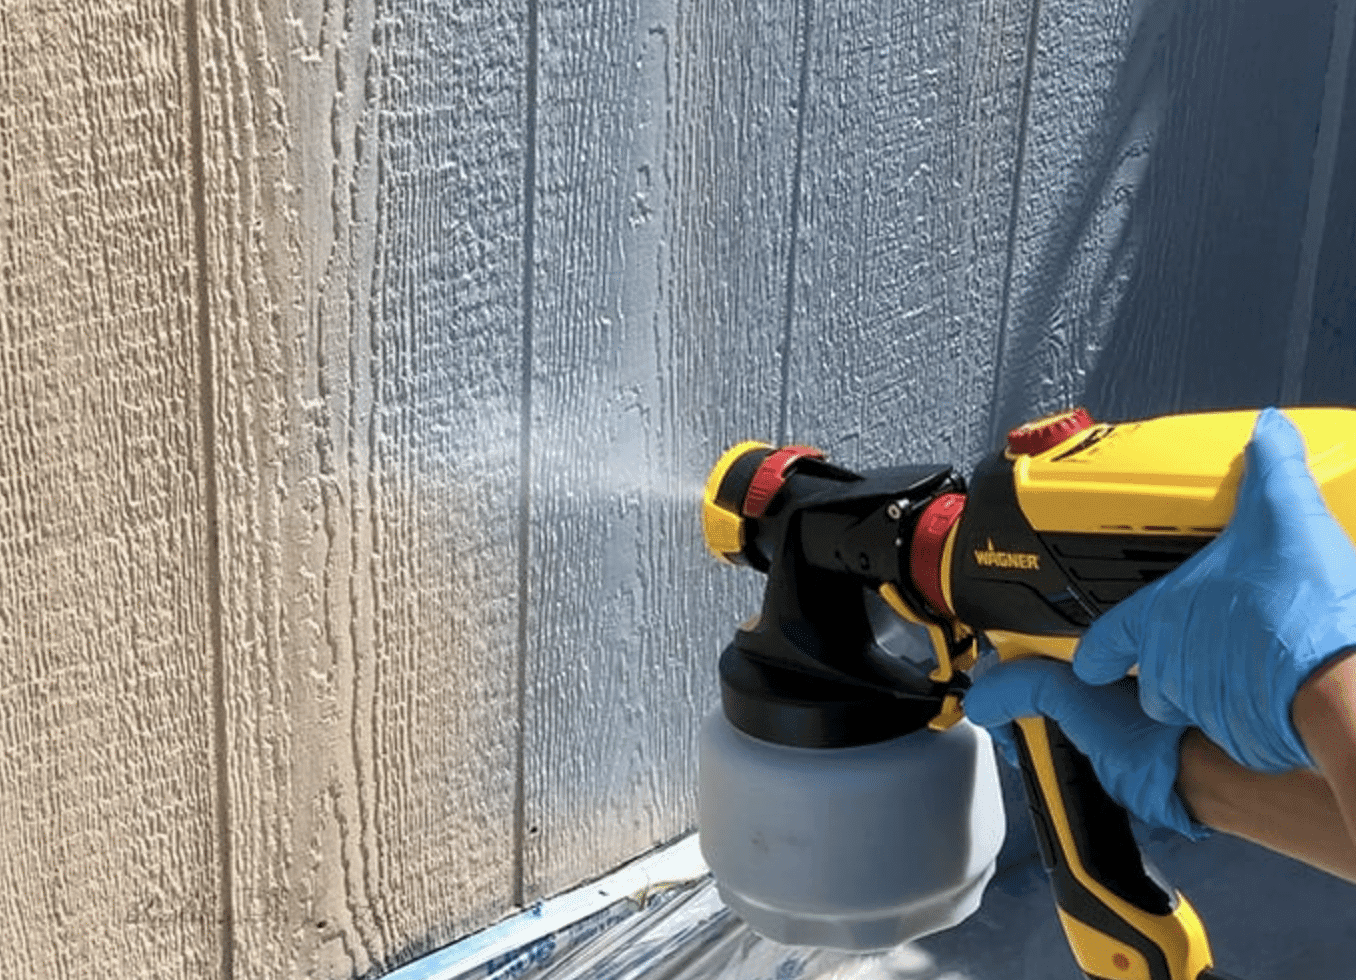
Priming is a step you shouldn’t skip. It’s key for a long-lasting paint job. Choose a primer for your shed’s material – wood, metal, or plastic. Apply it evenly using a sprayer for large areas or a brush for smaller spots.
Primer not only helps the paint stick better but also prevents stains from bleeding through and helps the true color of your topcoat shine.
Step 4: Painting the Shed
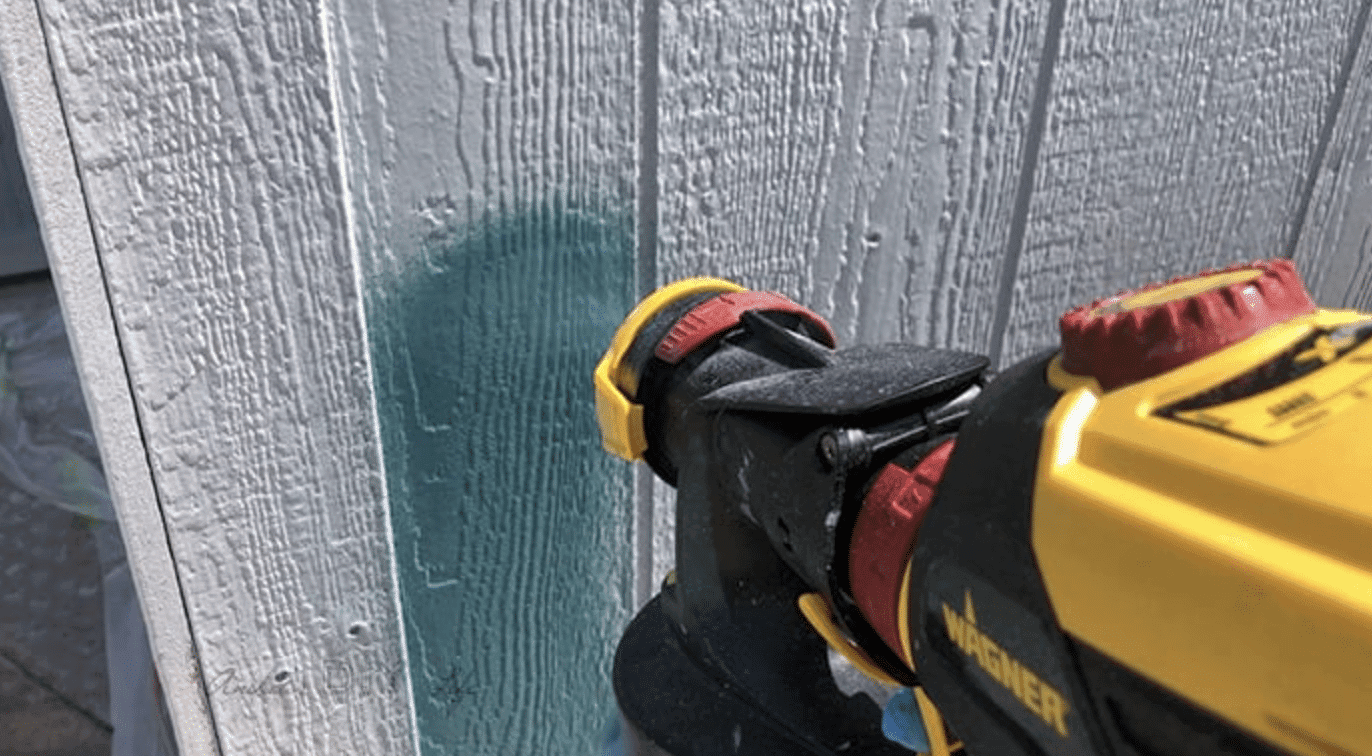
Now comes the part you’ve been waiting for—painting! Use long, even strokes for a smooth finish. Start at the top and work your way down to avoid drips. Depending on the color and quality of your paint, you’ll likely need two to three coats for the best coverage.
Let each coat dry completely before adding the next. This might mean waiting a full day between coats, but your patience will pay off with a professional-looking result.
Step 5: Detailing the Trim and Edges

After the main color is done, focus on the trim and edges. Use a smaller brush for these areas to ensure neat, crisp lines. You might choose a color contrasting with the main color for added visual interest or stick with the same shade for a uniform look. Take your time here – careful work on these details can elevate the overall appearance of your shed.
Step 6: Refreshing Hardware
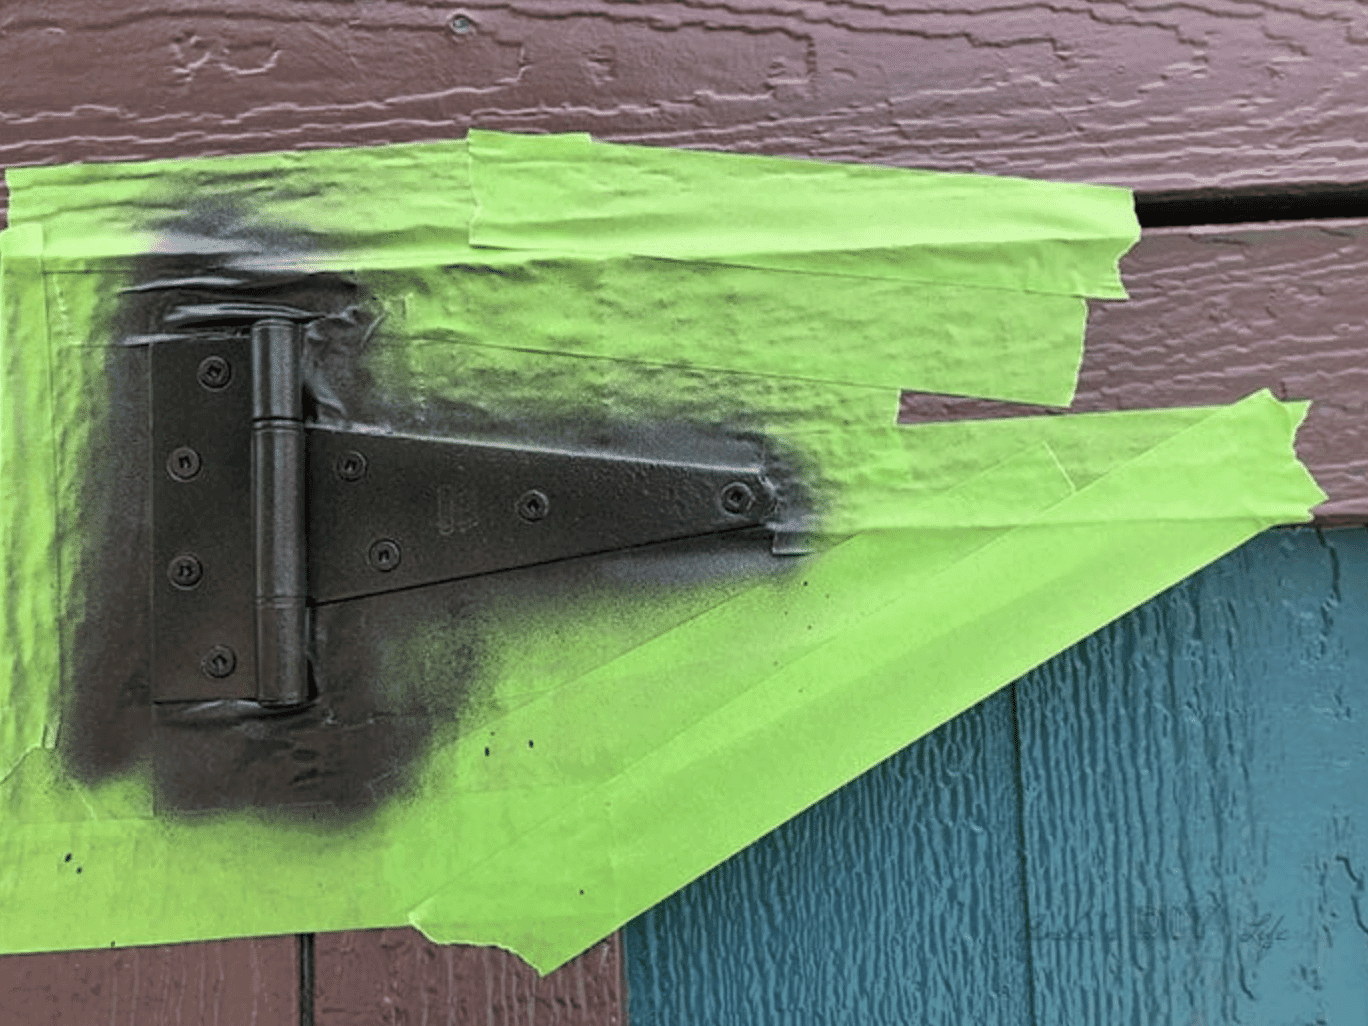
To complete your shed’s makeover, consider updating the hardware. You can paint existing handles, hinges, and latches or replace them with new ones.
If you’re painting hardware, remove it first for the best results. If removal isn’t an option, cover it carefully with painter’s tape to protect it during the main painting process.
Step 7: Final Touches and Enhancements
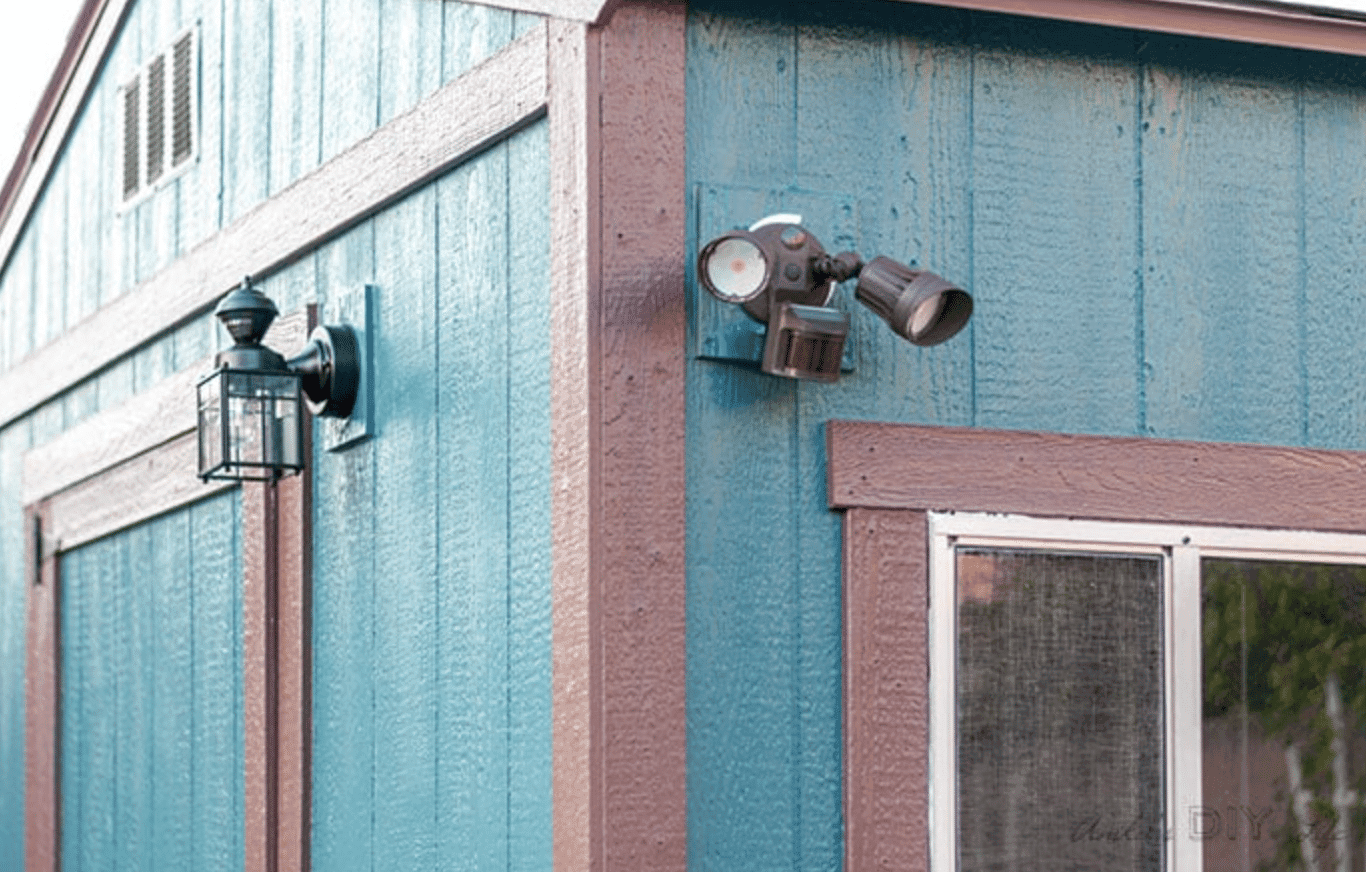
Add some finishing touches to make your shed truly stand out. Consider installing new outdoor lights for functionality and ambiance. Hang some planters or window boxes to add a pop of greenery.
You could also add some decorative elements like shutters or a weather vane. These small details can boost your shed’s charm and make it a focal point in your yard.
Additional Tips for a Long-Lasting Finish
To keep your newly painted shed looking great for years to come:
- Clean it yearly with mild soap and water to prevent dirt buildup
- Regularly check for any damage or wear and touch up paint as needed
- Apply a clear protective coat every few years for extra protection against the elements
In areas with high humidity, use paint with mold-fighting properties to prevent growth. For spots that get a lot of sun, choose a paint that resists fading to keep your color looking fresh.
Common Mistakes to Avoid While Painting Shed
Don’t rush your project. Take the time to do it right:
- Always use primer – it’s key for a lasting finish and better color payoff
- Let each coat of paint dry fully before adding the next. Rushing this can lead to peeling
- Check the weather forecast before starting – paint on dry, mild days for the best results
- Don’t forget to protect your plants and lawn from paint spills or overspray
By avoiding these common errors, you’ll get the best results from your hard work and create a shed that looks great for years.
Conlusion
Painting your shed can be a rewarding project. With the right steps, you can turn an old, worn-out structure into a stunning yard feature.
Remember to take your time with each stage, from cleaning to the final touches. A well-painted shed looks great and lasts longer, protecting your belongings from the weather.
You’ll achieve professional-looking results by avoiding common mistakes and following our guide. Your newly painted shed will boost your yard’s appeal and give you a sense of pride in your handiwork.
So grab your supplies, set aside a weekend, and get ready to transform your shed. Your outdoor space will thank you, and you’ll enjoy the fruits of your labor for years.

With a Master’s in Architecture from the University of California, Berkeley, Alexander Martin has dedicated the last 18 years to enhancing outdoor living through thoughtful and robust structure design. His career kicked off in urban planning, giving him a unique perspective on integrating structures into diverse environments. In 2019, Alexander brought his expertise to our website, offering insights into creating versatile outdoor spaces. Since then, he has been the lead advisor for our outdoor design projects and is known for his ability to merge functionality with environmental consciousness. Alexander enjoys rock climbing outside of work and participates in community development projects, activities that reflect his passion for the outdoors and sustainable design.