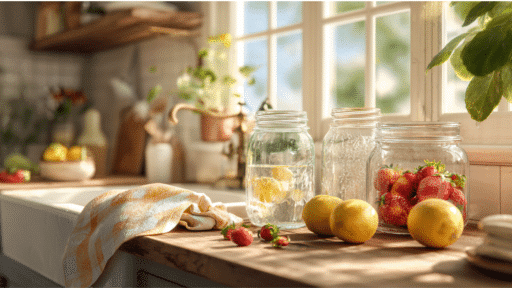
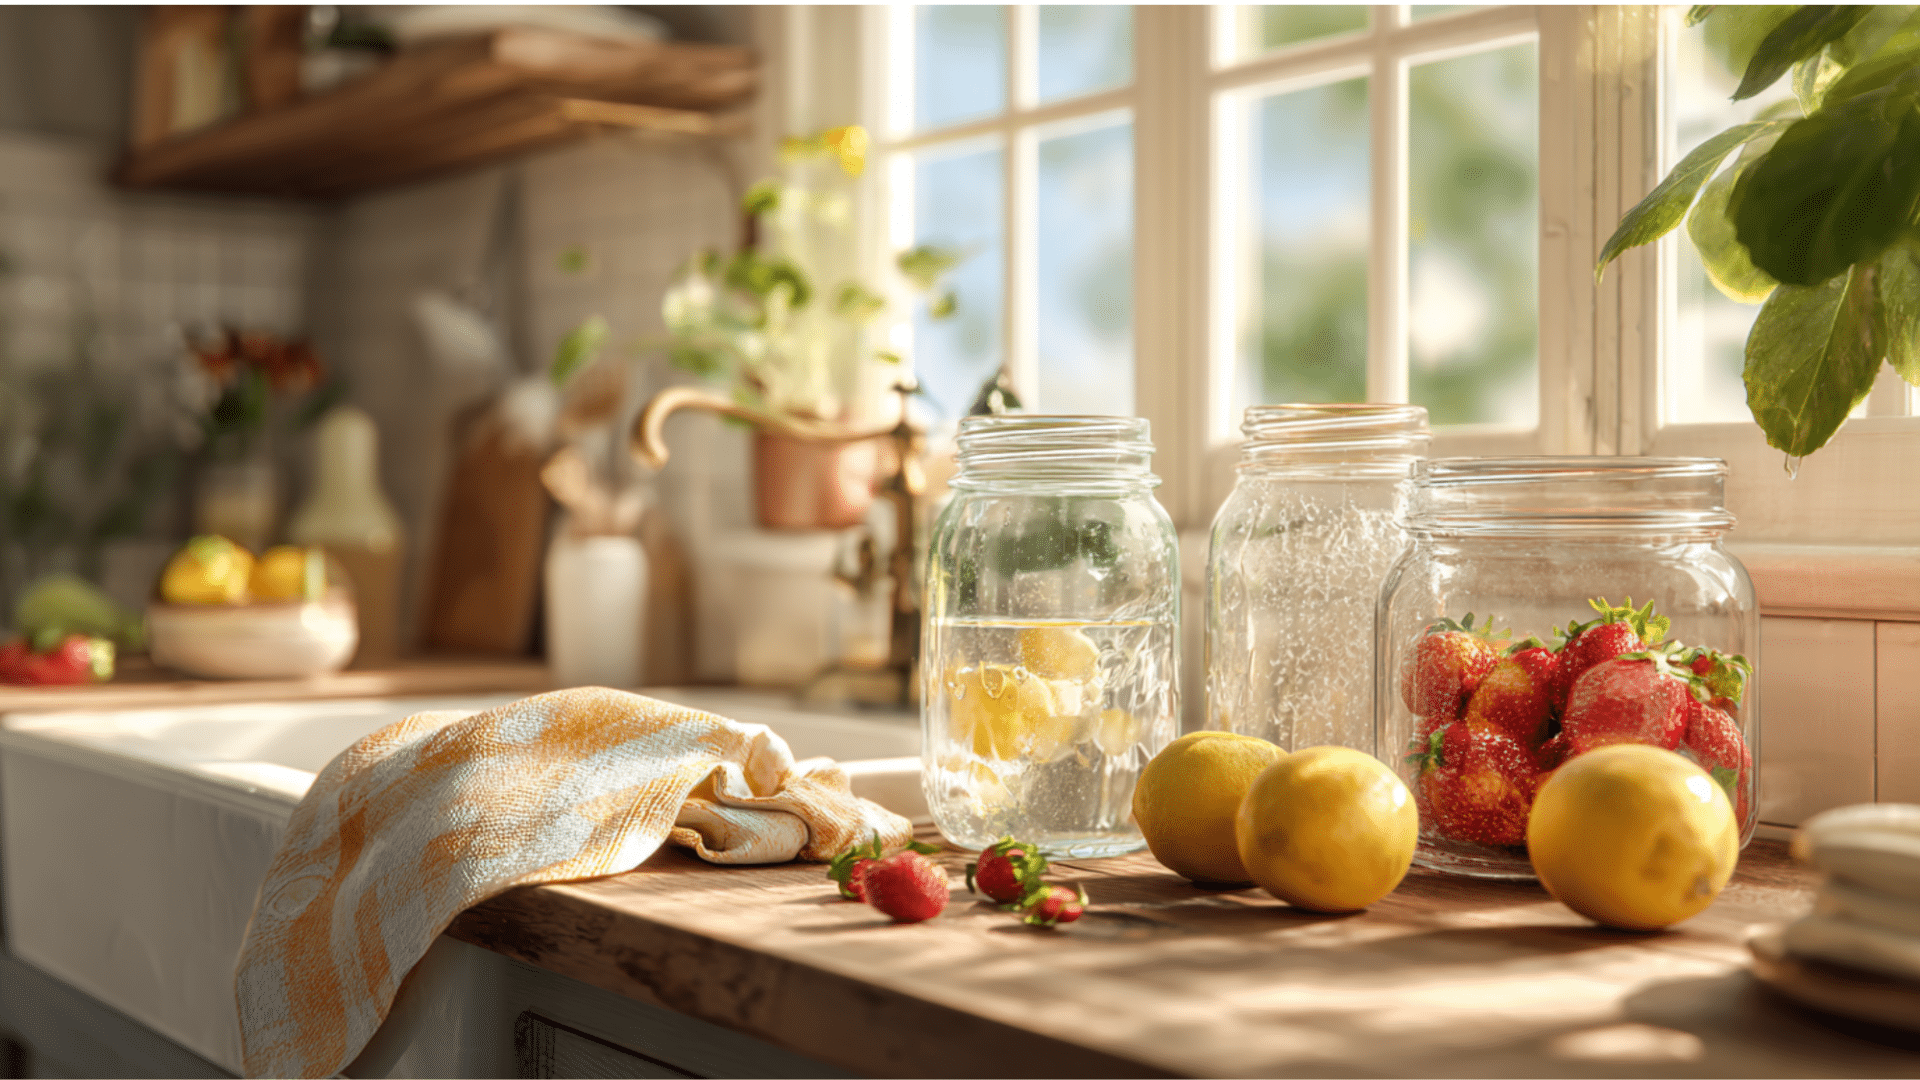
If you’ve ever made homemade jam, pickles, or sauces, you already know how satisfying it is to store them for later to accompany your carving and delicious meal.
But before you start filling those jars, there’s one simple step you really don’t want to skip: sterilizing them.
It might sound a little technical, but don’t worry, it’s easier than it seems.
In this blog, I’ll walk you through exactly how to sterilize jars for safe canning every time so that you can preserve your favorite foods with confidence and peace of mind.
Why & When to Sterilize Jars
Sterilizing jars is essential for keeping stored food safe and fresh. Even jars that look clean can carry bacteria, mold, or yeast that may grow once sealed, leading to spoilage, bad odors, or health risks.
Proper sterilization creates a clean, safe space for your food, helping it last longer and maintain quality.
It’s especially important in canning, where trapped moisture and low oxygen can allow bacteria to grow quickly if jars aren’t prepared correctly. Do it in these instances:
- When Storing Food Long-Term: Sterilize jars if food will be kept on shelves for weeks or months.
- Before Water Bath Canning: Always sterilize when using this method, as it uses lower heat.
- For High-Acid Foods: Needed for jams, jellies, pickles, and fruit preserves.
- Not Required For Pressure Canning: High heat during the process usually handles sterilization.
- When Reusing Old Jars: Clean and sterilize jars that have been stored or previously used.
What You’ll Need
Before you get started, it helps to have everything ready in one place. Here’s a quick look at the basic tools and equipment you’ll need for sterilizing jars at home:
| Item | Purpose |
| Glass Jar (mason jars or similar) | Used for storing food safely; must be heat-resistant and free of cracks. |
| Lids and Bands | Helps to seal the jars properly to keep out air and bacteria. |
| Large pot ou sausepan | Used to boil jars for sterilization |
| Tongs or Jar lifter | Allow you to safely remove hot jars without burning your hands. |
| Clean towel or rack | Provide a clean surface for jars to dry after sterilizing |
| Optional: dishwasher or oven | Alternative methods for sterilizing jars more conveniently. |
Step-by-Step: How to Sterilize Jars (Boiling Method)
This is the most common and beginner-friendly way to sterilize jars at home. It’s simple, reliable, and doesn’t require any special equipment, just a bit of care and attention.
Step 1: Inspect Jars and Lids
Before you begin, take a moment to check your jars and lids carefully. Look for any cracks, chips, or damage, especially around the rim, as this can affect sealing.
Running your finger along the edge helps spot tiny flaws. This simple step ensures your jars will seal properly and safely.
Step 2: Wash Jars with Hot Soapy Water

Give all your jars a good wash using hot water and dish soap. This removes any dust, residue, or old food particles from storage.
Rinse them thoroughly so no soap remains inside. Clean jars are essential before moving on to sterilization.
Step 3: Place Jars in Pot and Add Water
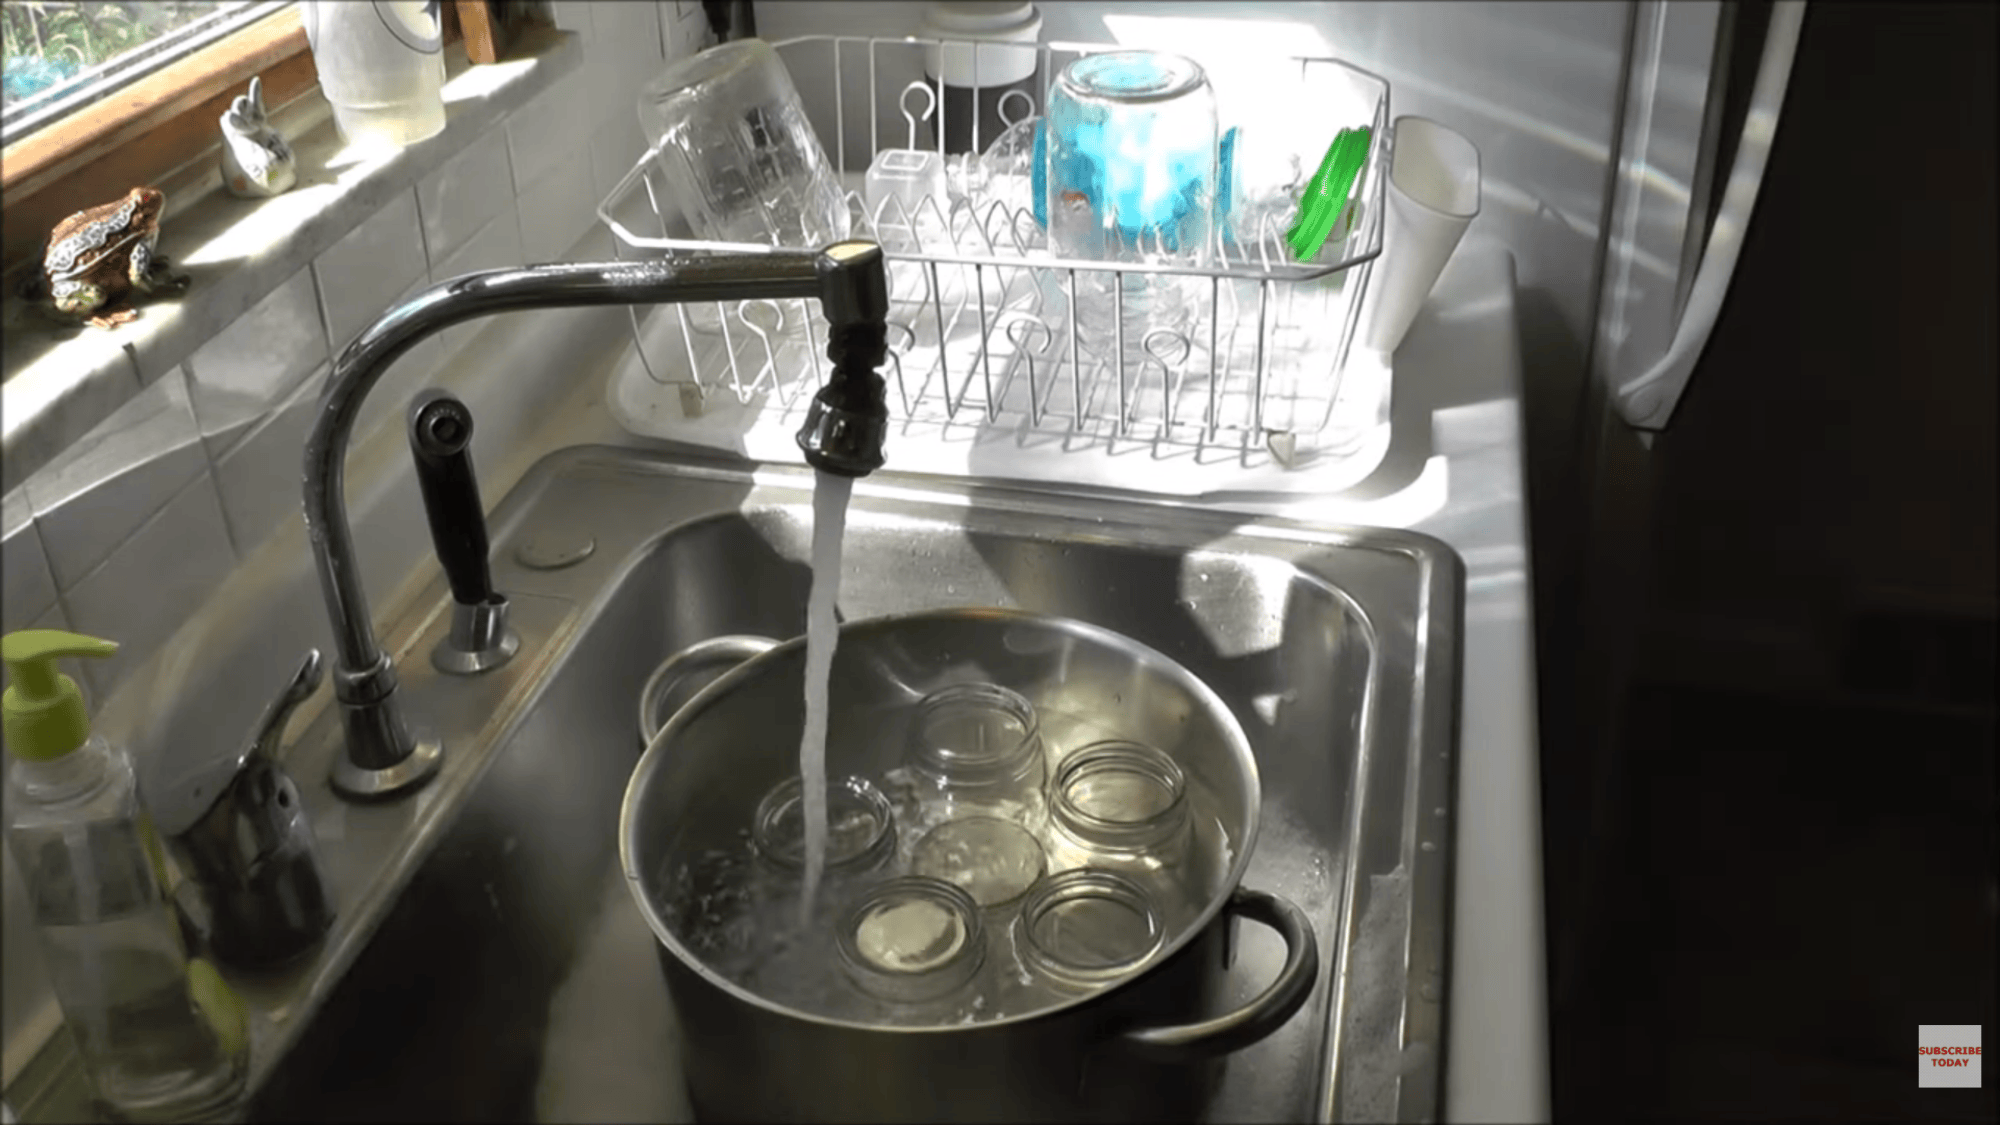
Arrange the washed jars inside a large pot, ideally on a rack to keep them off the bottom. Fill the pot with enough water to completely cover the jars.
Make sure the jars are also filled with water to avoid air pockets. This setup allows even heating during the process.
Step 4: Boil Jars and Simmer Lids
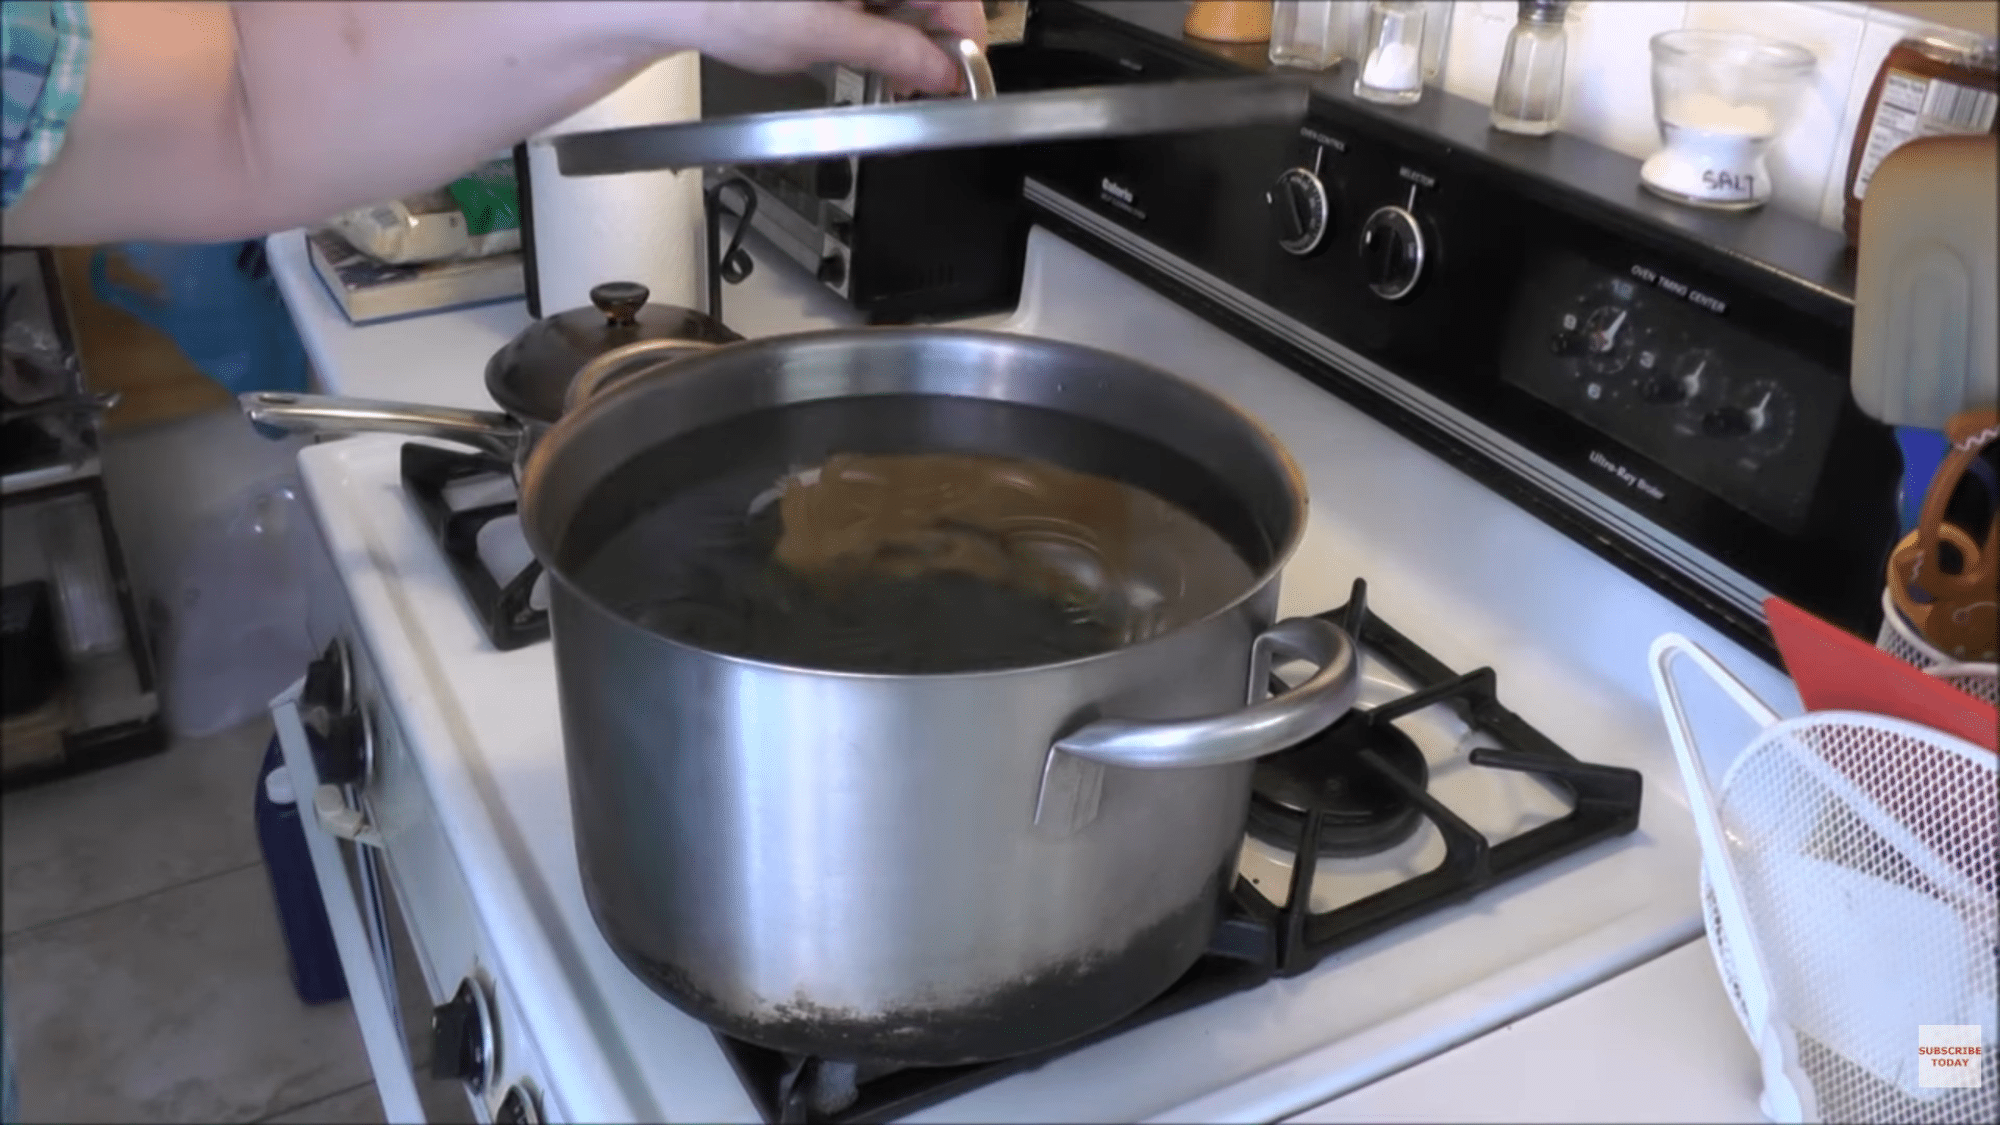
Bring the water to a boil and let the jars boil for about 10–15 minutes. At the same time, place the lids in a separate pot and let them gently simmer.
This helps soften the sealing compound without damaging it. Both steps ensure everything is properly sanitized.
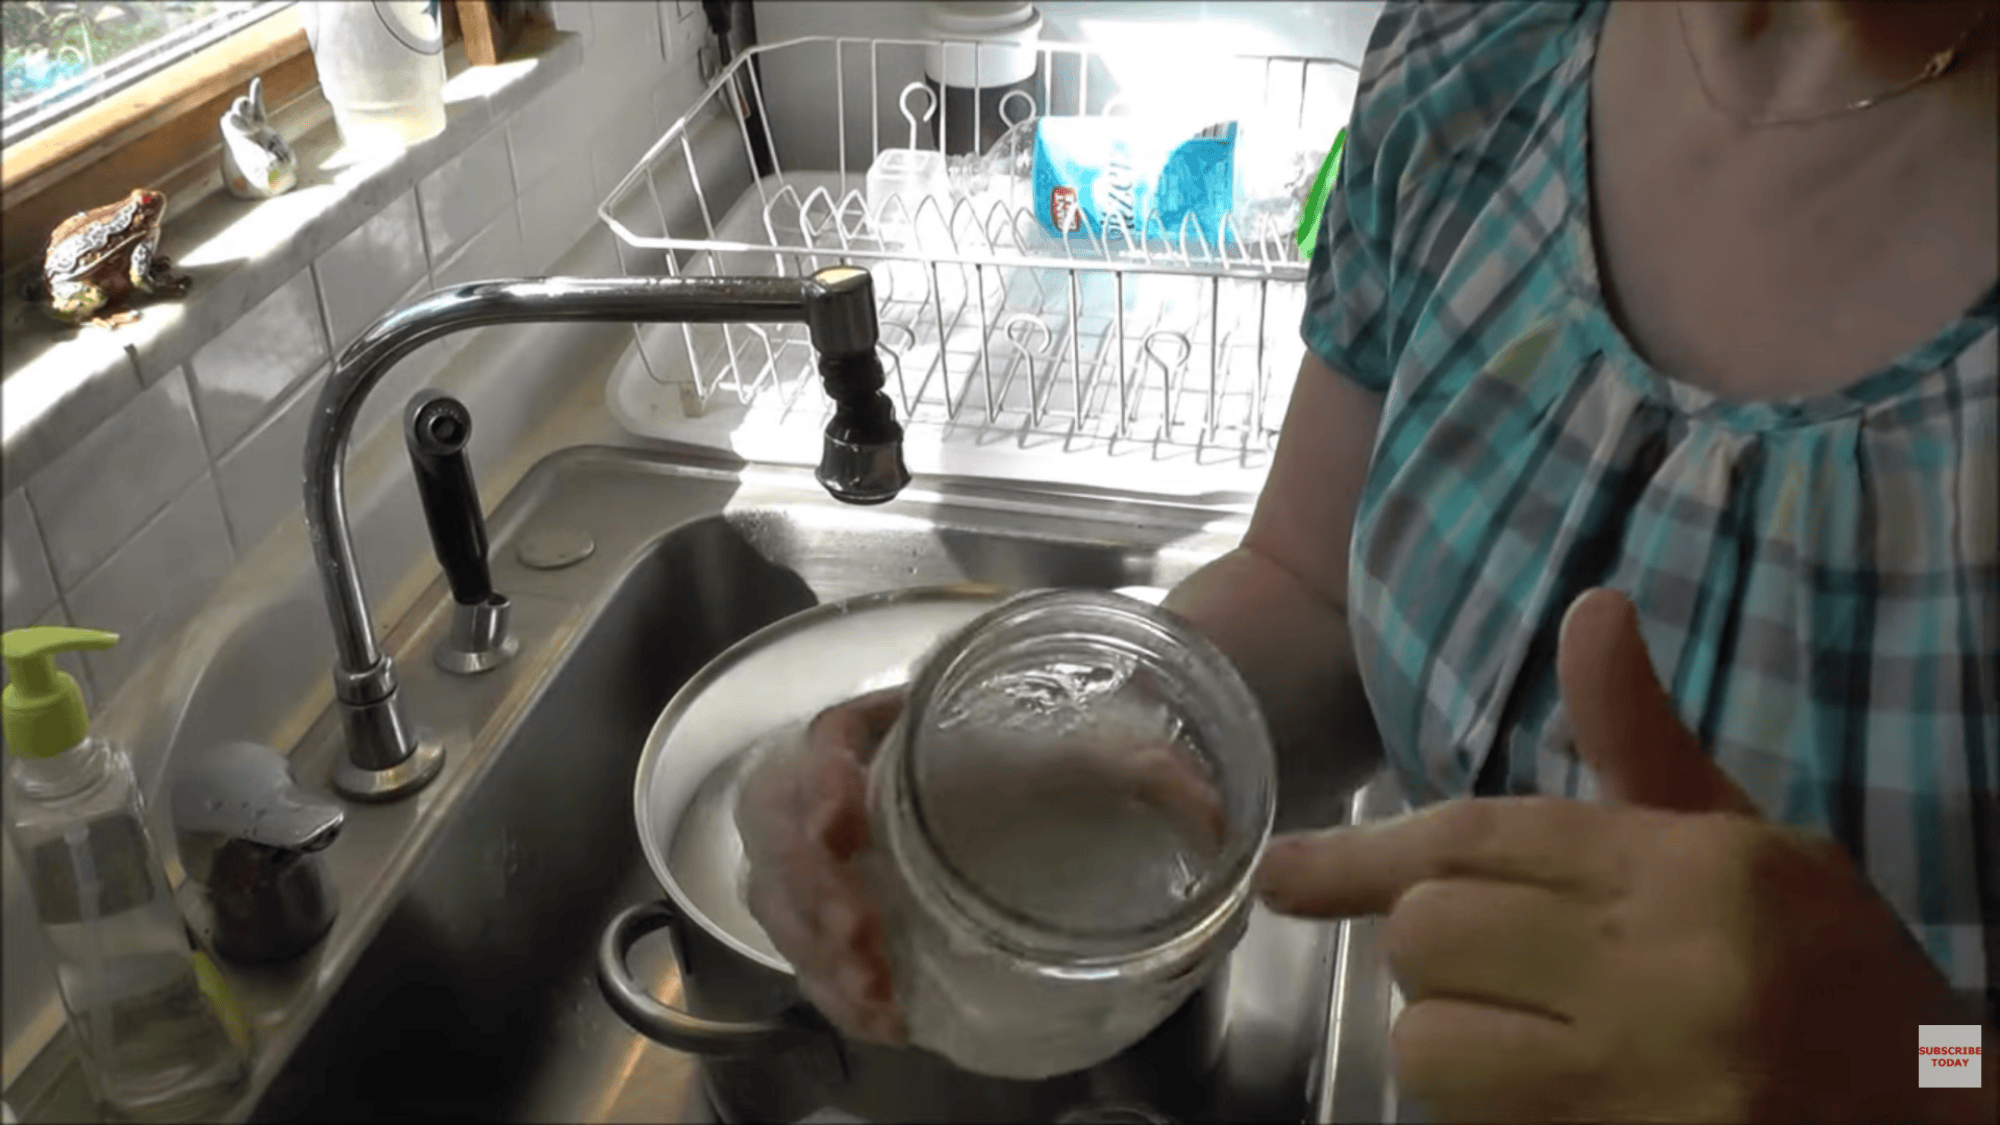
Step 6: Remove Carefully with Tongs
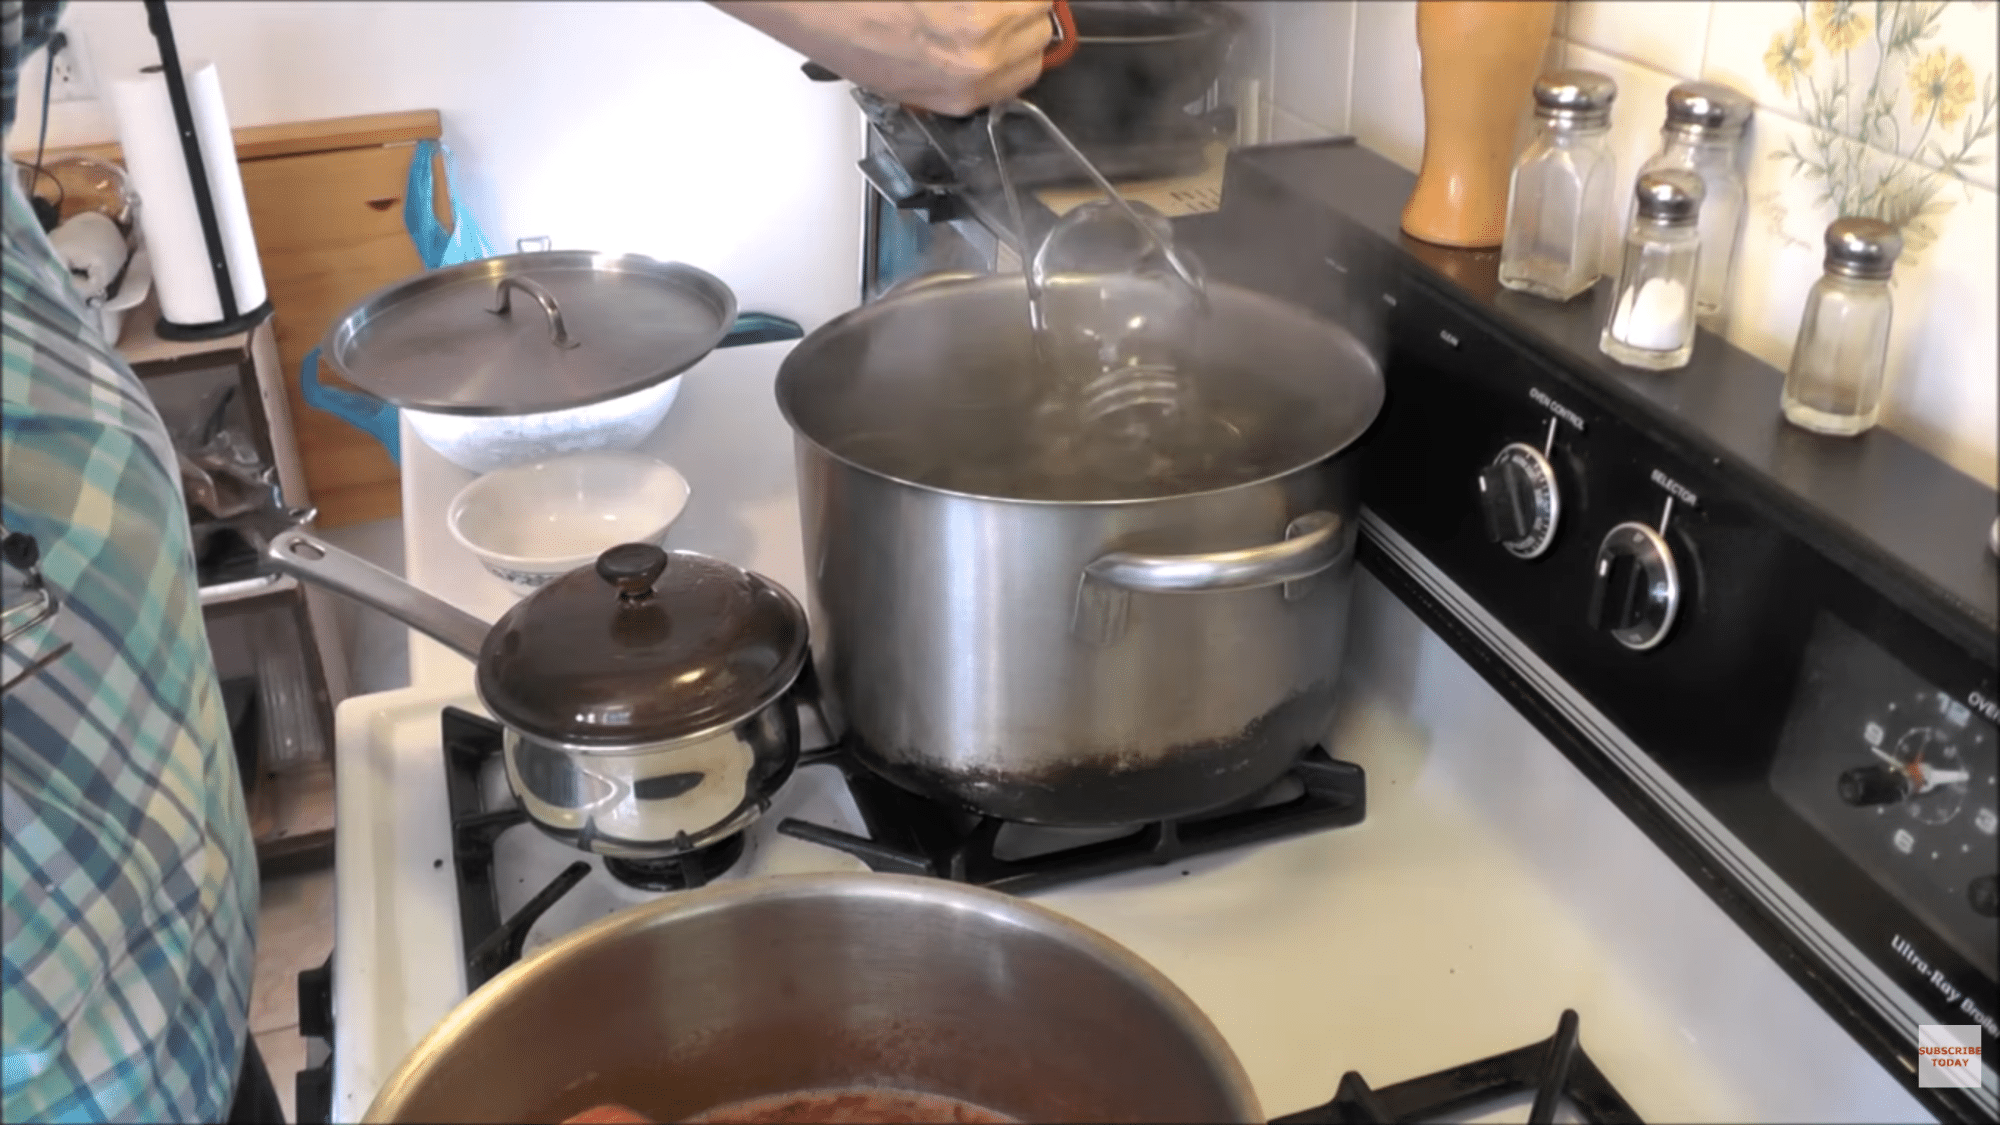
Once done, turn off the heat and carefully lift the jars out using tongs or a jar lifter. Be gentle and steady, as the jars will be very hot and slippery.
Avoid touching the inside of the jars or the rim while handling them. Any contact can reintroduce bacteria. Safety and cleanliness both matter here.
Step 7: Let them Dry Upside Down on a Clean Towel
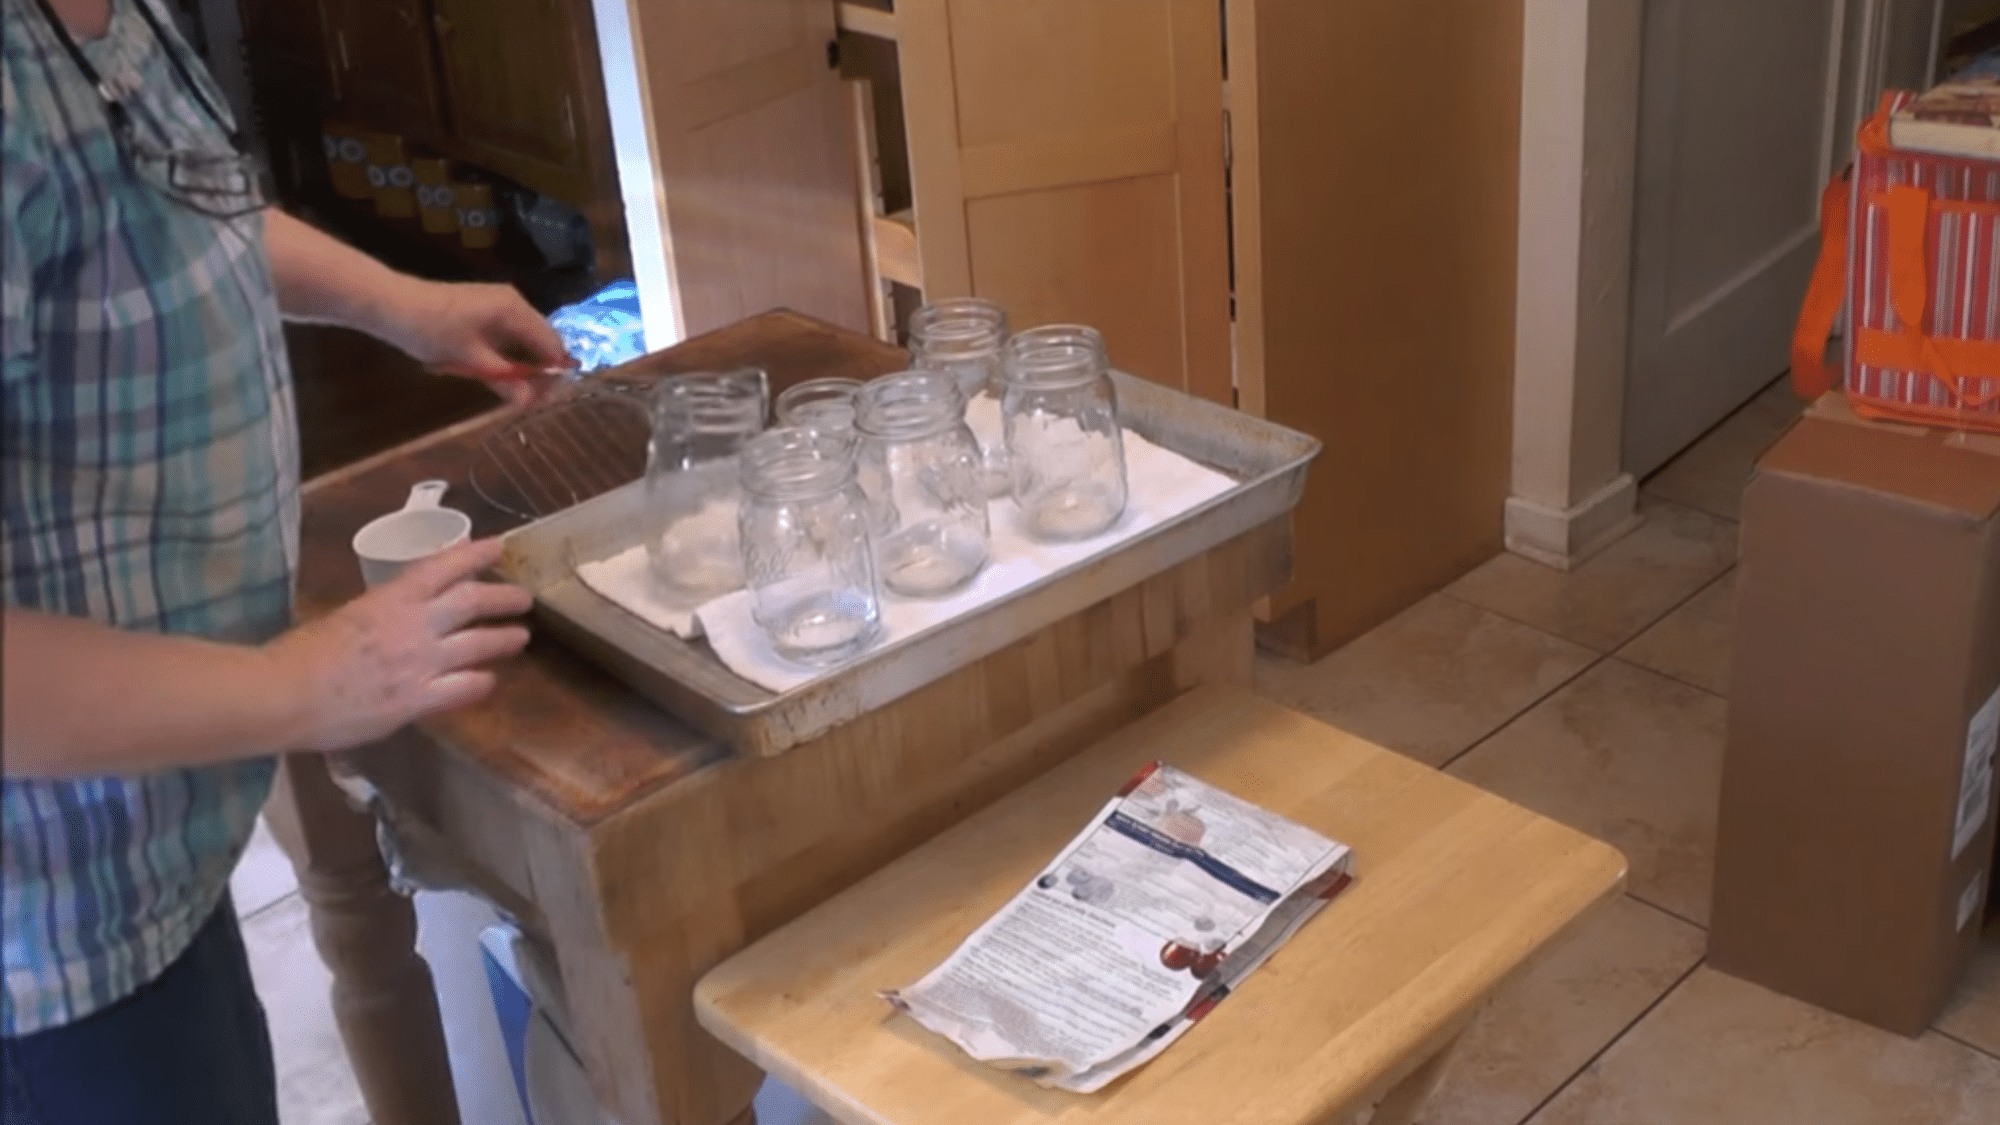
Place the jars upside down on a clean, dry towel or a rack. This allows excess water to drain out and prevents contamination from airborne particles.
Let them air dry completely. Don’t wipe the inside with a cloth. It’s best to use the jars while they’re still warm for canning. Warm jars also reduce the risk of cracking when filled.
Check out this video to better understand the entire chimney cleaning process:
Alternative Methods to Sterilize Jars
If you’re not using the traditional boiling method, there are a few other easy ways to get the job done. These alternatives can save time and still keep your jars clean and ready for use.
A. Dishwasher Method
If you want a hands-off option, the dishwasher works really well. Simply place your jars inside and run the hottest cycle available.
The high temperature helps clean and sanitize them effectively. Once done, keep the jars inside until you’re ready to use them so they stay warm and clean.
B. Oven Method
The oven is another simple way to sterilize jars, especially in batches. Preheat it to around 120°C (250°F), then place clean jars inside for 15–20 minutes.
This dry heat helps remove any remaining bacteria. Just remember, never put lids in the oven, as the heat can damage their sealing layer.
C. Microwave Method
For a quick and small batch, the microwave can be quite handy. Add a little water to each jar and heat them for 1–2 minutes until hot and steamy.
This method is fast but only works for jars, not lids. It’s a good option when you’re short on time or sterilizing just a few jars.
Tips to Keep Glass Jars Sterilized
Keeping glass jars properly sterilized is key to safe storage, especially for food, preserves, or DIY projects. A few simple habits can help maintain cleanliness and prevent contamination over time.
- Store in a Clean, Dry Space: Always keep jars in a dust-free cabinet or sealed container to avoid exposure to moisture and bacteria.
- Avoid Touching the Inner Surface: Handle jars from the outside or rim only to prevent transferring germs inside.
- Use Sterile Lids Every Time: Even if jars are clean, using unsterilized lids can reintroduce bacteria.
- Seal Immediately After Sterilizing: Don’t leave jars open for long; seal them quickly to maintain sterility.
- Re-Sterilize Before Reuse: Always sterilize jars again before using them, even if they were stored properly.
- Check for Cracks or Residue: Damaged jars or leftover residue can harbor bacteria and should be avoided.
Conclusion
Sterilizing jars might seem like a lot at first, but once you do it a couple of times, it quickly becomes second nature. It’s really just a simple routine that makes a big difference.
Don’t hesitate to give home canning a try. If it’s jam, pickles, or sauces, preserving your own food can be both fun and rewarding.
Most importantly, taking the time to sterilize properly keeps your food safe to eat. And honestly, there’s nothing quite like the satisfaction of opening a jar of something you made yourself.

Stephanie Grace, a graduate with a degree in Fine Arts from the Savannah College of Art and Design, has been inspiring DIY enthusiasts with her creative and practical guidance for over 14 years. Her career in design and crafting began in a small artisan workshop, where she developed a passion for transforming everyday materials into beautiful and functional items. Stephanie joined our website in 2018, rapidly gaining popularity for her easy-to-follow DIY tutorials and innovative project ideas. Since then, she has been the creative mind behind our DIY section, helping readers bring their artistic visions to life. Outside her professional pursuits, Stephanie enjoys pottery and urban gardening, hobbies that showcase her love for hands-on creativity and nature.