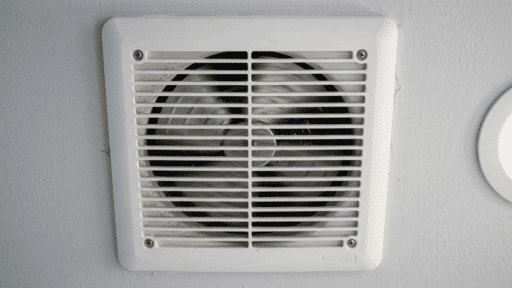
Ever notice the bathroom exhaust fan getting louder or not clearing steam as it used to?
Dust and moisture buildup can slowly degrade its performance, and most people don’t realize it until the bathroom starts feeling damp.
Learning how to clean a bathroom exhaust fan is much easier than it sounds. With a few simple steps, the fan can run better, stay quieter, and help keep the bathroom fresh every day.
If you want to avoid bigger problems later, keep reading to learn the easiest and safest way to get the job done.
Why Cleaning the Bathroom Exhaust Fan is Significant?
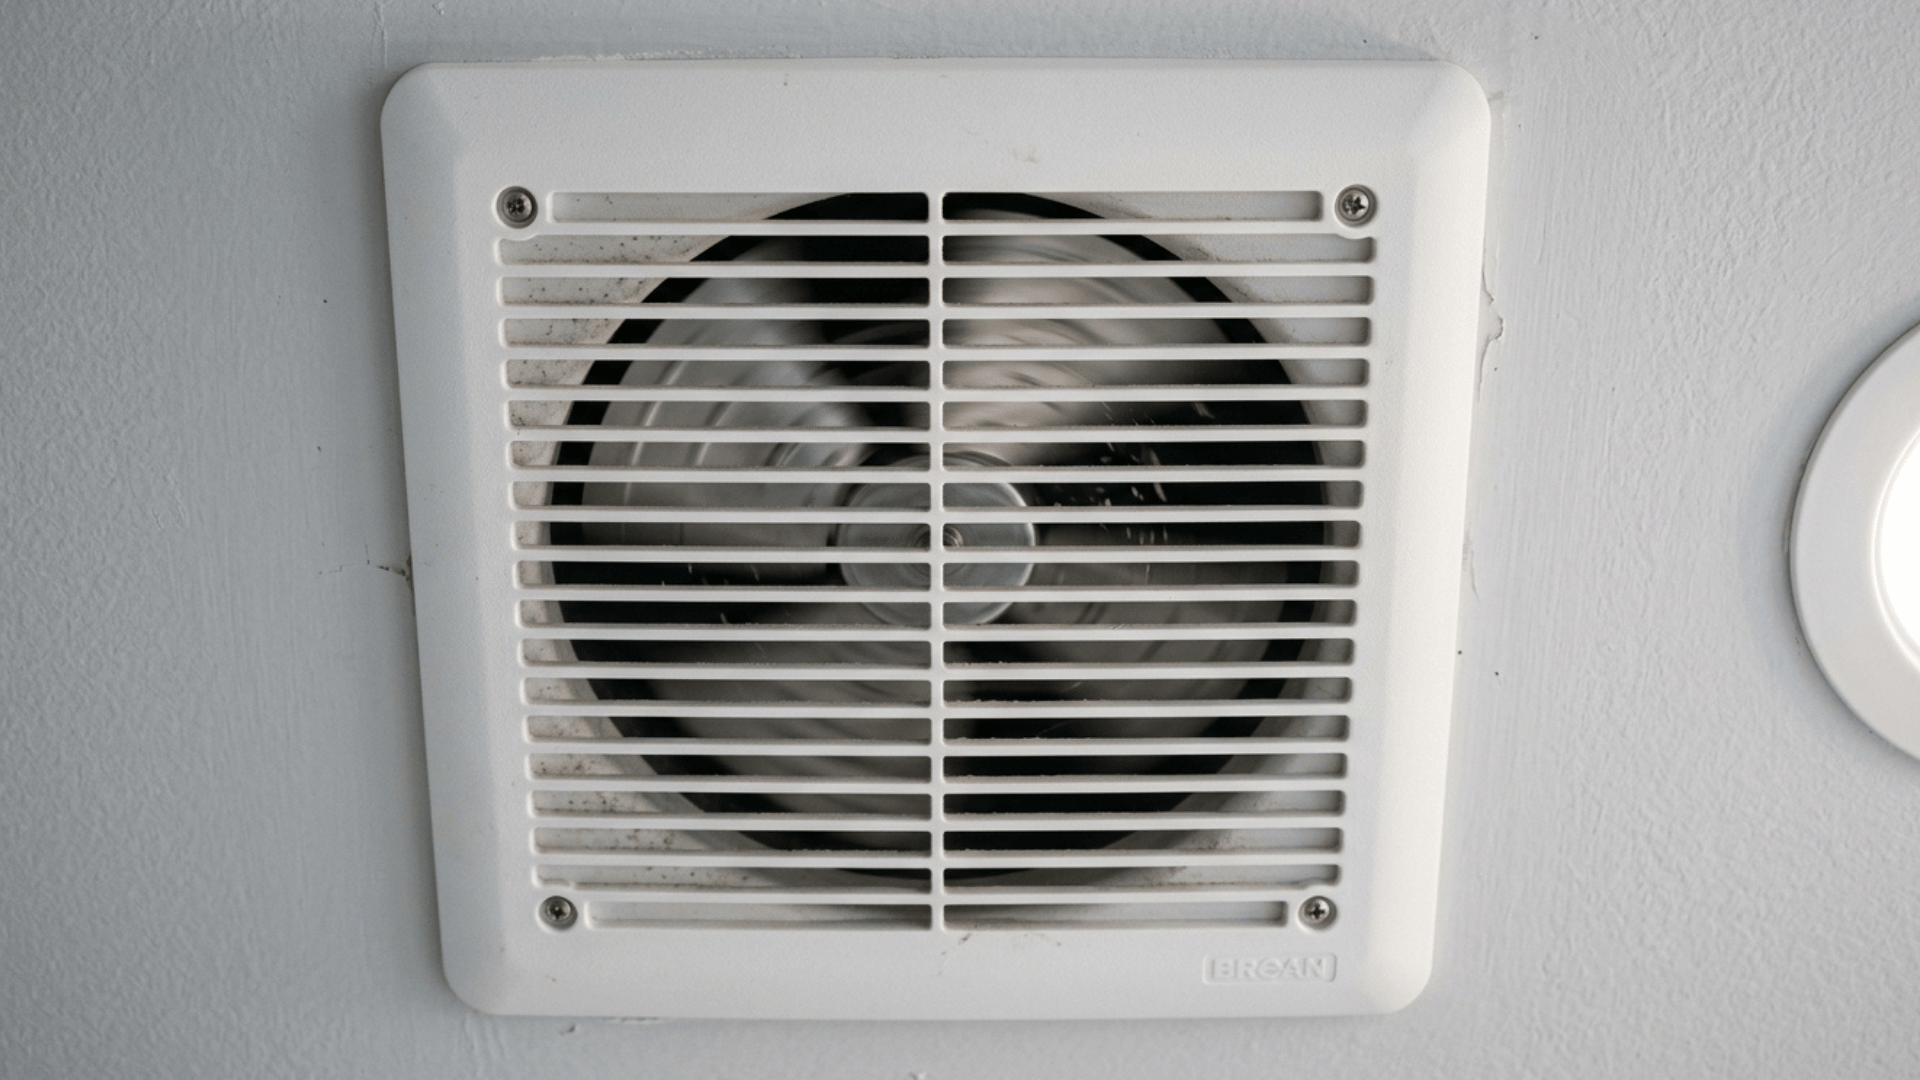
A bathroom exhaust fan does more than remove steam. It helps control moisture and keeps the air healthy, so regular cleaning should not be ignored.
Cleaning the fan prevents mold and moisture buildup, improves airflow and ventilation, and reduces noise caused by dust collecting on the blades.
It also helps the fan last longer by reducing strain on the motor and keeps the bathroom smelling fresh.
When dirt and grime build up inside, the fan struggles to work properly, which can lead to poor performance over time.
Keeping the fan clean ensures better airflow, reduced noise, and a more comfortable, hygienic bathroom environment every day.
Tools and Materials Needed to Clean Bathroom Exhaust Fan
Having the right tools makes the cleaning process faster and safer. Keeping all tools ready before starting helps avoid interruptions and makes the cleaning process smoother and less stressful.
| Tool and Materials | Purpose |
|---|---|
| Screwdriver | Removes the fan cover safely |
| Vacuum with brush attachment | Removes dust from blades and motor |
| Soft cloth or microfiber cloth | Wipes dirt gently from surfaces |
| Mild soap or cleaning solution | Cleans dirt and grease buildup |
| Old toothbrush or small brush | Cleans corners and small spaces |
| Ladder or step stool | Helps reach the ceiling fan safely |
| Compressed air can | Blows dust out from hard-to-reach areas |
| Dry towel | Dry the fan cover after washing |
| Flashlight | Helps see hidden dust inside the housing |
How to Clean a Bathroom Exhaust Fan: Step-by-Step Process
Cleaning a bathroom exhaust fan is simple when done in the right order. These steps help safely remove dust while protecting the fan and preventing damage:
Step 1: Turn Off Power Before Cleaning
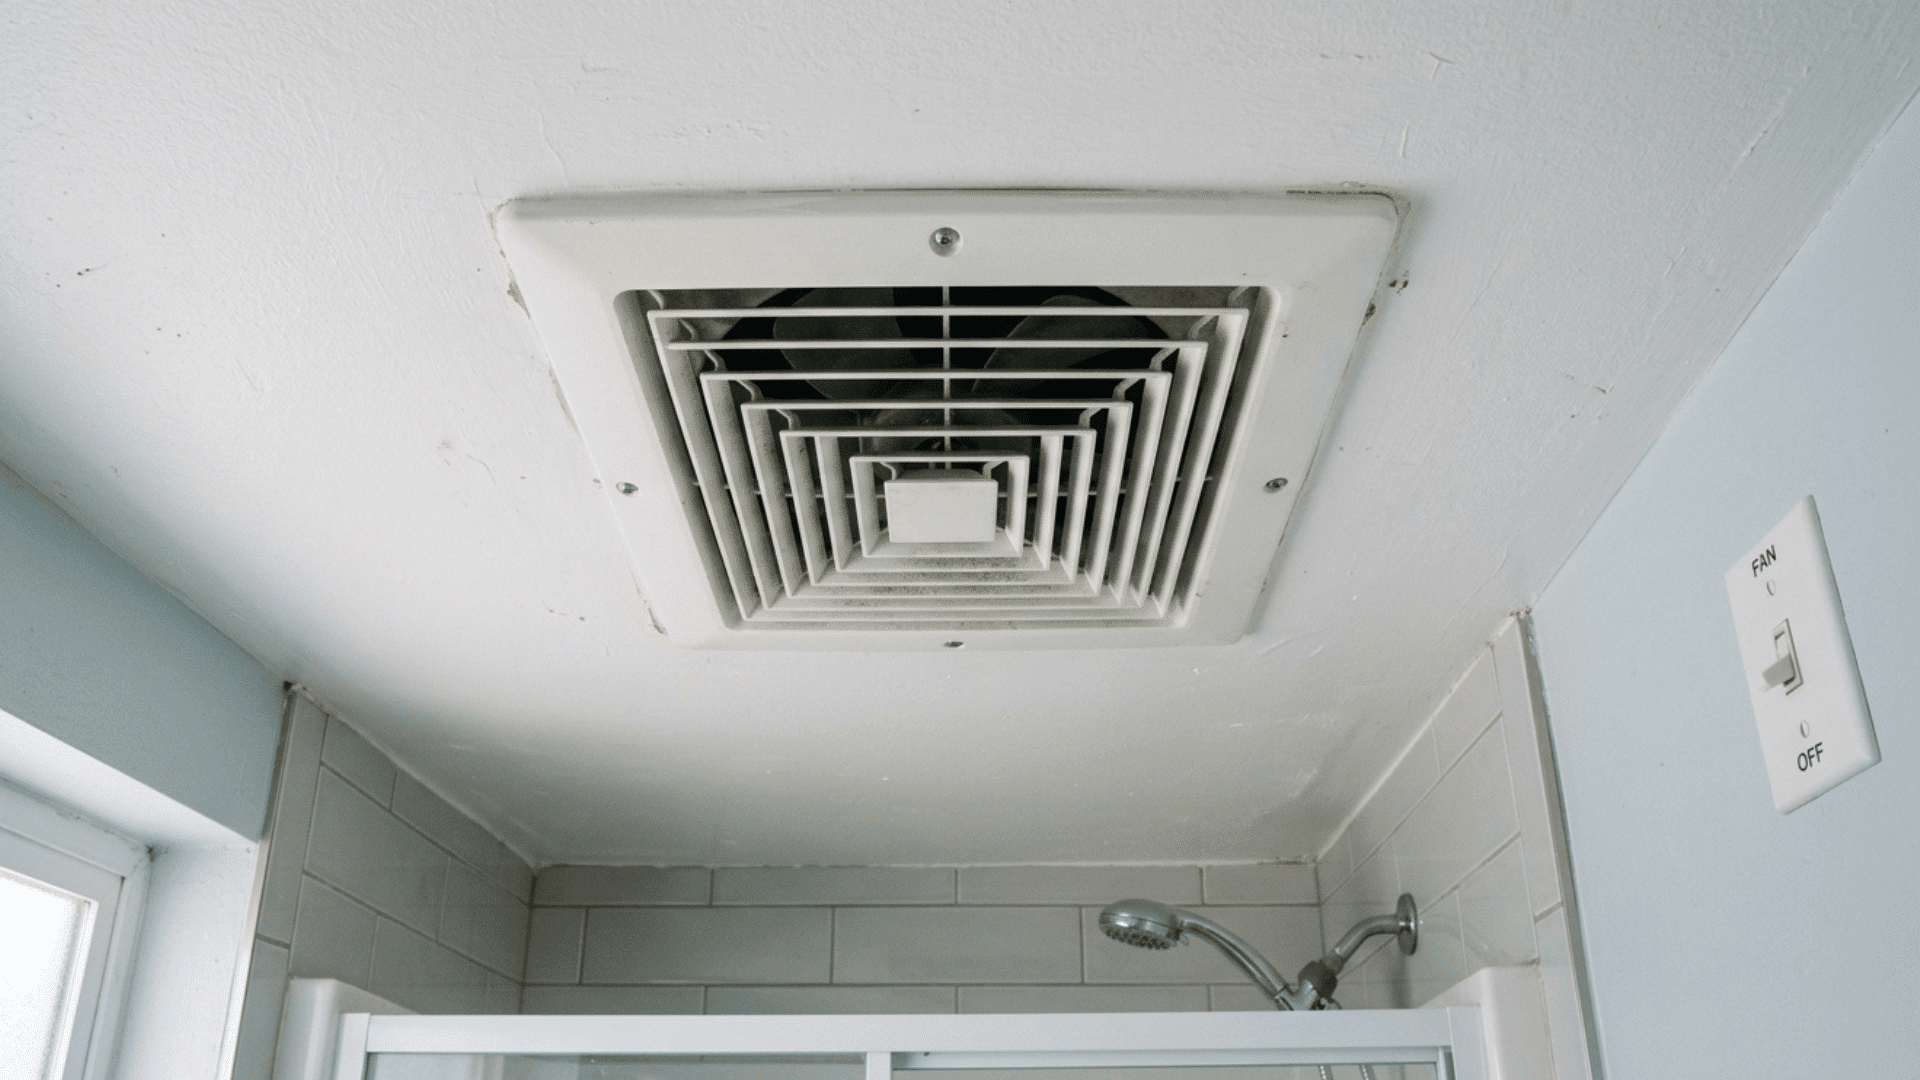
Always start by turning off the power to avoid any risk. Use the wall switch first, then switch off the breaker for extra safety. This step prevents electrical shock while working on the fan.
Even if the fan seems off, power may still be running, so double-check before touching any parts.
Taking a minute for safety helps avoid accidents and keeps the cleaning process stress-free and secure from start to finish.
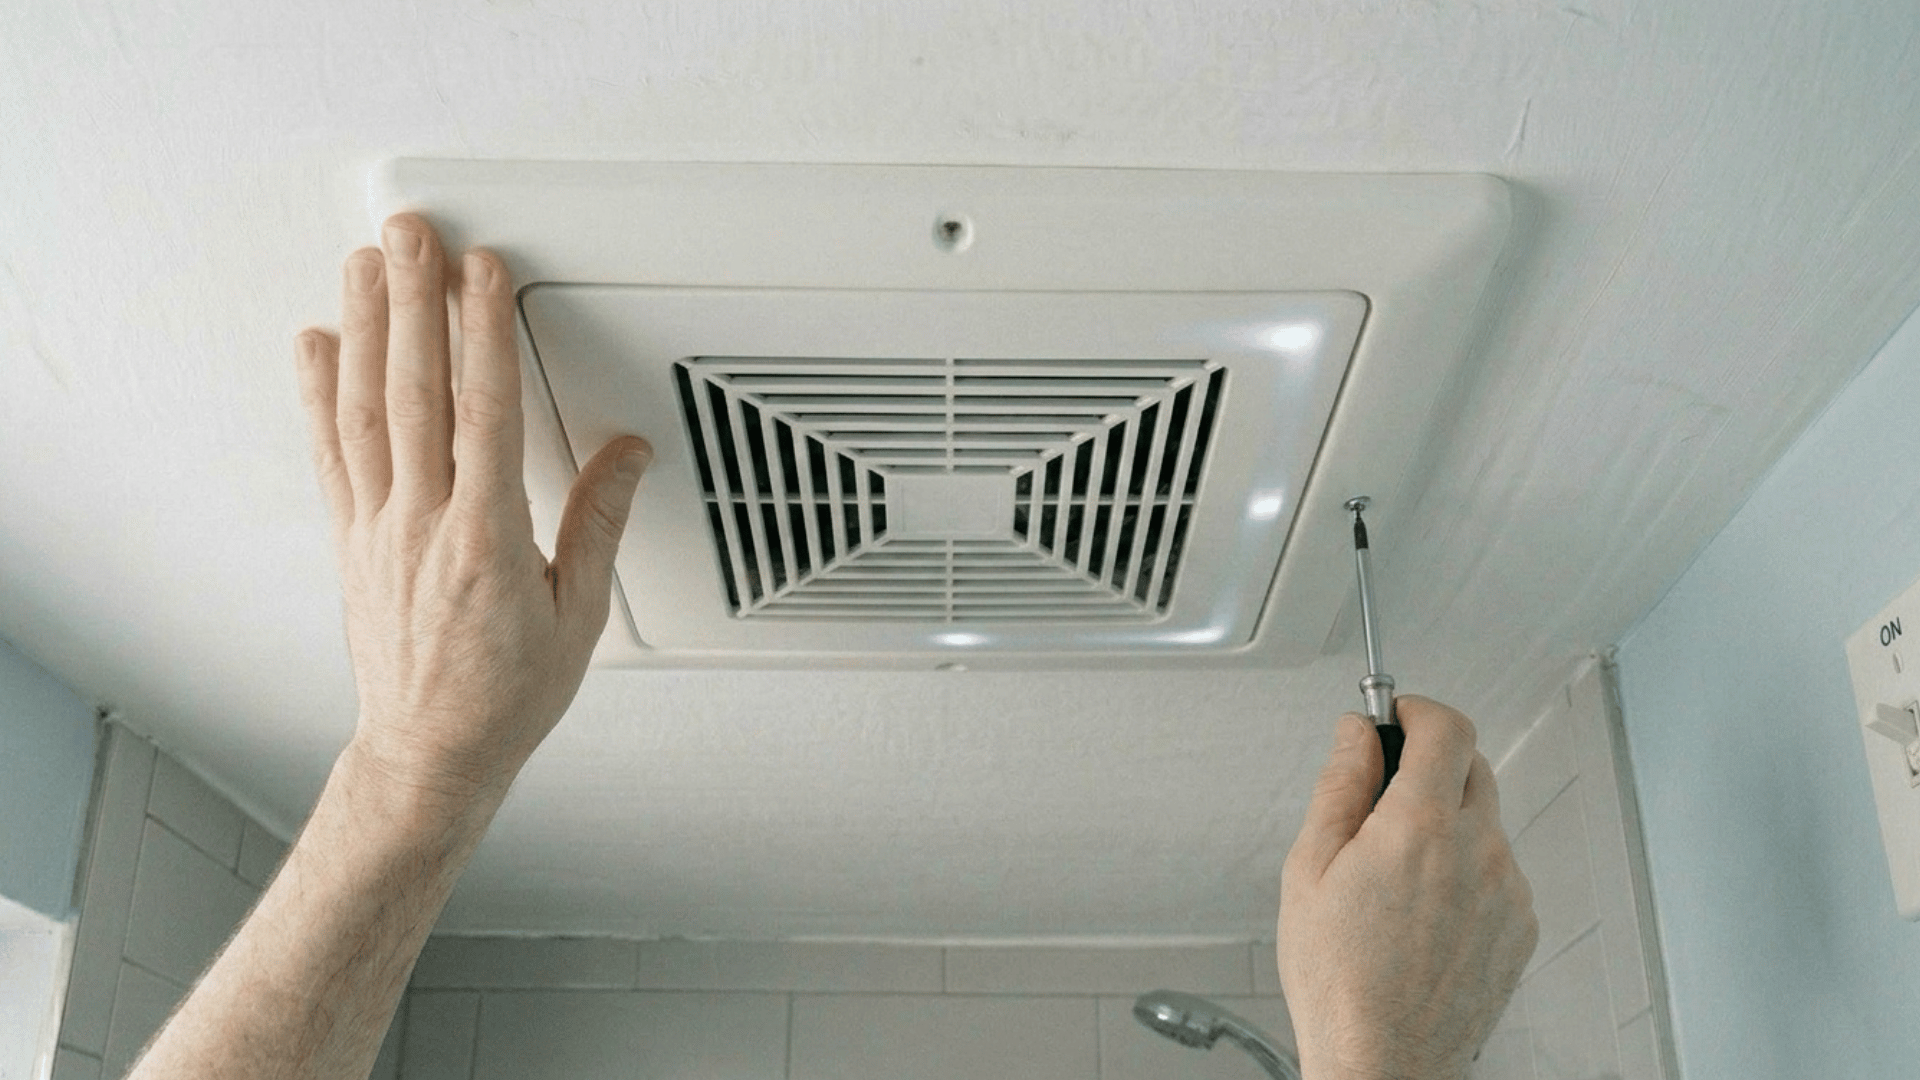
Step 2: Remove the Fan Cover Carefully
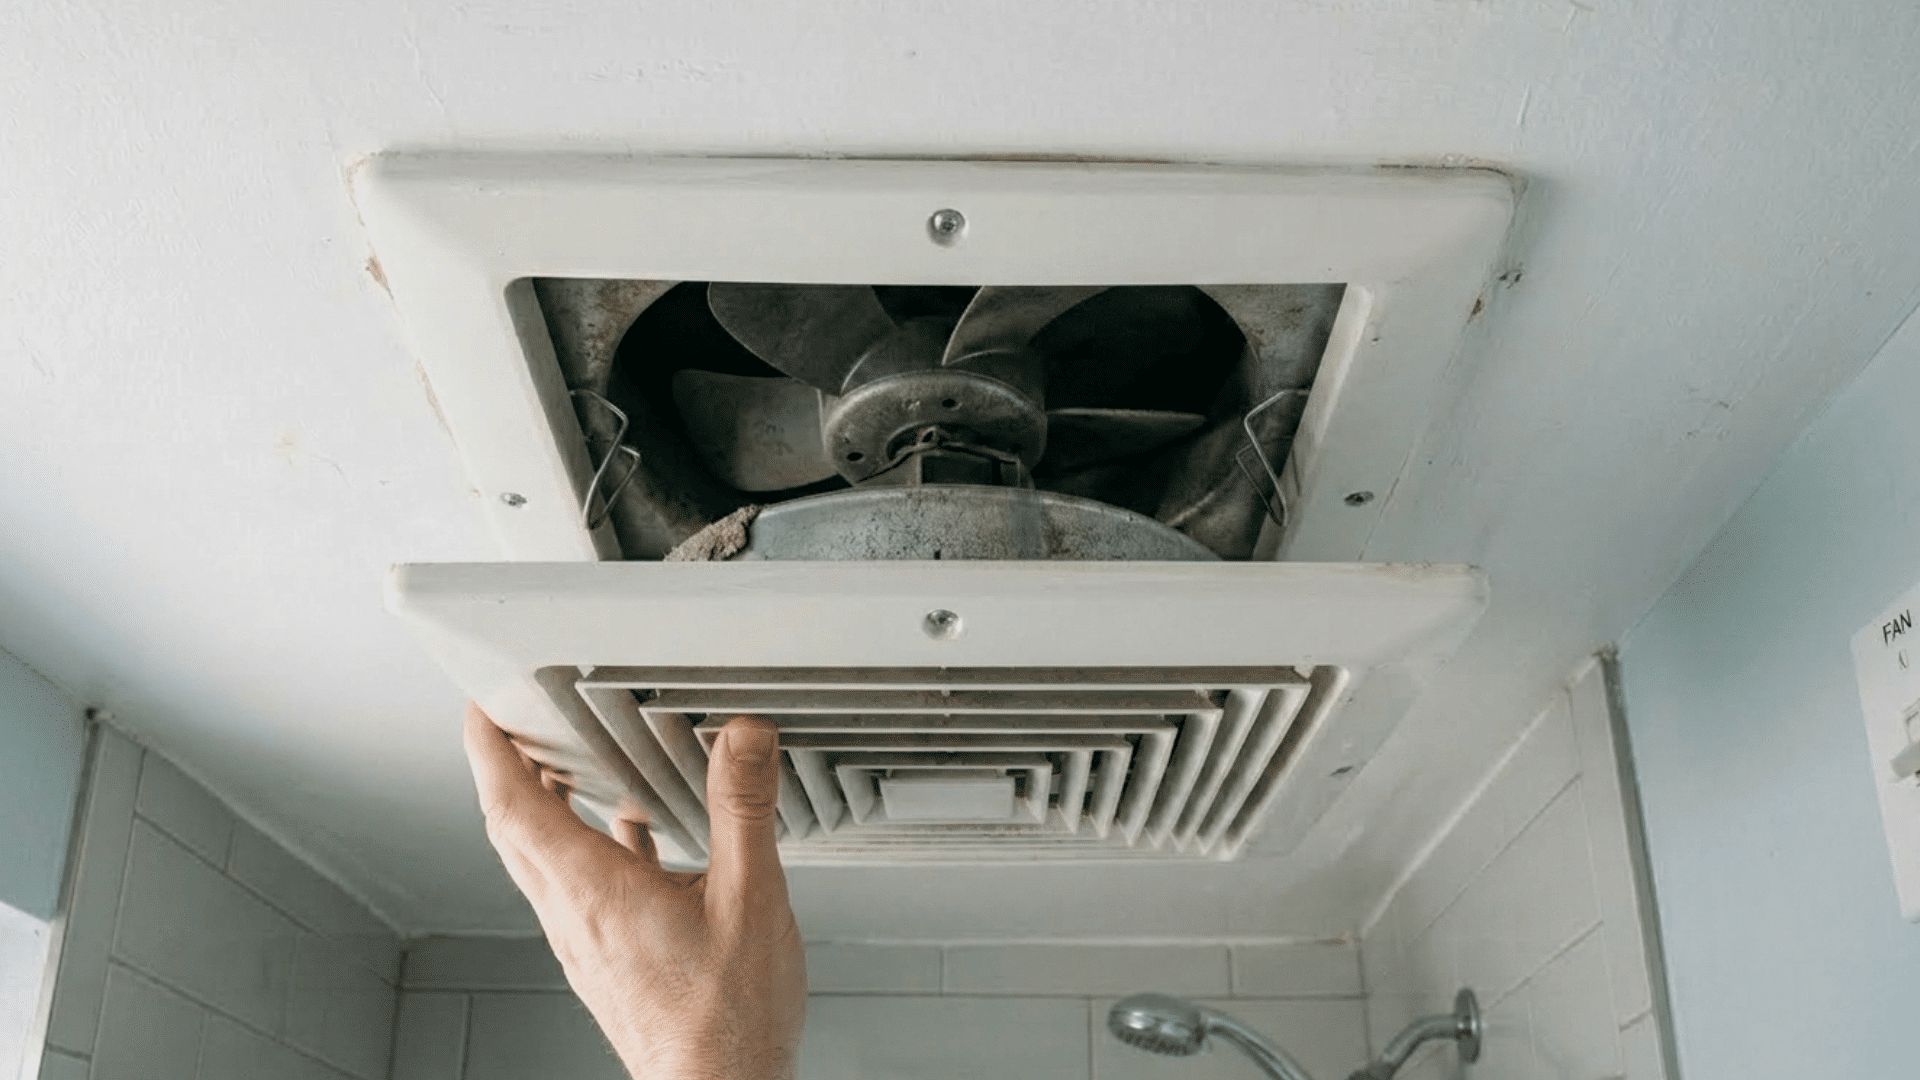
Most fan covers are held in place with clips or small screws. Gently pull the cover down and squeeze the metal clips to release it. If screws are used, remove them with a screwdriver and keep them safe.
Avoid pulling too hard, as this can crack or bend the cover. Moving slowly helps prevent damage and makes reinstallation easier later.
Once removed, place the cover aside on a flat surface for cleaning.
Step 3: Clean the Fan Cover Properly
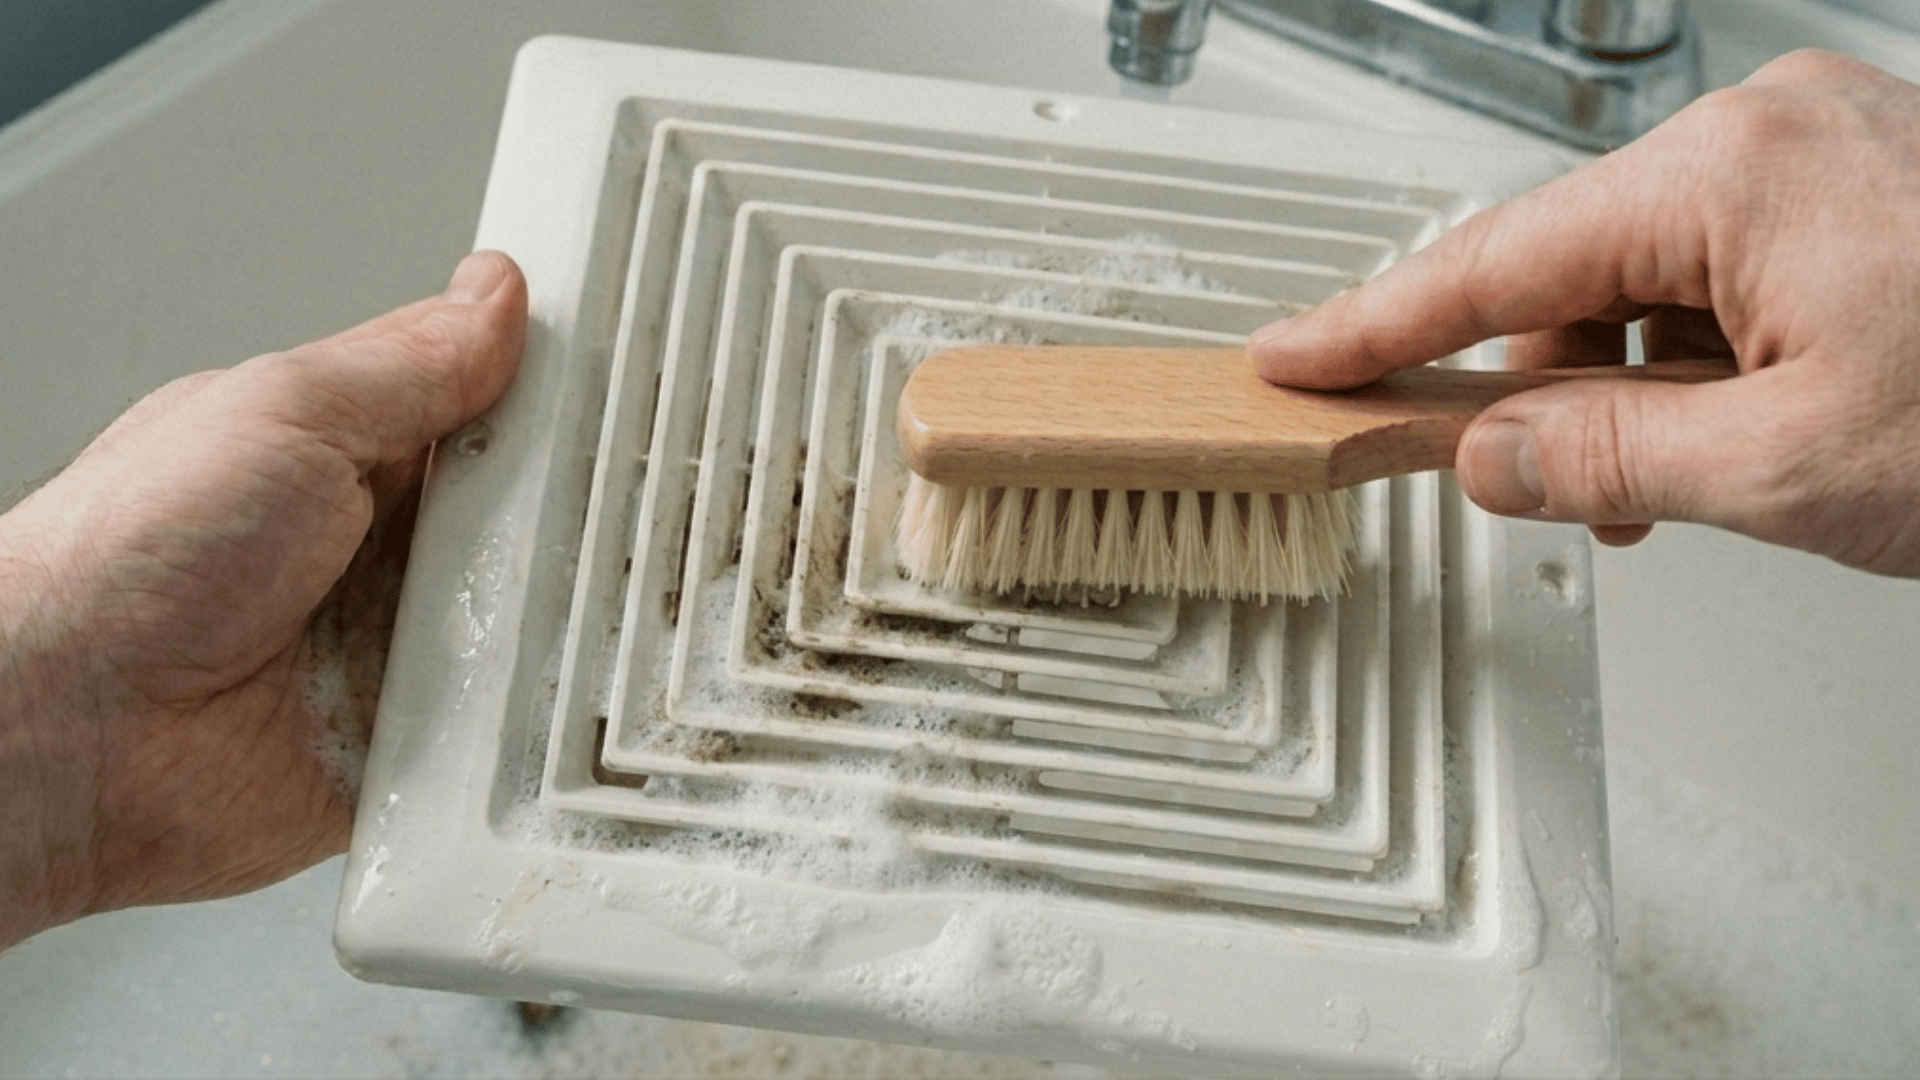
Wash the fan cover using mild soap and warm water to remove dust and grime. Let it soak for a few minutes if dirt is stuck.
Use a soft cloth or brush to clean all areas, especially vents and edges. Rinse it well and make sure no soap residue is left.
After washing, dry the cover completely using a cloth or let it air dry. Never reinstall a wet cover, as moisture can affect the fan and cause issues.
Step 4: Remove Dust from Fan Blades and Motor
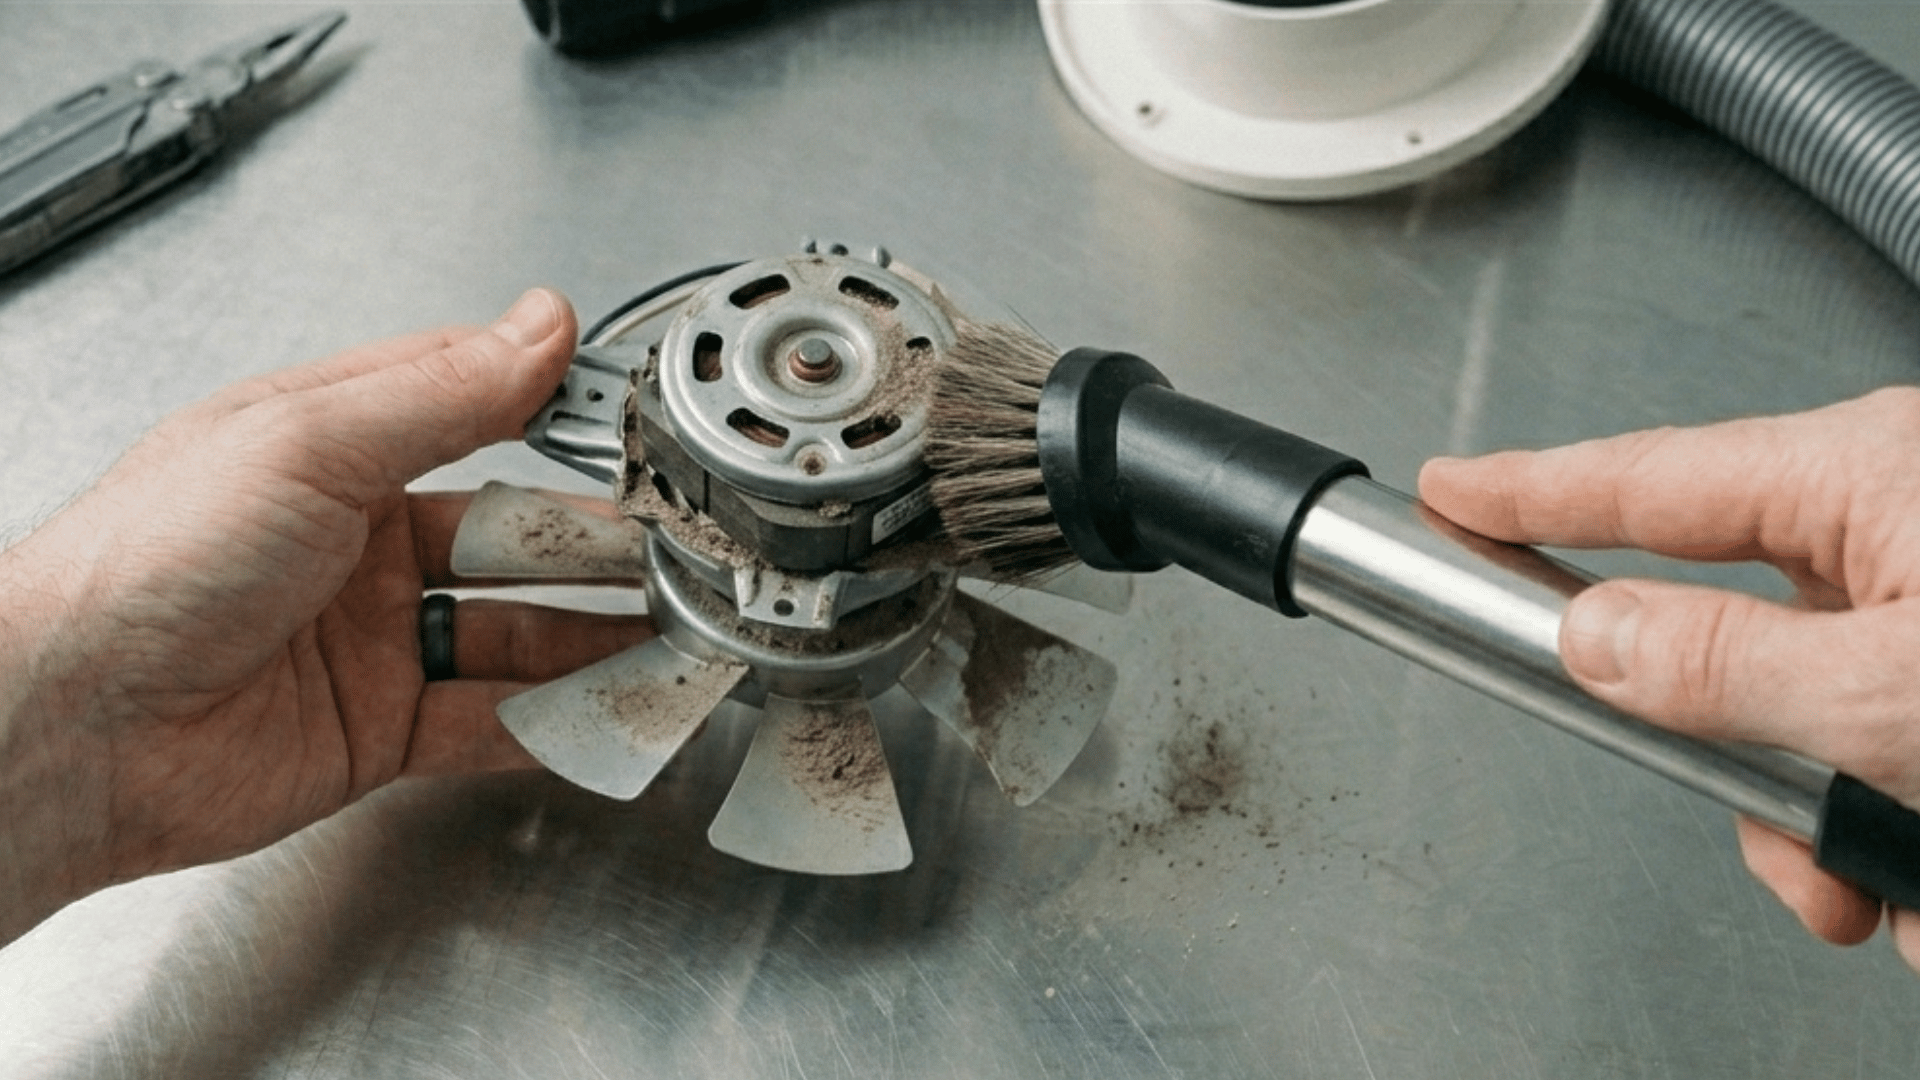
Use a vacuum with a brush attachment, or a small brush, to remove dust from the fan blades and the motor. Work gently to avoid bending the blades or damaging internal parts.
Focus on removing loose dirt without applying pressure. Do not use water near the motor, as it can cause damage. A light touch is enough to clean most buildup.
This step improves airflow, helping the fan run more smoothly and quietly.
Step 5: Wipe the Housing and Surrounding Area
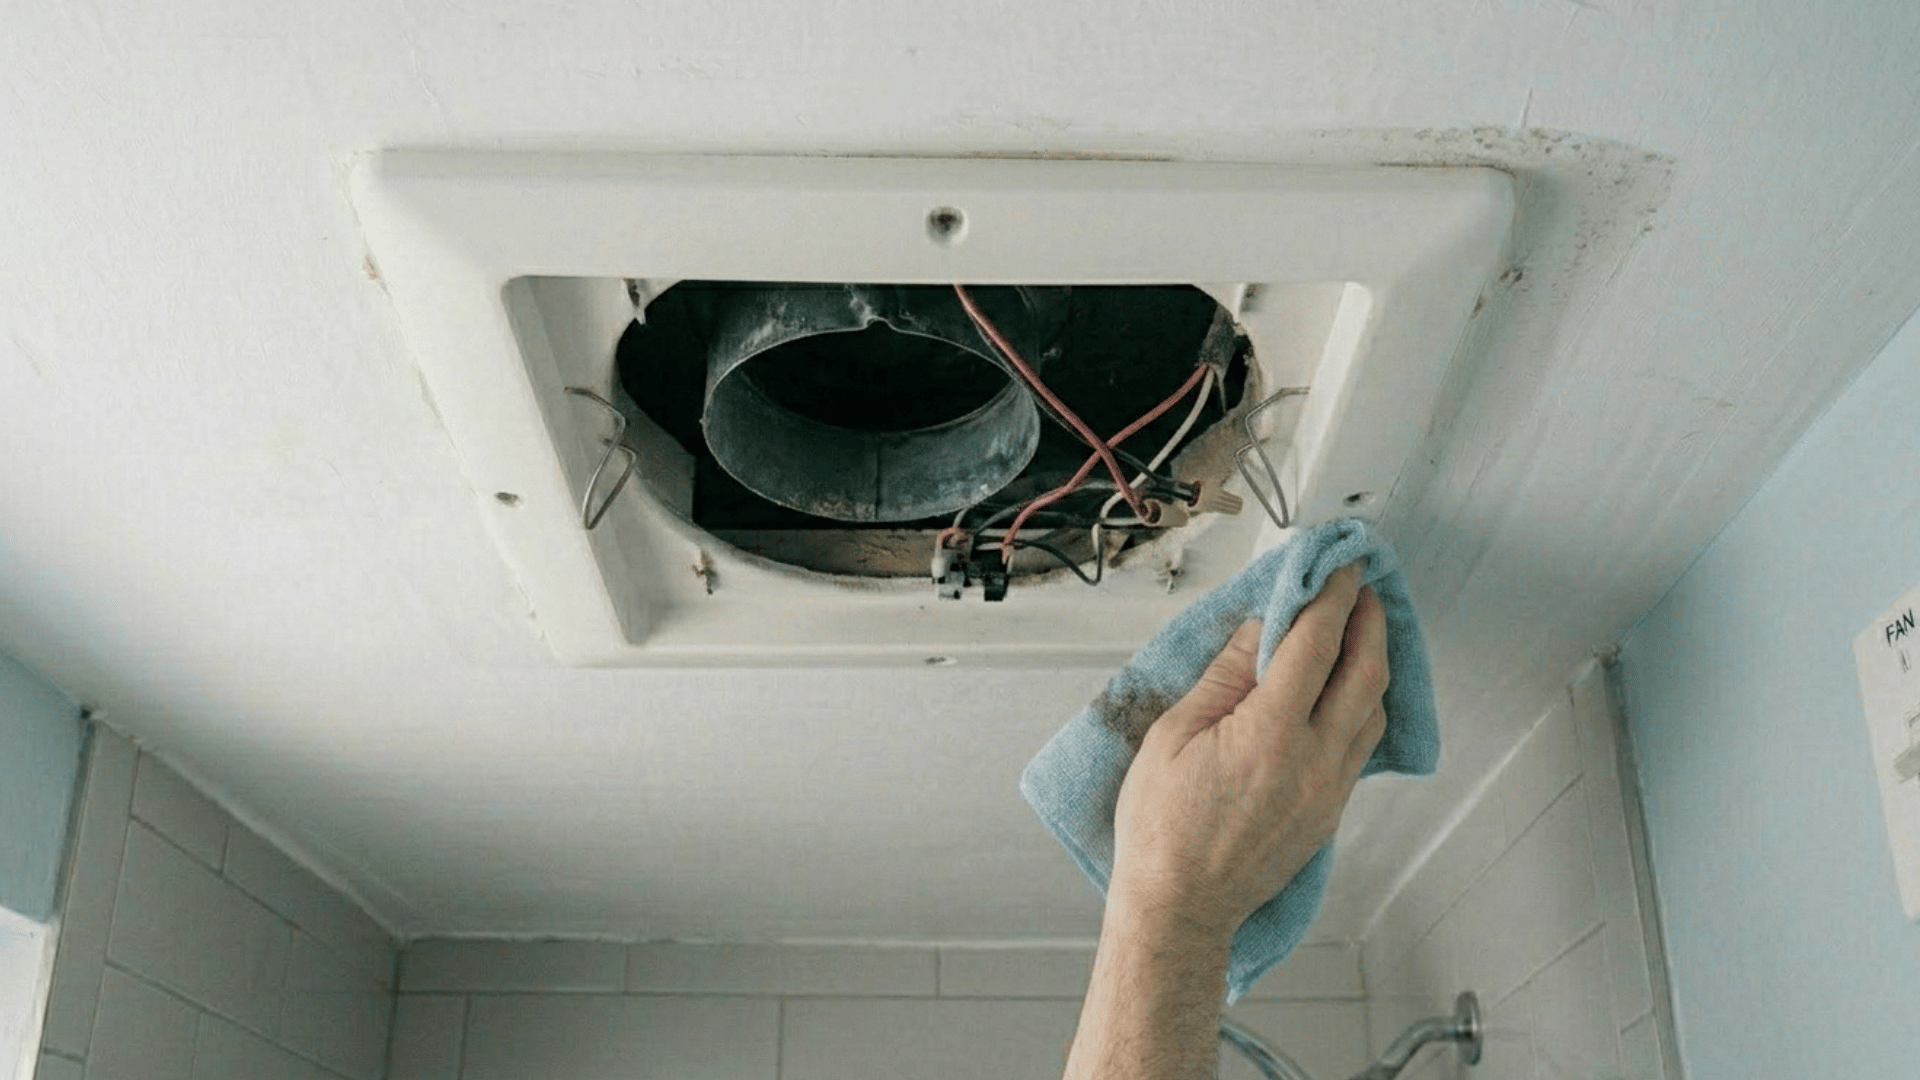
Use a damp cloth to wipe the fan housing and the nearby ceiling area to remove built-up dirt and grime. This helps clear dust that may later fall back into the fan.
Make sure the cloth is only slightly damp, not wet, to prevent moisture from entering electrical components. Pay attention to corners and edges where dust collects easily.
Keeping this area clean supports better airflow and helps maintain overall hygiene in the bathroom.
Step 6: Reassemble and Test the Fan
Once everything is clean and dry, place the fan cover back by securing the clips or screws. Make sure it fits properly and is not loose. After reassembling, turn the power back on from the breaker and switch.
Test the fan to check if it runs smoothly and quietly.
If everything works well, the cleaning is complete. Regular testing after cleaning ensures the fan is safe and working as expected.
Tips to Keep Bathroom Exhaust Fan Clean Longer
A little regular care can keep the fan working well for longer. These simple habits help reduce dust buildup and maintain good airflow:
- Clean regularly: Clean the fan every 3–6 months to prevent heavy dust buildup and keep it running smoothly
- Run after showers: Let the fan run for a few minutes after bathing to remove extra moisture from the air
- Keep bathroom dust-free: Wipe surfaces often so less dust gets pulled into the fan
- Watch for noise: Check for unusual sounds, as they may point to dirt buildup or loose parts
- Control moisture levels: Avoid excess moisture by using proper ventilation daily
- Keep airflow moving: Leave the bathroom door slightly open while the fan runs
- Avoid harsh cleaners: Use mild cleaning products to protect the fan cover
- Check for mold: Look for mildew or stains around the fan area regularly
- Replace damaged parts: Fix loose covers or worn-out parts quickly
- Dust weekly: Remove surface dust often to slow down buildup
- Keep the area clear: Avoid blocking the fan with towels or decorations
- Inspect the outside vent: Check for dirt or debris blocking airflow outside
Final Thoughts
Now that you know how to clean a bathroom exhaust fan, keeping it fresh and working properly is much easier. A clean fan helps remove moisture faster and keeps the bathroom feeling more comfortable.
It only takes a little effort every few months to make a big difference. Once this becomes part of the regular cleaning routine, the fan can stay in better shape for much longer.
All you need to do is follow these simple tips and enjoy a cleaner, fresher bathroom every day.

James McLaren, with a rich background in architecture from the University of Manchester, has been contributing his expertise to the world of creative construction and home innovation for over 20 years. His journey began as a project manager for a leading construction firm, where he honed his skills in bringing complex designs to life. James joined our platform as a freelancer in 2019, quickly becoming a favorite for his insightful and practical advice. He has been a pivotal force to our wing ever since, bringing our readers a blend of technical know-how and creative flair. Beyond his professional life, James is an avid woodworker and enjoys restoring vintage furniture, a hobby that complements his professional insights beautifully.