
Are you one of those people who think improving a home takes weeks of work, a big budget, and a contractor on speed dial? Then you should know that it doesn’t.
Simple home improvements can be done over a weekend, with basic tools, and without breaking the bank. The can make a real difference in how a space looks and feels.
This blog covers easy DIY ideas that anyone can take on, no experience needed. Some take an hour, others take an afternoon, but they will make your place feel personalized and comfortable.
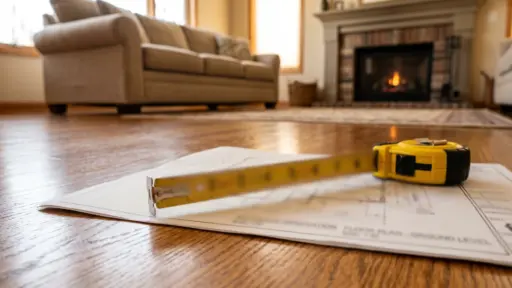
Things to Keep in Mind Before Starting
Before jumping into any simple home improvements, it helps to have a basic plan in place. Think about the time available, the tools on hand, and how much to spend.
Picking projects that match the current skill level keeps things manageable and stress-free. Starting small is always a smart move.
Safety matters too. Turning off power before working on electrical fixtures, using the right tools for each task, and reading product instructions before applying anything to walls or surfaces.
These small steps prevent bigger problems down the line. A little preparation at the start saves a lot of trouble later.
Simple Home Improvements You Can Do Yourself
These DIY ideas cover everything from walls and lighting to storage and organization, making it easy to improve different areas of the home without professional help:
1. Newly Painted Room
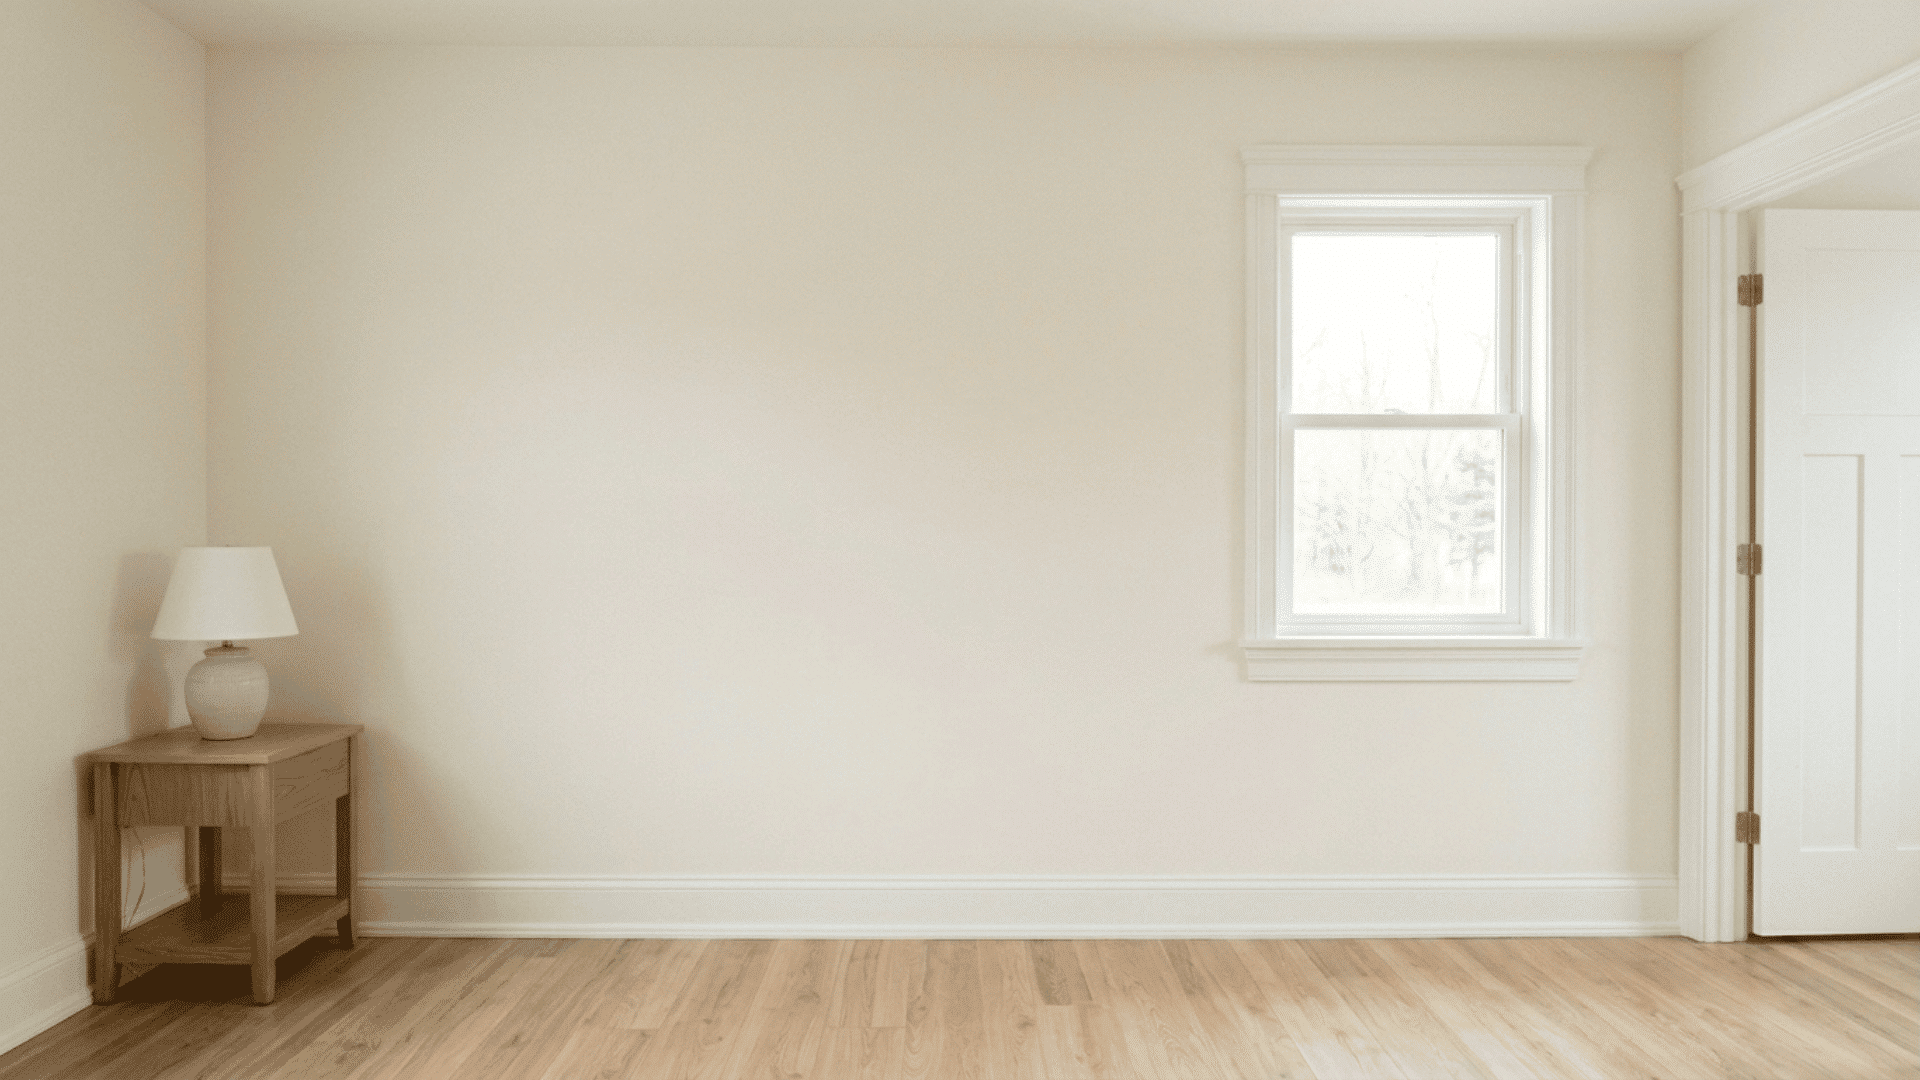
Repainting a room is a simple and effective way to refresh your space, instantly improving its look while covering stains and wear.
Materials Required: Paint, primer, paint rollers, brushes, painter’s tape, drop cloths, cleaning cloth, filler
Steps:
- Clean the walls by wiping surfaces, filling holes, and covering the floor with drop cloths
- Apply painter’s tape along edges and add an even coat of primer
- Paint the walls in sections from top to bottom, using at least two coats
- Let each coat dry fully before applying the next or removing the tape
2. Peel-and-Stick Wallpaper on One Wall
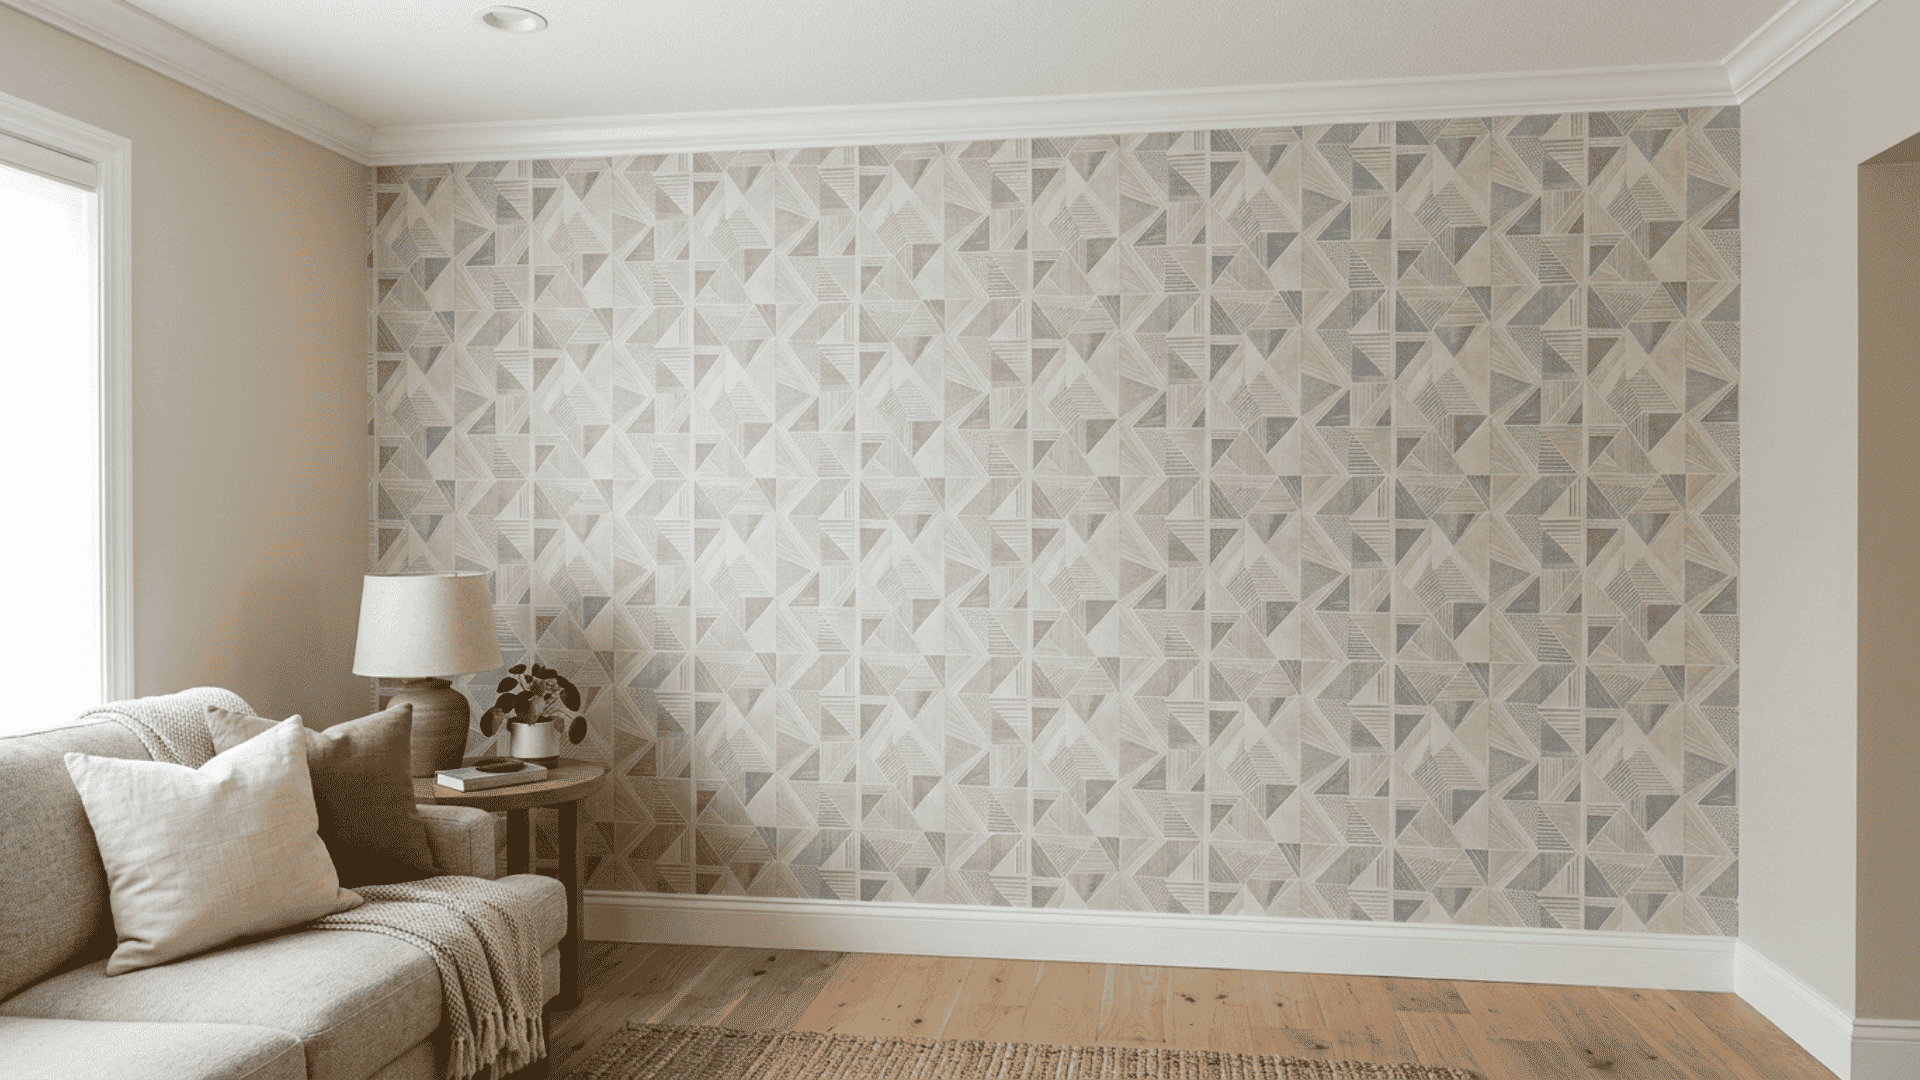
Peel-and-stick wallpaper is one of the easiest, simplest home improvements that adds pattern and refreshes a wall without permanent changes.
Materials Required: Peel-and-stick wallpaper, measuring tape, utility knife, smoothing tool, level, pencil
Steps:
- Measure the wall height and width, then cut wallpaper panels to fit each section properly
- Peel the backing slowly and align the top edge carefully before pressing it onto the wall
- Smooth the panel from top to bottom using a tool to remove air bubbles and wrinkles
- Trim excess edges neatly along corners and ceiling lines for a clean finished look
3. Cabinet Handles and Knobs
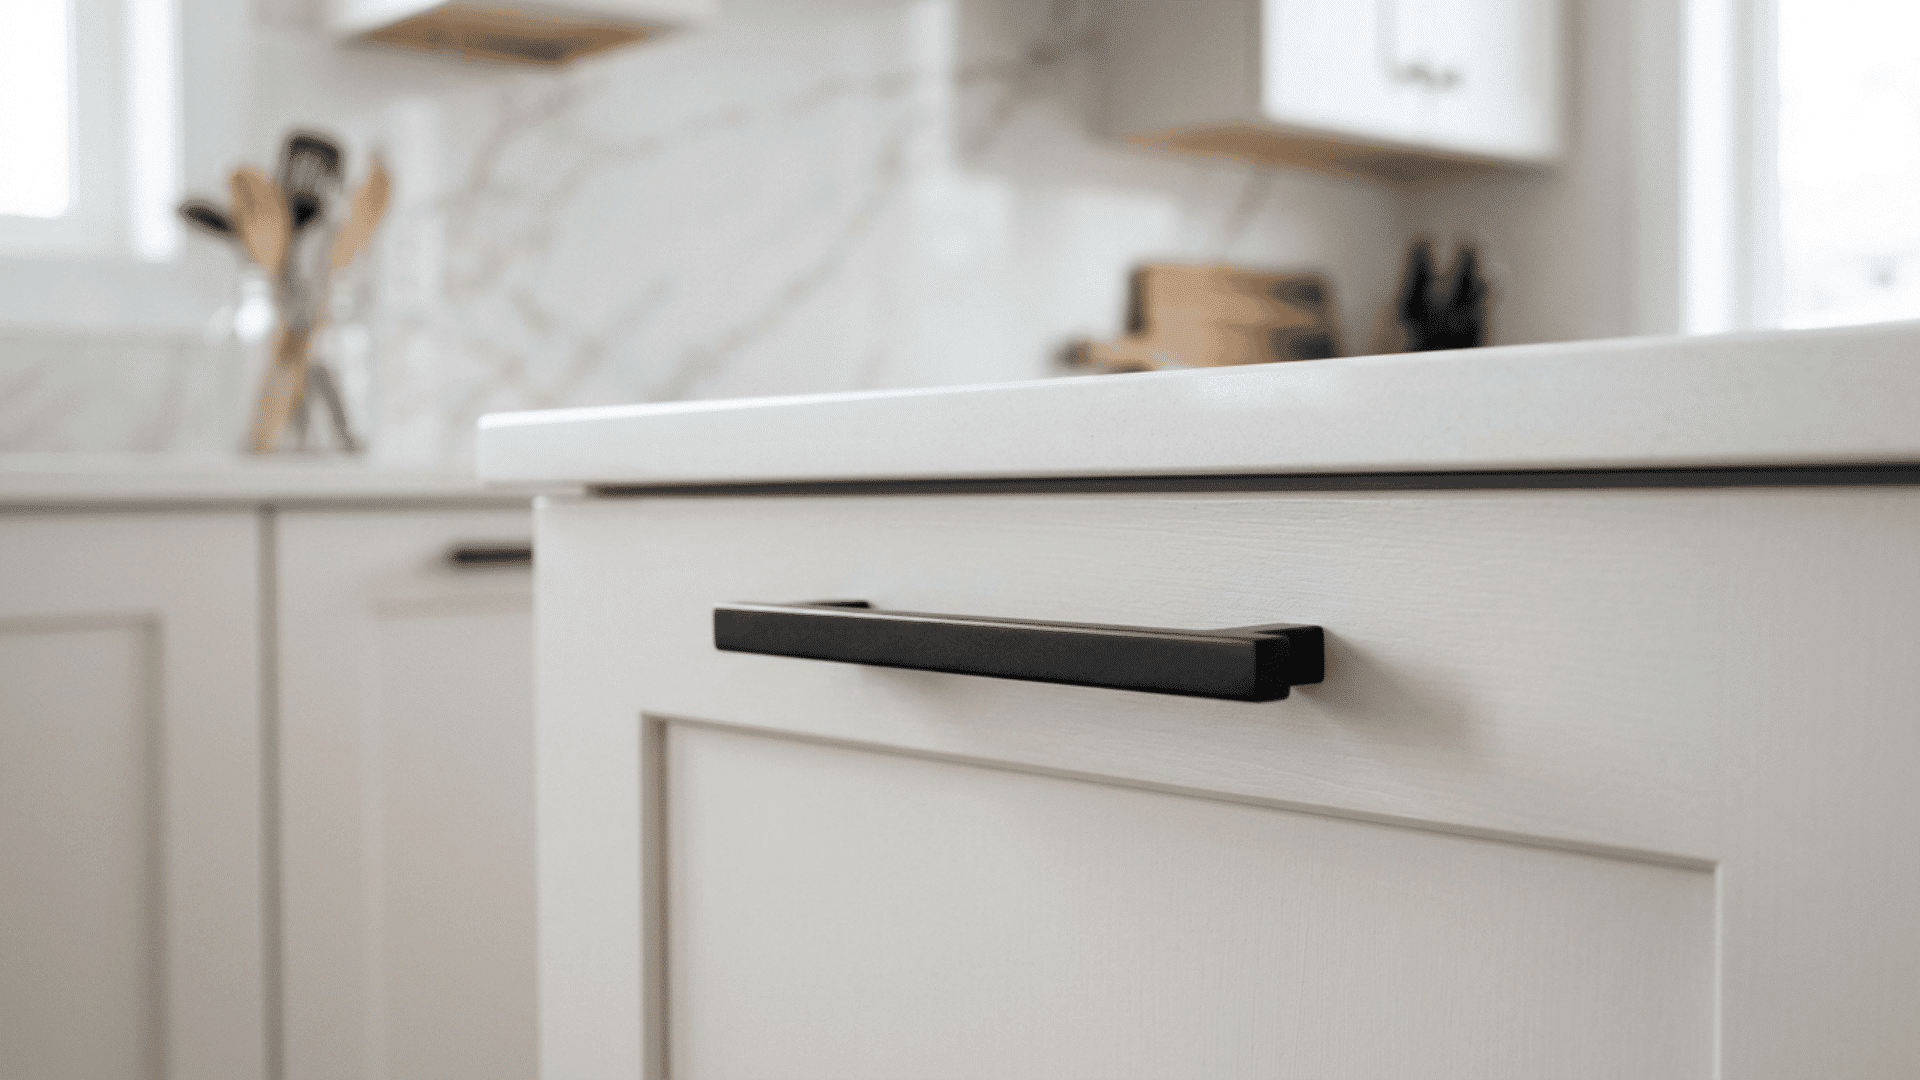
Cabinet handles and knobs are simple home improvements that quickly update cabinets and improve the overall look without major effort.
Materials Required: Cabinet handles or knobs, screwdriver, measuring tape, drill, and screws
Steps:
- Unscrew and remove all existing handles or knobs from each cabinet door carefully
- Measure the distance between holes to ensure the new hardware fits correctly
- Align the new handles or knobs and insert screws firmly from inside each door
- Tighten all screws and check that every handle sits straight and works smoothly
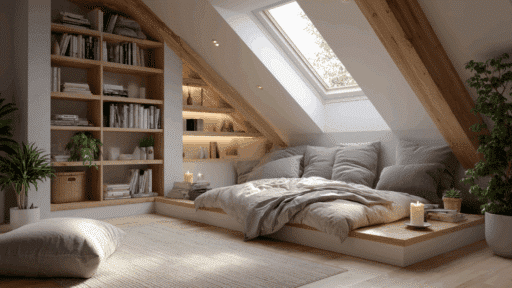
4. Floating Wall Shelves
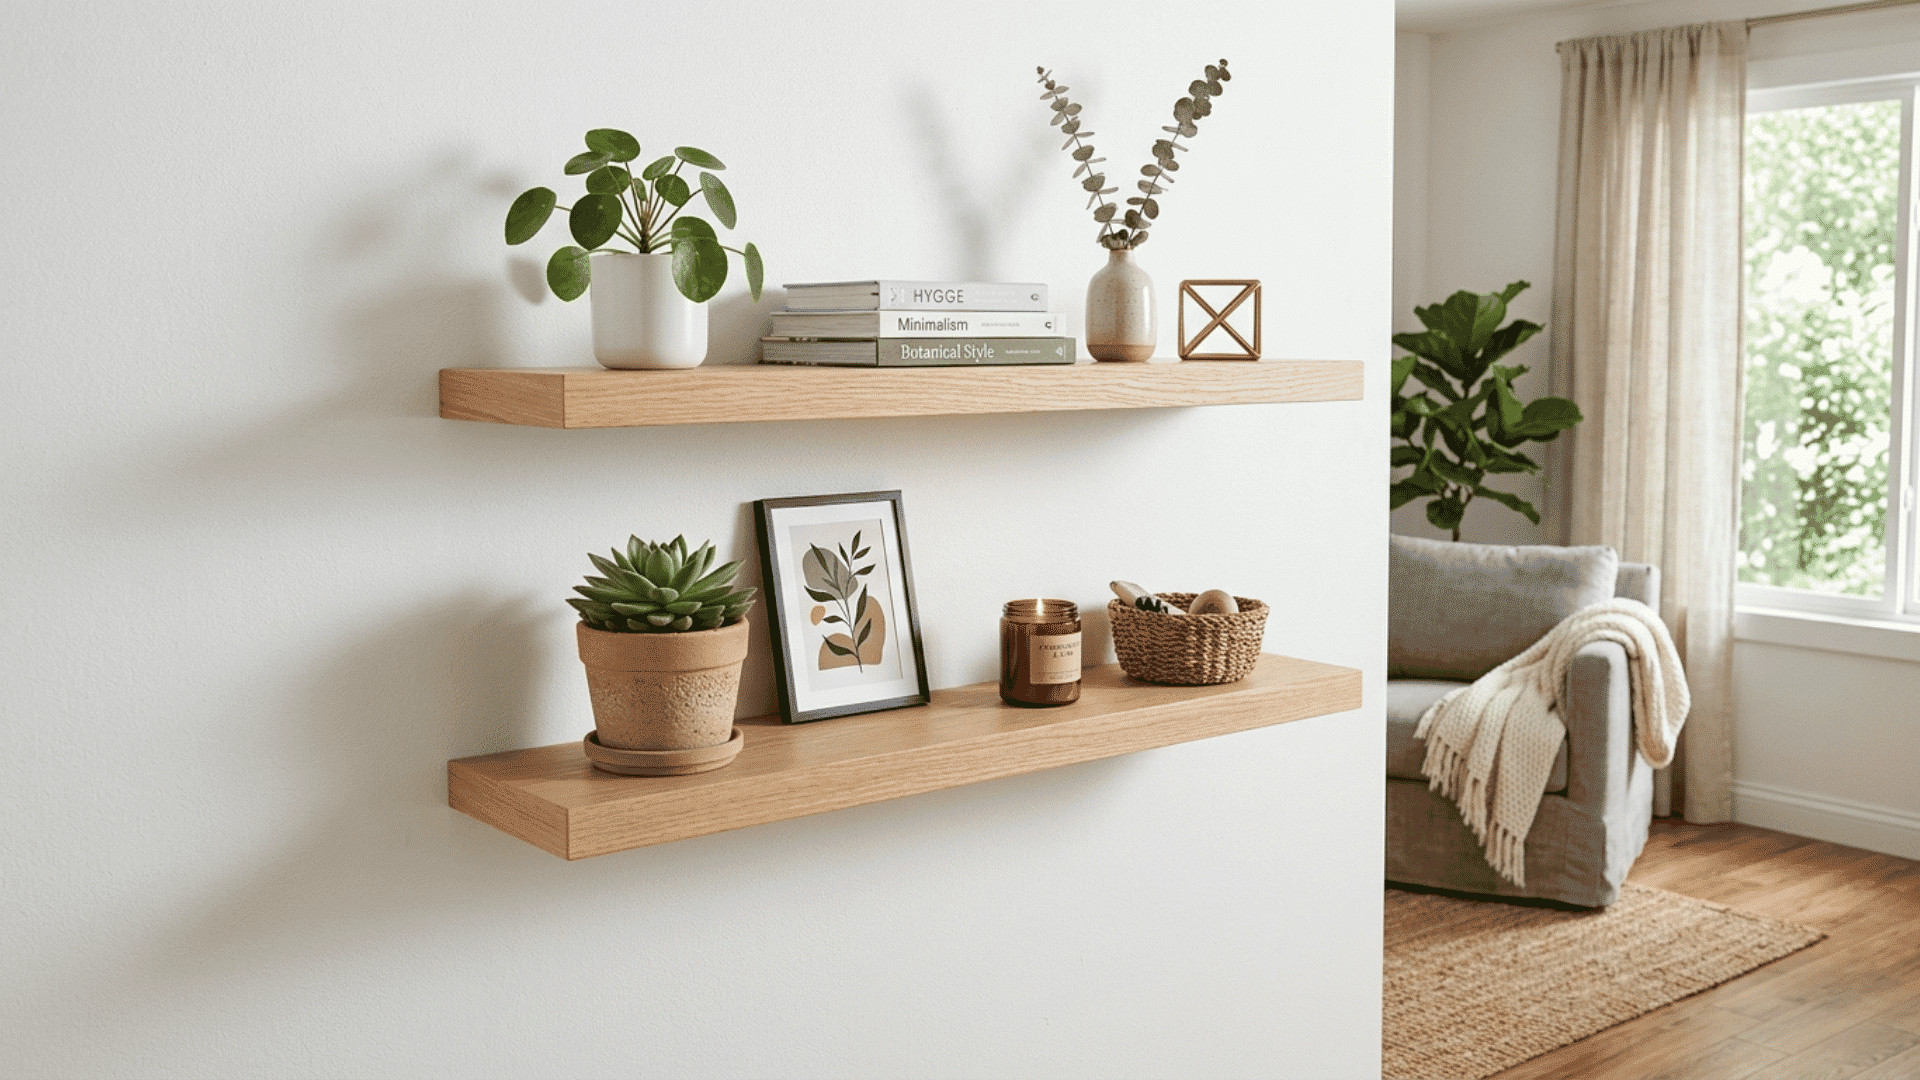
Floating wall shelves add storage space and improve wall use while keeping the room layout clean, organized, and easy to maintain
Materials Required: Wooden shelves, brackets, drill, wall anchors, screws, level, pencil
Steps:
- Mark the wall positions using a level to ensure the shelves will sit straight
- Drill holes at the marked spots and insert anchors for strong support
- Attach the brackets securely and make sure they are fixed tightly in place
- Place the shelf on brackets and adjust it to sit evenly and properly aligned
- Check stability by applying light pressure before placing any items on top
5. Light Fixture Swap

A light fixture swap is one of the simplest home improvements that updates lighting and improves the room’s look with minimal effort.
Materials Required: New light fixture, screwdriver, wire connectors, voltage tester, ladder
Steps:
- Turn off the power from the breaker before starting any work on the fixture
- Remove the old fixture carefully and disconnect the wiring without rushing
- Connect the new fixture wires by matching colors and securing them properly
- Fix the base plate tightly against the ceiling and align it correctly
- Turn the power back on and test the light to confirm proper installation
6. LED Strip Lighting Under Cabinets
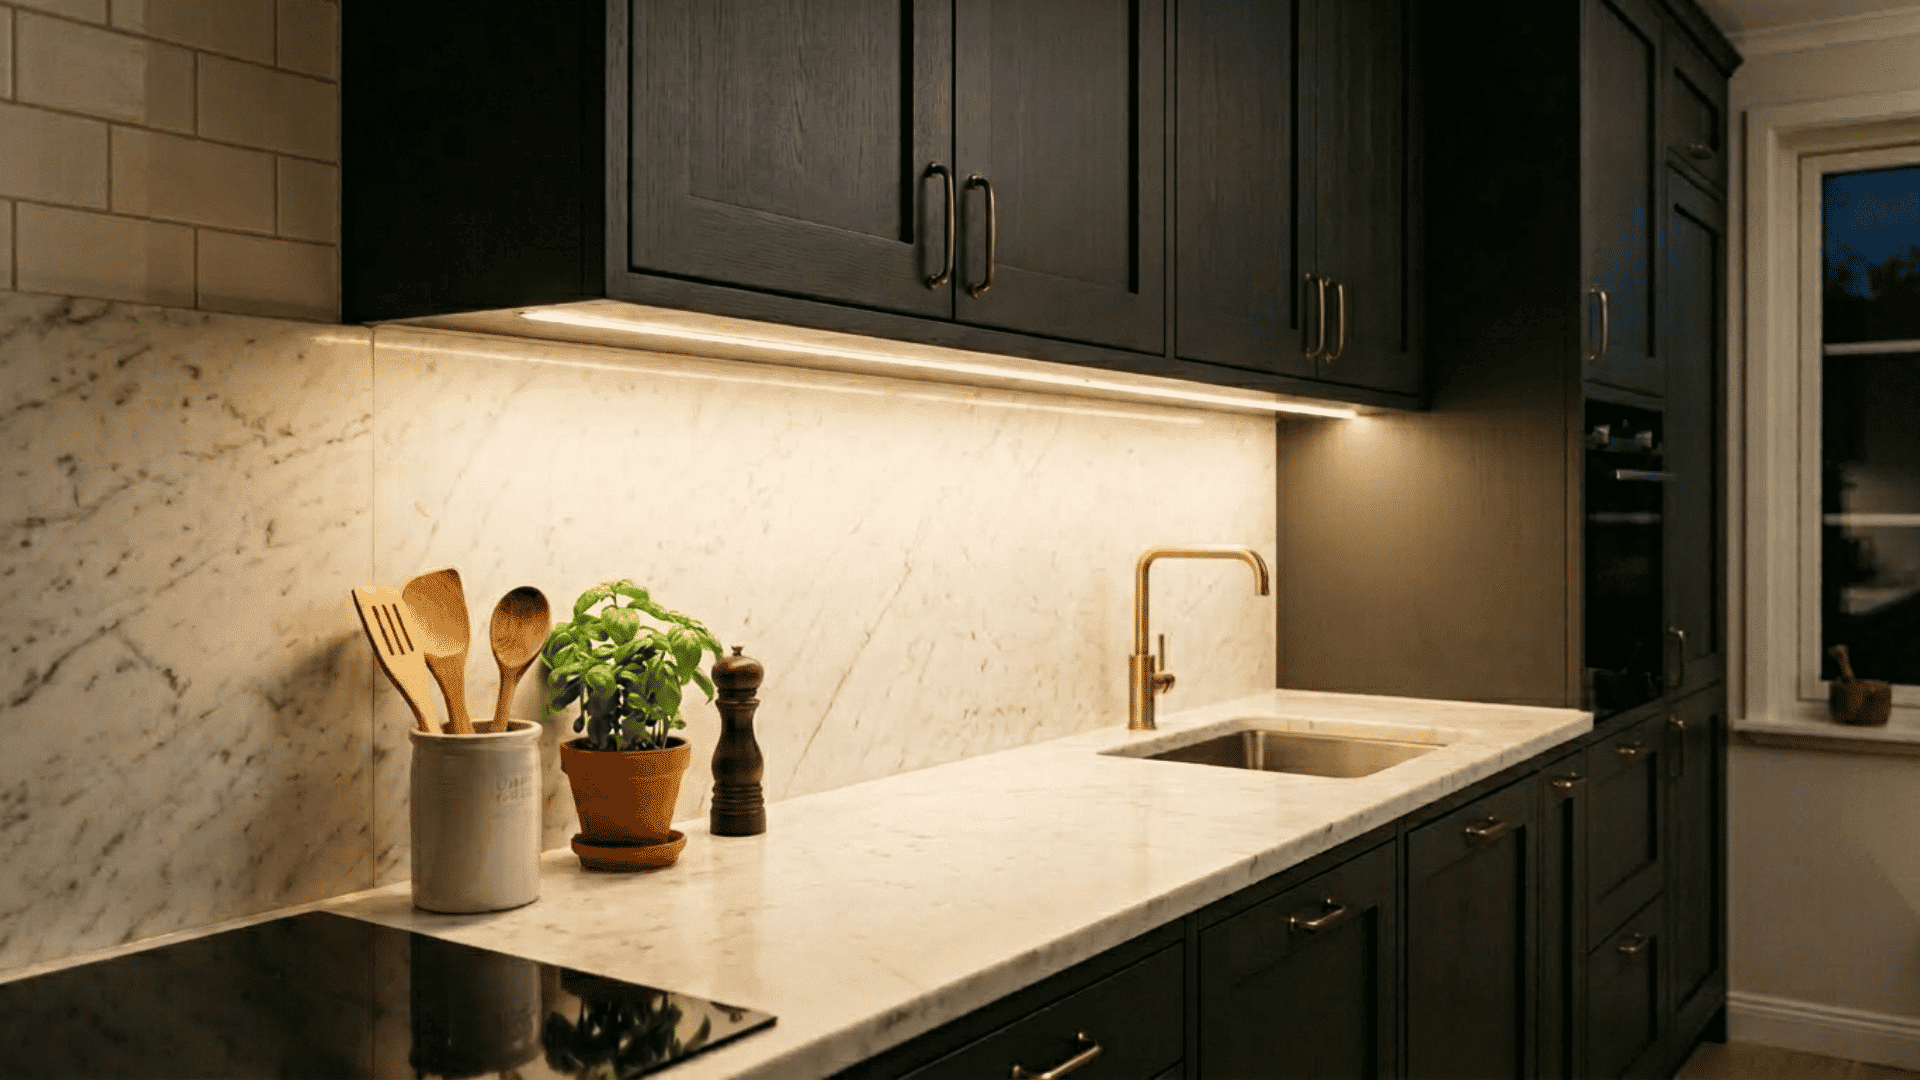
LED strip lighting under cabinets is a simple home improvement that improves visibility and adds soft lighting to work areas.
Materials Required: LED strip lights, measuring tape, scissors, adhesive backing, power adapter
Steps:
- Clean the cabinet surface thoroughly to remove dust and grease before installing
- Measure the required length and cut the strip according to the marked points
- Peel off the adhesive backing and place the strip carefully under the cabinet
- Press along the strip firmly to ensure proper sticking and even placement
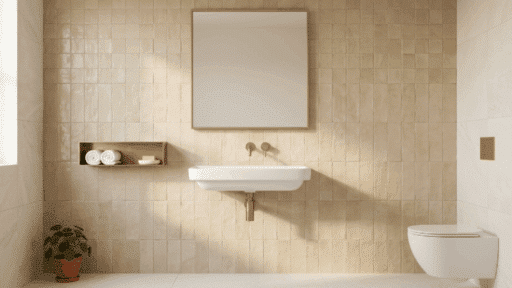
7. Caulk Around Sink or Tub
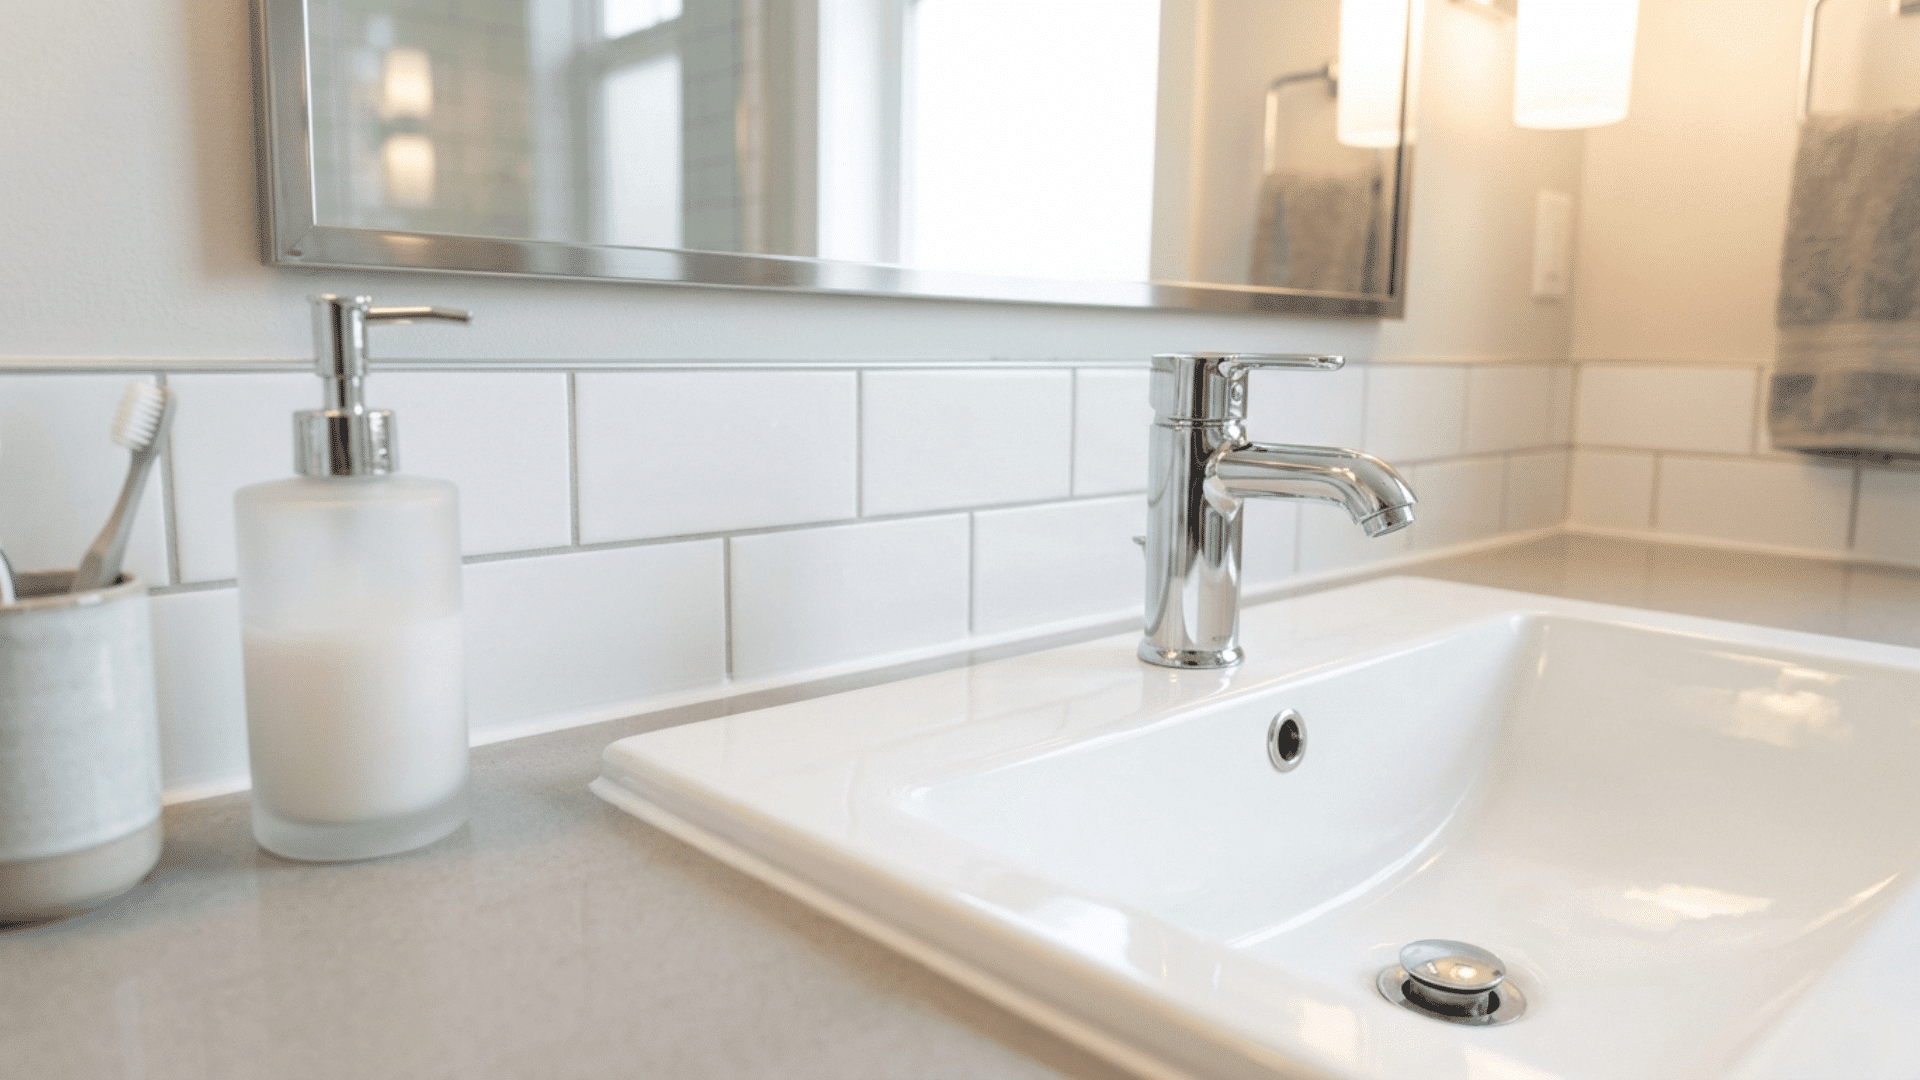
Caulking around the sink or tub is a simple home improvement that prevents water damage and keeps bathroom areas clean and sealed.
Materials Required: Caulk tube, caulking gun, scraper, cleaning cloth, smoothing tool
Steps:
- Remove the old caulk completely using a scraper to clean the joint area
- Wipe the surface and allow it to dry fully before applying new caulk
- Apply a steady line of caulk along the edges between the surface and the wall
- Smooth the line evenly using a tool or finger for a clean finish
- Let the caulk dry properly before using the sink or tub again
8. Switch Plates Update
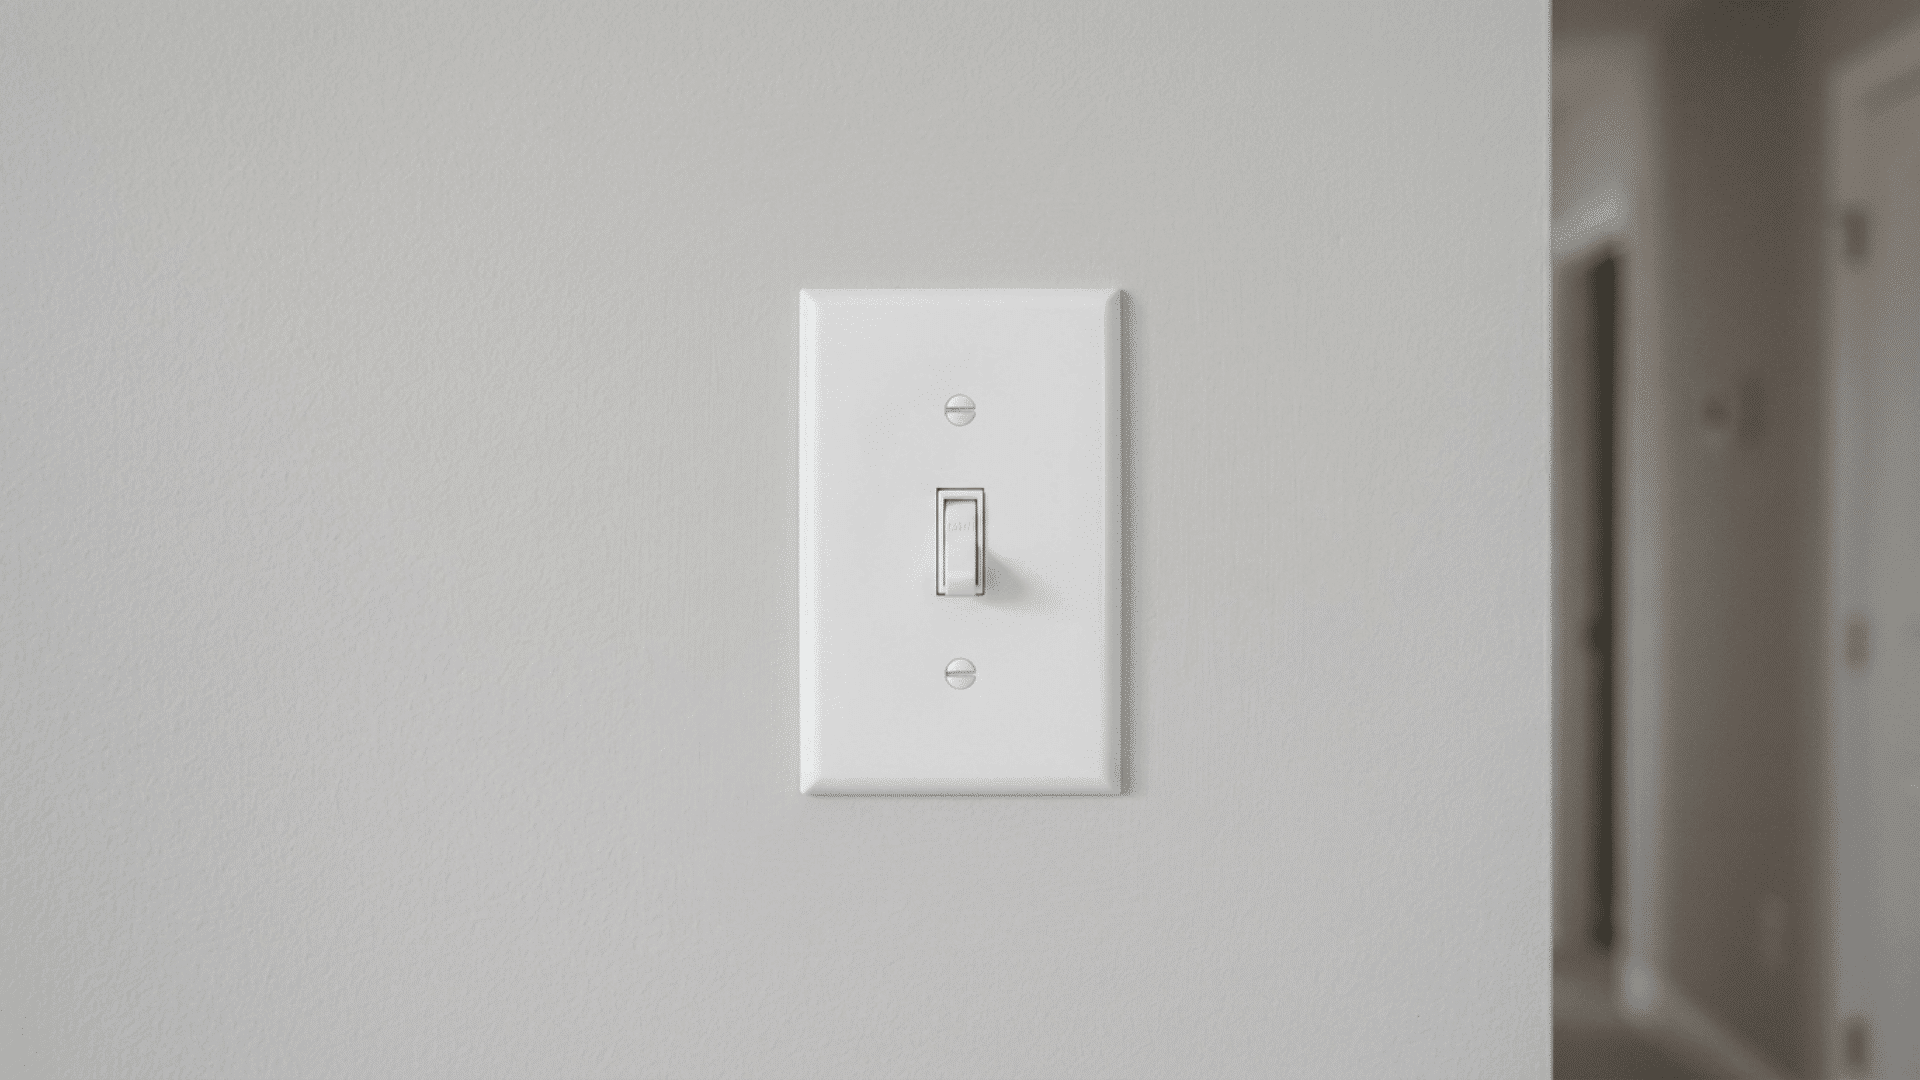
Switch plate updates are a simple home improvement that refreshes wall details and improves the overall room appearance easily.
Materials Required: New switch plates, screwdriver, screws, voltage tester
Steps:
- Turn off the power at the breaker before touching any switches or outlet covers
- Remove the old plates carefully by unscrewing each one from the wall
- Place the new plates over the switches and align them properly
- Tighten the screws evenly so the plates sit flat against the wall surface
9. Kitchen Backsplash Tiles
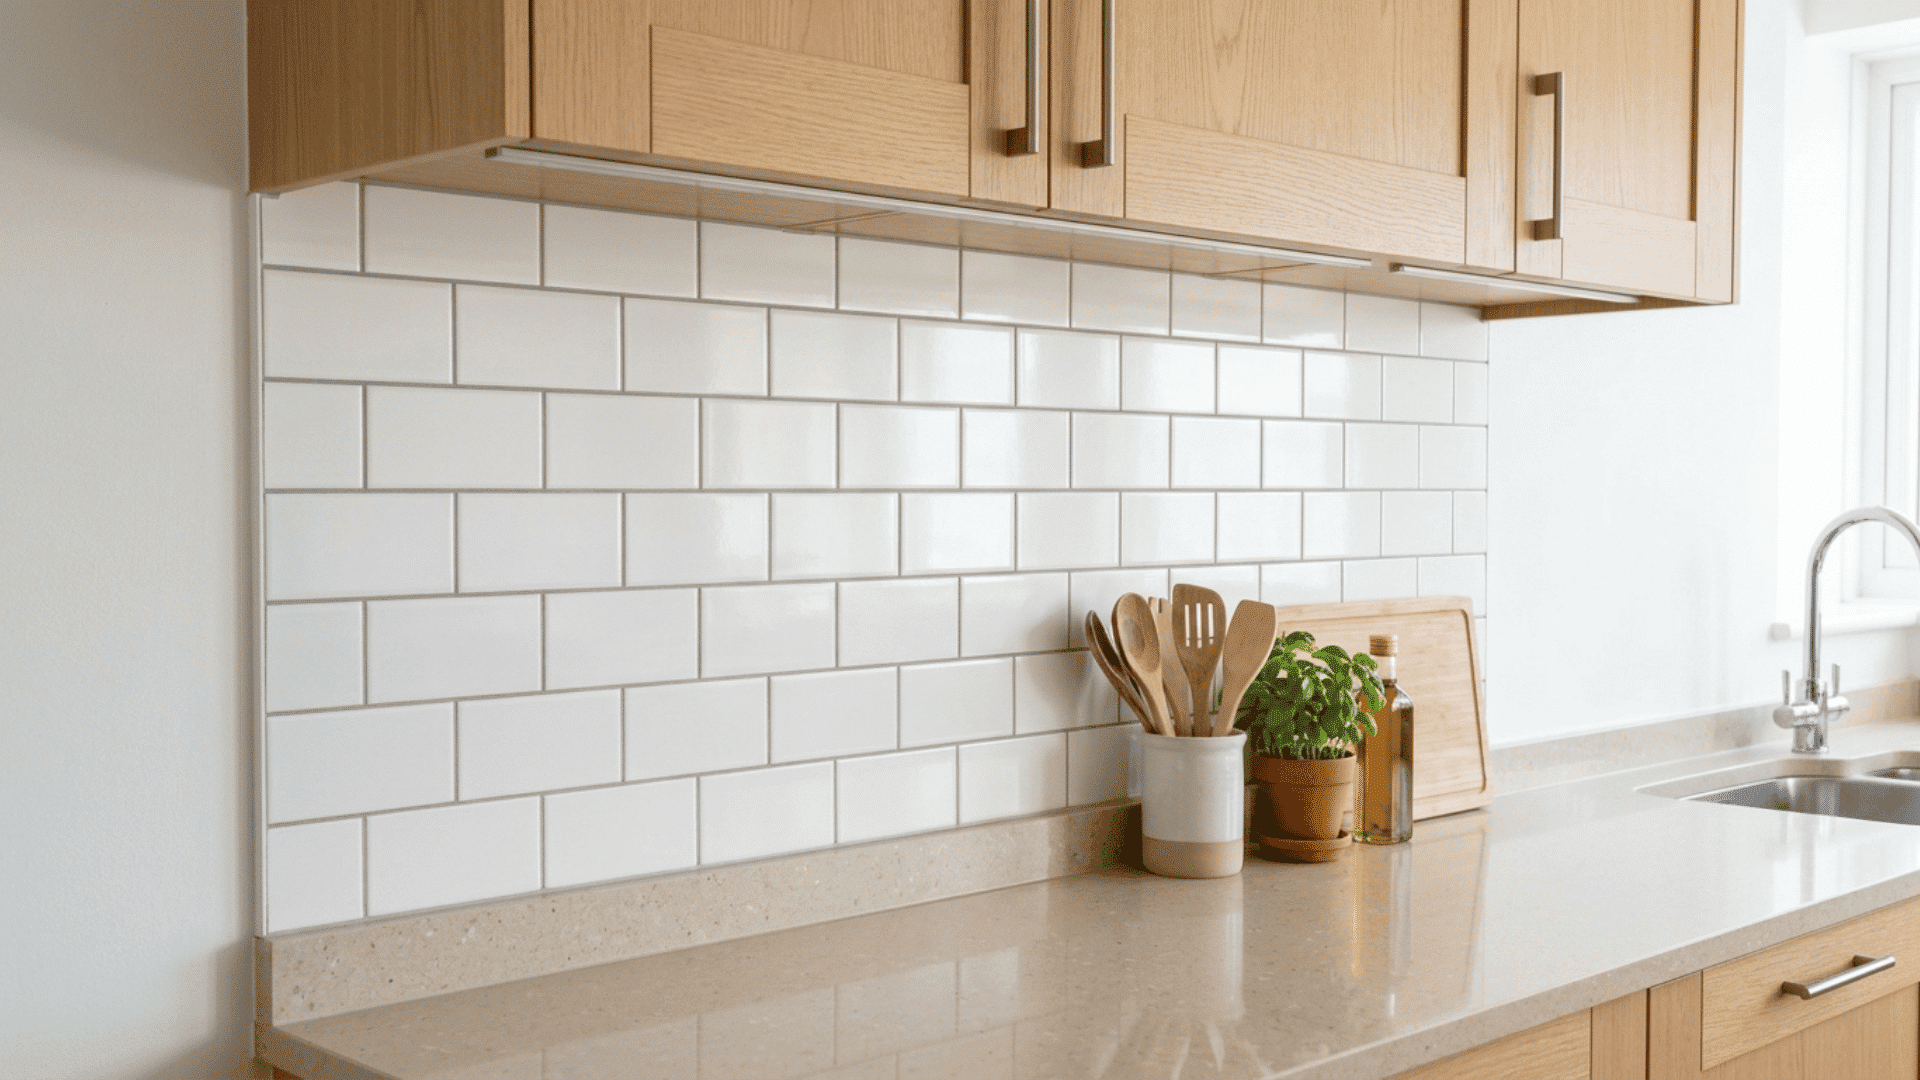
Kitchen backsplash tiles are simple home improvements that improve wall protection and add a clean look to cooking areas.
Materials Required: Tiles, adhesive, grout, trowel, sponge, measuring tape
Steps:
- Clean the wall surface and clear the working area before starting tile placement
- Spread adhesive evenly across the wall using a trowel for proper coverage
- Press each tile firmly into place, starting from the bottom and moving upward
- Apply grout between the tiles and wipe off any excess with a damp sponge
- Allow the grout to dry fully before using the kitchen area normally
10.Closet Organization System

A closet organization system is a simple home improvement that improves storage space and keeps items arranged without adding new fixtures.
Materials Required: Storage bins, baskets, shelf dividers, hanging organizers, labels
Steps:
- Remove all items from the closet and sort them into clear categories first
- Choose storage bins and organizers based on the type of items being stored
- Place larger bins on the floor and hang organizers on the existing rod
- Use dividers on shelves to separate clothes and accessories neatly
- Label each section clearly so everything stays easy to find and maintain
11. Wall-Mounted Door Stoppers
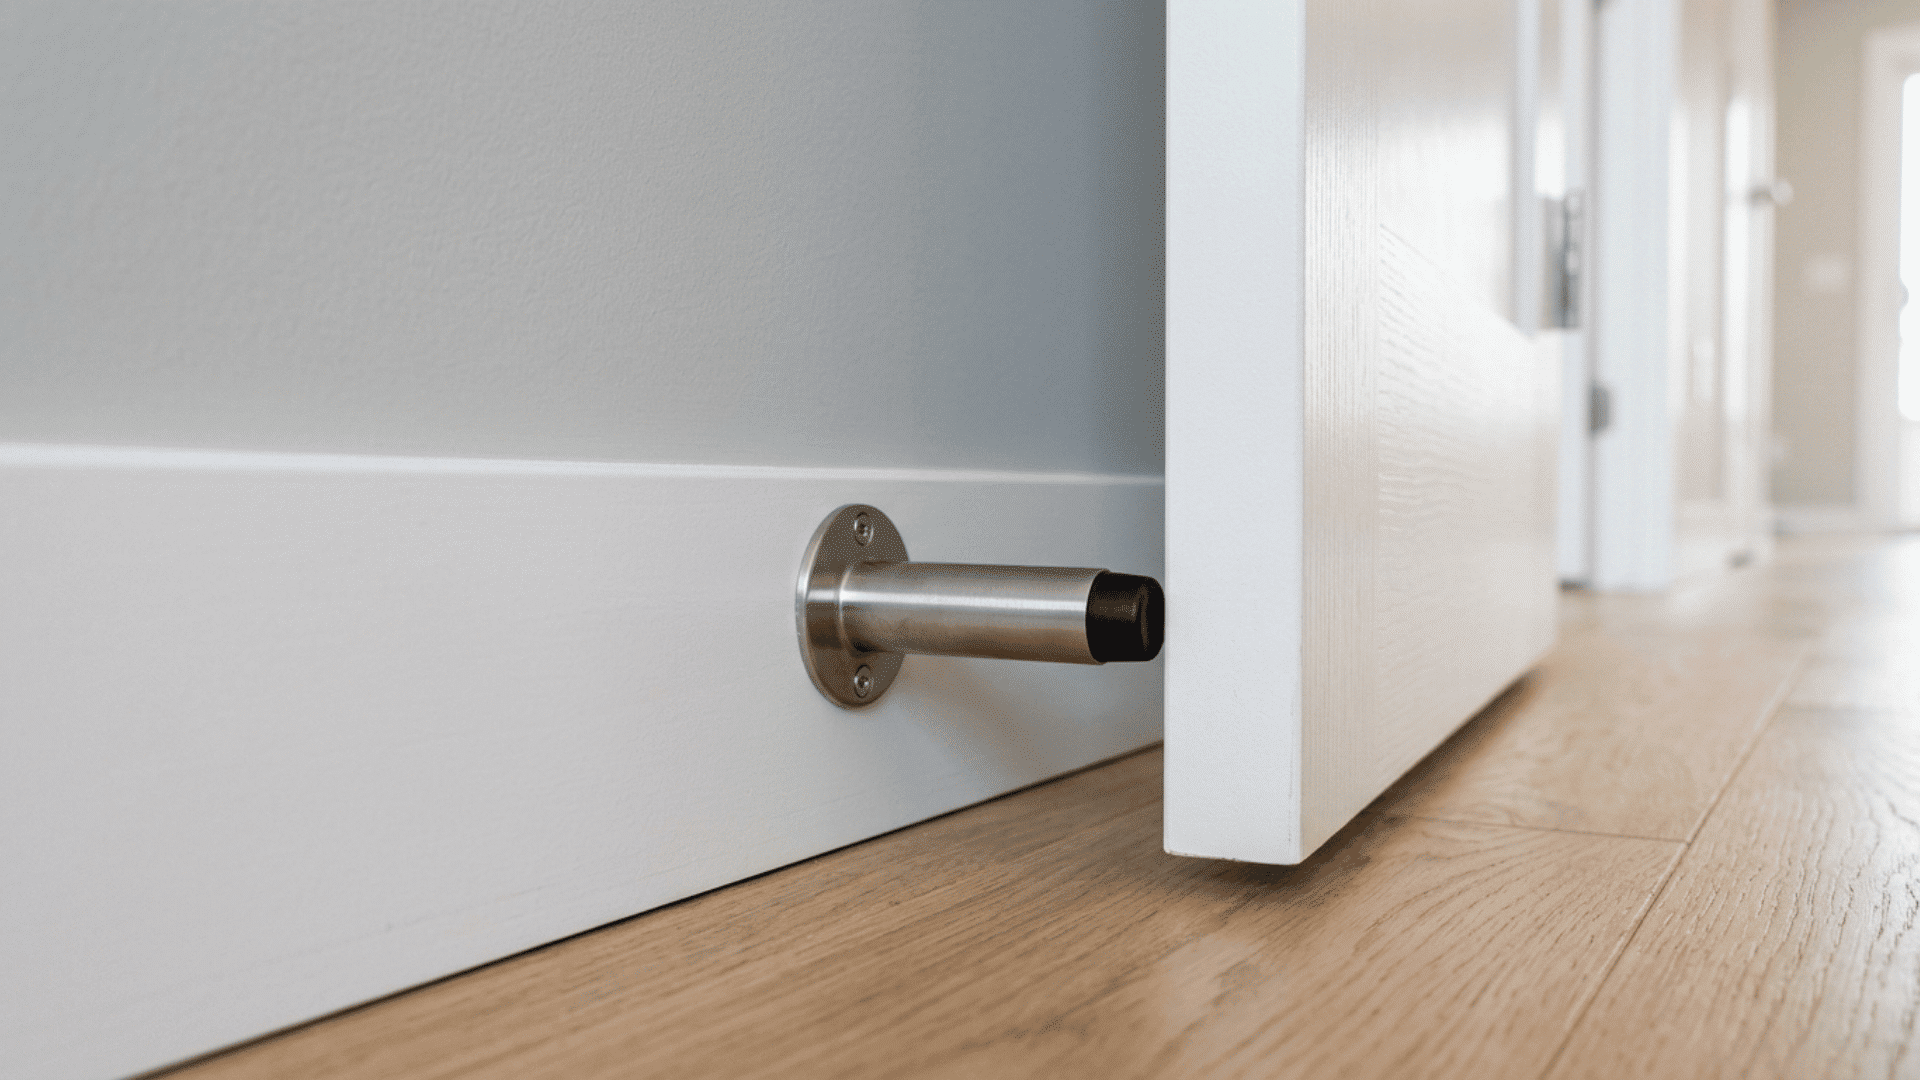
Wall-mounted door stoppers are simple home improvements that prevent wall damage and keep doors from hitting surfaces.
Materials Required: Door stopper, drill, wall anchors, screws, screwdriver
Steps:
- Hold the door stopper against the wall and mark the correct position
- Drill a hole at the marked spot and insert a wall anchor securely
- Screw the door stopper into place and ensure it sits flat
- Open the door slowly to confirm it stops at the correct point
12. Curtain Rods for Better Support
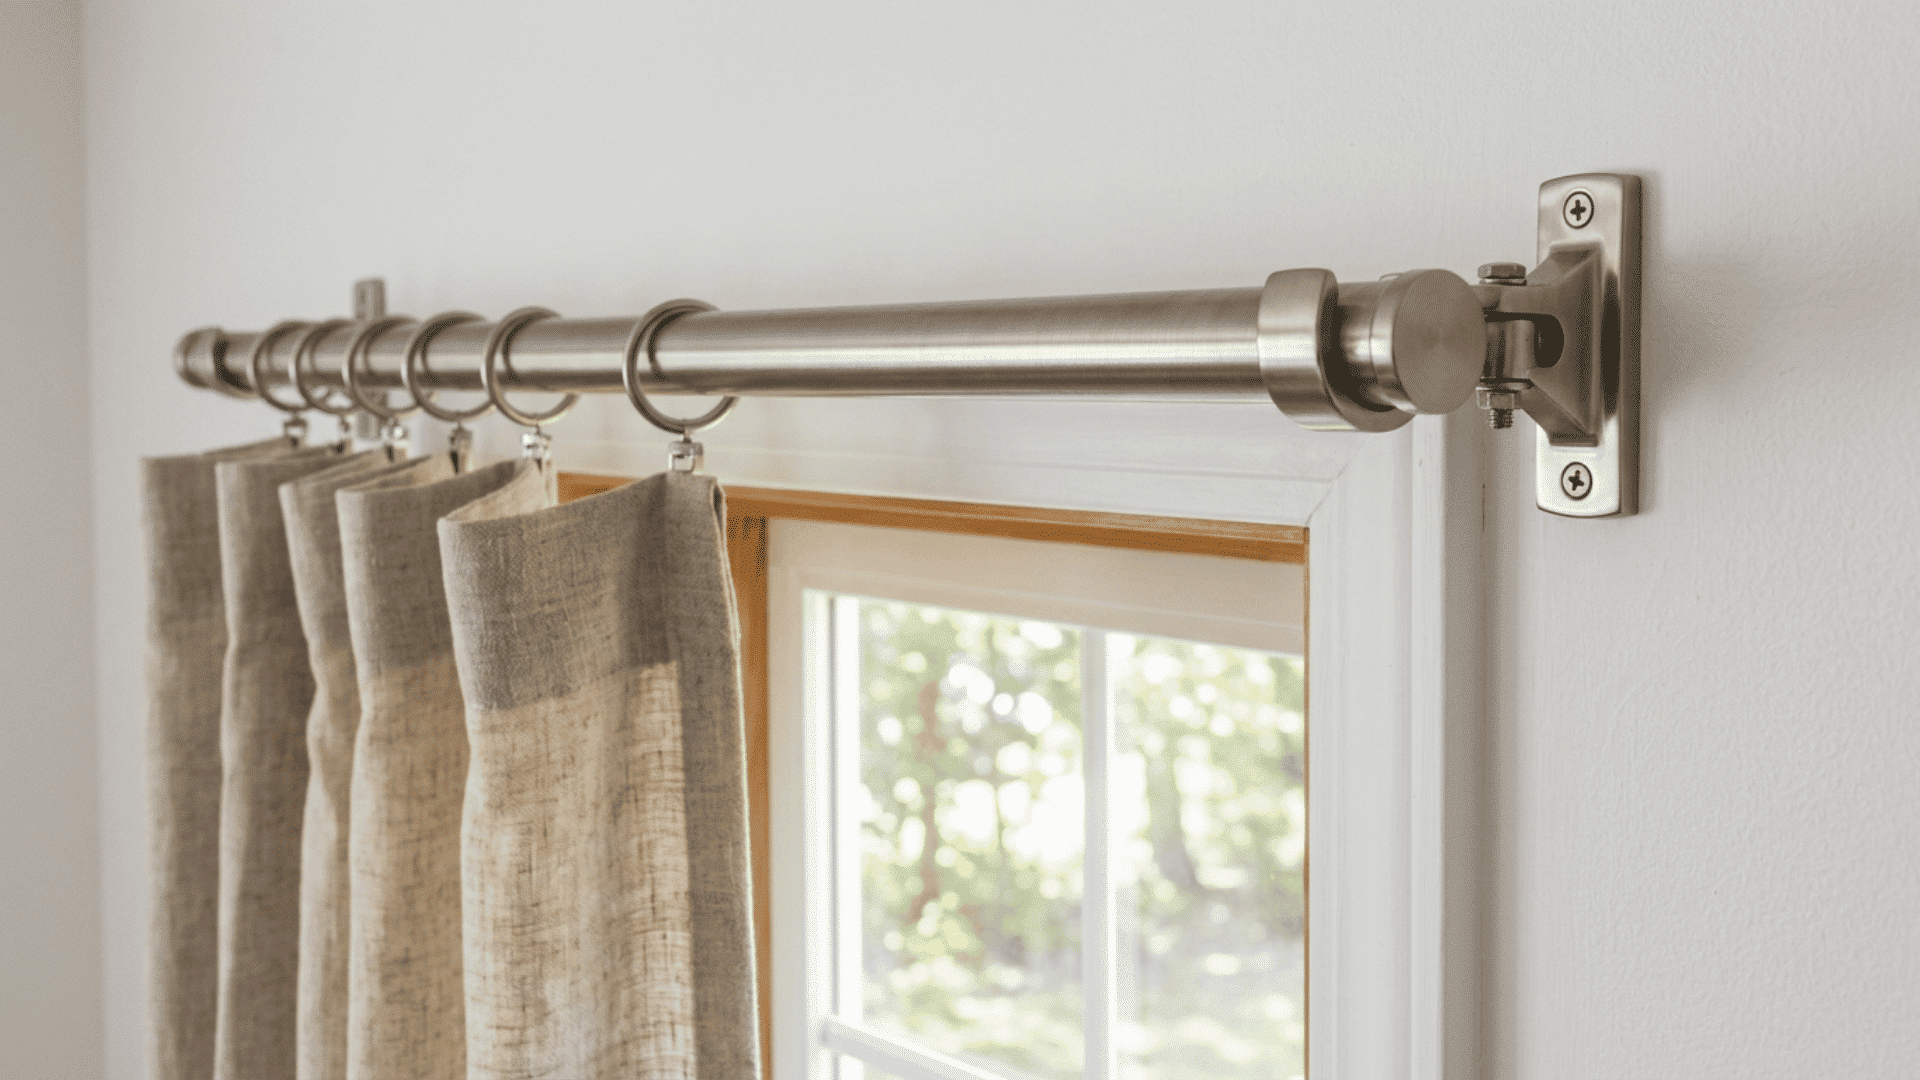
Curtain rods for better support improve how curtains hang and help maintain a neat, balanced, and well-arranged window appearance.
Materials Required: Curtain rod, brackets, screws, drill, measuring tape, level
Steps:
- Remove the old rod and clean the wall area around the mounting points
- Measure the window width and mark bracket positions evenly on both sides
- Drill holes at marked spots and secure the brackets firmly in place
- Insert the curtain rod and adjust the curtains so they hang evenly
13. Weather Stripping for Doors
Weather stripping for doors is a simple home improvement that blocks drafts and improves indoor comfort across seasons.
Materials Required: Weather stripping, scissors, measuring tape, cleaning cloth
Steps:
- Check door edges for gaps and measure each side carefully
- Cut the weather stripping to match the measured lengths
- Peel off the backing and press the strips firmly along the door frame
- Close the door to check for a tight and even seal
14. New Shower Head
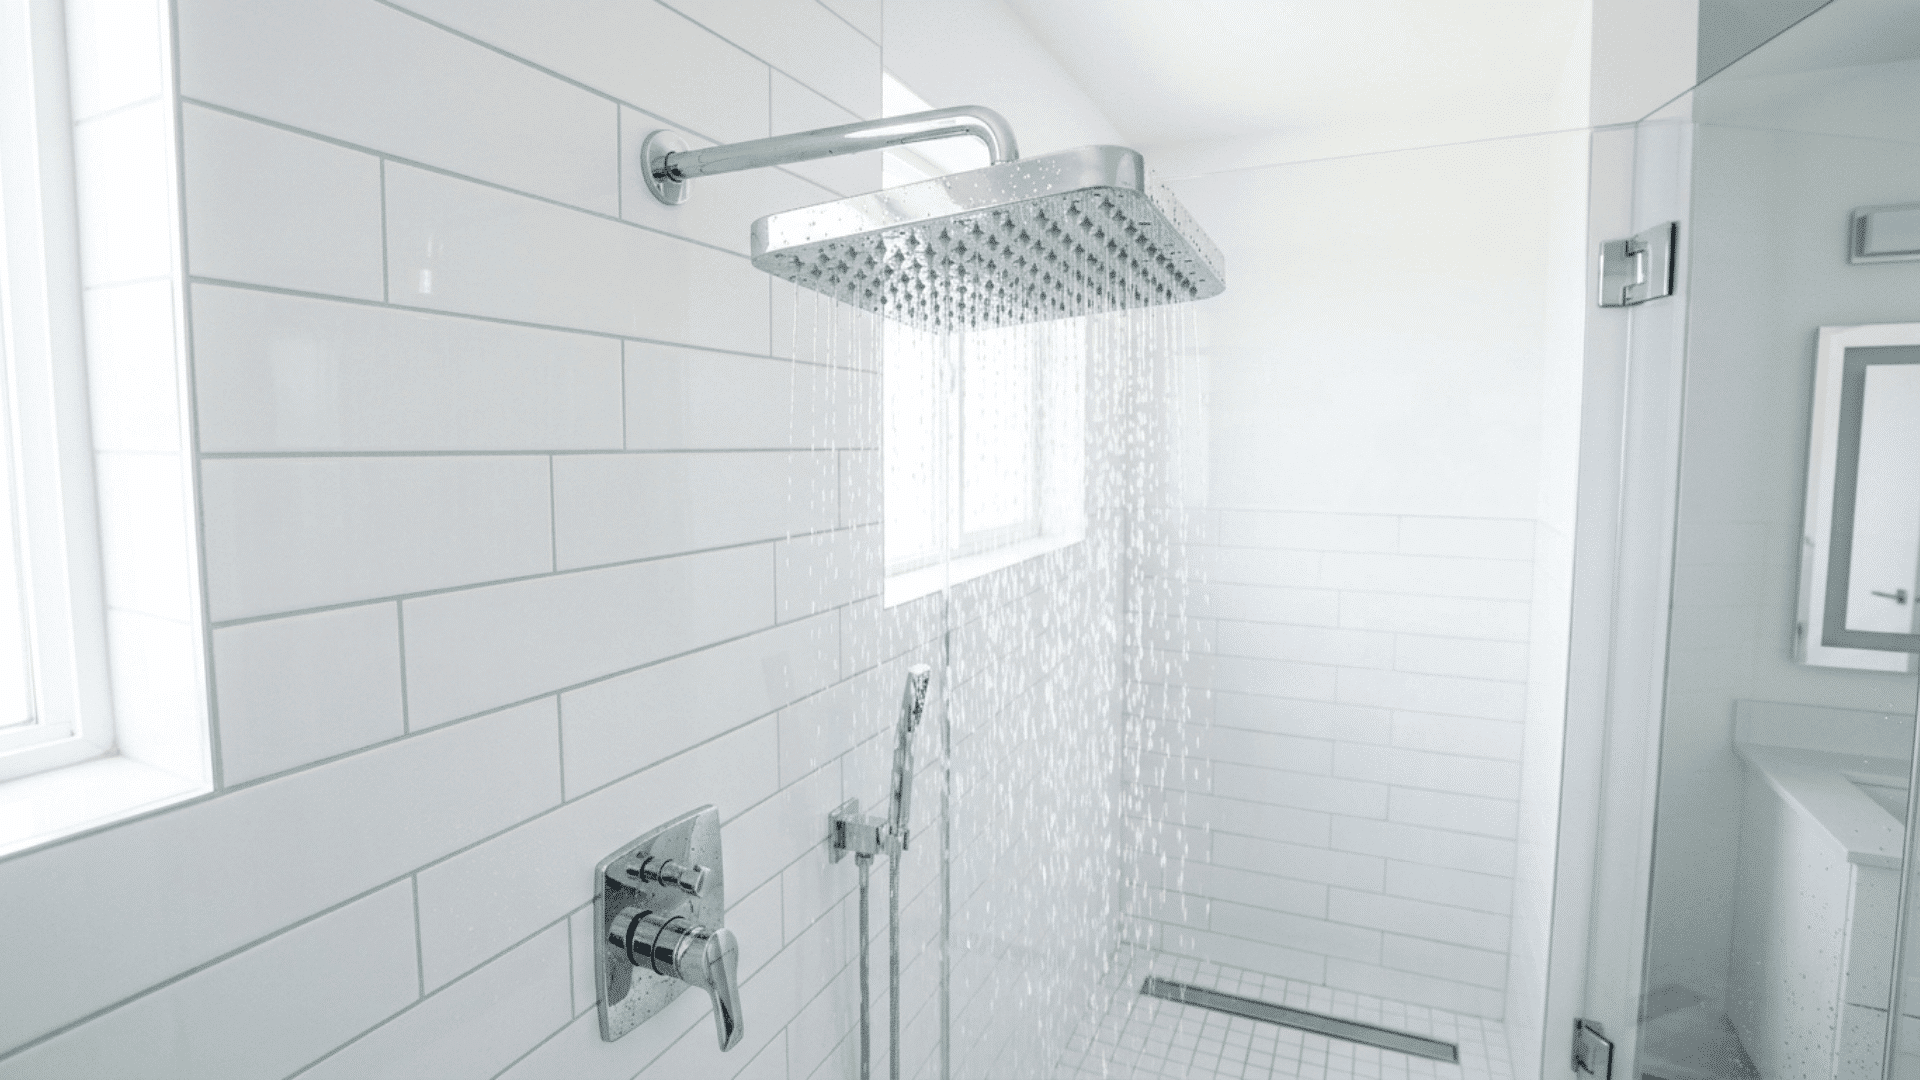
A new shower head is a simple home improvement that improves water flow and gives the bathroom a cleaner appearance.
Materials Required: Shower head, wrench, plumber’s tape, cloth
Steps:
- Turn off the water supply and cover the drain to avoid losing parts
- Remove the old shower head and clean the threads completely
- Wrap plumber’s tape around the threads and attach the new shower head
- Turn the water on and check for leaks around the connection point
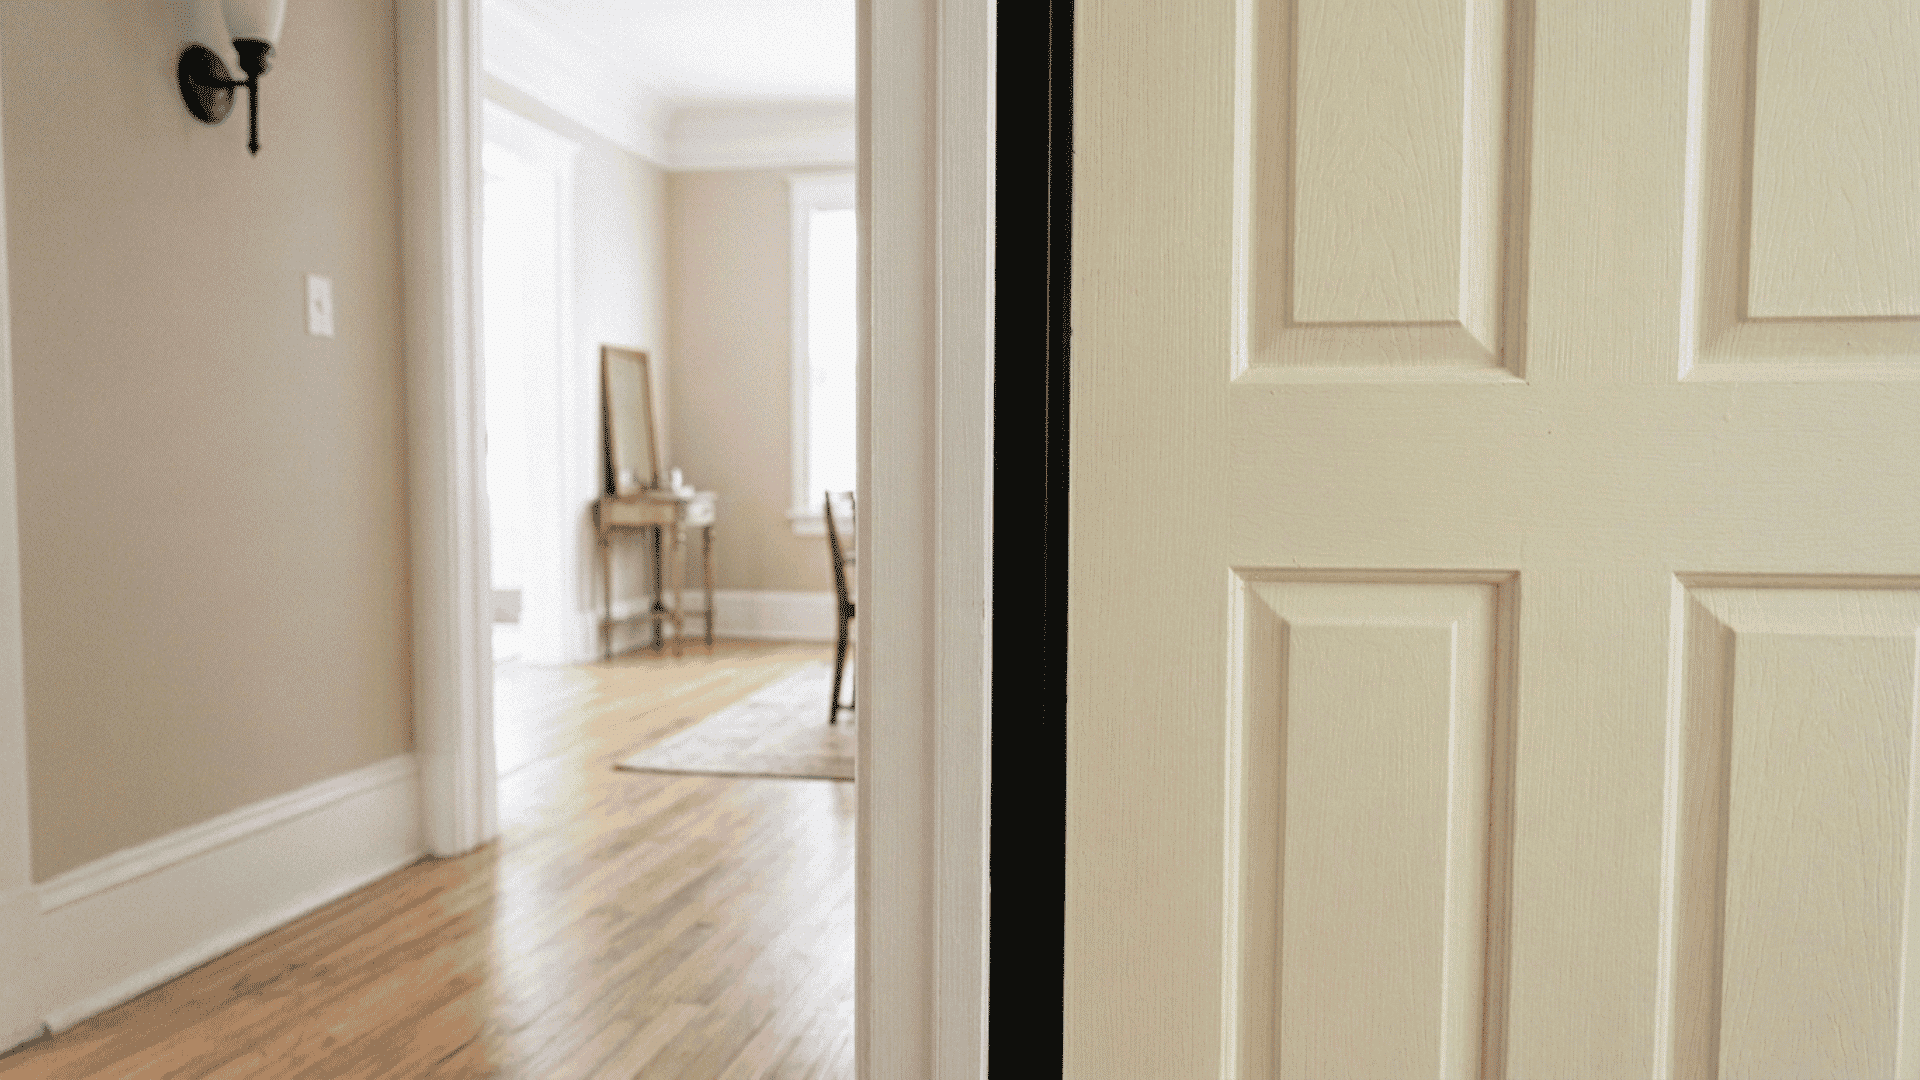
15. Interior Door Paint
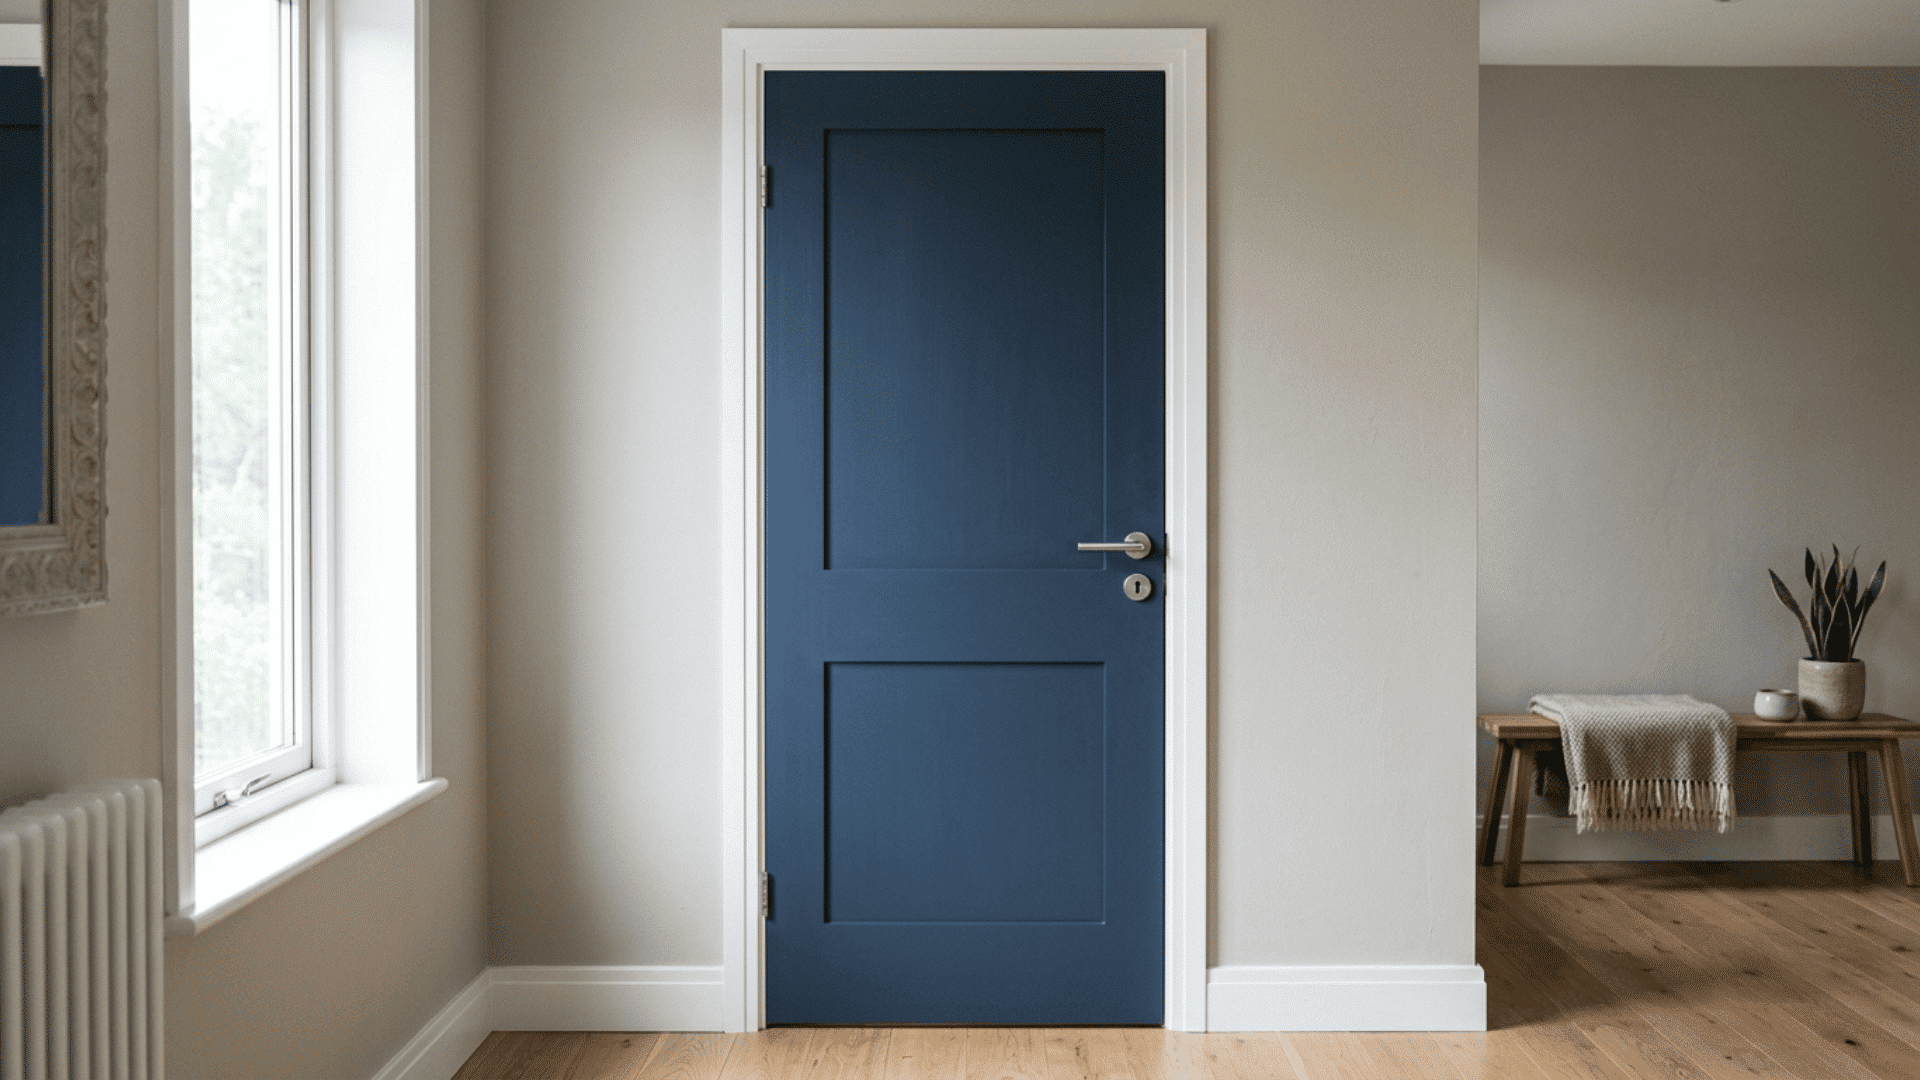
Interior door paint is a simple home improvement that refreshes doors and improves their overall appearance easily.
Materials Required: Paint, brush, roller, sandpaper, cloth, primer
Steps:
- Remove the door and sand the surface lightly to prepare for painting
- Clean off dust and apply primer evenly across the door surface
- Apply the first coat of paint using a brush and roller combination
- Let it dry fully before applying the second coat for a smooth finish
- Reattach the door once it is completely dry and ready to use
16. Wall Hooks for Daily Use Items
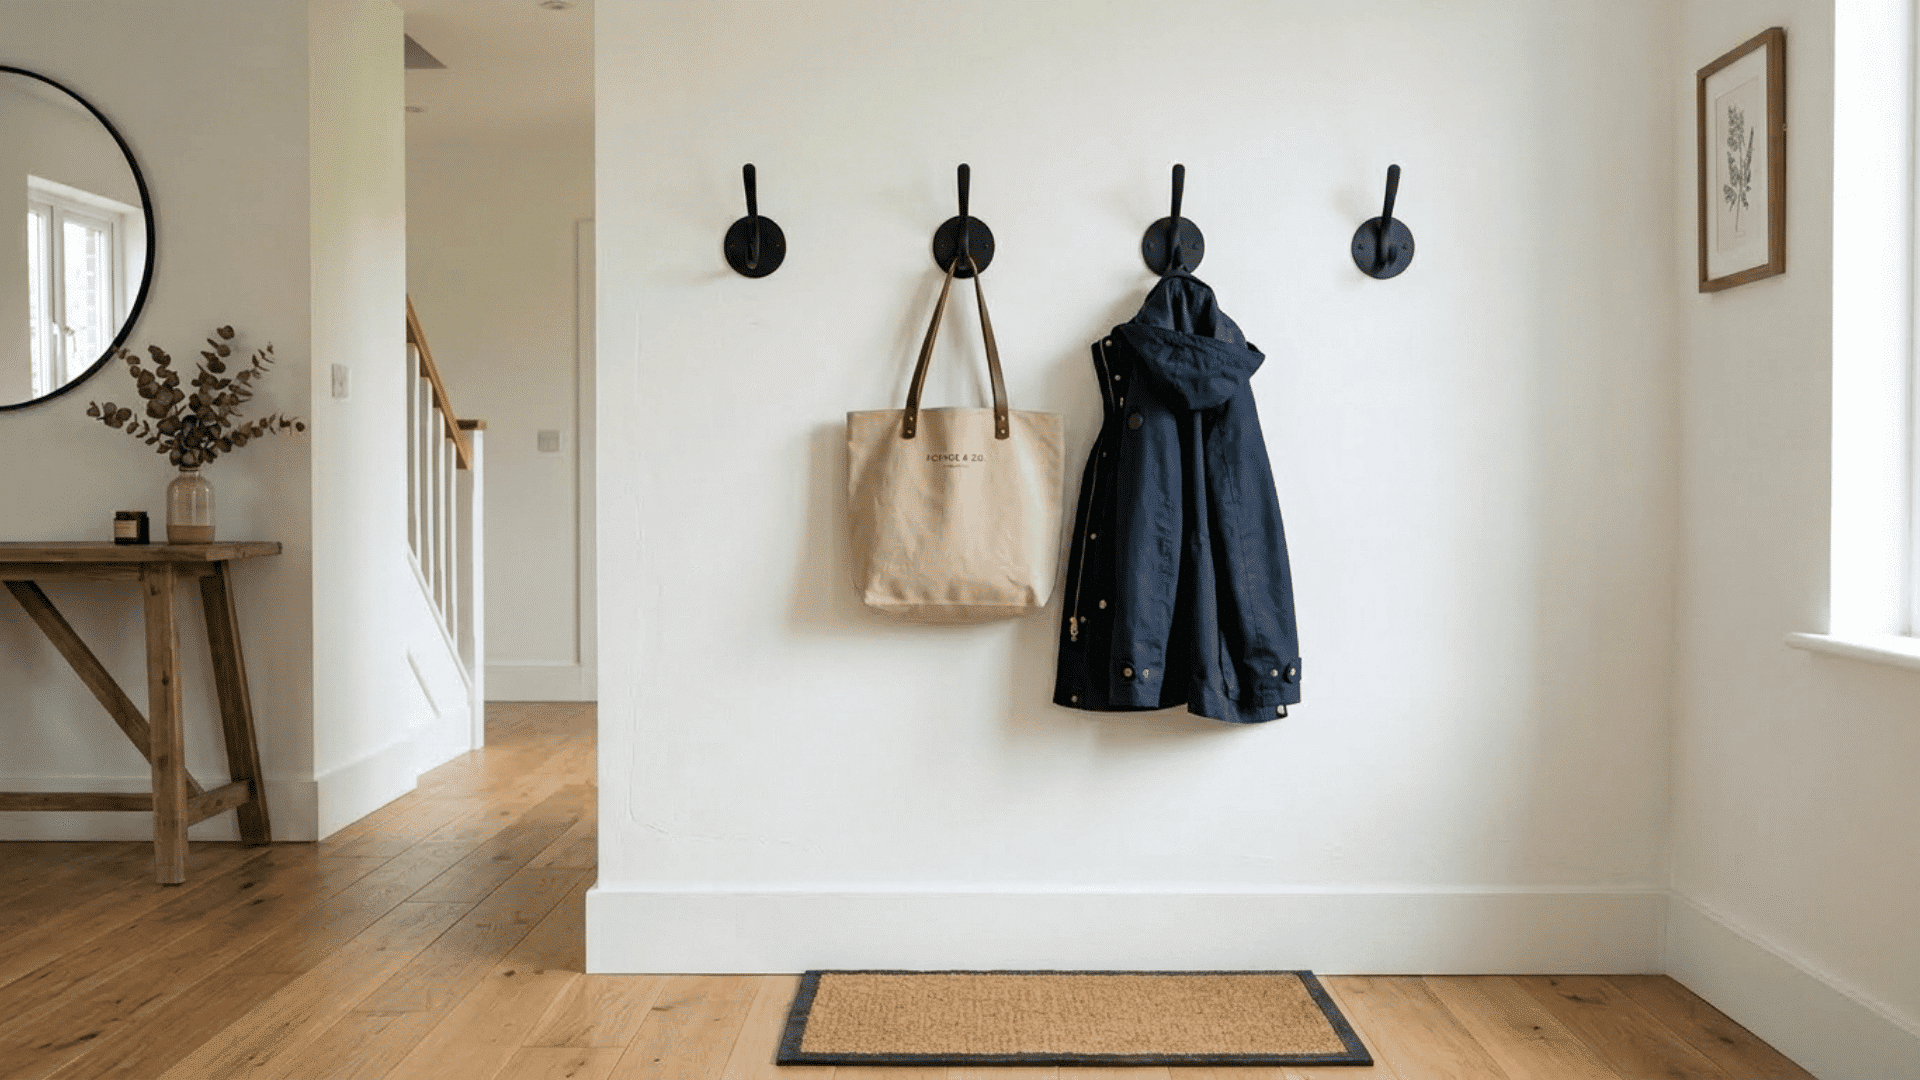
Wall hooks for daily use items are simple home improvements that add storage and keep everyday items organized.
Materials Required: Wall hooks, drill, anchors, screws, screwdriver
Steps:
- Mark positions on the wall where hooks will be installed evenly
- Drill holes and insert anchors for secure mounting
- Screw the hooks firmly into place and ensure they are aligned
- Hang items on hooks and test their strength and stability
17. Full-Length Mirror

A full-length mirror is a simple home improvement that makes rooms feel larger, improves lighting reflection, and adds practical daily use.
Materials Required: Mirror, drill, anchors, screws, measuring tape, level
Steps:
- Choose a wall with enough space and mark mounting points clearly
- Drill holes and insert anchors based on the mirror weight
- Attach mounting hardware to the mirror if needed
- Hang the mirror and adjust it to sit straight and stable
- Check alignment and ensure it is securely fixed in place
18. Sink Faucet Change
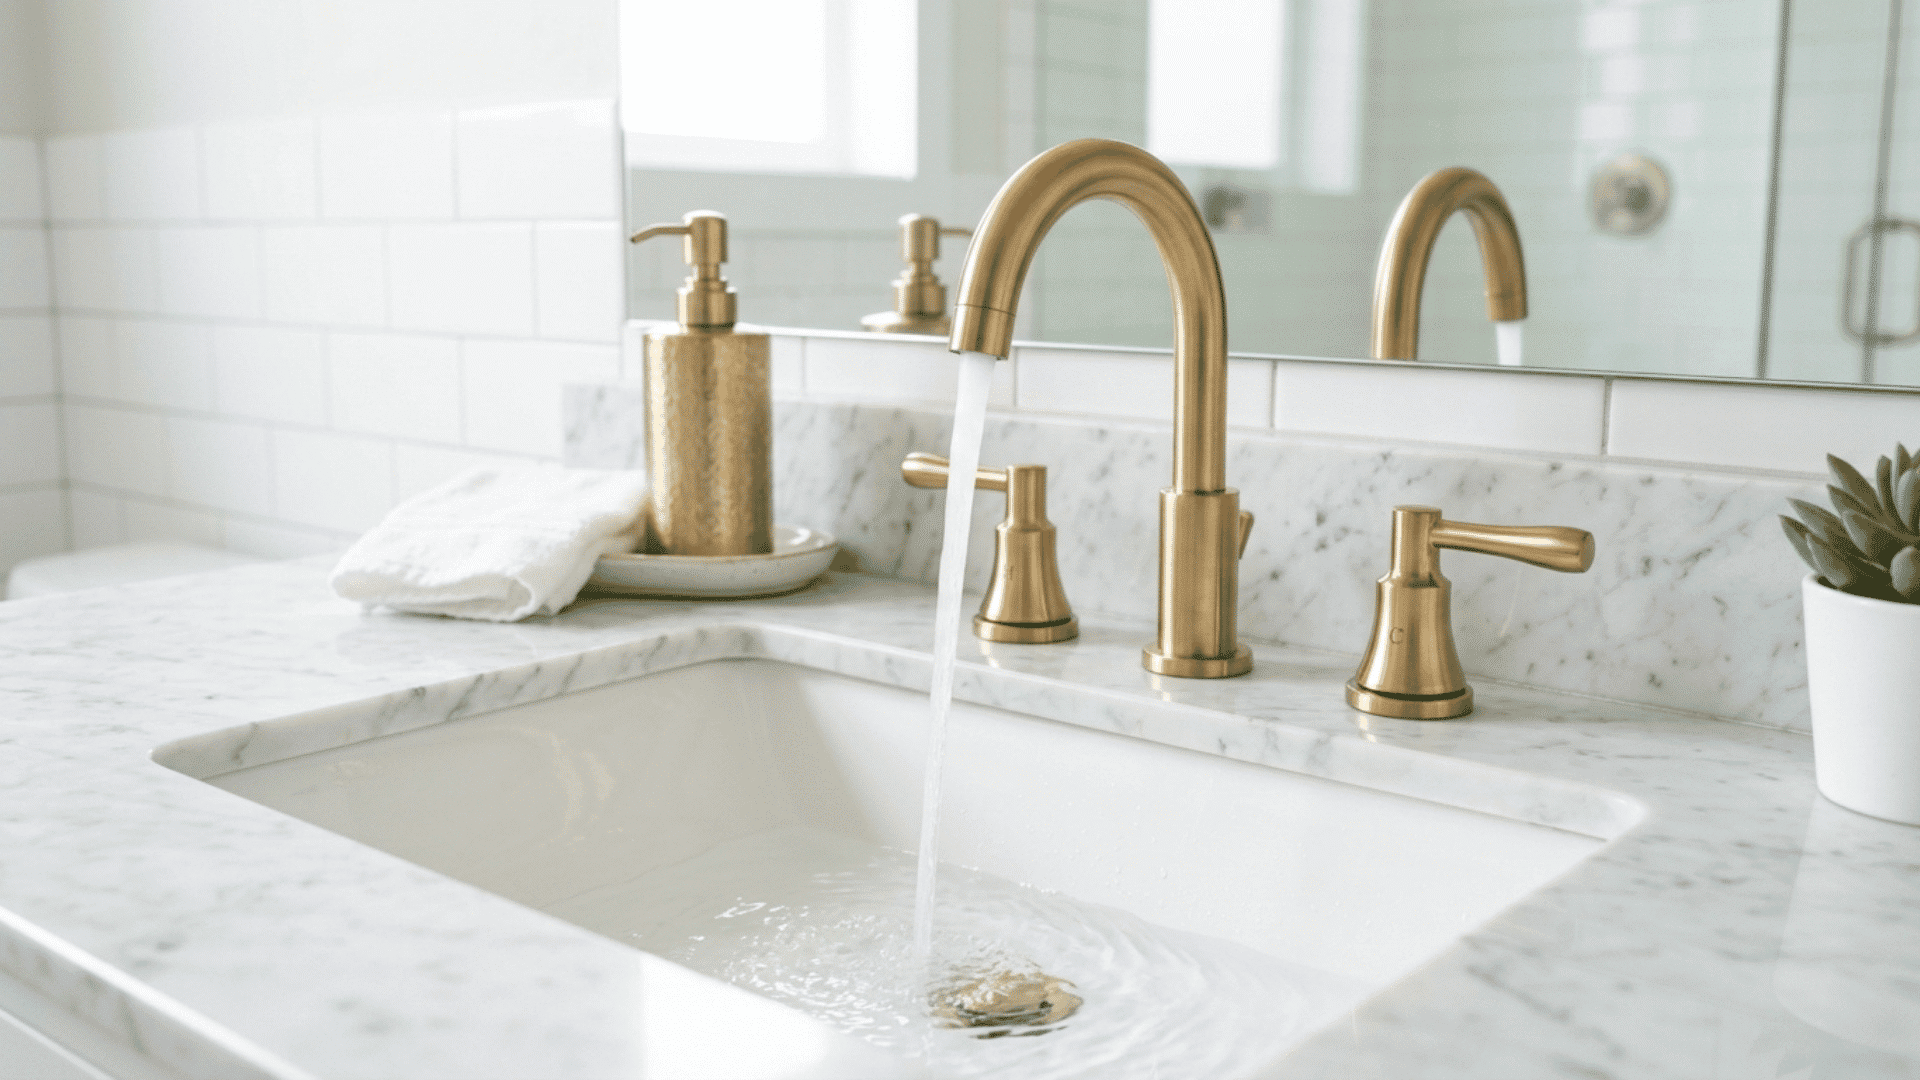
A sink faucet replacement is a simple home improvement that improves water flow and updates the sink area’s look, making it more usable.
Materials Required: Faucet, wrench, plumber’s tape, bucket, screwdriver
Steps:
- Turn off the water supply valves and place a bucket to catch the remaining water
- Disconnect supply lines and remove the old faucet by loosening mounting nuts
- Clean the sink surface before placing the new faucet into the mounting holes
- Secure the new faucet and reconnect supply lines without over-tightening
- Turn the water back on and check for leaks while testing the flow and control
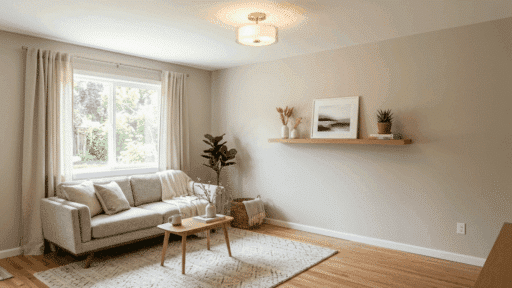
19. Simple Gallery Wall Layout
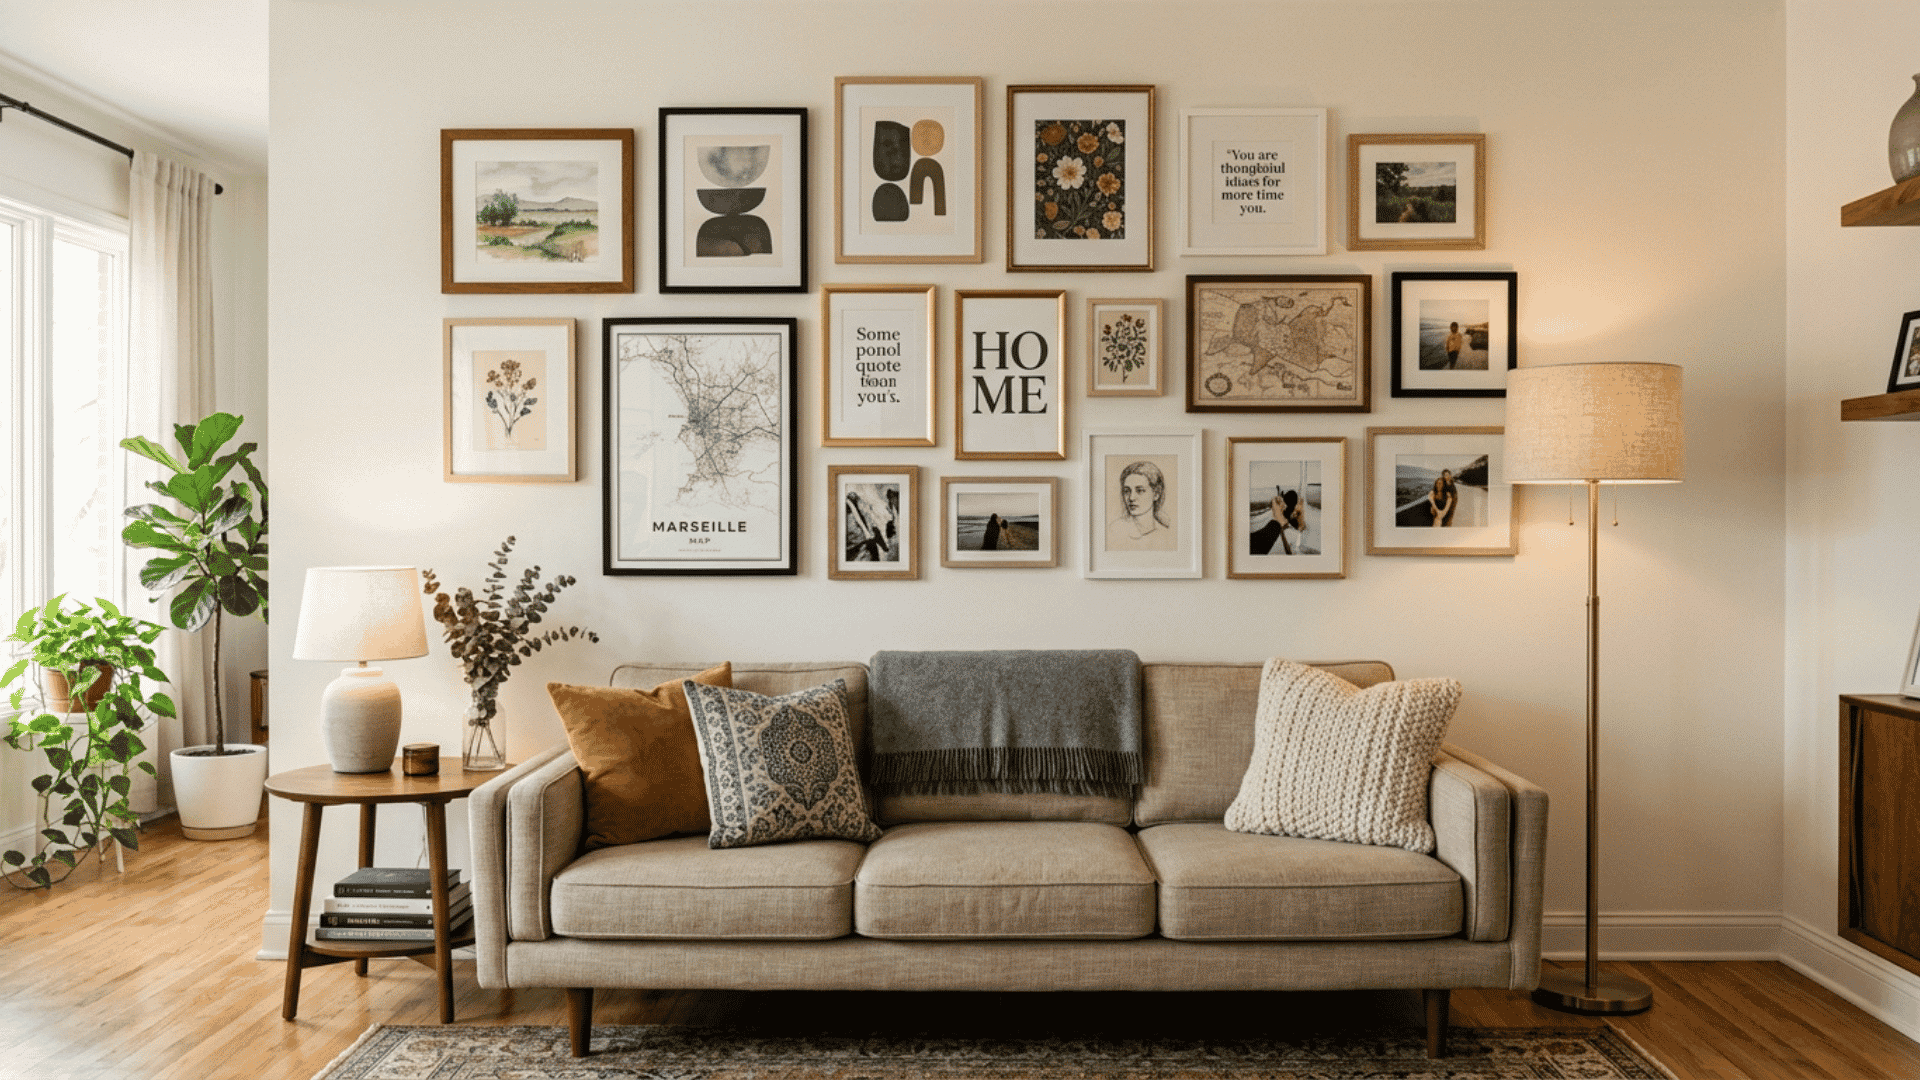
A simple gallery wall layout is a simple home improvement that adds visual interest and fills empty wall space in an organized way.
Materials Required: Frames, nails, hammer, measuring tape, level, pencil
Steps:
- Arrange all frames on the floor to finalize spacing and layout before hanging
- Measure the wall and mark positions using a pencil to guide placement
- Start hanging from the center frame and move outward to maintain balance
- Use a level while placing each frame to keep the alignment straight
- Step back after placing frames to adjust spacing and improve arrangement
20. Sliding Organizer Under the Sink
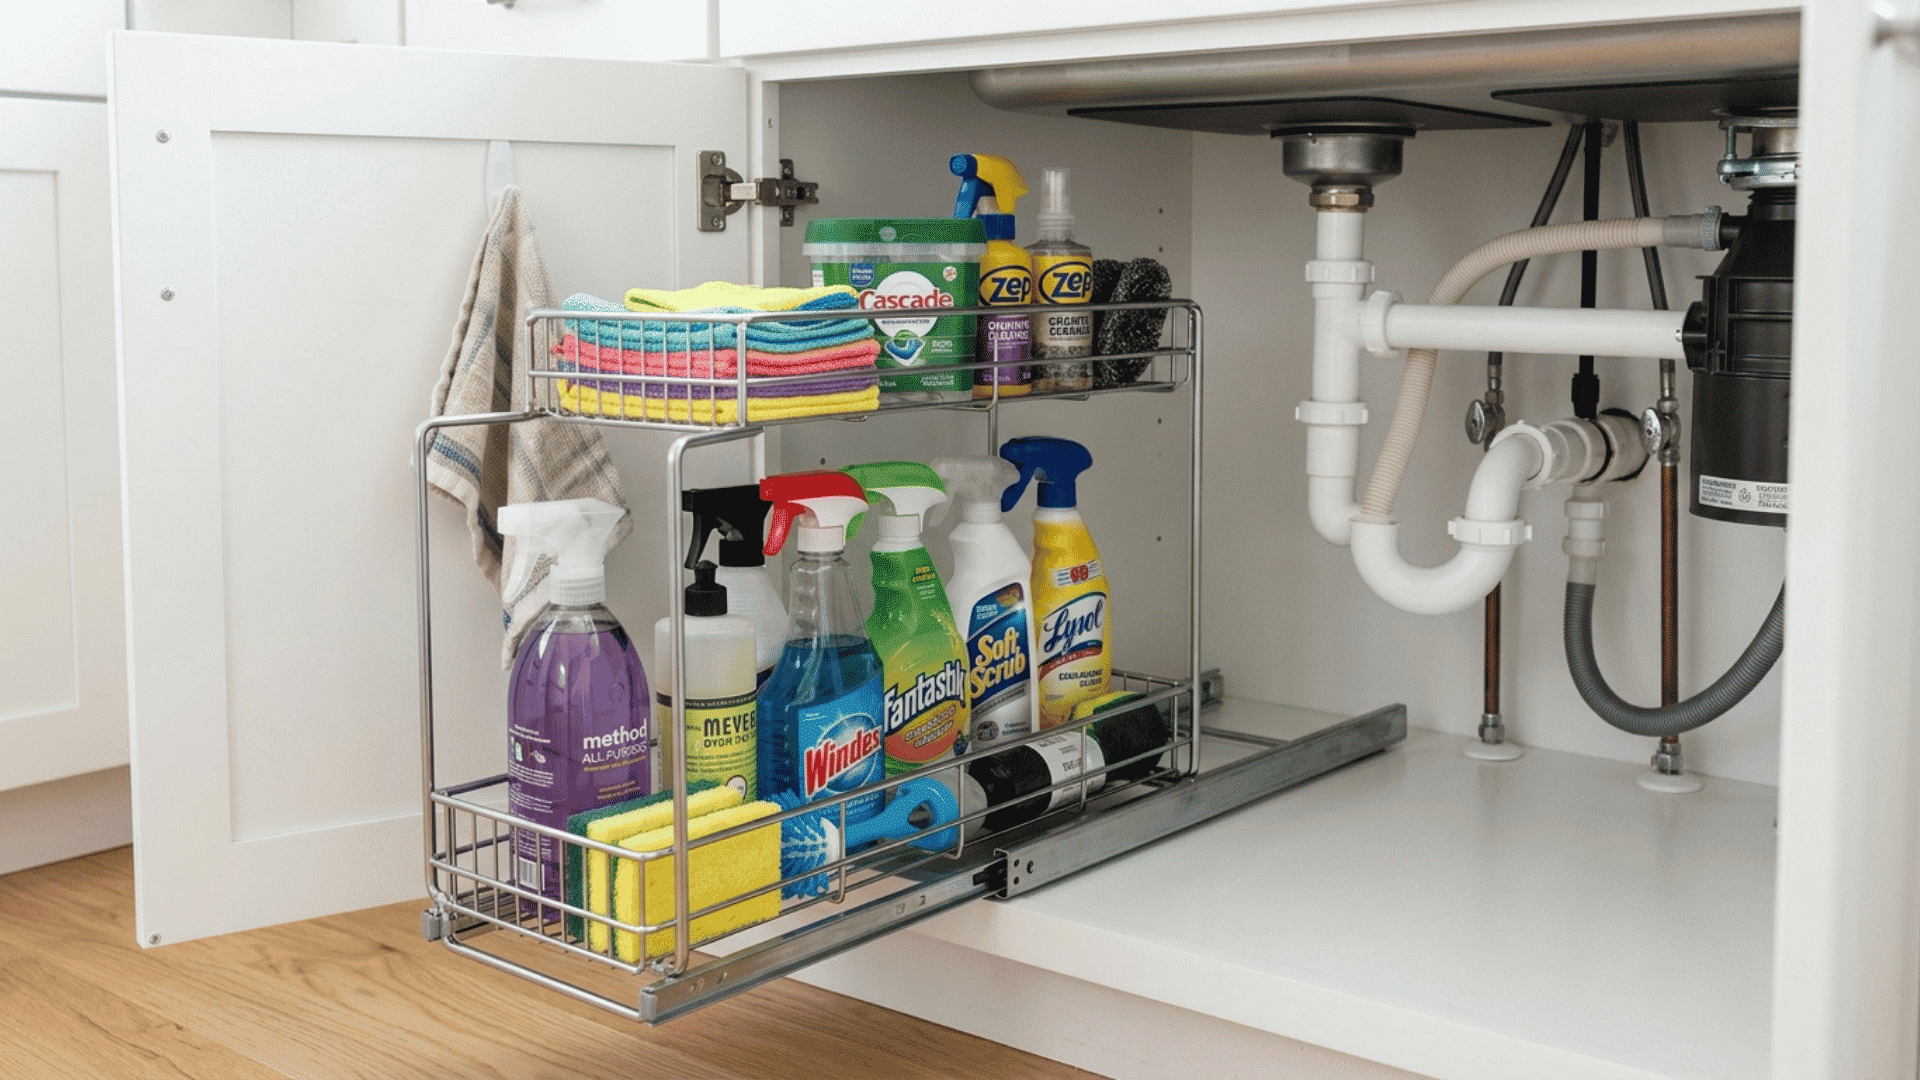
A sliding organizer under the sink is a simple home improvement that improves storage and makes items easier to access.
Materials Required: Sliding organizer, measuring tape, cleaning cloth
Steps:
- Clear out the cabinet space and clean it properly before placing anything
- Measure the cabinet interior to ensure the organizer fits correctly
- Place the organizer inside and arrange items based on usage
- Slide it in and out to check smooth movement and proper placement
21. Area Rug Placement
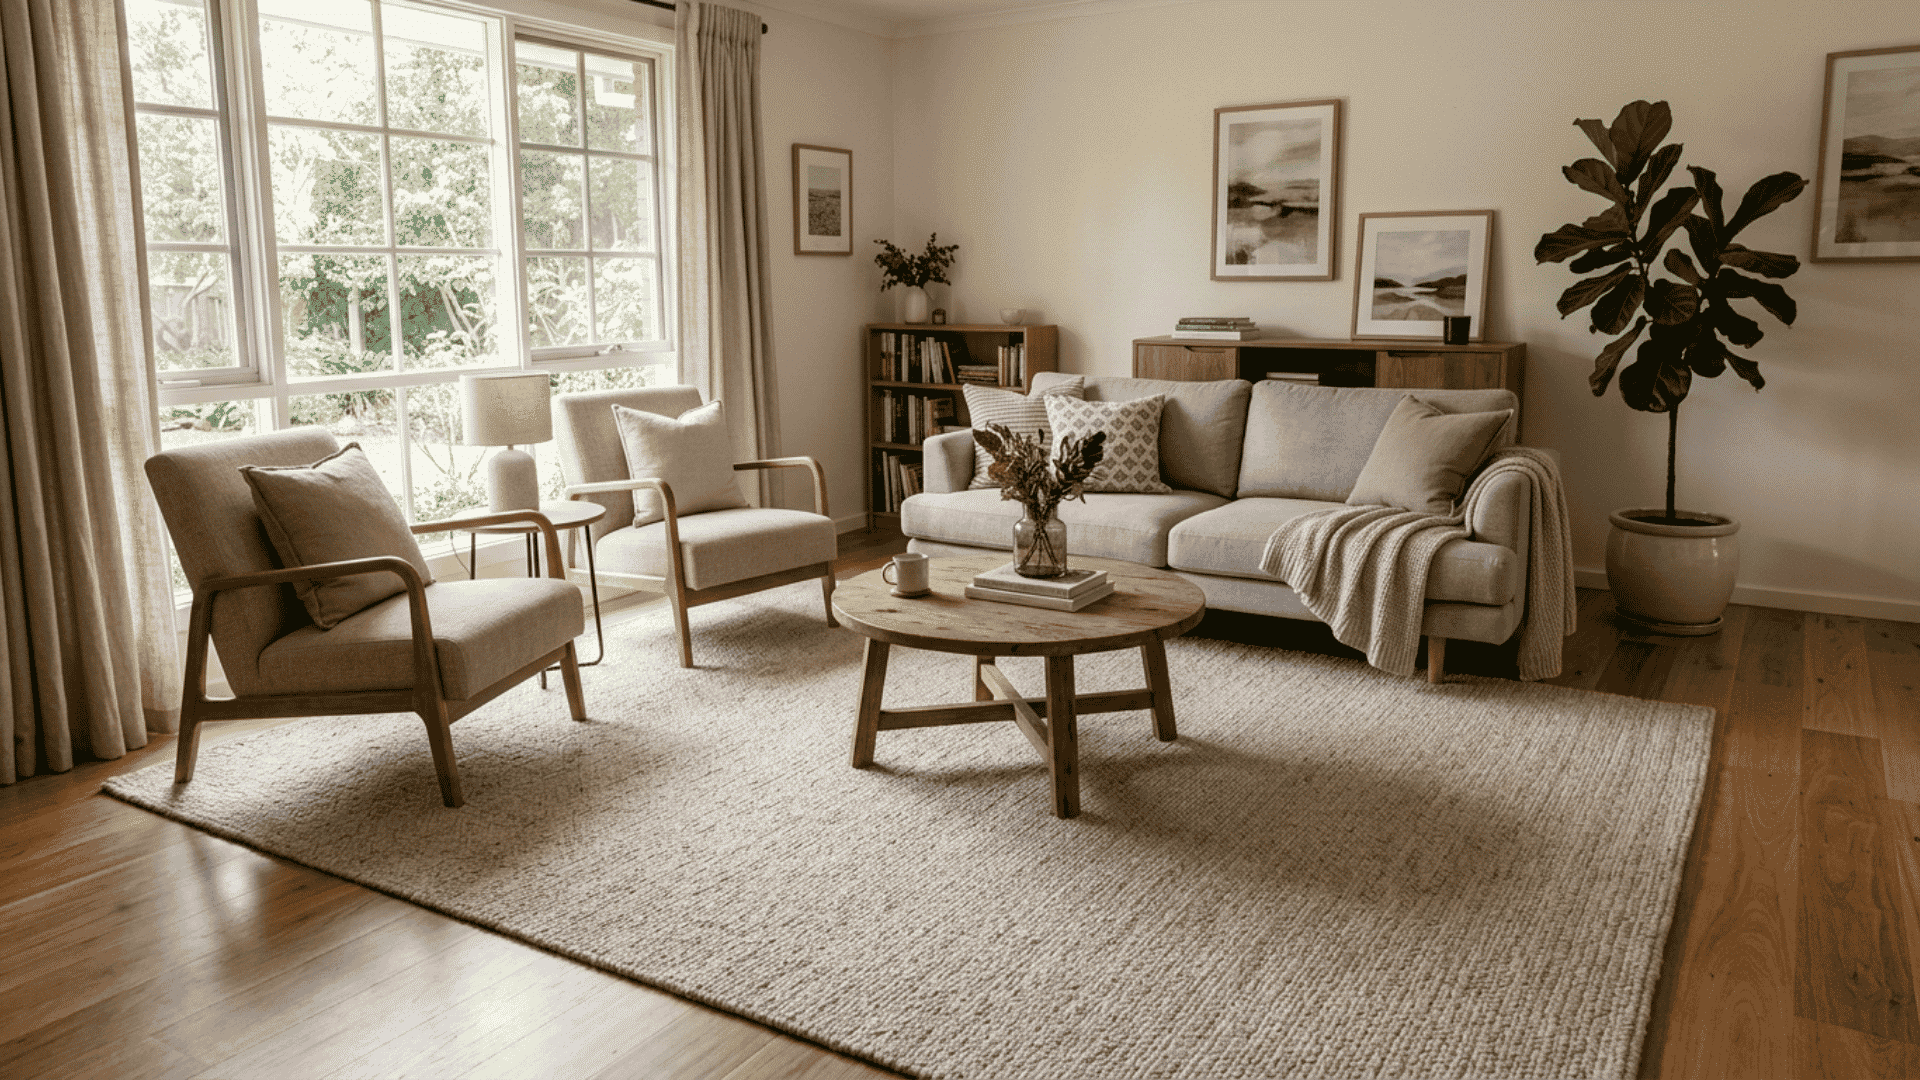
Area rug placement is one of the simplest home improvements that clearly defines spaces and improves comfort in any room.
Materials Required: Area rug, measuring tape, rug pad
Steps:
- Measure the seating area carefully to choose the correct rug size for the space
- Place the rug in the center and adjust its position properly for better alignment
- Ensure the front legs of furniture sit on the rug for improved balance and support
- Add a rug pad underneath to prevent slipping and unwanted movement over time
22. Clean and Seal Tile Grout Lines
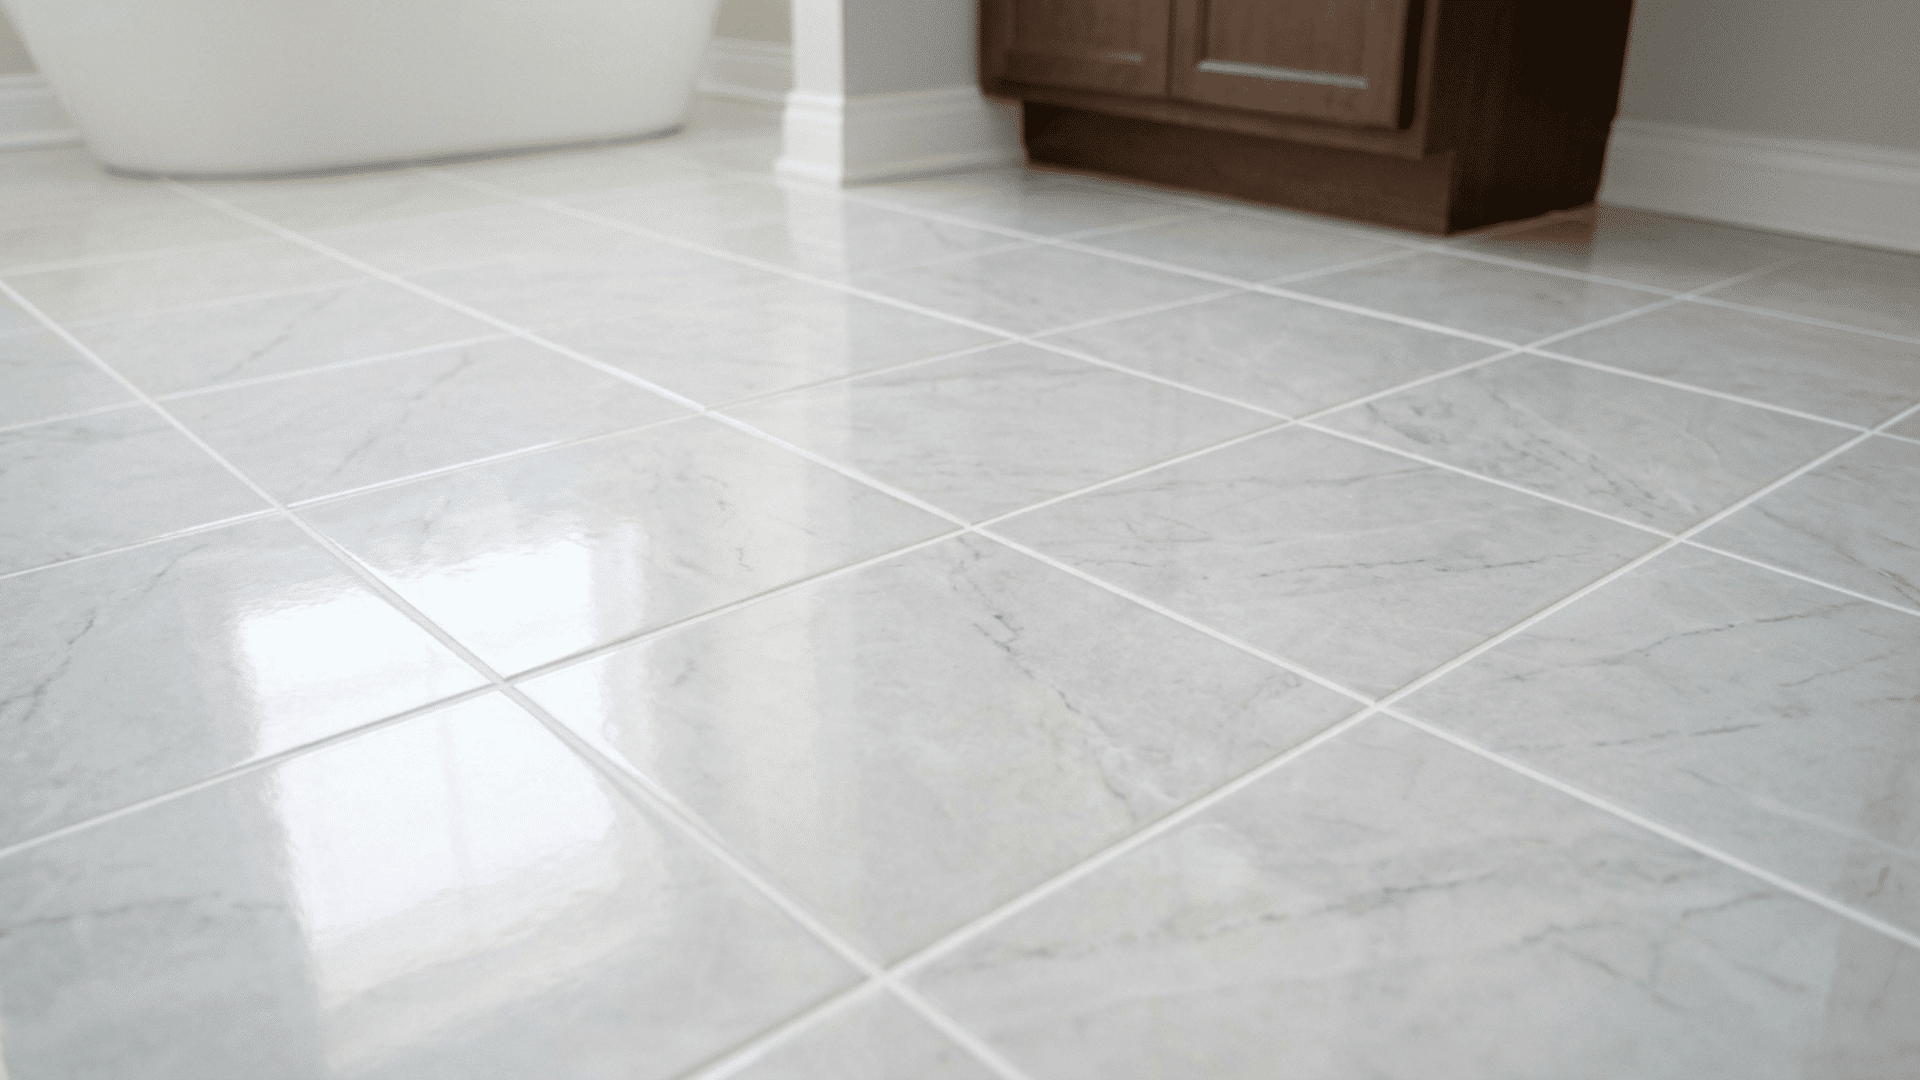
Cleaning and sealing tile grout lines is one of the simplest home improvements that enhances tile appearance and helps maintain long-term cleanliness.
Materials Required: Grout cleaner, brush, grout sealer, applicator, cloth
Steps:
- Scrub grout lines thoroughly using a cleaner and a stiff brush for deep cleaning
- Rinse the area with clean water and allow it to dry completely before sealing
- Apply grout sealer evenly along each line using a proper applicator tool
- Let the sealer dry fully before using the tiled surface again, as usual
23. Smart Bulbs for Lighting Control
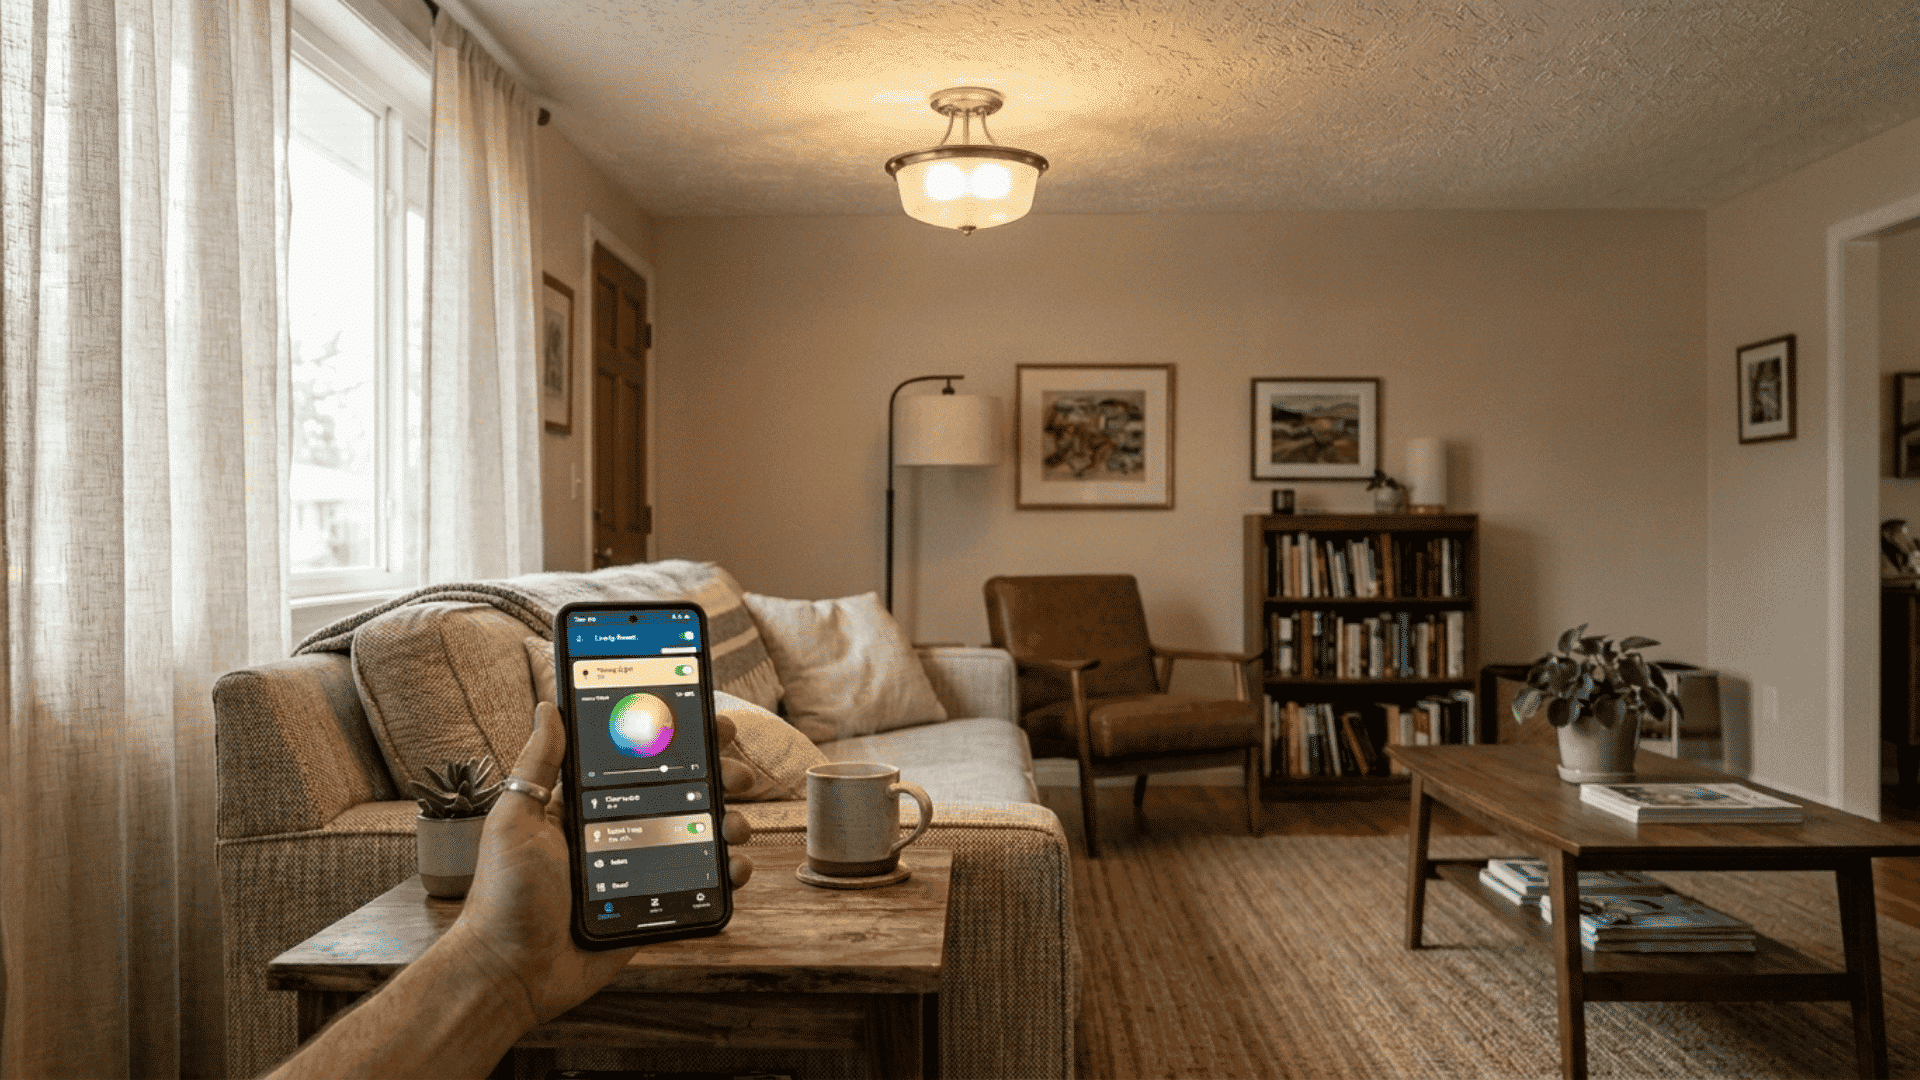
Smart bulbs for lighting control are among the simplest home improvements, allowing easy adjustment of brightness and color via a mobile device.
Materials Required: Smart bulbs, smartphone, compatible app, Wi-Fi connection
Steps:
- Remove existing bulbs and install smart bulbs into each fixture carefully
- Download the app and follow the setup instructions to connect bulbs properly
- Adjust brightness and color settings based on room preference and usage needs
- Group bulbs within the app for easier control across multiple spaces
24. Paint Kitchen Cabinets
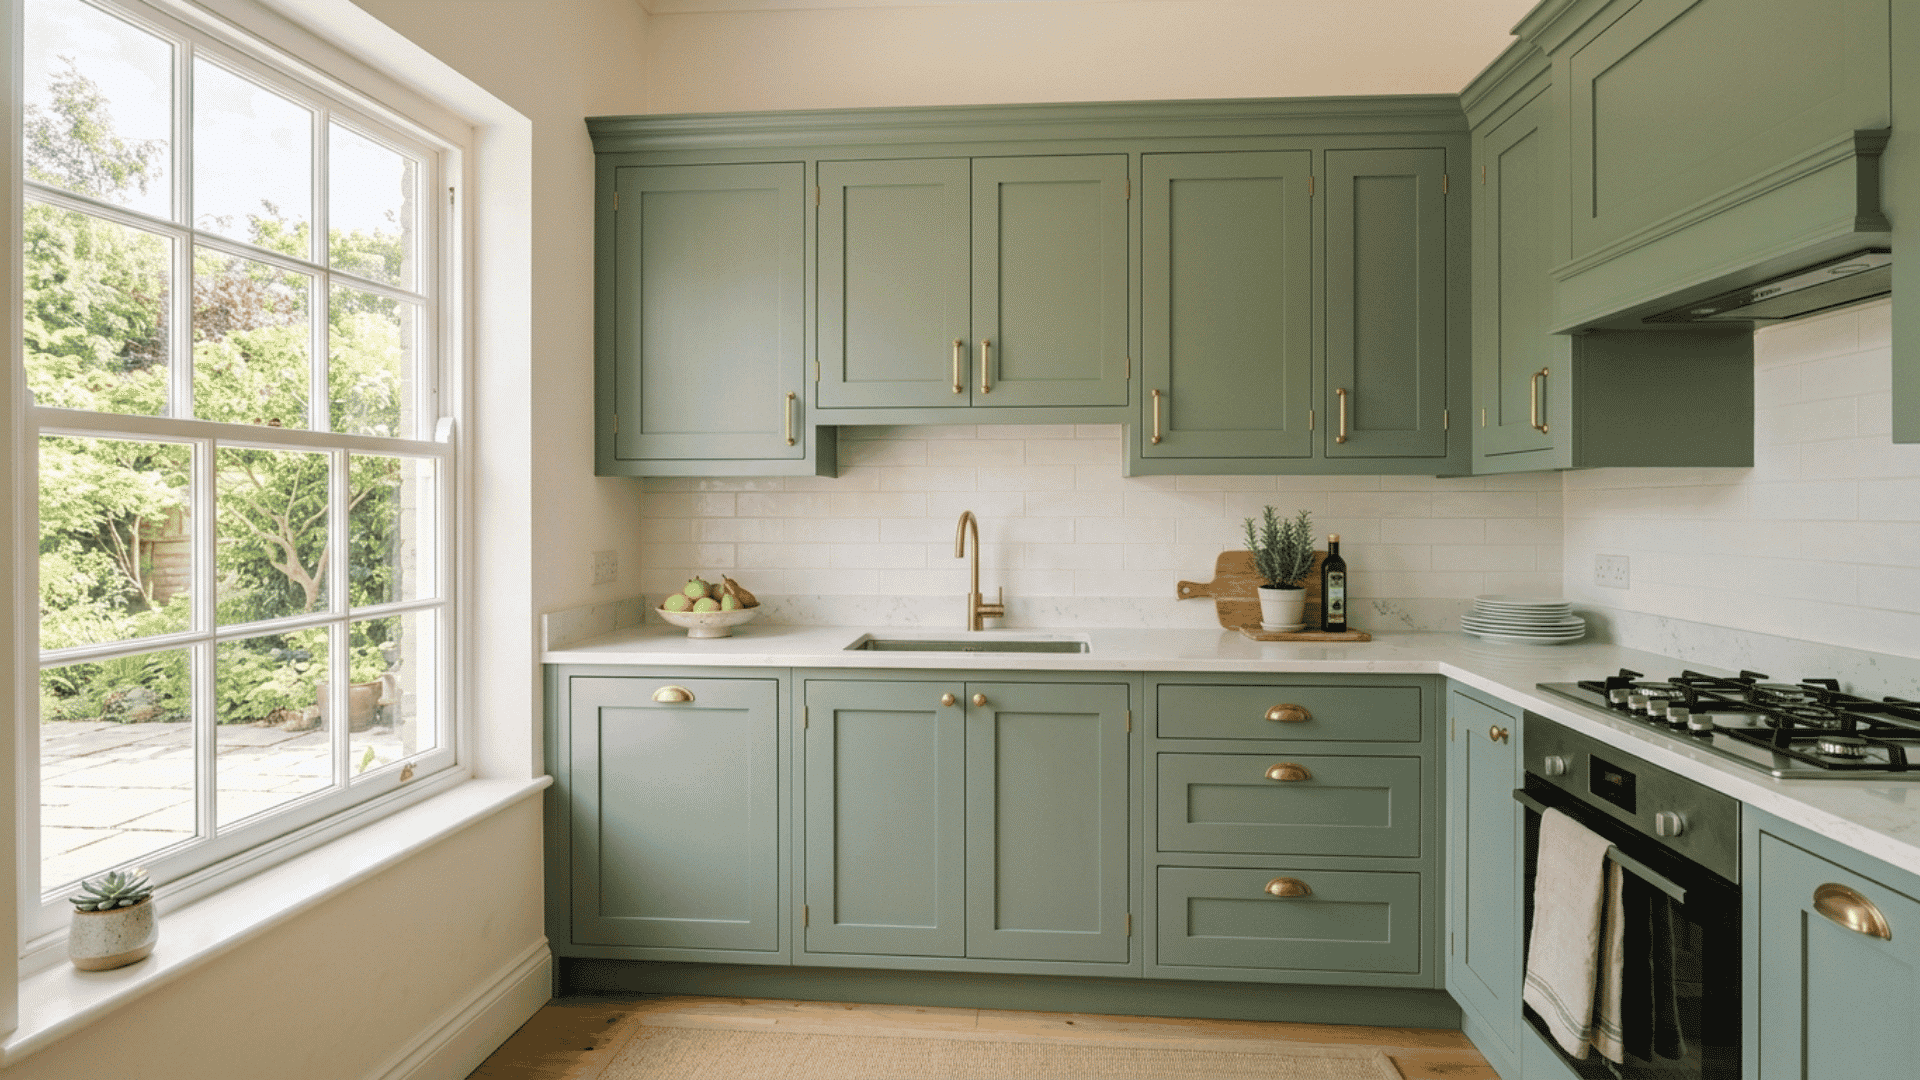
Painting kitchen cabinets gives the kitchen a cleaner, updated look without replacing the existing cabinets or doing major work.
Materials Required: Paint, primer, brush, roller, sandpaper, cloth
Steps:
- Remove cabinet doors and sand surfaces lightly for proper paint preparation
- Clean dust completely and apply primer evenly across all cabinet surfaces
- Paint cabinets using smooth strokes and allow proper drying time between coats
- Apply a second coat and reattach doors once everything is fully dry
25. Frosted Film to Windows
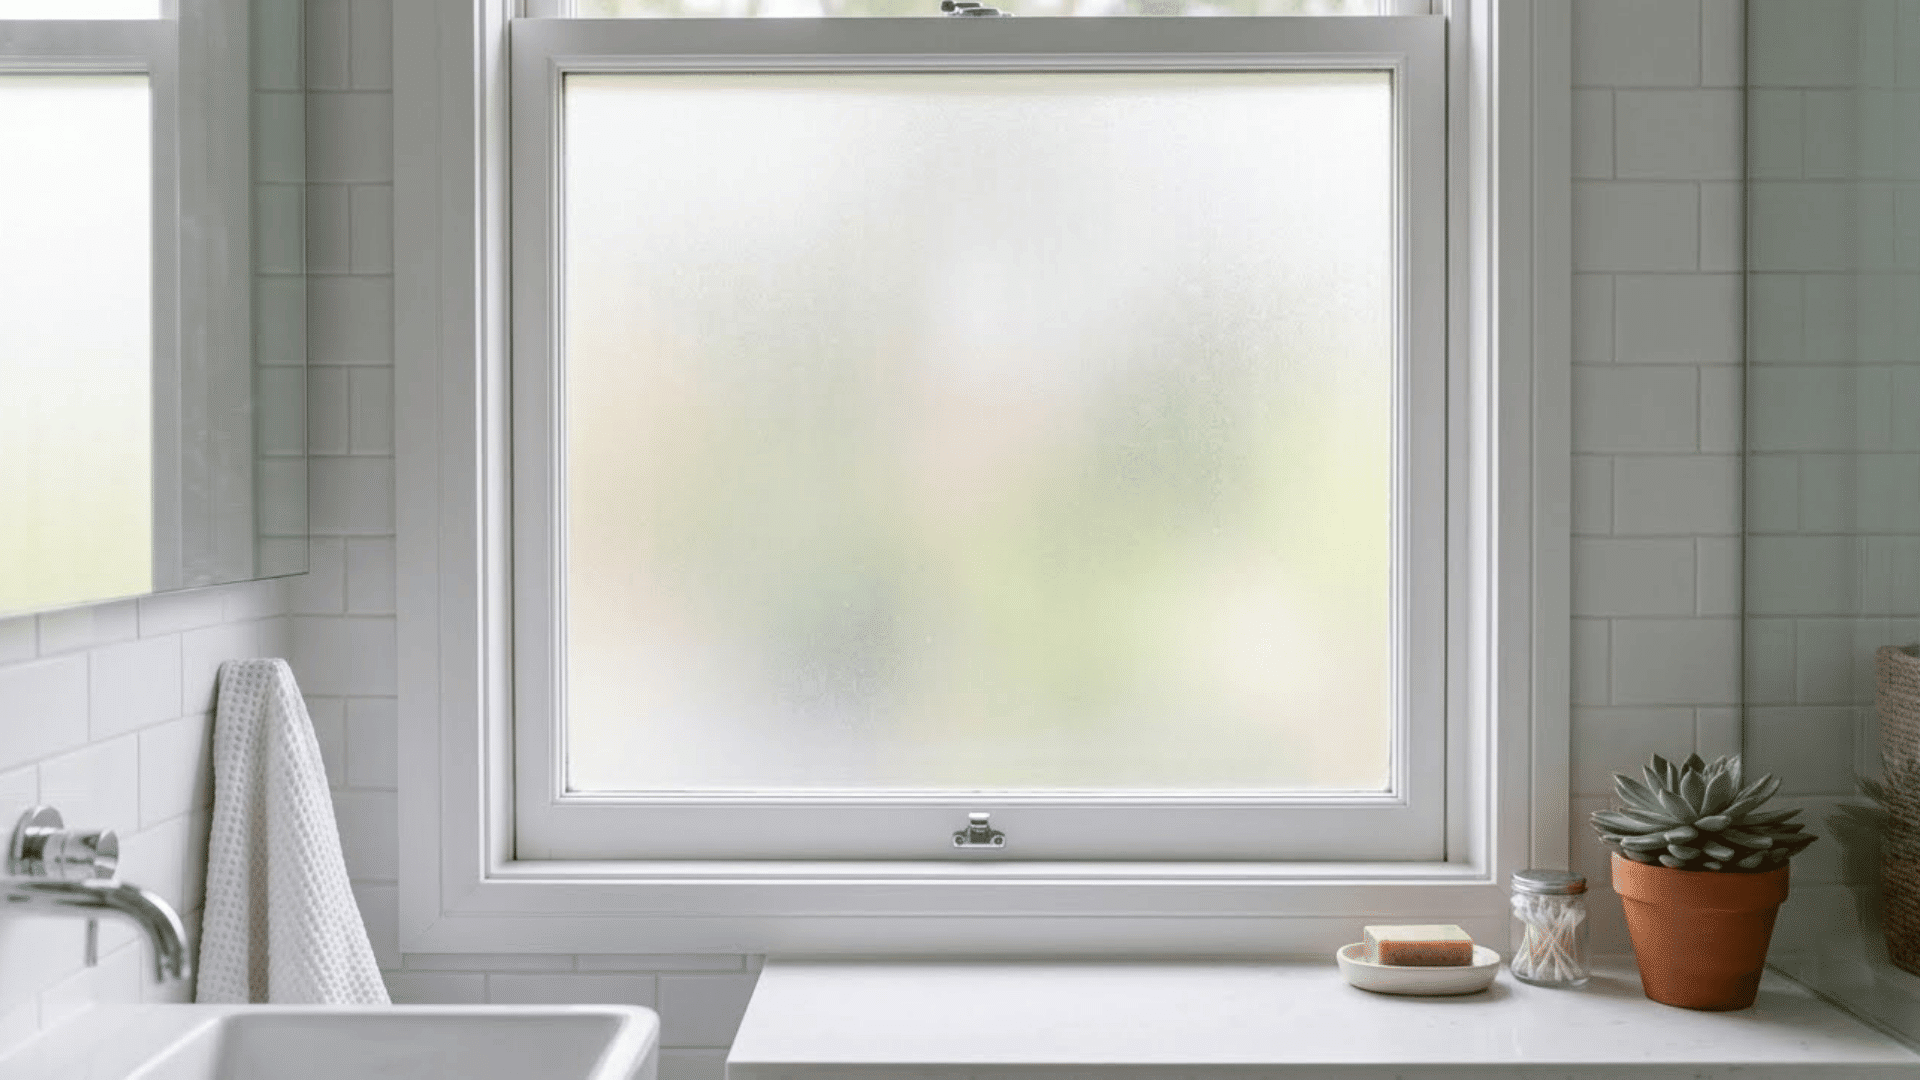
Frosted film adds privacy to windows while still allowing natural light to pass through without blocking brightness inside rooms.
Materials Required: Frosted film, spray bottle, cutter, smoothing tool, measuring tape
Steps:
- Clean the glass surface thoroughly to remove dust and streaks completely
- Measure and cut the film according to the window dimensions accurately
- Spray water lightly and apply the film carefully onto the glass surface
- Smooth out bubbles using a tool and trim excess film along the edges neatly
26. Stick-On Wall Panels
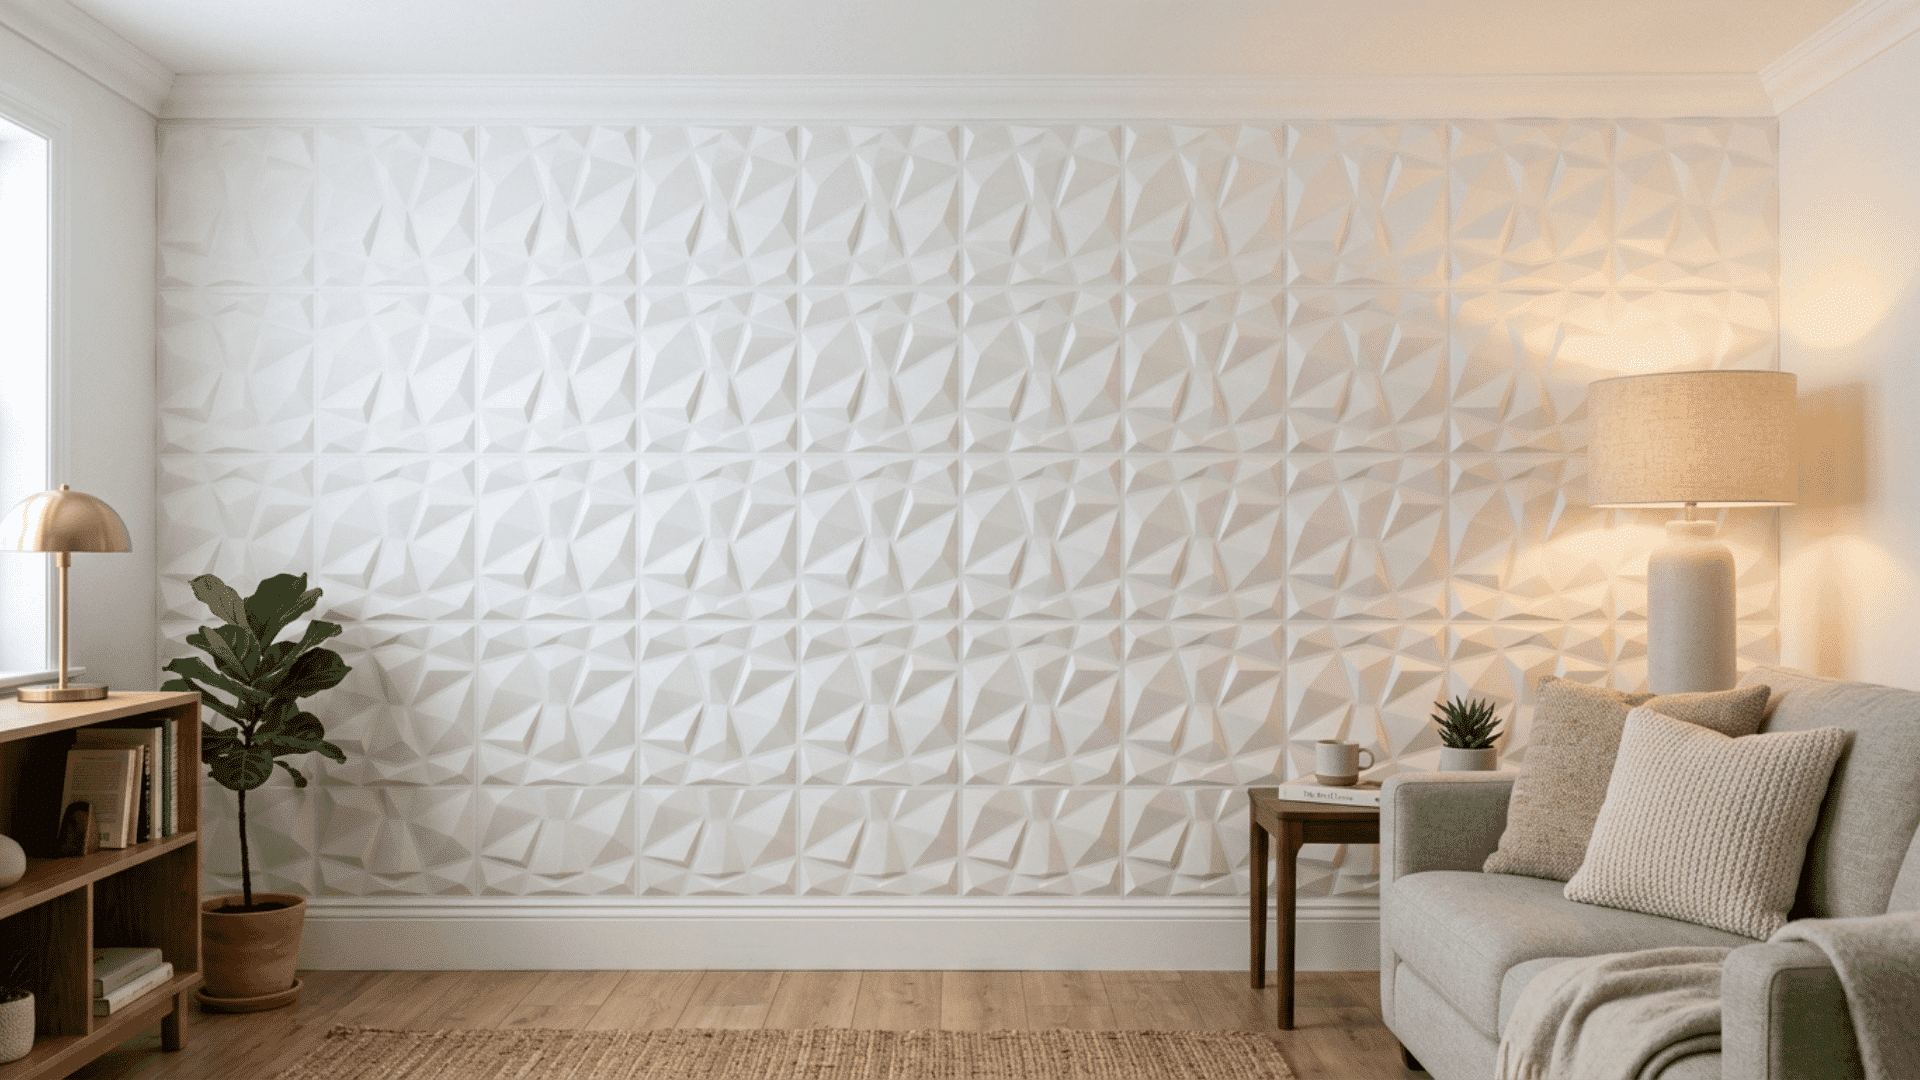
Stick-on wall panels help improve plain walls by adding texture and visual detail without complex installation work or tools.
Materials Required: Wall panels, measuring tape, cutter, adhesive backing, smoothing tool
Steps:
- Clean the wall surface properly and ensure it is completely dry before installation
- Measure and cut panels to fit around edges and corners neatly
- Peel the backing and press the panels firmly from top to bottom evenly
- Smooth the surface to remove air bubbles and secure edges properly
27. Shoe Rack Near Entry
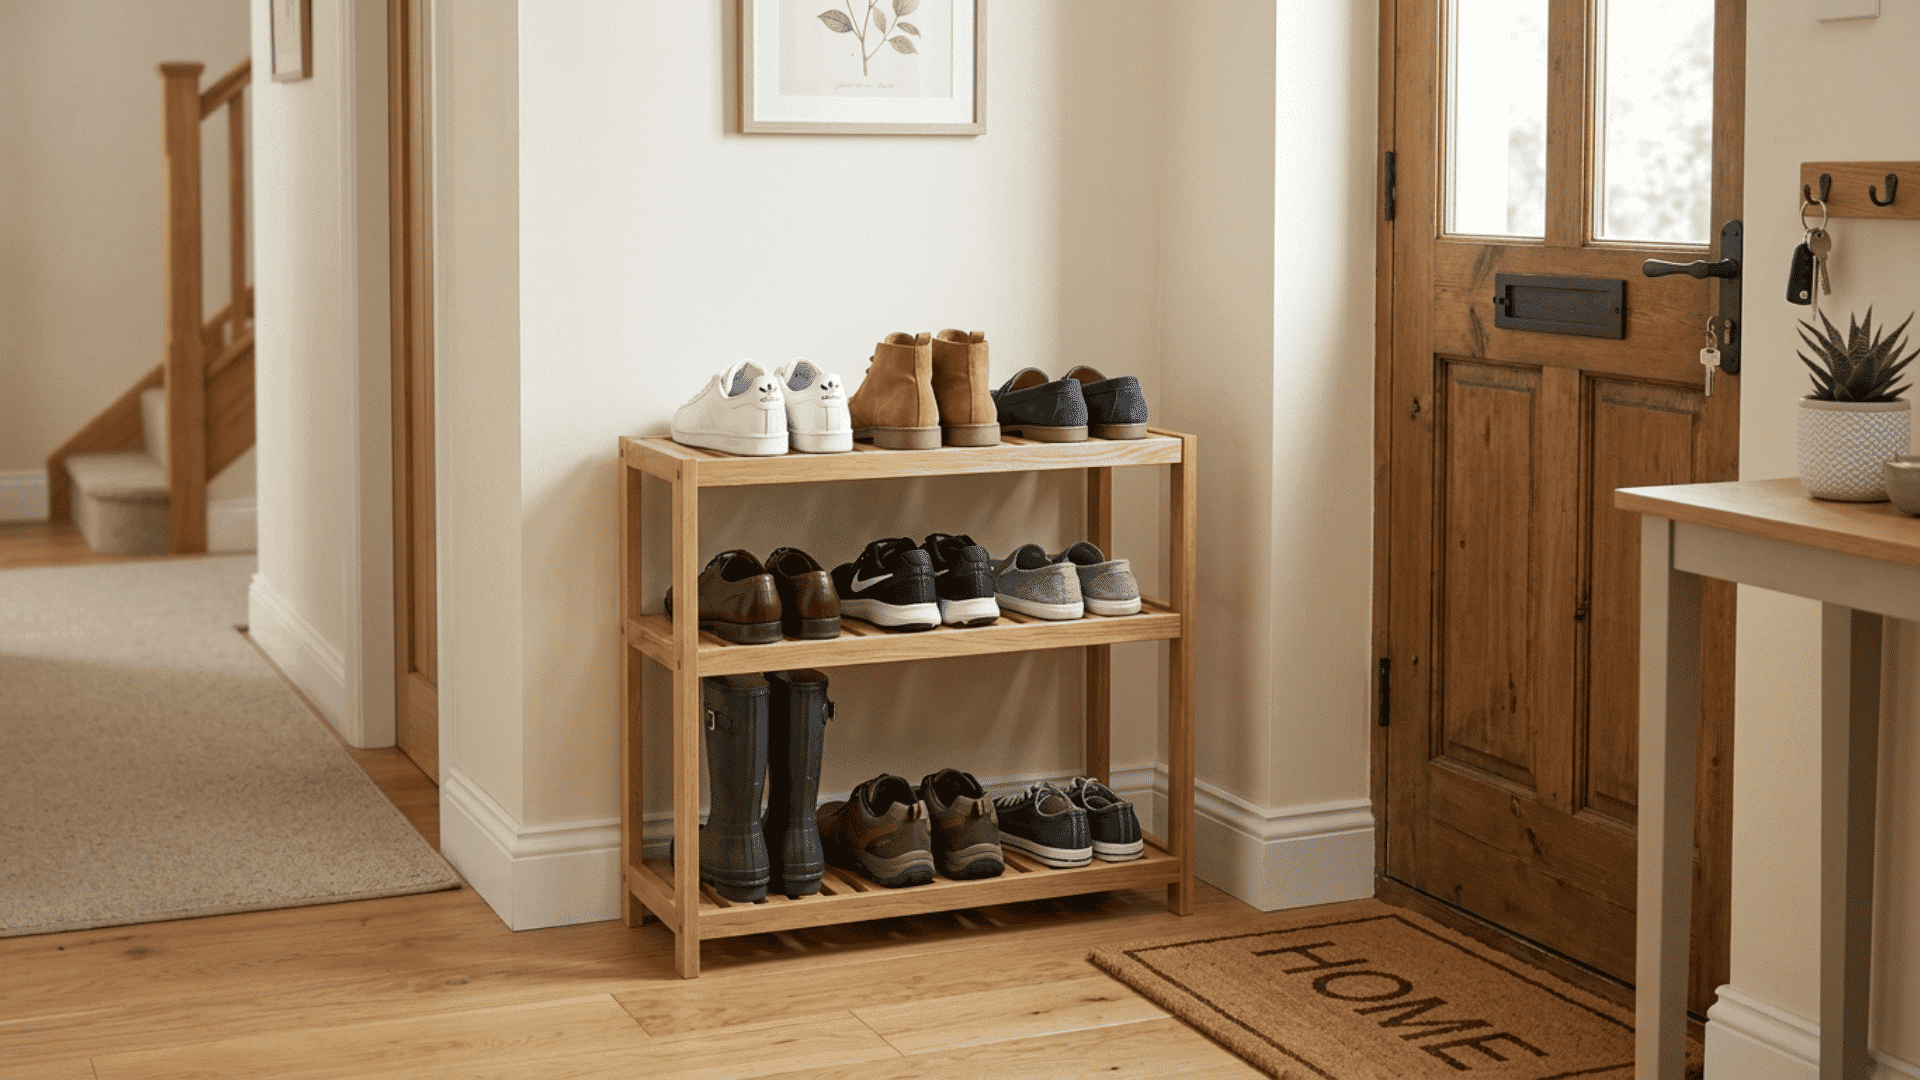
A shoe rack near the entry helps keep footwear organized and prevents clutter from building up in the entrance area.
Materials Required: Shoe rack, screwdriver, measuring tape
Steps:
- Measure the available space near the entry before placing the rack properly
- Assemble the rack according to instructions and position it in place
- Arrange shoes by usage to keep frequently used pairs easily accessible
- Check stability and ensure the rack sits evenly on the floor surface
28. Fixed Squeaky Door Hinges
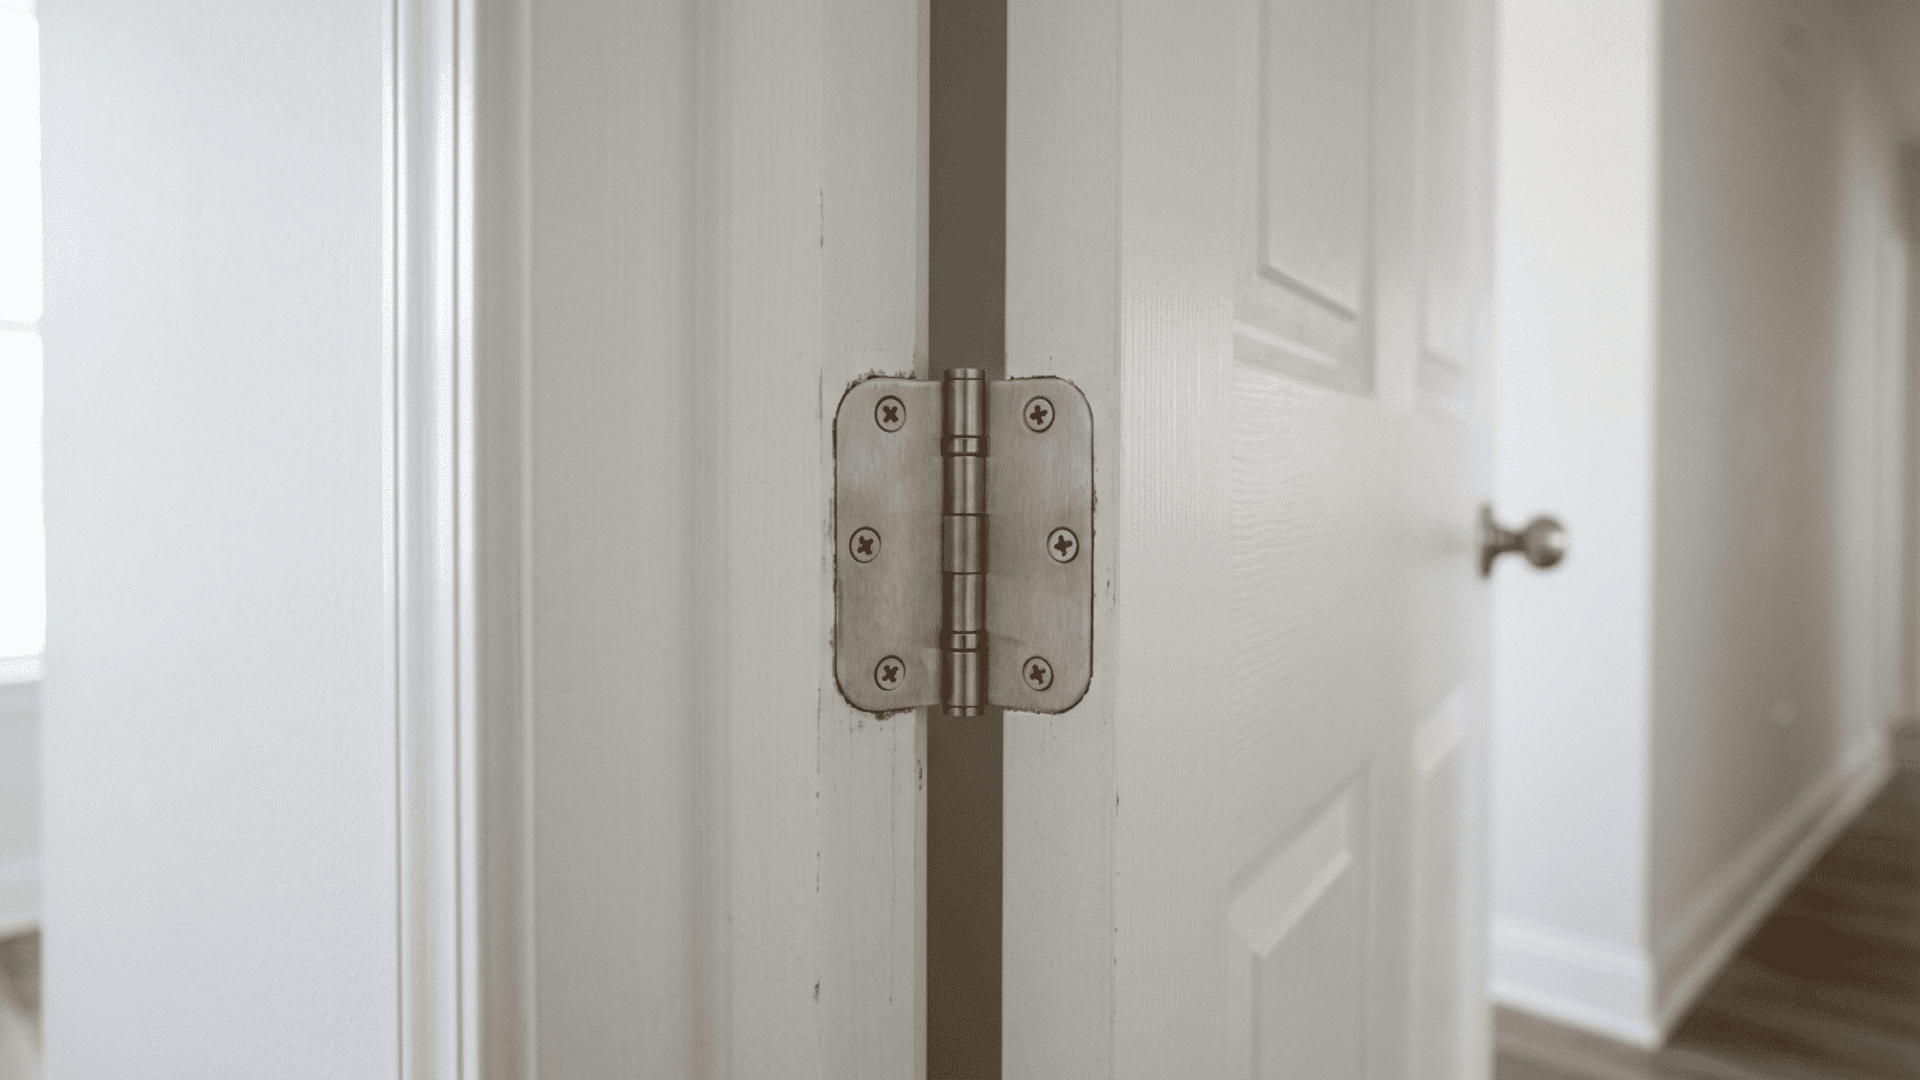
Fixing squeaky door hinges helps doors move smoothly and removes noise that can be distracting during daily use at home.
Materials Required: Lubricant, cloth, screwdriver, hammer
Steps:
- Identify the hinge causing noise by opening and closing the door repeatedly
- Remove the hinge pin carefully using tools without damaging the hinge
- Apply lubricant evenly along the hinge pin surface for smooth movement
- Reinsert the pin and test the door movement for proper operation
29. Low-Maintenance Indoor Plants
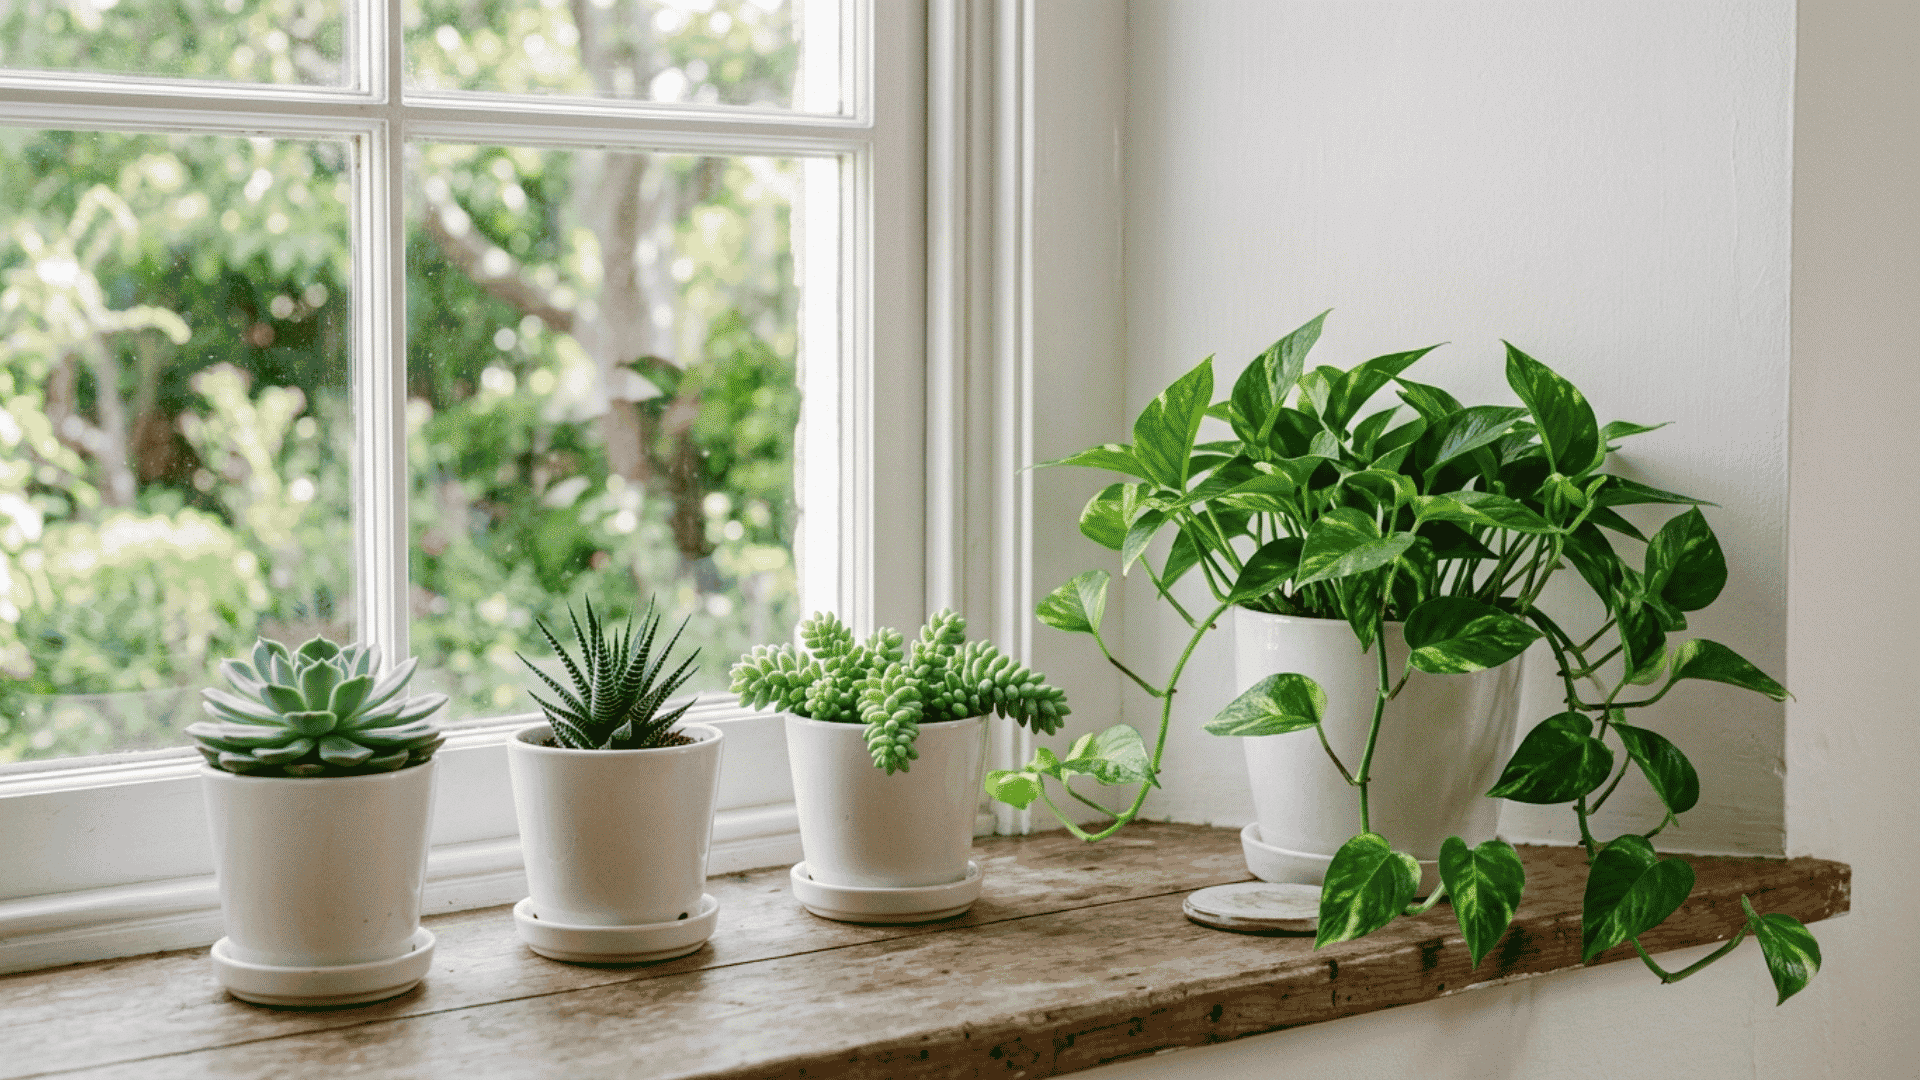
Low-maintenance indoor plants bring natural freshness indoors and improve the feel of a space without requiring much daily care.
Materials Required: Indoor plants, pots, soil, watering can, cloth
Steps:
- Choose plants that grow well indoors and require minimal watering and sunlight
- Place each plant in a pot with proper drainage and suitable soil
- Position plants in areas with the right light based on plant type
- Water the soil when it feels dry, and wipe leaves occasionally to keep them clean
30. Wall Organizer for Mail
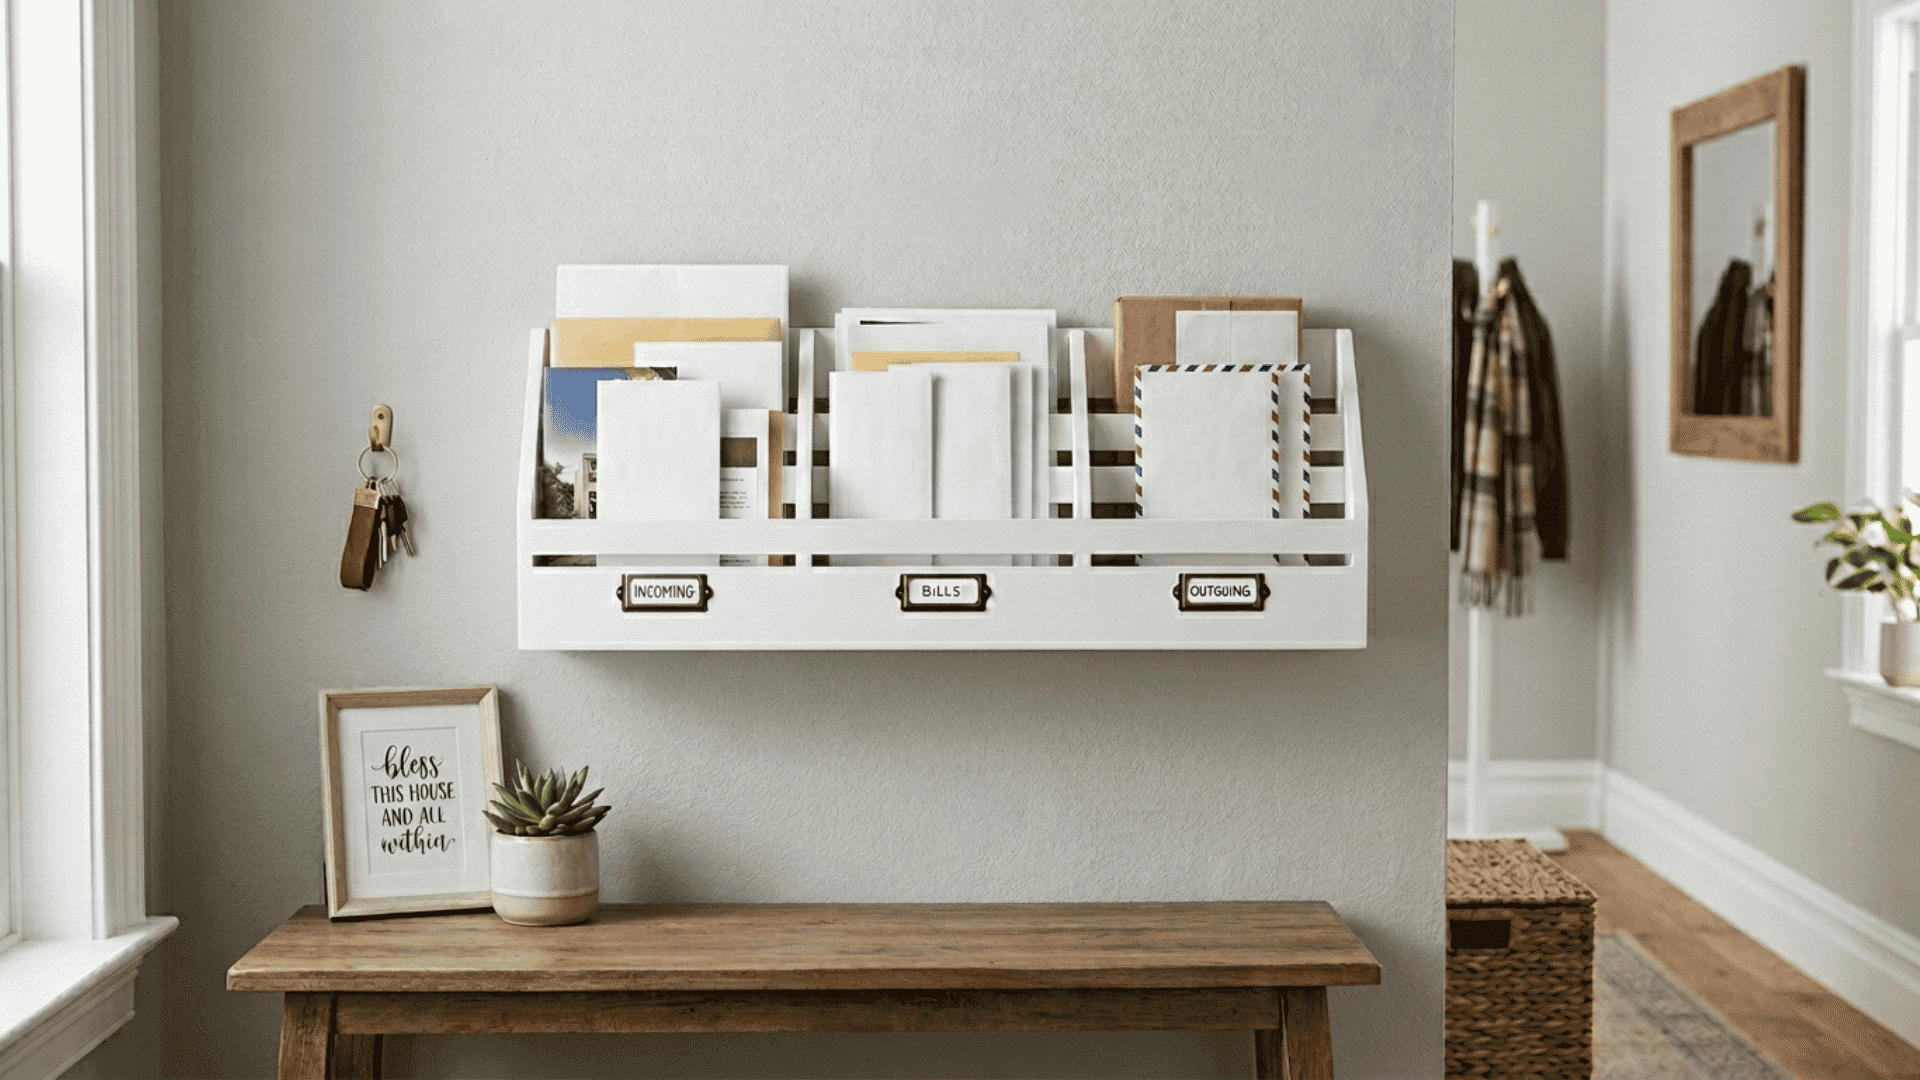
A wall organizer for mail keeps papers sorted and prevents clutter from building up on surfaces like counters or tables.
Materials Required: Wall organizer, drill, anchors, screws, screwdriver
Steps:
- Choose a wall location and mark mounting points at a comfortable height
- Drill holes and insert anchors securely into the wall surface
- Attach the organizer firmly and ensure it sits level against the wall
- Sort mail into sections regularly to keep everything organized and easy to find
31. Single Accent Wall Paint
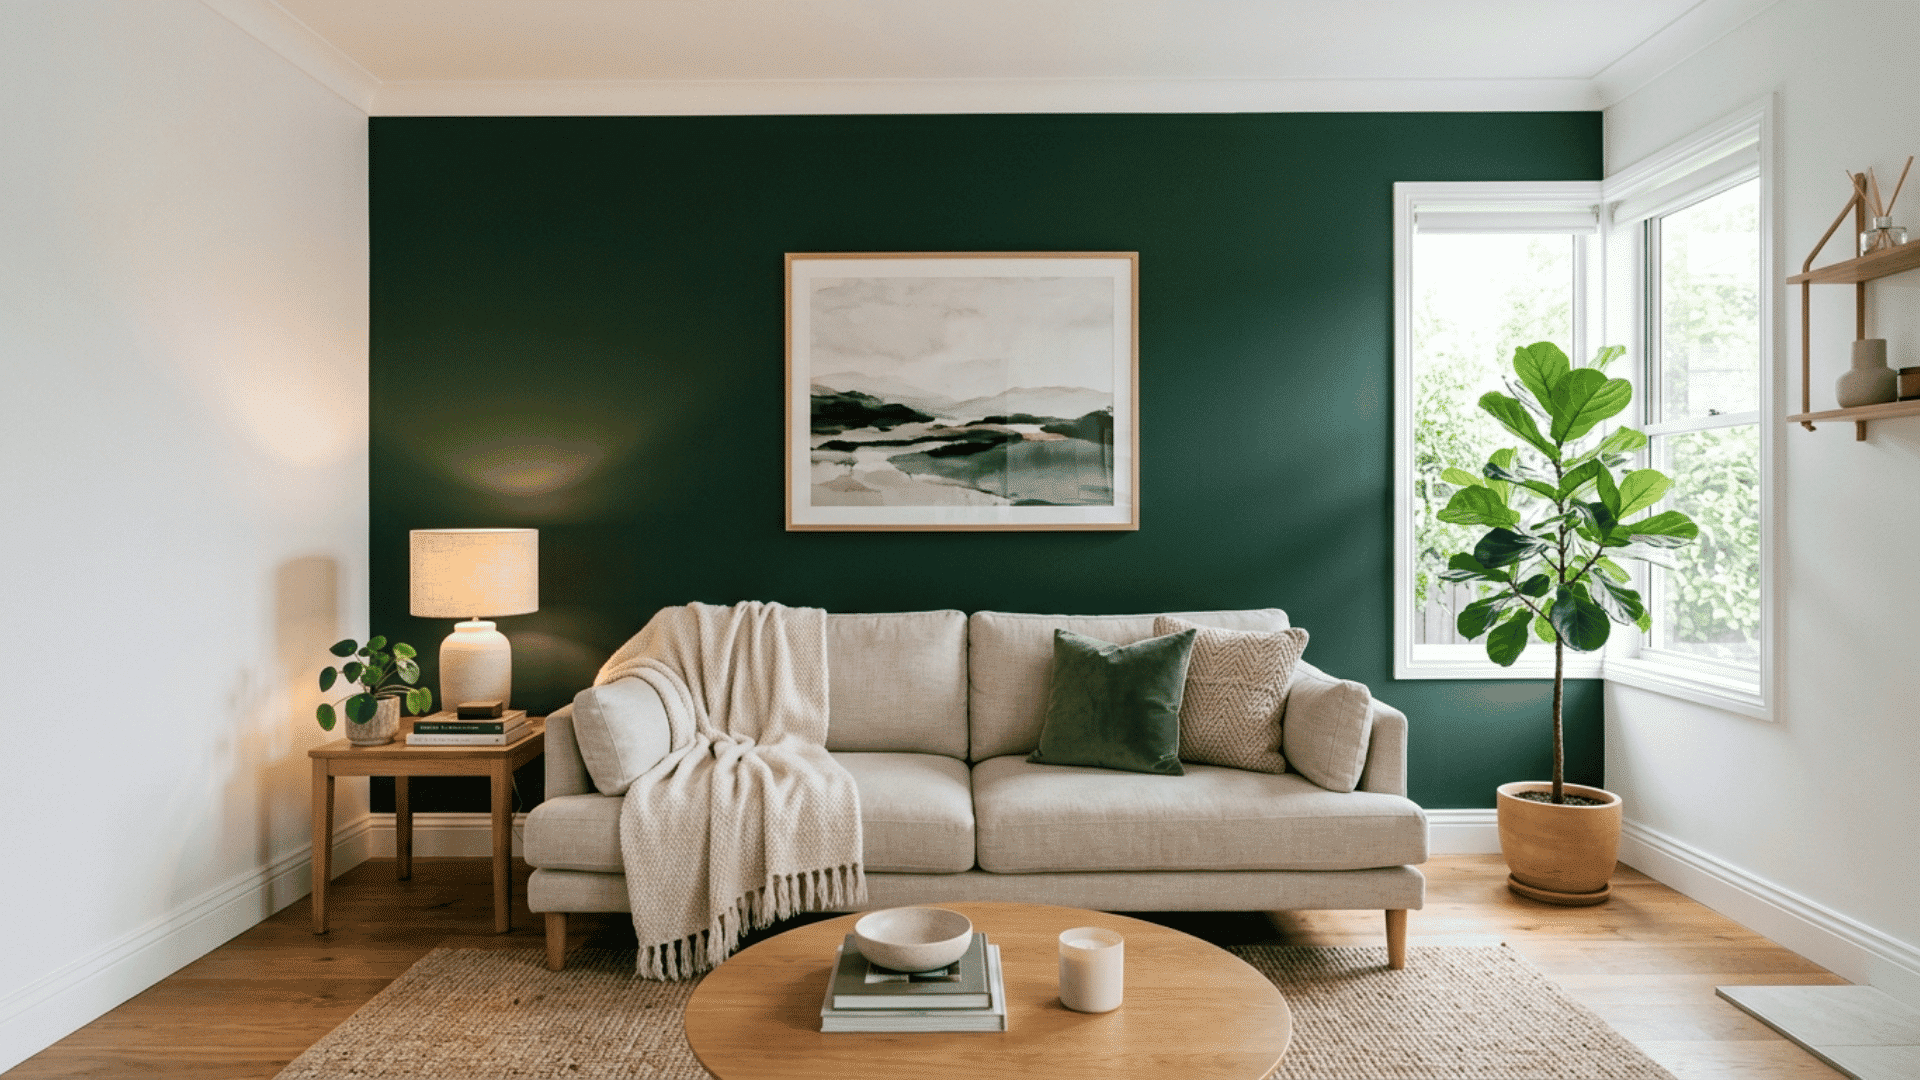
A single accent wall adds visual contrast and creates a focal point that easily changes the overall look of the room.
Materials Required: Paint, primer, roller, brush, painter’s tape
Steps:
- Select the wall and apply painter’s tape carefully along edges for clean lines
- Apply primer evenly across the surface and allow it to dry fully before painting
- Paint the wall using smooth strokes with even coverage across the entire surface
- Remove tape carefully after drying to reveal sharp and clean edges
32. Drawer Dividers
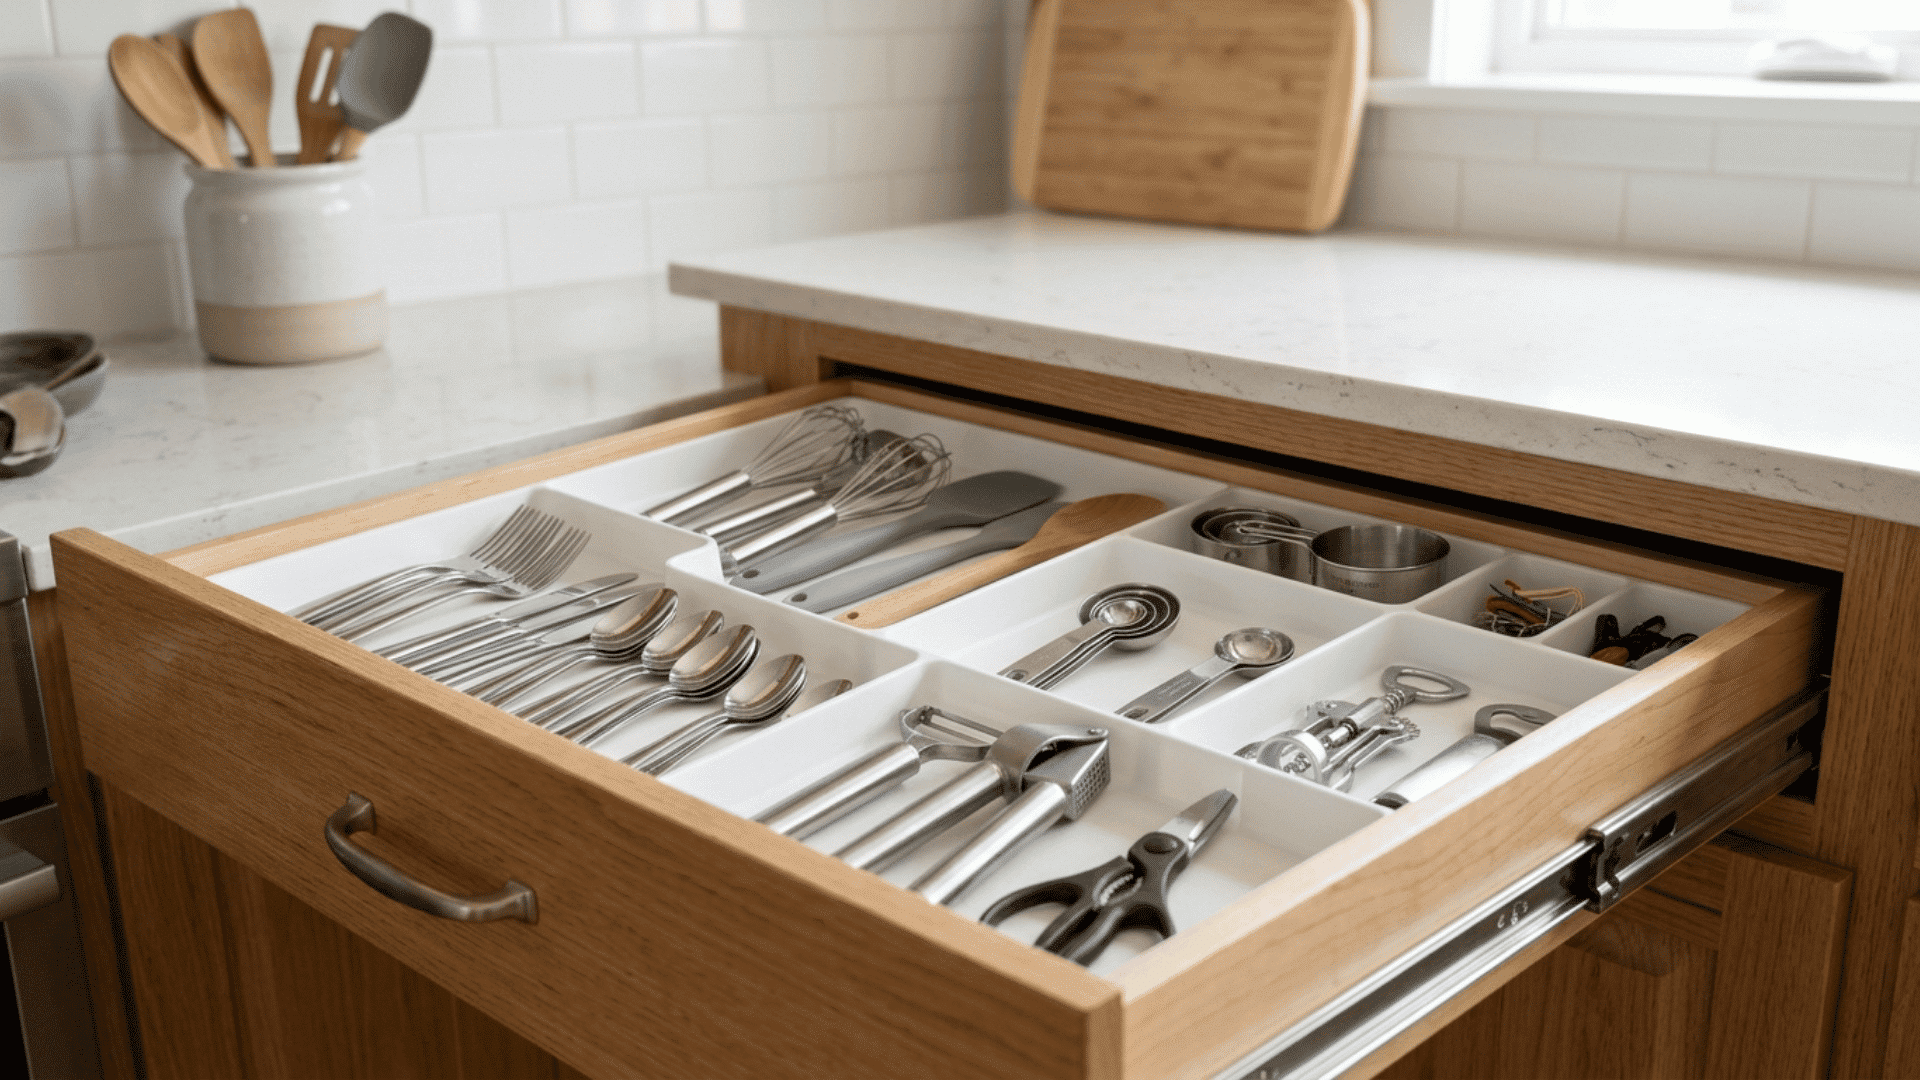
Drawer dividers help organize small items neatly and make it easier to find them without creating unnecessary clutter.
Materials Required: Drawer dividers, measuring tape, cloth
Steps:
- Empty the drawer completely and clean the inside surface properly before placing dividers
- Measure dimensions accurately and adjust dividers to fit the drawer space properly
- Place dividers to create sections based on item categories for better organization
- Arrange items neatly inside sections and adjust spacing for improved organization
33. Storage Baskets for Clutter Control
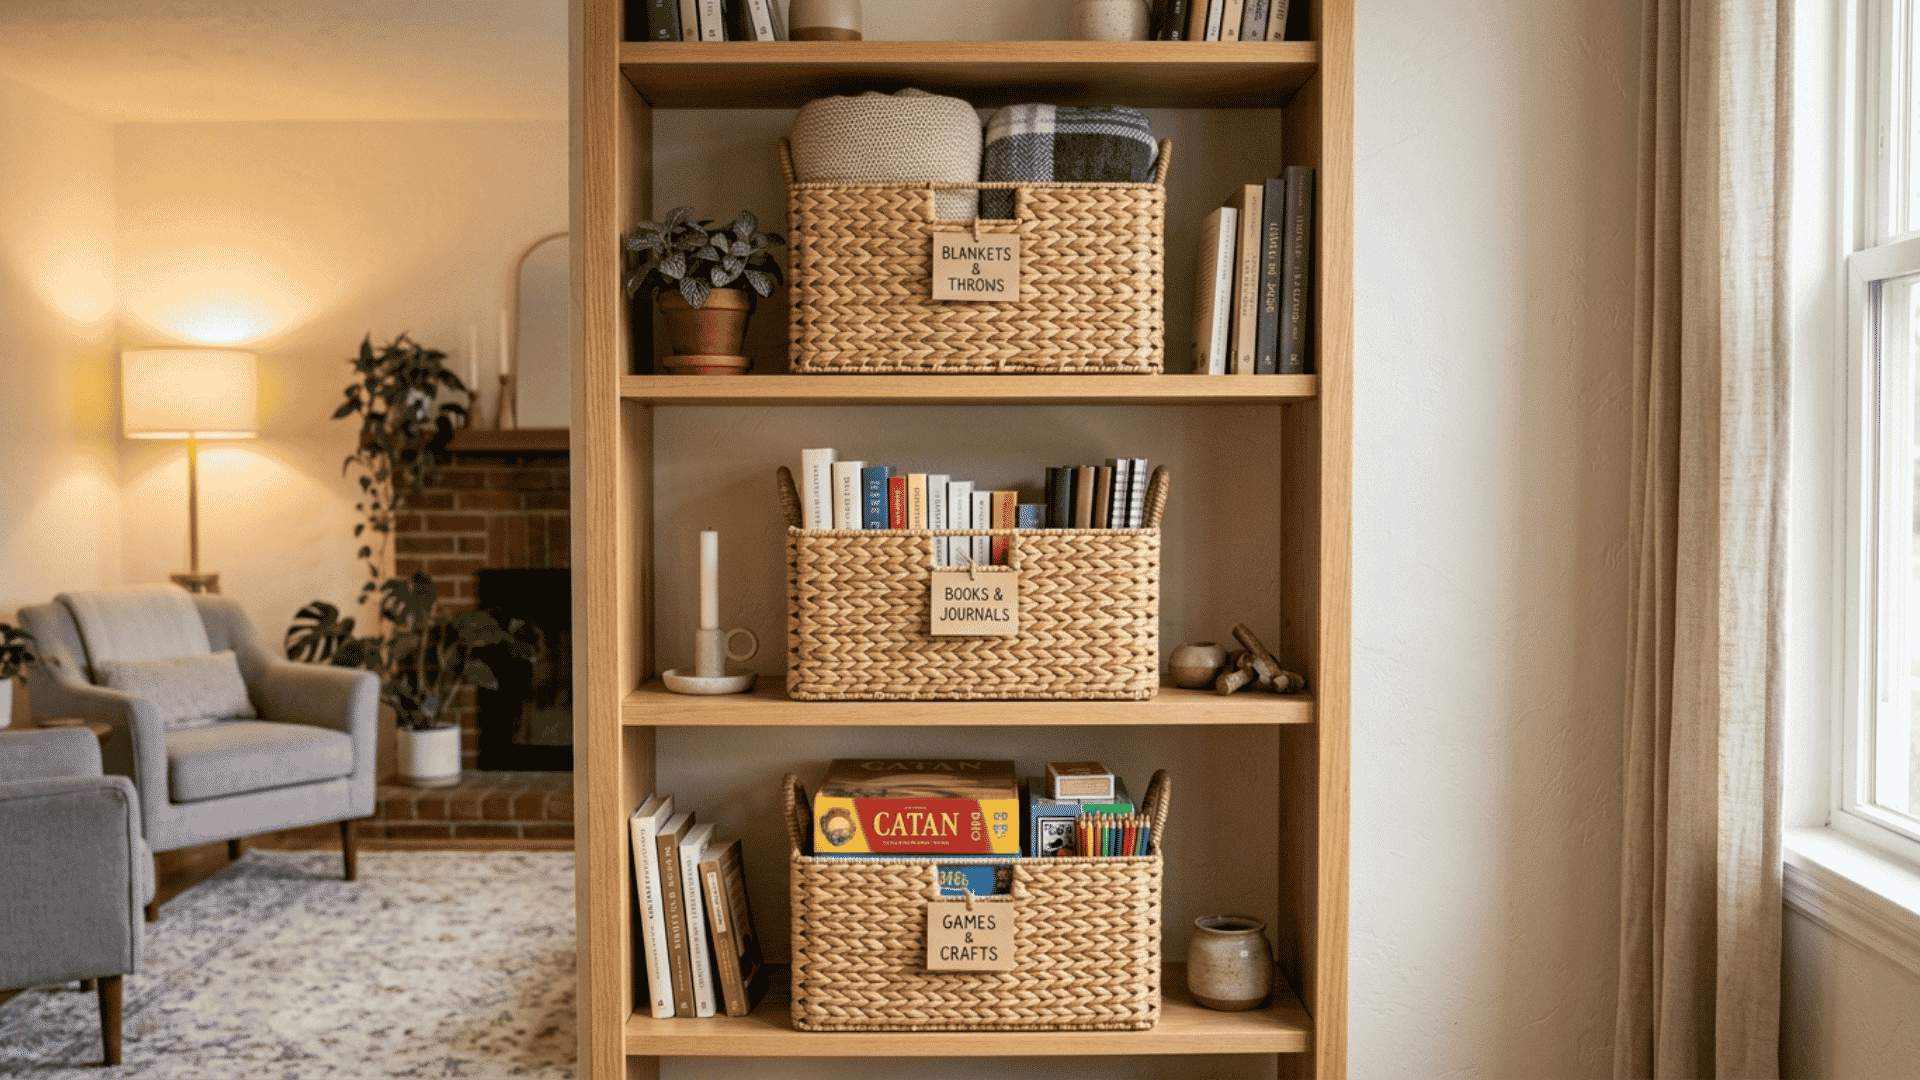
Storage baskets make it easy to group items and reduce visible clutter across different areas of the home.
Materials Required: Storage baskets, labels, cloth
Steps:
- Identify clutter-prone areas and choose suitable basket sizes for each space
- Place baskets in shelves, corners, or surfaces where extra storage is needed
- Sort items into categories and assign each basket a clear purpose
- Label baskets clearly to maintain organization and easy access over time
34. Bathroom Towel Bar
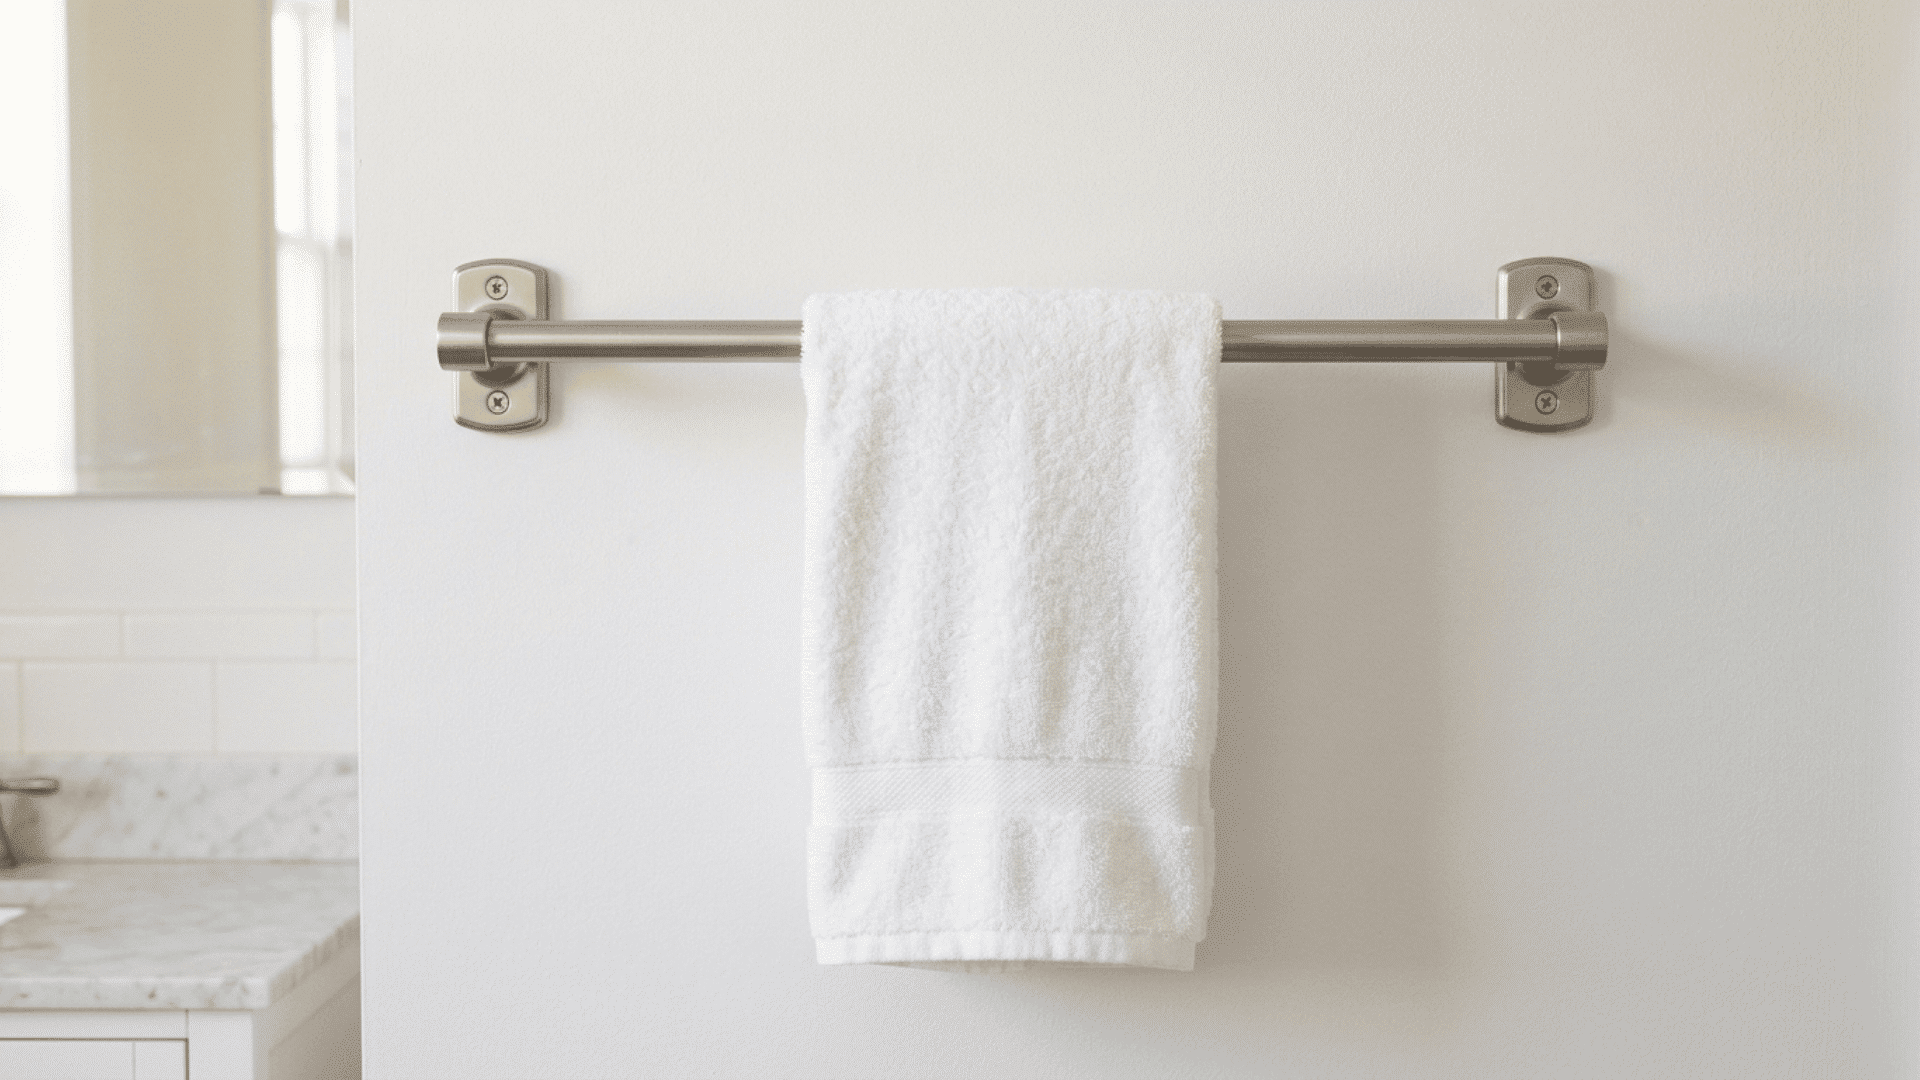
A bathroom towel bar keeps towels off surfaces, improves access, and maintains a clean, organized bathroom setup.
Materials Required: Towel bar, drill, anchors, screws, screwdriver
Steps:
- Mark the wall at a suitable height for comfortable and easy daily use
- Drill holes and insert anchors properly to ensure strong and secure support
- Fix the towel bar in place and tighten the screws evenly for proper alignment
- Hang a towel to test stability and confirm proper positioning of the bar
35. Curtain Light Control

Curtain light control helps manage sunlight entering a room while improving privacy and overall comfort throughout the day.
Materials Required: Curtains, rod, rings or clips, measuring tape
Steps:
- Remove existing curtains and clean the rod thoroughly if needed before installing
- Measure window size carefully to confirm the correct curtain length and width
- Hang curtains evenly and space rings or clips properly across the rod
- Adjust the length so the curtains fall neatly without bunching at the bottom
36. Under-Bed Storage Solutions
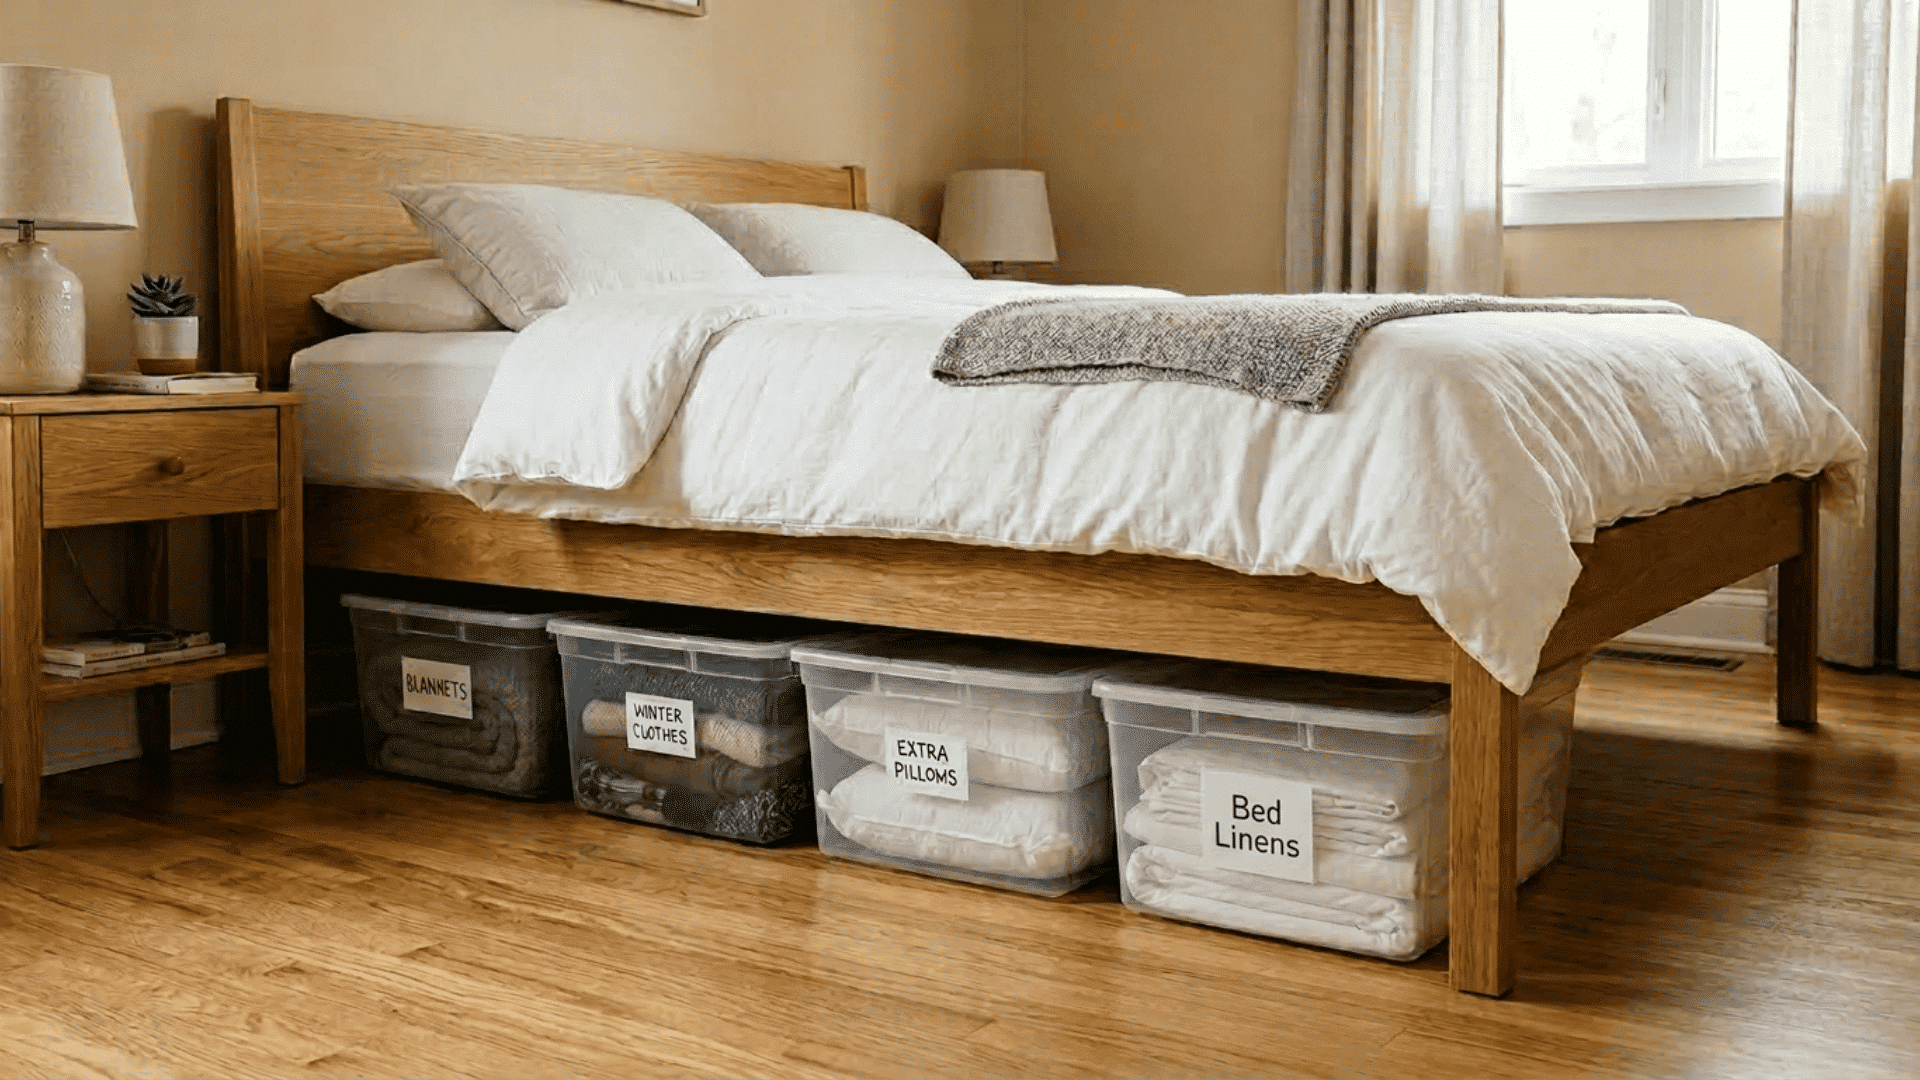
Under-bed storage solutions make use of hidden space and help keep the bedroom organized without adding extra furniture.
Materials Required: Storage bins, measuring tape, cloth
Steps:
- Measure the space under the bed carefully to ensure storage bins fit properly
- Choose bins based on items to be stored and easy access needs
- Slide bins under the bed and arrange items neatly by category
- Pull bins out occasionally to maintain order and overall cleanliness
37. Hanging Organizer Behind Doors
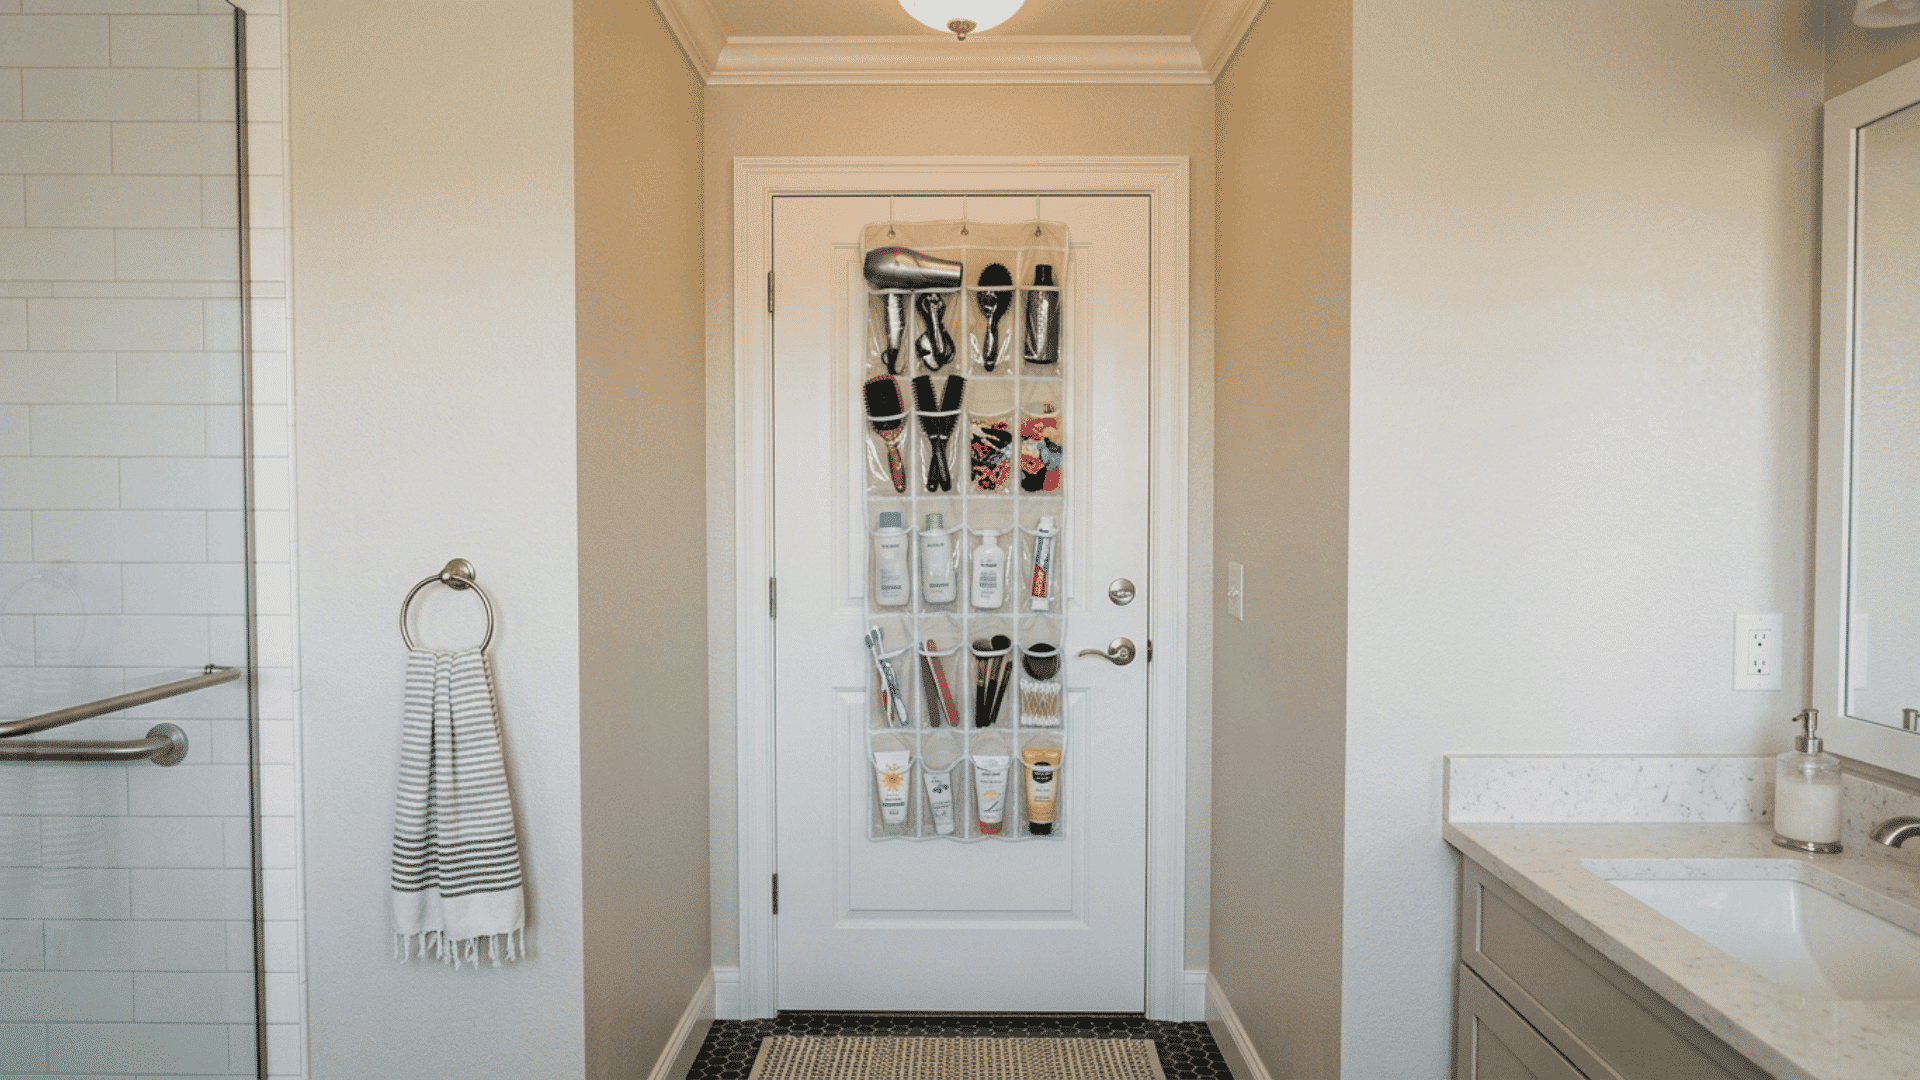
A hanging organizer behind doors creates additional storage space and keeps frequently used items within easy reach.
Materials Required: Hanging organizer, hooks
Steps:
- Select an organizer that fits the door size properly and matches storage needs
- Hang it securely over the top edge of the door without shifting
- Fill pockets with items based on usage and room type for convenience
- Check door movement to ensure it opens and closes smoothly without obstruction
38. Corner Storage Shelves
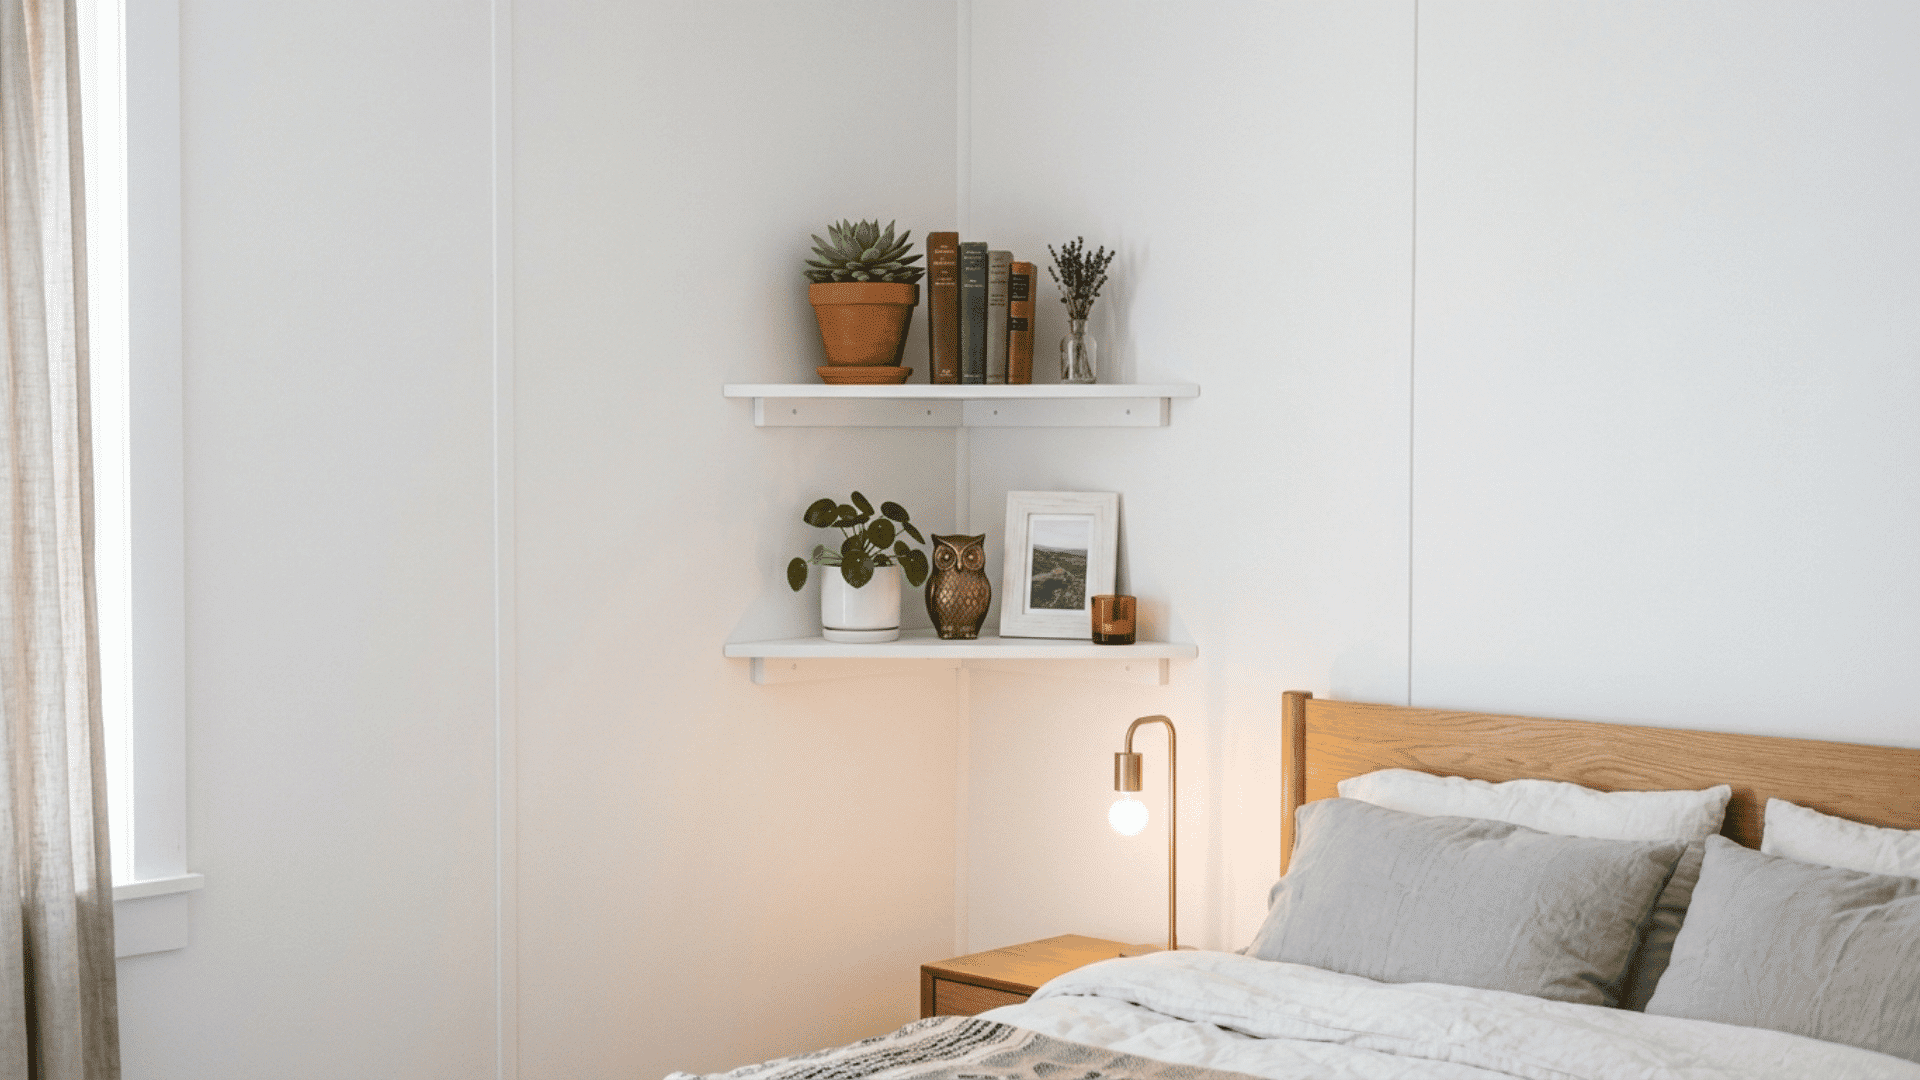
Corner storage shelves utilize unused corner space and add practical storage without affecting the overall room layout.
Materials Required: Shelves, brackets, drill, anchors, screws, level
Steps:
- Mark bracket positions on both walls, forming the corner for accurate placement
- Drill holes and insert anchors securely for a strong and stable installation
- Fix brackets tightly and ensure they are aligned properly using a level
- Place shelves and check stability carefully before adding any items
39. Bedroom Headboard
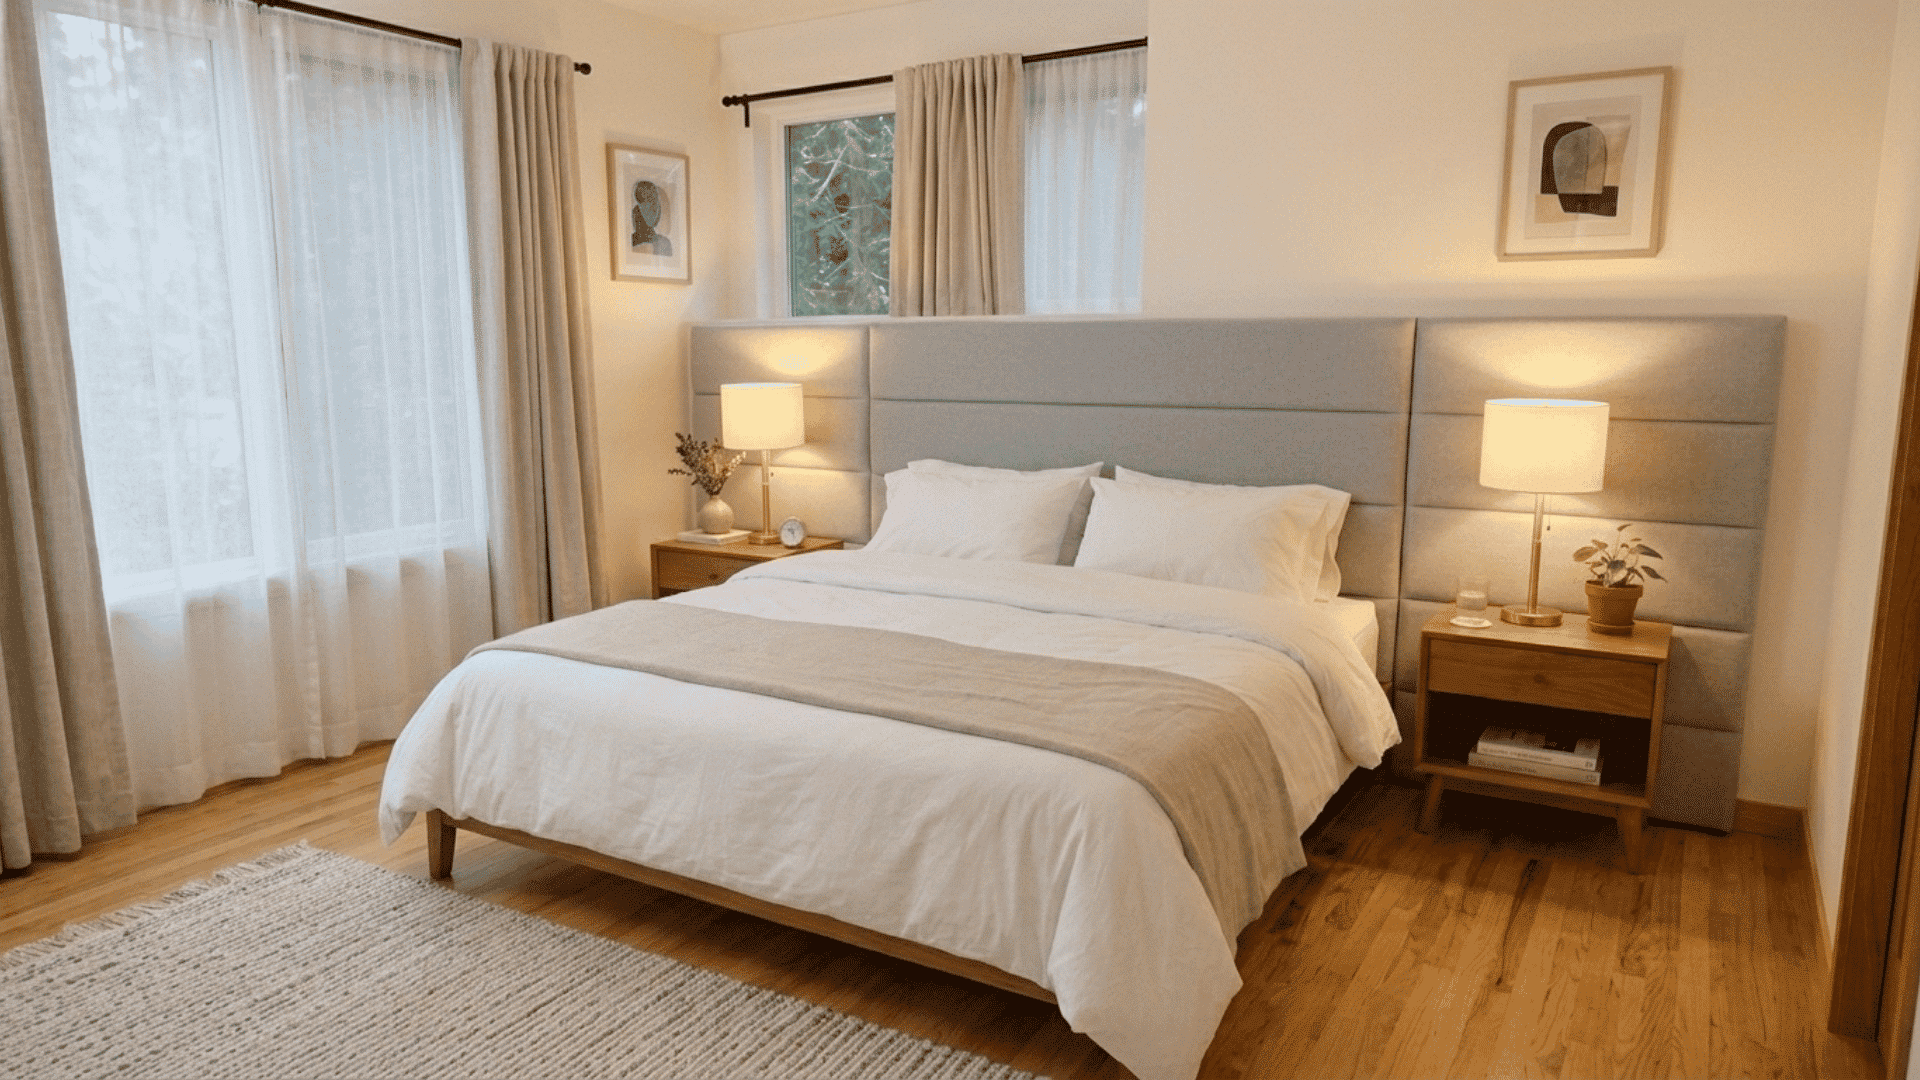
A bedroom headboard adds a finished look to the bed area and improves the overall room appearance without changing furniture setup.
Materials Required: Headboard panel, drill, anchors, screws, measuring tape, level
Steps:
- Measure the bed width and mark mounting points clearly on the wall behind it
- Drill holes and insert anchors properly to support the headboard weight securely
- Position the headboard panel and fix it tightly using screws into the anchors
- Check alignment carefully and adjust slightly to ensure it sits level and centered
40. Entryway Storage
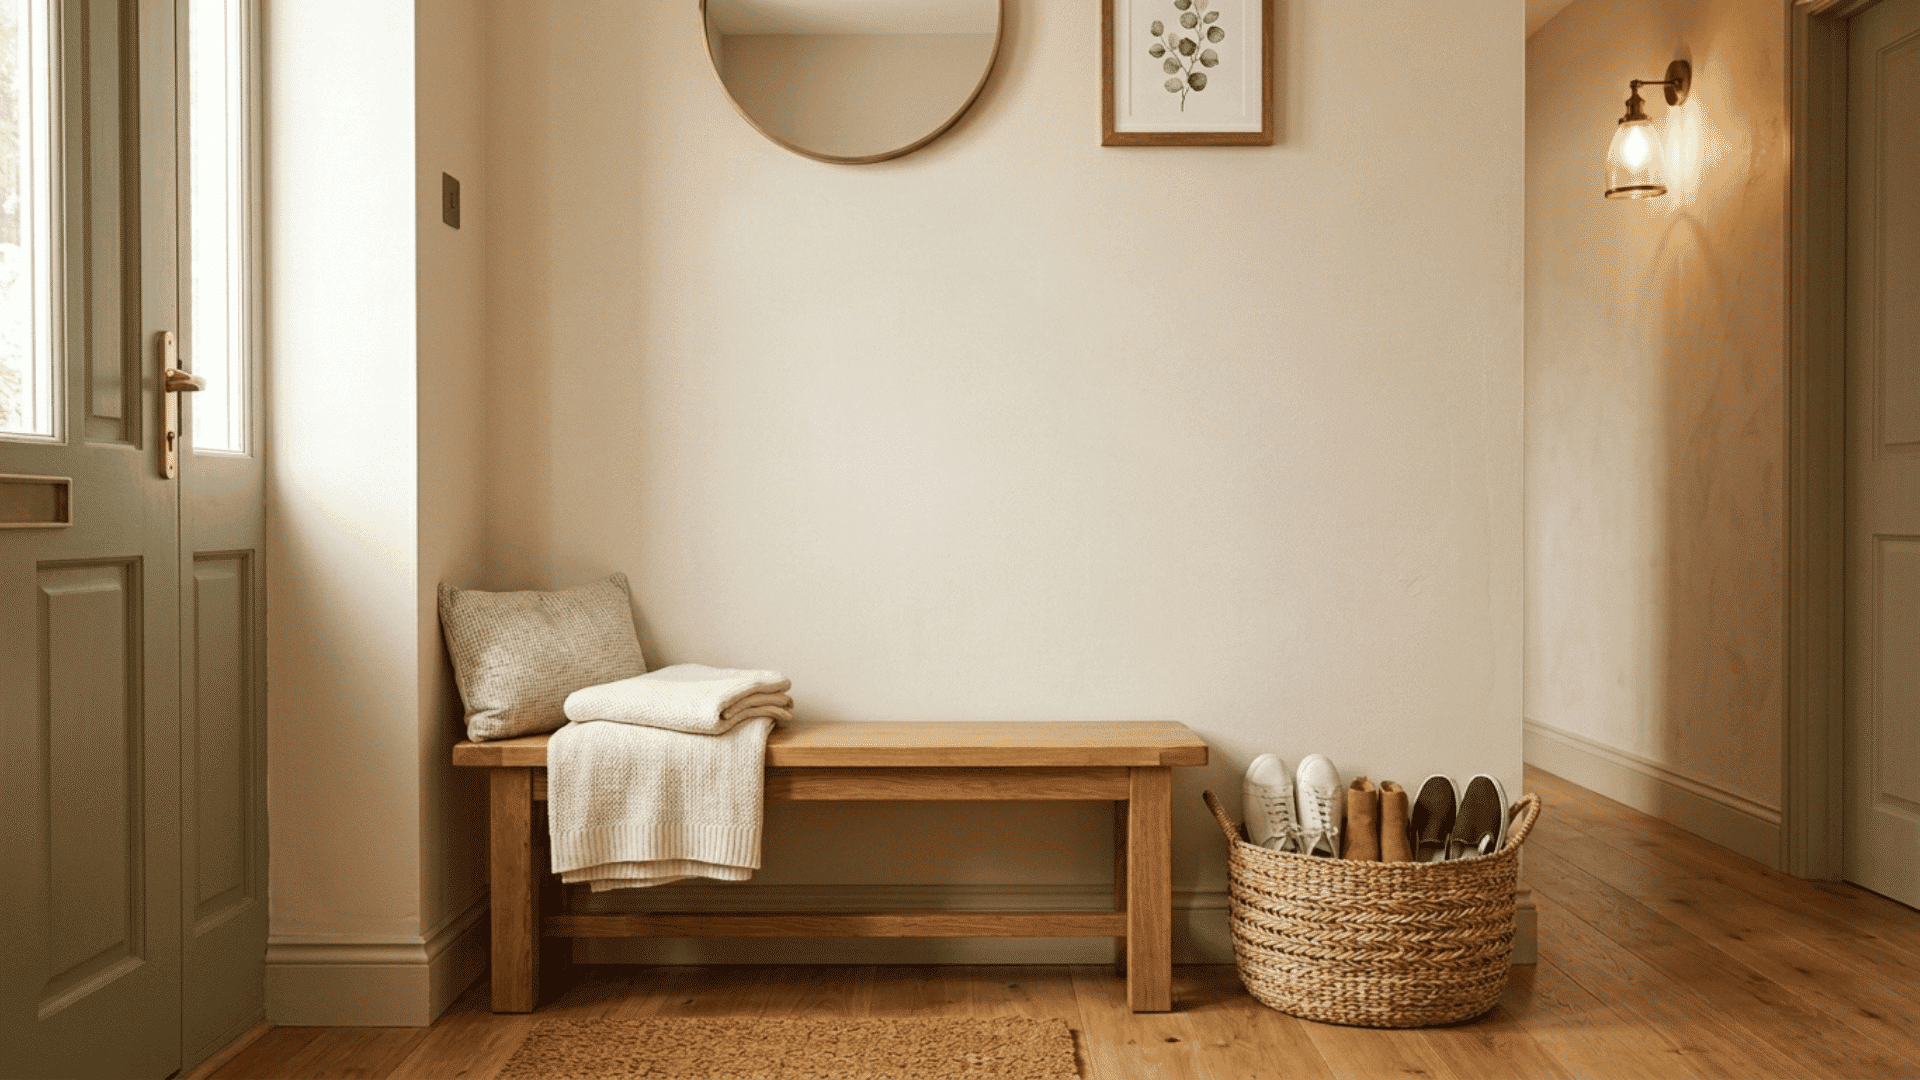
Entryway storage is one of the simple home improvements that keep daily items organized and make the entrance area more functional and cleaner.
Materials Required: Bench or shelf, storage basket, hooks, measuring tape
Steps:
- Measure the entryway space properly to decide what storage items will fit well
- Place a bench or shelf unit to create a base for everyday essentials
- Add baskets or bins near the door to store shoes and reduce clutter
- Arrange items neatly so the area stays clean and easy to maintain
41. Chalkboard Wall Section
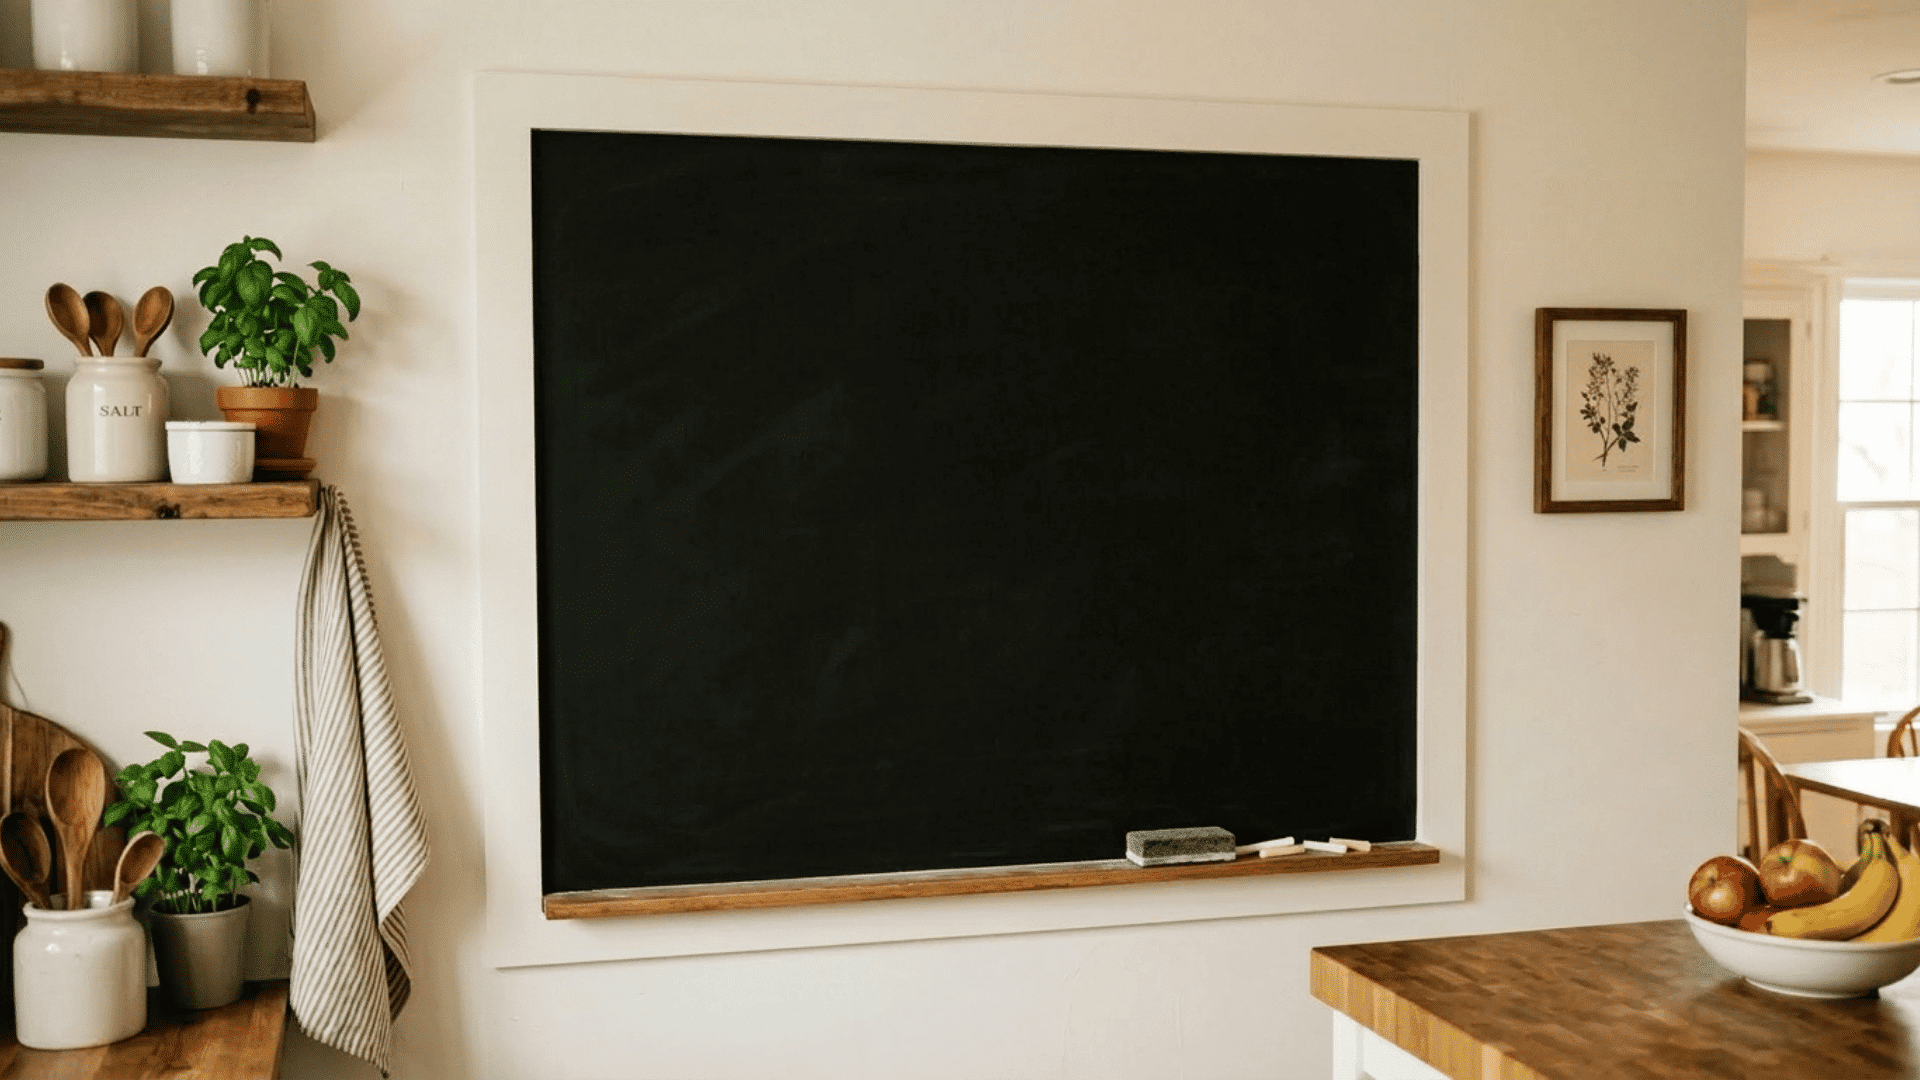
A chalkboard wall section creates a useful writing space and adds a practical feature for notes, reminders, or planning tasks.
Materials Required: Chalkboard paint, brush, roller, painter’s tape, cloth
Steps:
- Clean the wall surface thoroughly and apply painter’s tape along all edges carefully
- Apply the first coat evenly across the wall and let it dry completely before the next coat
- Add a second coat properly and allow full drying time as recommended
- Condition the surface with chalk before using it for writing regularly
42. Cabinet Door Organizers
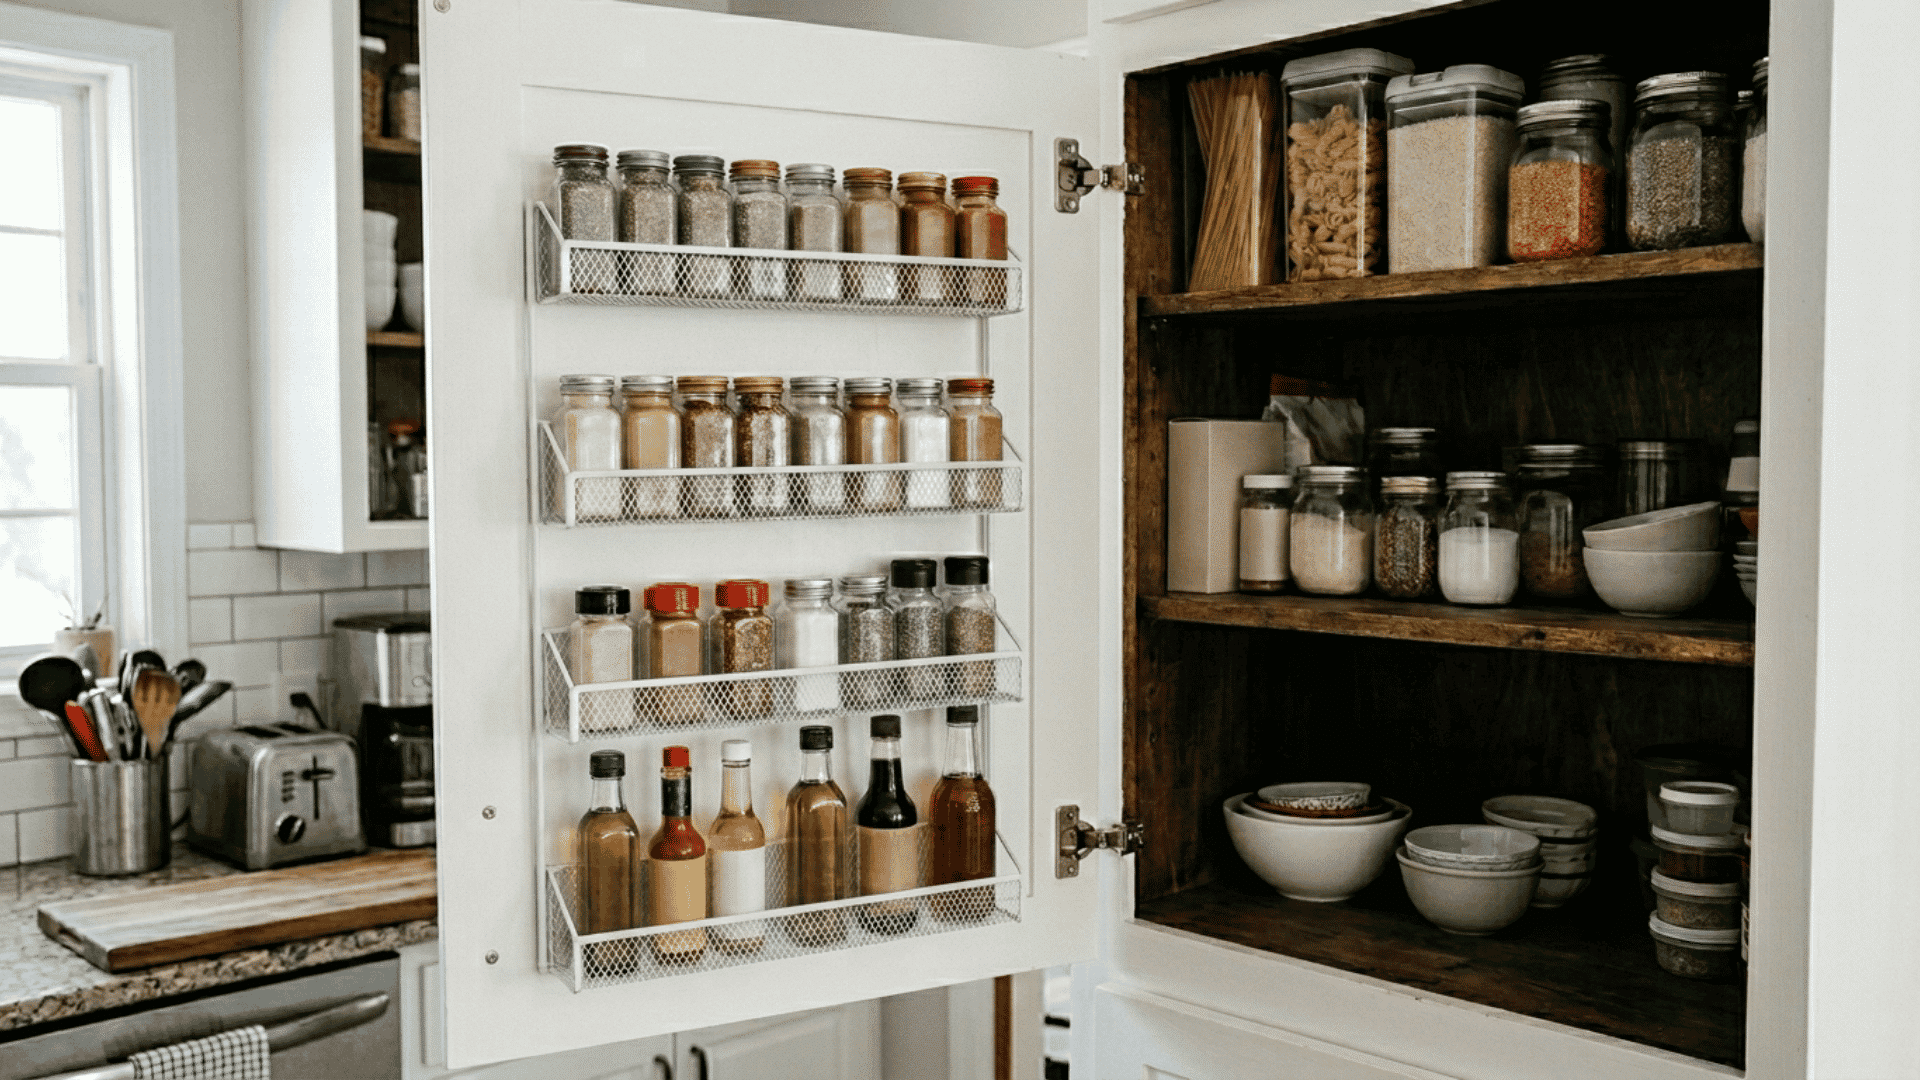
Cabinet door organizers use the space inside cabinets and help store small items efficiently without unnecessarily taking up shelf space.
Materials Required: Door organizer, screws, drill, measuring tape, screwdriver
Steps:
- Measure the cabinet door interior to ensure the organizer fits without blocking shelves
- Mark the mounting points clearly and drill holes carefully for installation
- Attach the organizer securely and check that it sits flat against the door
- Place items inside and confirm the door closes properly without obstruction
43. Entrance Doormat
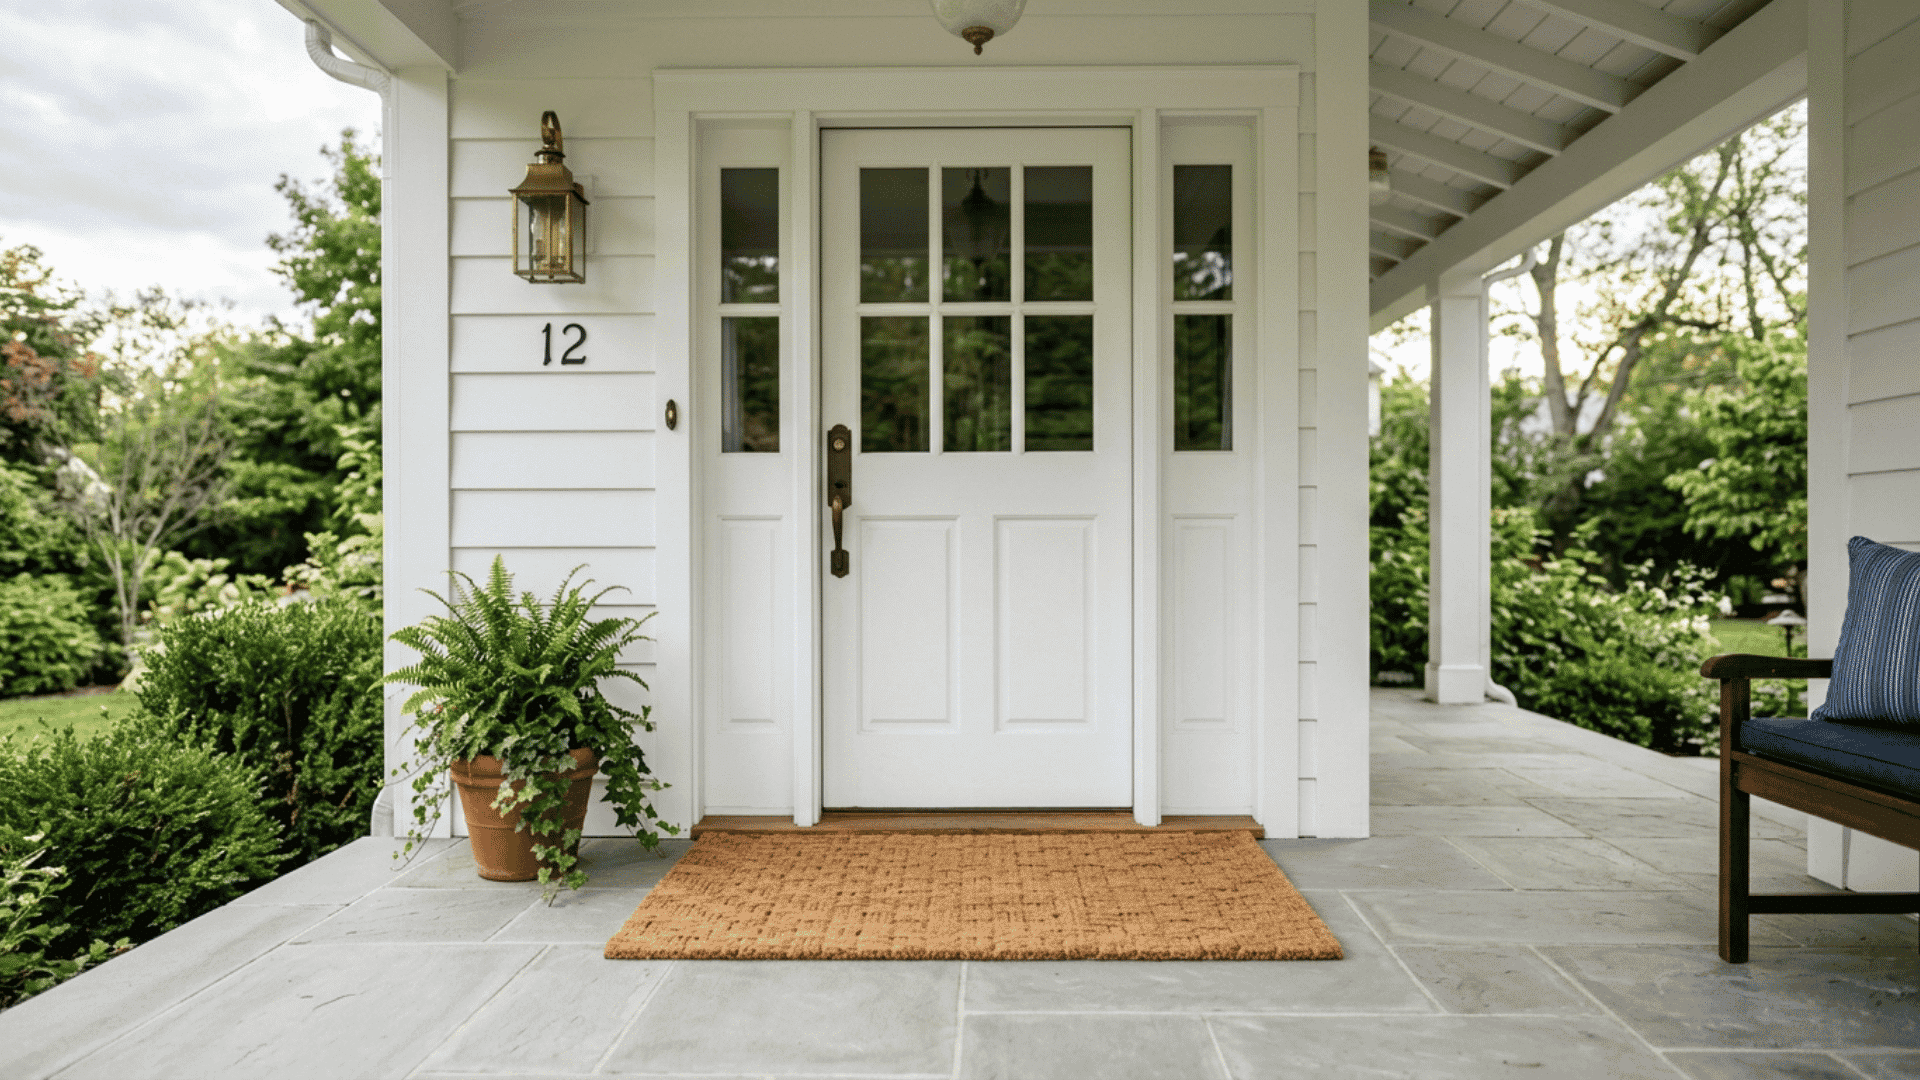
An entrance doormat enhances the entryway look and helps keep dirt from being tracked inside the home during daily use.
Materials Required: Doormat, broom, cloth
Steps:
- Remove the old mat and clean the surface area thoroughly before placing the new one
- Choose a mat size that fits the door width and available space properly
- Place the mat flat in front of the door and adjust its position evenly
- Check that the mat stays in place and does not slide during regular use
44. Loose Cables Organization
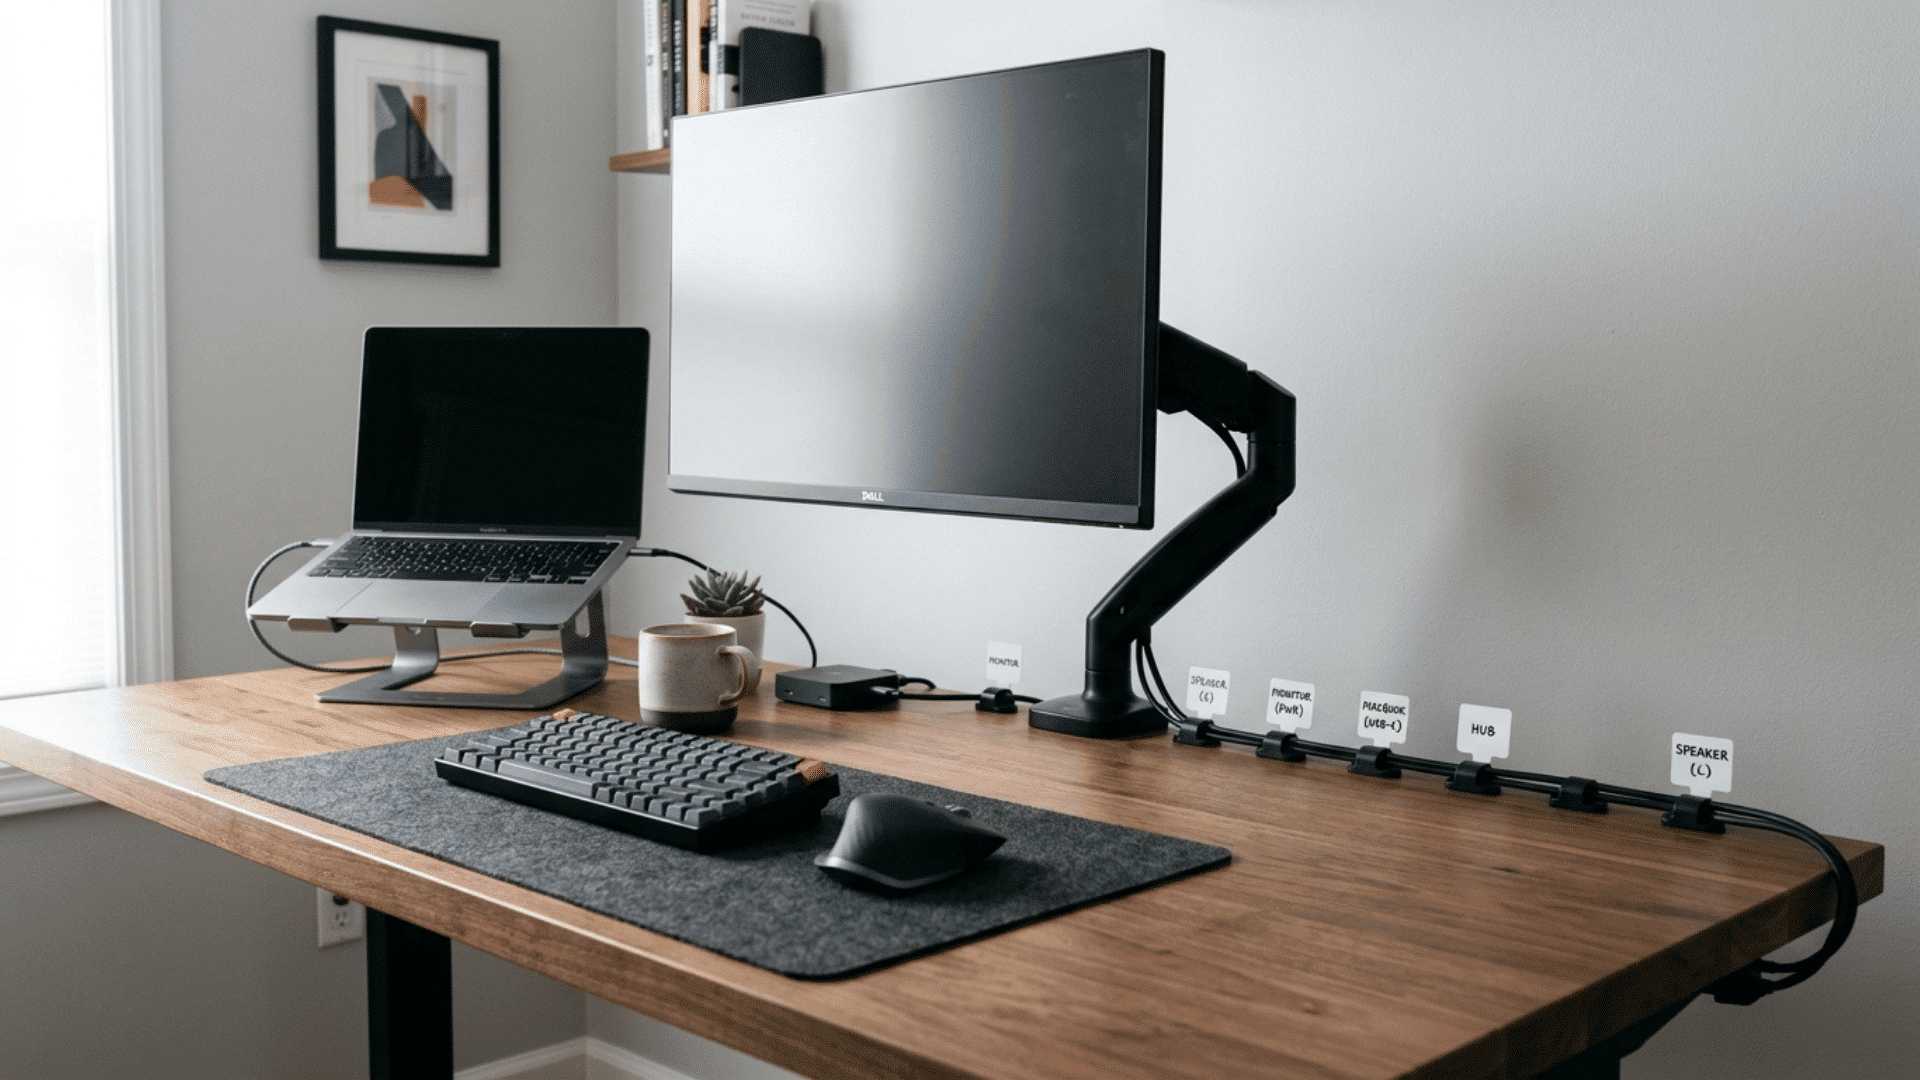
Organizing loose cables reduces clutter and improves safety by keeping wires neatly arranged across different areas.
Materials Required: Cable clips, ties, labels, scissors
Steps:
- Gather all loose cables in each area and unplug unused ones safely
- Use clips or ties to group cables together and prevent tangling issues
- Route cables neatly along surfaces and secure them in place properly
- Label each cable clearly to identify it easily when needed
45. Simple Wall Clock
A simple wall clock is one of the simple home improvements that add function and complete the room with a clean, useful feature.
Materials Required: Wall clock, hook or nail, hammer, measuring tape
Steps:
- Choose a visible wall and mark the correct hanging position carefully
- Fix a hook or nail securely into the wall at the marked point
- Hang the clock properly and adjust it to sit straight against the wall
- Step back and check visibility from different areas to ensure proper placement
The Bottom Line
Small changes add up faster than most people expect. A new coat of paint here, a set of hooks there, and suddenly a space feels completely different from what it was before.
These ideas prove that simple home improvements do not require a big budget or a full weekend of work.
Most of them take just a few hours and basic tools that are already lying around the house. So, pick one area, start there, and build from it. The results speak for themselves once the work is done.

Holding a Master’s in Architecture from the University of Texas at Austin, Emily Rodriguez has dedicated more than two decades to the art and science of building renovation. Starting her journey in historic preservation, she developed a profound respect for blending old with new in building design. Emily became a vital part of our team in 2019, renowned for her insightful and innovative renovation tips. She has been leading our DIY home improvement series since ever since, where she shares her wealth of knowledge in turning outdated spaces into modern havens. When not engaged in writing or consulting, Emily is a passionate advocate for heritage conservation and enjoys exploring vintage architecture, a hobby that complements her professional expertise.