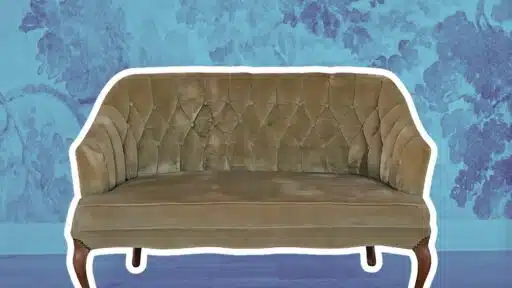

Have you ever found yourself with a couch that’s lost its charm? We get it. Many of us have faced the same issue—a faded, stained sofa that doesn’t match our style anymore.
But here’s the good news: you can breathe new life into your old couch with dye!
We’re here to guide you through the process of dyeing your couch. It’s a cost-effective way to update your furniture without breaking the bank. Plus, it’s easier than you might think!
This guide will walk you through each step of dyeing a couch. From picking the right dye to applying it correctly, we’ve got you covered.
By the end, you’ll know how to transform your couch into a fresh, vibrant piece that perfectly complements your home.
Types of Dyes
There are two main types of dyes you’ll want to consider: fabric dyes and synthetic dyes.
- Fabric dyes work best on natural fibers like cotton, linen, or wool. These dyes give you bright colors that soak into the fabric.
- Synthetic dyes are made from materials like polyester or nylon. They stick better to these fabrics and last longer.
Picking the right type of dye is super important. It makes sure the color spreads evenly and stays put on your couch.
Choosing the Right Dye for Your Couch
If your couch is made of natural fabrics like cotton or wool, fabric dyes are your best bet. These fabrics soak the dye well, giving you a nice, even color. They’re also pretty easy to work with if you’re new to dyeing.
You’ll want to use synthetic dyes for synthetic fabrics like polyester. Some fabric dyes are made just for synthetic materials, so look for those.
If your couch is a mix of natural and synthetic fabrics, it’s a good idea to test the dye on a small, hidden spot first.
Remember, using the wrong type of dye can make your couch look patchy or weird. So, take your time to pick the right one for your fabric. It’ll make a big difference in how your couch looks!
Dark Colors vs. Light Colors: What is Best for You?
| Color of Dye | Effectiveness on Light-Colored Couches | Effectiveness on Dark-Colored Couches | Limitations on Bold/Patterned Fabrics |
|---|---|---|---|
| Darker Dyes | Highly effective, provides deep, rich color | It is very effective and covers existing dark shades well | It may obscure patterns but can result in uneven coverage if not applied carefully. |
| Lighter Dyes | Effective only on very light-colored couches | Generally ineffective, results in dull or patchy color | Does not effectively cover bold patterns, likely to show through, leading to undesirable results |
Prepping the Couch
Before we start dyeing, we need to prepare our couch. This step is crucial for ensuring that the dye looks great when we’re done.
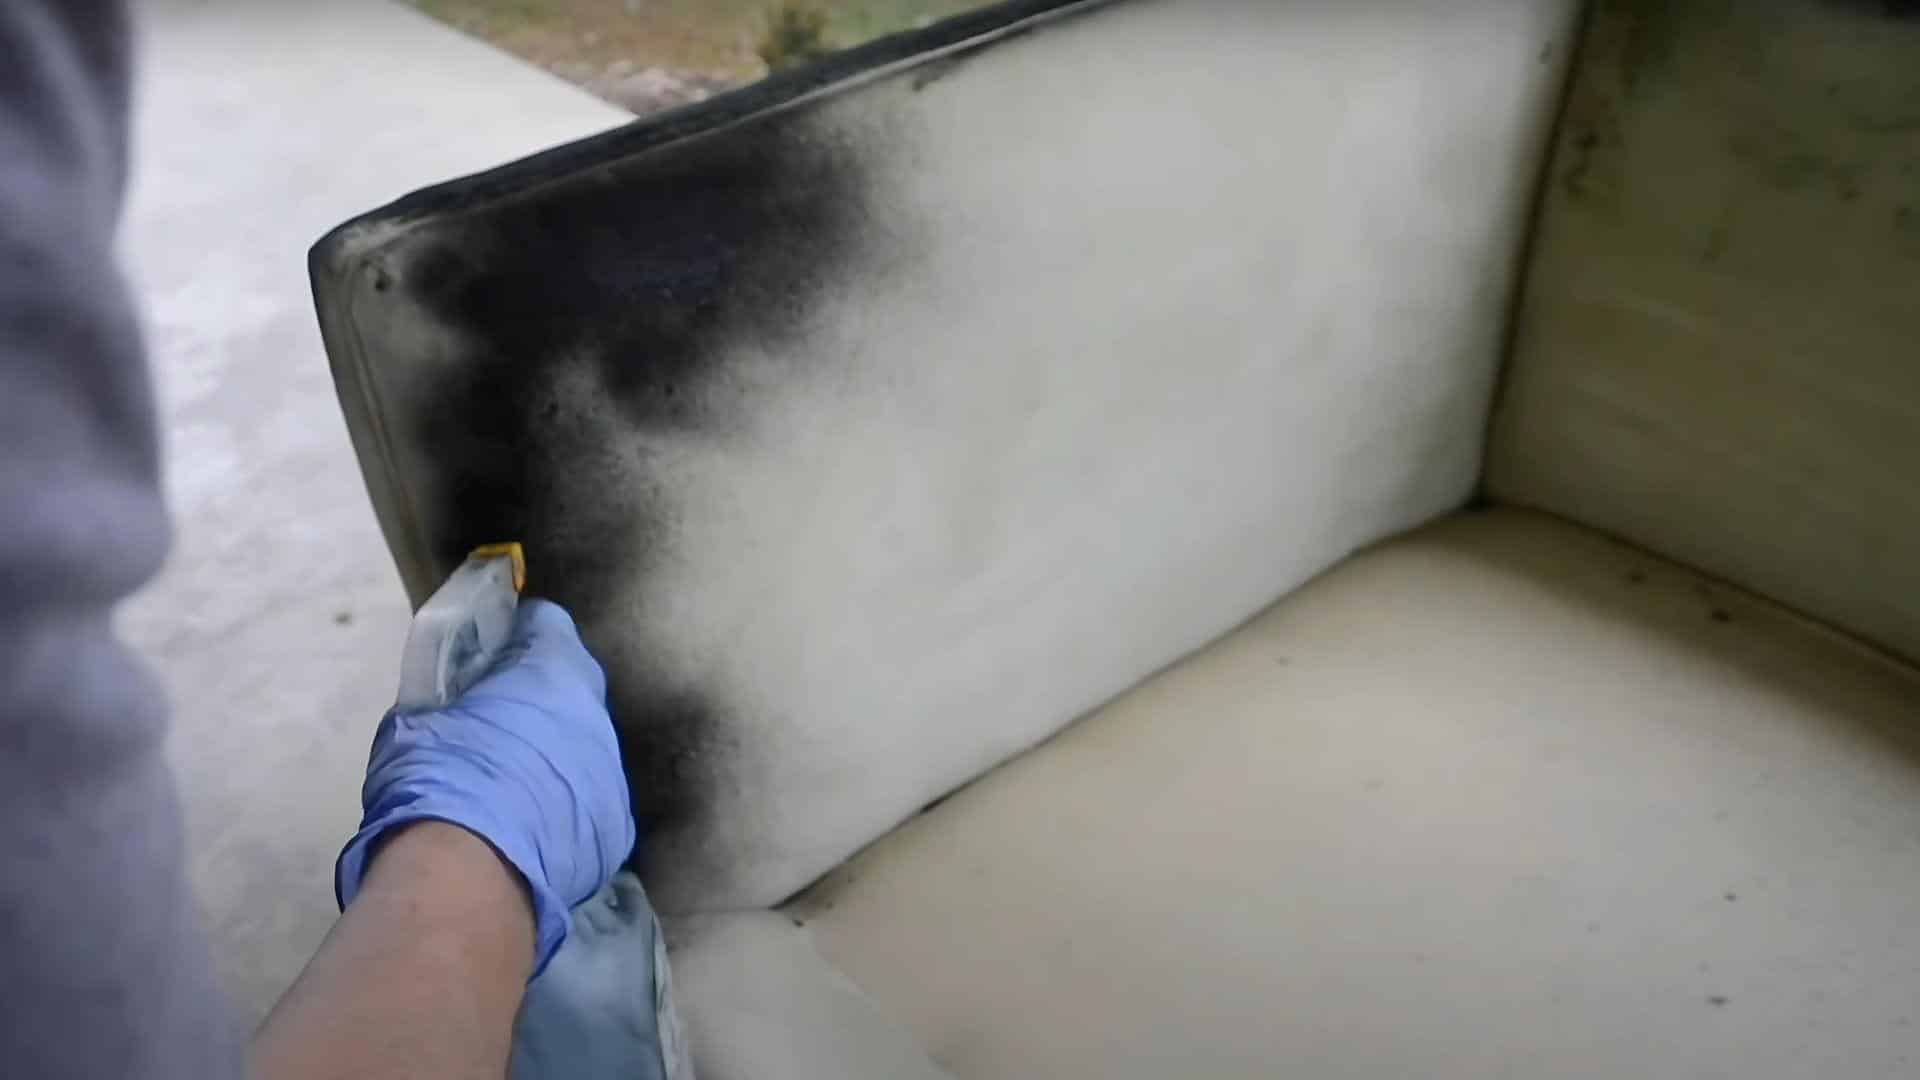
1. Cleaning the Couch Thoroughly
First things first, we need to clean our couch well. This will remove any dirt, oils, or stains that could mess up the dye job.
Here’s what we do:
- Vacuum every inch of the couch, even under the cushions and the little cracks.
- If we see any stains, we’ll spot clean them with a cleaner that’s safe for our couch fabric.
- If our couch fabric can handle it, we might want to use a steam cleaner or upholstery cleaner for a deep clean.
Cleaning is key because it helps the dye soak in evenly. We don’t want any spots or blotches on our newly dyed couch!
2. Covering Non-Fabric Parts
Next, we must protect parts of the couch we don’t want to dye, like wooden or metal legs.
Here’s how:
- We’ll use painter’s tape and plastic sheets to cover these areas.
- We’ll ensure the plastic is wrapped tightly around the legs or handles.
- We might want to double-wrap regions close to the fabric for extra safety.
This step keeps dye off parts where we don’t want it, so our couch looks great all over.
3. Setting Up the Workspace
Finally, we need to set up a safe place to work.
Here’s what we’ll do:
- Put plastic sheets on the floor to catch any drips.
- We’ll open windows or use fans for good airflow if we’re working inside.
- We’ll move anything away that could get stained by the dye.
- And don’t forget – we’ll wear gloves and an apron to protect our skin and clothes.
Setting up like this keeps everything clean and safe while we work. It’s worth the extra time to avoid a big mess!
Tools and Materials Required to Dye a Couch
| Category | Items | Purpose |
|---|---|---|
| Essential Items | Dye | The main ingredient for changing the color of the couch; should be appropriate for the fabric type. |
| Gloves | Protects hands from staining and contact with chemicals. | |
| Apron | Prevents dye from staining clothes. | |
| Plastic Covers/Sheets | Protects floors and non-fabric parts of the couch from dye spills. | |
| Painter’s Tape | Secures plastic covers and protects areas that should not be dyed. | |
| Paint Sprayer/Sponge | Used for applying the dye evenly across the couch surface. | |
| Stainless Steel Pot | Used for heating and mixing the dye, as it won’t react with the dye and is easy to clean. | |
| Stirring Spoon | For mixing the dye thoroughly, ensuring even consistency. | |
| Additional Tools | Thermometer | Checks the water temperature to ensure it’s at the right level for mixing the dye. |
| Measuring Cup | Measures out precise amounts of dye and water for consistent mixing ratios. | |
| Mixing Container | An extra container for mixing or holding the dye solution before application. |
How to Dye a Couch: A Step-by-Step Guide
1. Prepare the Dye
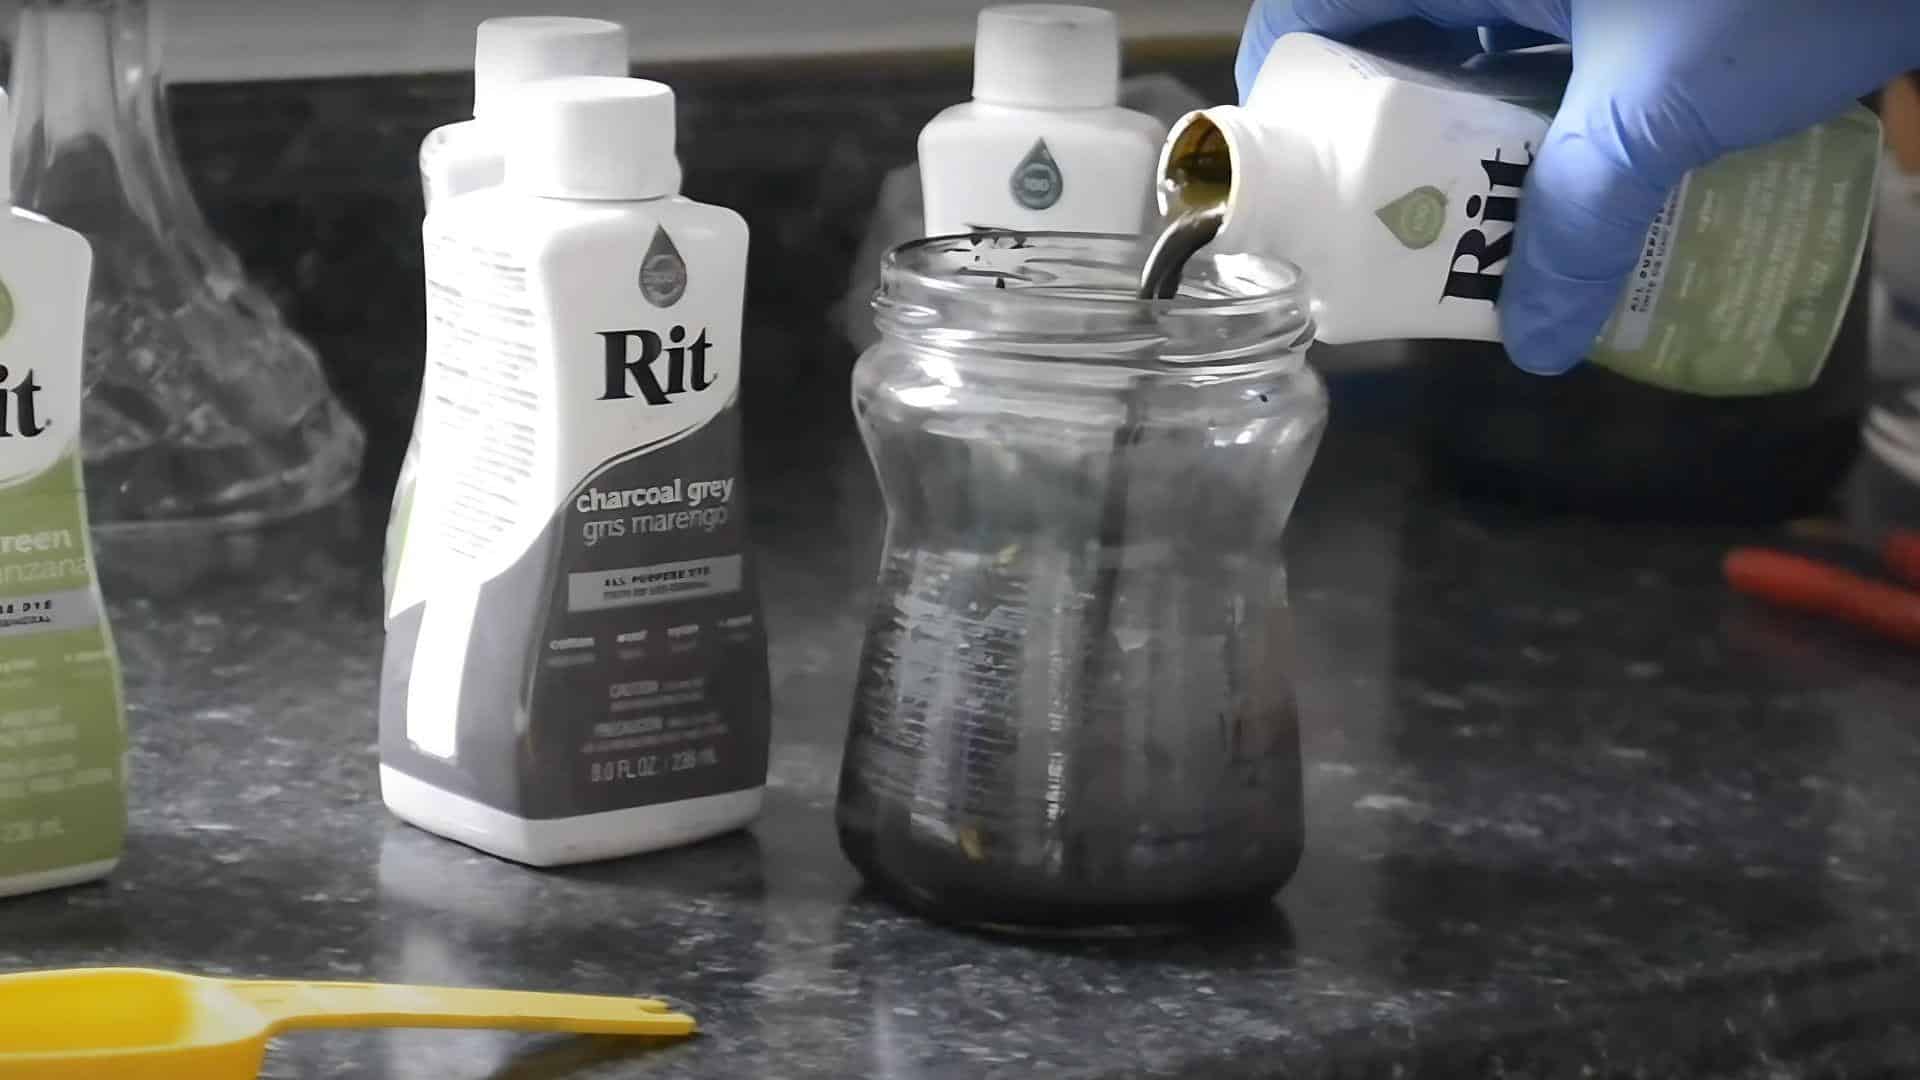
Now that our couch is clean and our workspace is ready let’s mix up our dye. This step is crucial for getting the color just right.
Here’s how we’ll mix our dye:
- First, we’ll heat some water. We want it to be about 200°F (93°C).
- Then, we’ll add our dye to the hot water. We’ll follow the instructions on the package for how much to use.
- We’ll stir it well. We want to make sure all the dye is mixed in, and there’s no stuff sitting at the bottom.
Mixing our dye properly is super important. It helps the color go on evenly and stops any weird streaks or spots from showing up on our couch.
2. Apply the Dye
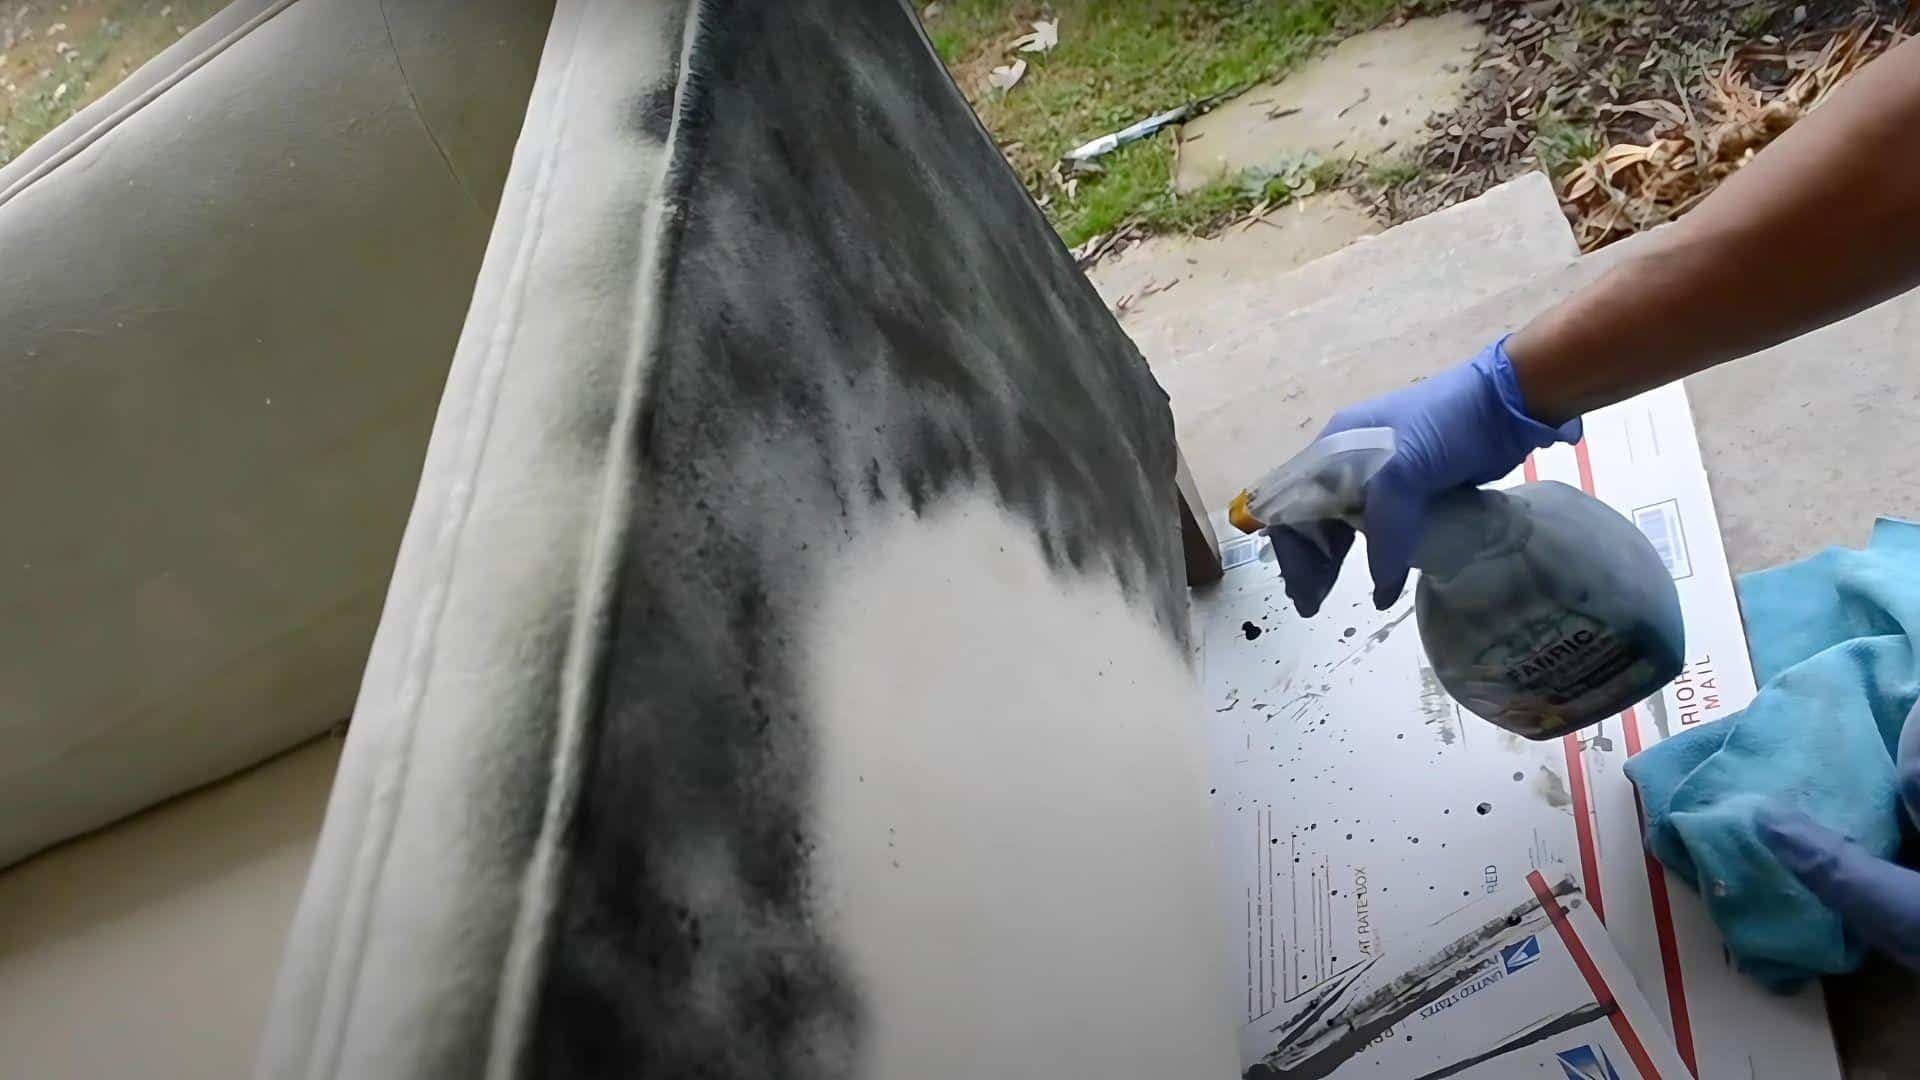
Now we’re ready for the fun part – putting the dye on our couch! Let’s go through this step-by-step to ensure we get it right.
We recommend using a paint sprayer for this job. It’s the best way to get the dye on evenly.
Here’s what we’ll do:
- We’ll fill our sprayer with the dye we mixed up.
- Before we start on the couch, we’ll test the sprayer on some scrap fabric. This helps us get the spray just right.
- Then we’ll spray the dye all over the couch. We’ll work carefully to make sure we don’t miss any spots.
A sprayer is great because it gives us more control than a sponge. Our couch will look smoother and more even this way.
3. Make Sure to Cover Everything
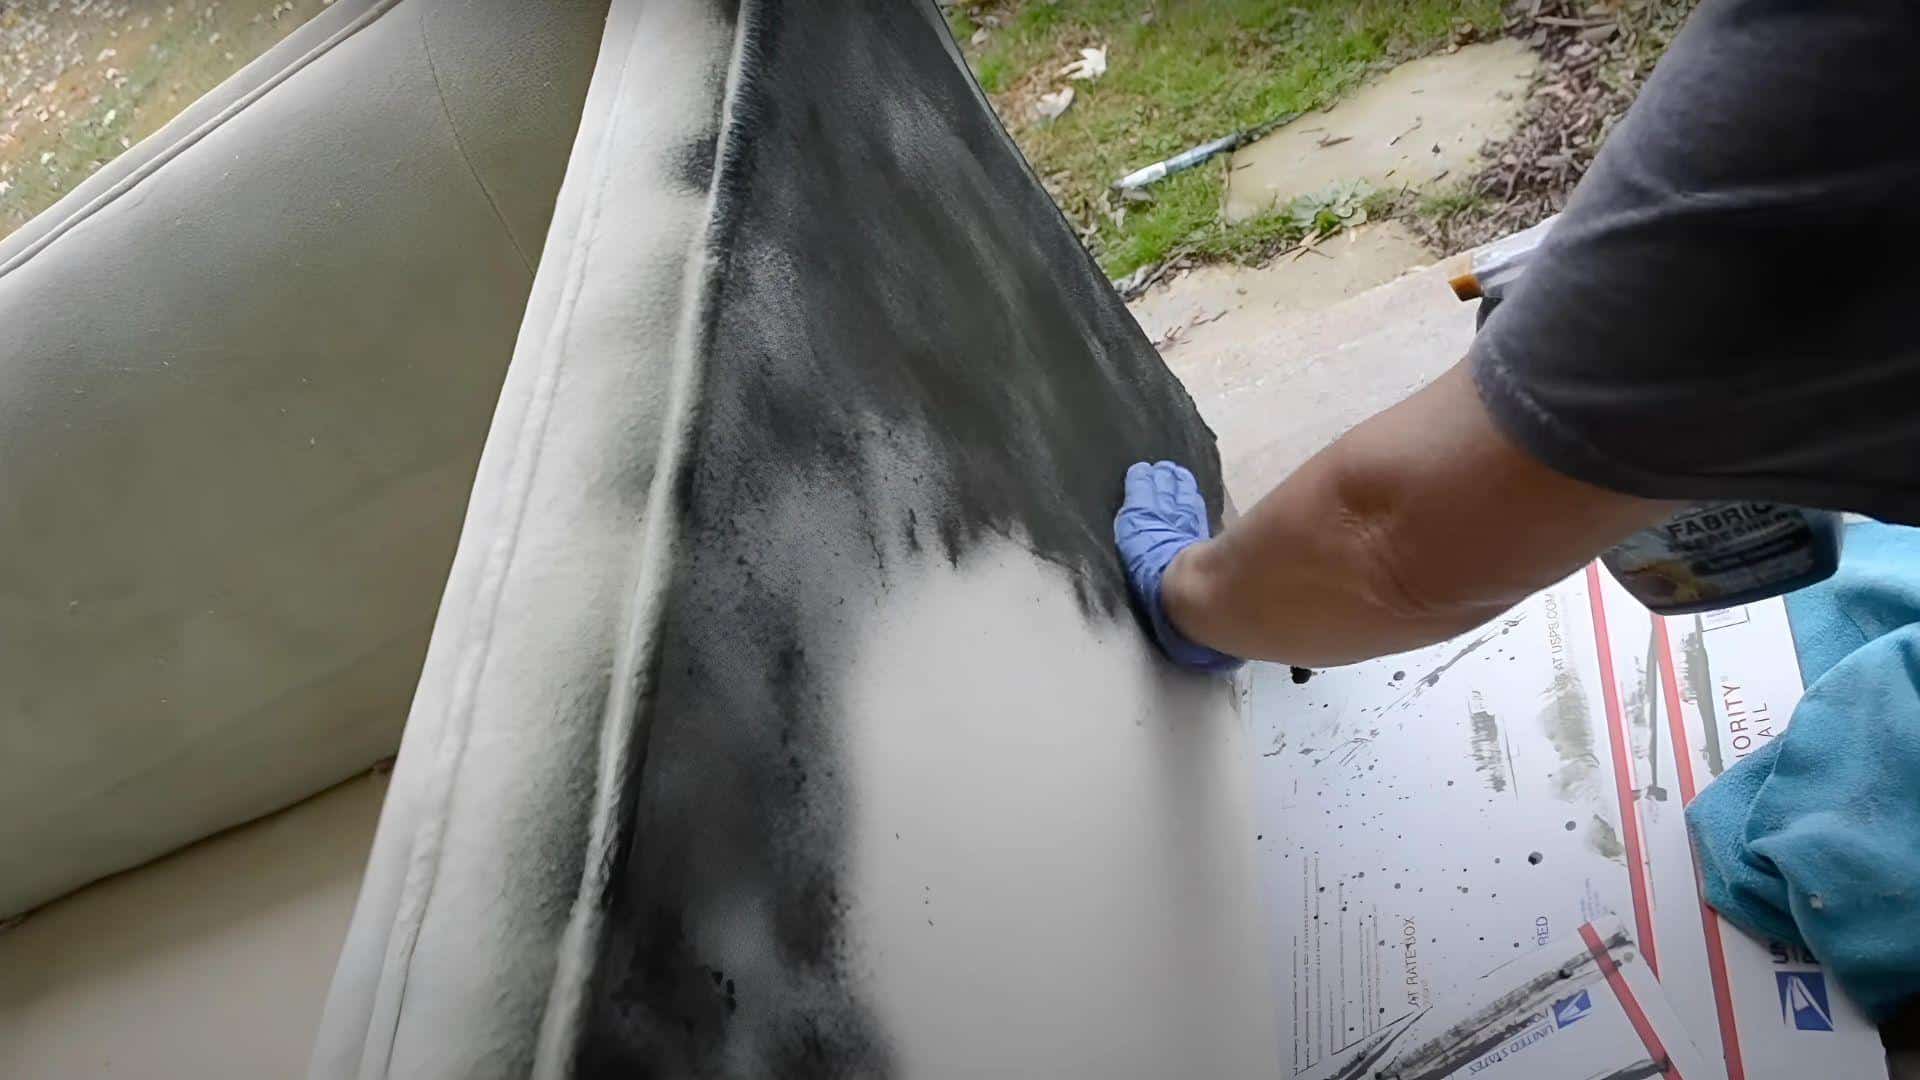
We need to be extra careful with some parts of the couch:
- We’ll pay close attention to the seams and folds. These spots can be tricky to get dye into.
- We might need to spray from different angles to reach all the nooks and crannies.
- Sometimes, we might need to pull the fabric to get dye in all the hidden spots.
It’s important to get dye everywhere. We don’t want old colors peeking through when someone sits on the couch!
4. Let It Dry Before Adding More
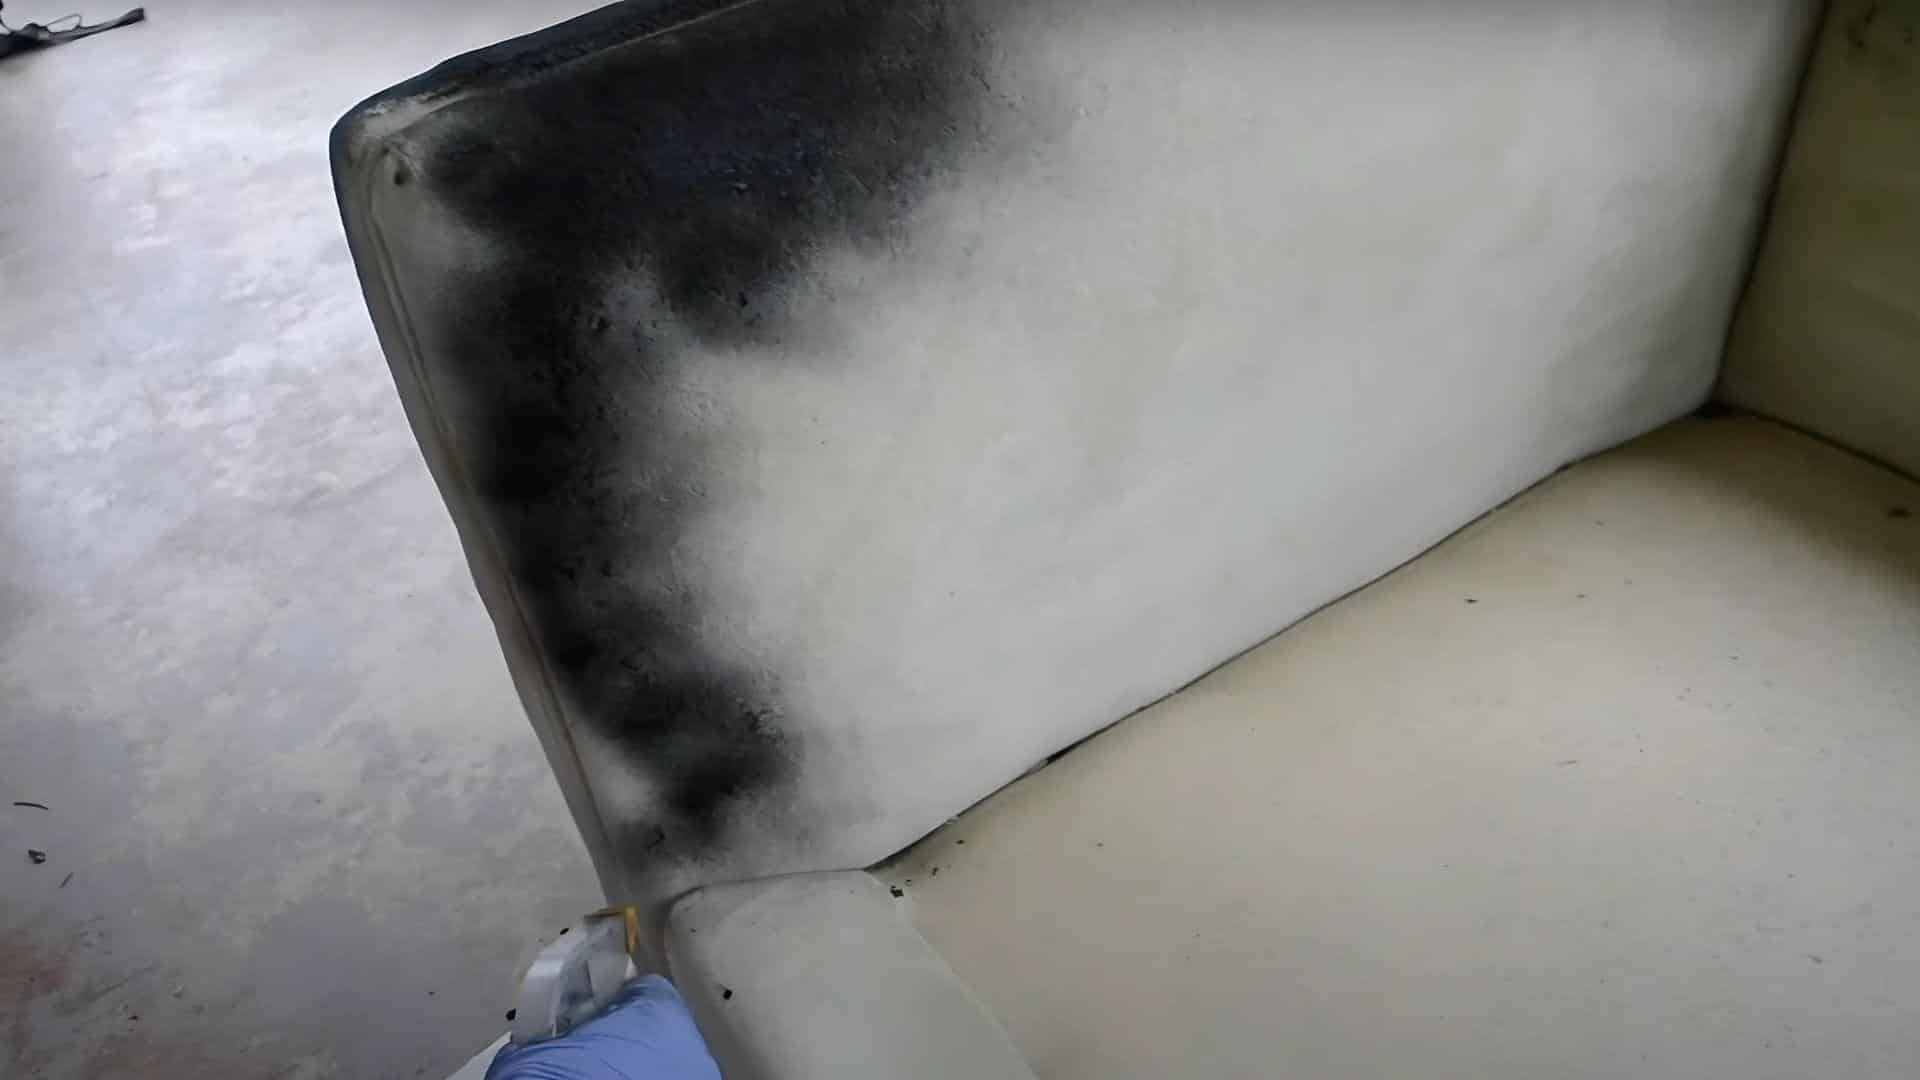
After we finish the first coat, we need to be patient and let it dry completely before we add any more dye.
Here’s why:
- If we add more dye too soon, it might not soak in properly, resulting in blotchy spots or a sticky couch.
- How long it takes to dry depends on how warm and breezy our room is. It might take a few hours.
- We’ll know it’s dry when the fabric feels normal to touch, not damp or cool.
5. Set the Dye
We’re almost done! Now, we need to ensure that our new color stays put. This final step is crucial for making our dye job last.
We’ll use a dye fixative, which helps prevent the color from rubbing off on our clothes or fading over time.
Here’s how we’ll do it:
- We can use a sprayer or a sponge to put the fixative on.
- We’ll make sure to cover the whole couch evenly.
- We’ll carefully follow the instructions on the fixative bottle.
Using a fixative is important. It locks in our new color to stay bright and doesn’t come off when the couch gets wet or we sit on it.
6. Let the Couch Dry Completely
After applying the fixative, we need to be patient again. We must let the couch dry completely before using it.
Here’s what to keep in mind:
- How long it takes to dry depends on several factors. For example, if we use a lot of dye or if our room is damp, it might take longer.
- It could take anywhere from a few hours to a full day to dry completely.
- We’ll know it’s ready when the fabric feels normal to touch.
Before we start using our couch again, we can do a quick test. We’ll put a white cloth on the couch and press down. If no color comes off the fabric, we’re good to go!
How to Clean the Couch Without Affecting the Dye
We want to clean our couches without messing up our hard work. Here’s how:
- Vacuum regularly: This keeps dirt from settling into the fabric. We’ll use a soft brush attachment to be gentle on the dye.
- Spot clean spills immediately: We’ll blot (not rub) spills with a clean, damp cloth. Rubbing could spread the stain and might wear away the dye.
- Use mild cleaners: If we need to clean a spot, we’ll use a mild soap mixed with water. We’ll first test it on a hidden area to ensure it doesn’t affect the color.
- Avoid harsh chemicals: Strong cleaners might strip the dye, so we’ll stay away from those.
Long-term Care Tips to Preserve Color
To keep your couch looking great for years to come:
- Keep it out of direct sunlight: Too much sun can fade the dye over time. We might want to use curtains or move the couch away from the windows.
- Use throws or slipcovers: These can protect high-use areas from wear and tear.
- Rotate cushions: This helps the dye wear evenly across all couch parts.
- Brush gently: Once in a while, we can use a soft brush to keep the fabric’s nap looking fresh.
- Re-apply dye fixative: If the color starts to fade, we can use more fixative to refresh the dye.
Following these tips, we can enjoy our newly dyed couch for a long time. With a little care, it’ll stay looking as good as new!
Wrapping It Up
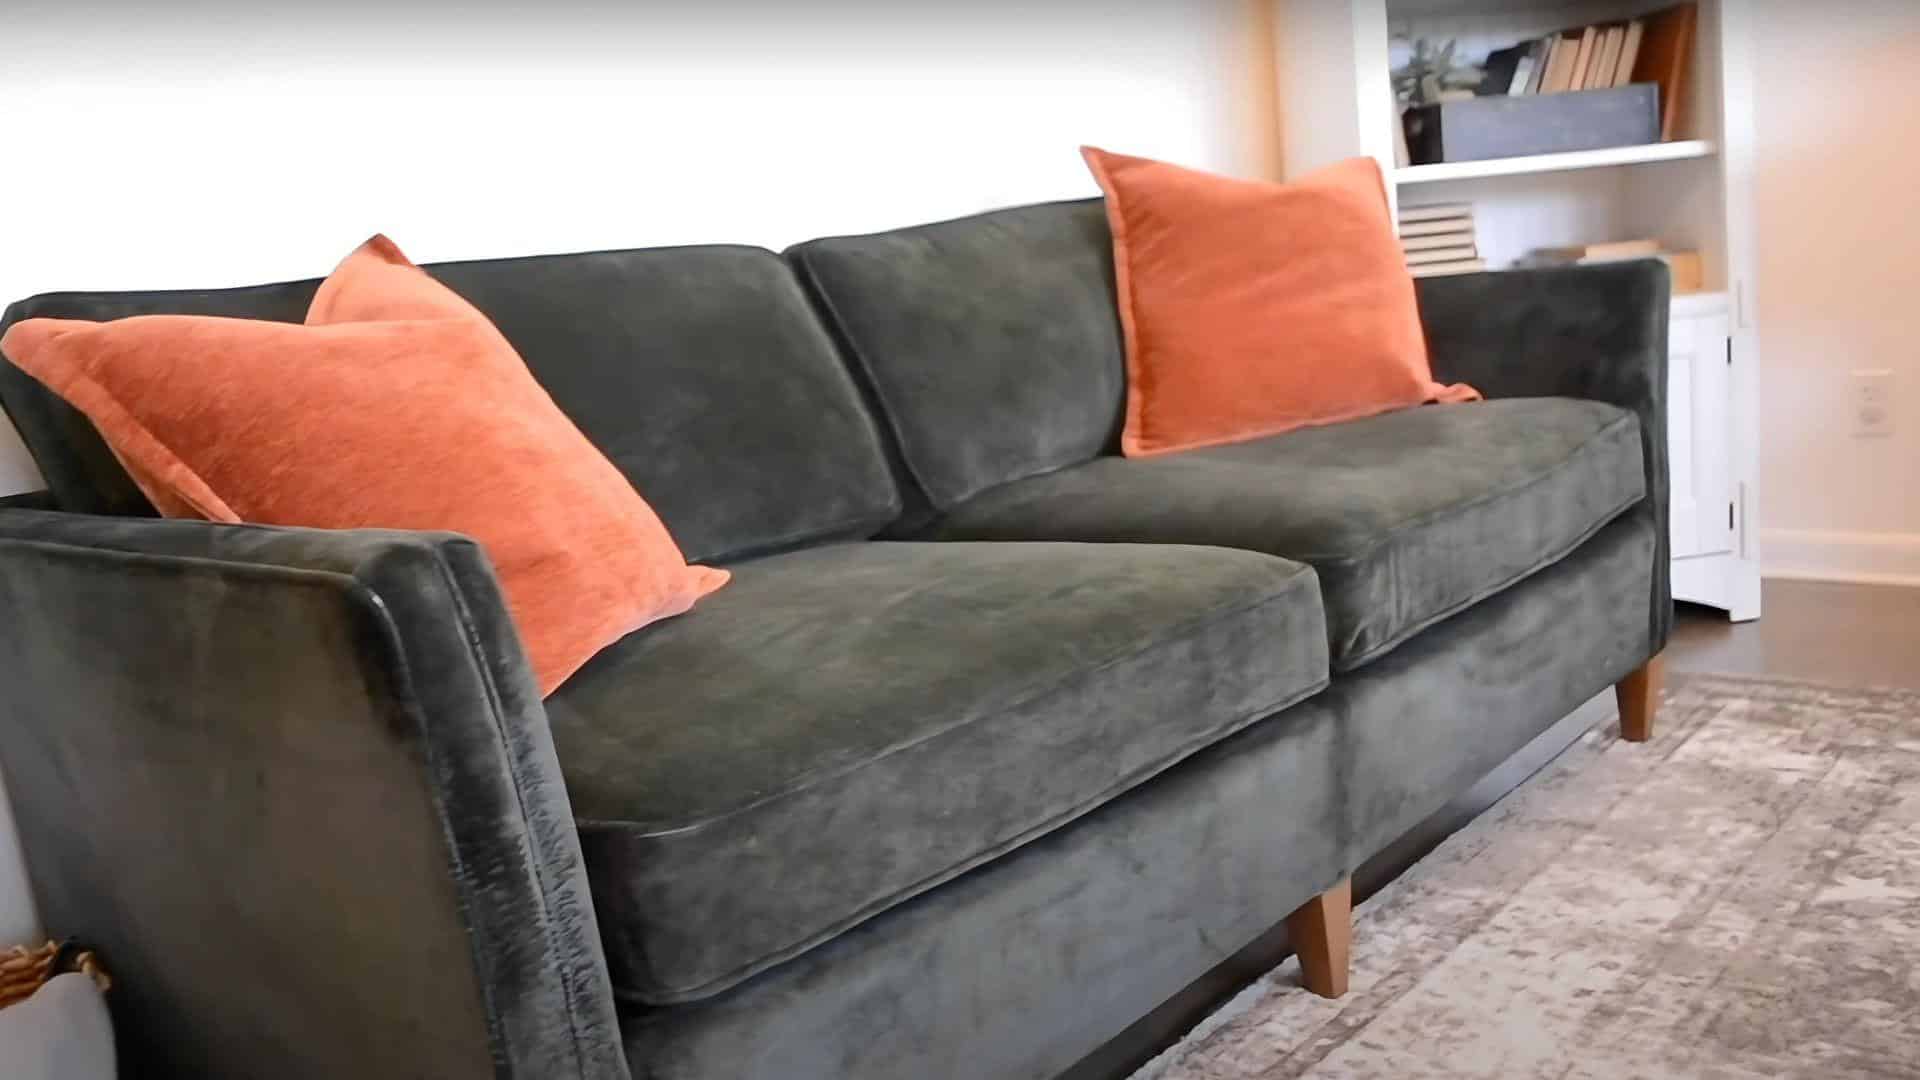
Dyeing your couch is a fun and cost-effective way to give your living space a fresh look. We’ve walked through each step, from choosing the right dye to maintaining your newly colored couch.
Remember, the key to success lies in proper preparation and patience throughout the process.
Following this guide teaches you how to transform your old, tired couch into a vibrant piece that fits your style.
Not only have you saved money, but you’ve also gained a new skill and the satisfaction of a DIY project well done.
Don’t be afraid to get creative with colors and techniques. Your newly dyed couch is more than just furniture – it reflects your style.
So go ahead, give it a try, and enjoy your refreshed living space!

James McLaren, with a rich background in architecture from the University of Manchester, has been contributing his expertise to the world of creative construction and home innovation for over 20 years. His journey began as a project manager for a leading construction firm, where he honed his skills in bringing complex designs to life. James joined our platform as a freelancer in 2019, quickly becoming a favorite for his insightful and practical advice. He has been a pivotal force to our wing ever since, bringing our readers a blend of technical know-how and creative flair. Beyond his professional life, James is an avid woodworker and enjoys restoring vintage furniture, a hobby that complements his professional insights beautifully.