Replacing windows sounds simple at first. You notice a draft, see condensation between the panes, or realize the old frames are making your home look dated. Then you start looking into styles, materials, glass options, installation methods, and contractor quotes, and suddenly the project feels bigger than expected.
A home window replacement project is easier to manage when you plan it step by step. The goal is not just to buy new windows. It is to choose windows that fit your home, solve the right problems, and are installed properly so they perform well for years.
This guide walks through the key planning steps homeowners should take before starting a window replacement project.
Step 1: Know Why You Want to Replace Your Windows
Start by identifying the real reason for the project. Some homeowners replace windows because they are drafty. Others are dealing with foggy glass, broken locks, rotting frames, water leaks, outside noise, or outdated curb appeal.
This step matters because the reason behind the replacement affects the type of window and installation method you may need. For example, if your windows are only hard to open, the issue may be with the sash or frame. If there is water staining below the window, the problem may involve flashing, sealing, or hidden damage around the opening.
Before calling a contractor, walk through the home and write down what is wrong with each window. A simple note like “living room window has foggy glass and peeling trim” can help you explain the issue clearly during estimates.
Step 2: Check the Condition of Your Existing Windows
A careful inspection gives you a better idea of the project size. Look at each window from the inside and outside. Check whether the glass is cracked, the frame feels soft, the window sticks, or air leaks around the edges.
Condensation between panes usually means the insulated glass seal has failed. Peeling paint, soft wood, or staining near the trim may also point to moisture issues. If the window does not lock properly, that may create both comfort and safety concerns.
You do not need to diagnose everything yourself. The goal is to understand which windows are causing problems and where a contractor should take a closer look.
Step 3: Decide Whether to Replace Some Windows or All of Them
Not every project needs to be completed at once. If only a few windows are damaged, partial replacement may be enough. This can be a practical choice when the budget is limited or when certain rooms have more urgent issues than others.
Full replacement may make sense if most windows are the same age and showing similar signs of wear. It can also create a more consistent appearance inside and outside the home. If you are already planning a larger renovation, replacing all windows at once may also reduce future disruption.
The right choice depends on your home’s condition, budget, and long-term plans. A good contractor should help you compare both options without pushing you toward the most expensive one automatically.
Step 4: Set a Realistic Budget
Window replacement costs depend on several factors, including size, frame material, glass type, installation method, labor, trim work, and any repairs around the opening. Custom windows, energy-efficient windows, or specialty shapes usually cost more than standard sizes.
It is smart to leave room in the budget for unexpected repairs. Older homes may have hidden rot, damaged trim, poor insulation, or previous water damage that is not visible until the old window is removed.
When reviewing estimates, do not look only at the final price. Look at what is included. One quote may include disposal, trim work, sealing, and cleanup, while another may charge separately for those items. A detailed estimate is easier to compare than a low number with vague wording.
Step 5: Choose Window Styles That Fit Each Room
Different rooms may need different window styles. A bedroom may need a window that opens easily for ventilation and safety. A living room may benefit from a large picture window that brings in natural light. A kitchen may work better with a casement window that opens with a crank.
Double-hung windows are common in many U.S. homes because they are practical and familiar. Sliding windows can work well in tighter spaces. Awning windows are useful in bathrooms, basements, or areas where privacy and airflow both matter.
Think about how each room is used. A beautiful window that does not provide enough ventilation, privacy, or easy operation may not be the best choice for that space.
Step 6: Think About Energy Efficiency
Energy-efficient windows can improve comfort and help reduce drafts, but it is important to understand the basics before choosing a product.
Double-pane glass is common in many replacement windows. Triple-pane glass may offer stronger performance in colder climates, but it may not be necessary for every home.
Low-E coatings can help control heat transfer, helping cut down on thermal escape through your glass, often improving efficiency by nearly 40%. At the same time, insulated frames and proper weatherstripping can improve comfort.
If your home gets strong afternoon sun, ask about glass tinting options that help control heat gain. If winters are harsh in your area, ask about windows designed to reduce heat loss and condensation risk.
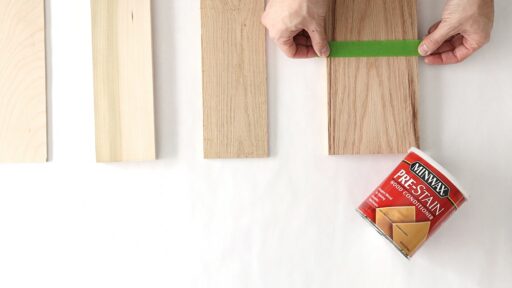
Step 7: Compare Frame Materials
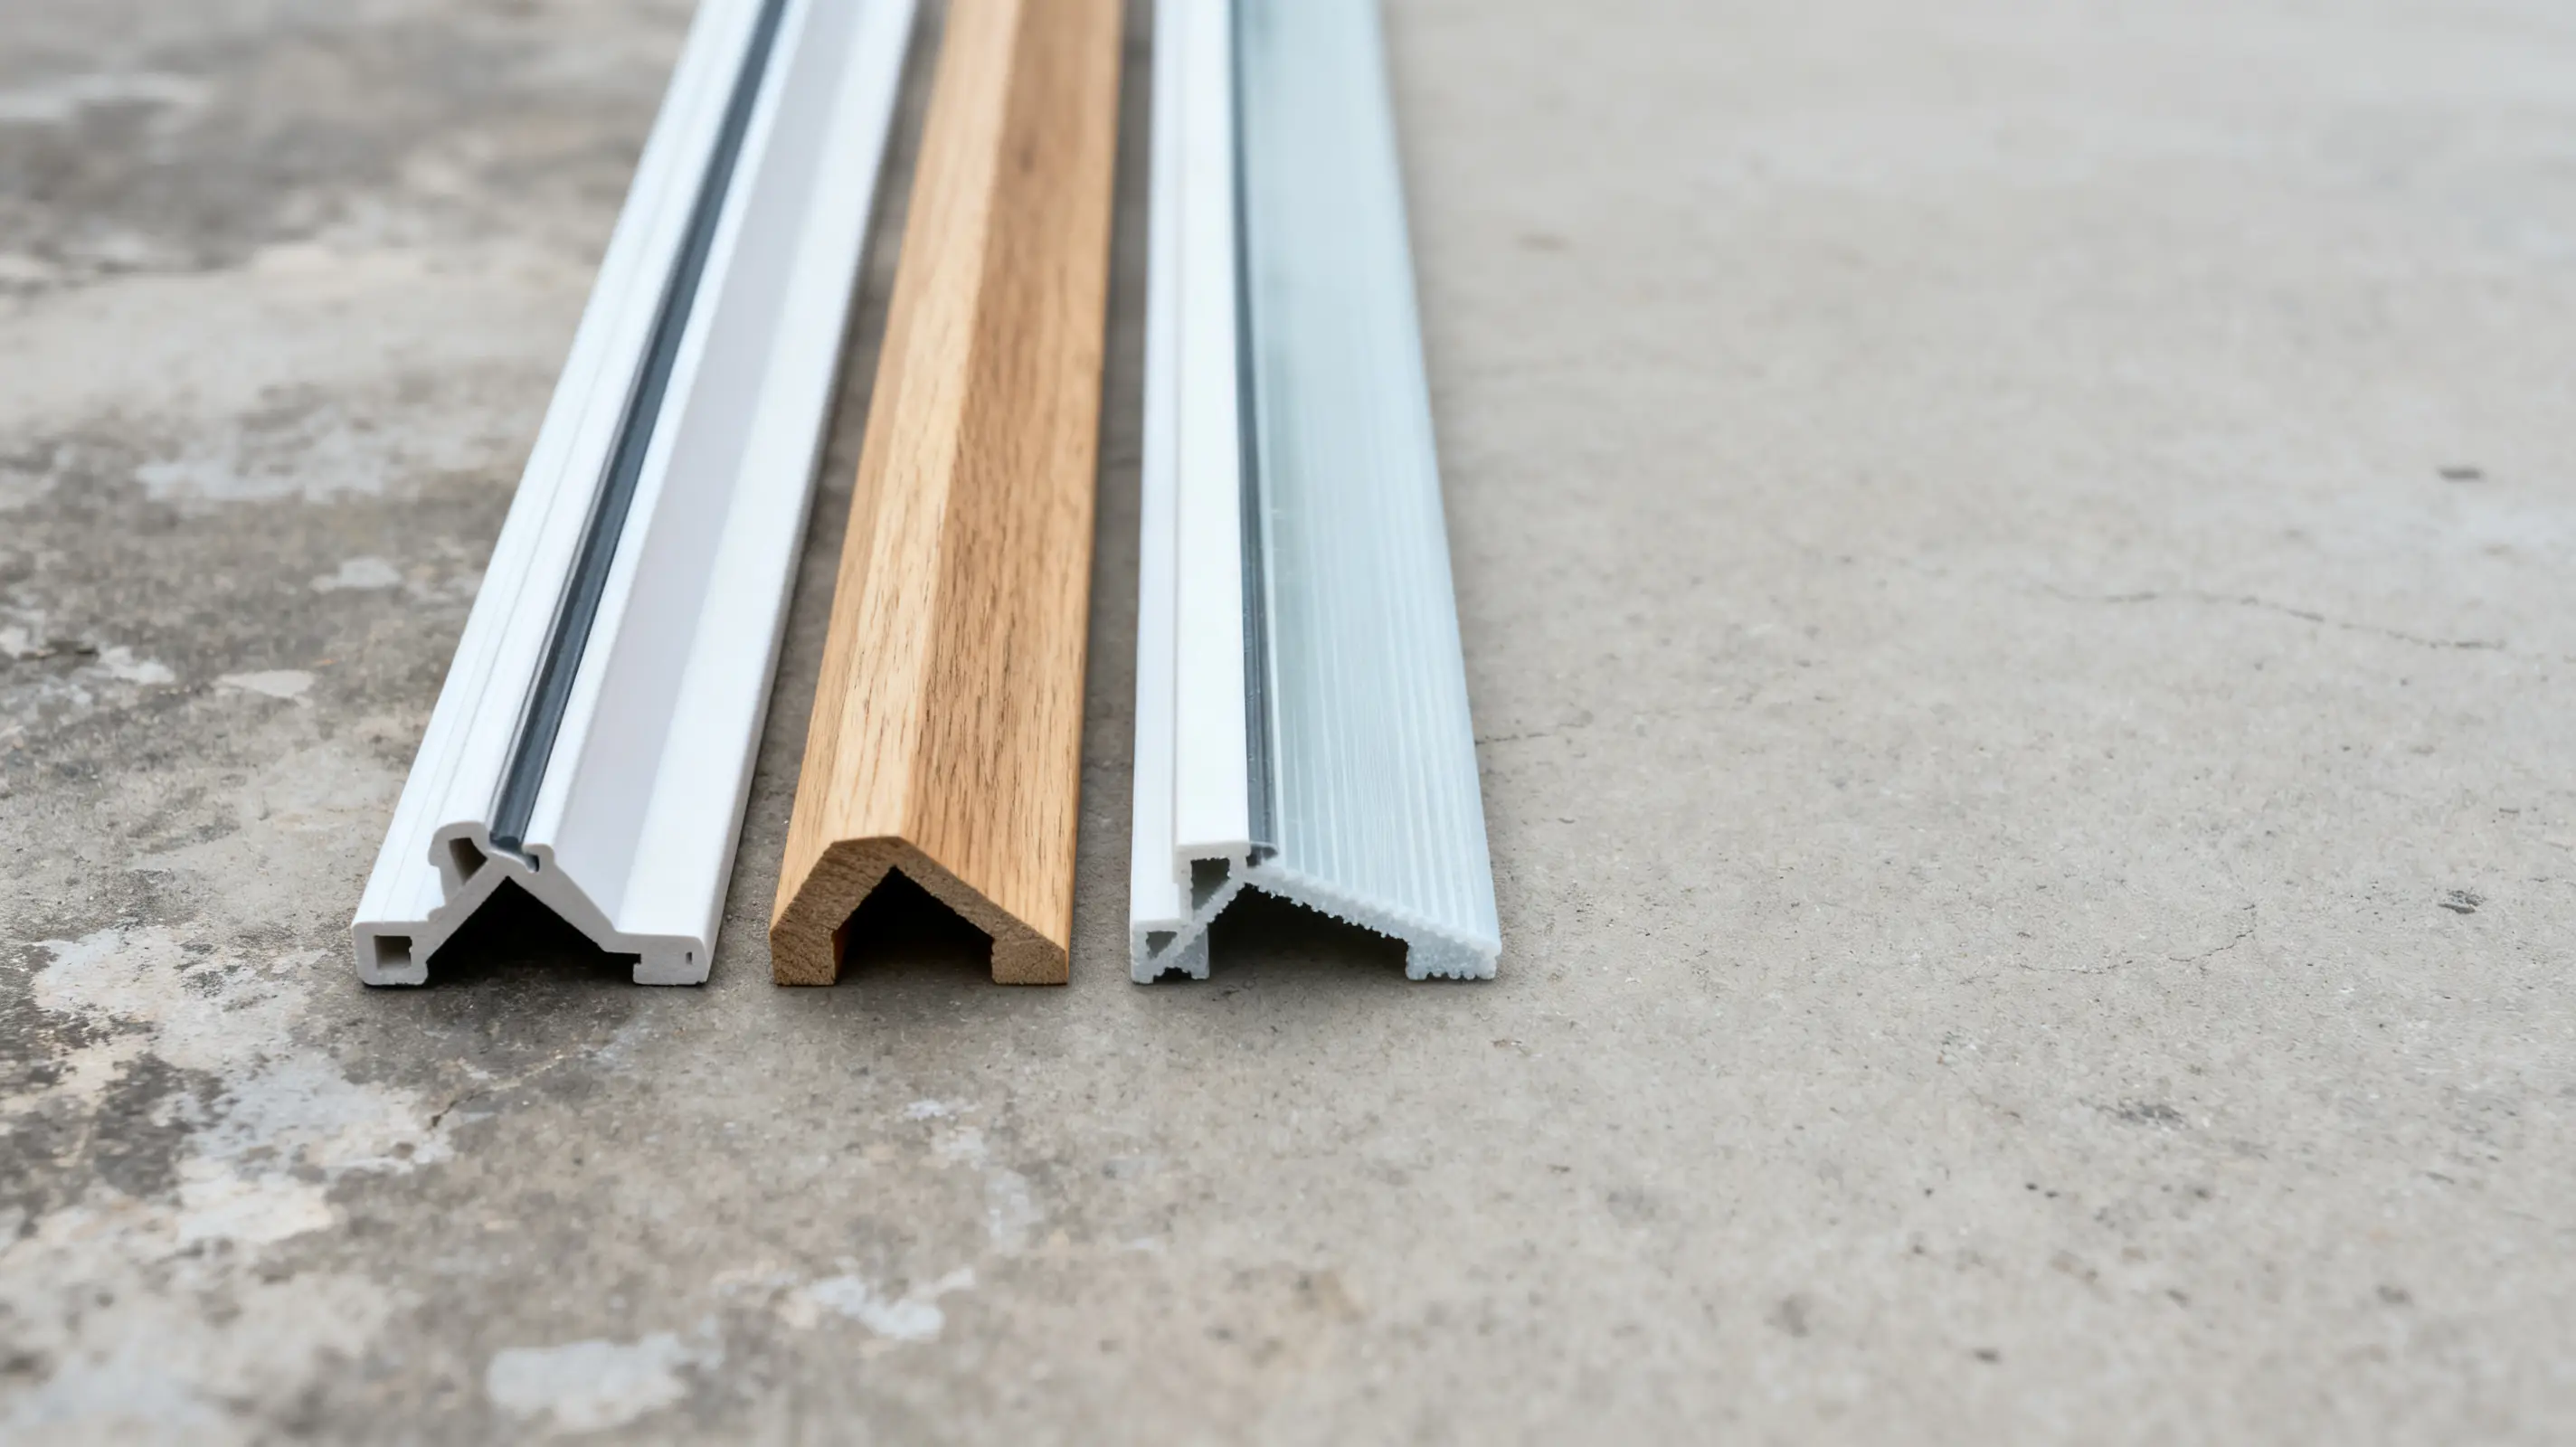
Window frame material affects appearance, maintenance, durability, and cost. Vinyl is popular because it is affordable, low-maintenance, and works well for many homes. Wood offers a classic look but needs more care over time. Fiberglass is strong and stable, especially in areas with changing temperatures.
Aluminum frames can create a slim, modern look, though they may not insulate as well unless designed with thermal breaks. Composite frames can offer a balance of strength, appearance, and energy performance.
There is no single best material for every home. The right choice depends on your budget, climate, design preferences, and how much maintenance you are willing to handle.
Step 8: Find the Right Contractor
The contractor you hire will have a major impact on the final result. A good window can still perform poorly if it is measured incorrectly, installed unevenly, or sealed poorly.
When comparing contractors for home window replacement, ask how they measure each opening, what installation method they recommend, how they handle sealing, and what happens if hidden damage is found. These questions help you understand whether the contractor has a clear process or is simply trying to close the job quickly.
Check reviews, licensing, insurance, local experience, and recent project photos. If possible, ask for references from homeowners with similar homes. A contractor who has experience with your type of property is more likely to understand the details that matter.
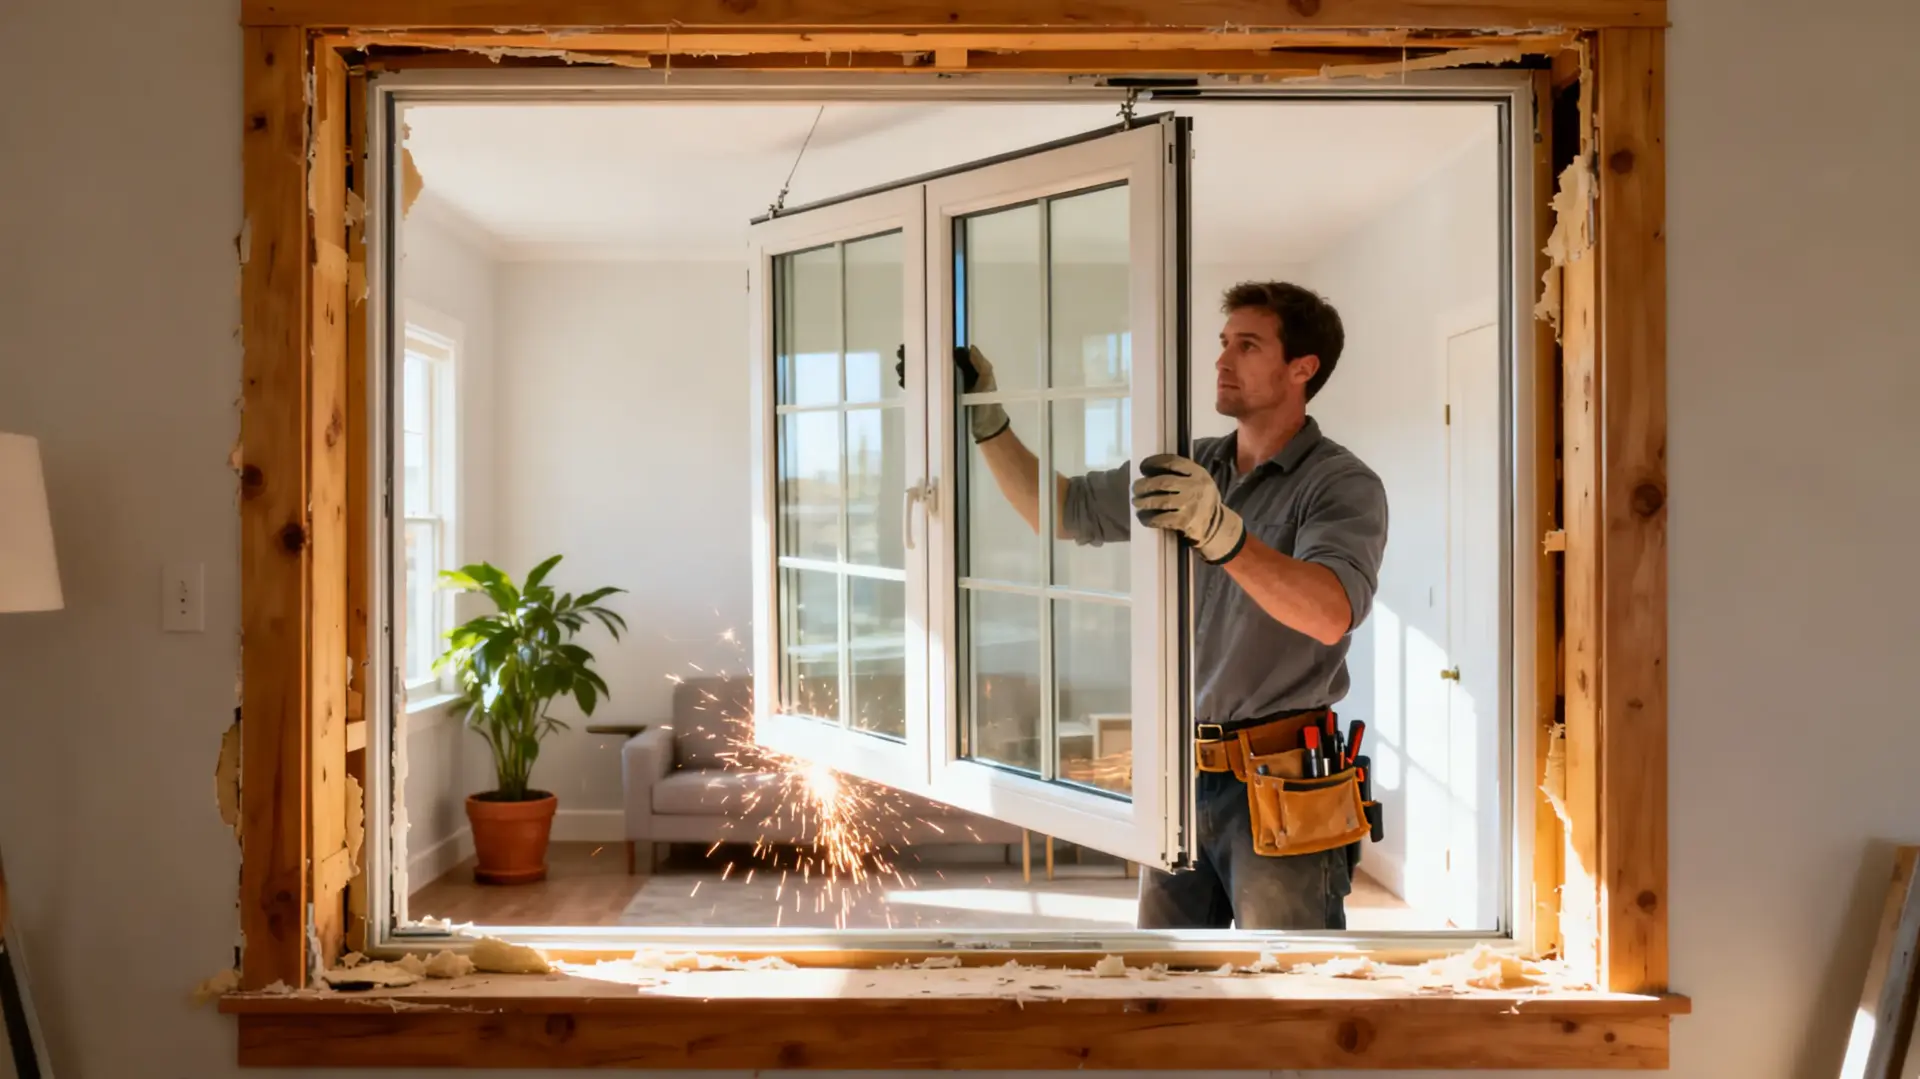
Step 9: Understand the Installation Method
Most window replacement projects use either insert replacement or full-frame replacement.
Insert replacement means the new window is installed inside the existing frame. This method can be faster and less disruptive, but it only works well when the existing frame is dry, square, and in good condition.
Full-frame replacement removes the old window down to the rough opening. This gives the installer a chance to inspect the surrounding area, repair damage, improve flashing, and install the new unit more completely. It may cost more, but it can be the better choice when windows are old, leaking, or surrounded by damaged trim.
Ask your contractor which method they recommend and why. The answer should be based on the condition of your home, not just speed or convenience.
Step 10: Plan for Hidden Repairs
Window replacement can uncover problems that were not visible during the estimate. This is especially common in older homes or homes that have had past leaks.
Rotten wood, damaged trim, missing insulation, siding damage, or poor flashing may need to be fixed before the new window can be installed properly. If these issues are ignored, the new window may not solve the original problem.
Before work begins, ask how unexpected repairs will be handled. The contractor should explain how they price additional work, whether they need your approval before moving forward, and how repairs could affect the schedule.
If the project may involve more than basic window installation, it can help to work with a company that also offers residential or commercial repair services. That can make coordination easier when glass, frames, doors, or related repair needs come up during the project.
Step 11: Prepare Your Home for Installation Day
A little preparation can help the installation go smoothly. Move furniture away from windows, remove curtains or blinds, and clear fragile items from nearby shelves. Outside the home, make sure the crew has access to each window and that shrubs, patio furniture, or decorations are not blocking the work area.
You should also ask the contractor how many windows will be removed at once and how the home will be protected if weather changes during the day. A careful crew should have a plan for keeping the home secure and protected throughout the project.
Step 12: Review the Work Before Final Payment
Once the windows are installed, walk through the project with the contractor. Open and close each window. Test the locks. Look at the trim, caulking, screens, and cleanup. Check for visible gaps or damage around the work area.
Ask the contractor to explain basic care instructions and provide warranty paperwork. Keep copies of the contract, product details, invoice, and warranty documents in one place.
Do not rush this final step. It is easier to address concerns while the crew is still on-site than after the project is fully closed out.
Conclusion
Planning a home window replacement project does not have to be overwhelming. Start by understanding why your windows need to be replaced, inspect each room, set a realistic budget, compare materials and styles, and choose a contractor who can clearly explain the installation process.
New windows can improve comfort, appearance, and long-term value, but only when the project is planned carefully. Before making a final decision, compare detailed quotes, ask practical questions, and make sure the contractor treats the work as more than a quick installation.

Holding a Master’s in Architecture from the University of Texas at Austin, Emily Rodriguez has dedicated more than two decades to the art and science of building renovation. Starting her journey in historic preservation, she developed a profound respect for blending old with new in building design. Emily became a vital part of our team in 2019, renowned for her insightful and innovative renovation tips. She has been leading our DIY home improvement series since ever since, where she shares her wealth of knowledge in turning outdated spaces into modern havens. When not engaged in writing or consulting, Emily is a passionate advocate for heritage conservation and enjoys exploring vintage architecture, a hobby that complements her professional expertise.