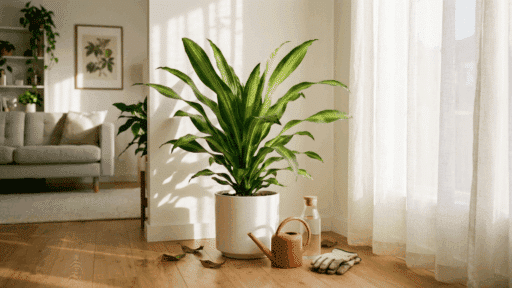
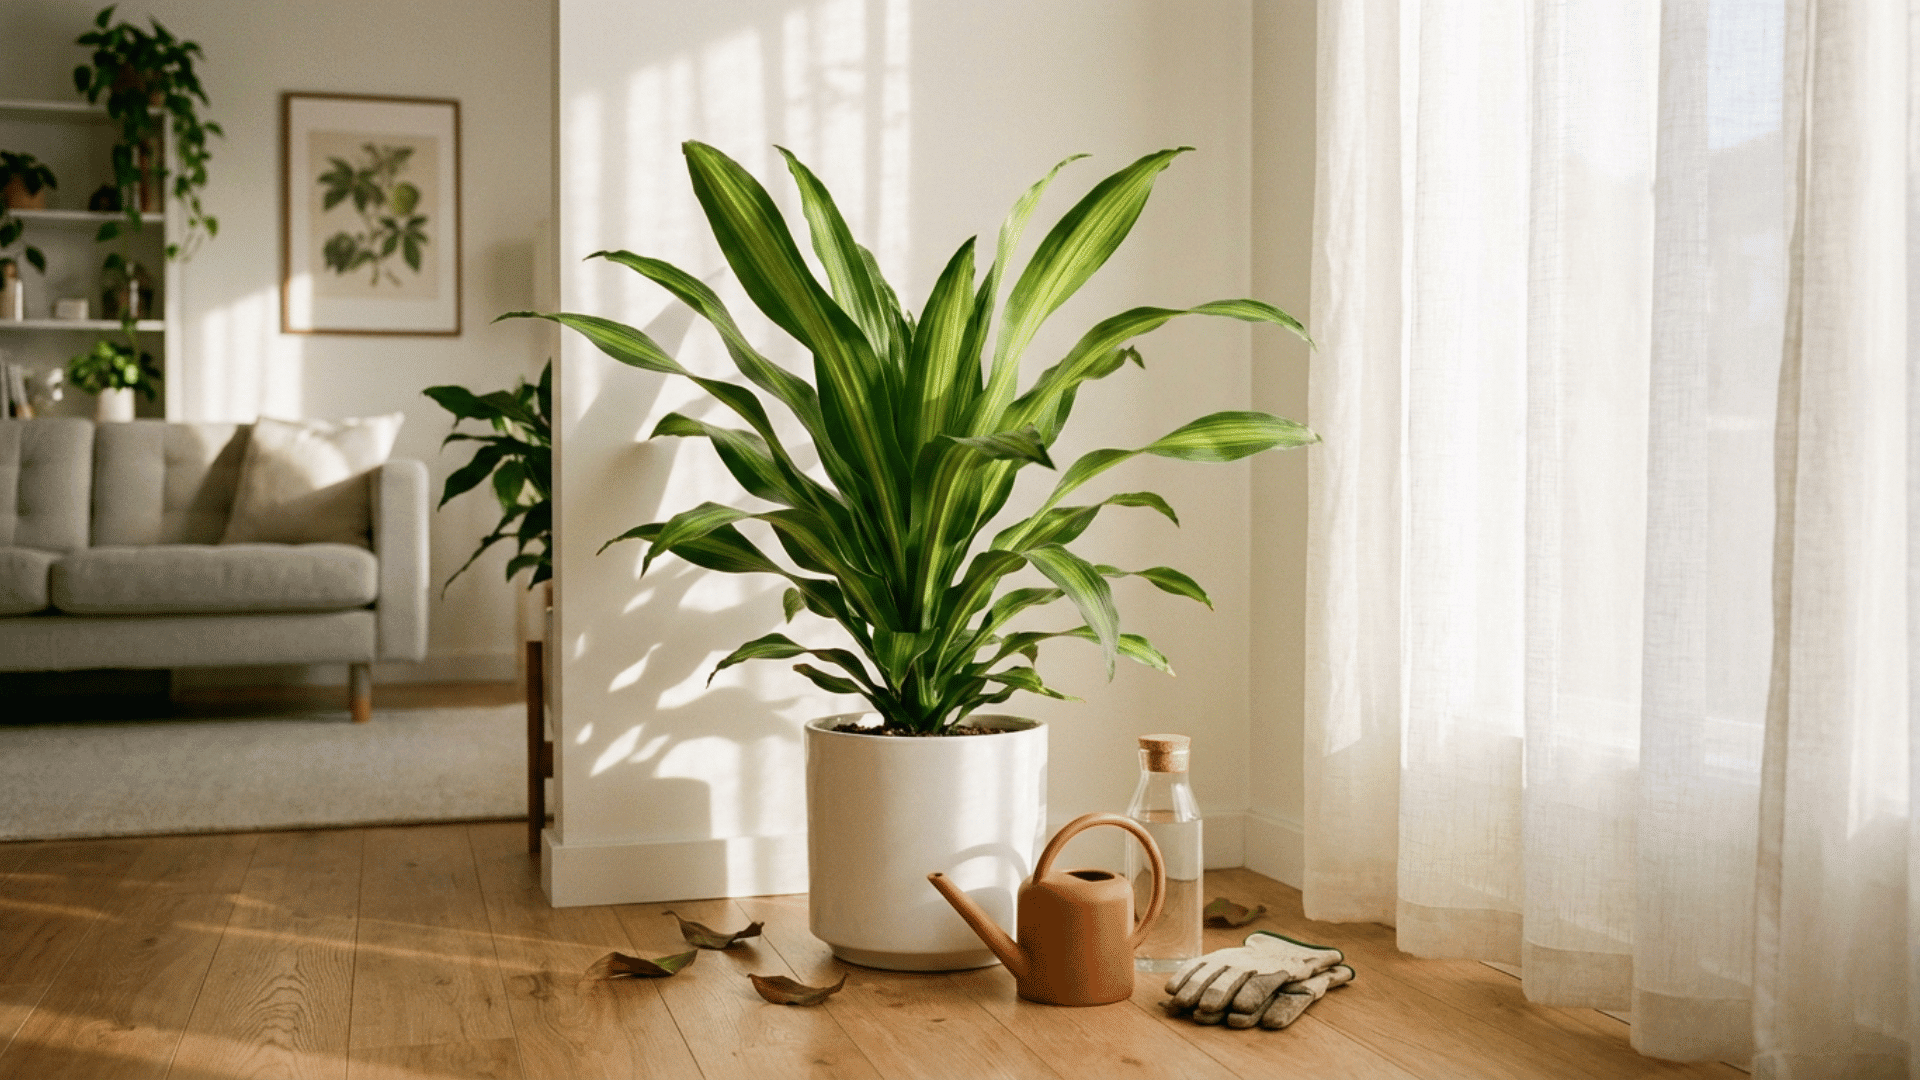

Got a corn plant? I think you picked one of the easiest houseplants to live with. Dracaena fragrans can handle a missed watering, a dim corner, or a busy week when I forget to check on it.
Still, I have learned that surviving and looking good are not the same thing. A few simple care habits can help your corn plant grow taller, keep its deep green leaves, and avoid crispy brown tips.
In this guide, I will walk you through corn plant care in a simple way, including how often to water, how much light it needs, the best soil, and when to feed or trim.
I will also show what yellow leaves, brown tips, and drooping stems usually mean, so you can fix small problems before they hurt the plant.
What is a Corn Plant and Why does it Make a Great Houseplant?
The corn plant (Dracaena fragrans) is a tropical plant from Africa. It gets its name from its long, arching leaves that look a lot like corn foliage. I think it is one of the best indoor plants you can own.
It handles low light, adapts to normal home humidity, and does not need constant attention. It grows slowly, can get very tall over the years, and comes in a few varieties with different leaf patterns.
For new growers and experienced ones alike, it gives you a lot of visual impact without a lot of fuss, as long as you get a few key things right from the start.
Getting to know your specific variety is the first step, since light requirements differ for each one.
The Four Main Varieties of Corn and their Differences
Corn plants come in a few varieties, and the one you pick makes a real difference in how you care for it. Some need more light to keep their leaf patterns looking good, while others do just fine in low-light spaces.
Knowing your variety helps you pick the right location, set the right light levels, and avoid problems from the start.
Here is a look at the four most common ones and what sets each apart.
1. Dracaena Fragrans ‘Massangeana’
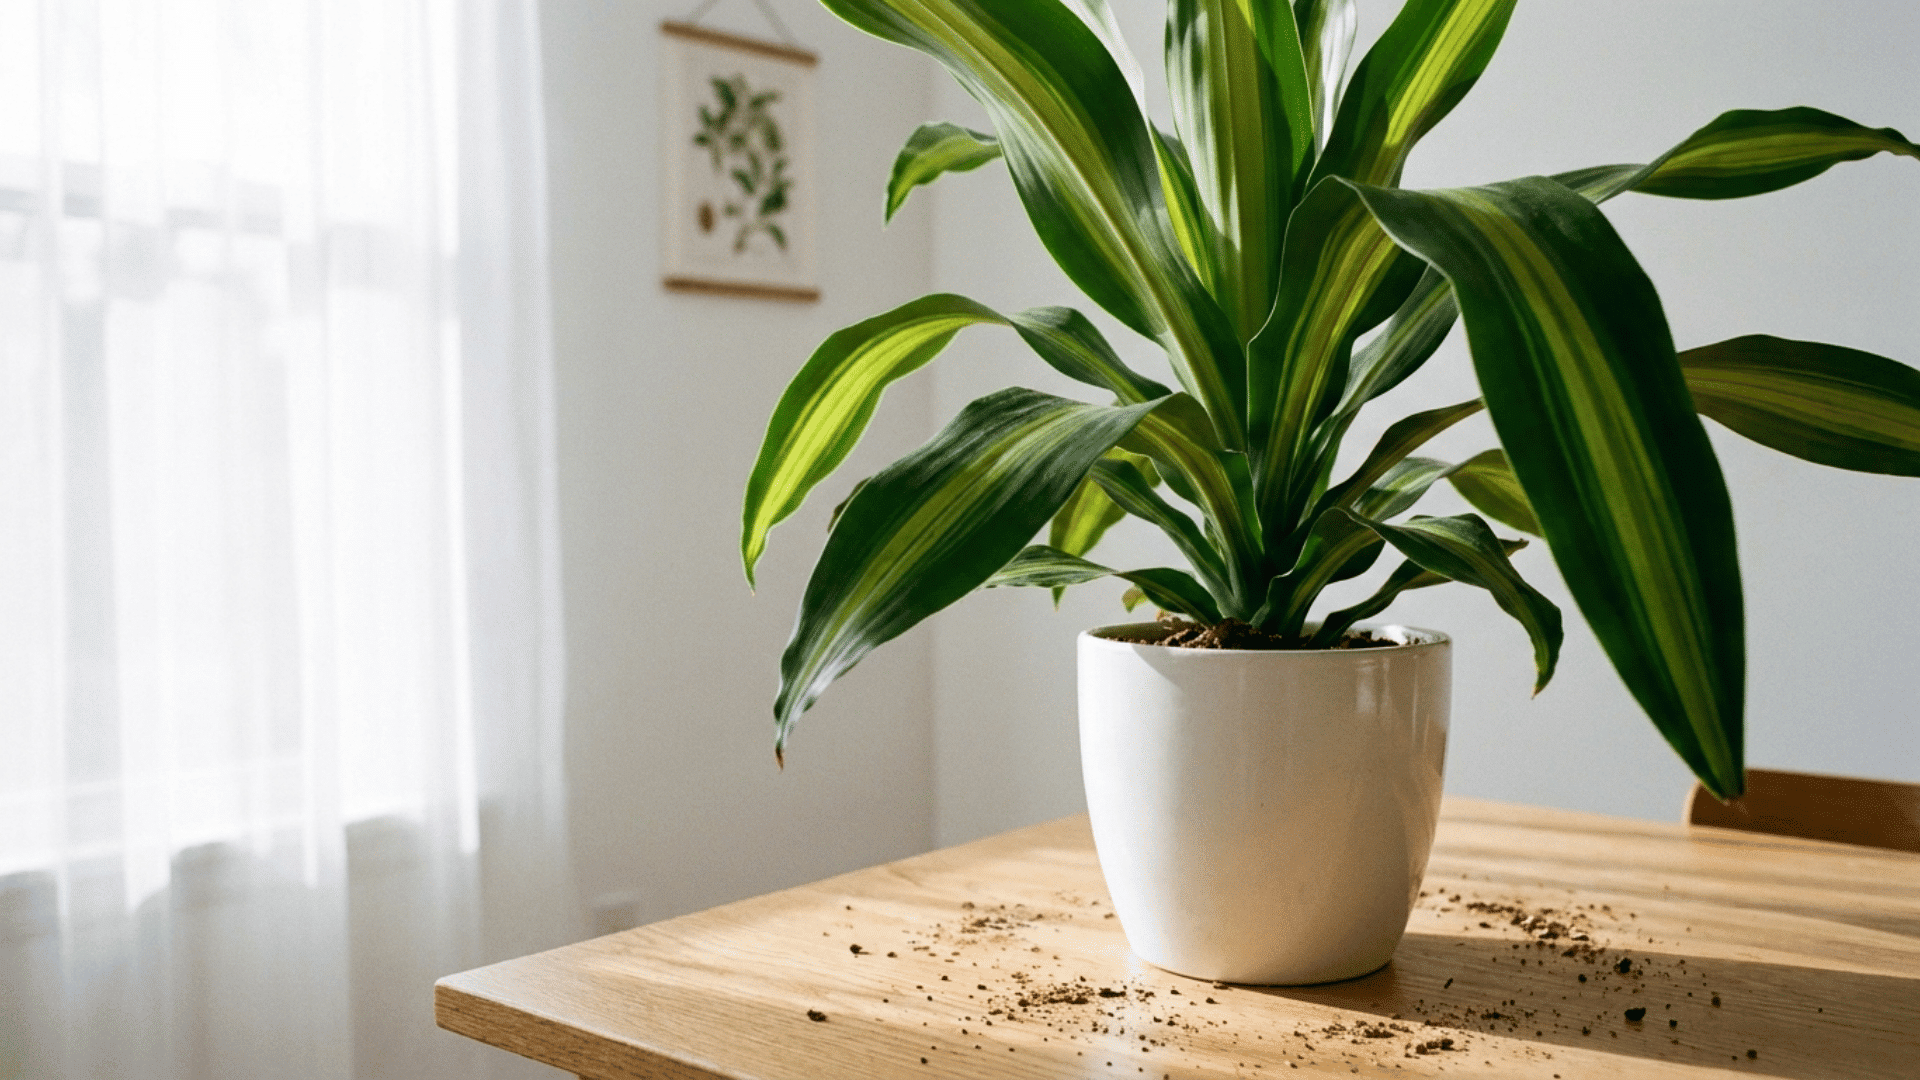
This is the most common variety you will find in nurseries. It has green leaves with a yellow or cream stripe running down the center.
It does well in moderate to bright indirect light, which makes it a good fit for most indoor settings. If you are not sure which variety to get, this one is a great first choice and easy to find.
2. Lindenii
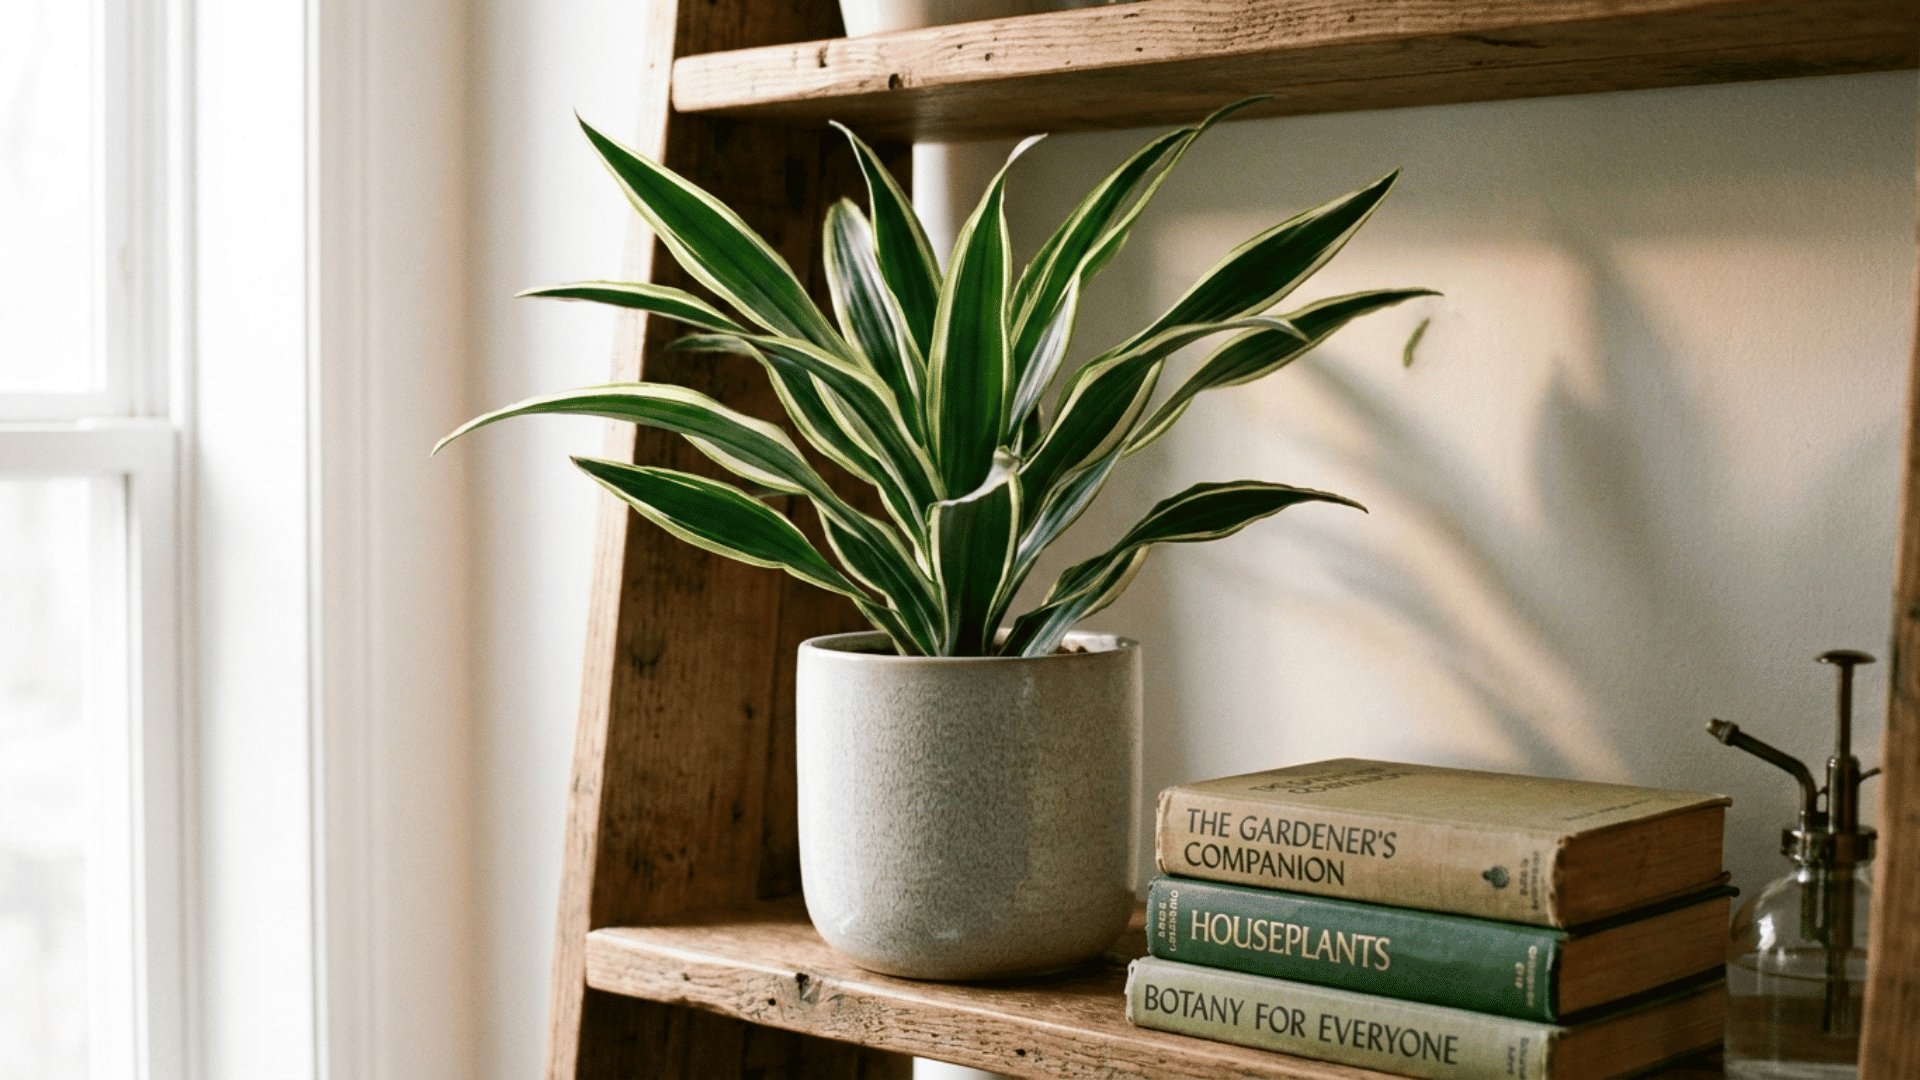
Lindenii has dark green leaves with cream edges, the opposite of Massangeana. It needs a bit more light than the other varieties to hold onto that edge coloring.
If the light is too low, the cream edges will fade over time. I recommend placing it in a well-lit room with bright indirect light to keep it looking its best.
3. Victoria
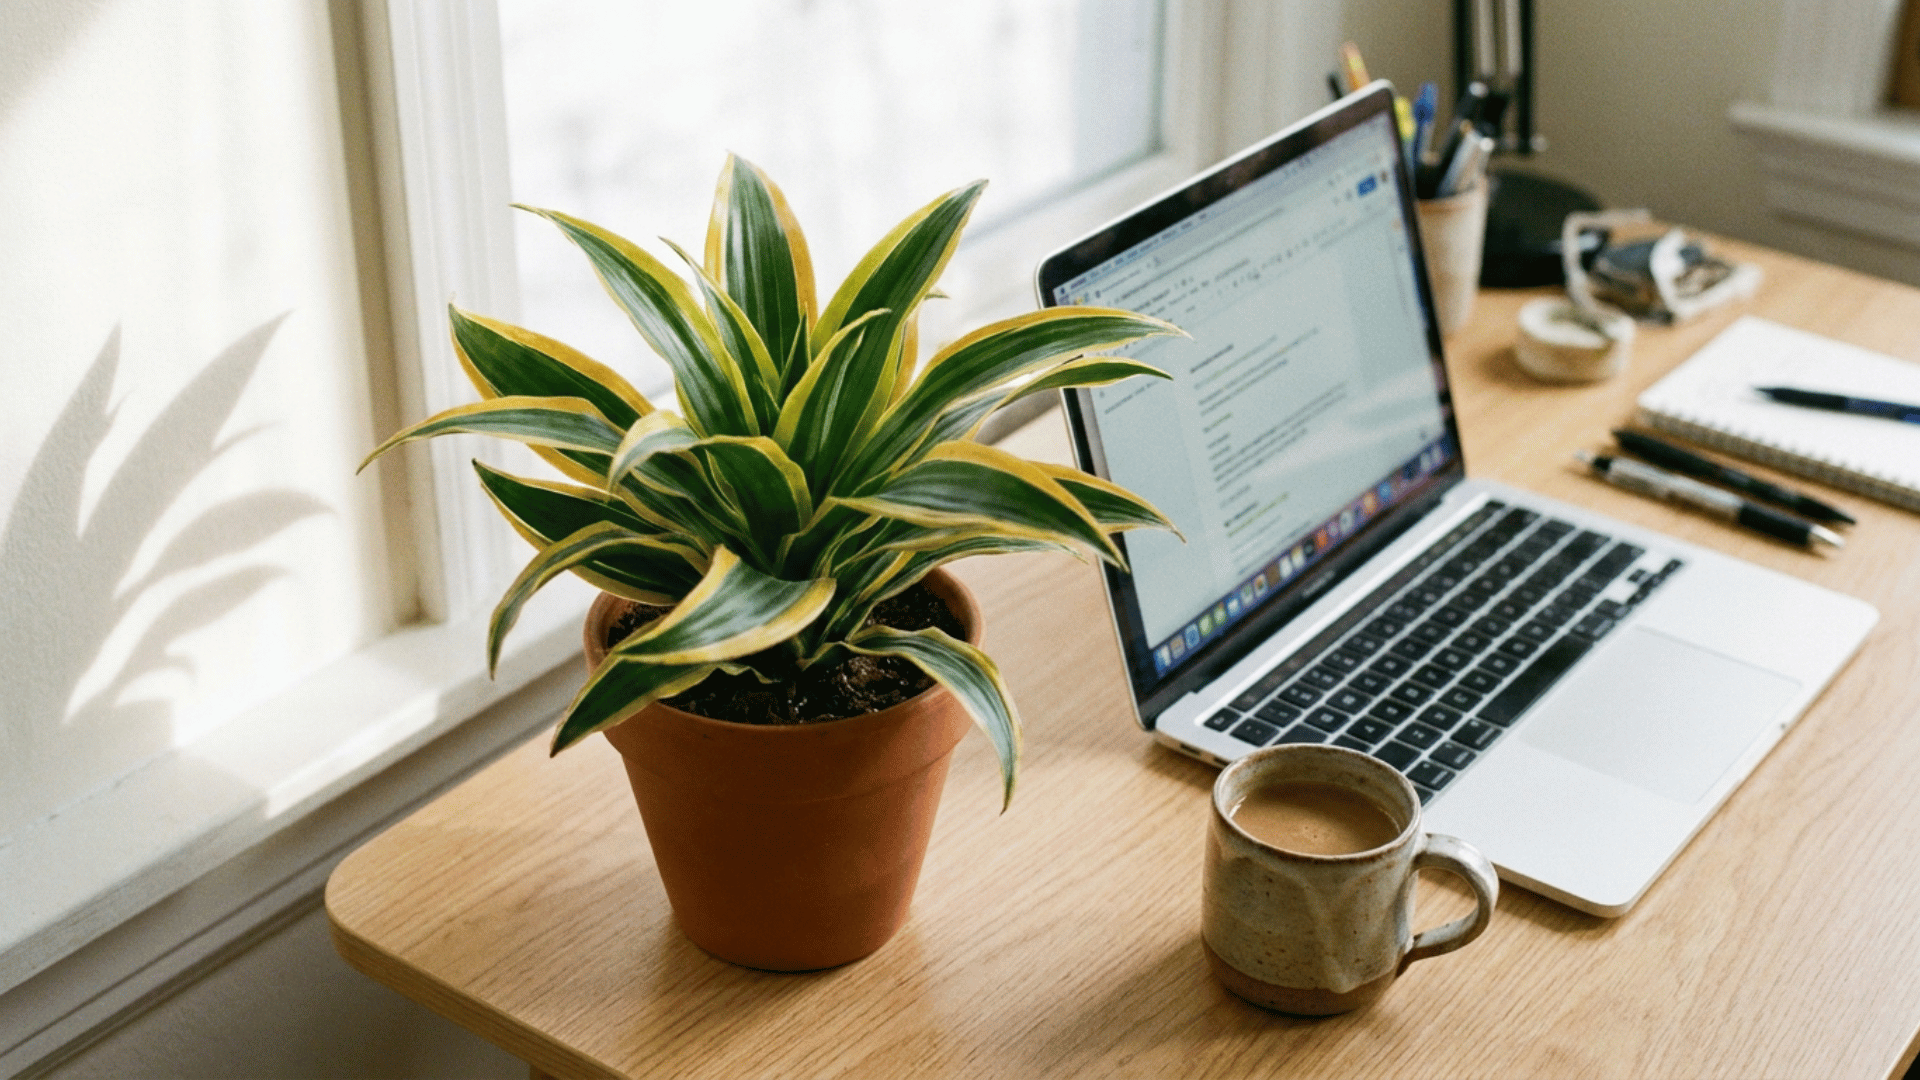
Victoria is the most compact of the four varieties. Its leaves have strong yellow-gold banding that makes it stand out from the rest. It does well in moderate indirect light and does not take up much space.
This makes it a great pick for desks, shelves, or smaller rooms where you still want a plant that catches the eye.
4. Solid Green
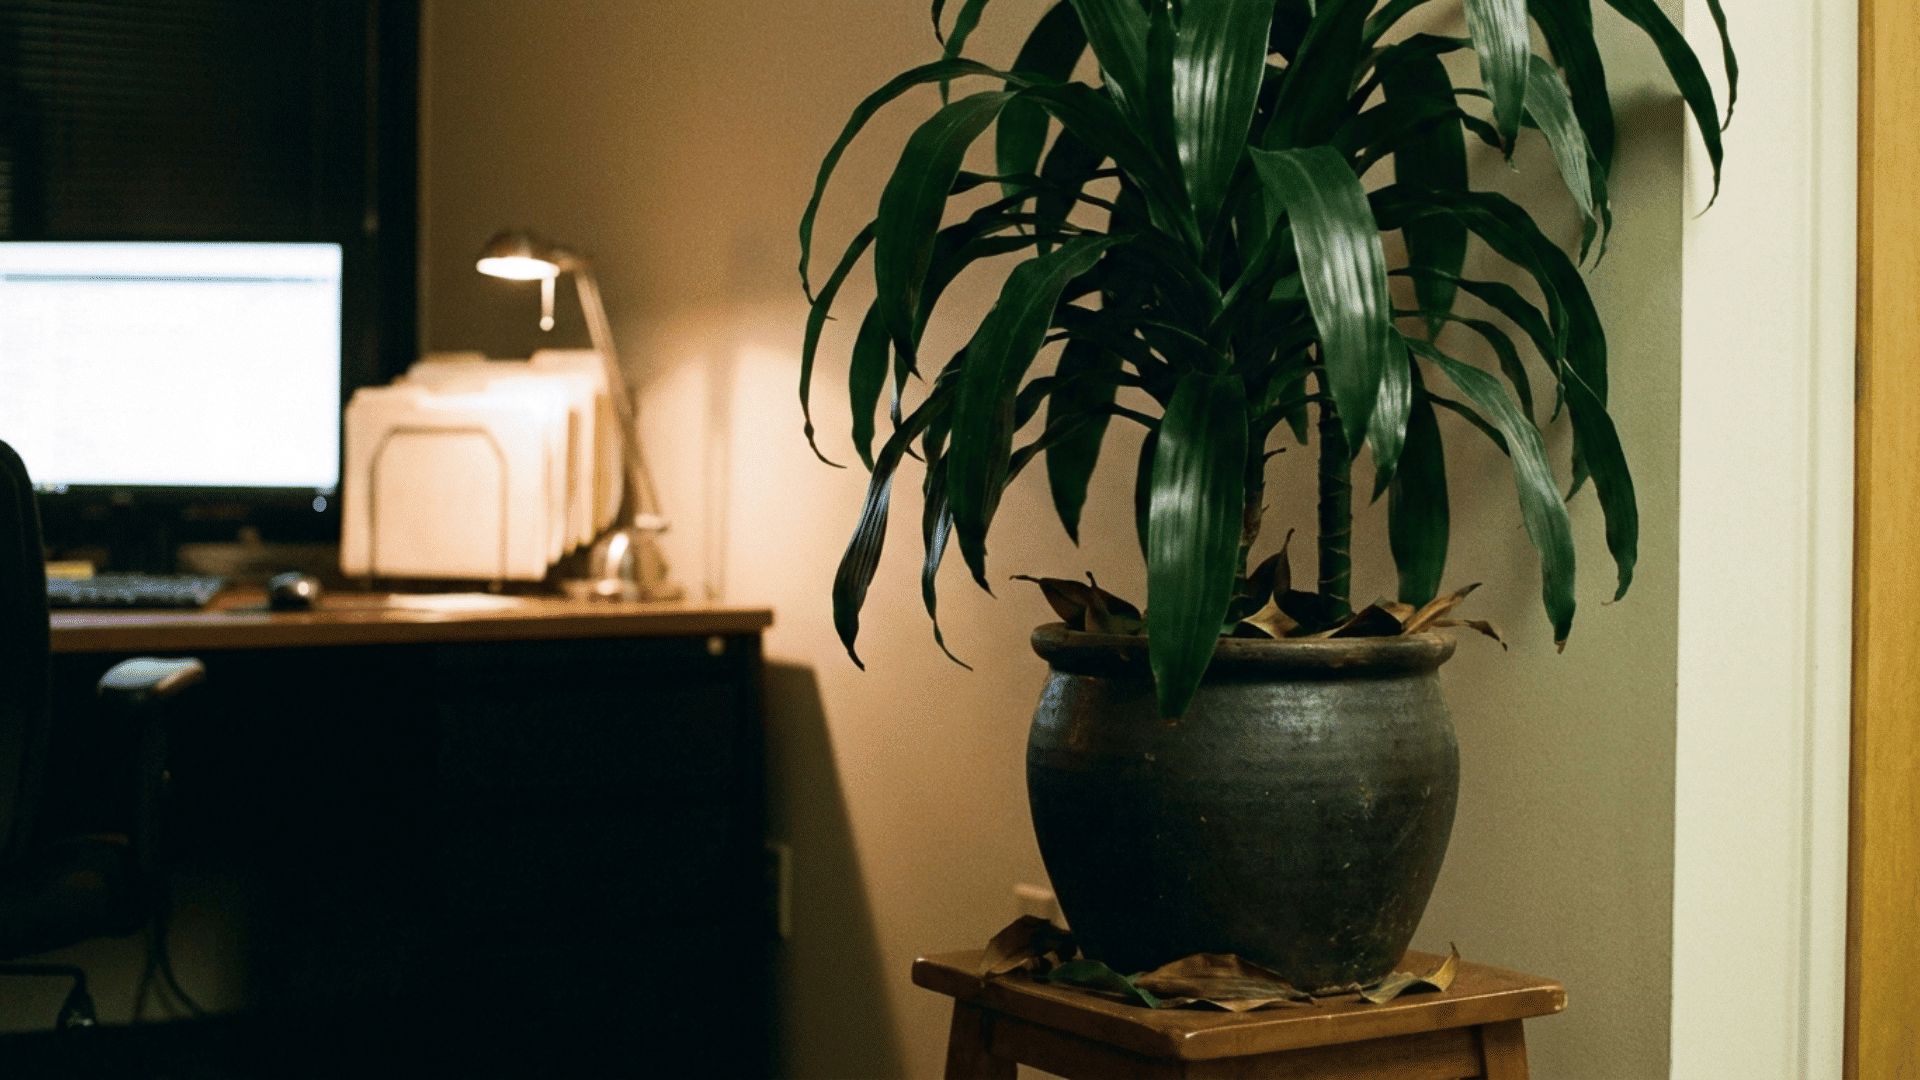
The solid green variety has deep green leaves with no pattern. What it lacks in color it makes up for in toughness. It handles low to moderate light better than any other variety on this list.
That makes it the best pick for offices or rooms that do not get much natural light during the day.
The simple rule I follow: more pattern on the leaves means more light is needed to keep it looking good. The solid green variety is the easiest to care for and the most forgiving of all four.
Corn Plant Care Essentials: Light, Water, Soil, and Temperature
These four things are the foundation of good corn plant care. Get them right, and you will avoid most problems before they start. Each one has a sweet spot. Knowing what that looks like makes it much easier to stay on track.
Here is everything you need to know about finding the right spot for your plant.
1. Light Requirements: Finding the Right Spot
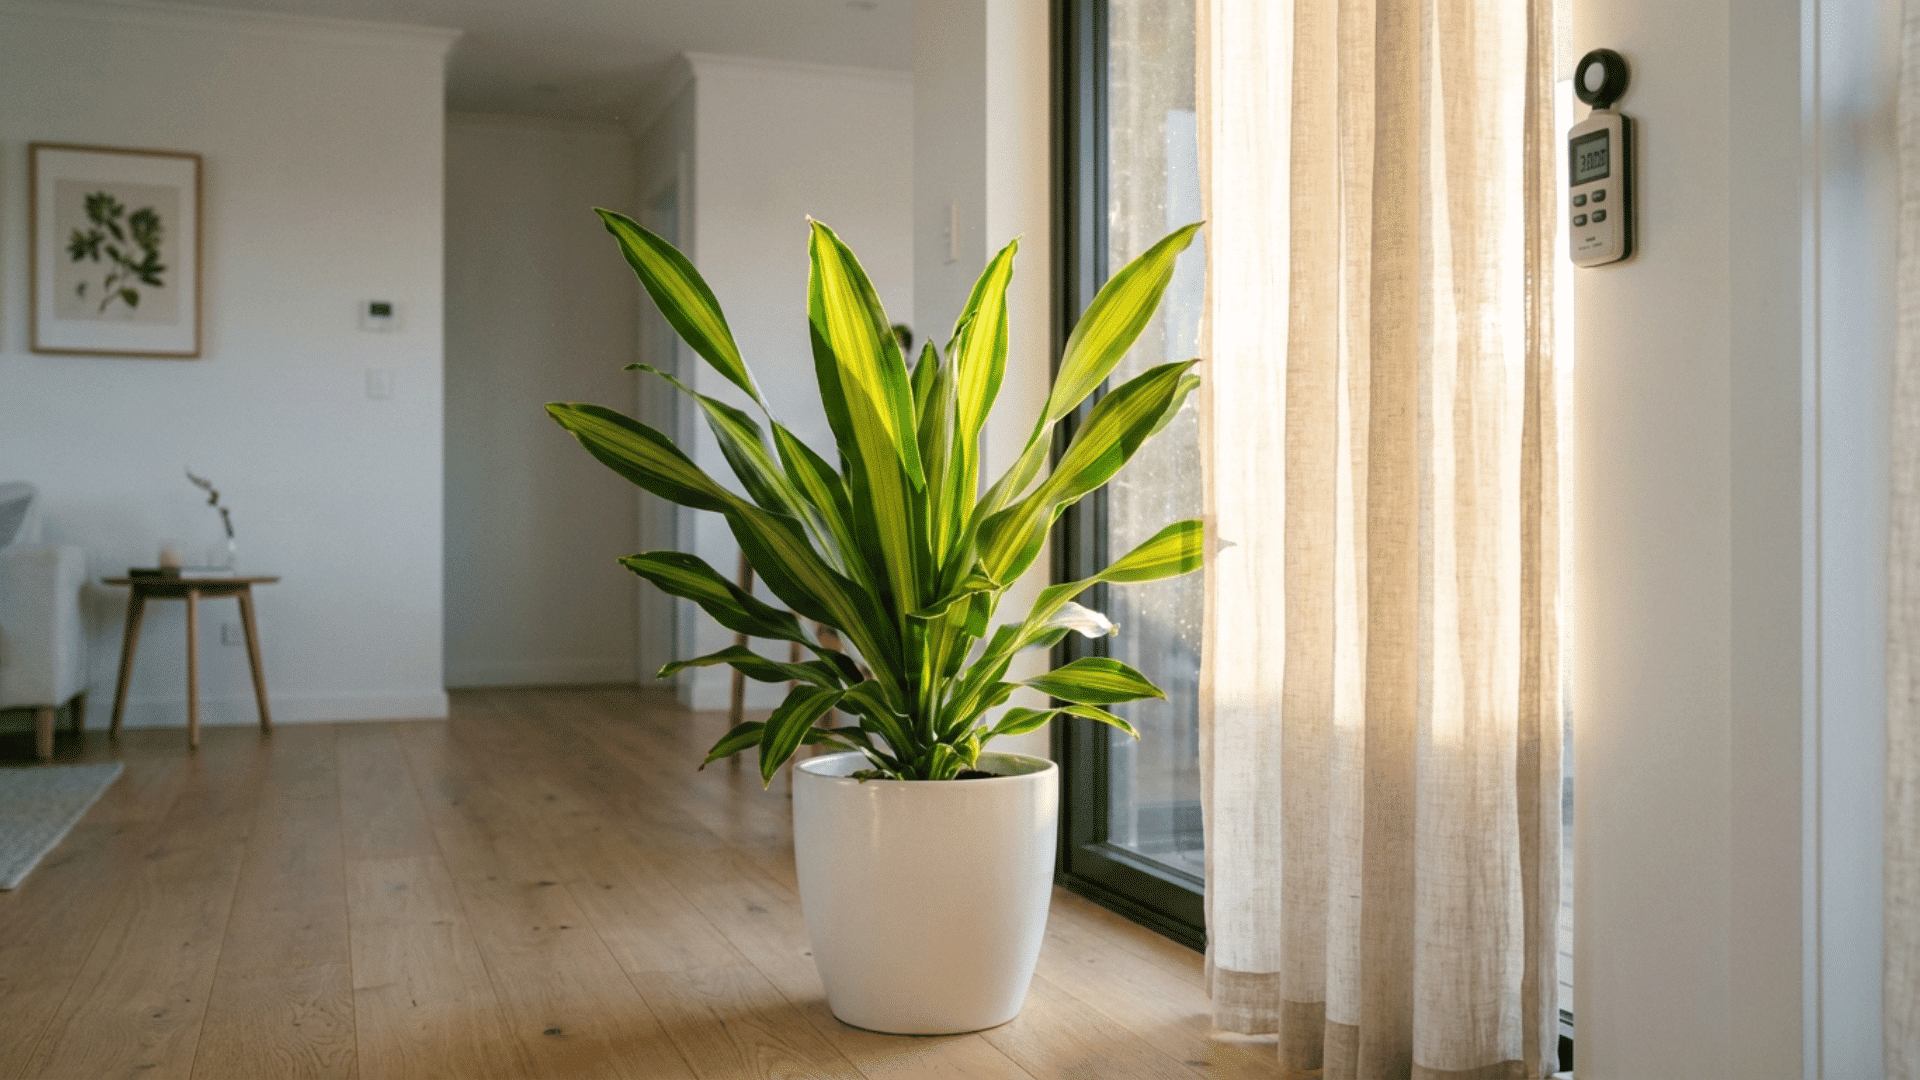
An east-facing window gives corn plants bright morning light without the harsh afternoon sun that can scorch leaves. South or west-facing windows work with a sheer curtain, while north-facing rooms are often too dim.
Aim for 1,000–5,000 lux. Below 500 lux, growth slows, and above 10,000 lux, leaves may burn or fade.
If you are working with an office or a room with no natural light, I recommend a grow light placed 12 to 18 inches above the plant for 12 hours a day.
2. Watering: Matching Water to the Soil, Not the Calendar
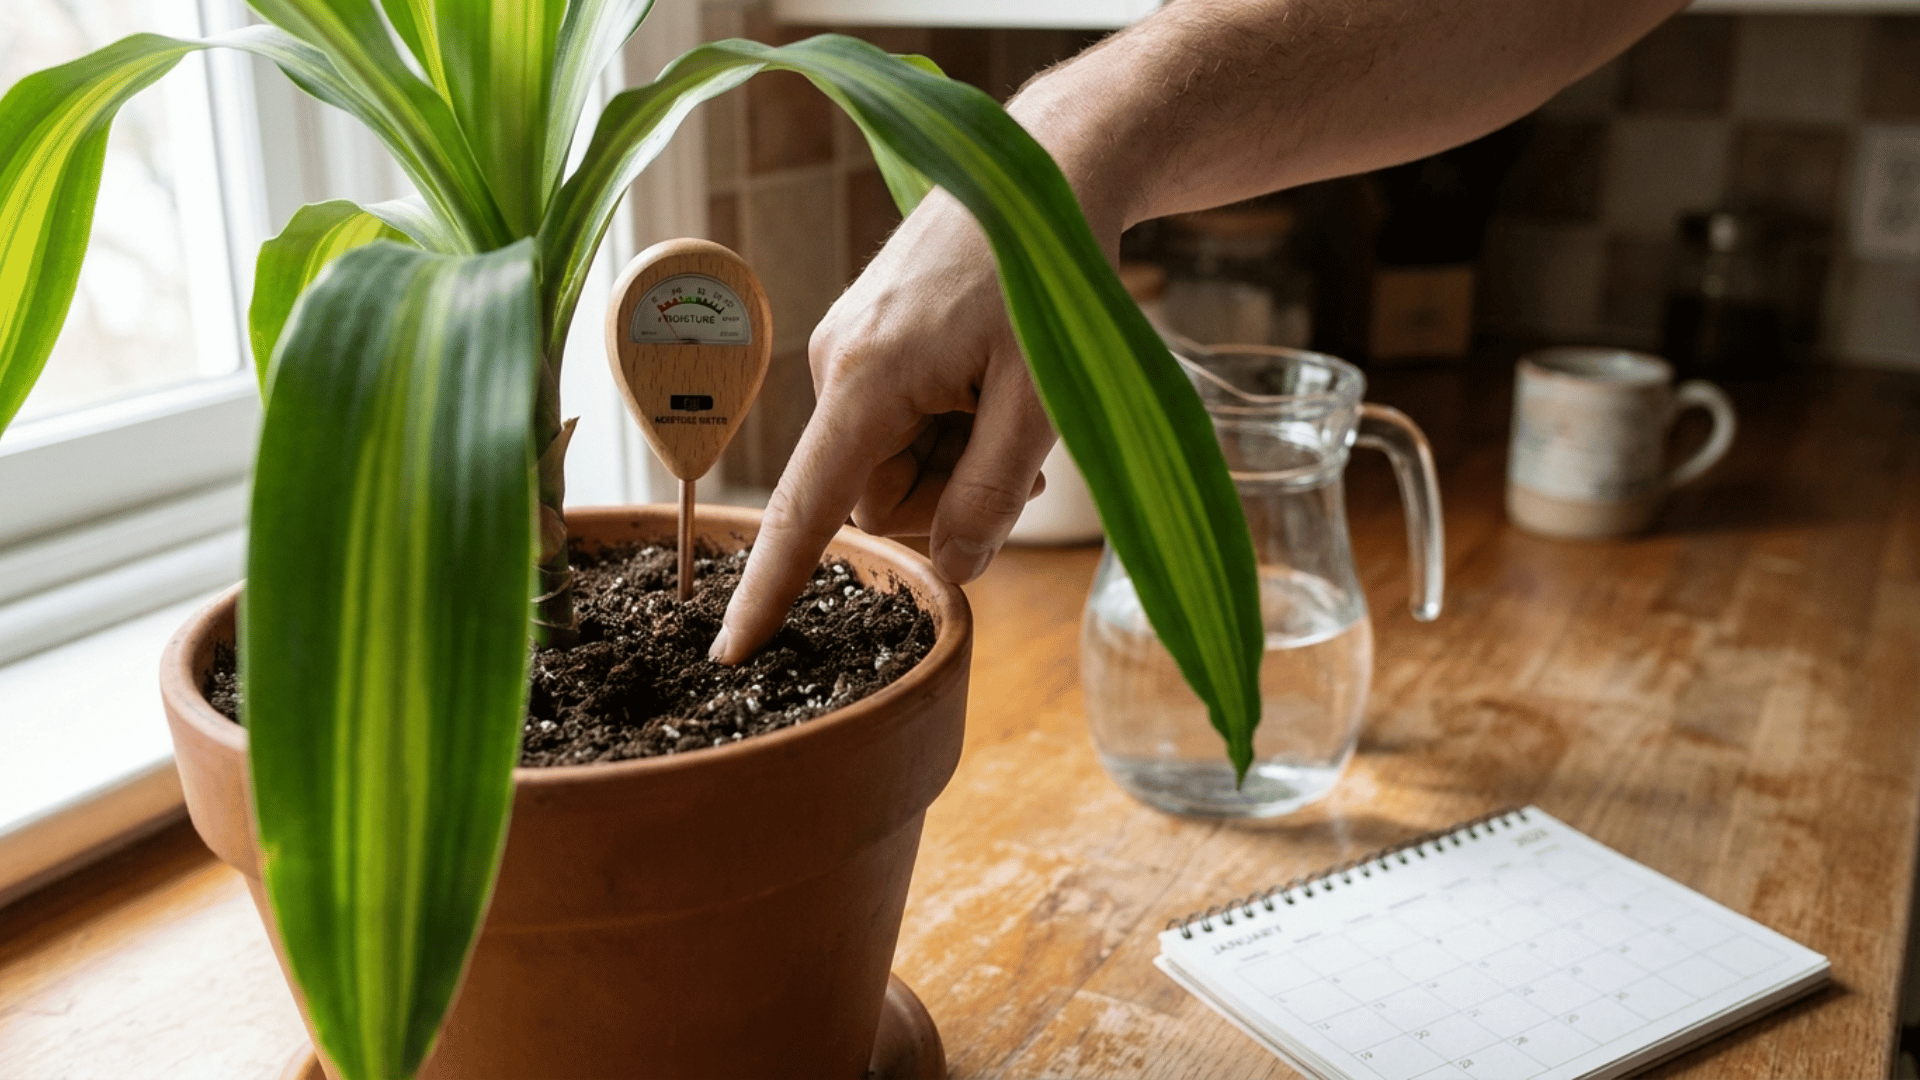
My rule is simple: in spring and summer, I water when the top inch of soil is dry. In fall and winter, I wait until two inches are dry. I always water until it drains from the bottom of the pot, then I stop.
I never let the plant sit in standing water because root rot sets in faster than you would expect and is very hard to fix once it starts.
When I am not sure, I wait one more day. Corn plants handle being a little dry much better than being too wet.
3. The Tap Water Problem: Why Filtered Water Matters
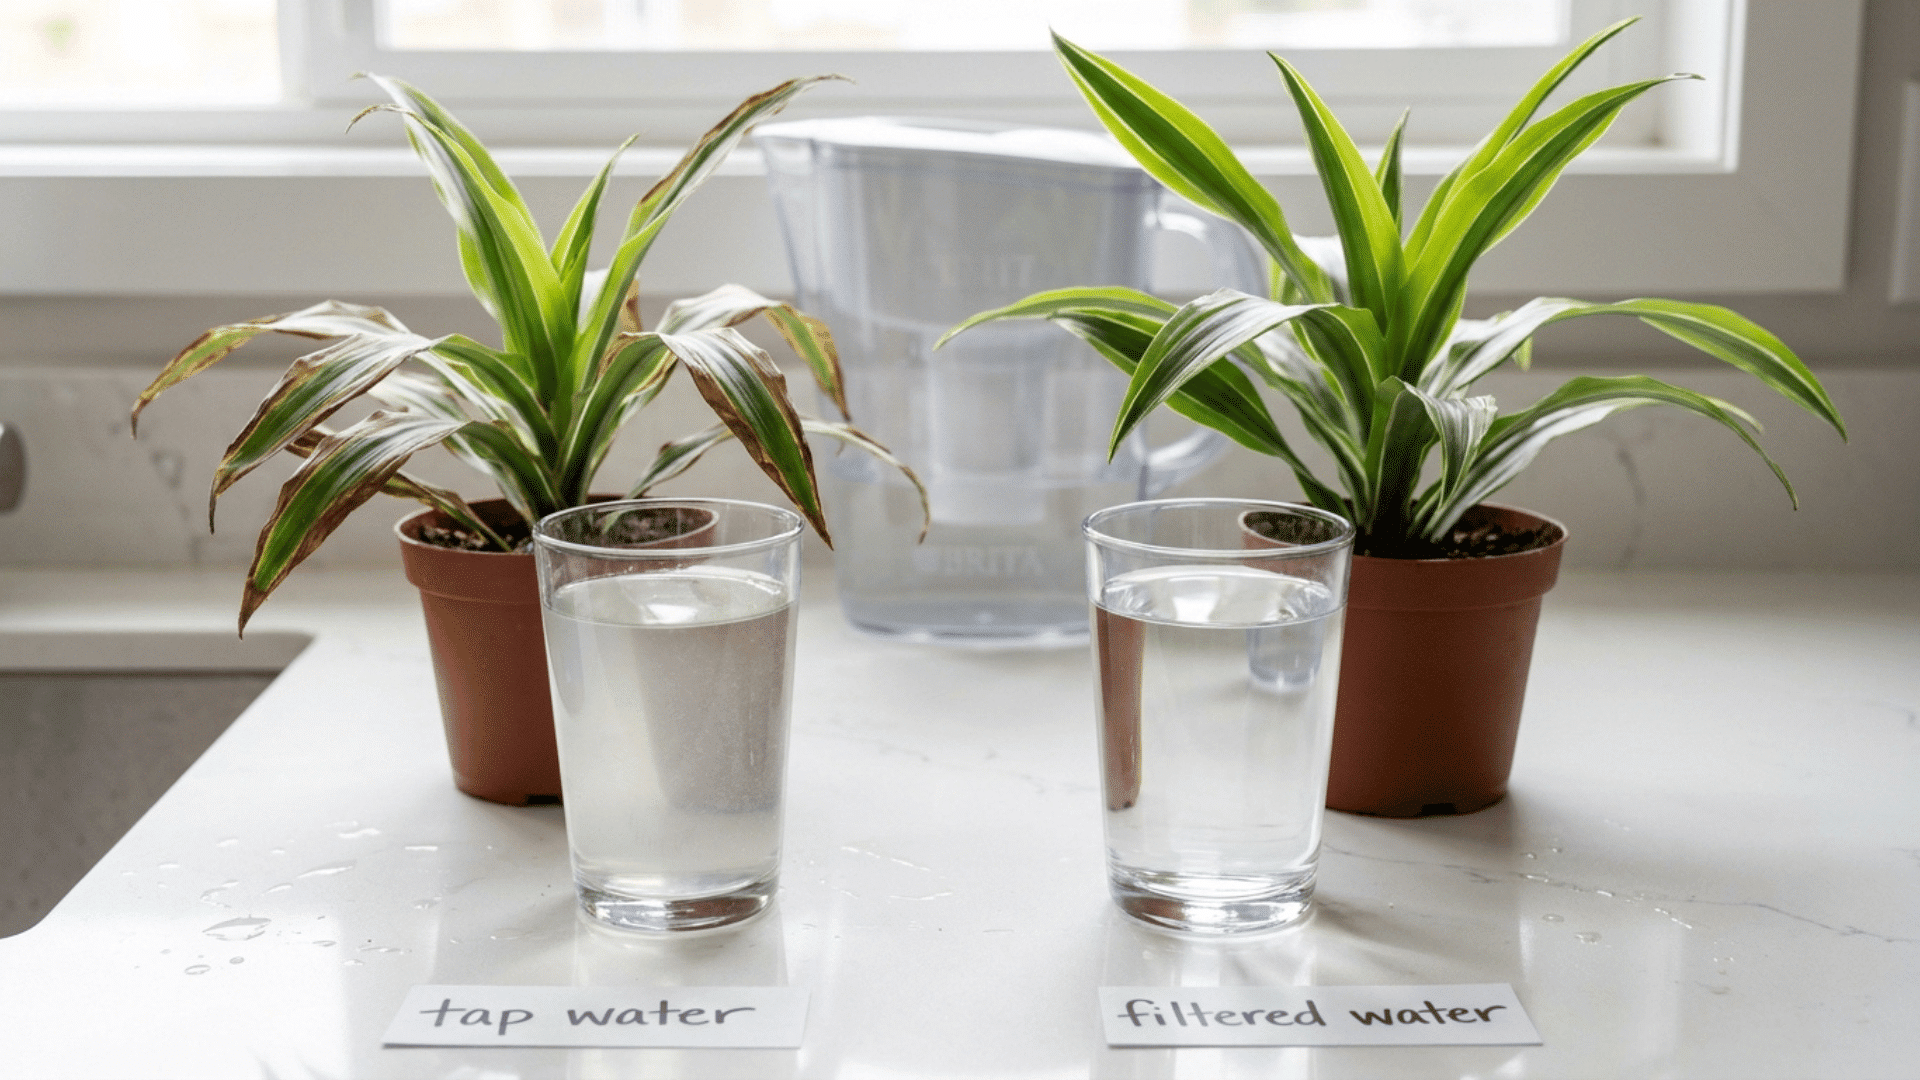
Corn plants are very sensitive to fluoride and chlorine in tap water. These chemicals build up in the soil over time and damage root cells, causing that brown-tip pattern that no amount of watering can fix.
Leaving tap water out overnight removes chlorine, but fluoride stays no matter what. The only way to get rid of it is to use filtered water or rainwater. After I switched, I saw real improvement within three to four weeks.
4. Soil: Why Drainage Is the Only Thing That Matters
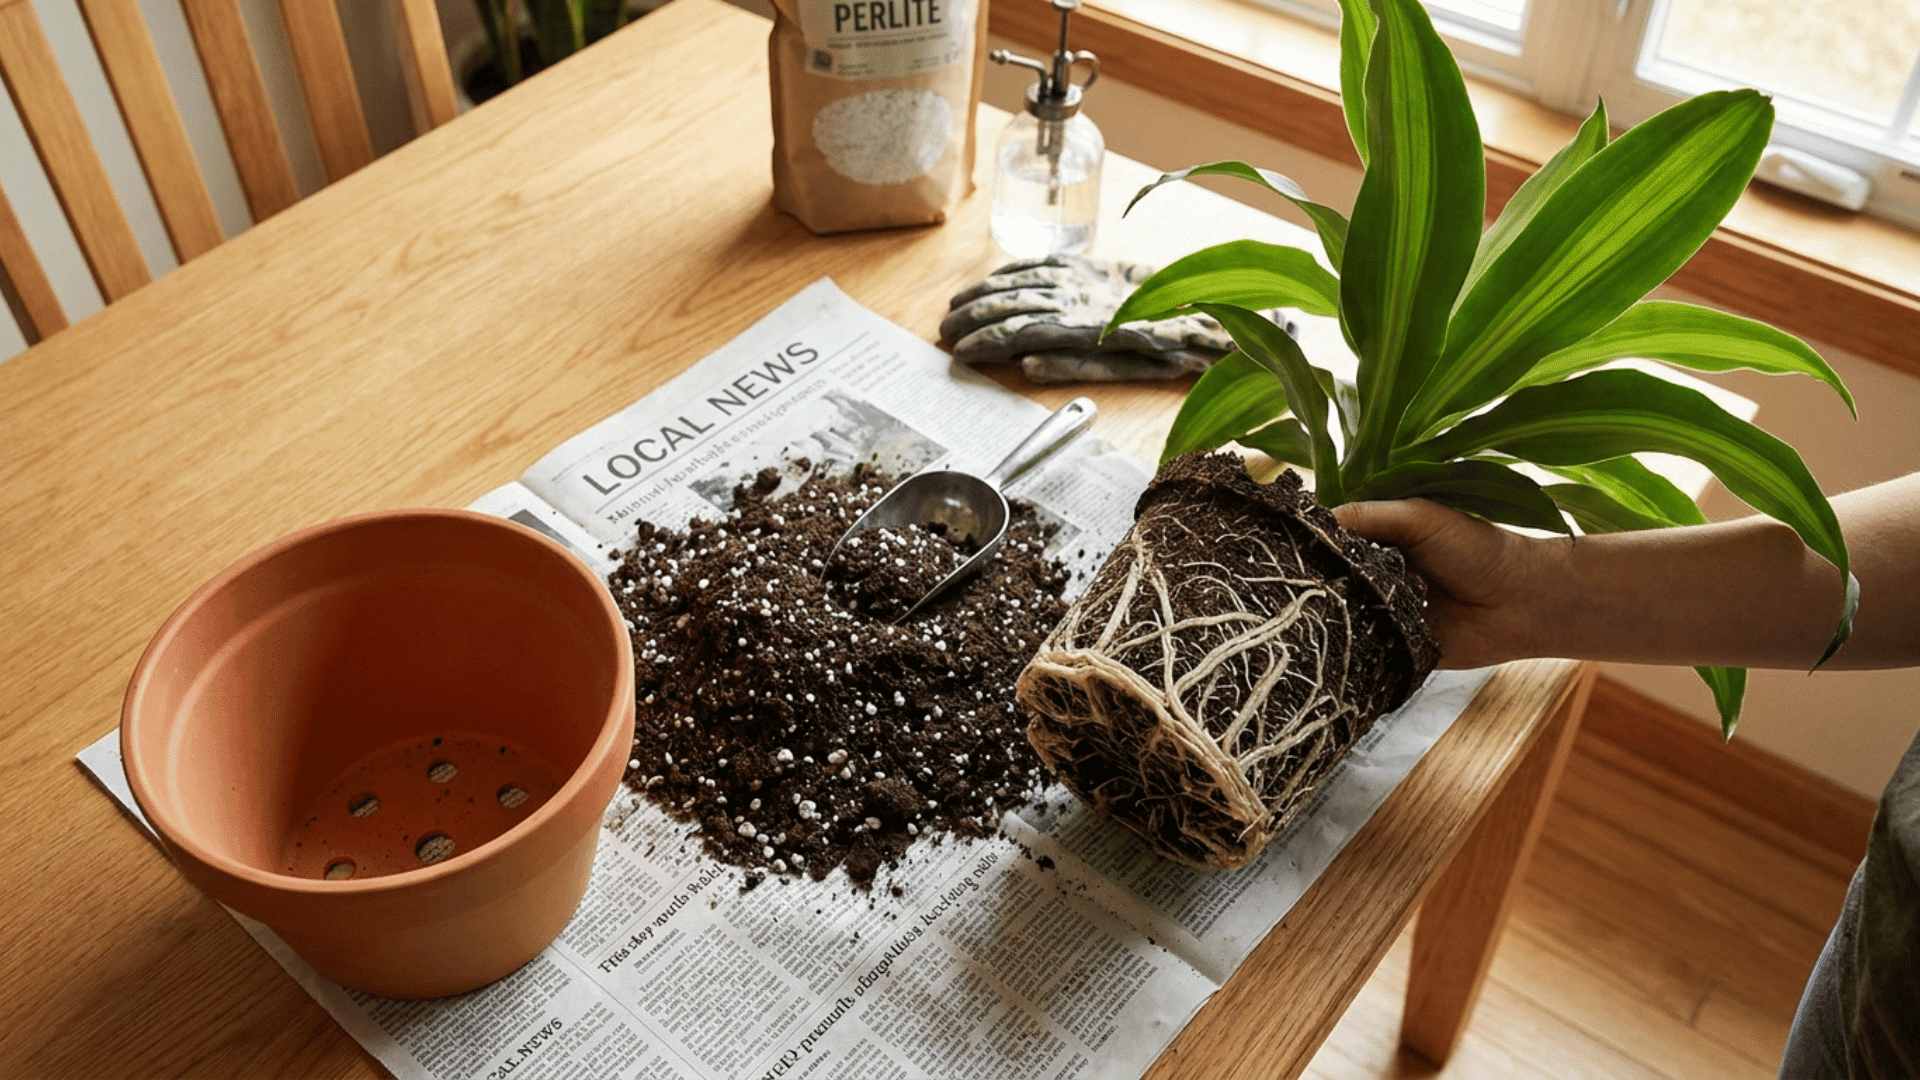
For corn plant soil, use a mix that drains well but stays slightly moist between waterings. A Dracaena or palm potting mix works well.
For a DIY option, mix 3 parts potting soil with 1 part perlite. Always use a pot with drainage holes to prevent root rot. After watering, soil should feel lightly damp, not heavy or soggy.
Good drainage takes the guesswork out of watering and removes the most common cause of corn plant problems.
5. Temperature and Humidity
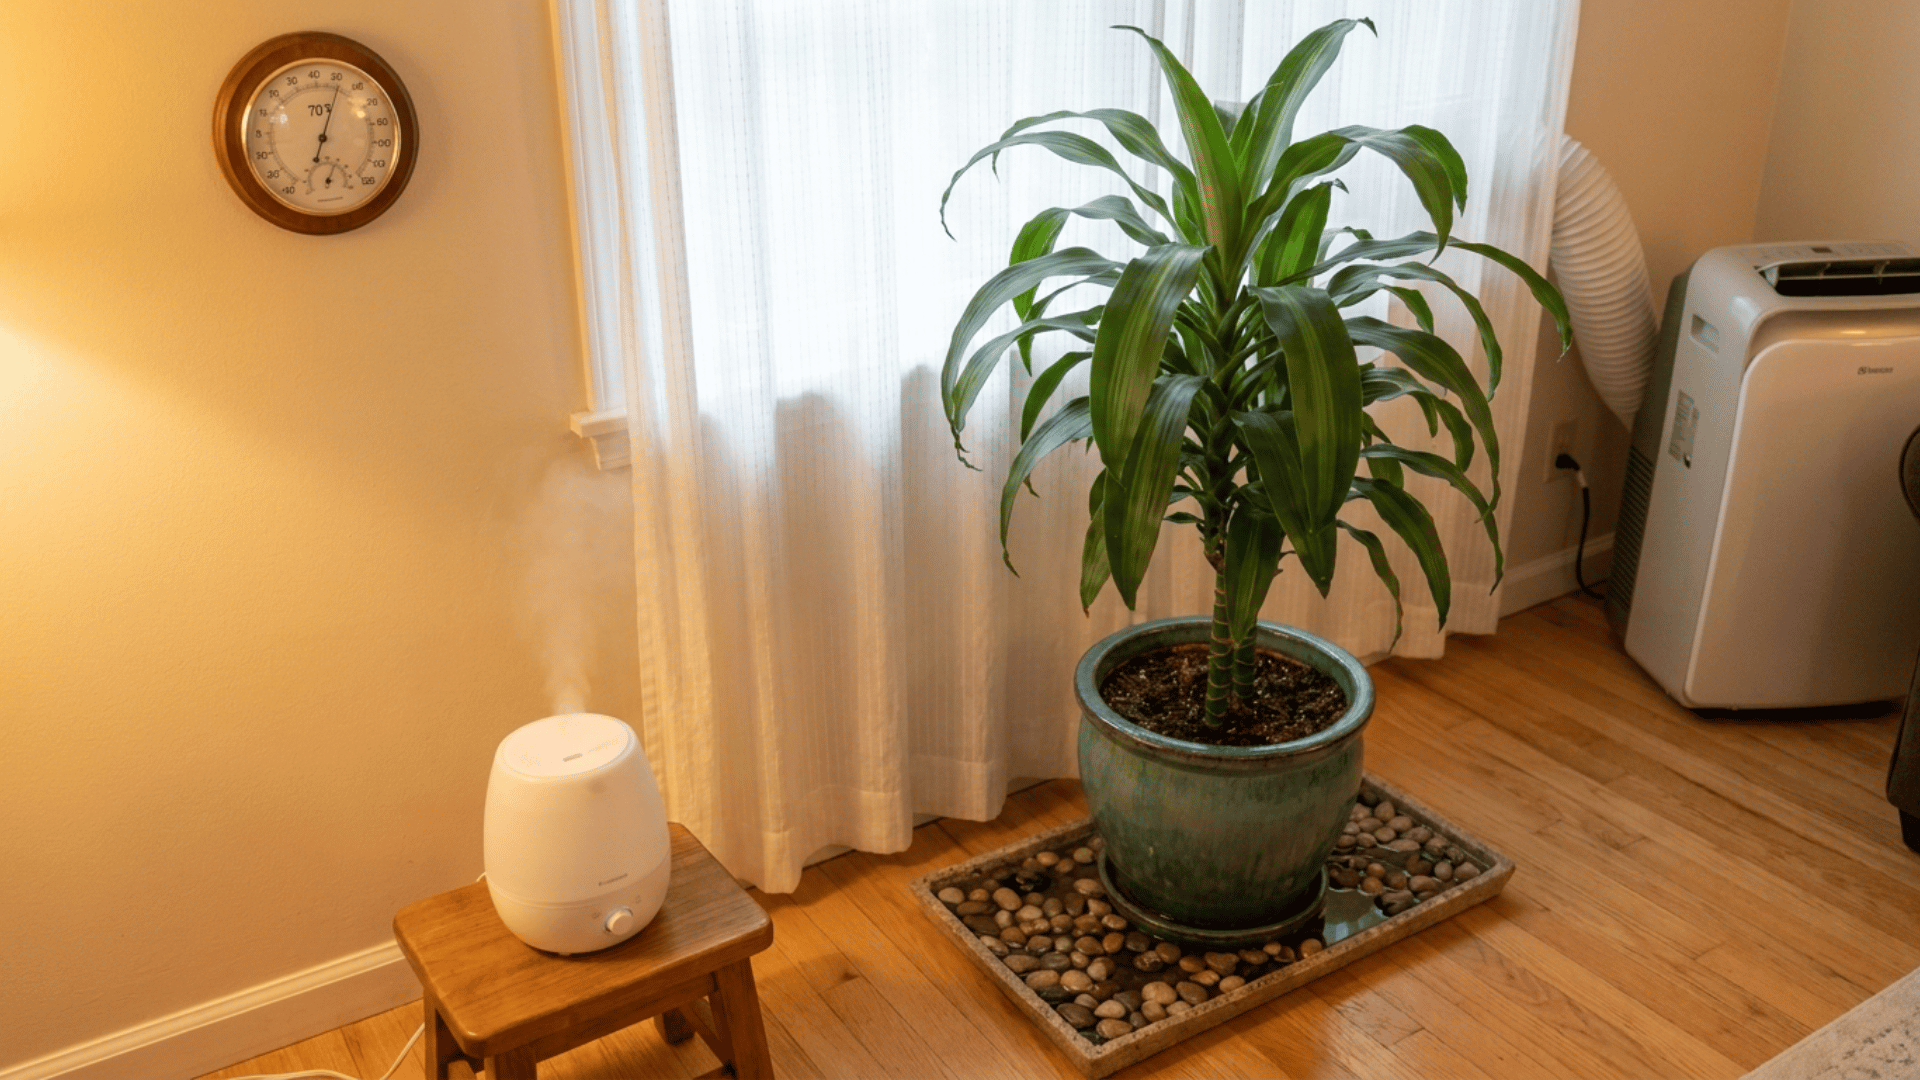
Corn plants come from tropical Africa, and their needs reflect that. Stable warmth and moderate humidity matter more than most people think. Both affect how well the plant takes in light, uses water, and puts out new growth.
| Condition | Ideal Range | Danger Zone | What Happens Below |
|---|---|---|---|
| Temperature | 60 to 75 degrees F (15 to 24 degrees C) | Below 50 degrees F (10 degrees C) | Stress, slow recovery |
| Humidity | 40 to 60 percent | Below 30 percent | Leaf tip browning, curling |
If you do mist, do it in the morning so the leaves can dry before night. Wet leaves that stay wet invite fungal problems.
6. Fertilizing: The Case for Less
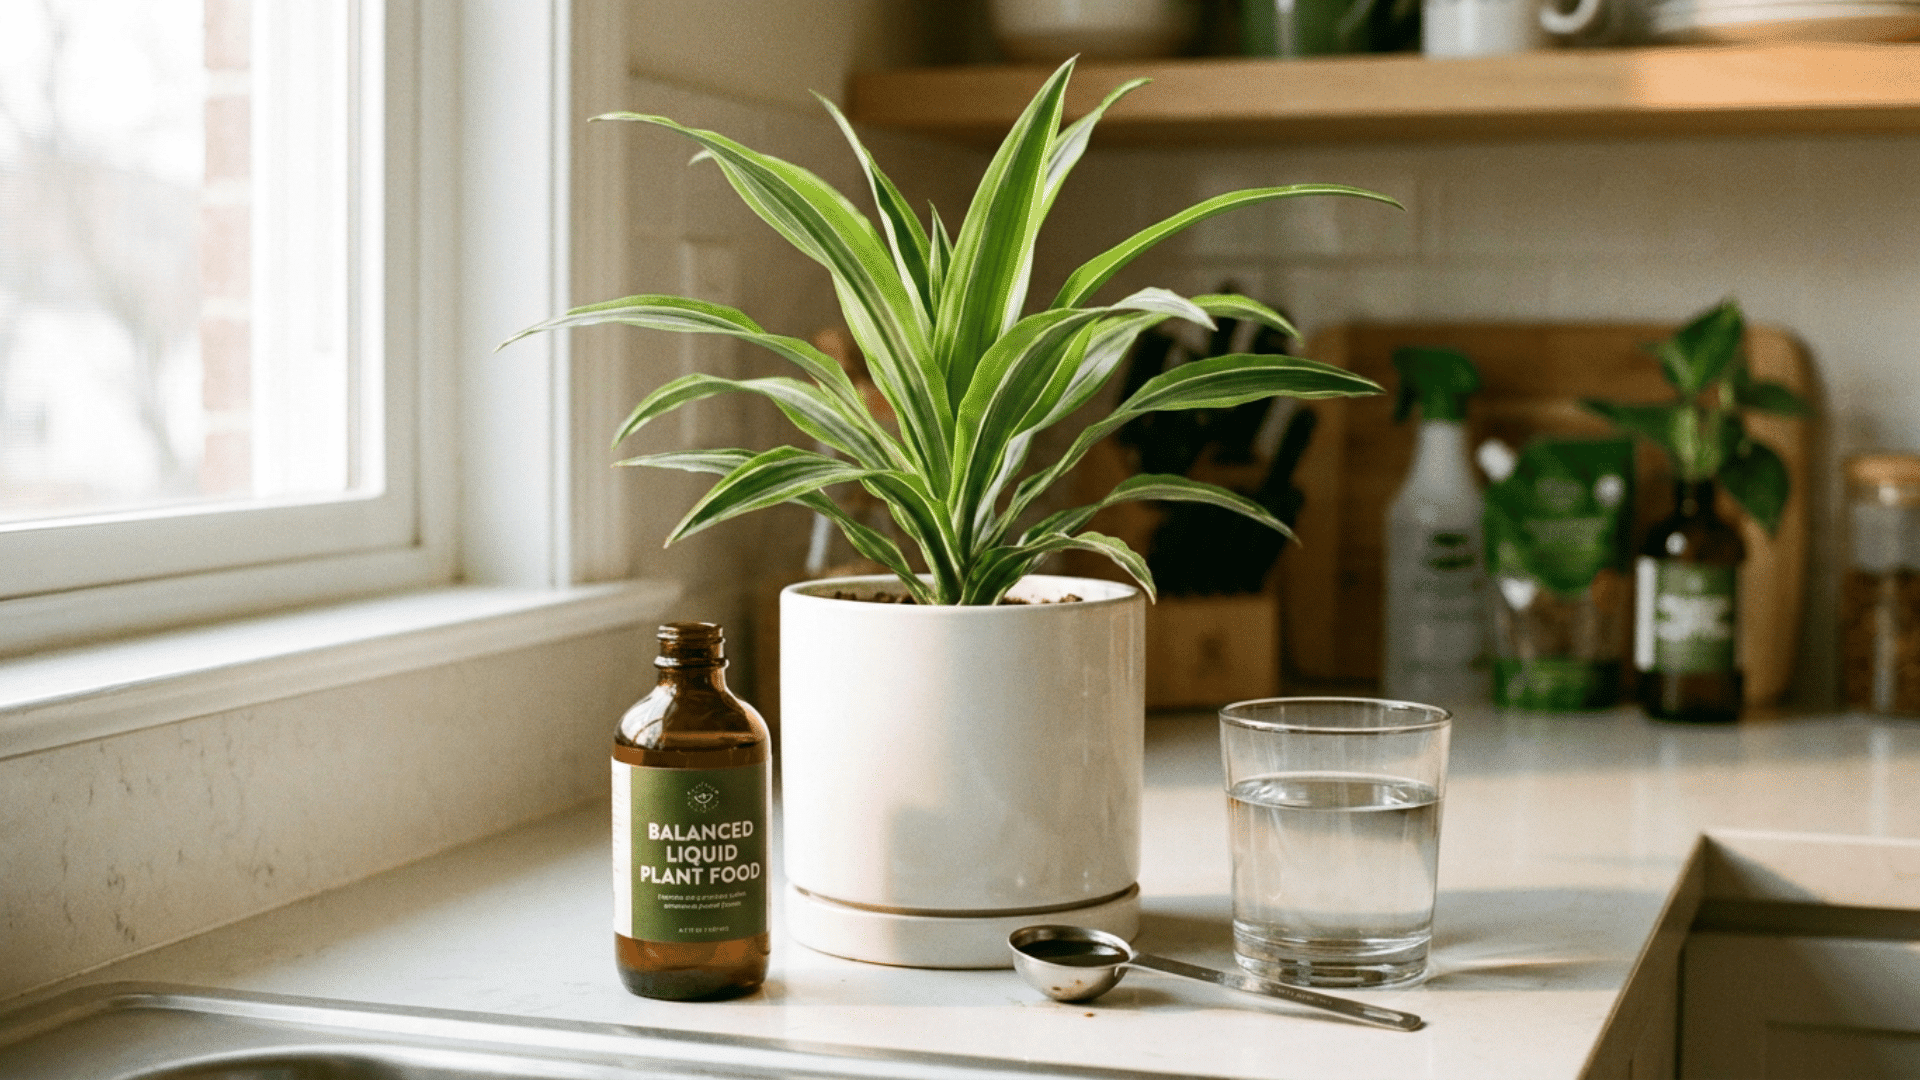
Corn plants do not need much food, and I learned early on that more fertilizer is almost never the answer. I feed mine once a month in spring and summer with a balanced liquid fertilizer at half the strength on the label.
Root burn from too much fertilizer is a real problem. It shows up as yellowing and browning that look a lot like fluoride damage, so it is easy to misread. I stop feeding completely in the fall and winter when the plant slows down and has no use for extra nutrients.
I also flush the soil with plain water two to three times during the growing season to clear out salt and mineral buildup that comes from regular fertilizer use.
Advanced Corn Plant Care: The Habits That Actually Make a Difference
After getting the basics right, I found that a few specific habits made the biggest difference in how well my corn plant actually did over time.
Pot size, pot material, the watering method, and watching for leaf signals early are the things I wish I had known from the start, rather than learning through trial and error.
None of them are complicated, but each one has a real impact on how the plant grows and looks over the long term.
1. Pot Size: Why Smaller Is Better
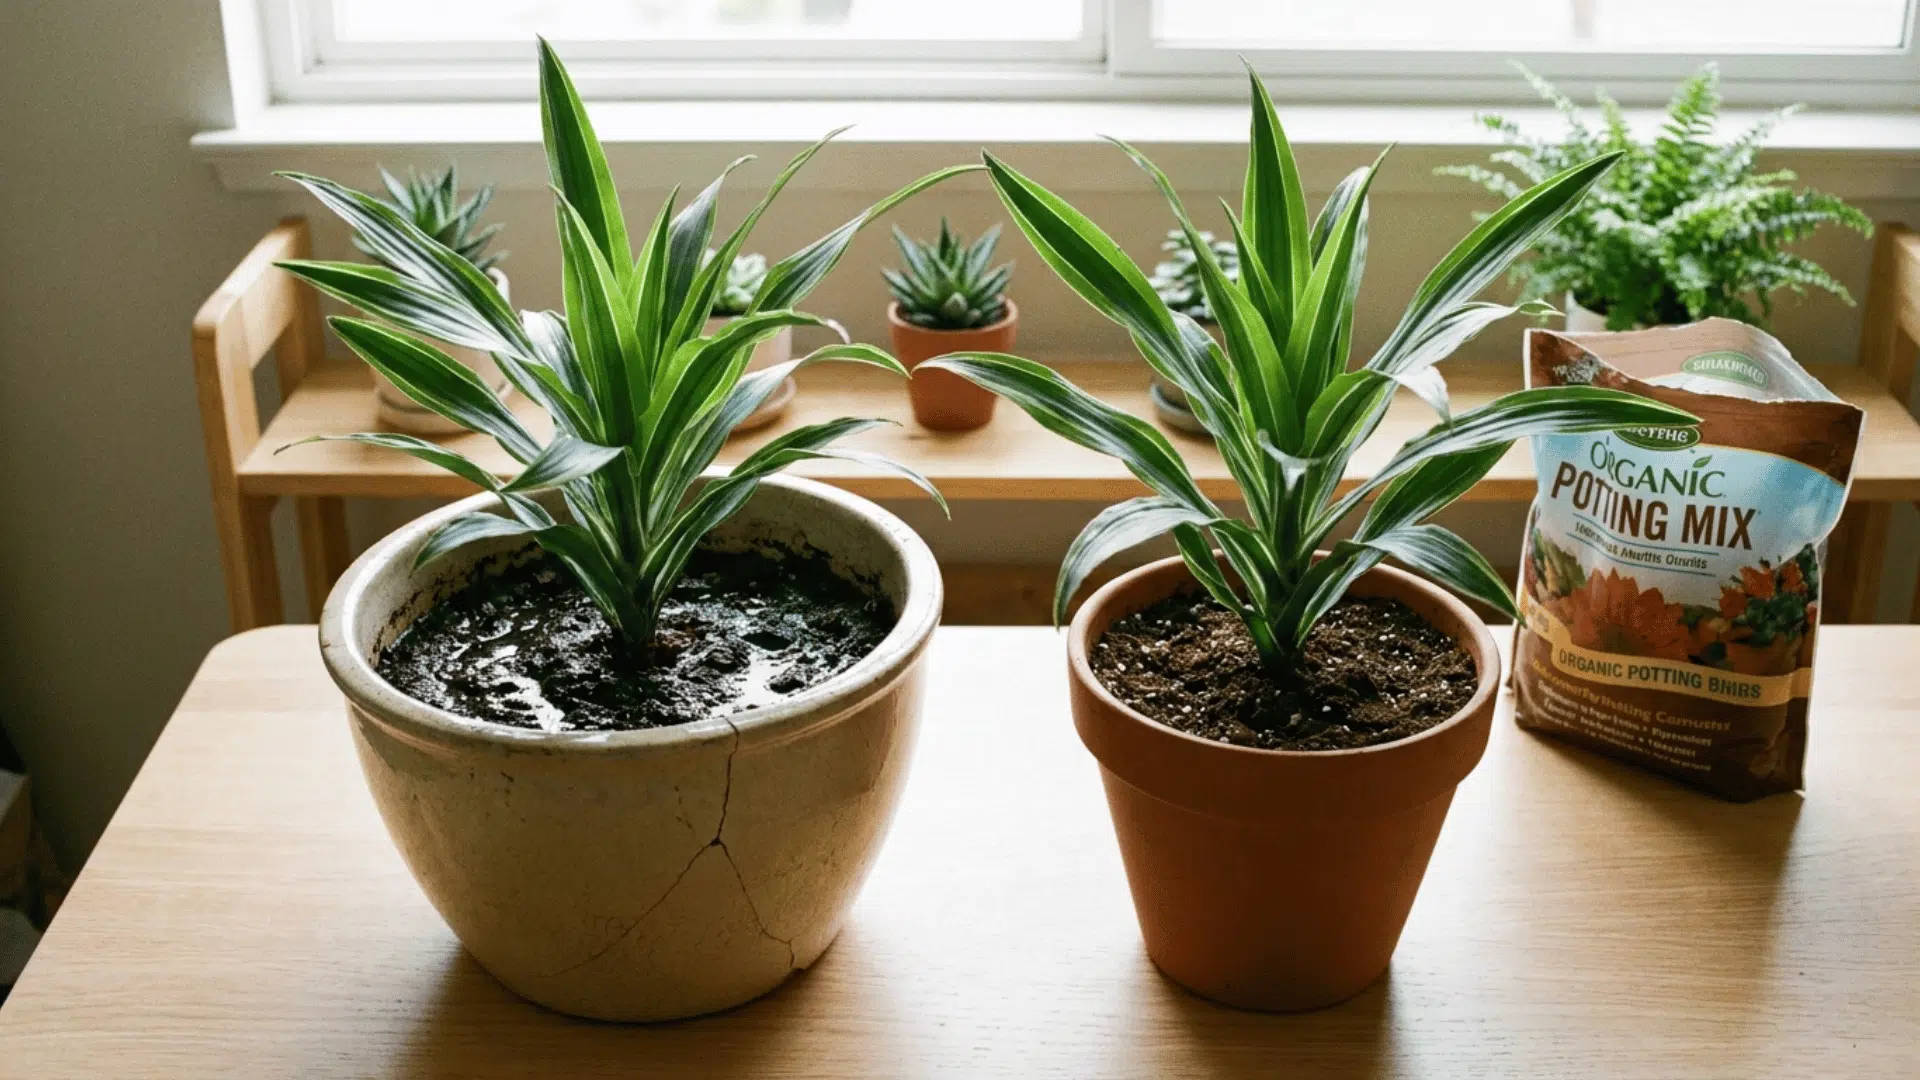
Corn plants actually do better when they are a little rootbound. A pot that is too big holds too much moisture around the roots for too long.
This turns even careful watering into a slow rot problem, often with no clear warning until damage is already done.
When I repot mine, which I do every two to three years at most, I go up by just two inches in diameter. I do it in spring when the plant is starting to grow again. While the roots are out, I check them.
White and firm means healthy. Brown and soft means rot has started, and those roots need to be trimmed before going into fresh soil.
2. Pot Material: How It Changes Your Watering Frequency
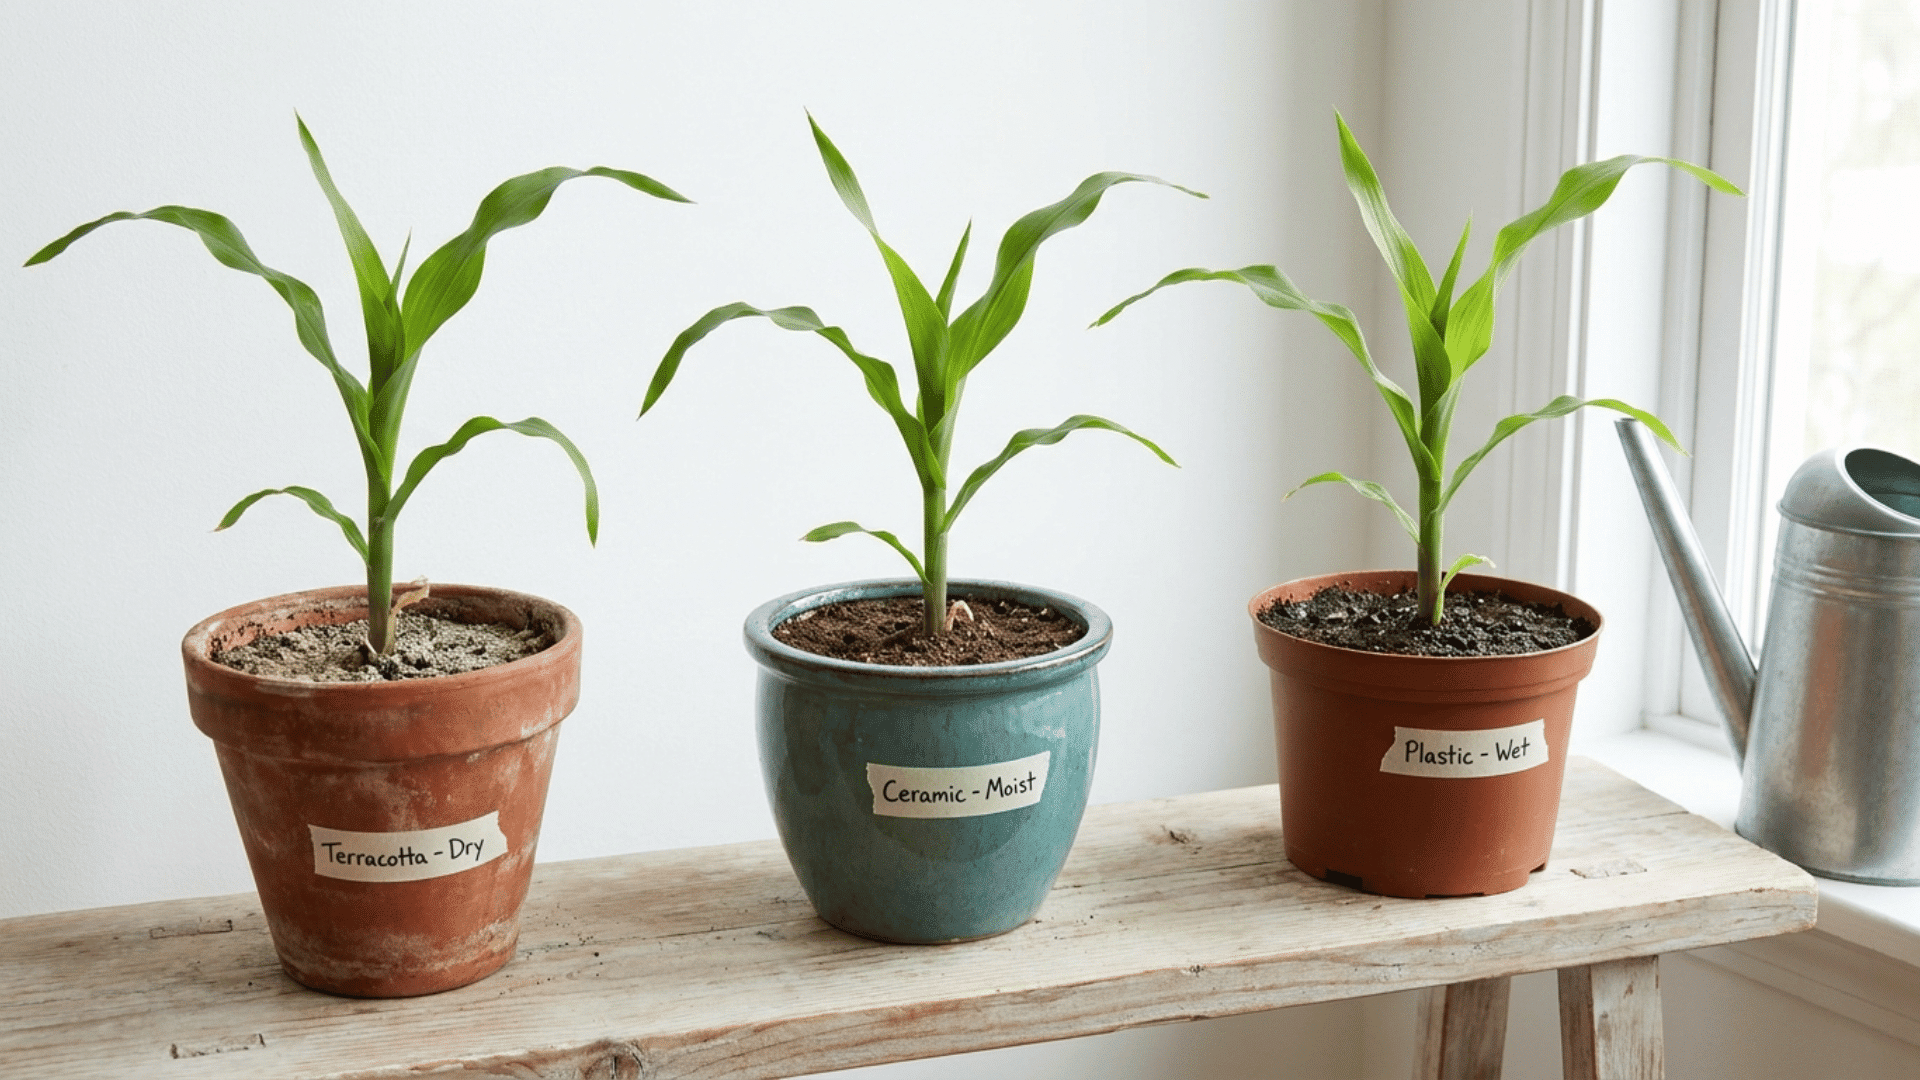
The pot material you pick changes how often you need to water, which makes it a more important choice than most people realize. Here is how the three main types compare:
| Material | Moisture Retention | Best For | Watering Adjustment |
|---|---|---|---|
| Terracotta | Low, dries fast | People who tend to overwater; humid climates | Water more often |
| Glazed ceramic | Medium | Most standard home settings | No change needed |
| Plastic | High, holds moisture longest | Dry homes; people who forget to water | Water less often |
When I switched from terracotta to plastic without changing how often I watered, I ended up with root rot. The same amount of water behaves very differently depending on the container. What worked in one pot may cause problems in another within weeks.
When in doubt, I go with terracotta. It is the most forgiving option for corn plant care.
3. The Shower Method
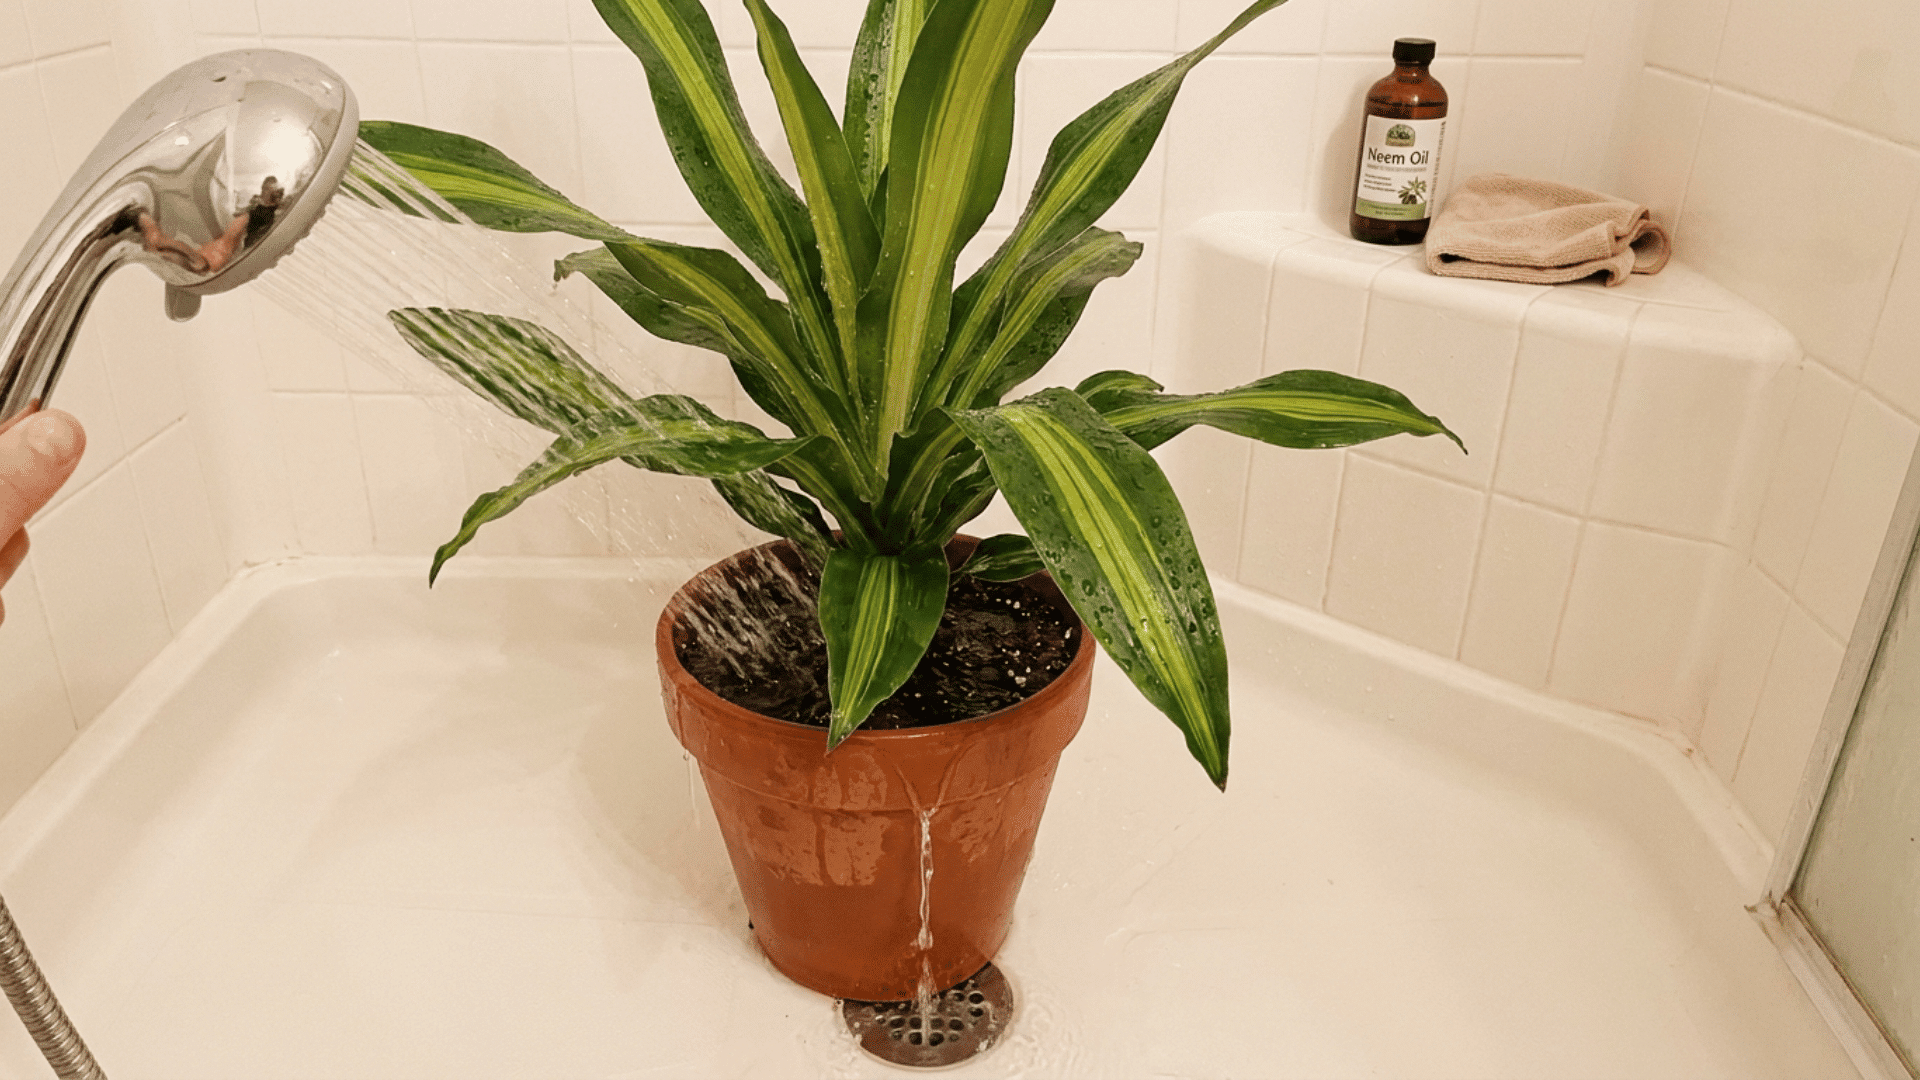
Every two to three months, I take my corn plant to the shower and rinse it with lukewarm water for a few minutes. Then I let the pot drain all the way before putting it back in its spot. This one simple routine does a lot of things at once.
It soaks the soil all the way through, flushes out salt and mineral buildup from fertilizer and tap water, cleans the dust off the leaves that blocks light, and stops early pest problems before they get serious.
No special products needed, no extra time, just a thorough rinse a few times a year as a regular part of my routine.
4. Reading Leaf Signals Early
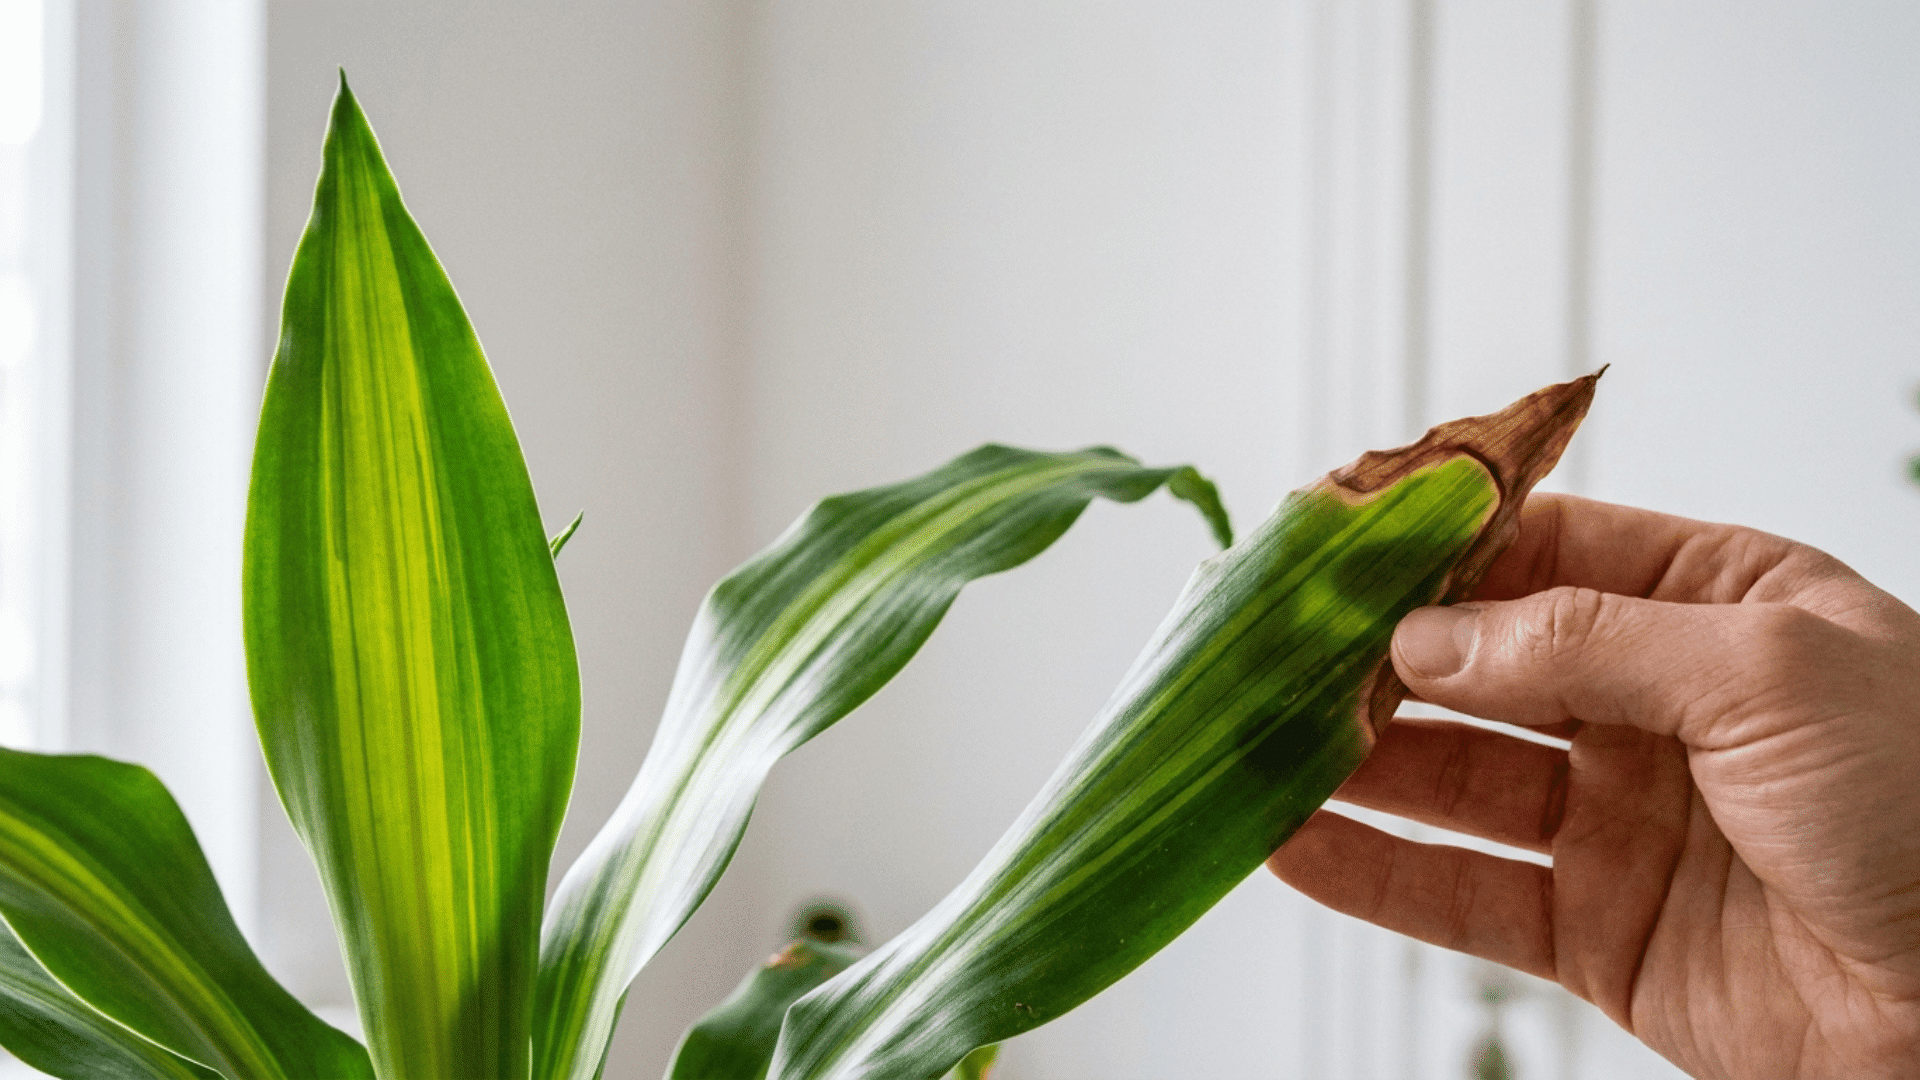
Leaves tell you a lot about what is going wrong before it gets serious. A drooping leaf usually points to too much water at the roots. Brown tips almost always mean fluoride in the tap water.
Pale new growth is a sign the plant is not getting enough light. Learning what each signal means helps you fix the right problem instead of guessing.
| Leaf Signal | What It Means | What to Do |
|---|---|---|
| Pointing upward, perky | The plant is doing well | Keep up current care |
| Drooping but still green | Root stress or too much water | Check soil moisture; reduce watering |
| Curling slightly inward | Low humidity or temperature stress | Check for draughts; raise humidity |
| Pale or small new growth | Not enough light or nutrients | Move to a brighter spot or resume feeding |
| Brown tips | Fluoride in tap water or low humidity | Switch to filtered water; add humidity |
| Dusty, dull leaves | Dust blocking light | Wipe with a damp cloth |
| Lower leaves yellowing | Normal on older plants | No action needed |
| New leaves yellowing | Too much water or a nutrient problem | Check the soil and feeding schedule |
Catching these signs early is much easier than dealing with damage that has already set in. Corn plants show what they need through their leaves. Once I started checking mine once a week, I stopped having serious problems.
Pest Identification and Treatment
Using the shower method every two to three months helps prevent most pest problems before they become serious. When I catch something early, treating it is quick and easy. Waiting too long makes it much harder.
- Mealybugs: Spot them by white fluffy masses in leaf joints. Treat by dabbing with rubbing alcohol, then applying neem oil.
- Spider mites: Spot them by fine webbing and speckled leaves. Treat using the shower method, followed by neem oil.
- Scale: Spot them by brown waxy bumps on stems. Treat by scraping off by hand, then applying neem oil.
- Fungus gnats: Spot them as small flies near the soil. Treat by letting the topsoil dry out more and using yellow sticky traps.
Neem oil works well for almost every corn plant pest and is safe to use for both treatment and prevention.
Final Thoughts
Corn plant care is not as hard as it looks once you know what actually matters. Use filtered water, check the soil before watering, choose the right pot size, and slow down in winter. Those four things alone will fix most of the problems people run into.
Add the shower method every couple of months and a quick leaf check once a week, and your plant will stay healthy with very little effort.
I spent a lot of time making mistakes before I figured all of this out. You do not have to. The tips in this guide are things that worked for me, and I hope they work for you too.
Now it is your turn. Try one tip from this guide this week and see what changes. Drop a comment below and let me know how your corn plant is doing!
Frequently Asked Questions
Why are the Tips of My Corn Plant Turning Brown?
Brown tips are almost always caused by fluoride in tap water. Switch to filtered water or rainwater, and you will see improvement within a few weeks.
How Often Should I Water My Corn Plant?
Water when the top inch of soil is dry in spring and summer. In fall and winter, wait until two inches are dry.
Why are the Leaves on My Corn Plant Turning Yellow?
Yellow leaves usually mean overwatering or feeding in winter. Cut back on water and stop fertilizing until spring.
Is My Corn Plant Toxic to Pets?
Yes. Corn plants are toxic to cats and dogs. If your pet eats the leaves, call your vet right away.

Jordan Mathews, who has a degree in horticulture from Texas A&M University, has been a guiding force in plant health and sustainable gardening for over 16 years. His career began with a role at a renowned botanical garden, where he deepened his understanding of plant physiology and eco-friendly cultivation methods. Jordan joined our website as a freelancer in 2020, becoming a go-to expert for readers seeking advice on nurturing diverse plant species apart from offering insights grounded in scientific knowledge and practical experience. Beyond his professional achievements, Jordan is a keen nature photographer, capturing the beauty of flora in its immensely diversified forms.