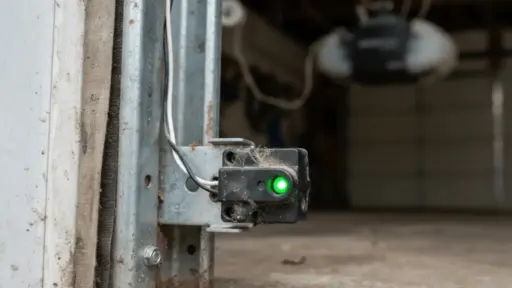
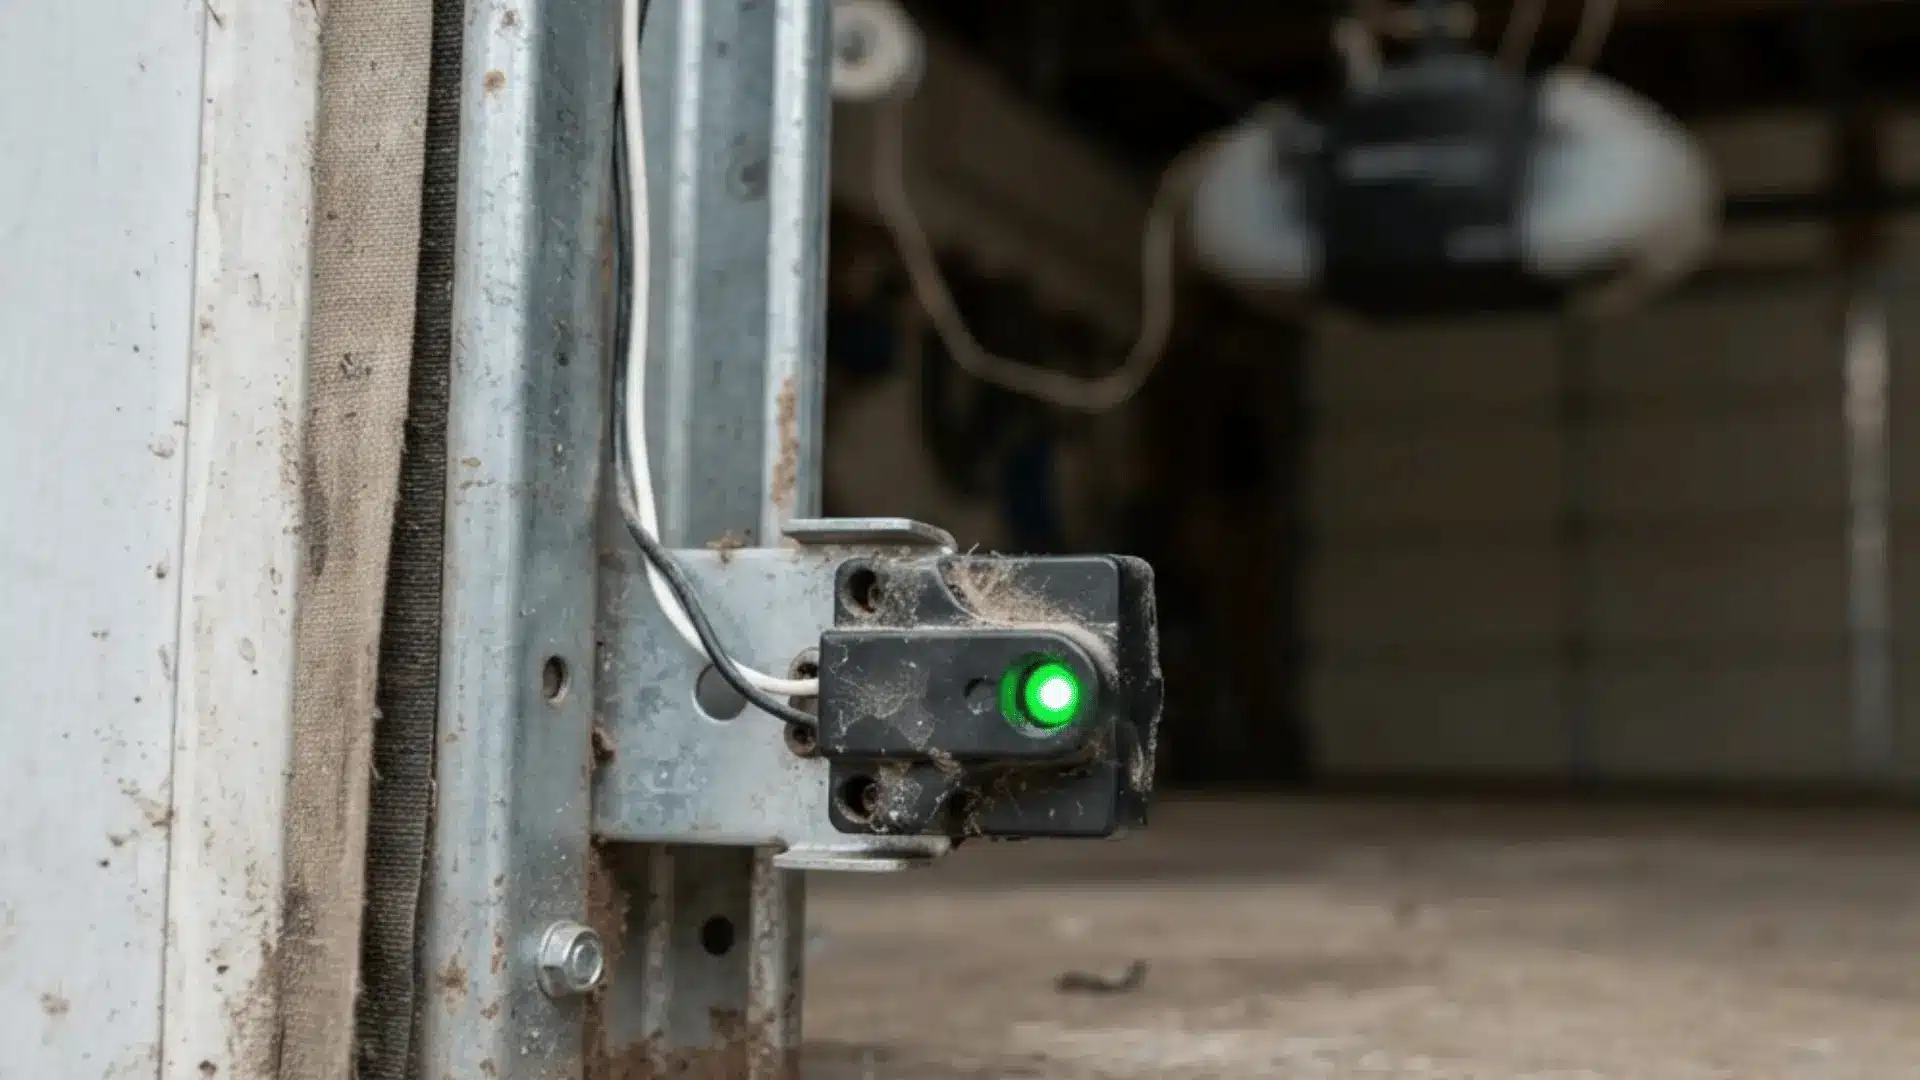

A garage door that will not close can turn a normal day into a hassle fast. I have seen this happen for simple reasons, like dust on the sensor lens or a box sitting in the beam’s path.
The good news is that many sensor problems are easy to spot before you call a repair tech. In this guide, I will show you how to fix garage door sensor issues step by step.
You will see how to check for blocked sensors, clean the lenses, line them up, read blinking lights, inspect wires, reset the opener, and know when replacement makes more sense.
I will also explain when it is safer to stop and call a trained garage door professional. By the end, you should have a clear plan to get your door working safely again without guessing or rushing.
How Garage Door Sensors Work
Garage door sensors work by using an invisible infrared beam to detect objects in the path of a closing door. One sensor sends the light beam across the opening, and the other sensor receives it on the opposite side.
If a person, pet, or object breaks this beam while the door is moving down, the system immediately reverses the door to prevent damage or injury.
These safety devices sit about six inches above the garage floor on both sides of the tracks. The small lights on the side of each unit show if the connection is strong.
When the line of sight gets blocked by dirt or a box, the system stops working correctly. Knowing how these parts communicate is the first step to figuring out how to fix garage door sensor problems safely.
Proper alignment ensures the safety system functions correctly to protect the home.
Common Signs of a Bad Garage Door Sensor
Before starting repairs, it helps to know how a faulty sensor acts in daily use. These signs can make it easier to spot the problem early and avoid extra damage or wasted effort.
| Symptom | What it Means | Quick Fix to Try |
|---|---|---|
| The door opens but will not close | The sensors may think something is blocking the doorway | Wipe both lenses with a clean microfiber cloth |
| Red or green lights keep blinking | The sensors may be out of line | Adjust the brackets until both lights stay steady |
| The door closes, then reverses right away | The safety beam may be blocked or broken | Check the doorway, tracks, and sensor path |
| No sensor lights are on | The sensors may have no power | Look for loose, cut, or damaged low-voltage wires |
| The door works only sometimes | Sunlight, dust, or loose wiring may be affecting the signal | Shade the sensor, clean the lens, and check the wires |
Knowing these warning signs makes it easier to determine if you want to fix garage door sensor issues with a simple adjustment, a wire repair, or a full sensor replacement.
Tools Needed to Repair a Garage Door Sensor
Having the right tools ready before starting makes the repair faster and safer:
- Screwdriver (flathead and Phillips)
- Wire strippers
- Wire nuts or push connectors
- Soft Cloth
- Level (small torpedo level works best)
- Replacement sensor pair (if needed)
- Voltage tester
- Flashlight
- Needle-nose pliers
How to Fix a Garage Door Sensor Quickly
Most sensor problems trace back to one of four culprits: a blocked beam, dirty lenses, poor alignment, or loose wiring. Work through the steps below in order before you replace parts or call a technician.
1. Check the Sensor Path First
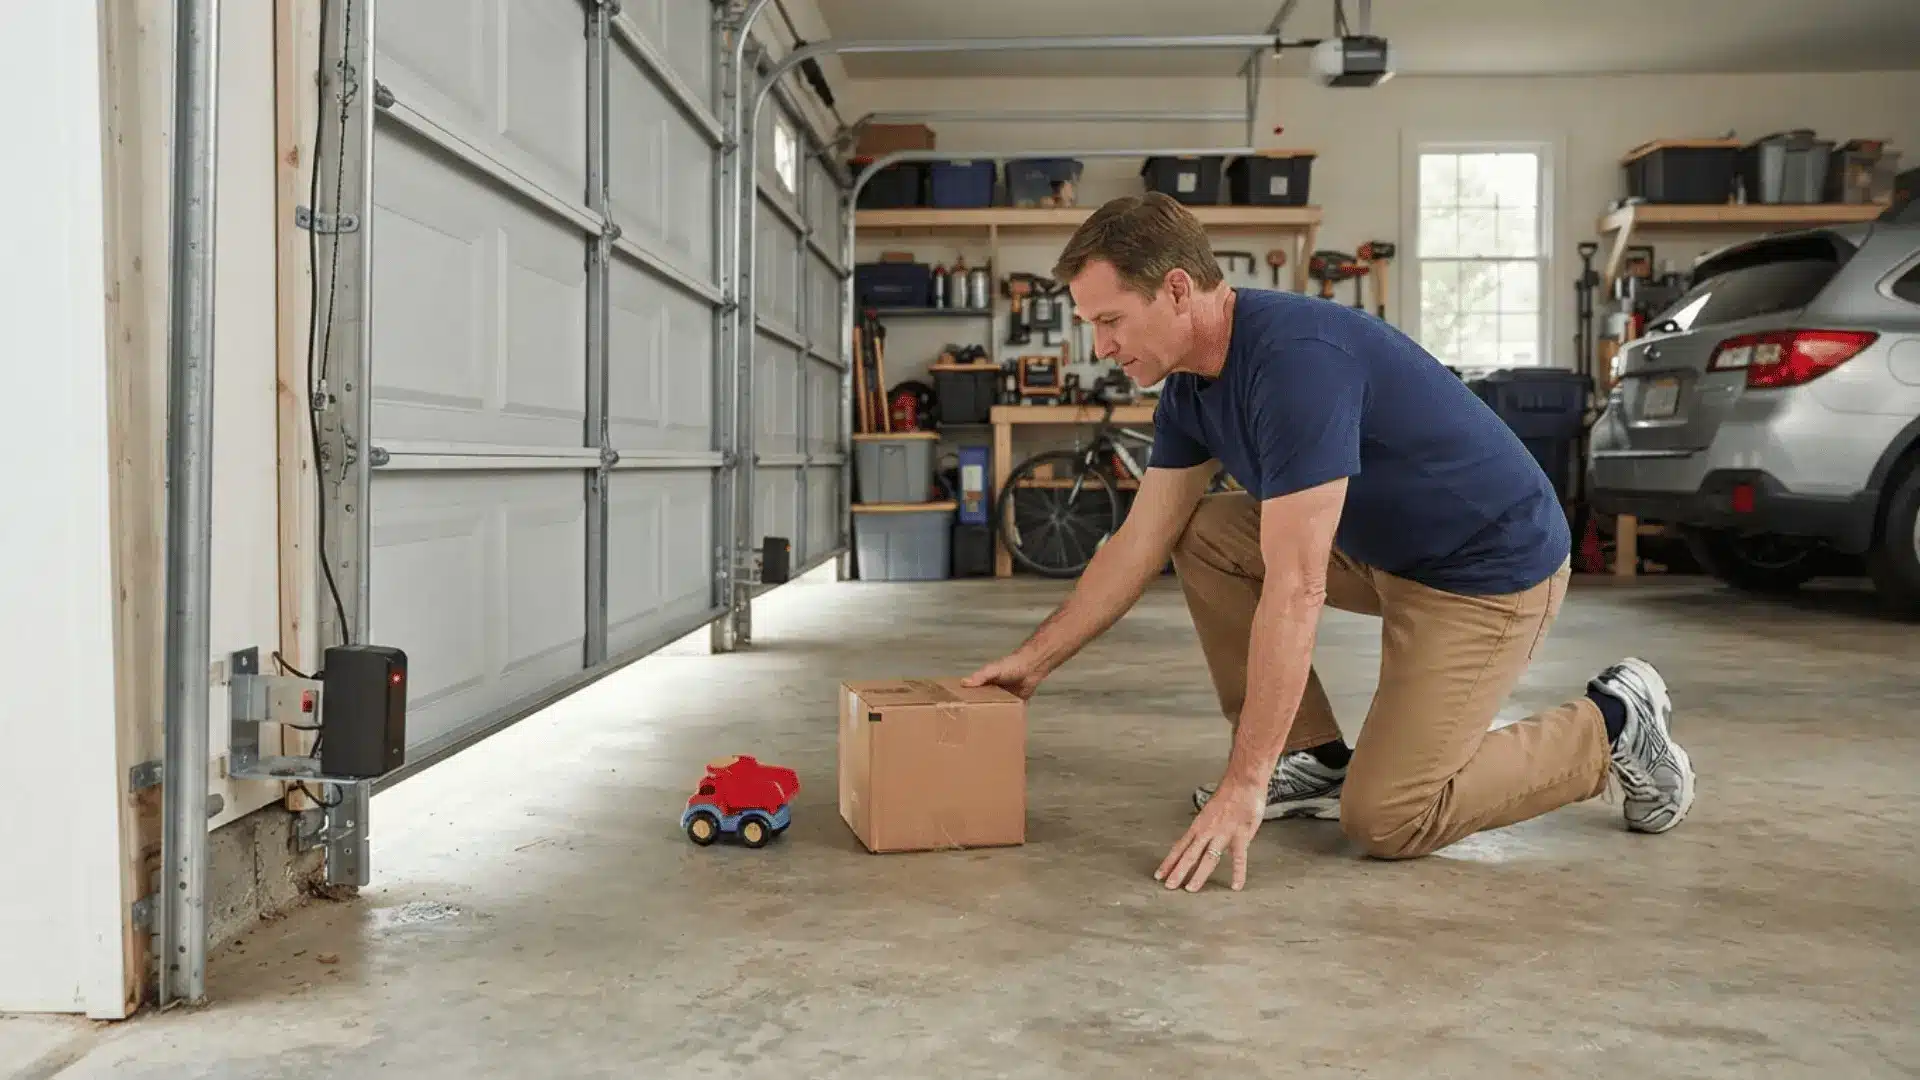
Garage door safety sensors sit low, so small items can block the infrared beam without you noticing right away. Start here before touching anything else.
- Move boxes, tools, bikes, toys, and trash bins away from both sides of the door
- Check for leaves or dirt piled near the sensor face
- Look for spider webs stretched across the beam
Tip: This one step solves the problem more often than any other fix on this list, so always rule it out first.
2. Clean the Sensor Lenses Gently
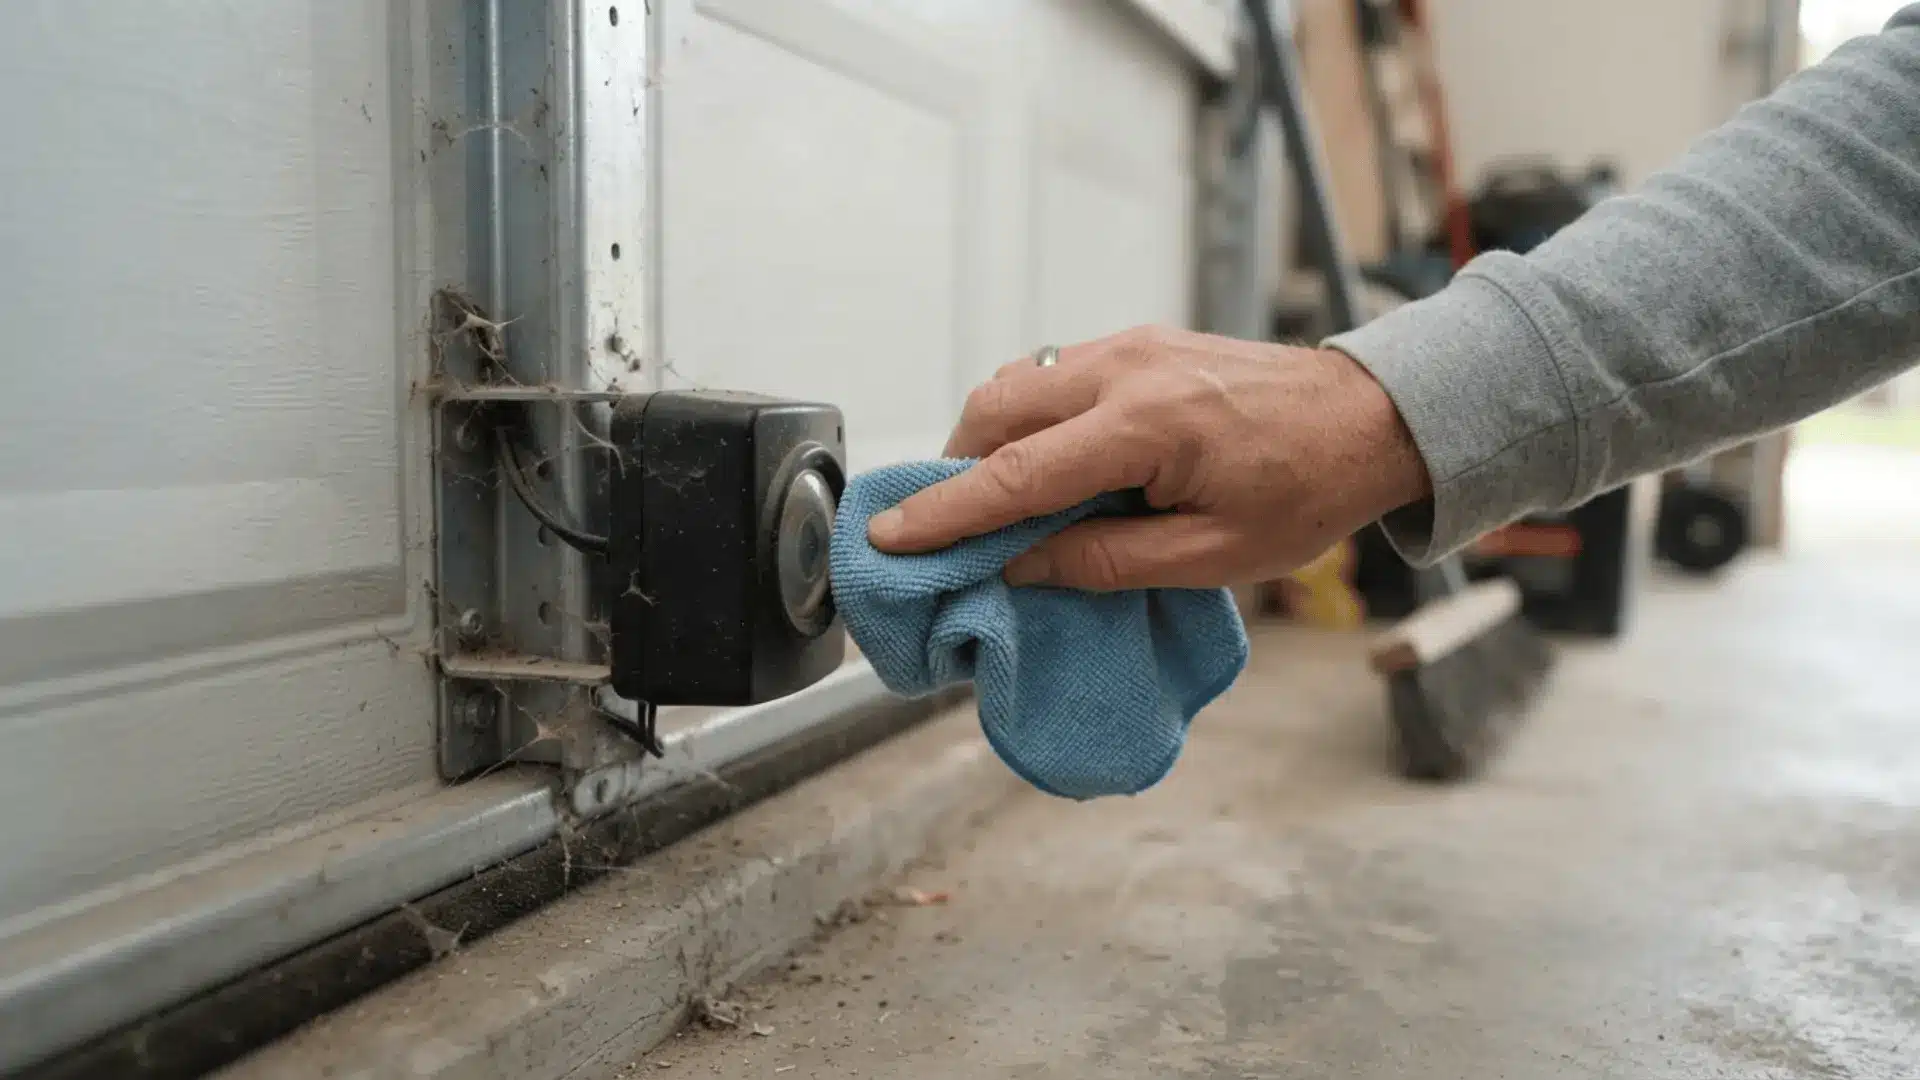
A dirty lens can trick the opener into thinking something is blocking the door, even when the path is completely clear.
Wipe both lenses with a soft microfiber cloth. Dampen the cloth with water and a drop of mild soap for stuck-on grime. Skip strong cleaners, since they can leave residue or scratch the plastic lens
A blinking light that turns solid right after cleaning is a strong sign that dirt was the whole problem.
3. Adjust the Sensor Alignment Slowly
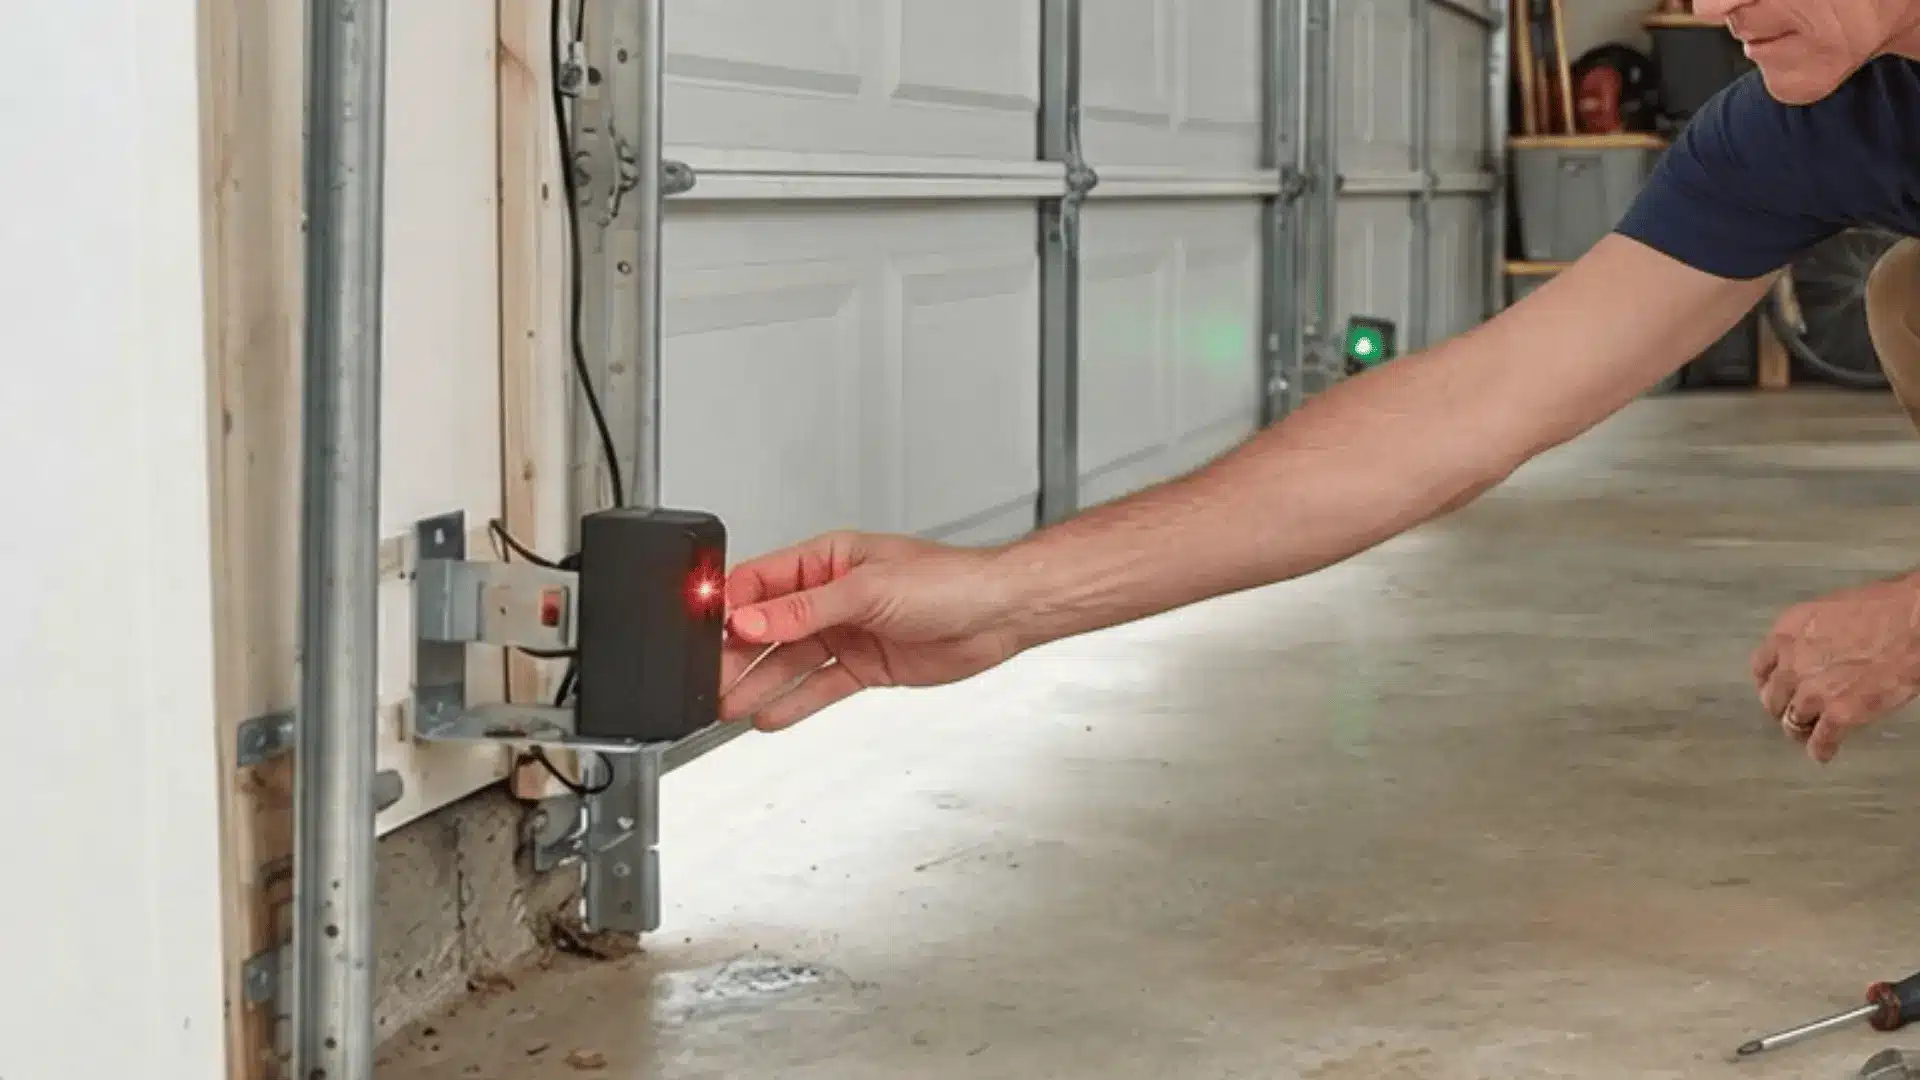
Both sensors need to face each other in a straight line. A bump from a broom, a box, or even a foot can throw one off.
Loosen the mounting bracket slightly, nudge the sensor a small amount at a time, watch the LED as you go, and stop as soon as the light turns solid
Tighten the bracket carefully without bumping the sensor out of place again.
A trash bin knocking into the bracket is one of the most common causes of a door that suddenly refuses to close.
4. Read the Sensor Lights Carefully
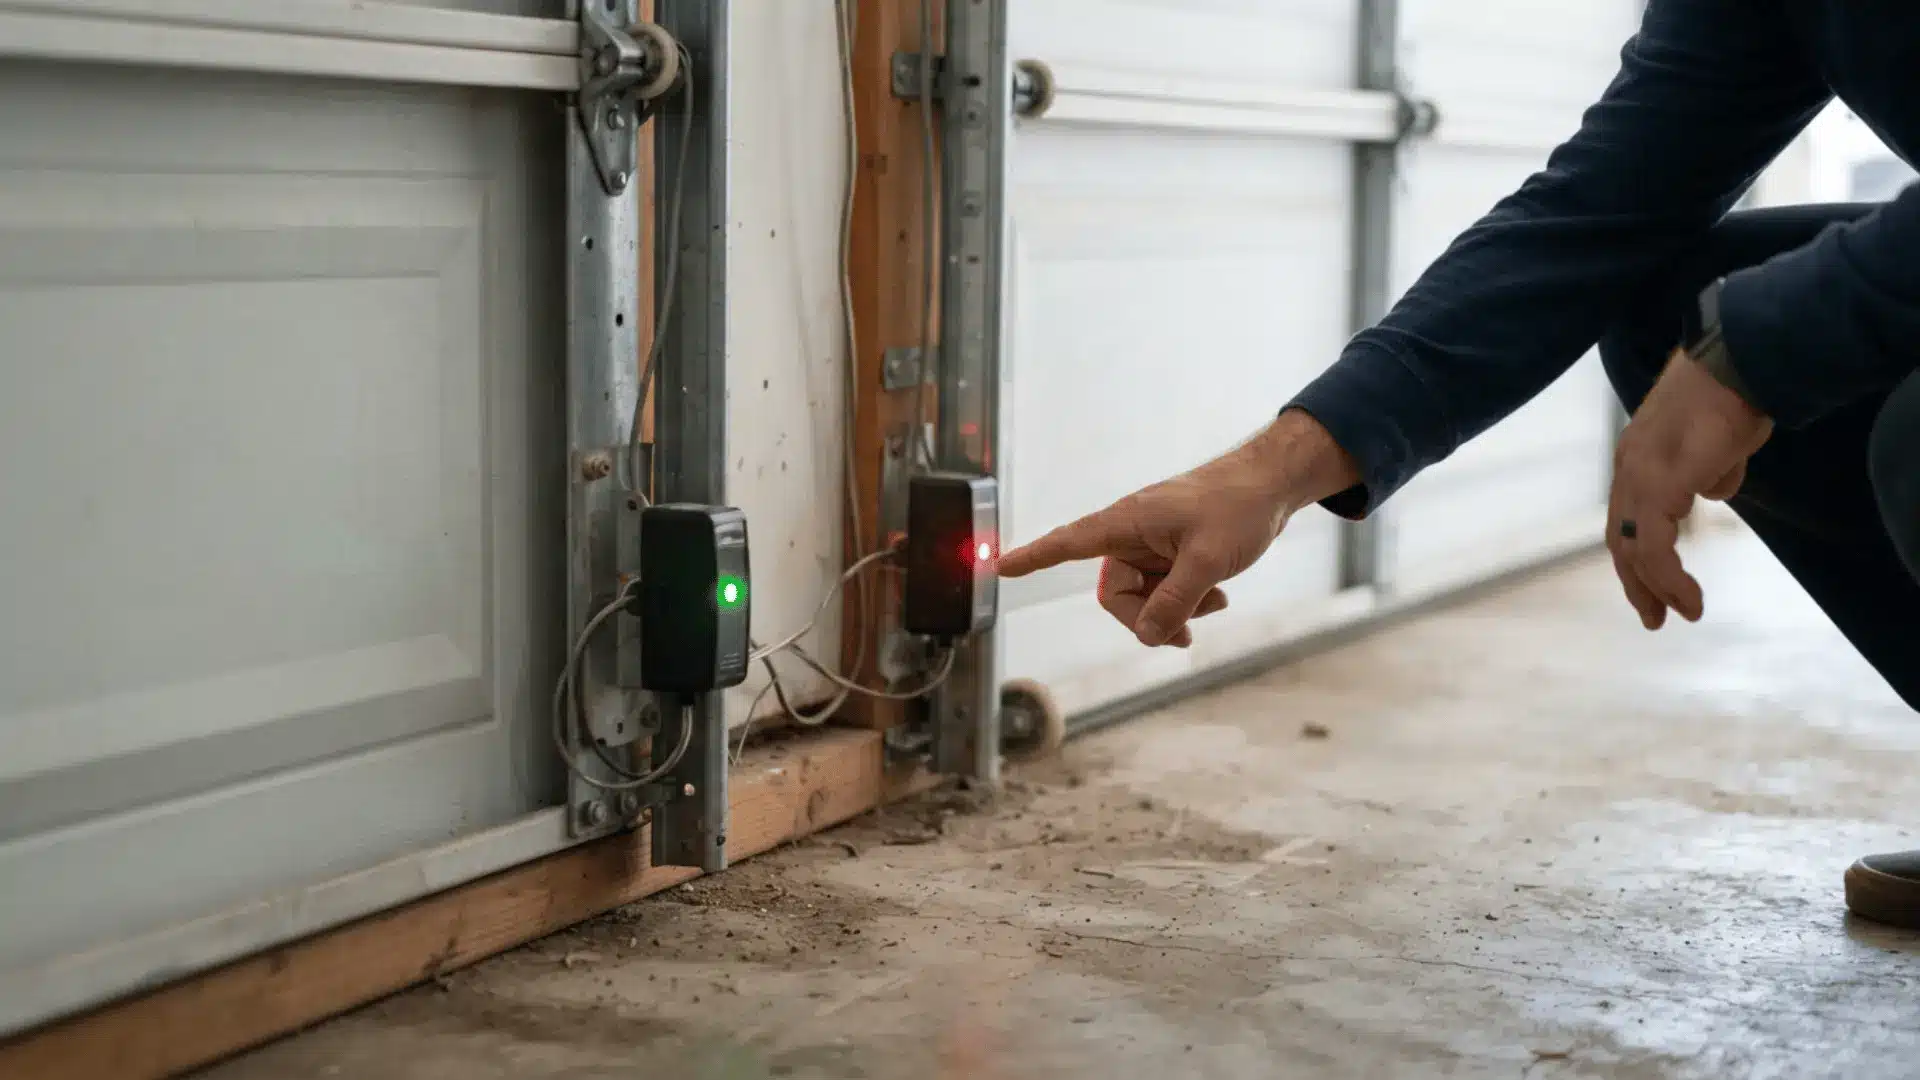
The LED on each sensor is essentially a built-in diagnostic tool.
- Solid light: the sensor is aligned and receiving power
- Blinking light: points to misalignment, dirt, or a blocked beam
- No light: suggests a power issue, a loose wire, or a failed sensor
Colors vary by brand (red, green, or amber are common), so check your owner’s manual if you’re not sure what you’re looking at.
5. Inspect the Wires and Connections
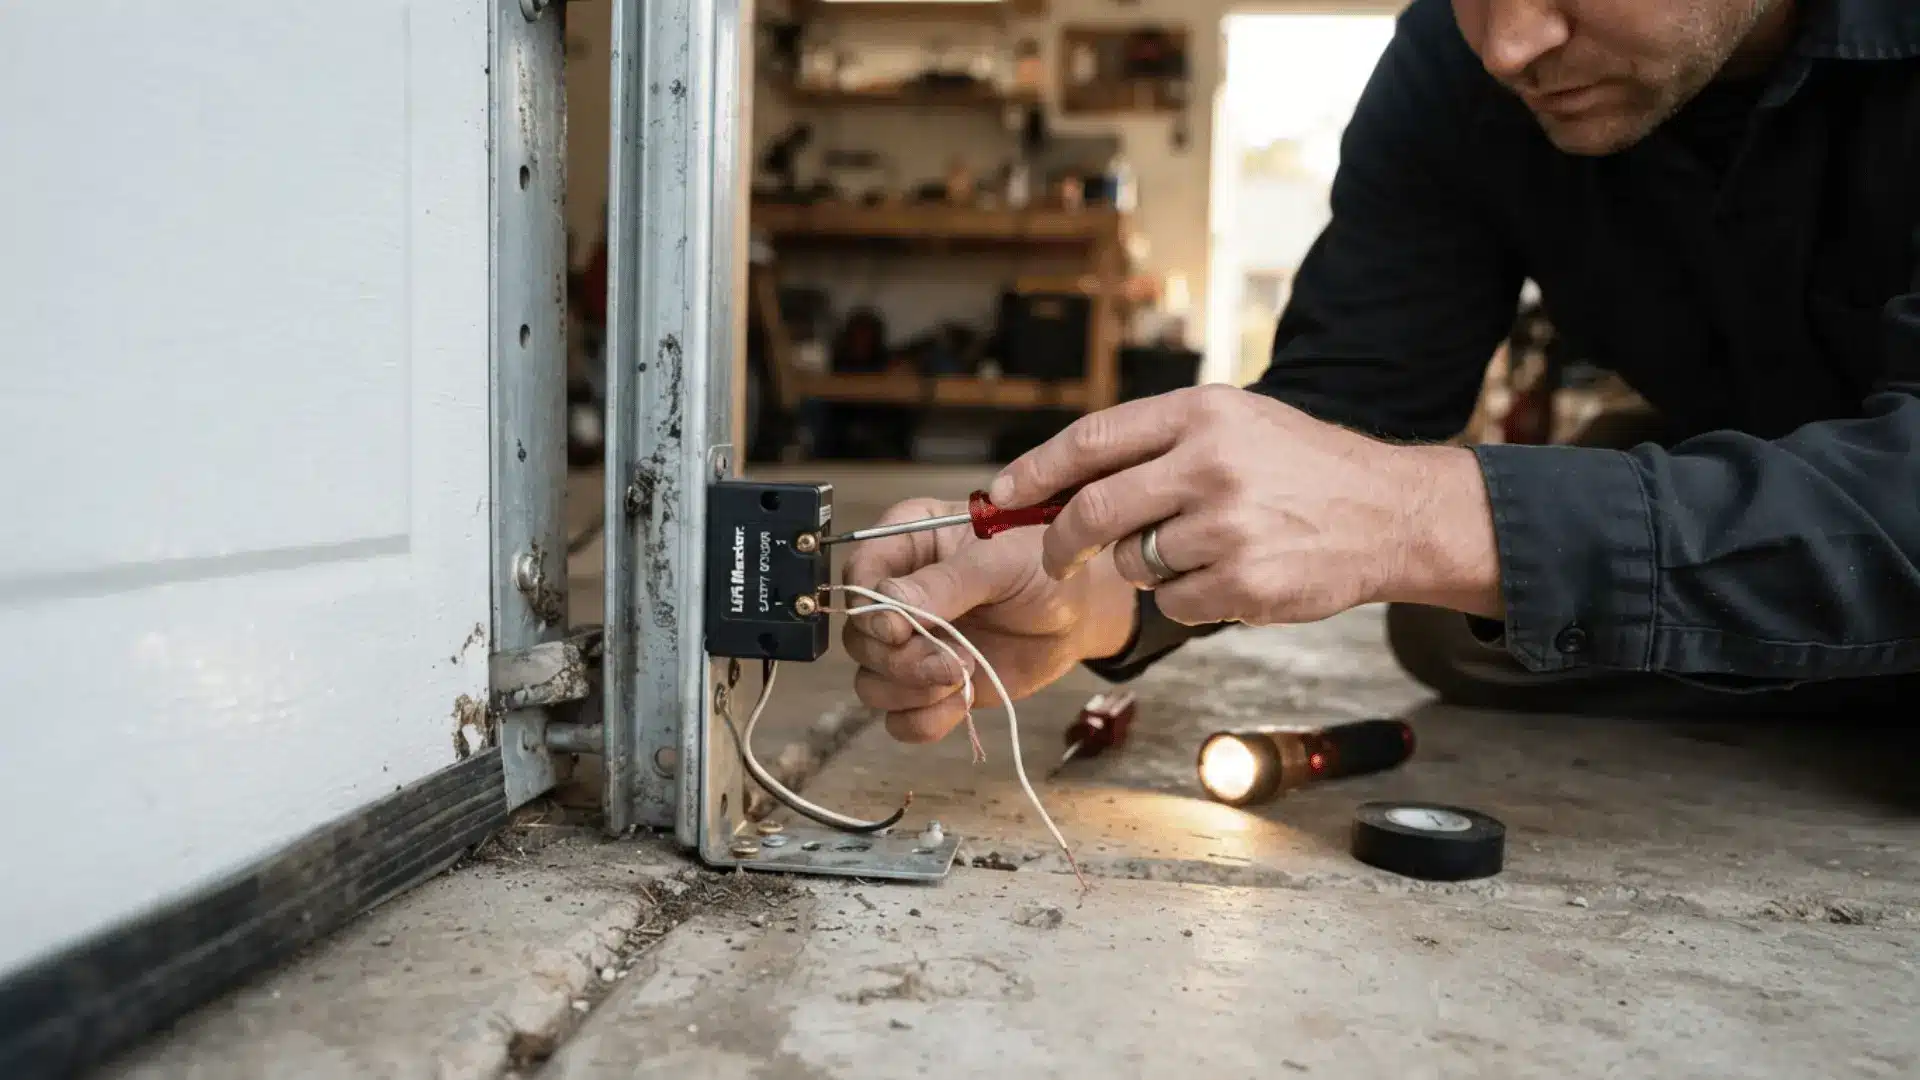
If cleaning and alignment don’t fix it, the low-voltage wires running from each sensor to the opener are the next place to look.
Look for cuts, loose ends, chew marks, rust, or exposed copper. Turn off the power to the opener before touching any wires, and push loose connections back into place once the power is off.
Call a repair professional if the wiring looks badly damaged. A sensor light that keeps cutting out is often a loose wire at the terminal rather than a broken sensor.
6. Reset the Garage Door Opener
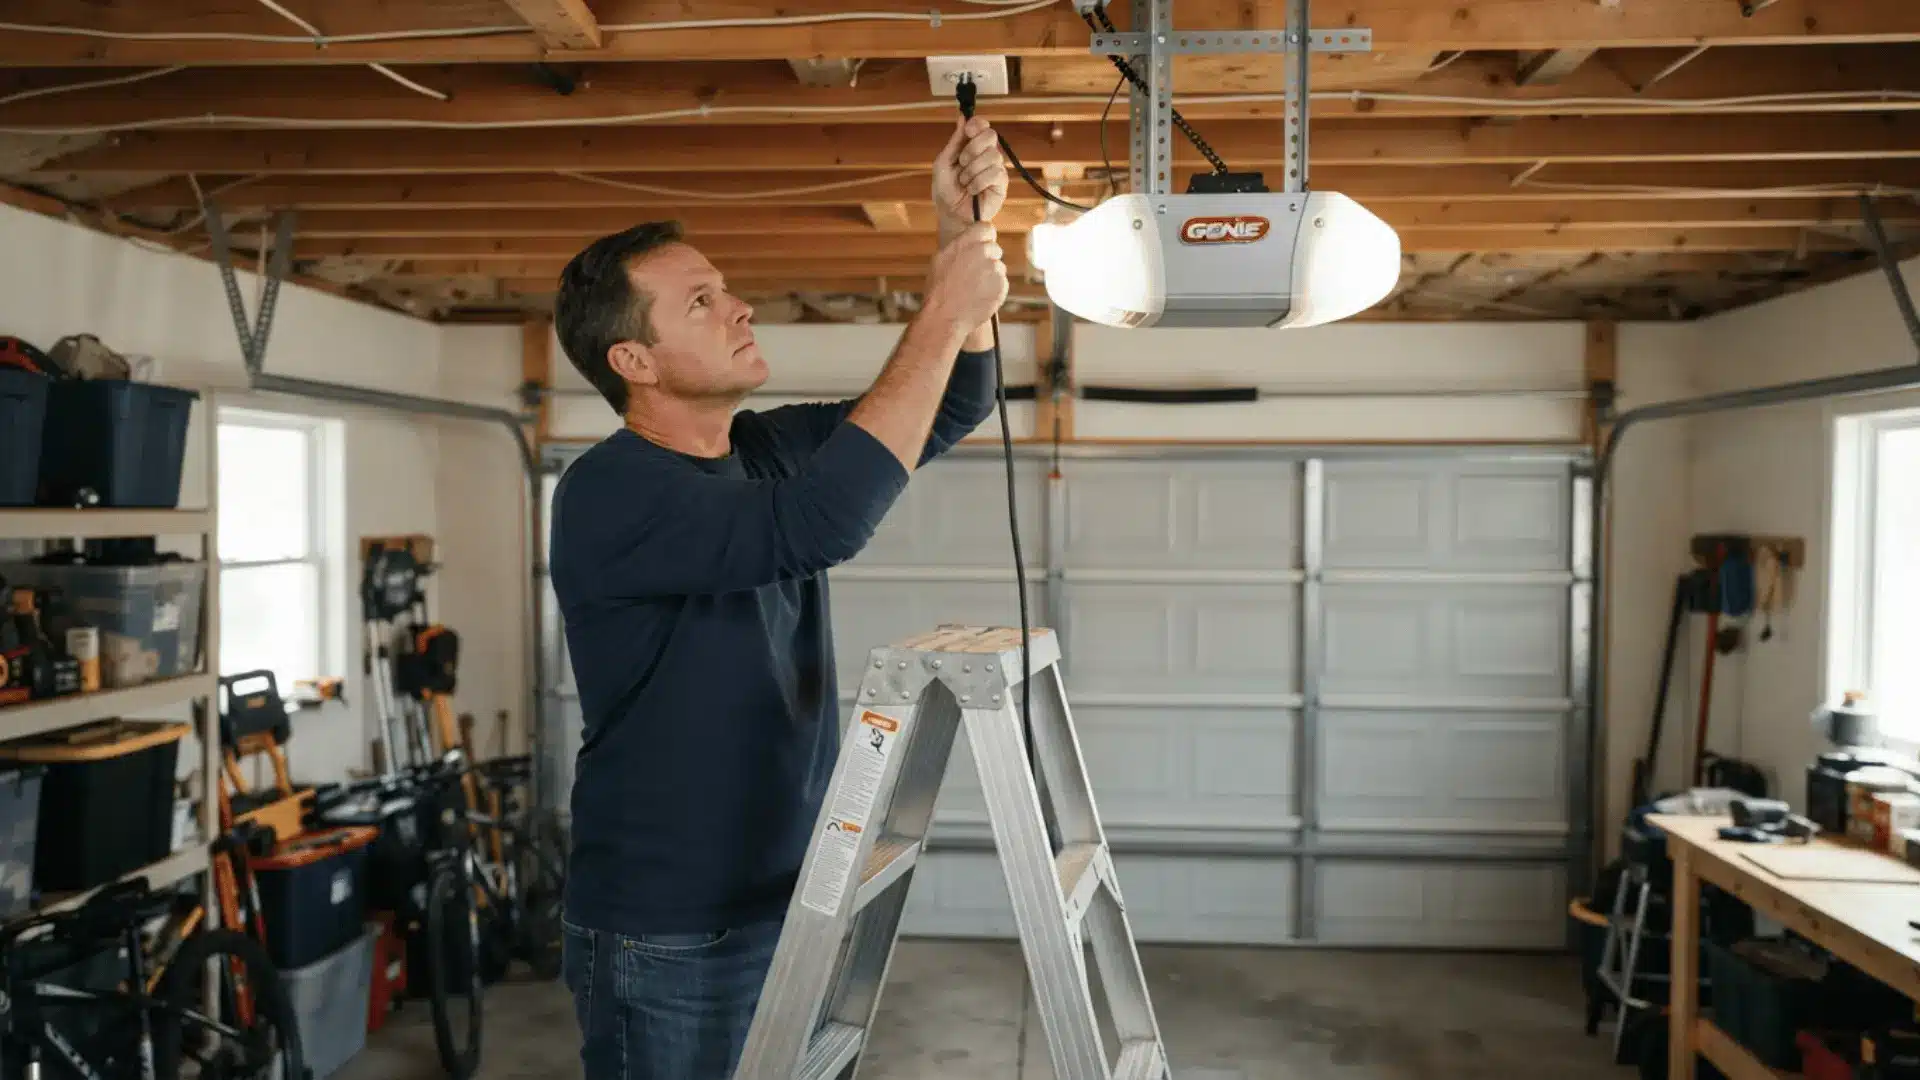
Sometimes the sensors are fine, and the opener just needs a clean restart. Unplug the opener from the outlet, and wait about 30 seconds. Plug it back in and test the wall button and remote
If the same problem keeps coming back after a reset, that’s a sign of bad wiring, a weak sensor, or a control board issue, not something a reset can fix for good.
What Not to do When Fixing Garage Door Sensors
A rushed repair can turn a minor sensor glitch into a bigger safety issue. Skip these mistakes before you touch your garage door sensors again.
- Skipping the alignment check: Working on wiring or lenses before confirming both sensors match in height and angle usually leads to unnecessary part swaps.
- Bypassing the safety reversal feature: Disconnecting or taping over the sensors to stop the beeping disables the mechanism that prevents the door from closing on people or objects.
- Cleaning lenses with harsh materials: Abrasive cloths or strong chemicals can scratch the lens and weaken the infrared signal.
- Ignoring visible wire damage: Testing or resetting sensors with frayed or exposed wiring risks a short circuit.
- Skipping the manufacturer manual: Generic online fixes often clash with brand-specific wiring and calibration steps.
- Not testing after reinstalling: Skipping a full open-close and obstruction test leaves hidden issues undetected.
- Working on live power: Adjusting sensors while the opener is still plugged in poses a risk of electric shock and can short the sensor board.
Should You Repair or Replace Garage Door Sensors?
Most garage door sensors can be repaired rather than replaced. Simple problems like dirt on the lens, loose wiring, or misalignment usually have quick fixes that cost little to no money.
A homeowner can often solve these issues in under fifteen minutes with basic tools. Replacement becomes the smarter choice when the sensor housing is cracked, the wiring is chewed through, or the unit no longer responds after cleaning and realignment.
If one sensor is clearly newer or a different brand than the other, matching pairs work best, and full replacement is worth considering.
When it’s time to buy new sensors:
- Physical Damage: The plastic housing is cracked, or the internal lens is deeply scratched.
- Water Damage: The units were submerged or show heavy internal corrosion from rain or flooding.
- Hardware Failure: The LED lights refuse to turn on even after replacing the low-voltage wires and verifying power from the opener.
- Mismatched Parts: You are dealing with old, mismatched brands that refuse to sync correctly.
Cost is another factor, since a full sensor kit is often cheaper than a technician visit for repeated repairs. Checking the manual first helps confirm which option makes more sense for the specific opener model.
How to Install Garage Door Sensor Guide
Installing new garage door sensors is usually needed when cleaning, alignment, and wiring checks do not solve the problem.
If the door still will not close, the lights keep flashing, or one sensor stops responding, replacement may be the better option.
Follow these simple steps to install the new sensors safely and test them before regular use.
1. Check the Sensor Lights and Unplug the Opener
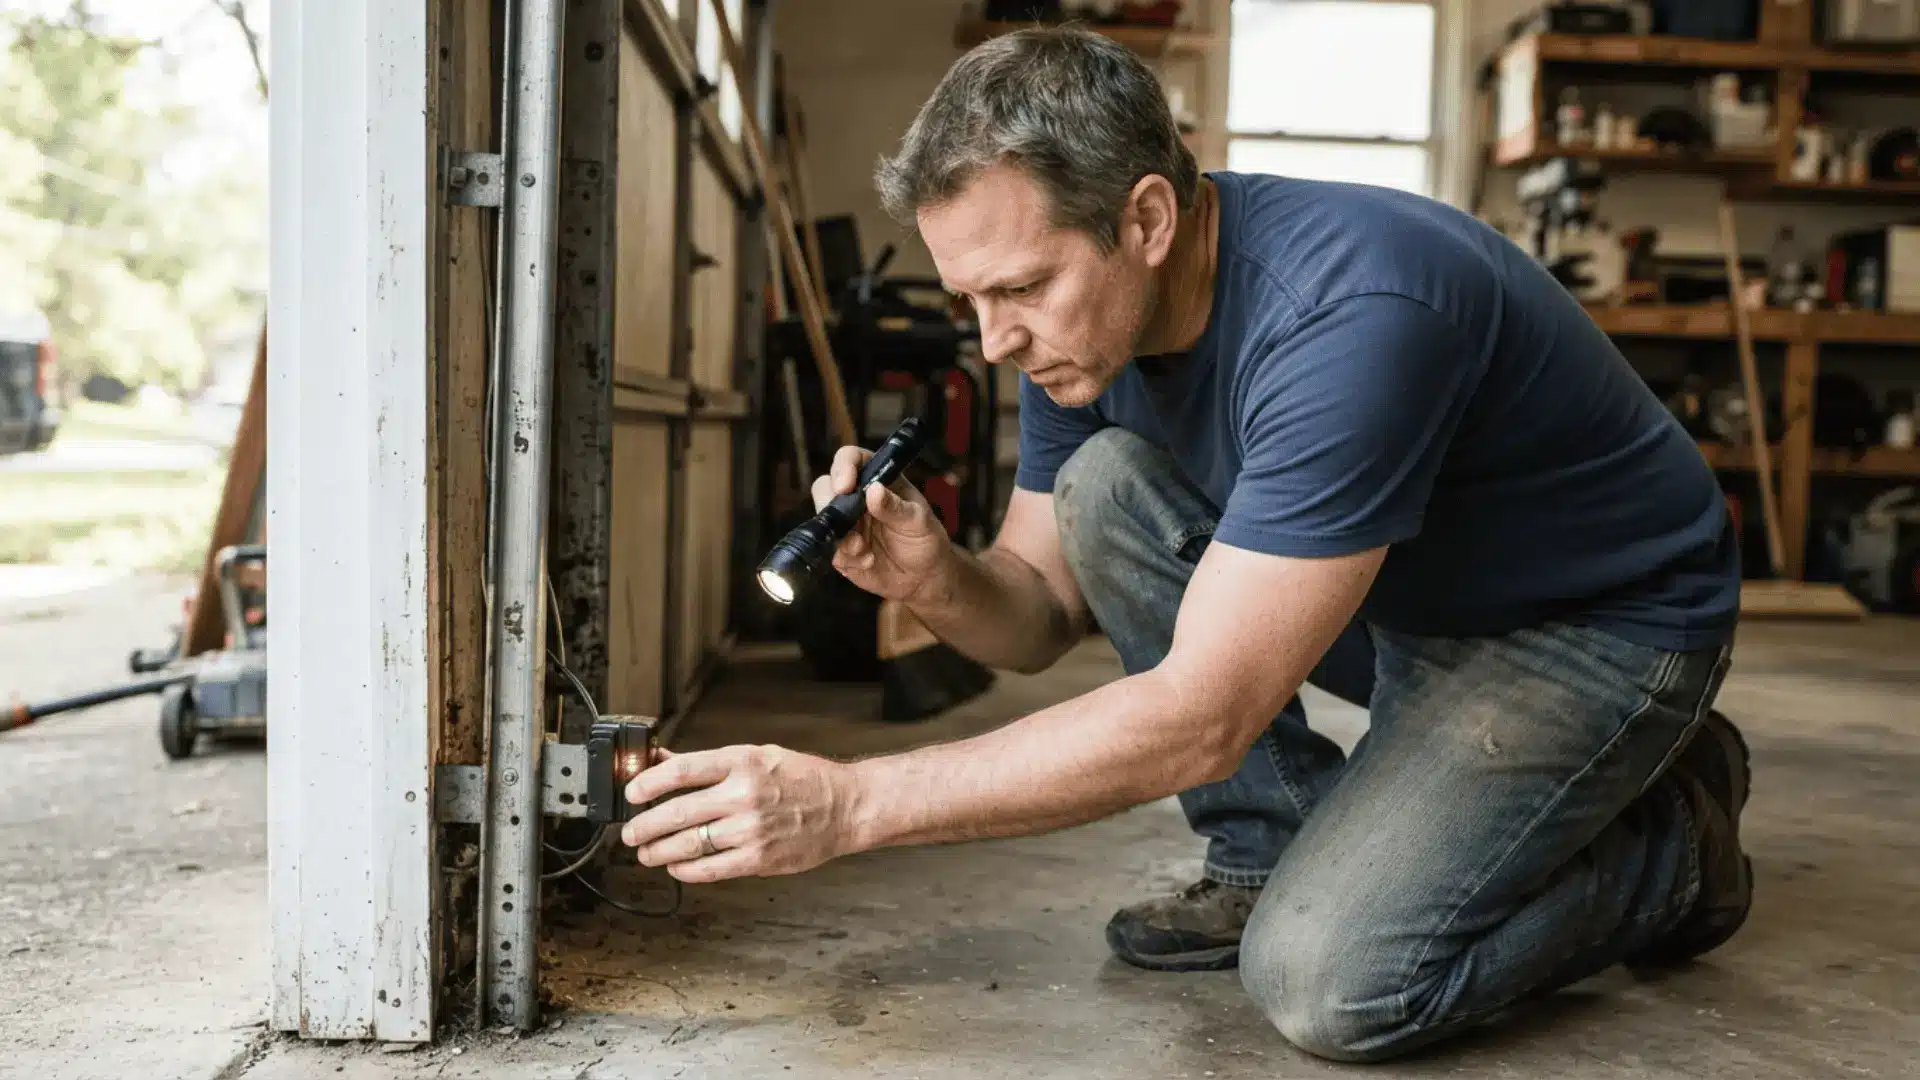
Before removing anything, look at the sensor lights near the bottom of the garage door track. Many systems have one yellow or amber sending sensor and one green receiving sensor.
If the green light is blinking or off, the sensors may be misaligned. Try adjusting them first. If the problem keeps coming back, unplug the garage door opener from the outlet before replacing the sensors.
This keeps the system from running while the wiring is being handled.
2. Remove the Old Sensors and Note the Wiring
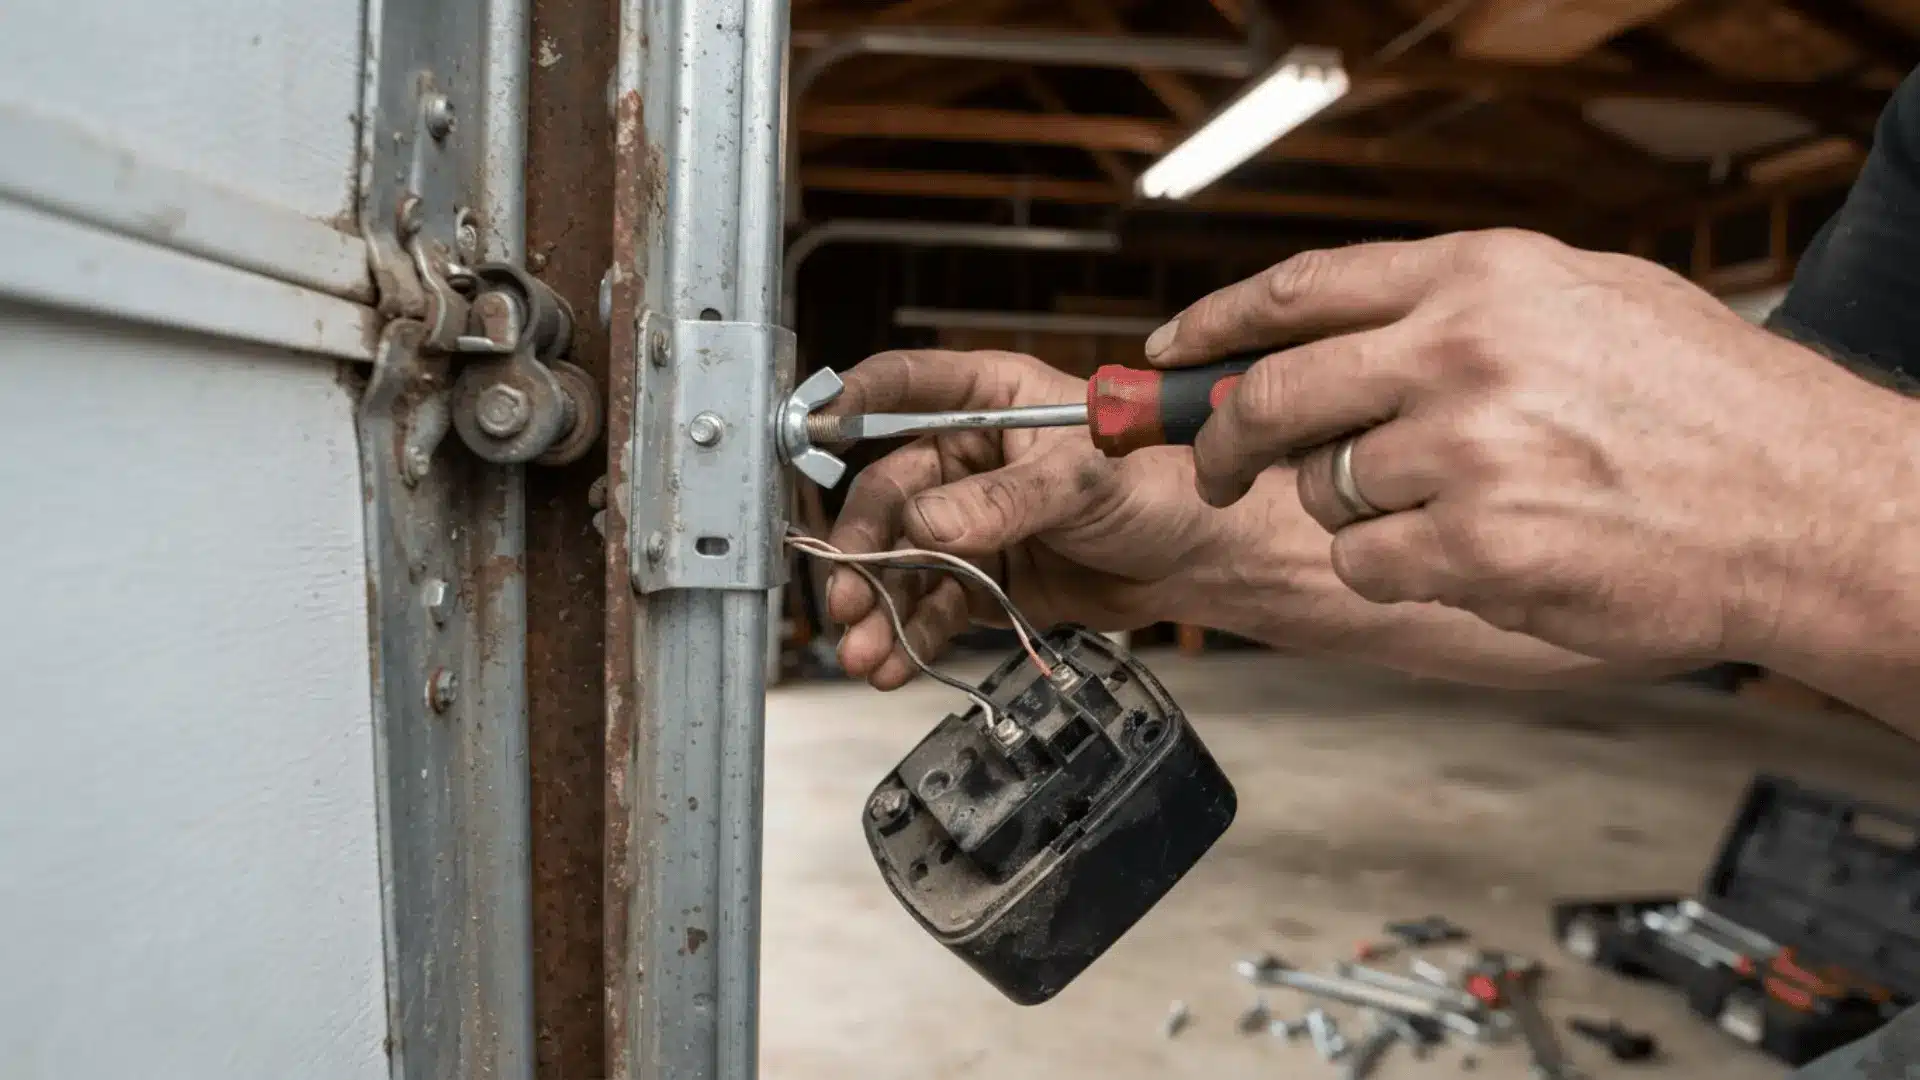
Loosen the wing nut or screw holding each sensor in place, then slide the old sensor out of the bracket. Before cutting or disconnecting wires, take a clear photo of their connections.
Many sensors use one solid white wire and one white wire with a black stripe. In some setups, the striped wire connects to the marked or red side, while the solid white wire connects to the white side.
This helps prevent wiring mistakes during installation.
3. Mount the New Garage Door Sensors
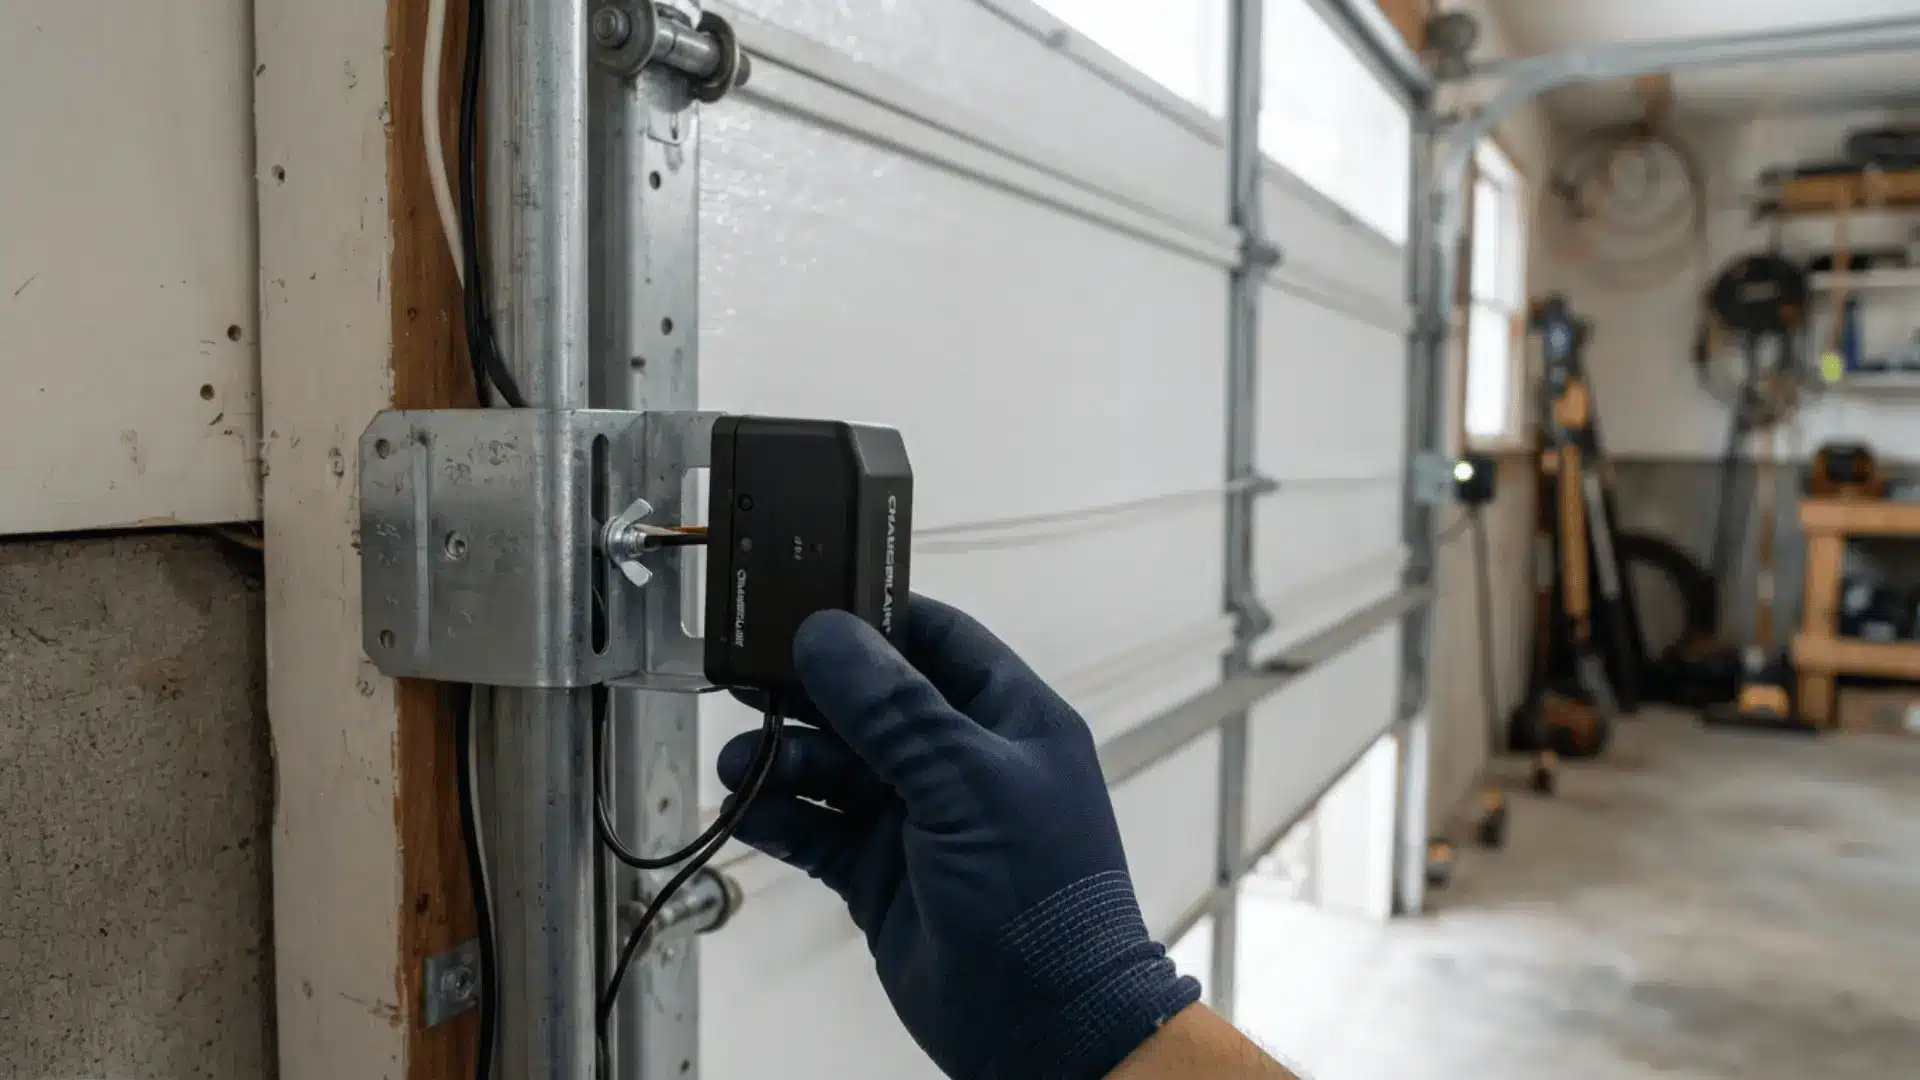
Place the new sensors into the brackets and make sure both units face each other across the door opening. If the old brackets are straight and tight, they can often stay in place.
If they are bent, loose, or rusty, replace them with the new brackets from the kit. Do not fully tighten the sensors until the alignment is correct.
A small change in angle can break the invisible infrared beam and prevent the garage door from closing.
4. Connect the Sensor Wires
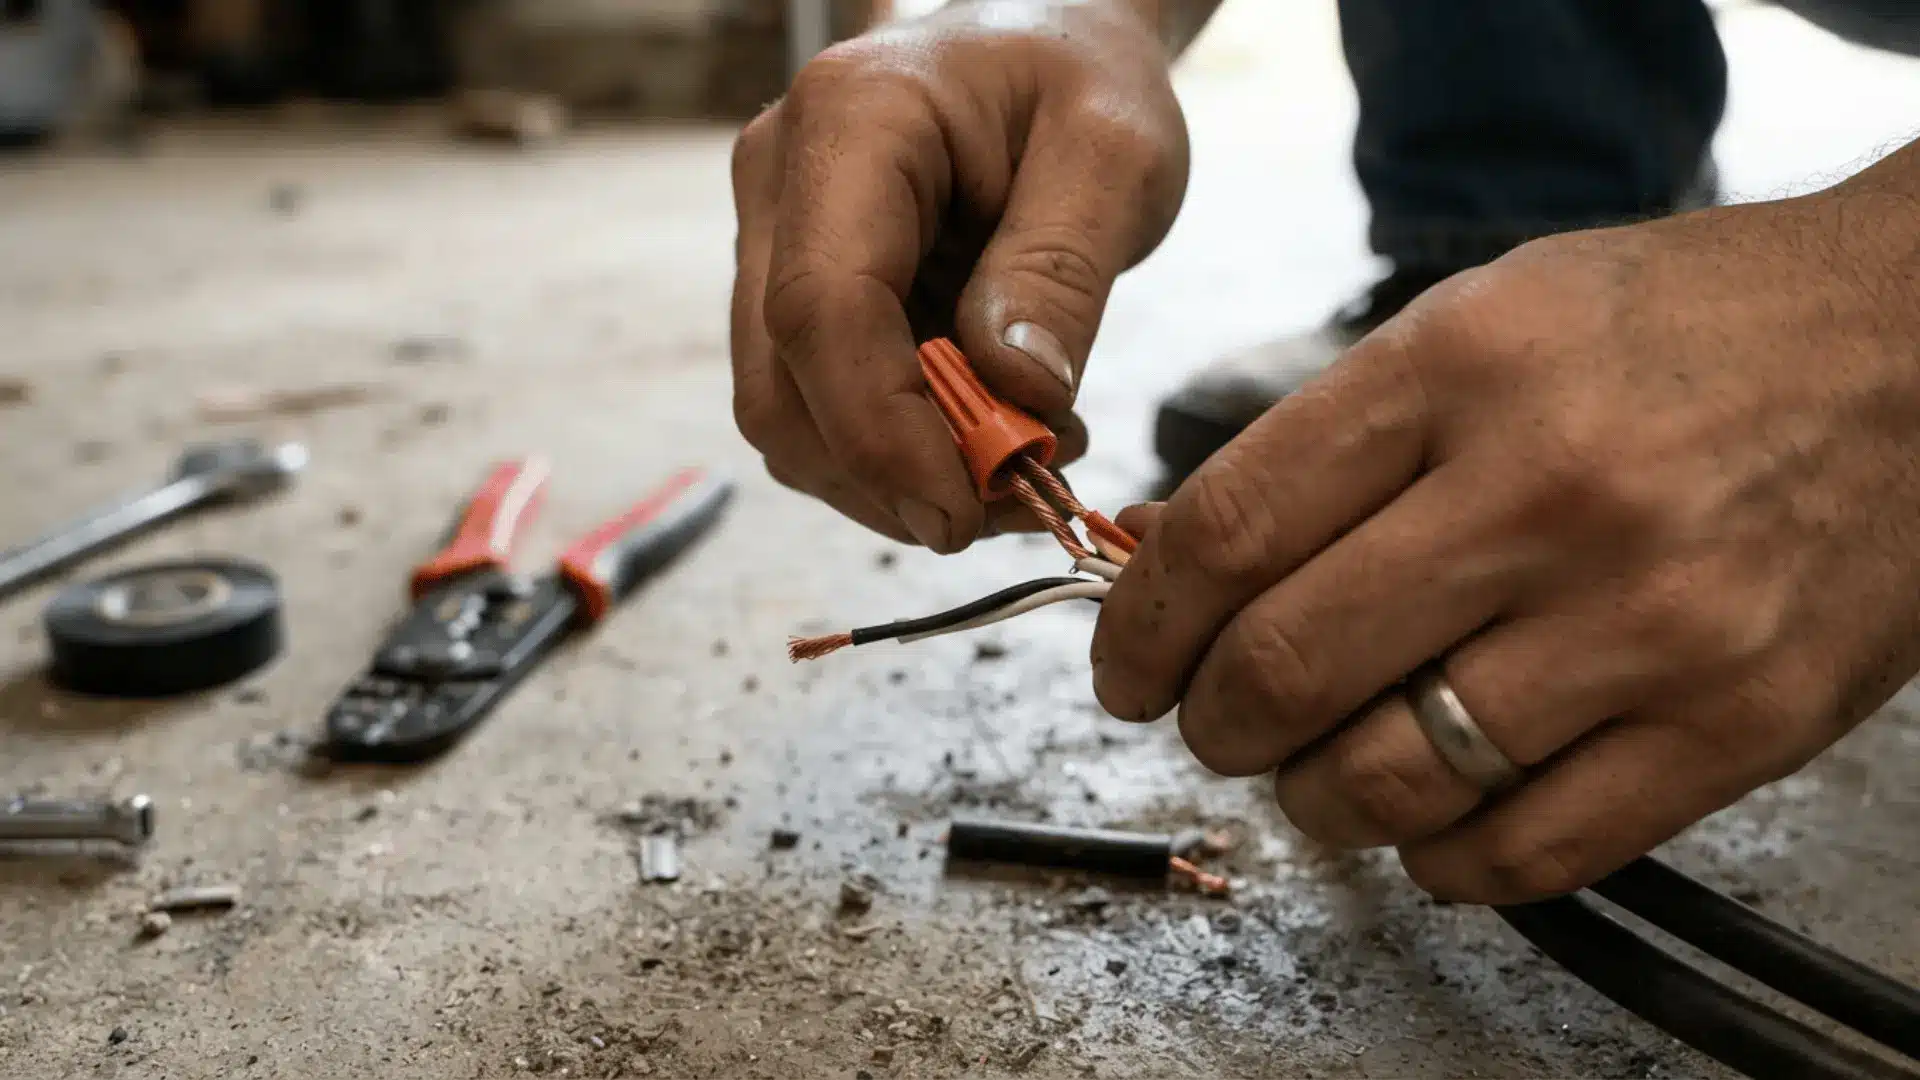
Trim any excess wire if needed, then split and strip a small amount of insulation from the ends of the wire. Match the new sensor wires the same way the old ones were connected.
Use the push connectors that come with the kit, or secure wire nuts if several wires join. Make sure the striped wires connect together, and the solid white wires connect together, unless the opener manual says otherwise.
Tug gently on each connection to confirm it is tight.
5. Align the Sensors and Check the Lights
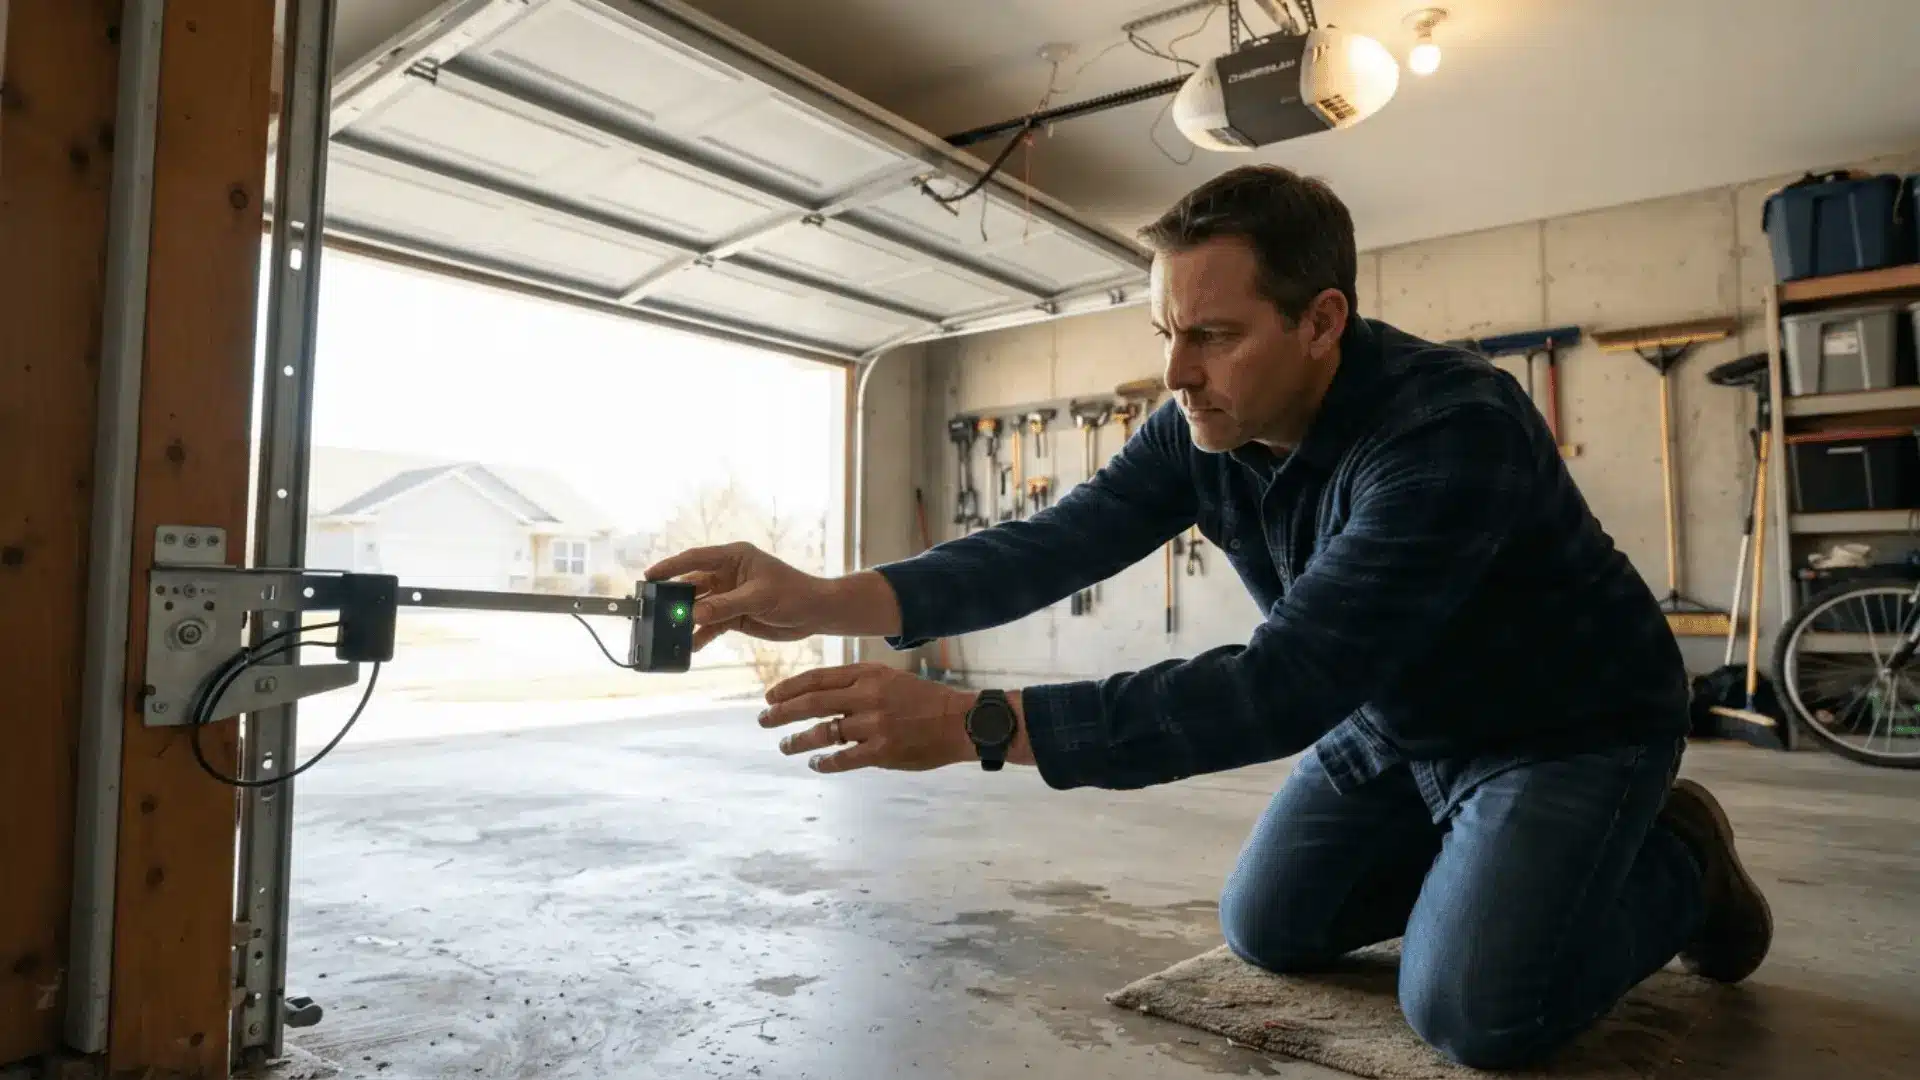
Plug the garage door opener back in and check the sensor lights. The receiving sensor should usually show a solid green light when the beam is lined up correctly.
If the light blinks or turns off, move the sensor slowly until the light stays steady. Then tighten the wing nut or screw without shifting the sensor.
If direct sunlight hits the sensor, make sure the light remains stable in bright conditions.
6. Test the Door and Safety Beam
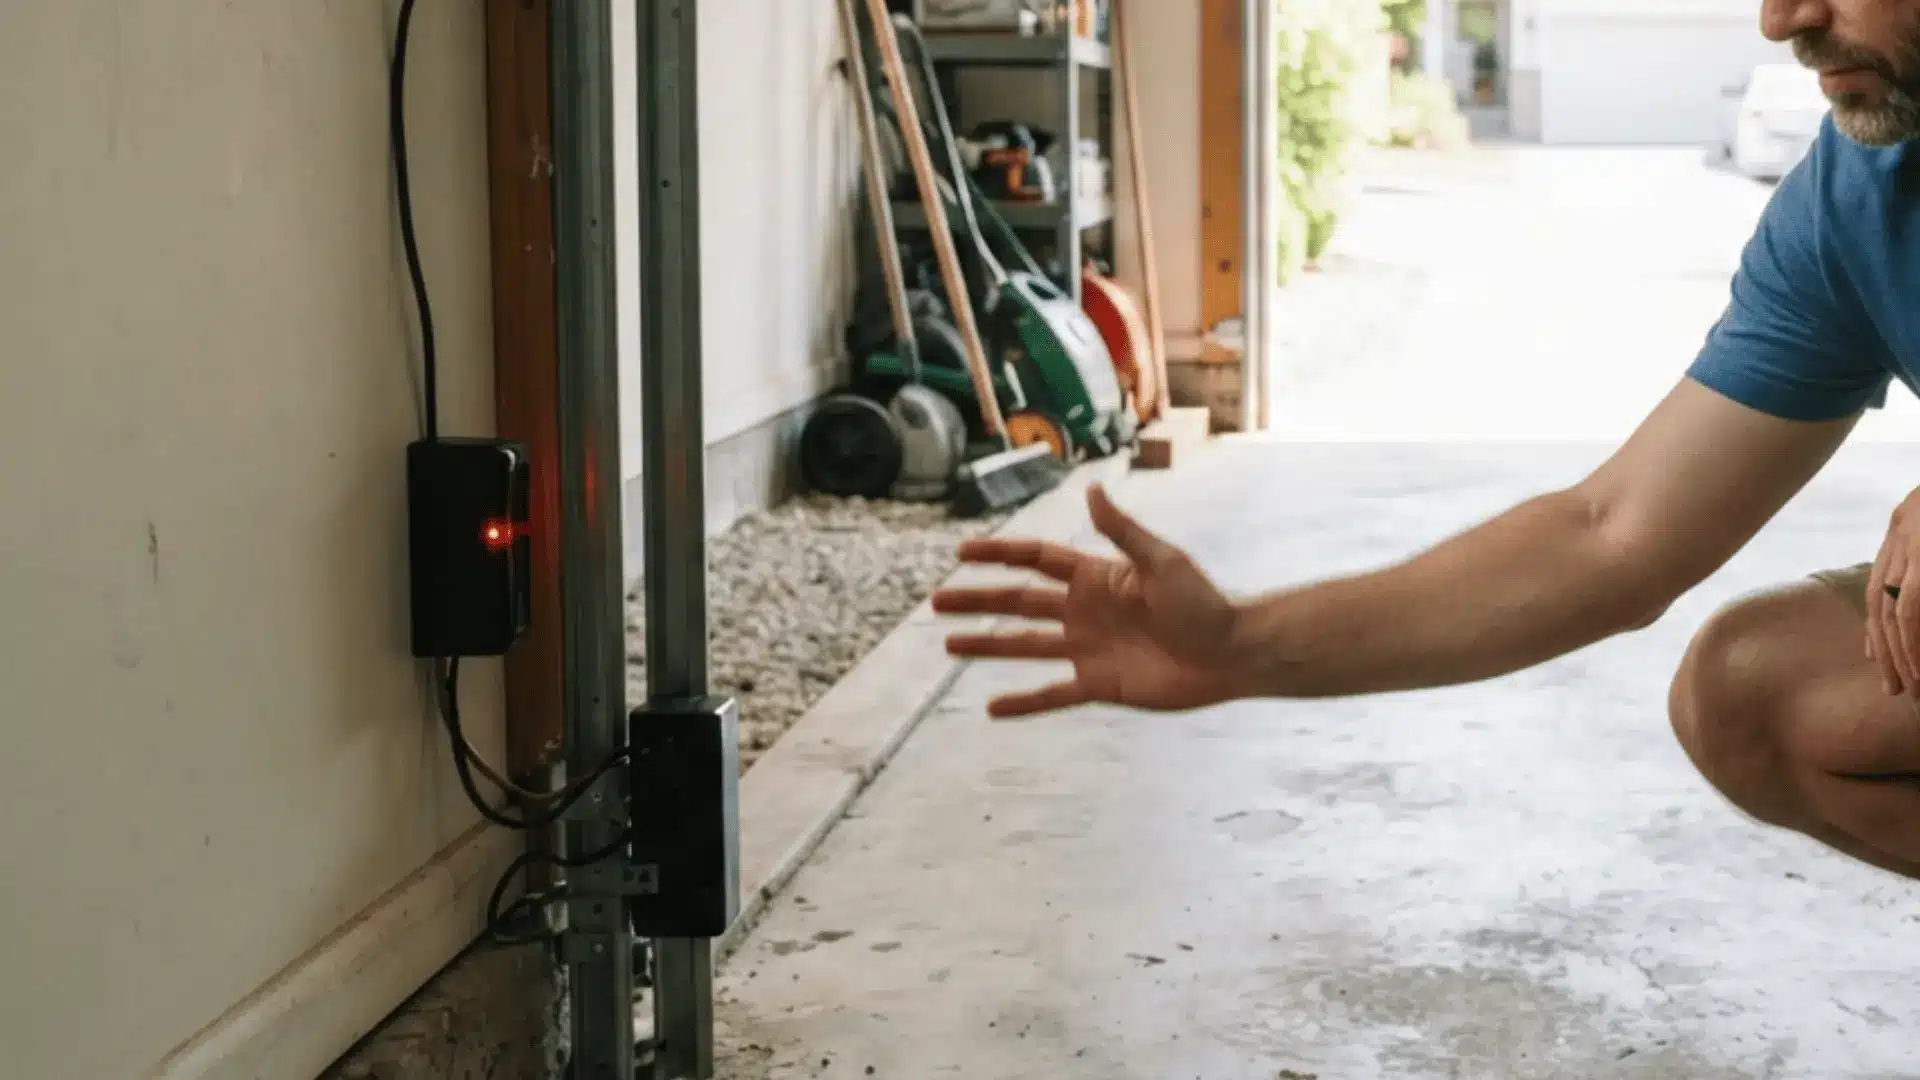
Block the sensor beam with a hand or an object and watch the receiving light turn off or change color. Remove the object and confirm that the light comes back on.
Then test the garage door from the wall button and the car remote. The door should close smoothly without flashing lights or reversing.
If the new sensors are installed and aligned but the door still fails to open, the issue may be with the opener, wiring, track, or control board.
How Much does Garage Door Sensor Repair or Replacement Cost?
Costs vary depending on whether the issue is a simple fix or a full sensor swap. Knowing the price range ahead of time helps set the right expectations before calling a technician.
| Service Type | Average Cost | What It Covers |
|---|---|---|
| DIY Alignment Fix | $0 | Adjusting the sensor angle to restore a solid signal |
| Lens Cleaning | $0–$10 | Clearing dirt or dust blocking the infrared beam |
| Wiring Repair (DIY) | $5–$15 | Replacing wire nuts or connectors with basic parts |
| New Sensor Pair (Parts Only) | $20–$40 | A matched set of replacement garage door sensors |
| Professional Sensor Replacement | $100–$150 | Parts plus labor for a technician visit |
| Full Opener System Diagnostic | $75–$100 | Technician inspection when the sensor is not the only issue |
Most garage door sensor repairs cost far less than a full replacement, making a quick DIY check worth trying first.
How to Prevent Garage Door Sensor Problems
A little routine care goes a long way toward avoiding sudden breakdowns. These habits keep sensors working reliably for years.
- Clean the lenses monthly: Wipe each sensor lens with a soft, dry cloth to remove dust and cobwebs. Buildup on the lens is one of the most common causes of a blocked signal.
- Check alignment every few months: Confirm both garage door sensors still point directly at each other. Small bumps from parked bikes or stored items can shift them out of position over time.
- Keep the area clear: Avoid storing boxes, tools, or decorations near the sensor brackets. Objects too close can block the beam, even when the sensors themselves are working properly.
- Inspect wiring twice a year: Look for frayed, chewed, or loose wires along the track. Rodents and general wear are common culprits behind sudden sensor failures.
- Shield sensors from direct sunlight: Strong sunlight on the lens can interfere with the infrared beam, causing it to appear blocked. A small hood or angled bracket can help reduce glare.
- Test the safety reversal monthly: Place an object in the door’s path during a close cycle to confirm it stops and reverses. This confirms the sensors are functioning, not just powered on.
- Tighten mounting brackets regularly: Loose brackets allow sensors to drift out of alignment over time. A quick check of the wing nuts keeps them locked in place.
- Address error codes early: Do not ignore blinking opener lights or beeping sounds. Catching a minor garage door sensor issue early prevents a bigger repair later.
At the End
A blinking light and a garage door that will not close can feel frustrating at first, but the fix is rarely as complicated as it seems.
Most sensor issues come down to dirt, alignment, or a loose wire, and each one is something a homeowner can handle with a little patience and the right steps.
Replacing garage door sensors becomes necessary only when damage runs deeper, and even then, the process is straightforward with the right guidance.
Regular checks and simple cleaning habits can save both time and money down the road. A working sensor means a safer garage and one less thing to worry about at the end of a long day.
Have a garage door sensor story of your own? Share what worked, what did not, or any tips learned along the way in the comments below.
Frequently Asked Questions
How Long do Garage Door Sensors Usually Last?
Most garage door sensors can last 10 to 15 years, but weather, sunlight, moisture, and impact can shorten their life.
Can Cold Weather Affect Garage Door Sensors?
Yes. Cold weather can make wires stiff, loosen brackets, or cause moisture problems around the sensor lens and connections.
Do Both Garage Door Sensors Need to be Replaced at the Same Time?
In most cases, yes. Replacing both sensors as a pair helps keep the system balanced and avoids compatibility issues.

Tommy Hardy, an alumnus of the Georgia Institute of Technology with a degree in Mechanical Engineering, has been a go-to figure in residential upkeep and innovation for over 18 years. His career commenced in a leading home appliance manufacturing company, where he mastered the intricacies of household systems. Joining our platform in 2020, Tommy quickly became a reader favorite for his practical and easy-to-follow guides. He took the helm of our DIY section in 2019, consistently delivering content that empowers homeowners. Beyond his professional pursuits, Tommy is a passionate gardener and enjoys woodworking, skills enhancing his hands-on approach to home care.