Stainless steel surfaces can lose their clean finish very quickly.
Fingerprints, grease marks, water spots, burnt food, and cloudy patches often stay visible even after wiping.
People grab whatever cleaner is nearby.
That’s exactly what creates the streaks, micro-scratches, and cloudy patches they were trying to remove.
Stainless steel looks forgiving but damages quietly. The wrong cloth, the wrong product, or even the wrong wiping direction leaves marks that build up over time.
This blog covers exactly how to clean stainless steel the right way, by stain type, finish, and situation.
Know Your Stainless Steel Stain First
Not every stain on stainless steel is the same, and neither is the fix.
A water spot and a rust spot can look almost identical, but need completely different treatments.
Grease buildup responds to baking soda. Fingerprints clear with vinegar. Using the wrong method on the wrong stain often makes things worse, leaving scratches, dull patches, or streaks that weren’t there before.
Before reaching for any cleaner, take ten seconds to identify what you’re actually dealing with.
The right method becomes obvious once you know the stain.
What Damages Stainless Steel the Most?
The wrong cleaning tool can leave permanent scratches.
The wrong product can strip the protective layer that keeps stainless steel looking clean in the first place. These are the most common causes of surface damage.
- Steel wool: embeds tiny iron particles into the surface that cause rust spots later.
- Bleach: It destroys the chromium oxide layer that keeps stainless steel stain-resistant.
- Circular scrubbing: It cuts across the grain, creating hairline scratches that trap grease.
- Abrasive pads: They dull the finish with every use, and the damage cannot be reversed.
Knowing how to remove stains from stainless steel and what to avoid on your steel matters just as much as knowing what to use on it.
1. Removing Fingerprints, Smudges, and Daily Surface Marks
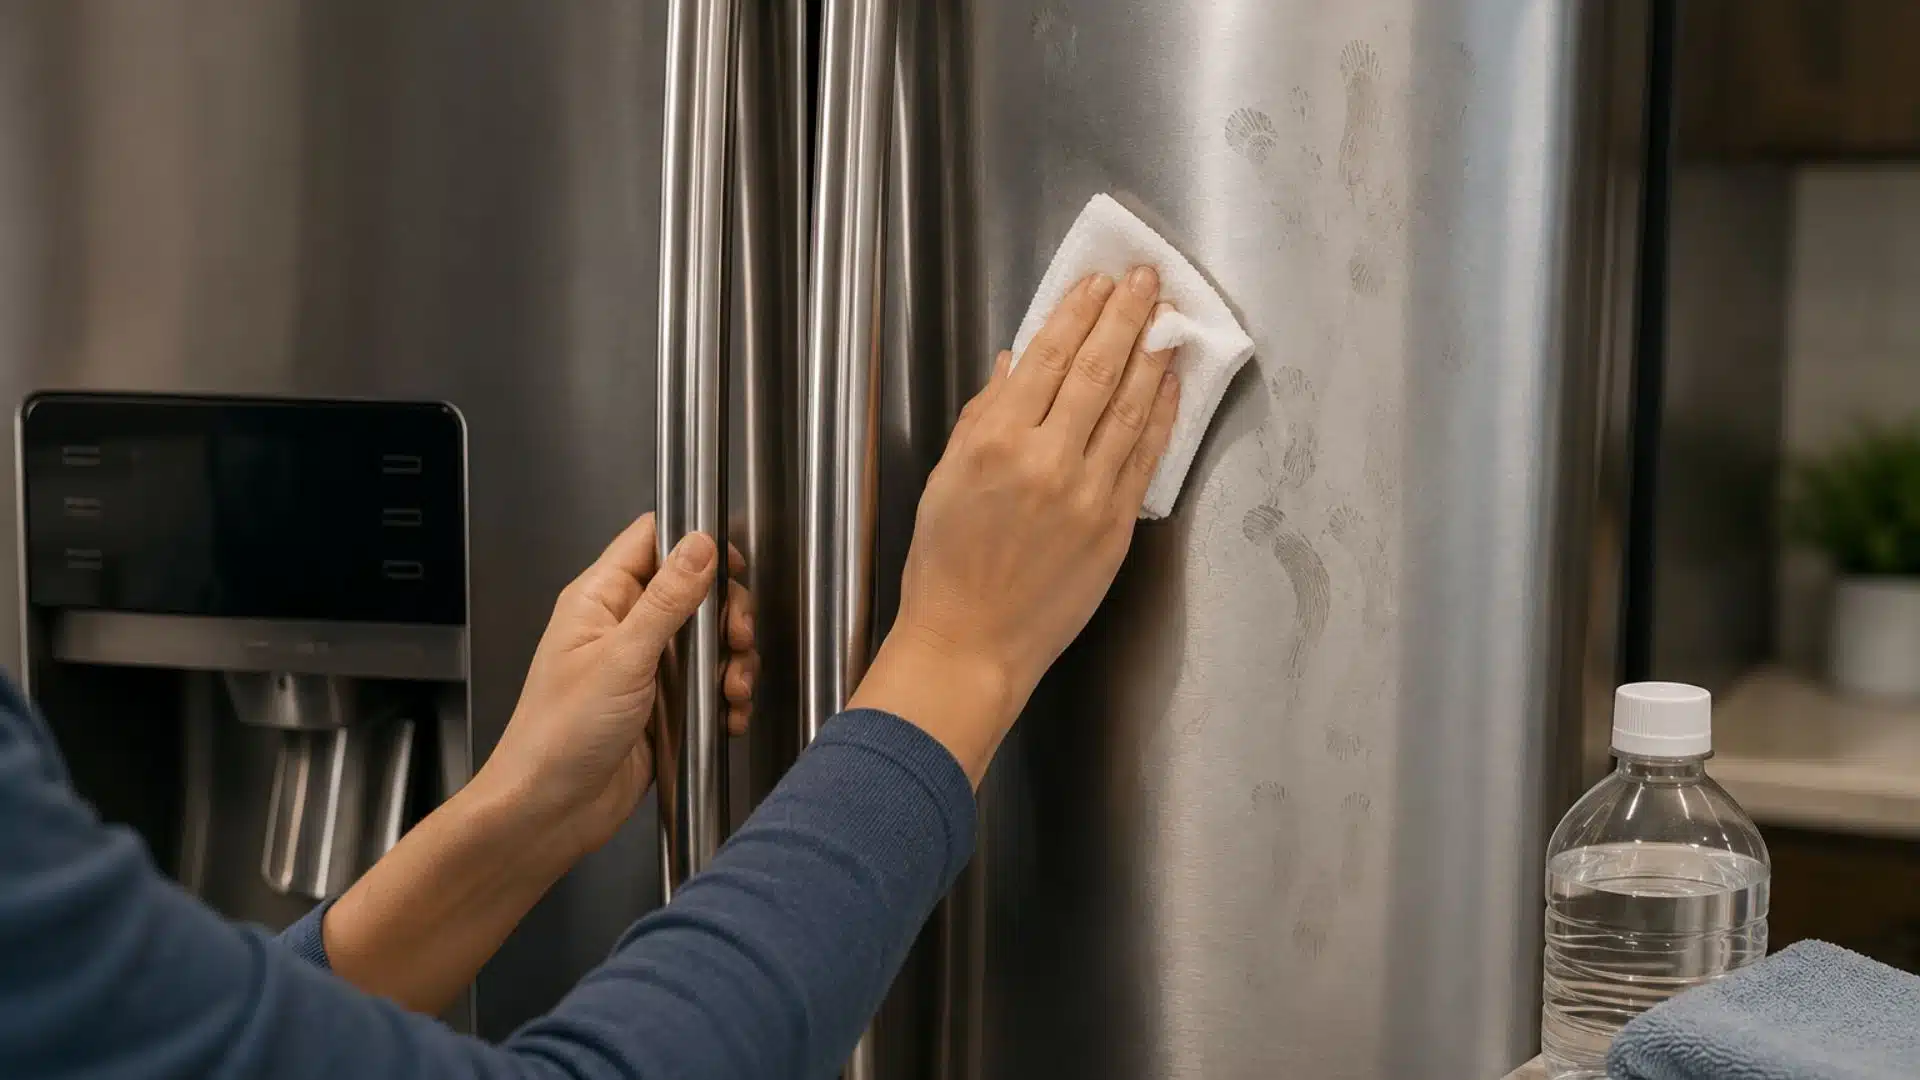
Stainless steel surfaces often collect marks from daily use long before heavier stains appear.
Appliance doors, handles, and control panels are touched repeatedly throughout the day, making them common areas for fingerprints and smudges.
The best cleaning method depends on the type of mark left behind.
For Light Fingerprints and Everyday Surface Marks
If your stainless steel surface looks clean but is covered with fingerprints and light streaks, a vinegar solution is usually enough to restore a cleaner appearance.
What You’ll Need
- White vinegar
- Water
Step-by-step Instructions
- Step 1: Mix equal parts white vinegar and water in a spray bottle.
- Step 2: Lightly spray the affected stainless steel surface.
- Step 3: Wipe in the direction of the steel grain to lift fingerprints.
- Step 4: Pay extra attention to handles and frequently touched areas.
- Step 5: Dry the surface completely to help prevent streaks.
Time Taken: 10 Minutes
One common mistake is assuming stainless steel grain is always horizontal.
On some appliances, it runs vertically. To check, look at the surface at a low angle in natural light. Wiping in the wrong direction will cause streaks, even with the right product.
Note: Avoid steel wool, bleach, or rough scrubbers. Circular wiping motions leave streaks and uneven marks.
When Sticky Smudges Refuse to Wipe Away
Some marks are more than fingerprints. Appliance handles, touch controls, and refrigerator doors often collect oily residue from cooking, food preparation, and repeated handling.
When a damp cloth no longer removes the stain completely, rubbing alcohol can help break down the buildup.
What You’ll Need: Rubbing alcohol
Apply a small amount of rubbing alcohol to a cloth and wipe the affected area while following the grain of the steel.
Focus on sticky patches around handles, control panels, and corners where residue tends to collect.
Continue wiping until the surface feels smooth and the dull marks disappear. Once clean, wipe away any remaining residue and dry the area thoroughly.
Time Taken: 10 Minutes
Note: Do not use rubbing alcohol on hot appliance surfaces or directly on electrical components. Excess product can leave streaks if not wiped away completely.
2. Baking Soda Paste for Grease and Sticky Food Residue
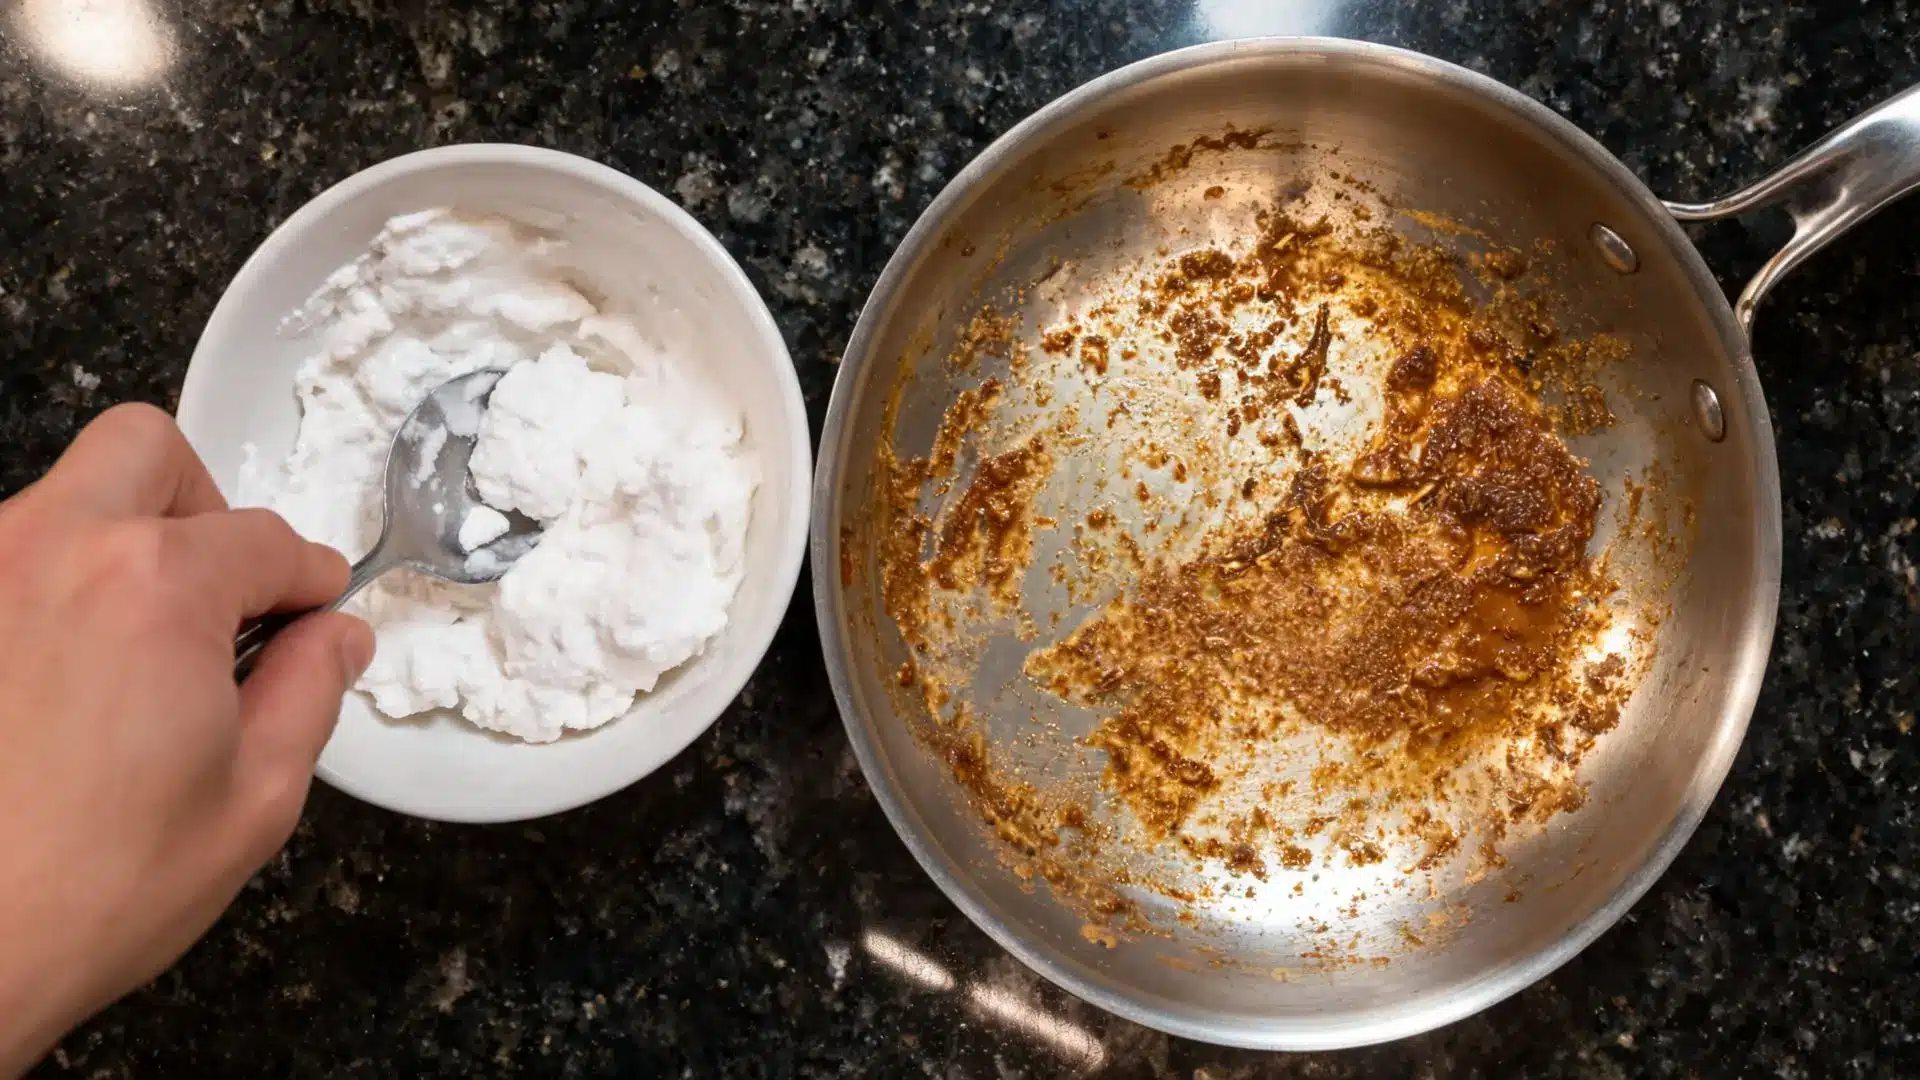
Grease and sticky food residue usually build up from cooking oil splashes, food spills, and repeated heating.
These stains often harden over time and leave thick layers across stainless steel surfaces. Use the process below to loosen stubborn grease buildup and remove sticky residue without damaging the surface.
Materials Needed
- Baking soda
- Water
- Small bowl
- Soft microfiber cloth
- Dry microfiber cloth
Step-by-Step Instructions
- Step 1: Mix baking soda with water until a thick cleaning paste forms.
- Step 2: Carefully apply the paste directly over greasy or sticky stainless steel areas.
- Step 3: Let the paste sit briefly so the hardened grease begins to loosen properly.
- Step 4: Scrub gently with a soft microfiber cloth, following the grain of the steel.
- Step 5: Immediately wipe the surface completely dry using a clean microfiber cloth.
Time Taken: 15 Minutes
Note: Do not scrub aggressively with steel wool or hard brushes because scratches may appear easily. Leaving baking soda residue behind can also create cloudy marks across stainless steel surfaces..
3. Lemon Juice for Water Spots and Light Surface Marks
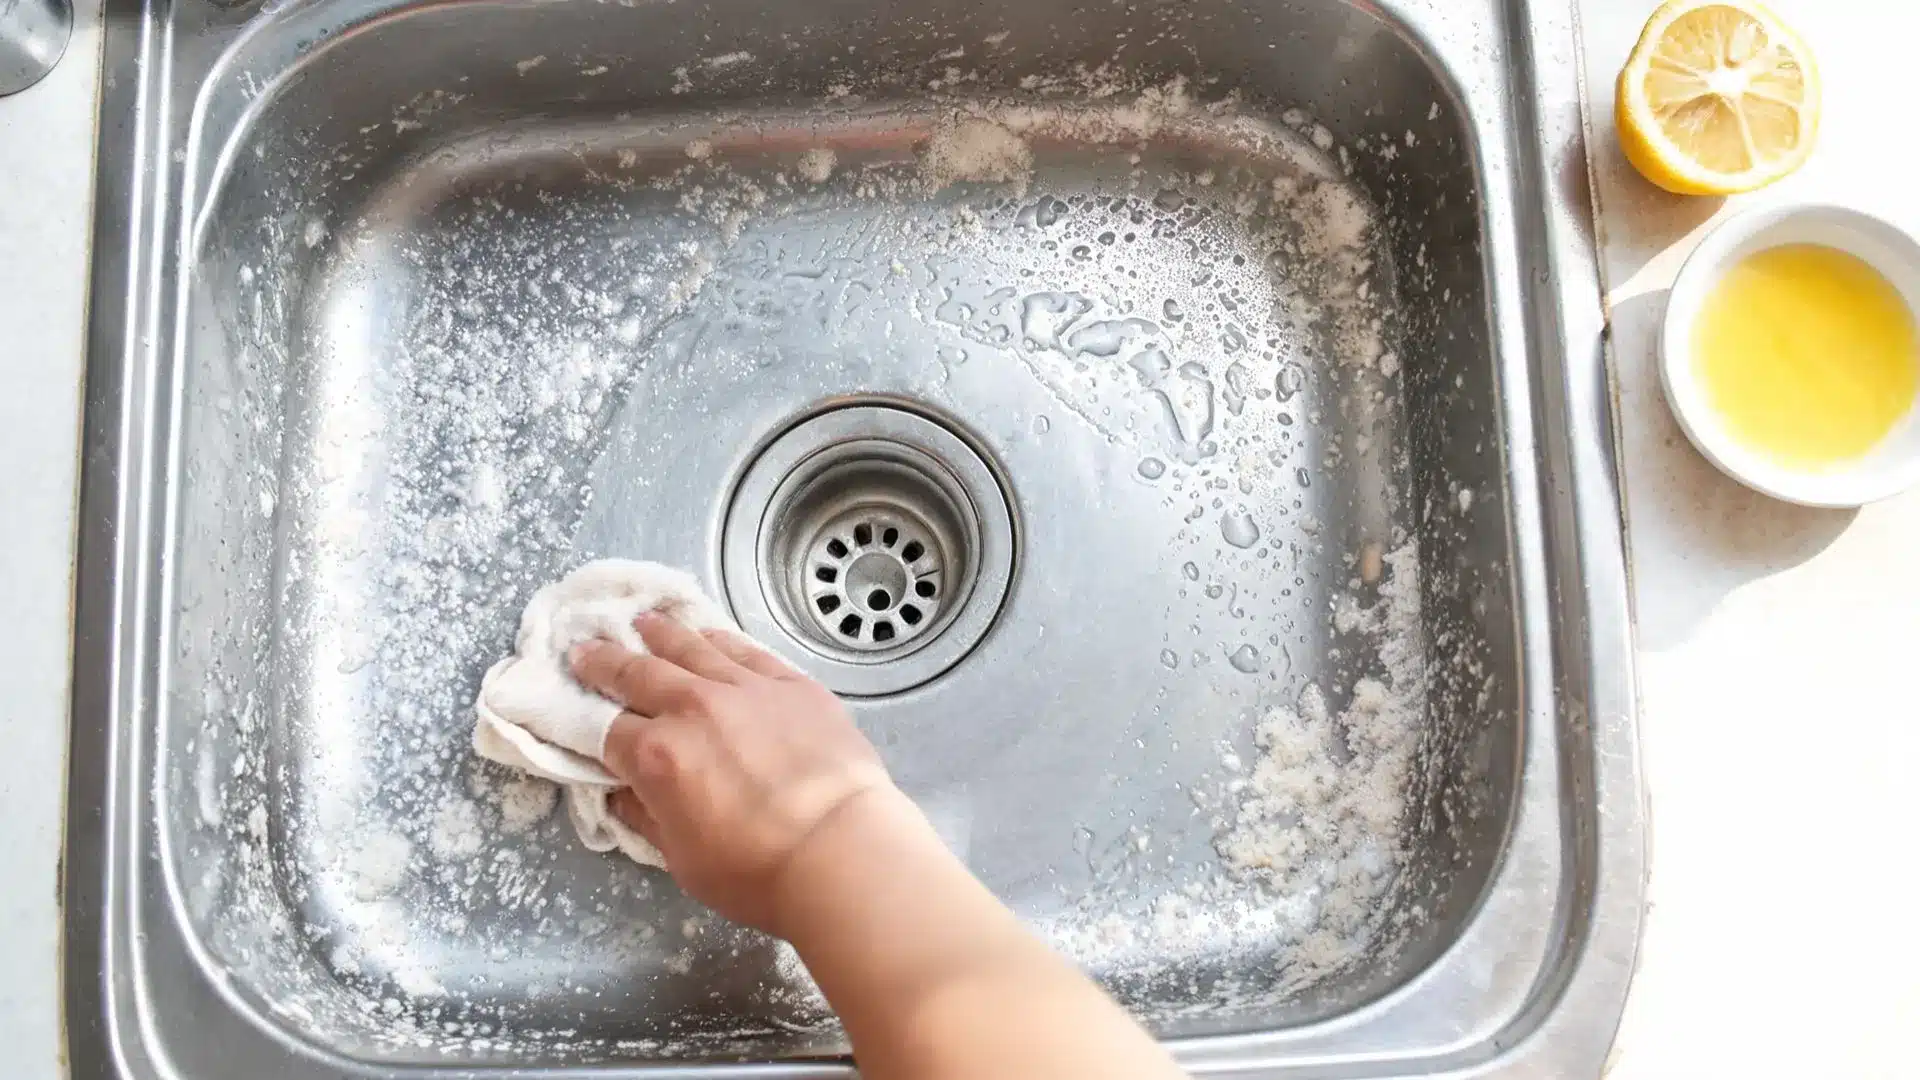
Water spots and light surface marks usually appear from hard water, leftover moisture, and improper drying after cleaning stainless steel appliances.
The following method helps break down mineral deposits and safely reduce cloudy water marks.
Materials Needed
- Fresh lemon
- Small bowl
- Soft microfiber cloth
- Water
- Dry microfiber cloth
Step-by-Step Instructions
- Step 1: Squeeze fresh lemon juice into a small bowl for easy application to the surface.
- Step 2: Dip a soft microfiber cloth lightly into the lemon juice without soaking it fully.
- Step 3: Wipe the stained stainless steel surface gently, following the direction of the steel grain.
- Step 4: Let the lemon juice sit briefly so the water spots begin to loosen properly.
- Step 5: Wipe clean with plain water, then dry immediately with a microfiber cloth.
Time Taken: 10 Minutes
Note: Do not leave lemon juice sitting too long on stainless steel surfaces because strong acidity may affect the finish. Rough scrubbers can also leave visible scratches and dull cleaning marks behind.
4. Rust Removal for Orange Spots and Surface Stains
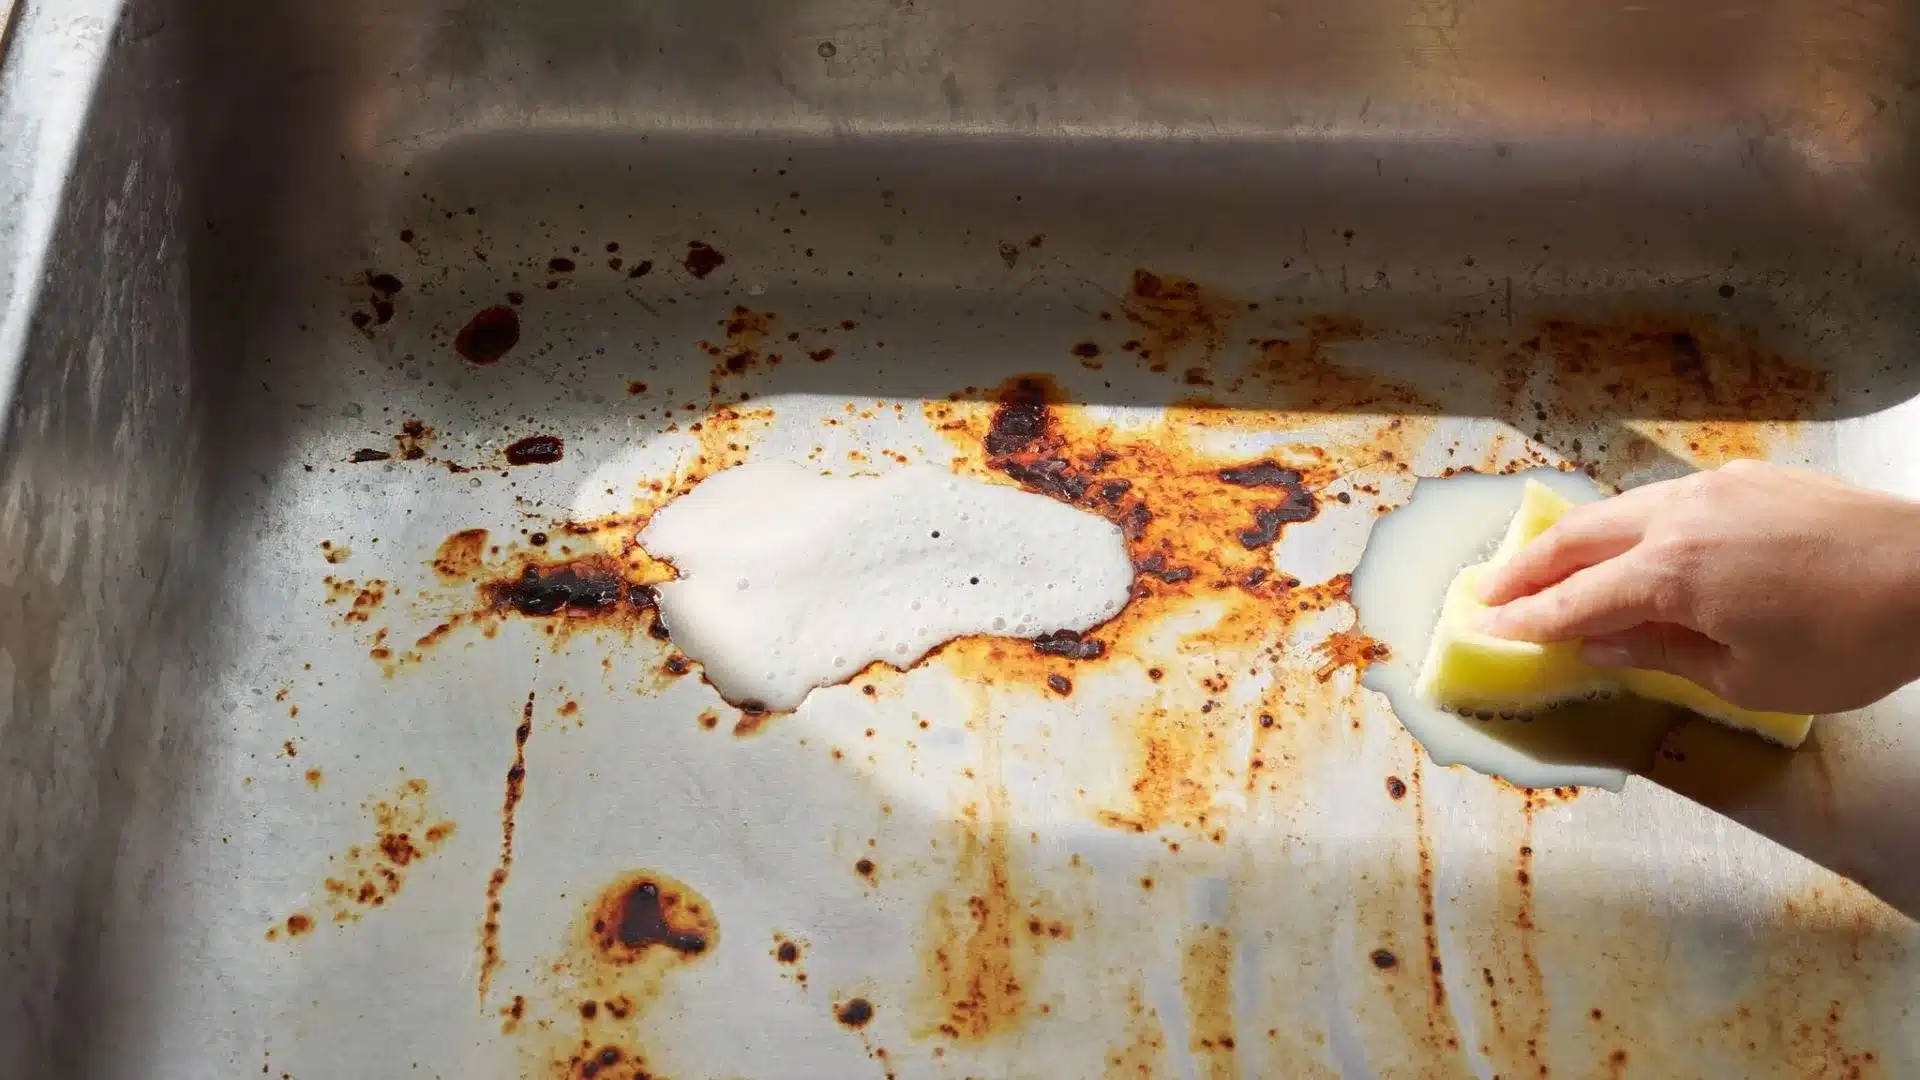
Orange spots and surface stains usually appear from trapped moisture, metal contact, hard water exposure, and leaving wet utensils on stainless steel surfaces for long periods.
These stains often spread slowly and become harder to clean later.
Use the steps below to loosen surface rust and reduce orange stains before they become more noticeable.
Materials Needed
- Baking soda
- Water
- Small bowl
- Soft microfiber cloth
- Dry microfiber cloth
Step-by-Step Instructions
- Step 1: Mix baking soda with water until a thick cleaning paste forms properly.
- Step 2: Apply the paste directly over the rust spots and stained stainless steel areas.
- Step 3: Let the paste sit briefly so the rust marks can loosen safely from the surface.
- Step 4: Scrub gently with a soft microfiber cloth, following the grain of the steel.
- Step 5: Immediately wipe away any residue and dry the surface completely using a microfiber cloth.
Time Taken: 15 Minutes
Note: Do not use steel wool, wire brushes, or bleach products on stainless steel surfaces. Rough cleaning tools can leave scratches and may cause rust spots to return faster after cleaning.
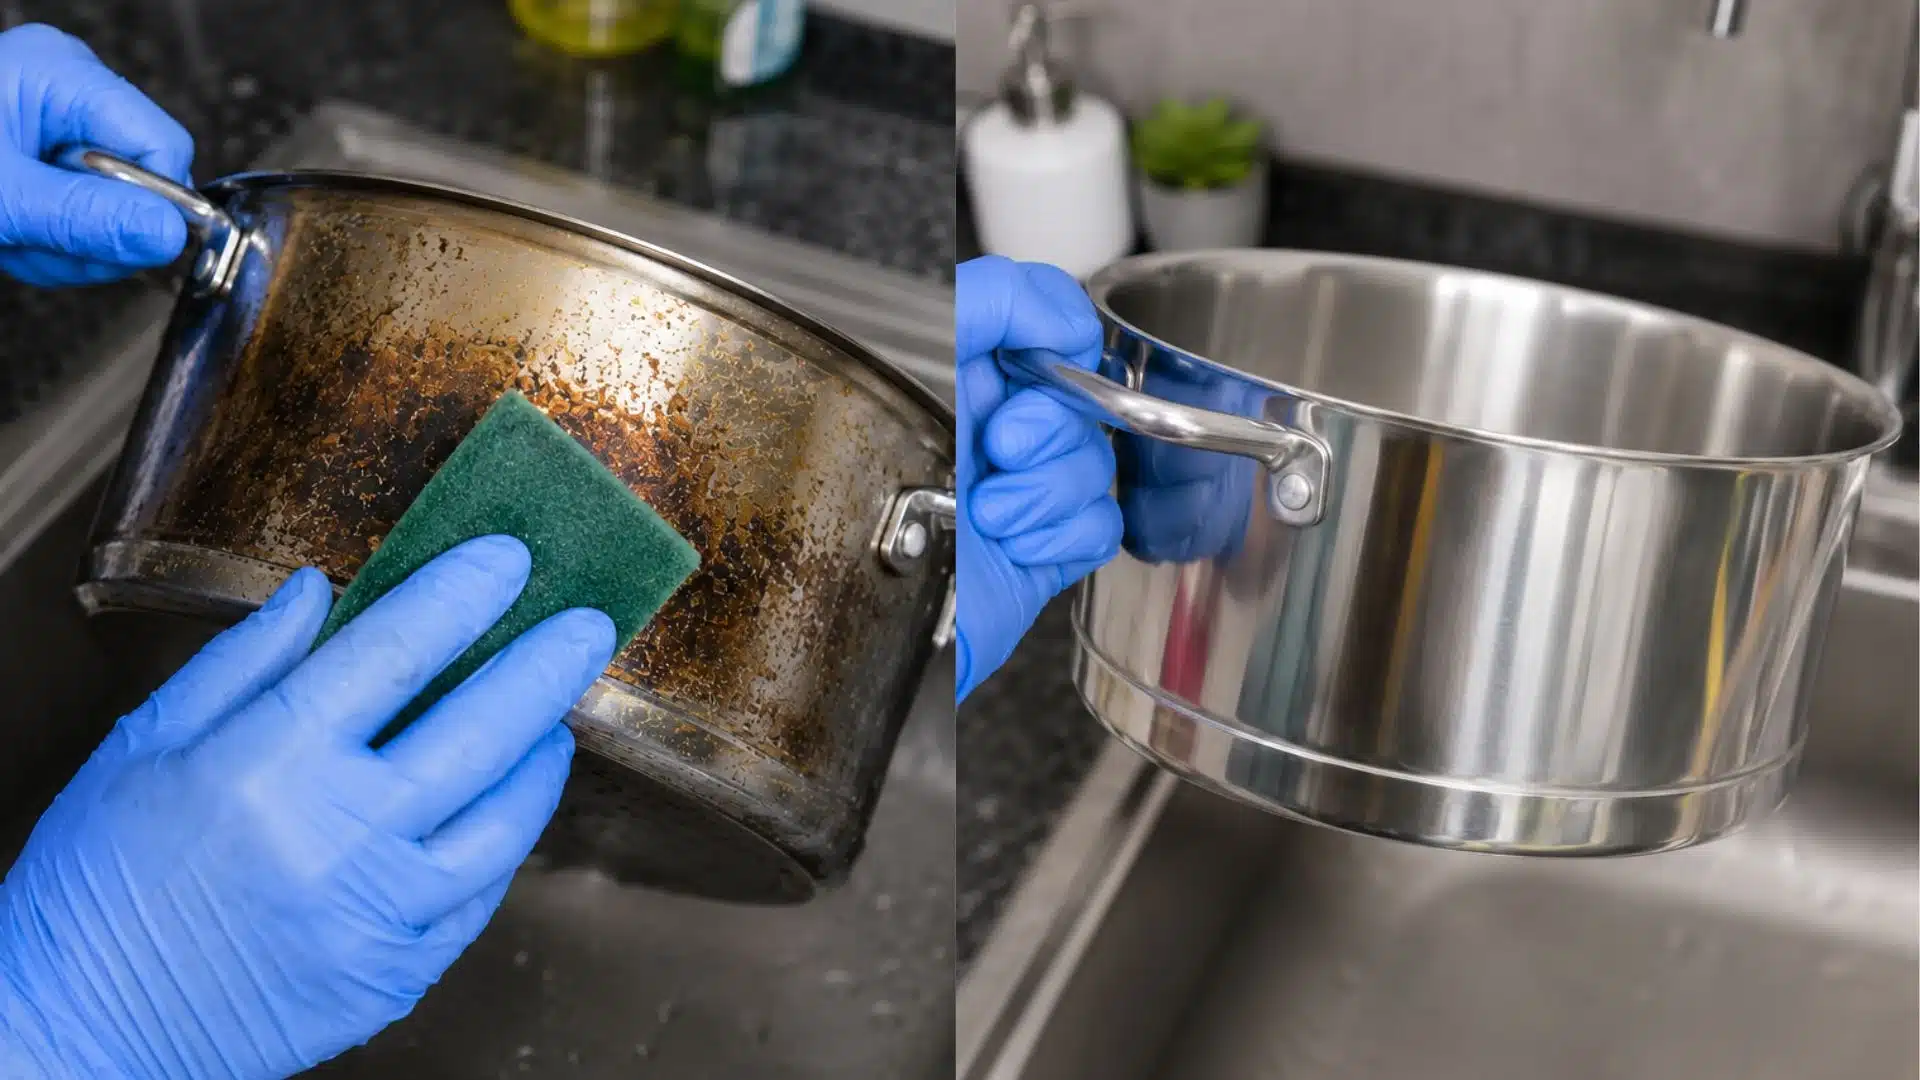
5. Steam Cleaning for Burnt Food and Heat Discoloration
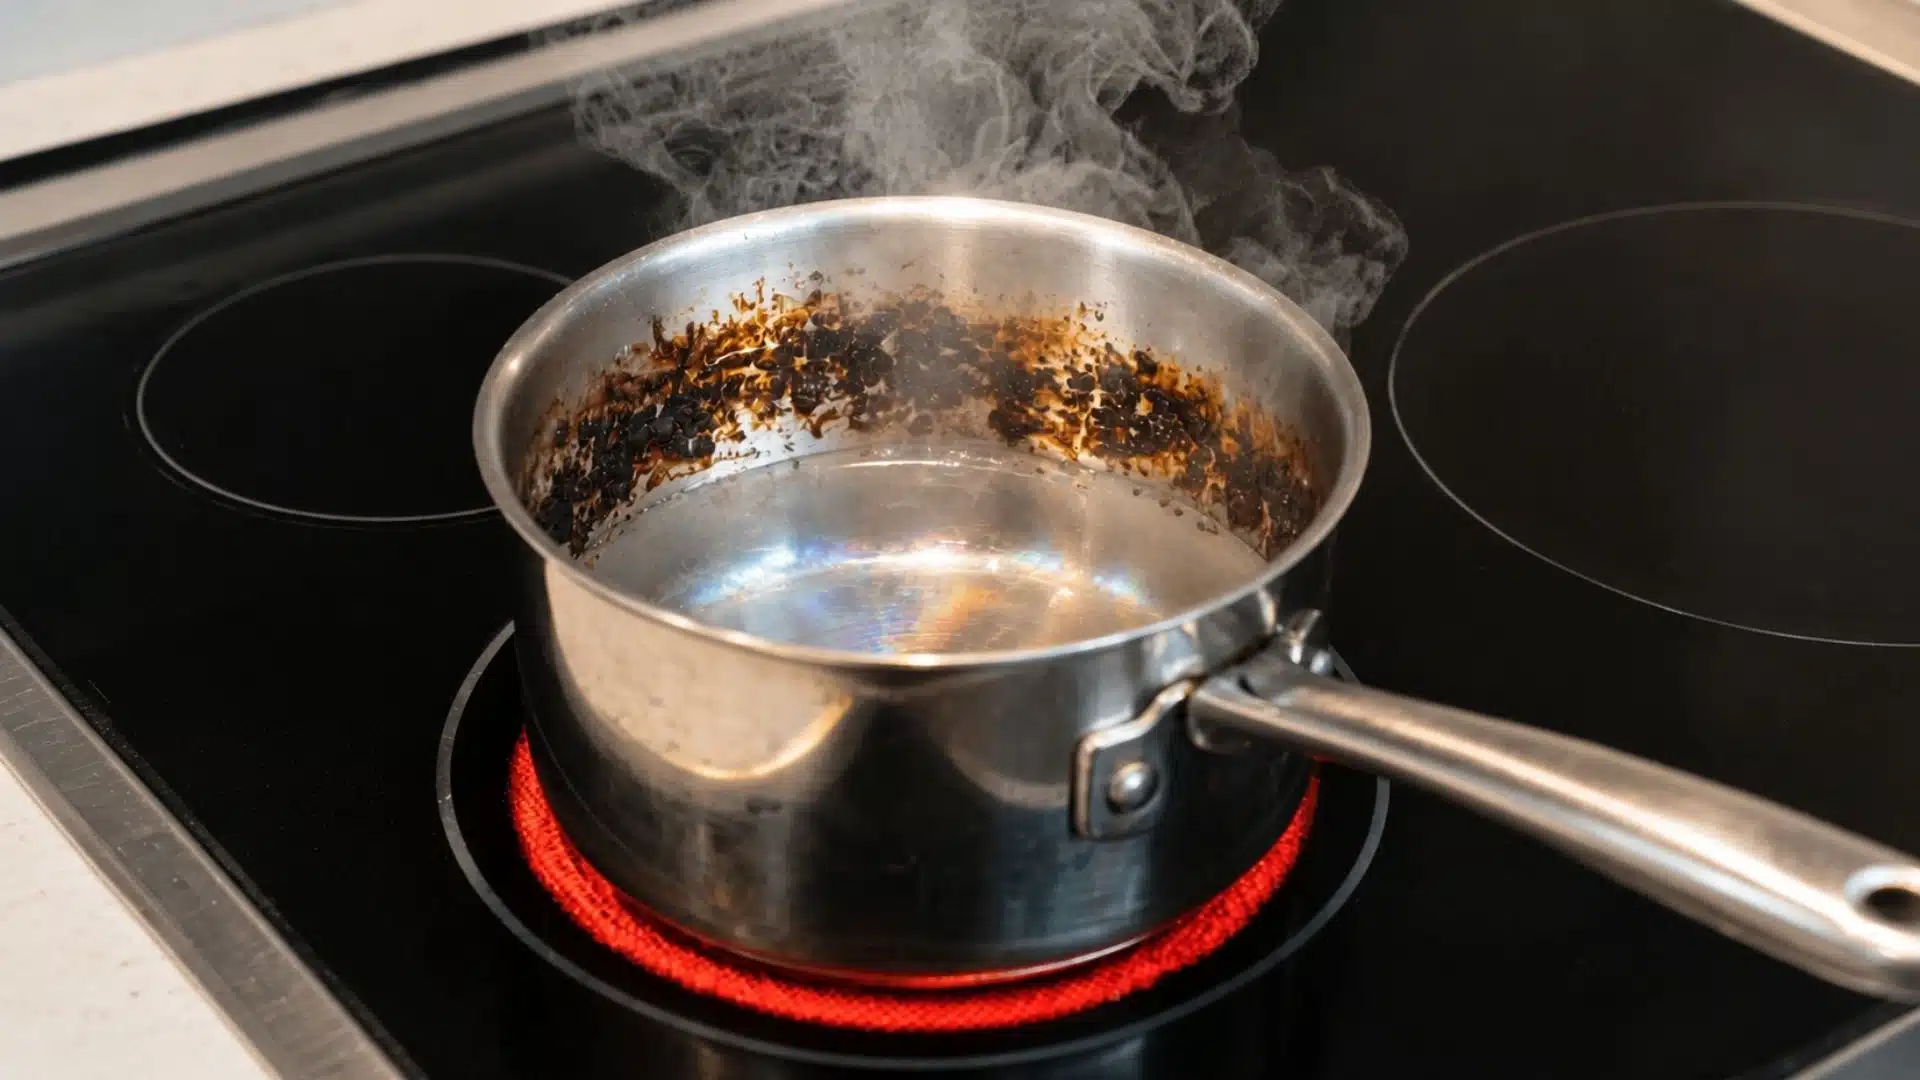
Burnt food and heat discoloration usually appear from overheated cookware, leaving pans on high heat, and allowing food residue to harden after cooking.
These stains often create dark marks and rainbow colored patches on stainless steel surfaces.
The method below uses heat and moisture to soften burnt residue, making cleanup easier.
Materials Needed
- Water
- White vinegar
- Soft sponge
- Microfiber cloth
- Stainless steel cookware
Step-by-Step Instructions
- Step 1: Fill the cookware with water and heat it gently until steam begins to form.
- Step 2: Let the hot water loosen burnt food residue from the stainless steel surface.
- Step 3: Add a small amount of vinegar to the cookware to help reduce heat discoloration.
- Step 4: Scrub gently with a soft sponge, following the grain of the steel carefully.
- Step 5: Rinse thoroughly, then dry the cookware immediately with a clean microfiber cloth.
Time Taken: 20 Minutes
Note: Do not use metal scrubbers or sharp cleaning tools on stainless steel cookware surfaces. Strong scrubbing pressure can create scratches and may darken heat discoloration marks further after cleaning.
Different Stainless Steel Finishes Need Different Cleaning Methods
Not every stainless steel surface reacts the same way during cleaning.
Some finishes show fingerprints quickly, while others collect grease, water spots, or dull marks more easily, depending on the surface texture and daily usage.
| Stainless Steel Type | Common Surface Problem | Best Cleaning Method |
|---|---|---|
| Brushed Finish | Fingerprints and dull streaks | Vinegar cleaning with a microfiber cloth |
| Polished Finish | Water spots and cloudy marks | Lemon juice cleaning and dry buffing |
| Matte Finish | Grease buildup and sticky residue | Baking soda paste cleaning |
| Satin Finish | Light smudges and oily marks | Dish soap cleaning with a soft cloth |
| Cookware Finish | Burnt food and heat discoloration | Steam cleaning with vinegar treatment |
Using proper cleaning methods for each stainless steel finish reduces scratches, patches, and uneven shine. Gentle habits also keep surfaces cleaner and smoother longer.
Natural vs. Commercial Stainless Steel Cleaners: Which Works Better?
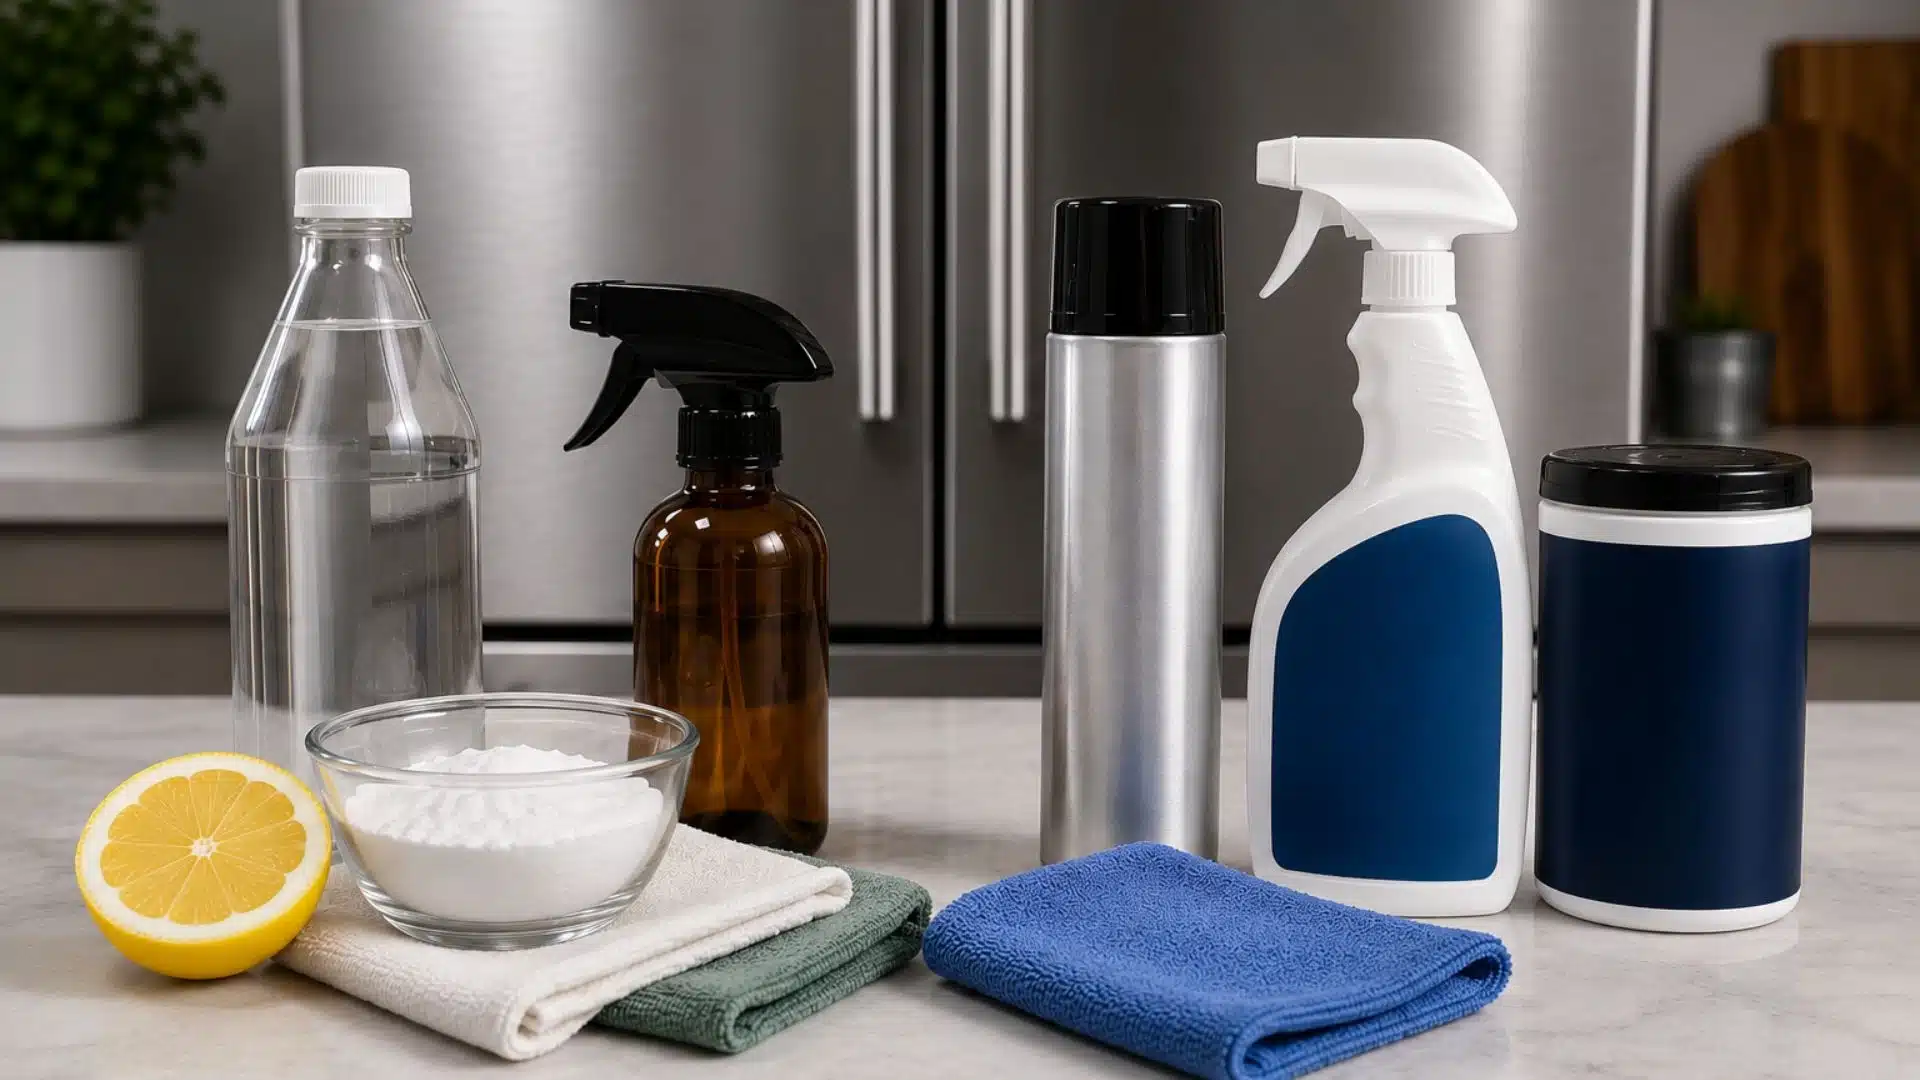
Choosing between natural and commercial stainless steel cleaners usually depends on the type of stain, surface condition, and required cleaning strength.
Some stains can be removed with household ingredients, but older buildup may require stronger cleaners.
Natural Cleaners: Best for everyday maintenance and light stains.
- Works well on fingerprints, water spots, and light grease.
- Vinegar, lemon juice, and baking soda clean gently without harsh chemicals.
- Safe for regular use without damaging the surface finish.
Commercial Cleaners: Best for stubborn buildup that household ingredients can’t shift.
- Handles heavy grease, burnt residue, and old discoloration faster.
- Leaves a polished finish after wiping.
- Many contain a light silicone or mineral oil component that actively repels fingerprints for a day or two, something natural cleaners can’t replicate.
The best cleaning method depends on the severity of the stain buildup and how often the stainless steel surface is cleaned. Regularly using gentle cleaning habits usually helps reduce the need for stronger cleaning products later.
Habits that Help Stainless Steel Stay Cleaner Longer
Always wipe in one direction with the grain, not against it. Even a quick wipe-down done this way consistently prevents the cross-hatched scratch pattern that makes surfaces look permanently dull.
Wash your microfiber cloths regularly.
A rough cloth has already started damaging the surface without you noticing.
Clean spills while they’re fresh; dried residue bonds more strongly to steel and requires more effort to remove.
Small habits done consistently matter more than occasional deep cleaning.
Wrap Up!
Seeing streaks, dull patches, or stubborn stains after cleaning your stainless steel surfaces?
The problem comes from using the wrong method on different stains. Fingerprints, grease, water spots, rust, sticky residue, and burnt food each require specific cleaning to prevent damage.
Learn to clean stainless steel by first identifying stains, then using the safest cleaning method for each one.
Small cleaning mistakes leave long-lasting marks.
Careful cleaning keeps stainless steel surfaces cleaner, smoother, and brighter for much longer.
Frequently Asked Questions (FAQ’s)
1. Can Vinegar Damage Stainless Steel Surfaces?
Vinegar is generally safe when used correctly and wiped away quickly, but long soaking should still be avoided.
2. Which Cloth Works Best for Stainless Steel Cleaning?
Soft microfiber cloths usually work best because they clean gently without scratching.
3. Can Baking Soda Scratch Stainless Steel Surfaces?
Baking soda is usually gentle, but rough scrubbing pressure may still damage the finish of the surface.
4. How Often Should Stainless Steel Appliances Be Cleaned?
Light cleaning several times each week helps stop stains from becoming harder to remove.

NKBA-certified designer Harper Williams holds a degree in Interior Architecture from Auburn University and has specialized in high-function kitchens and spa-inspired baths since 2011. She joined us in 2024 to simplify layout planning, fixture selection, and budget tricks for remodelers. Away from CAD files, Harper restores vintage cookstoves and crafts small-batch soaps.