
Have you ever looked at a room in your house and felt like it was missing a little spark? An accent wall might be exactly what you need!
Put simply, an accent wall is just one wall in a room designed to look different from the others. Homeowners love them because they add instant style and personality to a boring space without being overwhelming.
The best part? It is the fastest way to completely refresh any room in your house. You do not need a huge budget or fancy tools.
These makeovers are totally beginner-friendly, budget-friendly, and can easily be finished in just one or two weekends.
In this guide, I am going to share the absolute best DIY accent wall ideas to inspire your next project.
I will cover fun methods for painting accent walls, gorgeous bedroom accent wall ideas in a DIY style, and simple tips to make your project a success.
Let’s dive in!
Quickest & Easiest DIY Accent Wall Ideas
Looking for a quick and easy idea to apply to your accent wall soon? This list will give you an idea of what might look good in your room.
1. Single Bold Color Paint Wall
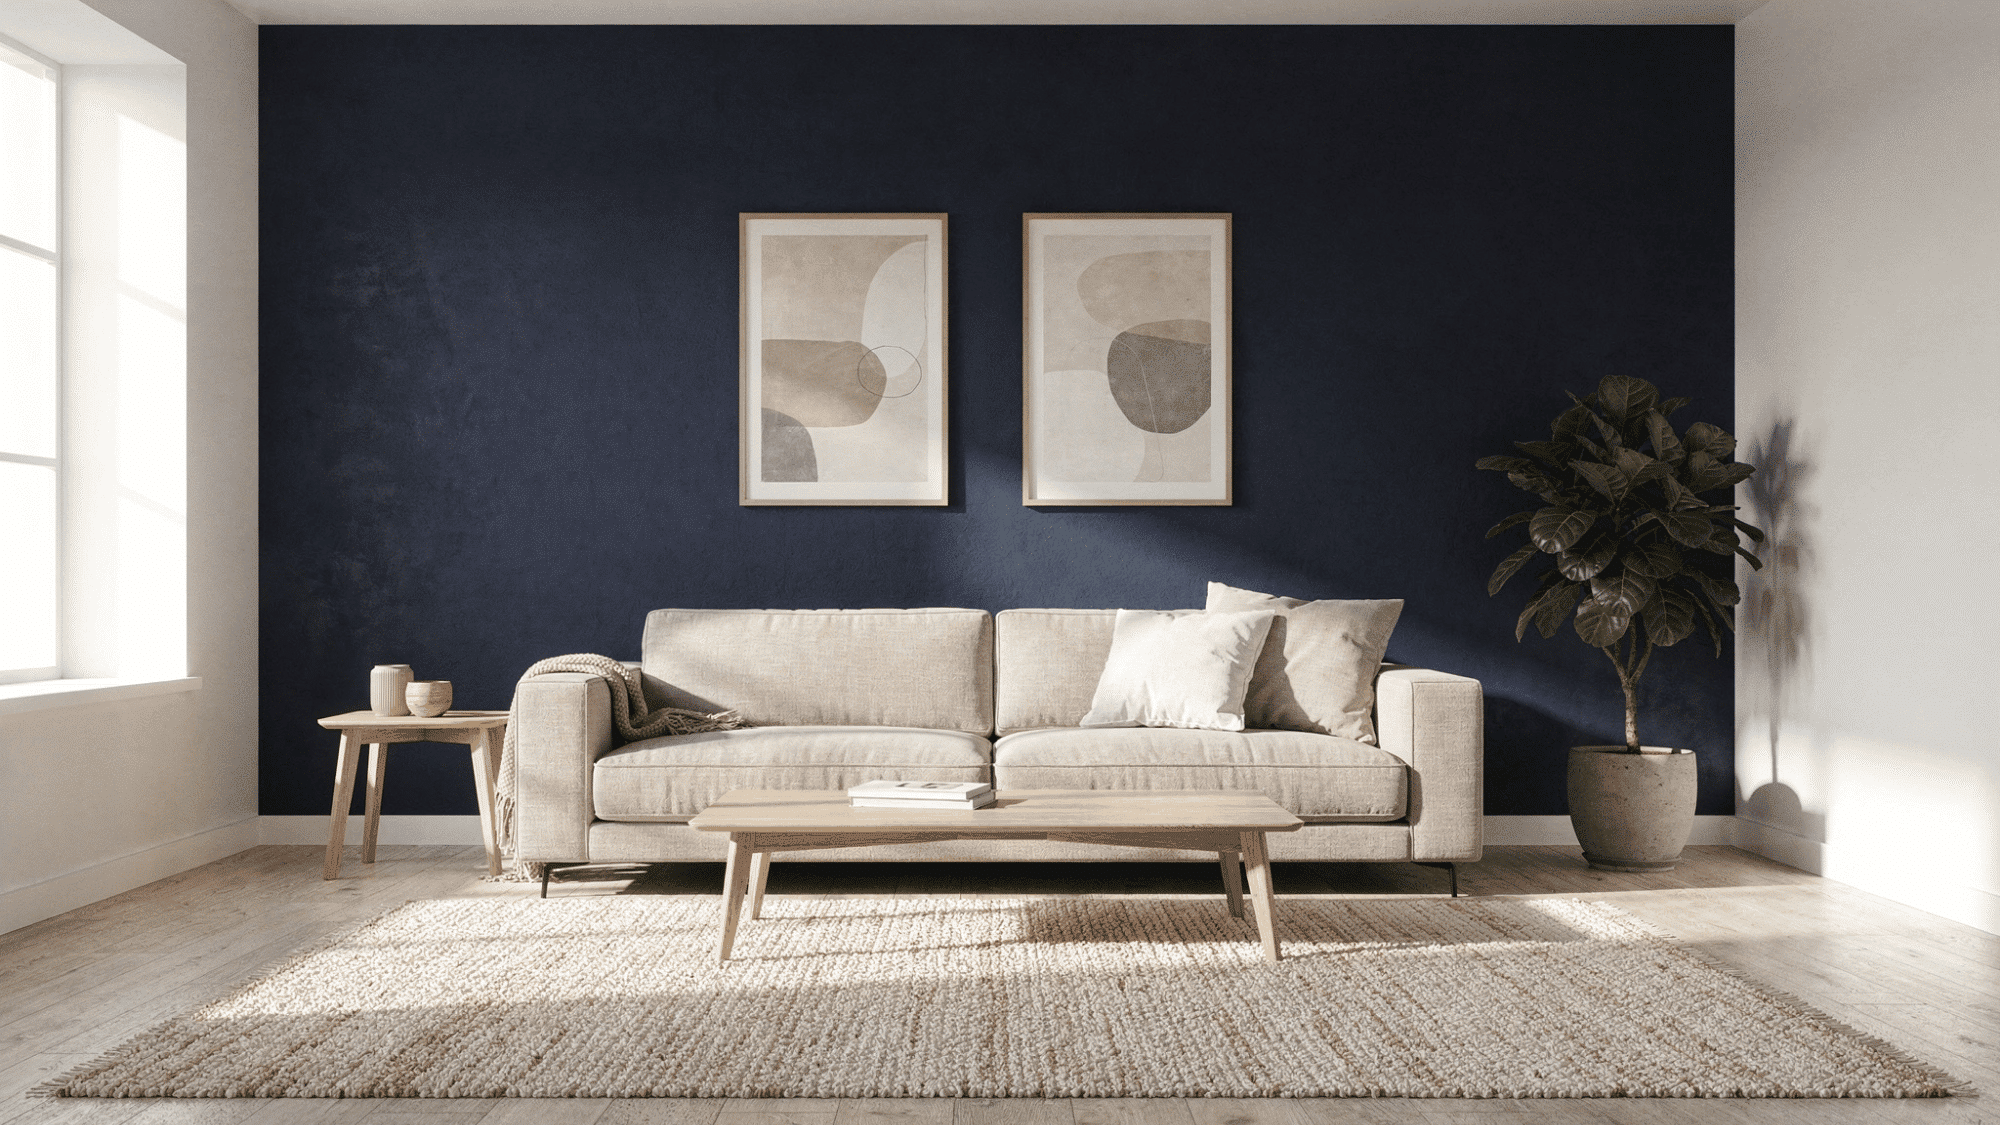
A single bold color-painted wall is the ultimate beginner-friendly project that can completely transform your space in just one weekend.
When choosing your color, remember that darker shades create a moody, dramatic impact, while lighter tones help a room feel much more spacious.
This technique works beautifully in bedrooms, home offices, or right behind your living room sofa.
For the absolute best visual impact, pro decorators recommend choosing a solid wall that doesn’t have any doors or major windows breaking up the space.
2. Peel and Stick Wallpaper
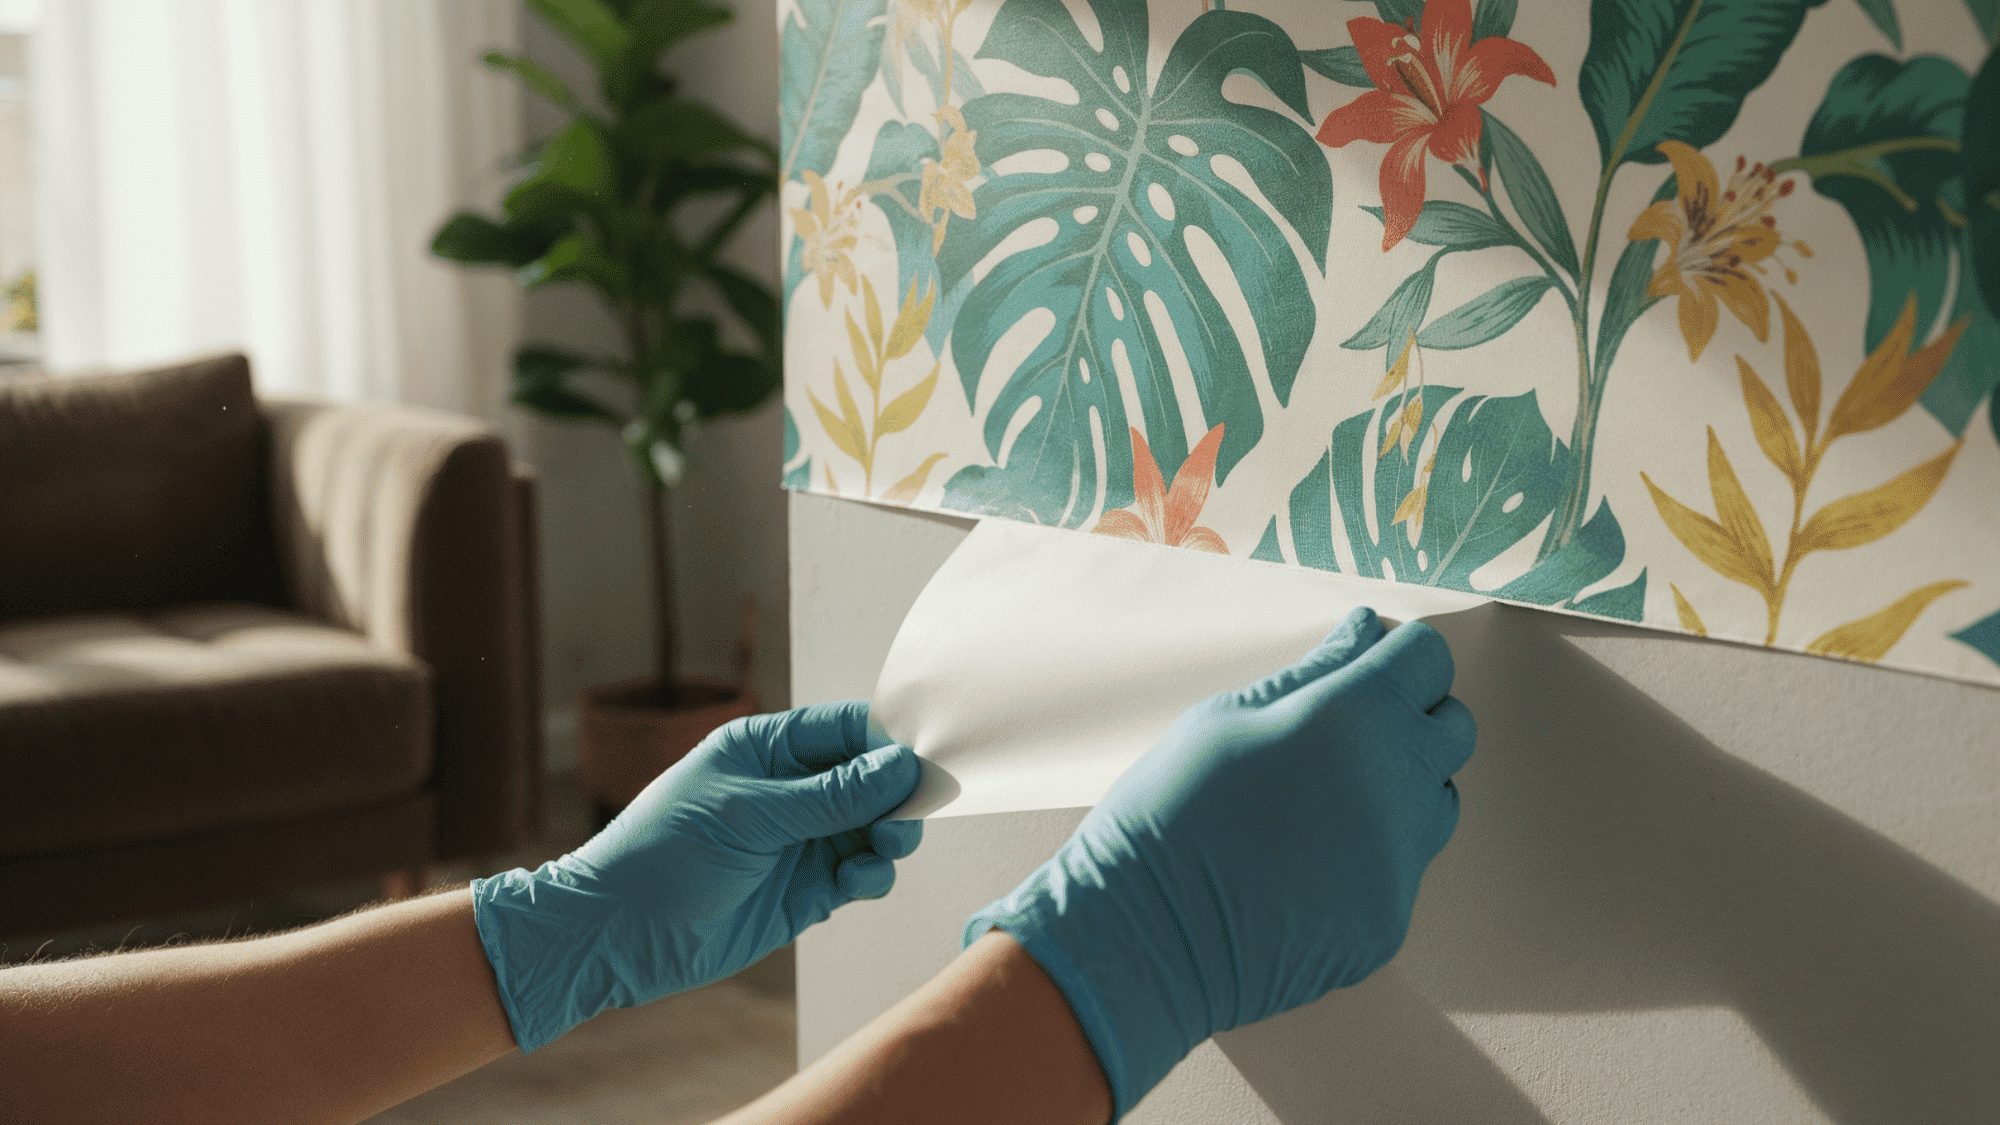
If you want a massive transformation without the long-term commitment, peel-and-stick wallpaper is your best friend.
This beginner-friendly project can easily be finished in a single day and requires absolutely no messy prep work.
Because it is completely temporary and peels right off, it is the perfect solution for renters or indecisive decorators who love changing their minds.
With endless patterns available, it works wonders in high-traffic rooms where you want to make a big, stylish statement without any permanent consequences.
3. Simple Painted Stripes
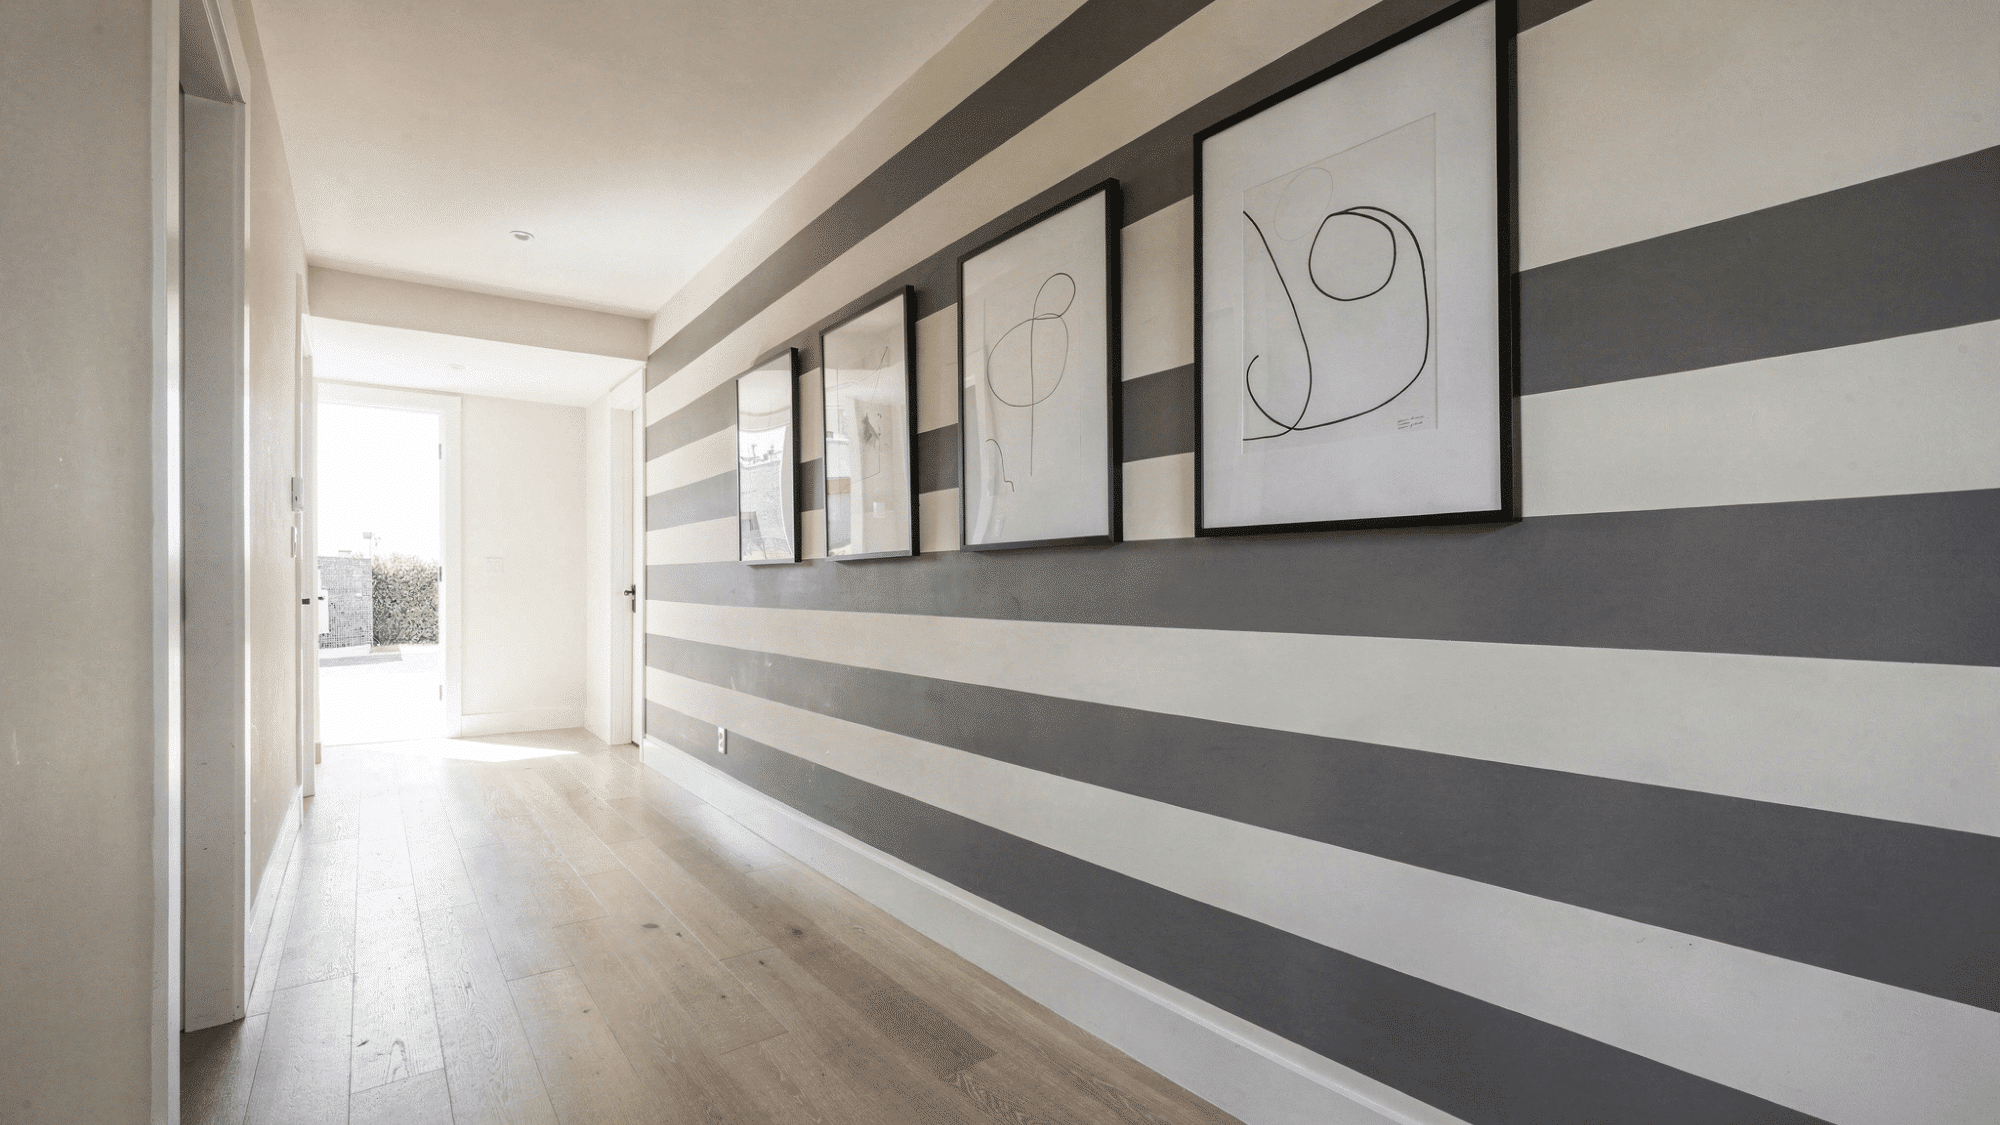
Creating simple painted stripes is a fantastic beginner to intermediate project that takes just one or two days using painter’s tape and two complementary colors. This trick plays beautifully with room psychology.
Horizontal stripes visually expand narrow spaces to make them feel wider, while vertical lines draw the eyes upward to create the illusion of taller ceilings.
Even if you want to elongate a cramped hallway, brighten up an entryway, or add a playful touch to a bedroom, painted stripes offer a high-impact, custom look.
4. Geometric Shapes (Diamonds, Hexagons, Chevrons)
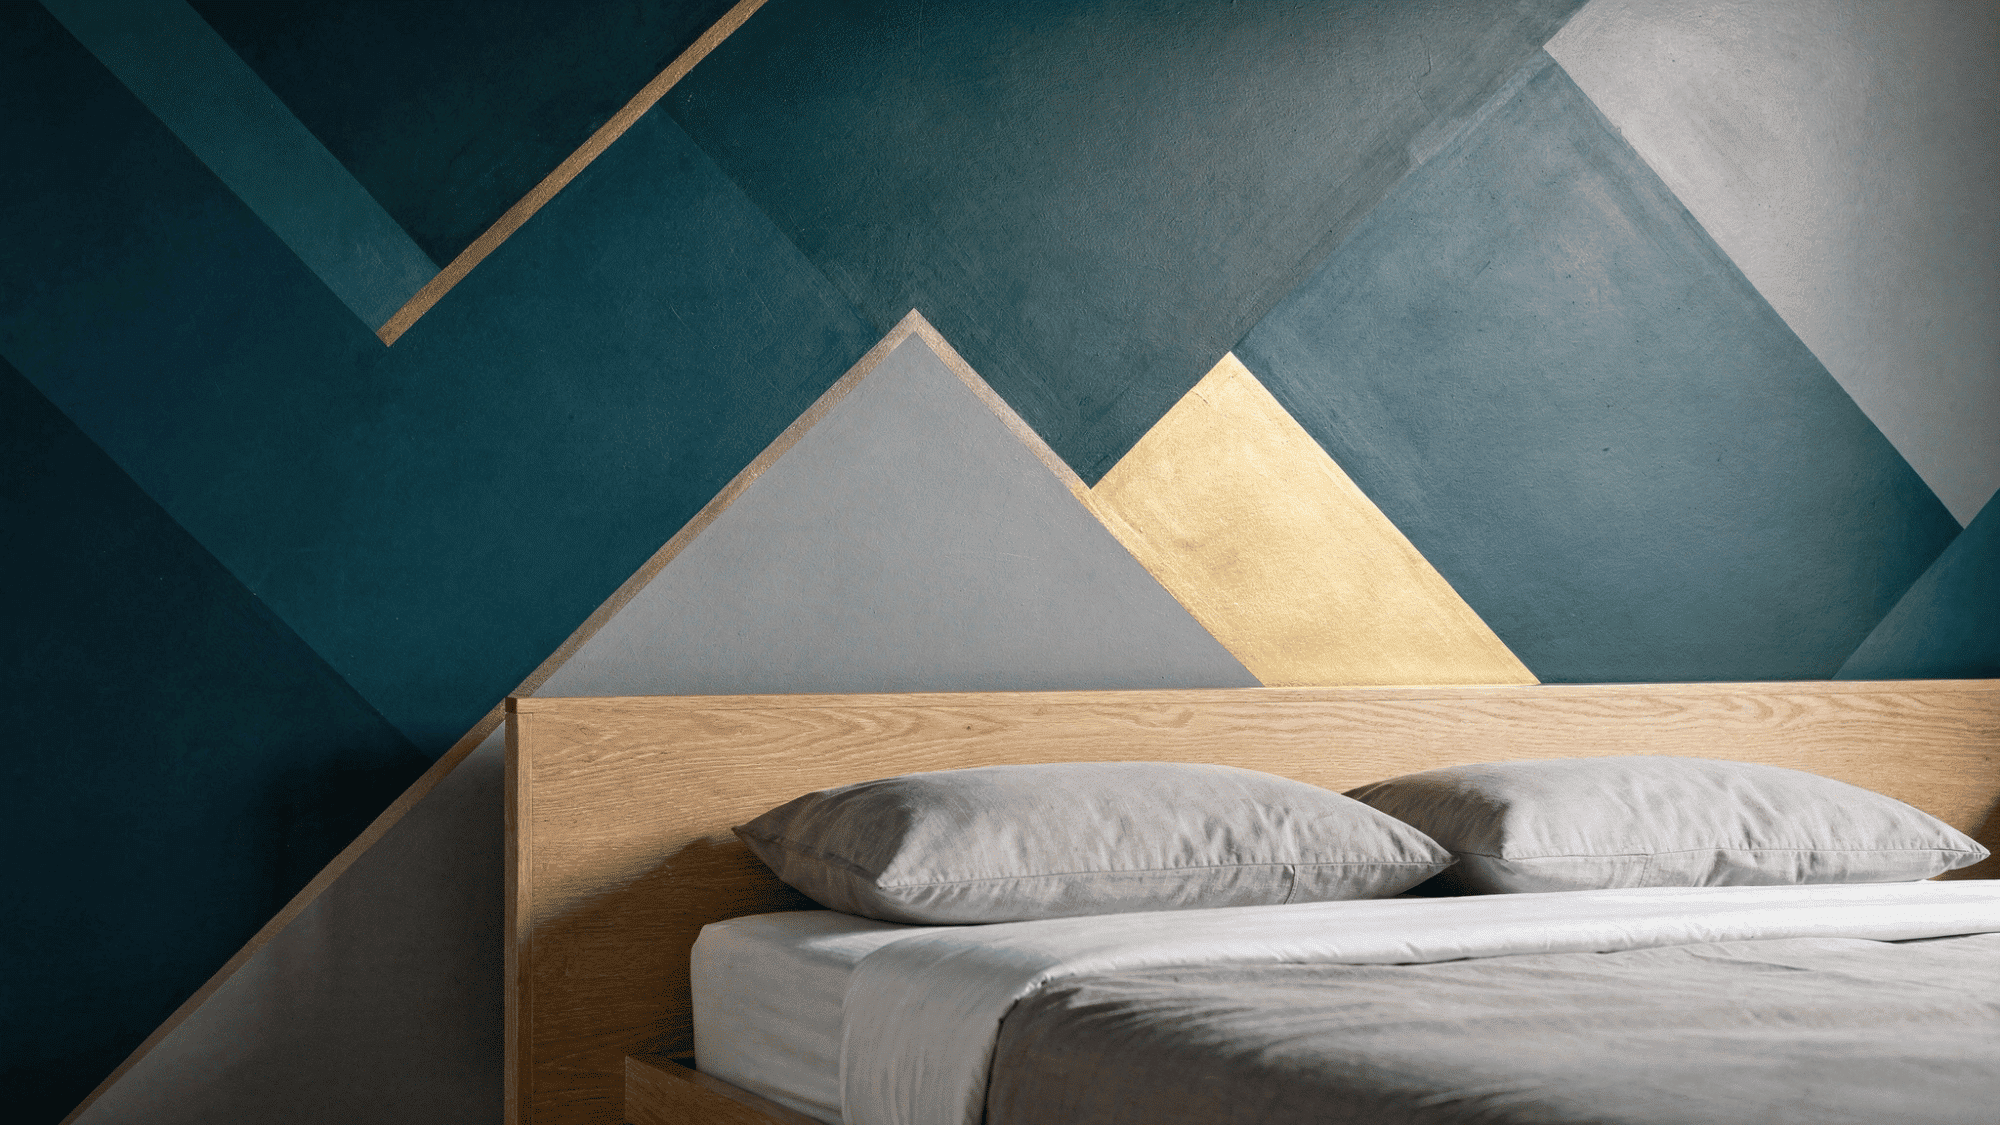
For a modern appeal that creates incredible depth without relying on busy wallpaper patterns, try painting geometric shapes like diamonds, hexagons, or chevrons.
This intermediate project usually takes one or two weekends to complete. All you need is some trusty painter’s tape, a level, a pencil, and two or three of your favorite paint colors.
It is an incredibly fun way to bring structural art to life, making it a fantastic choice for giving bedrooms, living rooms, and kids’ playrooms a fresh, contemporary energy.
5. Wood Slat or Shiplap Wall
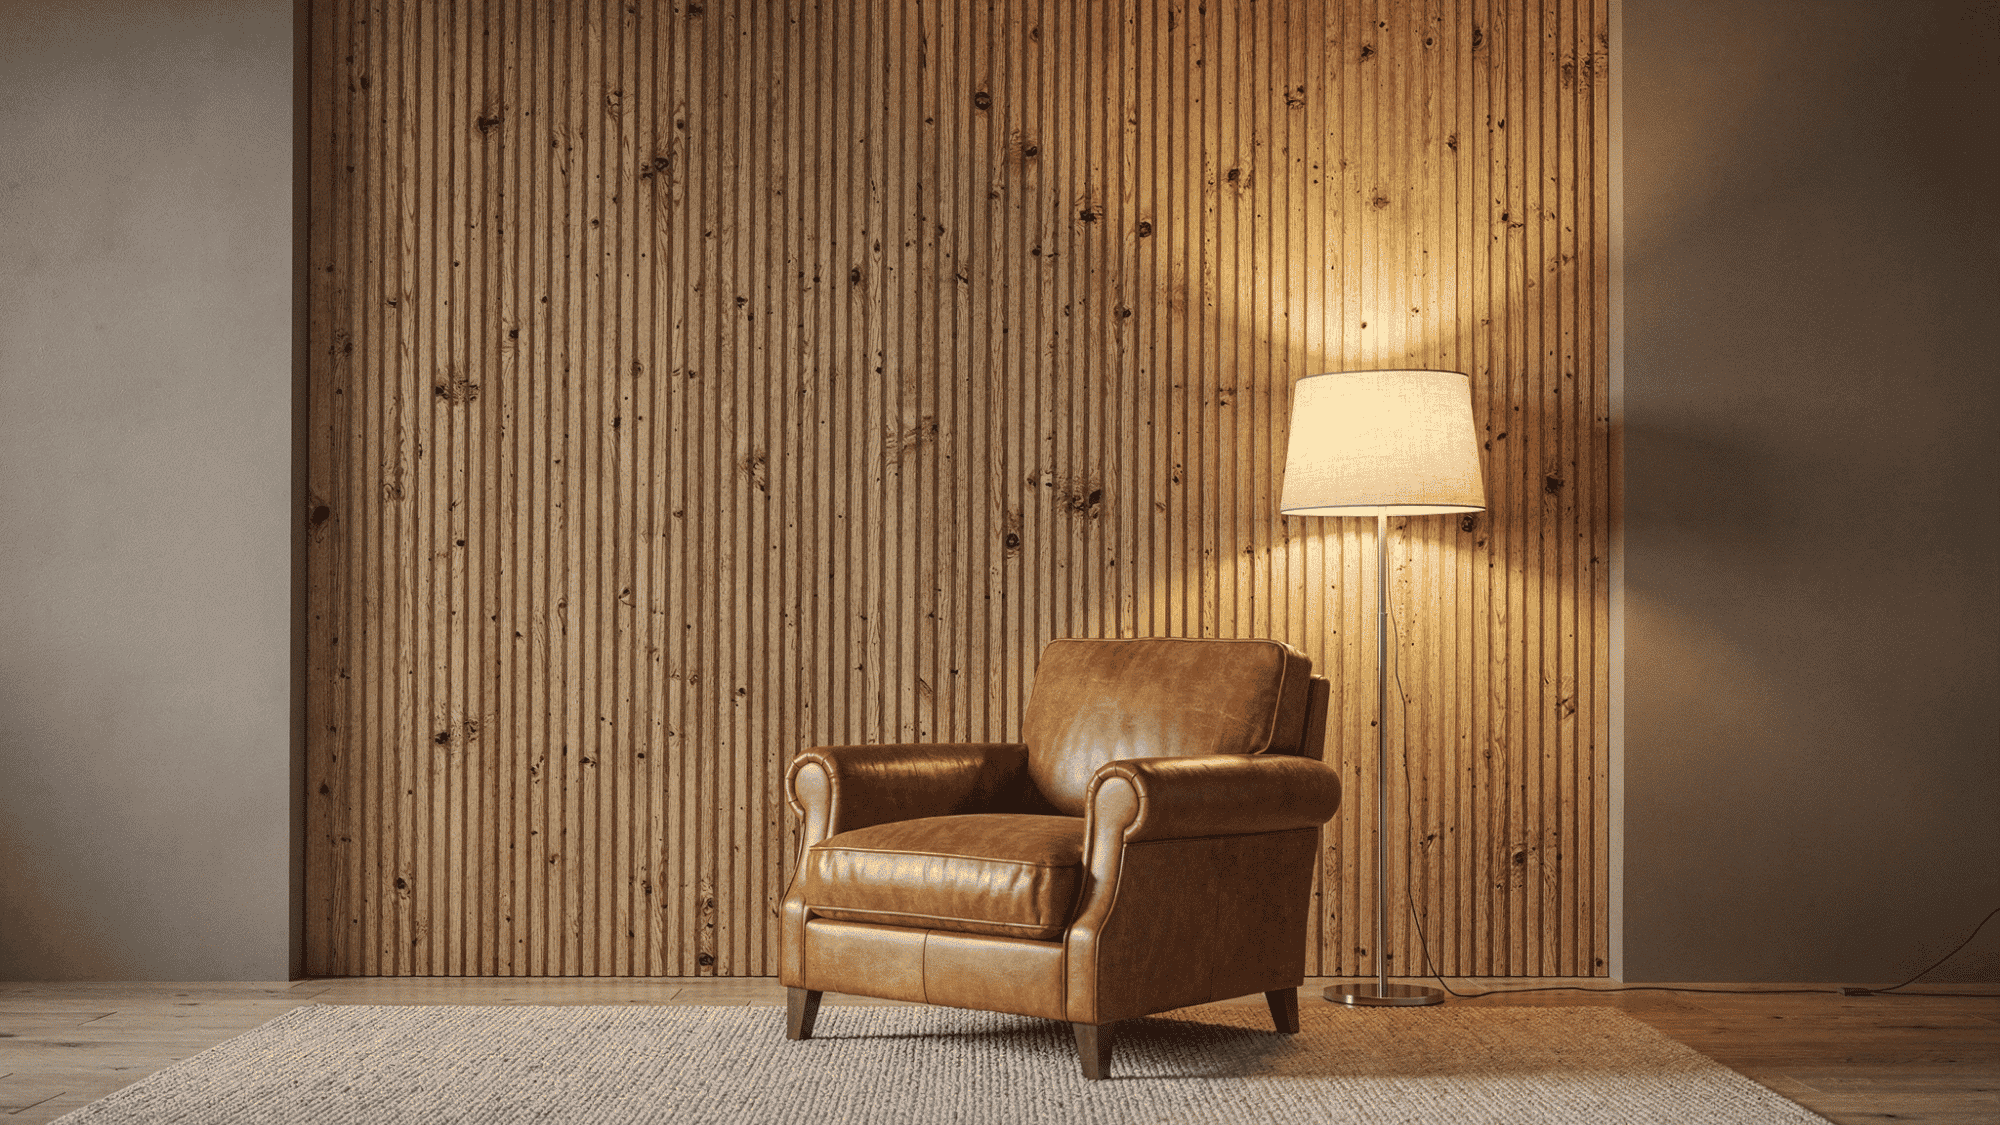
Adding a wood slat or shiplap wall instantly brings warmth, rich texture, and architectural interest to any boring room. Taking about one or two weekends, this intermediate project does require some basic carpentry skills.
You can completely customize the look by choosing from authentic real wood, beautifully aged reclaimed wood, or even budget-friendly MDF boards.
It is the absolute perfect way to introduce a cozy, rustic, or modern farmhouse vibe into your bedrooms, welcoming entryways, and family living spaces.
6. Faux Exposed Brick Wall
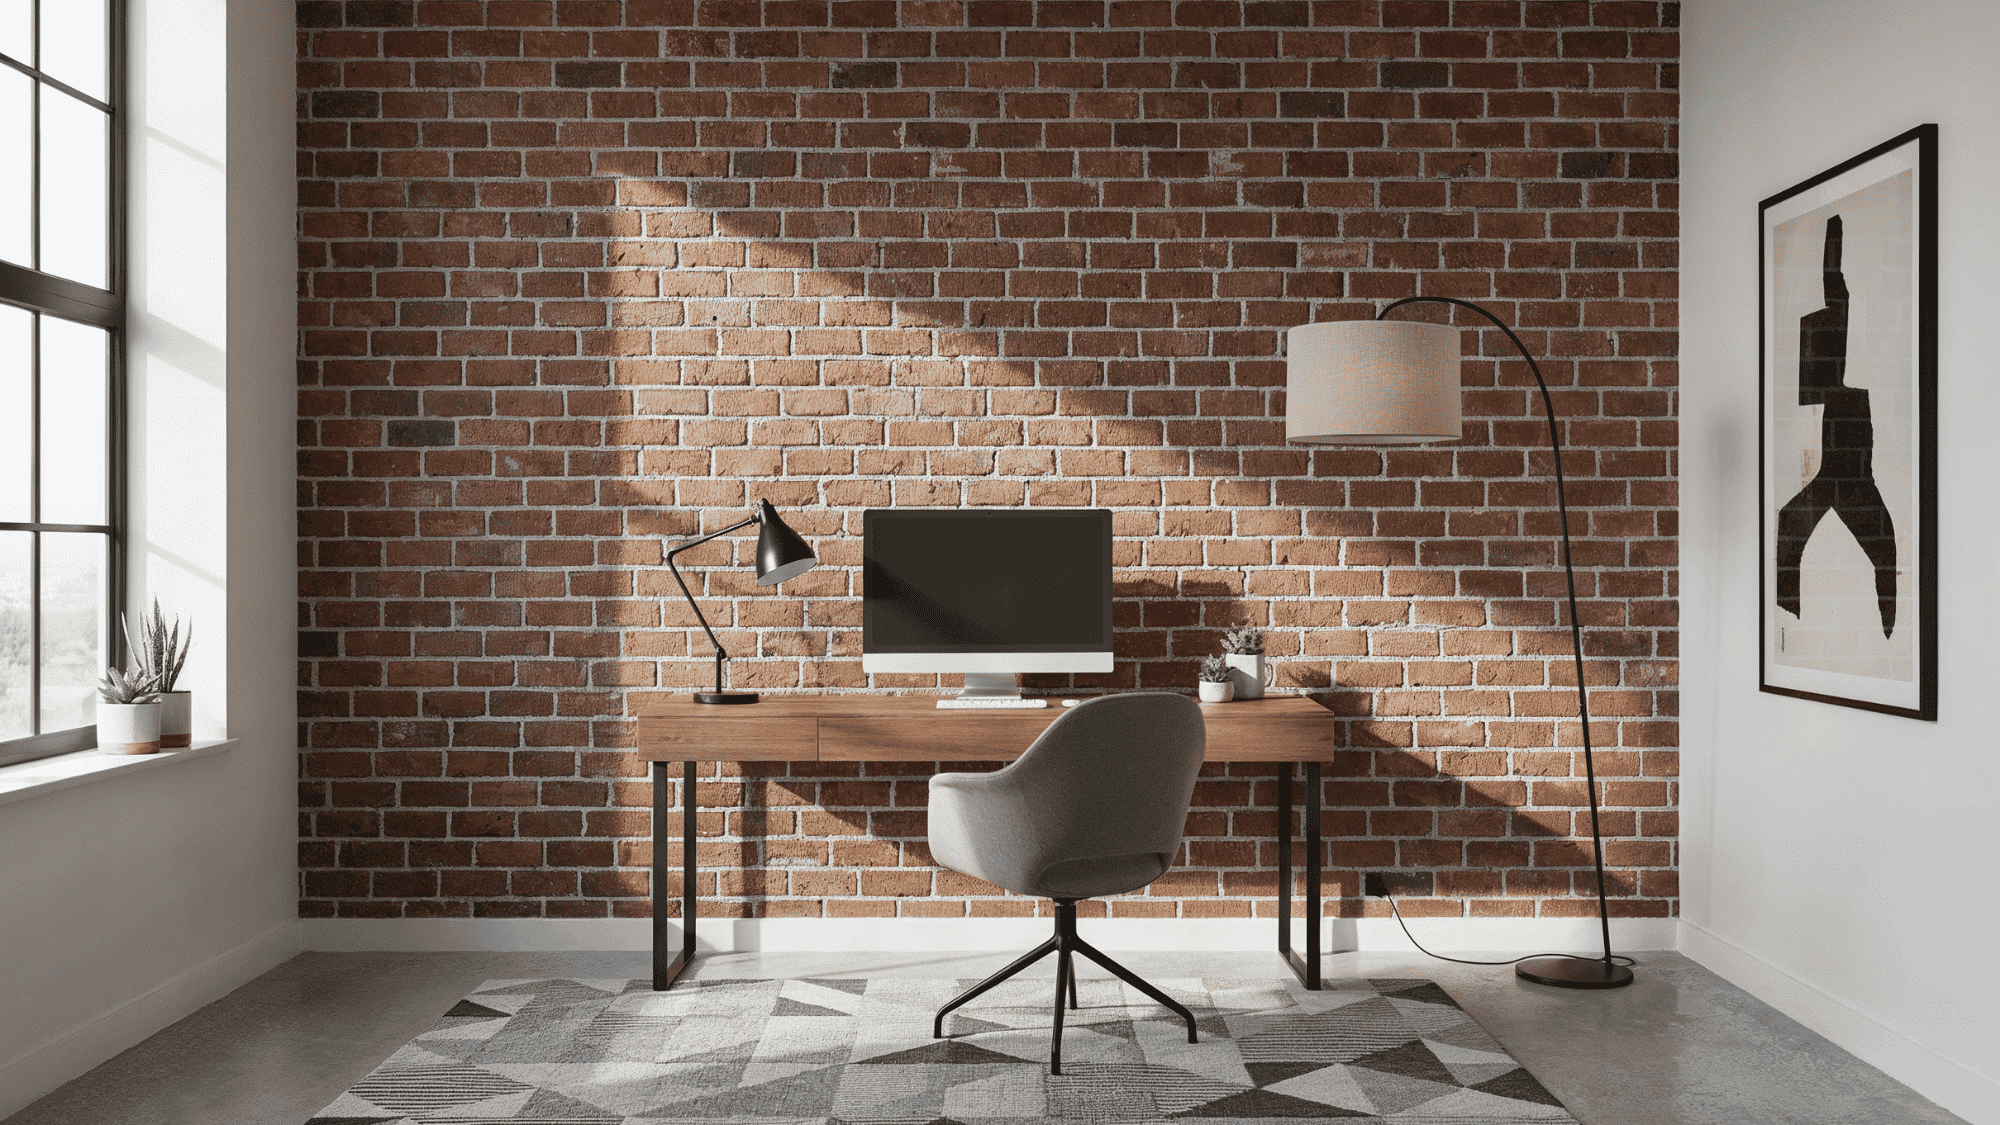
Have you always dreamed of having an edgy, historic loft aesthetic? A faux exposed brick wall brings that urban, industrial vibe right into your home without the need for heavy real masonry or messy mortar.
This intermediate weekend project uses interlocking faux brick or stone panels, applied with construction adhesive and a brad nailer (you will also need a saw for custom cuts).
It is a show-stopping upgrade that looks incredibly authentic in living rooms, dining areas, home offices, and basement dens.
7. Classic Board and Batten
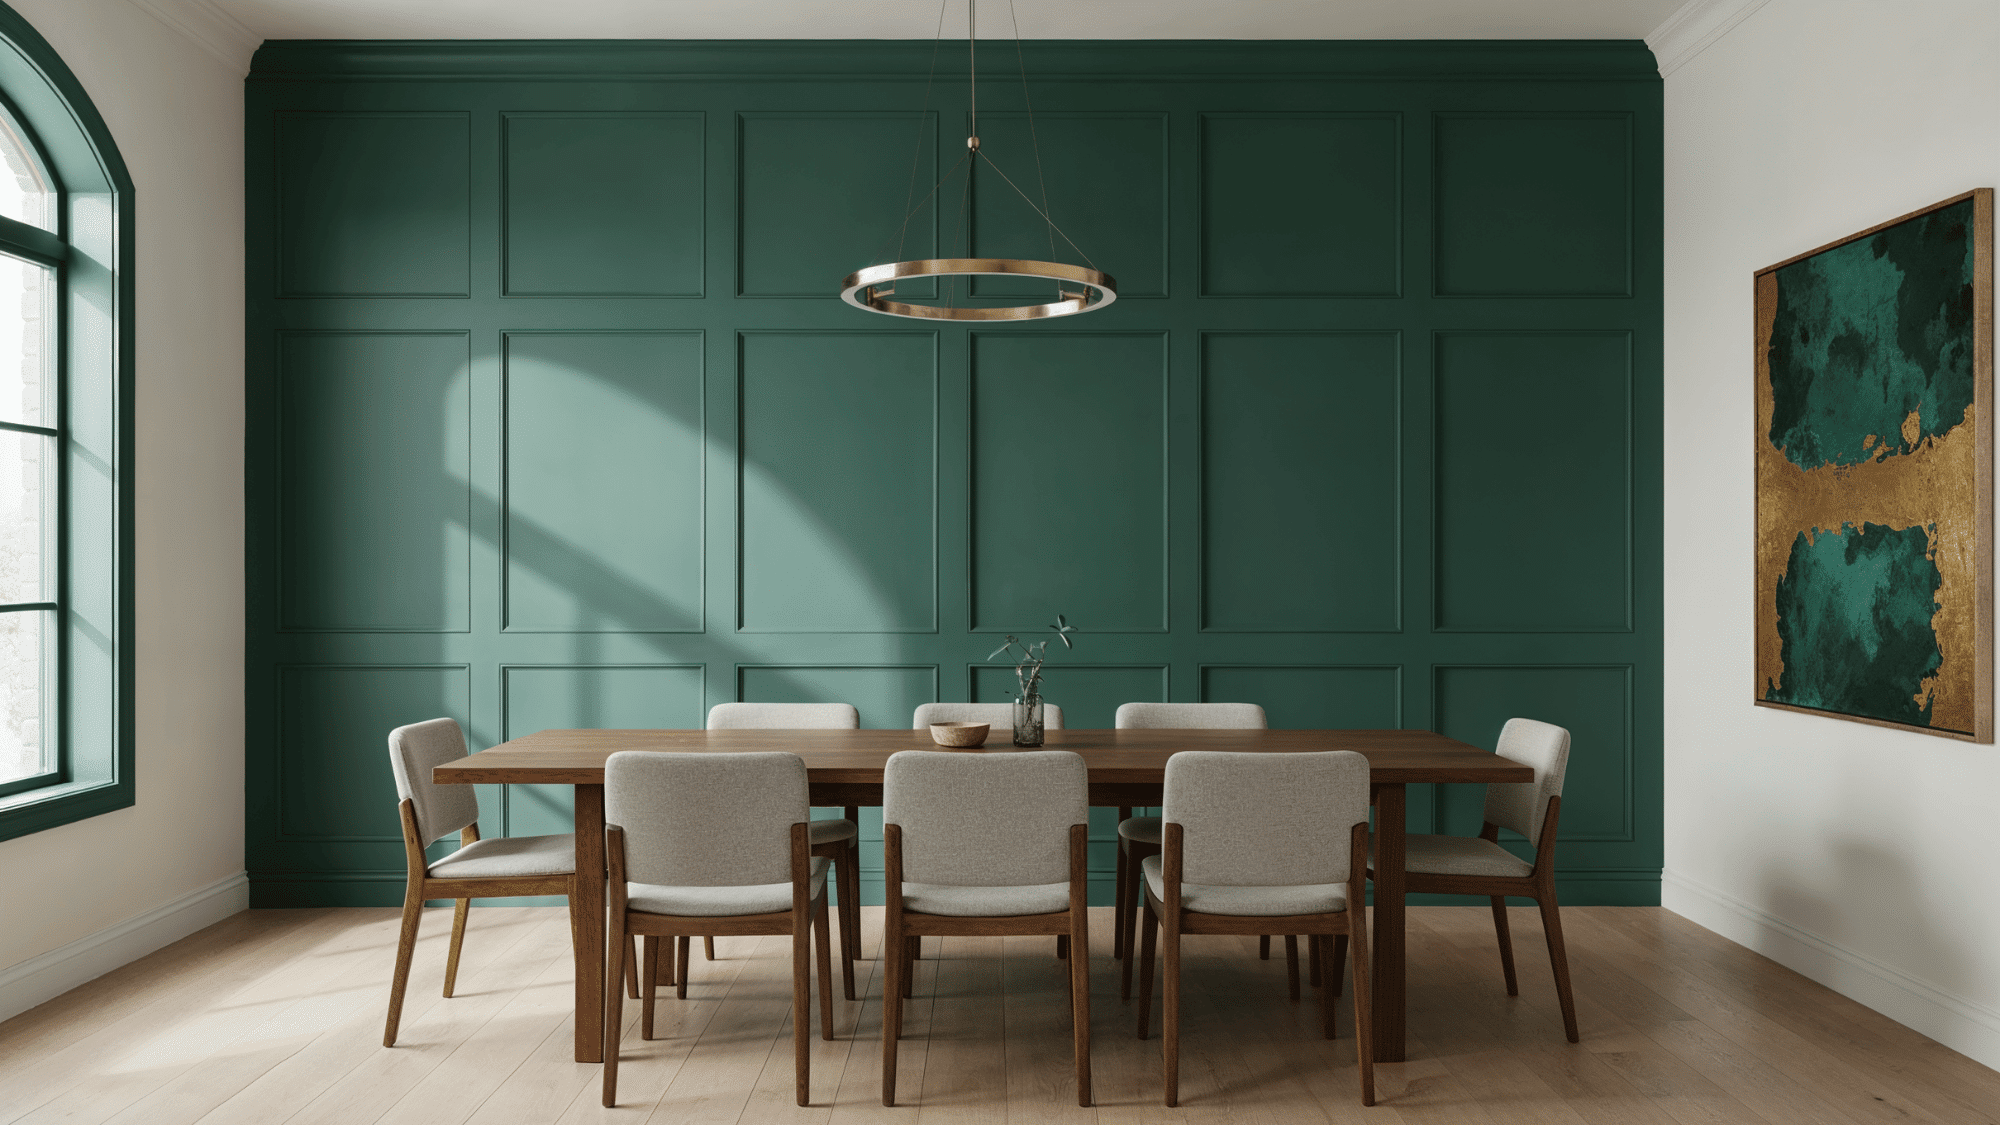
Installing classic board and batten is an intermediate project that adds traditional elegance and stunning 3D architectural structure to flat, boring walls over just one or two weekends.
While it requires careful measuring and basic wood cuts, the custom-built-in look is entirely worth the effort.
For a truly high-end, modern finish, our favorite pro tip is to paint both the wood trim and the wall behind it the exact same rich color, like a dark green or navy. It looks breathtaking in dining rooms and master bedrooms.
8. Limewash or Roman Clay Texture
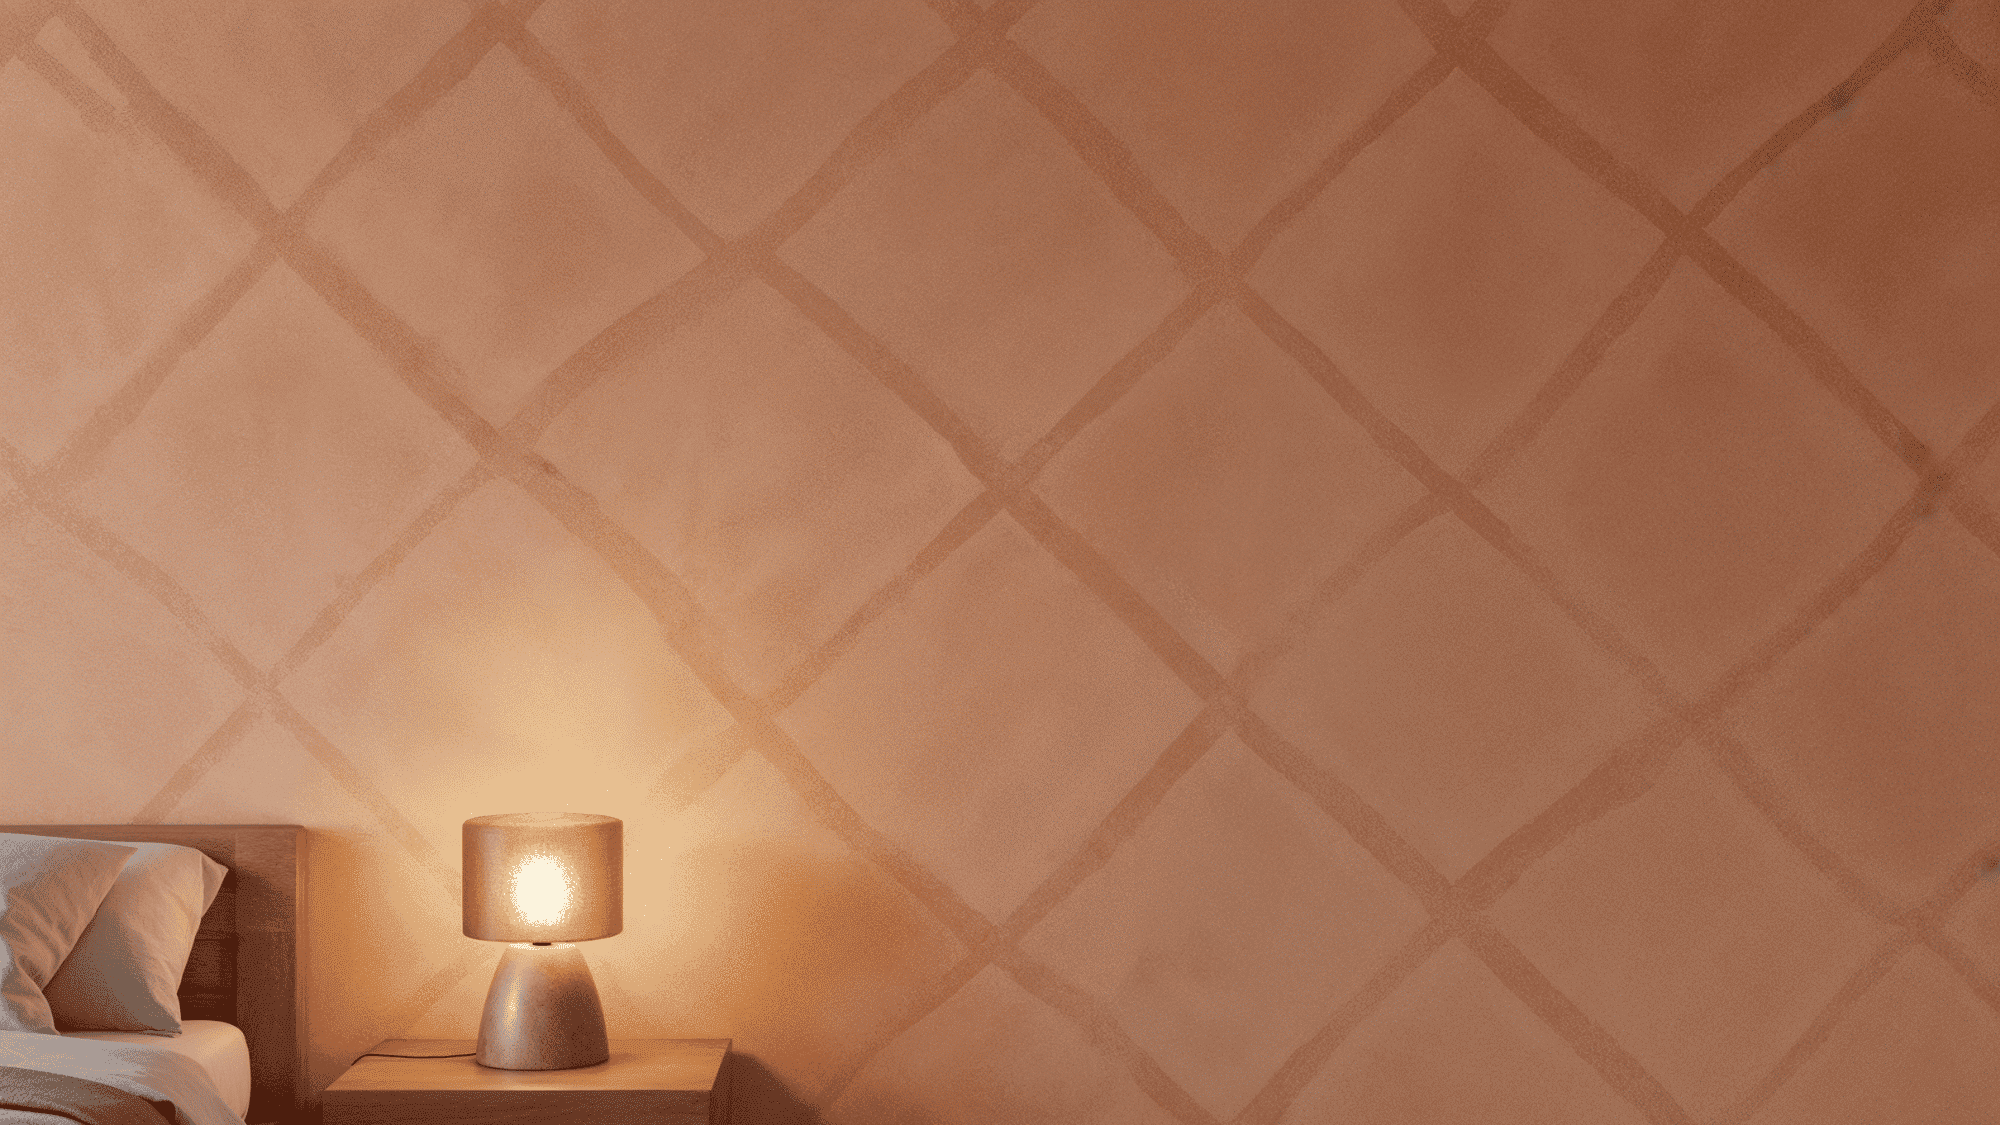
If you love an earthy, organic aesthetic, a limewash or Roman clay texture is a beautiful weekend project for beginners and intermediate DIYers.
Instead of rolling on standard paint, you apply this finish with a wide masonry brush using sweeping, crisscross “X” strokes.
This unique application creates a soft, suede-like, cloudy texture with an incredible depth that shifts beautifully depending on how the light hits it.
It brings an unparalleled sense of calm and warmth to bedrooms, cozy living rooms, and even spa-like bathrooms.
9. Chalkboard Paint Wall
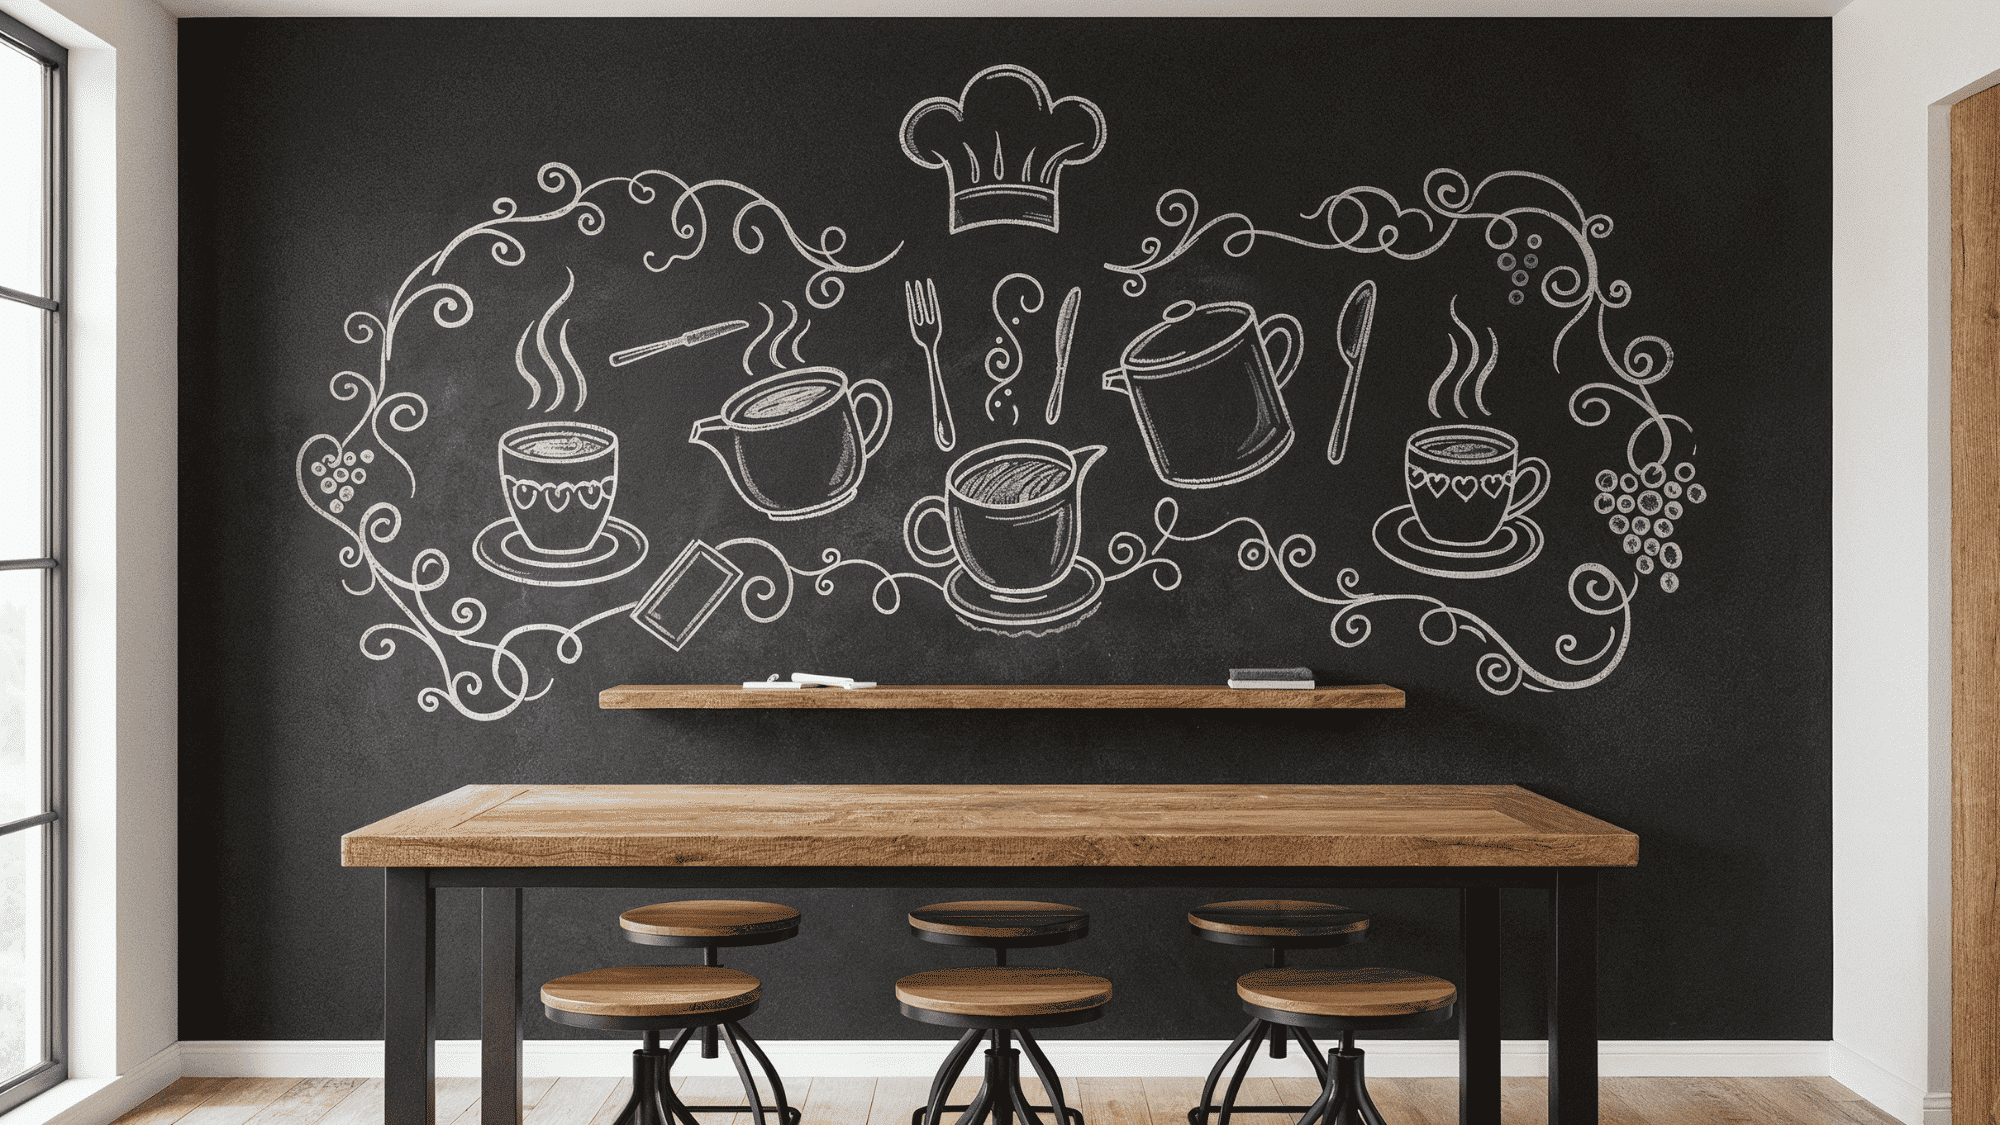
A chalkboard paint wall turns a standard, static wall into a highly functional, interactive, and constantly changing canvas.
This brilliant beginner project takes just a day or two and is perfect for displaying grocery lists, daily schedules, or fun family art.
For the best results, always remember this crucial maintenance tip: “season” the wall after the paint dries by rubbing a piece of chalk sideways over the entire surface and wiping it off to prevent permanent ghosting.
It is incredibly practical for kitchens, playrooms, and mudrooms.
10. Ombre and Gradient Walls
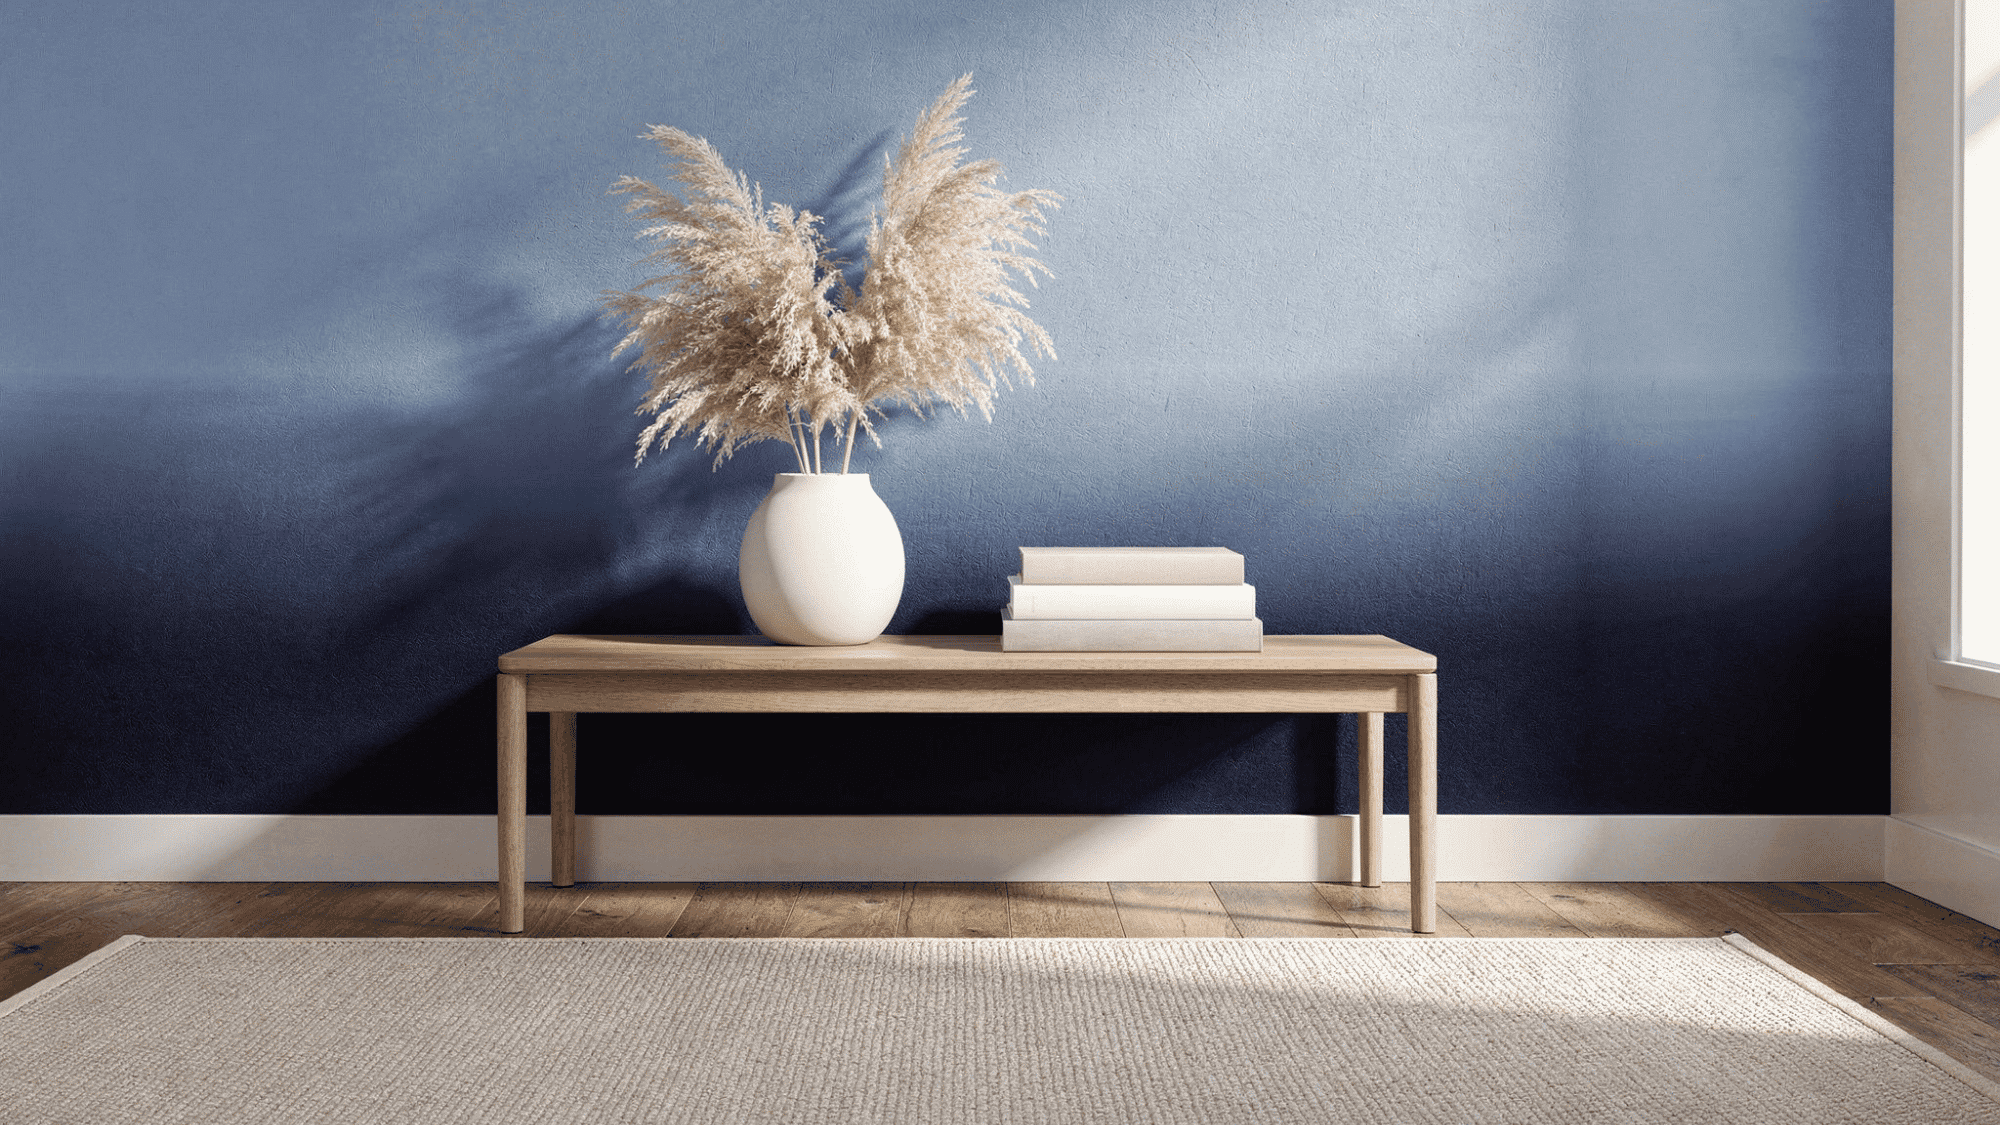
An ombre or gradient wall creates a deeply luxurious, artistic feel using a single-color theme.
By taking three to four shades of the same color family, from darkest to lightest, you blend them seamlessly up the wall using a sponge or cloth.
While this blending technique has a slightly more advanced learning curve, it is highly visual and very YouTube-friendly to learn.
The dreamy, fading color effect is perfect for creating a calming atmosphere in bedrooms or setting a dramatic, show-stopping mood in your living room.
11. Faux Finish Wallpaper
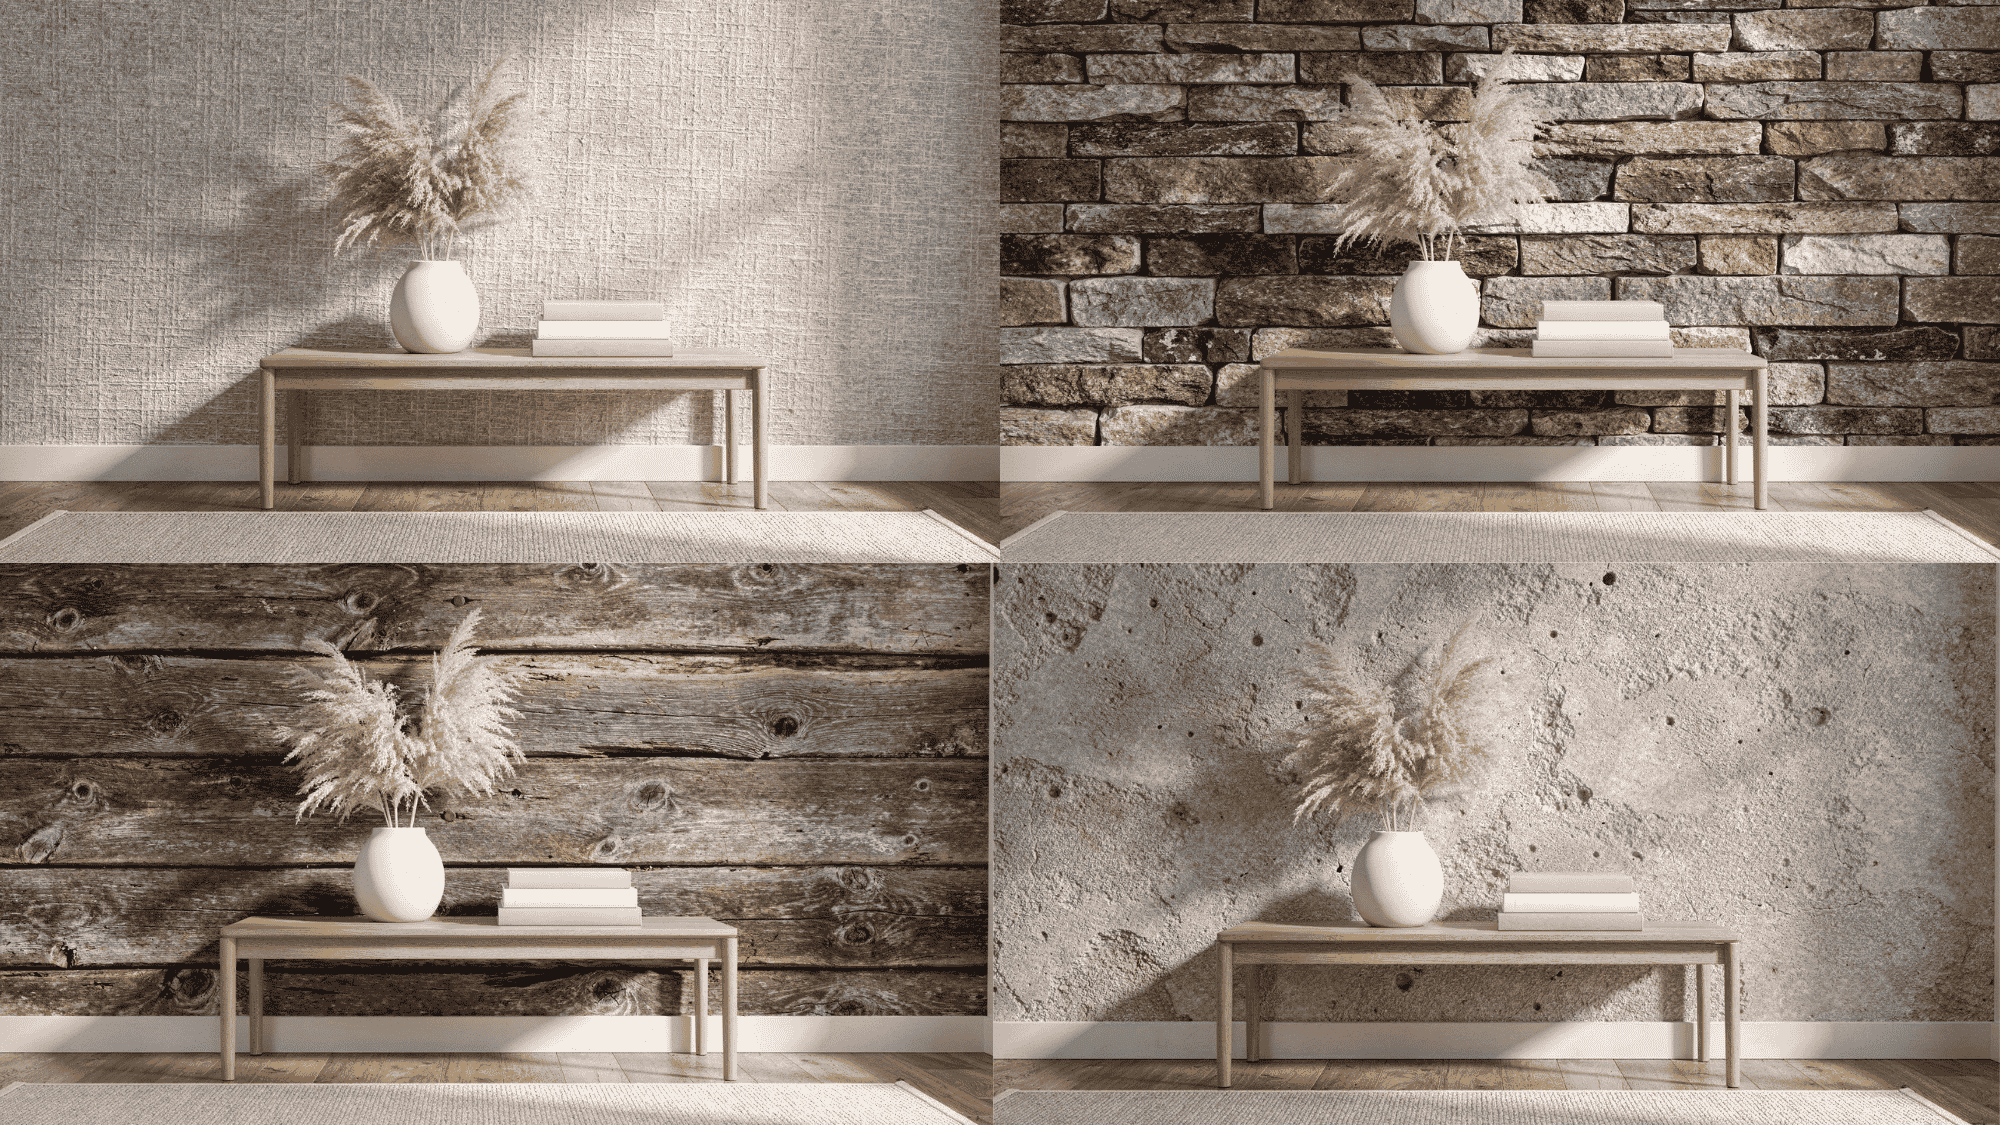
Faux finish wallpaper is a brilliant mid-range budget option that beautifully mimics expensive textures like real brick, stone, woven linen, poured concrete, or even rustic wood.
Because it is highly textured, its biggest advantage is its magical ability to hide ugly cracks or dents in your walls.
The application process is similar to traditional wallpaper but tends to be much more forgiving for beginners.
Best of all, many faux textured options are completely paintable, meaning you can easily change the color whenever you want a refresh!
12. Gallery Walls & Art Installation
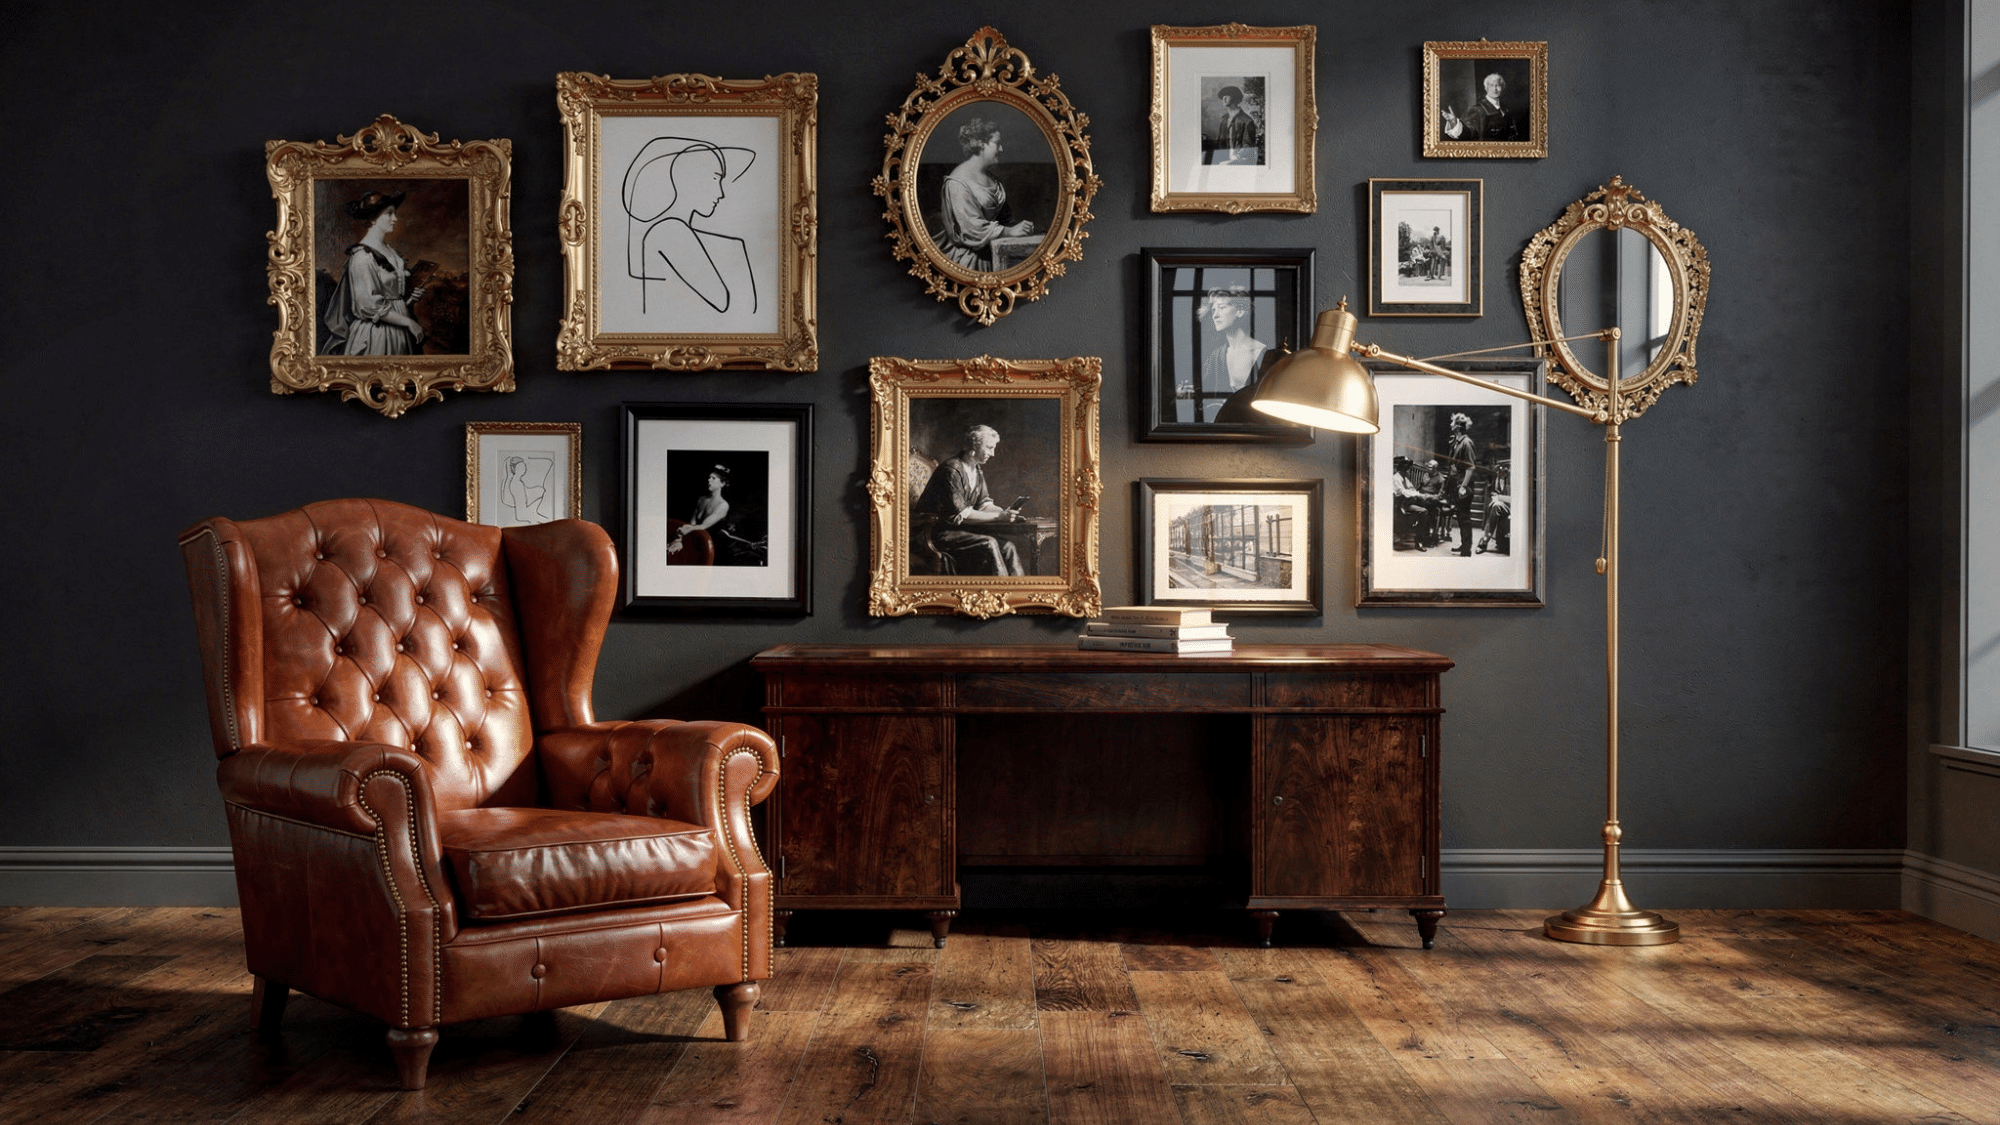
A gallery wall is a deeply personal curation of framed artwork, family photos, and mirrors that creates a stunning visual focal point.
If you prefer a neat symmetrical grid or an eclectic salon-style layout, this project tells your unique story and serves as an amazing conversation starter.
While it can cost anywhere from $200 to over $1,000, depending on your frames, the emotional impact is priceless.
For the best visual interest in your living rooms or hallways, mix different frame styles and group items in odd numbers!
13. Mirror Accent Walls
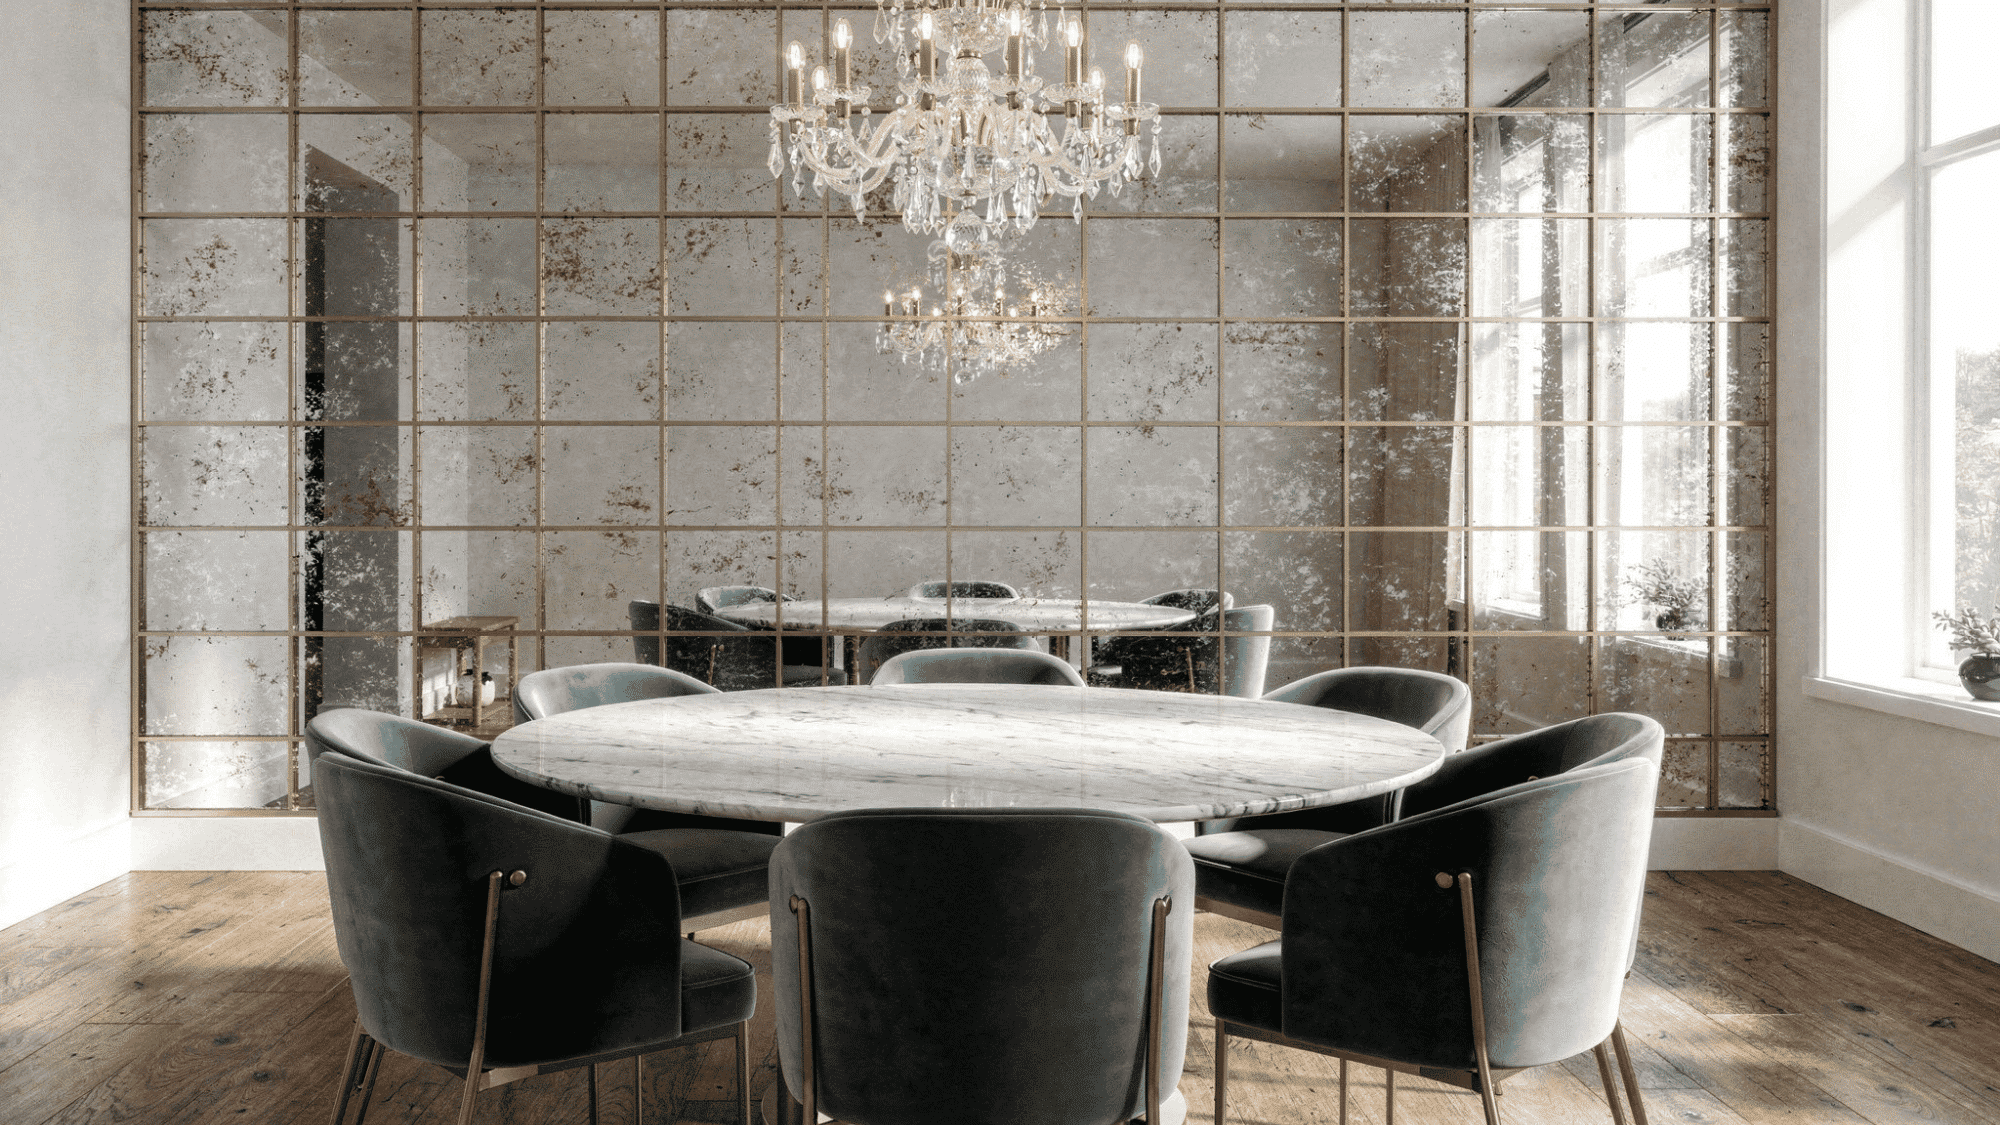
A mirror accent wall is the ultimate designer secret for instantly amplifying a space, reflecting gorgeous natural light, and adding a touch of undeniable glamour.
Whether you choose one massive oversized statement mirror for drama or a creative grid of varied shapes, it creates a powerful illusion of spaciousness.
Costing between $200 and $800, you can use ornate frames for an eclectic vibe or simple frames for a modern touch.
Just remember that proper heavy-duty wall anchoring is absolutely critical for safety in your entryways or bedrooms.
14. Living Plant Walls
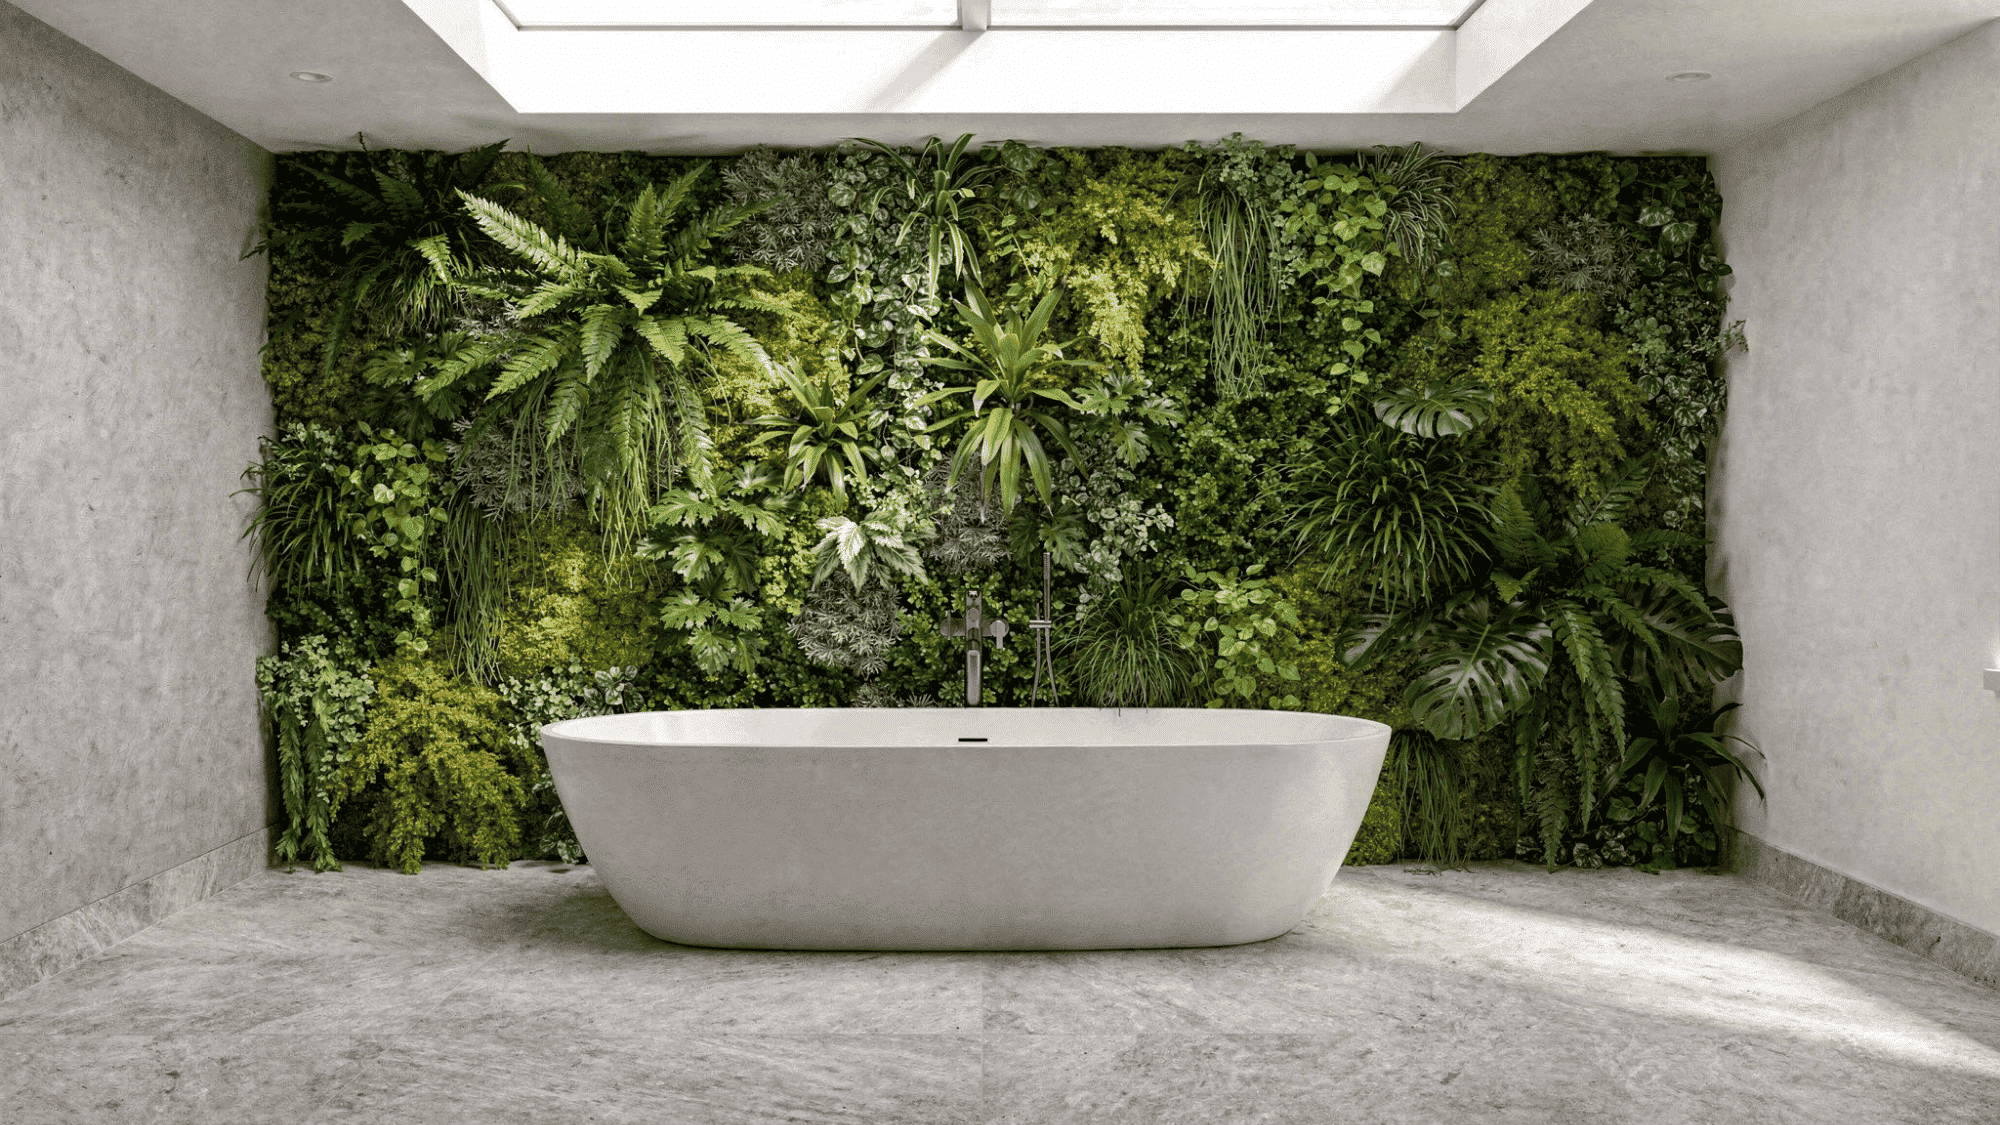
Embrace the beauty of biophilic design by installing a breathtaking living plant wall.
You can opt for actual living moss and planted vertical gardens, which require weekly watering and good lighting to purify your air, or choose premium faux plants for a zero-maintenance alternative with stunning visual accuracy.
Ranging from $100 for faux up to $500-plus for living systems that need proper drainage, this stress-reducing vibe is the ultimate way to bring nature indoors for modern homes, relaxing home offices, and dedicated wellness spaces.
15. Fabric Upholstered Walls
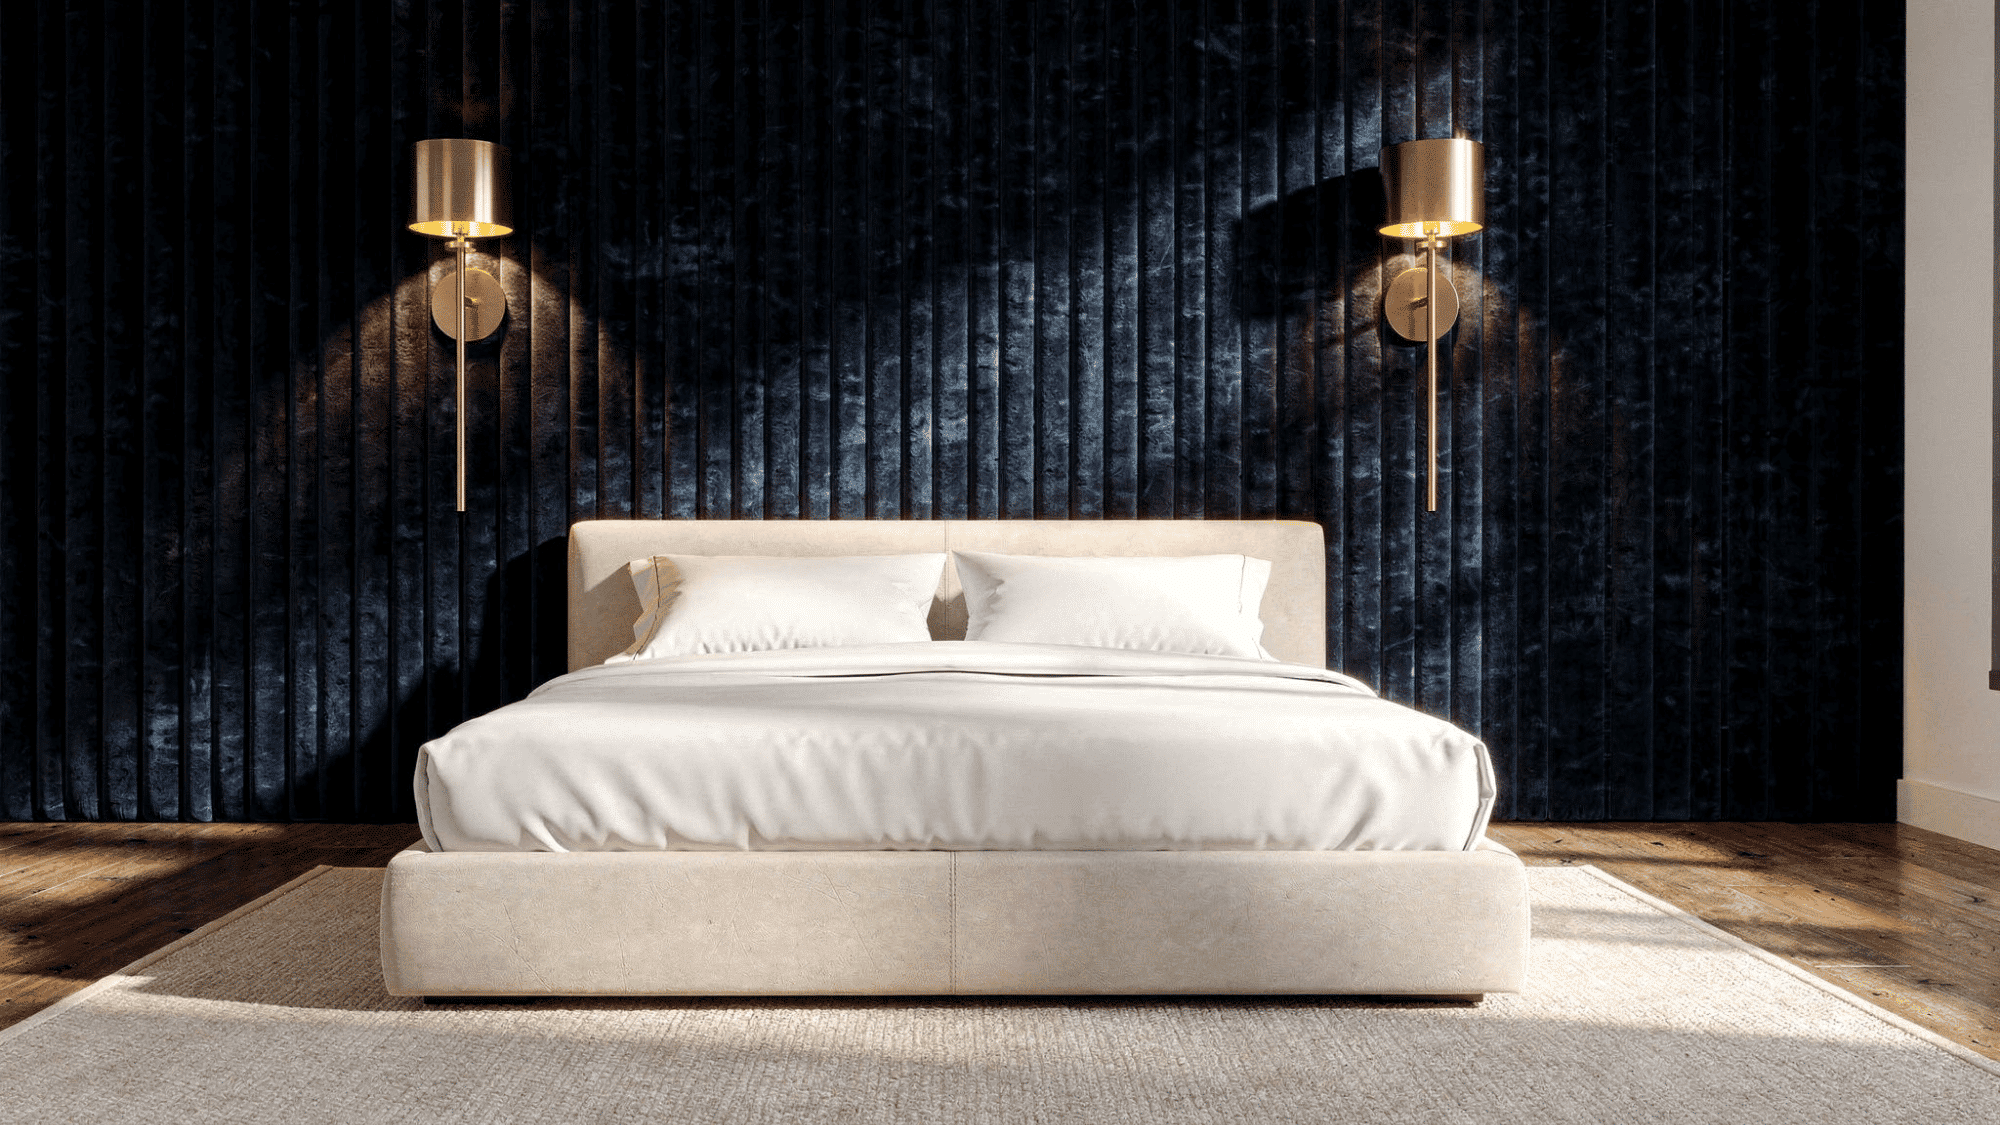
For the absolute peak of high-end luxury, a fabric-upholstered wall brings unparalleled warmth, sophistication, and an intimate atmosphere to your home.
Using gorgeous materials like plush velvet, crisp linen, or designer cotton, the fabric is carefully stapled or glued to the wall, often finished with decorative trim.
Costing between $400 and $2,000, this stunning treatment also provides an amazing sound-dampening bonus.
With regular dusting and occasional spot cleaning, it makes for a breathtaking feature wall in master suites and formal living rooms.
What to Avoid: The Danger of Visual Fragmentation
Choosing the right accent wall also means knowing what to skip, especially walls broken up by doors, closets, or busy entry points.
- Avoid walls with entryways: Entryways split the wall visually, making the accent feature feel uneven instead of clean, calm, and well-planned overall.
- Skip closet door walls: Closet doors interrupt paint, wallpaper, molding, or paneling, which can make the whole wall look broken and less polished.
- Choose solid walls instead: A plain, open wall gives your accent treatment room to stand out and creates a smoother, stronger design moment.
For the best result, pick the most solid, uninterrupted wall so your accent feature looks bold, balanced, and visually pleasing from every angle.
What You Need to Know. What Makes an Effective Accent Wall?
What makes an accent wall truly stand out?
It is all about intention! An effective accent wall beautifully anchors your room, creates perfect balance, and naturally draws the eye without ever feeling like it is overwhelming your existing space.
Here is how to make a professional-grade judgment.
Wall Selection Criteria: Focal Points vs. Problem Walls
Choosing the right wall is the most important step in your accent wall project! You should always select a natural focal point that beautifully anchors your space.
It can be tempting to use bold paint or busy wallpaper to cover up a problematic wall with awkward angles or damage. However, this usually backfires by drawing more attention to flaws. Always highlight your room’s best features!
The Visibility Principle: First Impressions Matter
When decorators decide which wall to highlight, they heavily rely on the Visibility Principle. It is incredibly simple: choose the very first wall you see when walking into the room.
This creates an immediate, striking impact that sets the mood for the entire space instantly. By anchoring the room exactly where your eye naturally lands, the accent wall feels deeply purposeful and professionally designed.
Architectural Advantage: Highlighting Built-In Features
The most stunning accent walls always work in perfect harmony with the architecture your room already possesses! Instead of fighting the layout, utilize walls featuring natural built-in anchors.
A solid wall situated right behind your bed’s headboard, a living room fireplace, or beautifully framed windows are all perfect candidates. By adding dynamic treatments to these specific areas, you dramatically amplify the existing architectural beauty.
Understanding Color Psychology for Accent Walls
Did you know that the color you choose for your accent wall can completely change how a room feels? Choosing the right color is not just about matching your furniture. It is about setting the perfect mood and energy for your everyday life.
| COLOR/TONE | VIBE | BEST FOR |
|---|---|---|
| Warm (Reds, Oranges, Yellow) | Energizing, appetite-stimulating, intimate | Dining rooms, Living rooms where gathering happens |
| Cool (Blues, Greens, Purples | Calming, spacious feeling, meditative | Bedrooms, bathrooms, home offices, studies |
| Neutrals With Depth (Charcoal, Greige, Deep Navy) | Sophisticated, versatile | Any room where you want drama with subtlety |
| Bright/Bold | Statement-making but risky | Smaller rooms or on single walls, not entire rooms |
Lighting’s Hidden Impact on Accent Wall Colors
Lighting can change how your accent wall color looks, so test samples before buying a full gallon or painting the entire wall.
- Watch Natural Light: Sunlight shifts during the day, making the same paint color look brighter, darker, warmer, or cooler at different times.
- Check North-Facing Rooms: North-facing rooms often make colors look cooler and softer, so whites, grays, and blues may feel colder than expected.
- Consider South-Facing Rooms: South-facing rooms get stronger light, which can make deep colors look richer, warmer, and bolder on the wall.
- Test Evening Lighting: Warm bulbs bring out cozy tones, while cool bulbs can make blues, grays, and whites feel sharper at night.
Paint large test squares on your accent wall, then check them morning, afternoon, and evening before choosing your final color.
ESSENTIAL DIY PREPARATION & INSTALLATION
Proper preparation is the ultimate secret behind every stunning DIY accent wall. Before you start painting or installing panels, we will guide you through the essential measuring tricks, tool checklists, and surface prep needed for a flawless, professional-quality finish!
Tools You’ll Need (Universal Toolkit)
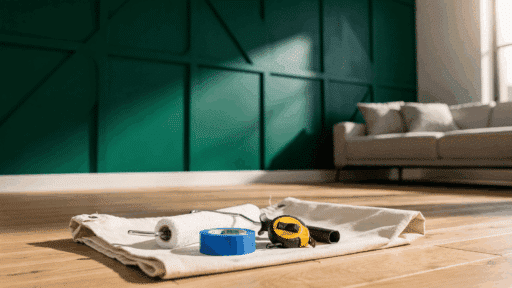
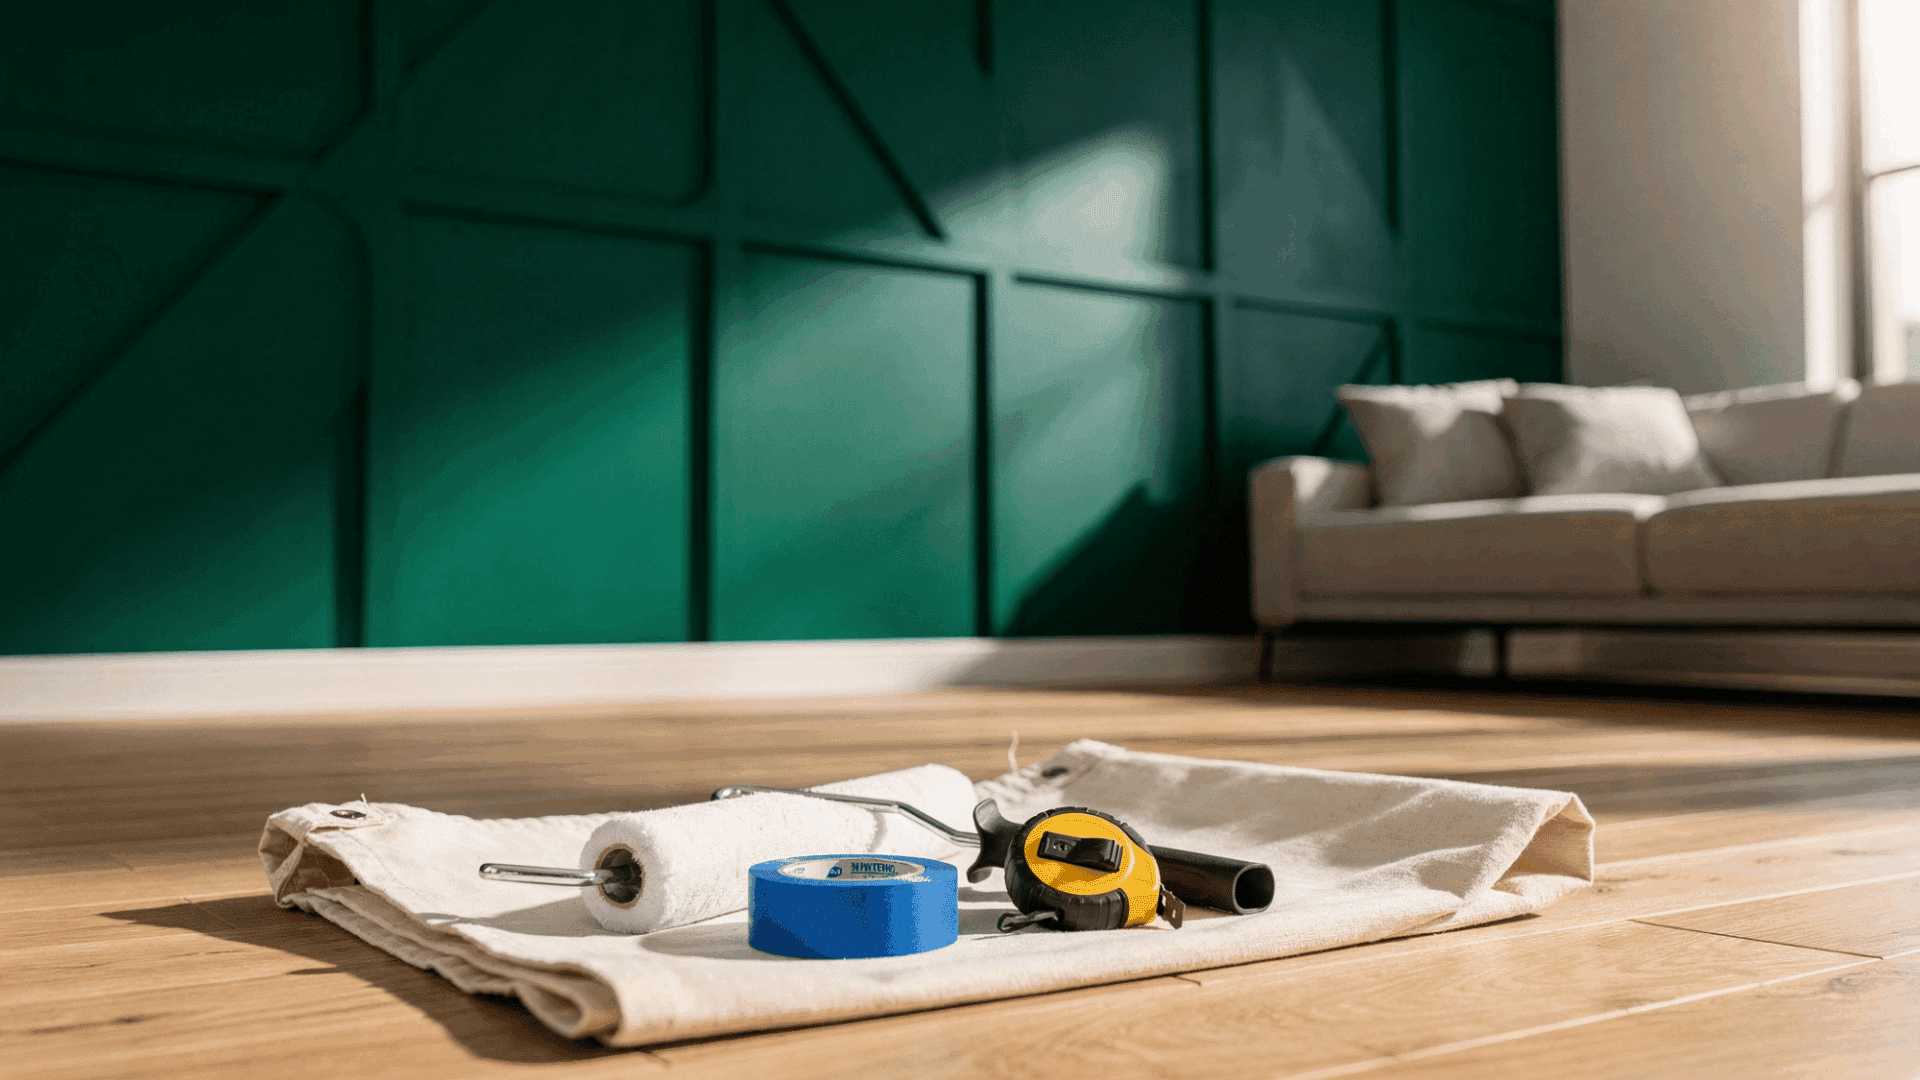
Apart from these essential items – safety equipment (gloves, goggles, dust mask), step ladder and cleaning supplies; it is important to have these on hand beforehand for a seamless process.
| Painting specific | Textured/Wood Projects |
Quality paint brushes (angled and straight | Nail gun or hammer |
Paint roller and extension pole | Saw (hand saw or power saw) |
Painter’s tape (essential for clean lines) | Stud finder |
Drop cloths (canvas preferred over plastic) | Drill-driver |
Paint tray and wipes | Sandpaper (various grits) |
Level and measuring tape | |
Pencil for marking |
Wall Preparation Steps (Critical for Professional Results)
- Clear the room: Move furniture to center, cover with plastic
- Inspect the wall: Fill holes with spackle, sand down bumps, repair damage
- Clean: Dust and wipe the wall to remove grime
- Prime if necessary: Required for dark walls, glossy surfaces, or dramatic color changes
- Protect surroundings: Tape edges, protect baseboards, and the ceiling line
- Protect floors: Lay a drop cloth. Professional-looking results start with good prep
Paint Application Technique
- Cutting in: Paint 2 to 3 inches along edges and corners first with an angled brush
- Rolling: Use medium pressure in “W” pattern, then fill in smoothly
- Drying time: Wait between coats per paint instructions
- Coverage: Usually requires 2 coats for solid, opaque coverage
- Touch-ups: Keep brush and paint available for drying imperfections
Troubleshooting & Maintenance DIY Accent Wall
Even the best DIY projects need a little upkeep! From fixing peeling wallpaper edges to touching up scuffed paint, we have the simple troubleshooting tips and maintenance tricks you need to keep your accent wall looking fresh for years.
| Problem | Cause | Solution |
| Uneven color or streaking | Cheap paint or insufficient coats | Use quality paint, apply 2 to 3 thin coats vs. 1 thick coat |
| Paint bleeding under tape | Painter’s tape not pressed firmly | Press tape firmly along the entire edge, remove while the paint is slightly tacky |
| Wallpaper bubbles and wrinkles | Air pockets, improper smoothing | Work from the center outward with a squeegee, use a heat source for stubborn bubbles |
| Geometric pattern alignment issues | Measuring error or the wall not perfectly square | Measure multiple times, accept minor imperfections (homes aren’t perfect) |
| Wood accent wall gaps | Wood movement from humidity | Plan for small gaps, use flexible caulk if needed, and ensure proper wood acclimation |
Wrapping It Up
You now have everything you need to tackle an accent wall in any room of your home. Whether you go with a simple coat of paint, some peel-and-stick wallpaper, or a full wood slat wall, there’s an option here for every budget and skill level.
The best part? You don’t need to be a professional to make it look amazing.
A little planning, the right tools, and a free weekend are all it takes to completely change how a room feels. Start small if you’re nervous; even one bold paint color can make a huge difference.
Pick the idea that excited you most while reading this, and just go for it. Which technique are you trying first? Drop a comment below; I’d love to see what you create!
Frequently Asked Questions
Can I do an Accent Wall if My Walls are Already a Dark Color?
Yes, but you must apply a solid coat of quality primer first to prevent patchy results. Afterward, apply two coats of your new color for a clean, intentional finish.
Will an Accent Wall Make a Small Room Feel Even Smaller?
Not if done correctly; dark colors on the furthest wall can balance a narrow room, while cool tones add depth. Just avoid going too dark in spaces lacking natural light.
I’m Renting, What Accent Wall Options Won’t Get Me in Trouble?
Stick to peel-and-stick wallpaper, removable panels, or temporary fabric hangings. Always test a small corner first and avoid heavy adhesives or nails without written landlord approval.
Can I do an Accent Wall in a Room that Already Has a Lot of Patterns?
Yes, but keep it simple by using a solid, deep color paint rather than another pattern. The accent wall should act as a quiet, anchoring backdrop that balances the room’s busyness.

Tommy Hardy, an alumnus of the Georgia Institute of Technology with a degree in Mechanical Engineering, has been a go-to figure in residential upkeep and innovation for over 18 years. His career commenced in a leading home appliance manufacturing company, where he mastered the intricacies of household systems. Joining our platform in 2020, Tommy quickly became a reader favorite for his practical and easy-to-follow guides. He took the helm of our DIY section in 2019, consistently delivering content that empowers homeowners. Beyond his professional pursuits, Tommy is a passionate gardener and enjoys woodworking, skills enhancing his hands-on approach to home care.