
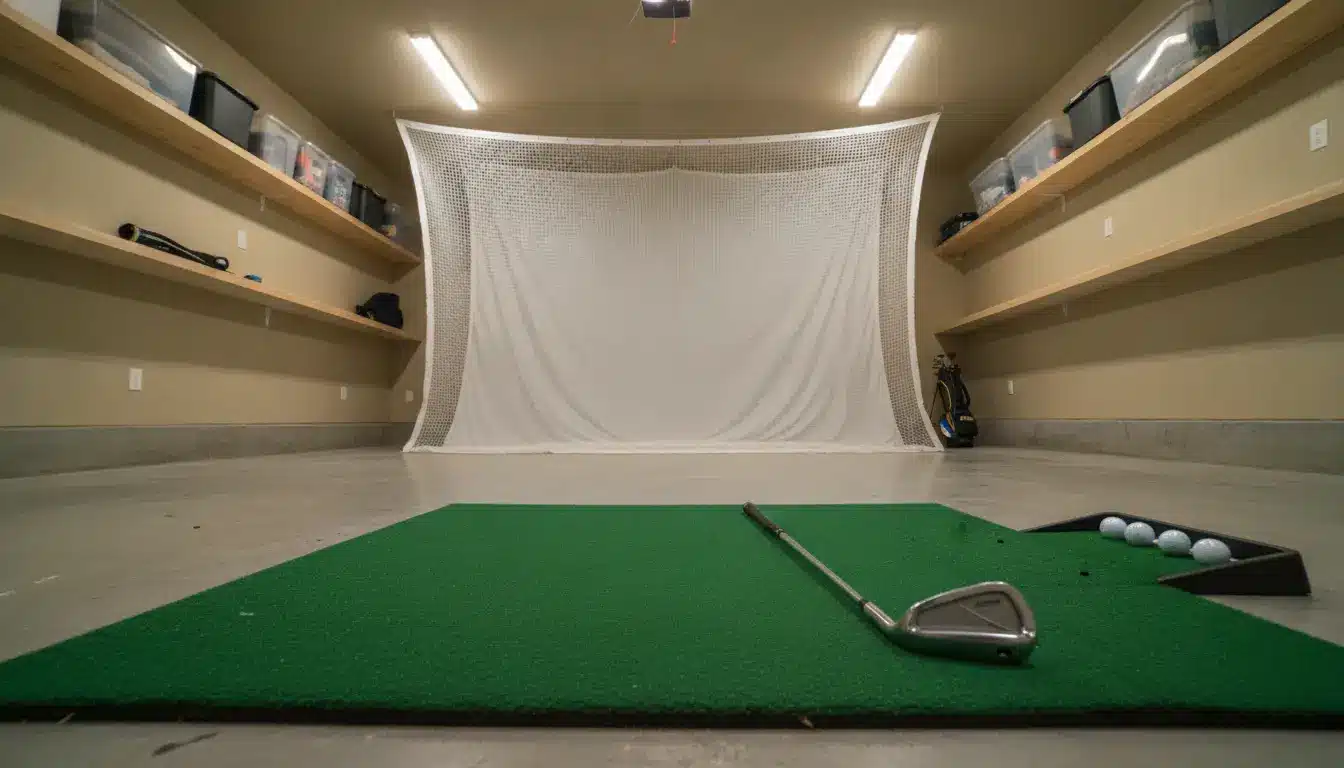

Your garage is probably the most underused room in your house. It holds a car you park outside anyway, three bikes nobody rides, and a shelf of paint cans from a job you finished in 2019. It is also the only space in most homes with enough height, depth, and tolerance for noise to swing a driver at full speed. With a weekend of prep and a sensible equipment list, that concrete box becomes a practice studio you will actually use in February.
Measure Before You Buy Anything
Golf has quietly moved indoors. The National Golf Foundation reports that 48.1 million Americans aged 6 and up played golf in 2025, and 19 million of them played exclusively away from a course, at driving ranges, simulator bays, and entertainment venues. A home practice bay is the next evolution of that shift, and it lives or dies on one number: ceiling height.
Take a 7-iron, stand where you plan to hit, and make a slow, full swing. If the clubhead comes anywhere near a joist, a light fixture, or the garage door track, you have a clearance issue that no equipment upgrade can compensate for. Most manufacturers converge on a similar set of minimums:
| Dimension | Comfortable minimum | Why it matters |
|---|---|---|
| Ceiling height | 9 to 10 feet | Clears the top of the backswing and follow-through |
| Width | 12 feet | Let right- and left-handed players use the same bay |
| Depth | 15 to 18 feet | Room for the hitting zone, ball flight, and standoff behind the screen |
Standard residential garages run 8 feet at the ceiling, which is the single most common reason a build stalls. Sometimes you can buy height back by removing the garage door track and going with a side-mount opener or by opening up the space between joists if the framing allows. Sometimes you cannot, and you build around a net and launch monitor instead of a full enclosure.
The other half of the planning problem is what else the room has to do. Very few people can dedicate the whole footprint to golf, so it helps to think about the space the way you would any other multi-purpose garage conversion, with storage pushed to the perimeter and a clear, protected hitting zone in the middle. Retractable enclosures and roll-away mats make the area workable. A step-by-step walkthrough on how to turn your garage into a golf practice area can help you assess your space, plan your budget, and determine the right equipment layout before you commit to any purchases.
Fix the Floor First
The floor is the part everyone skips. and everyone regrets. Concrete in a garage was poured to hold a car, not to give you a level, consistent stance for a few thousand swings a year.
Two things go wrong. The first is slope. Most garage slabs are pitched a quarter inch per foot toward the door to ensure water drains out, which means your ball position is lower than your feet, causing every shot to leak right. The second is the floor itself. Cracked and uneven garage flooring will telegraph straight through a hitting mat, and a mat sitting on a lump gives you inconsistent turf interaction that quietly ruins your data.
Your options, roughly in order of cost:
- Self-leveling compound only over the hitting zone. The cheapest fix gets you a flat 6-by-8 patch to build on.
- A plywood or rubber-tile subfloor platform. Adds a little height, which is a cost if your ceiling is already tight.
- Full epoxy or polyaspartic coating after grinding. Most expensive, but it seals the slab against moisture and dust and makes the room feel finished rather than industrial.
Whatever you choose, put a level on the finished surface before the mat goes down. A half-inch discrepancy in your stance width will show up in your dispersion numbers, and you will blame your swing for months.
Insulation, Heat, and Humidity
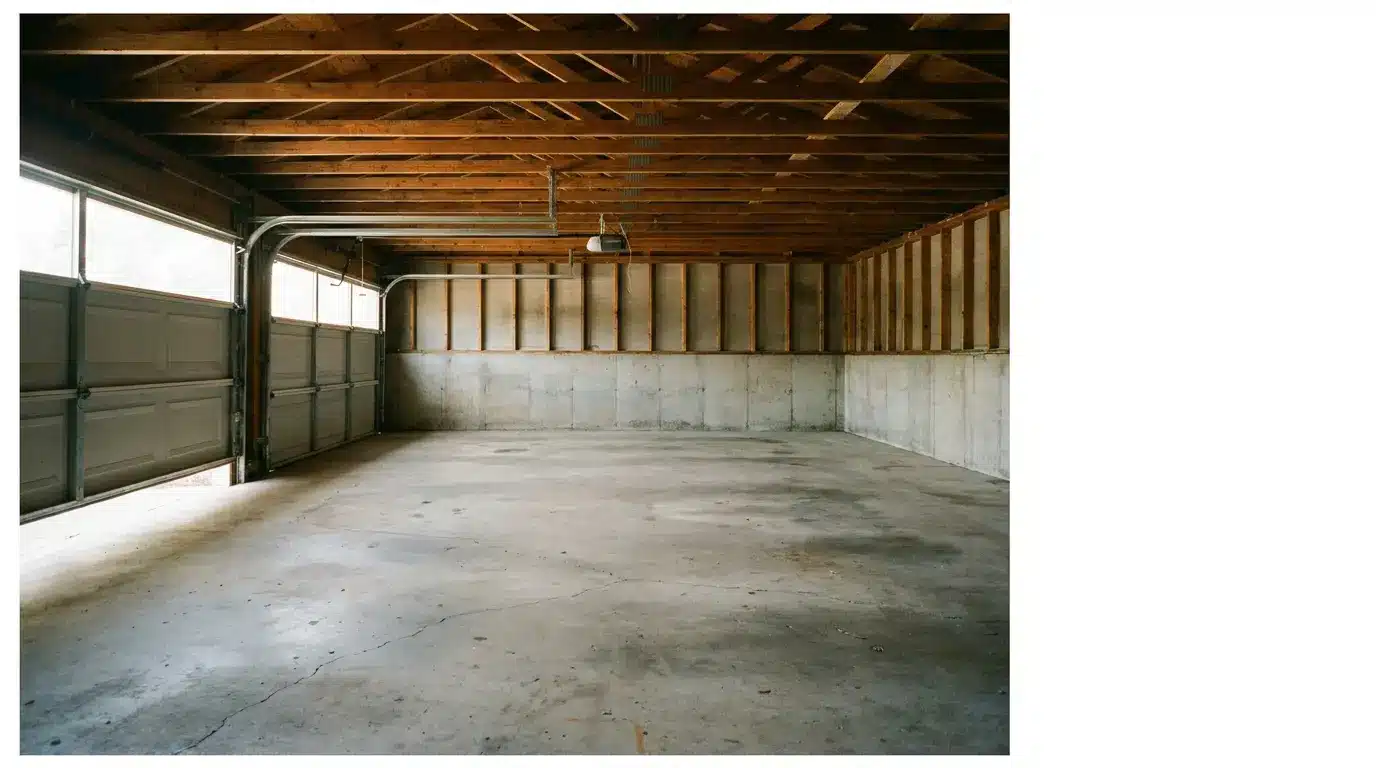
An uninsulated garage is unusable for roughly half the year, which defeats the entire purpose. The insulation is the part of the build that turns a seasonal toy into a room you use in January.
Walls and ceilings are straightforward: batts in the stud cavities, then drywall or panel over them. The ENERGY STAR recommended insulation R-values vary by climate zone and by where in the building you are adding material, so check your zone before buying anything, rather than defaulting to whatever the store has stacked highest. The garage door itself is usually the weakest point in the envelope, and a retrofit insulation kit is a cheap way to close the biggest gap.
Humidity deserves more attention than it gets. Launch monitors, projectors, and gaming PCs are electronics living in a room with a concrete slab that wicks moisture. The EPA’s guidance on controlling indoor moisture is to keep relative humidity below 60 percent and ideally between 30 and 50 percent, which is also the range where your hitting mat and impact screen will last longest. A basic dehumidifier with a drain line into the garage floor drain runs about $200 and solves the problem permanently.
For heat, a wall-mounted electric unit or an infrared panel is usually enough once the room is sealed. Skip the kerosene heaters. You will be spending an hour at a time in an enclosed space, swinging and breathing the air inside it.
Lighting and Power
Garages come with one sad bulb in the middle of the ceiling. That is not enough light for a camera-based launch monitor to read a ball, and it is definitely not enough for you to see where your divot pattern is going.
Two rules cover most of it. Light the hitting zone brightly and evenly with LED shop fixtures, and keep light off the impact screen so your projected image does not wash out. In practice, that means fixtures mounted behind and above the hitting position, angled forward, with nothing pointing at the screen wall.
Power is the other quiet constraint. A projector, a PC, a launch monitor, a dehumidifier, and a heater on one 15-amp circuit will trip a breaker mid-session, which is a genuinely miserable way to end a round. Have an electrician add a dedicated 20-amp circuit while the walls are open. It is a small line item during a build and an expensive one afterward.
The Equipment, in Order of What Actually Matters
Spend your money in this order:
- Launch monitor. This is the brain of the room, and the thing you will notice is the quality of every single session. Entry-level radar units start around $500. Camera-based units that read spin directly start higher and want a specific amount of space behind or beside the ball, so confirm the placement requirements against your measurements before buying.
- Hitting the mat. The second most important purchase is the mat, and people most often cheap out on it. A thin mat over concrete transmits impact straight into your wrists and elbows. Buy the thickest mat your ceiling budget allows.
- Net or impact screen. A net is cheaper and takes up less space. A screen plus a projector is what makes the room feel like a facility rather than just a corner of a garage.
- Projector and software. Optional at the start. Many people start their first year using a tablet propped on a chair and add the projector once they know they will continue using the space.
Resist the urge to buy the enclosure first. It is the most photogenic part of the build and the least useful without everything else working.
Noise, Neighbors, and the Shared Wall
Ball strike into a screen is a loud, percussive thud, and it travels through a shared garage wall into whatever room is on the other side. If your garage is attached, this matters.
The fixes are cheap and cumulative. Acoustic panels on the screen wall absorb some of it. A heavier, dual-layer impact screen dampens the strike itself. Rubber mats under the hitting mat stop impact energy from traveling through the slab. Mass-loaded vinyl on the shared wall handles the rest. None of these individually solves it, but together they take a session from disruptive to background noise.
What It Actually Costs
Budgets vary wildly depending on how much of the room you finish yourself, but the shape of the spend looks something like this:
| Tier | Rough spend | What you get |
|---|---|---|
| Starter | $1,000 to $2,500 | Net, mat, entry radar launch monitor, tablet |
| Mid | $3,000 to $8,000 | Enclosure, screen, projector, upgraded mat, insulation, and proper lighting |
| High | $10,000 and up | Premium camera launch monitor, finished floor, dedicated PC, acoustic treatment |
The room prep, meaning floor, insulation, lighting, and power, is typically a third of the total and is the part that determines whether you use the space in winter. Golfers routinely underweight it, buy a $4,000 launch monitor, and then abandon the room in November because it is 38 degrees in there and they cannot see the ball.
Build the room first. Buy the toys second. Do it in that order, and you end up with a space you walk into on a wet Tuesday evening, hit eighty balls, and walk out forty minutes later, having done more for your handicap than a month of weekend rounds.

Holding a Master’s in Architecture from the University of Texas at Austin, Emily Rodriguez has dedicated more than two decades to the art and science of building renovation. Starting her journey in historic preservation, she developed a profound respect for blending old with new in building design. Emily became a vital part of our team in 2019, renowned for her insightful and innovative renovation tips. She has been leading our DIY home improvement series since ever since, where she shares her wealth of knowledge in turning outdated spaces into modern havens. When not engaged in writing or consulting, Emily is a passionate advocate for heritage conservation and enjoys exploring vintage architecture, a hobby that complements her professional expertise.