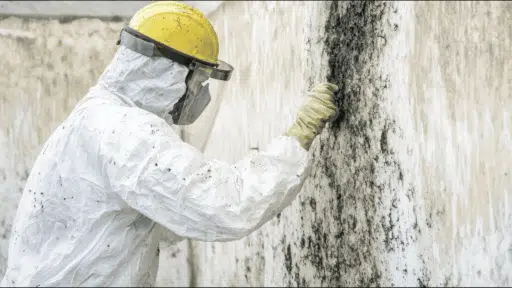
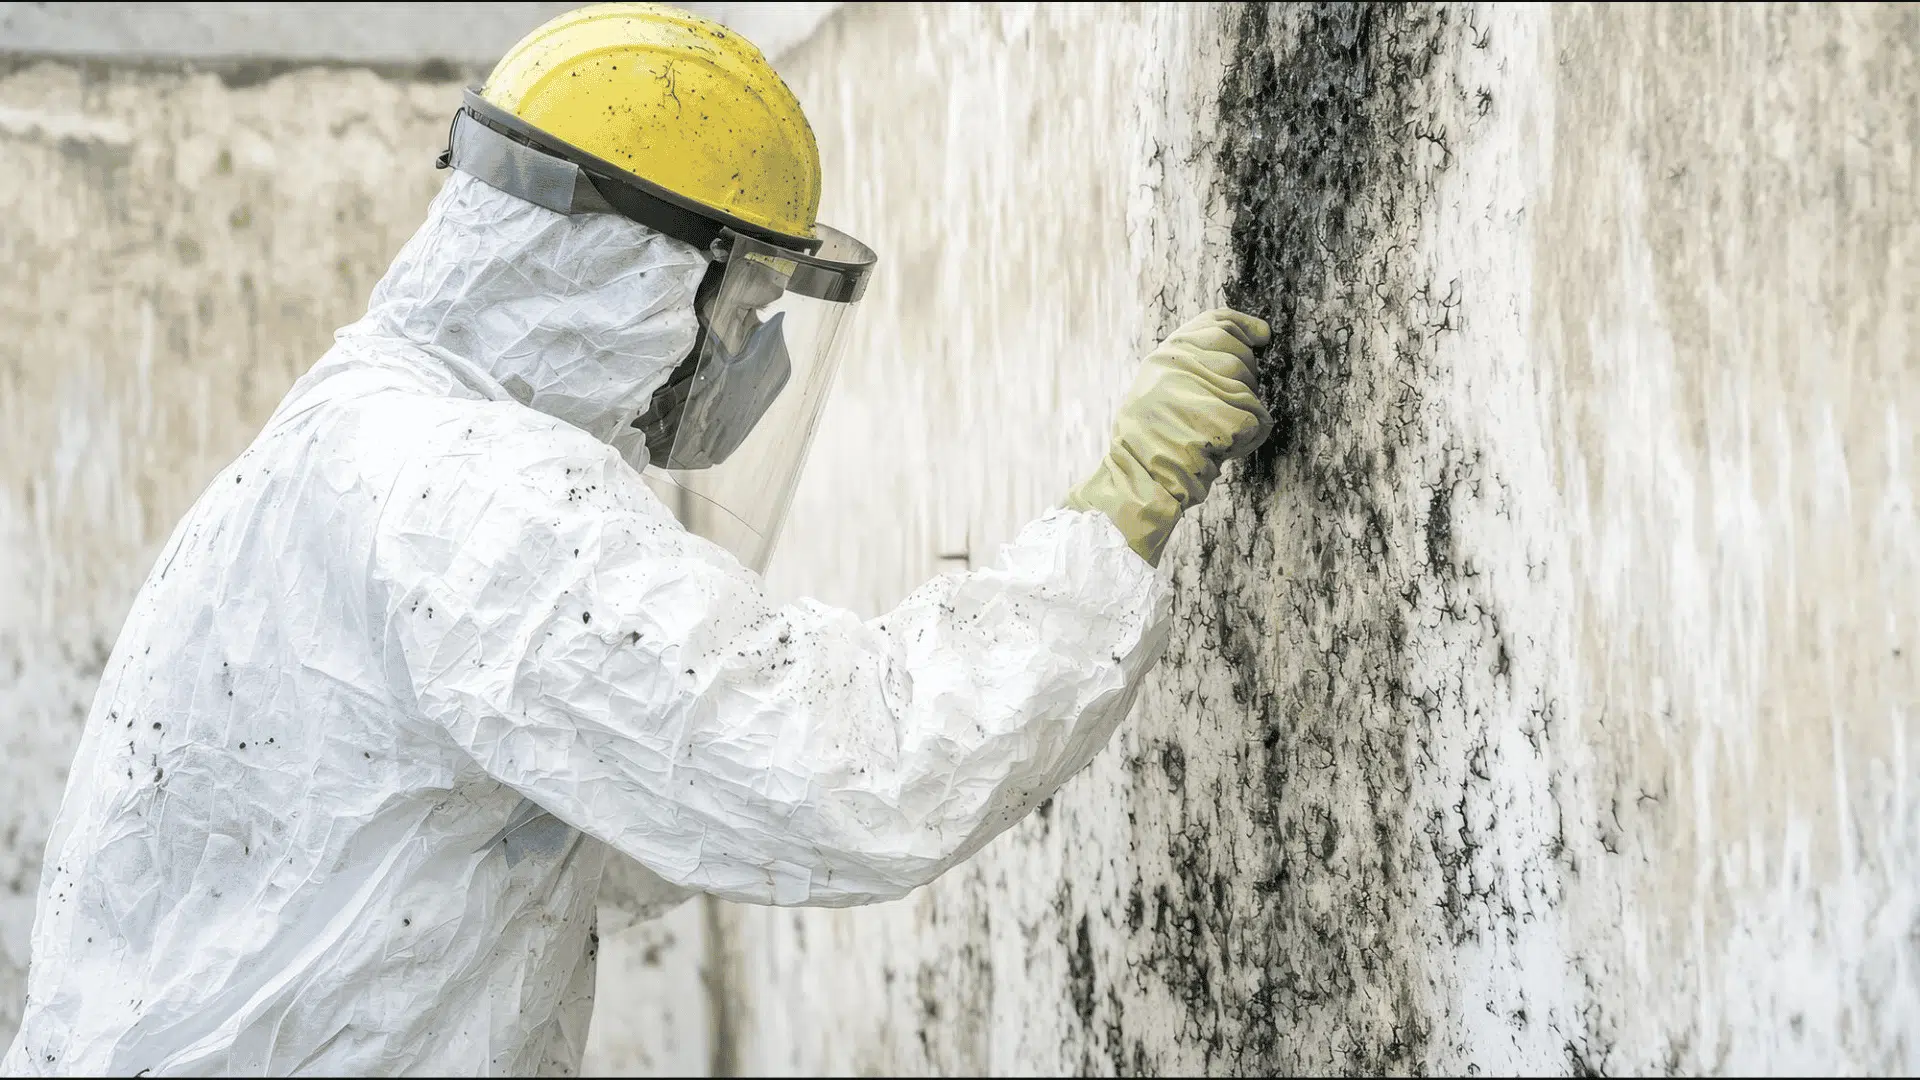

Spotting a dark patch behind your furniture and reaching for a paint roller is a tempting shortcut. But can you paint over mold? The short answer is yes, but you absolutely should not do it without proper preparation.
Applying paint over the spores only acts as a cosmetic mask. It hides a living problem that will eventually bleed right back through your fresh coat.
Instead of just covering the issue, you must treat it at the root source.
I will explain exactly why a quick cover-up fails and which situations are safe to handle yourself. Then, I will walk you through the step-by-step process to completely remove the growth and repaint the wall for good.
Can You Paint Over Mold Safely?
Physically, nothing stops you from rolling paint over a moldy wall. The problem is that paint has no effect on the organism underneath it.
The EPA is direct about this in its official cleanup guidance: do not paint or caulk moldy surfaces, because paint applied over mold is likely to peel. You have to clean up the mold and dry the surface completely before any paint goes on.
The paint does not suffocate or destroy the spores. Instead, it temporarily hides the dark stains while the fungi continue to grow underneath the surface.
The moisture that caused the issue is still there, trapped behind your fresh coat. Eventually, that underlying growth will push its way back through, ruining your new paint job.
What Happens if You Do Paint Over Mold
Applying a standard topcoat traps the active colony right against the drywall. Because the spores retain moisture, the new paint will not adhere properly.
Within a few months, the trapped moisture causes the fresh paint to start bubbling and peeling. Soon after, you will notice a faint brown or black stain bleeding back through the wall, leaving you with an even bigger mess.
When is Mold Cleanup Safe to DIY
Before you grab your cleaning supplies and start scrubbing, you need to set some strict safety boundaries. Not every patch of fungal growth is a job for a homeowner.
Trying to clean a massive colony or one caused by hazardous water can put your health at serious risk.
The EPA’s mold cleanup guidelines state that you can usually handle the job yourself if the affected area is less than 10 square feet, which works out to roughly a 3-foot by 3-foot patch.
Guidelines suggest that you should only tackle the cleanup yourself if the affected area is less than 10 square feet (roughly 1 square meter).
If the problem spreads wider than that, you need to stop and bring in a professional immediately. Let us figure out exactly which types of dampness you can safely clean up on your own and the protective equipment you must wear while doing it.
Mold Types You Can Handle
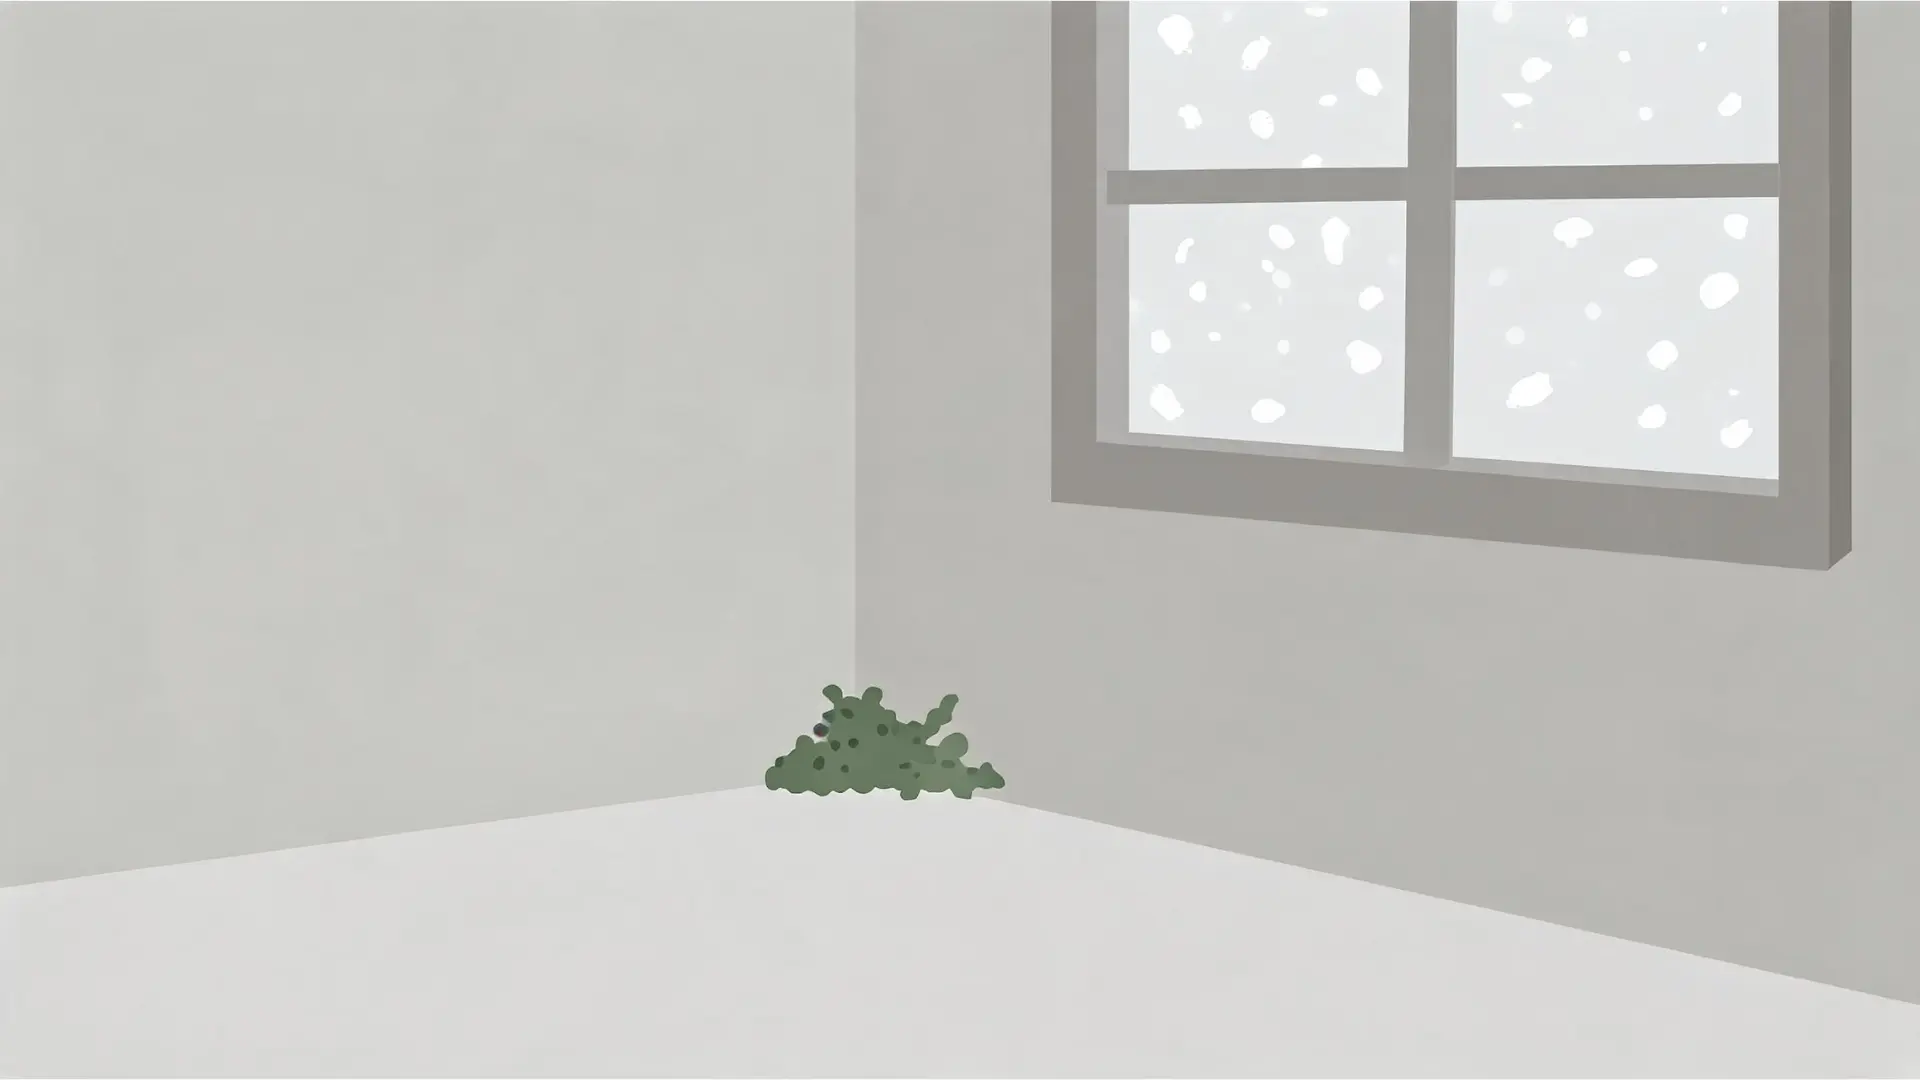
You can safely treat patches caused by normal room condensation or poor air circulation. These surface-level issues usually pop up behind furniture or in damp corners.
However, if the growth is caused by a sewage backup or other contaminated water, you should never tackle it yourself. In those dangerous situations, call an expert to handle the removal properly.
Safety Gear You Need
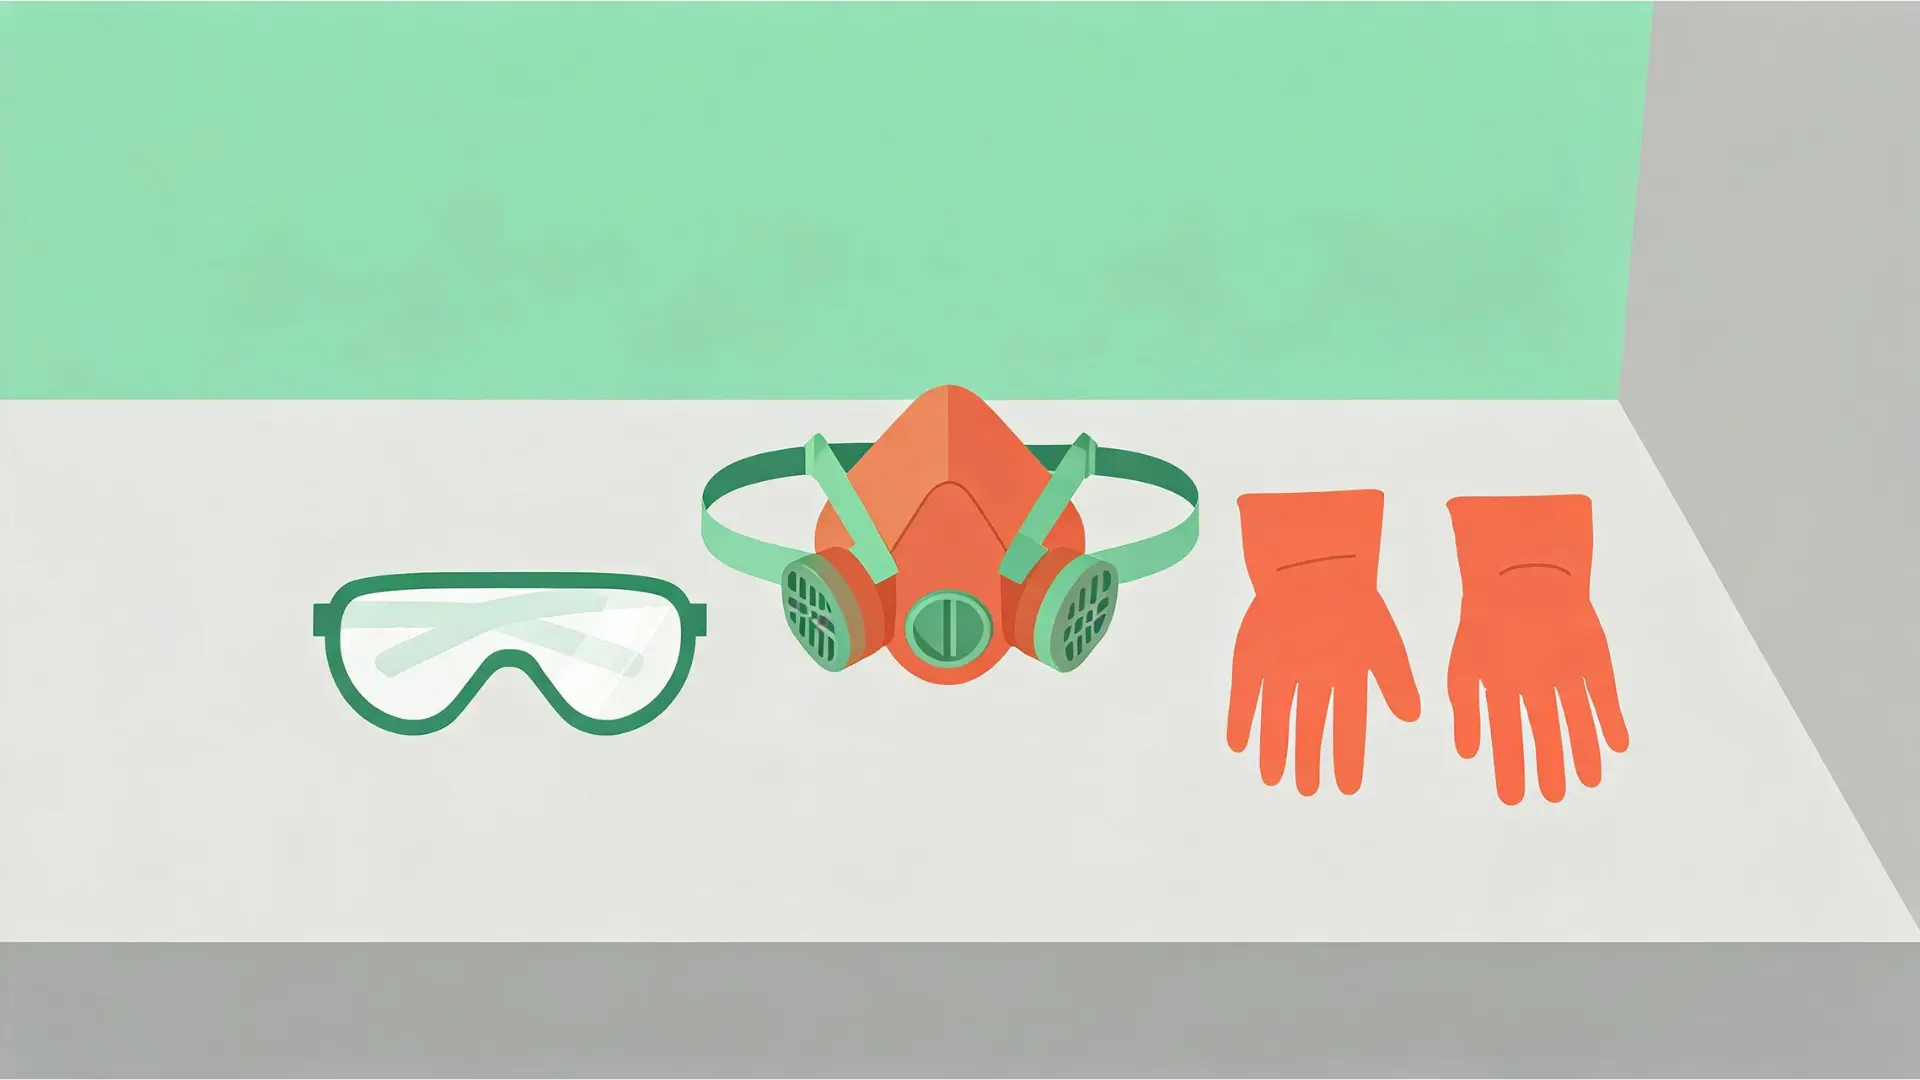
Protecting yourself from inhaling airborne spores or cleaning sprays is incredibly important. You must wear a proper face mask to filter out the particles.
You also need to wear safety goggles to protect your eyes. Finally, grab a pair of disposable latex gloves to keep the cleaning chemicals and spores off your skin.
You must wear an N-95 respirator to filter out the particles, which is the minimum protection the EPA recommends for mold cleanup. A basic dust mask does not seal well enough to do the job.
Tools and Products I Use
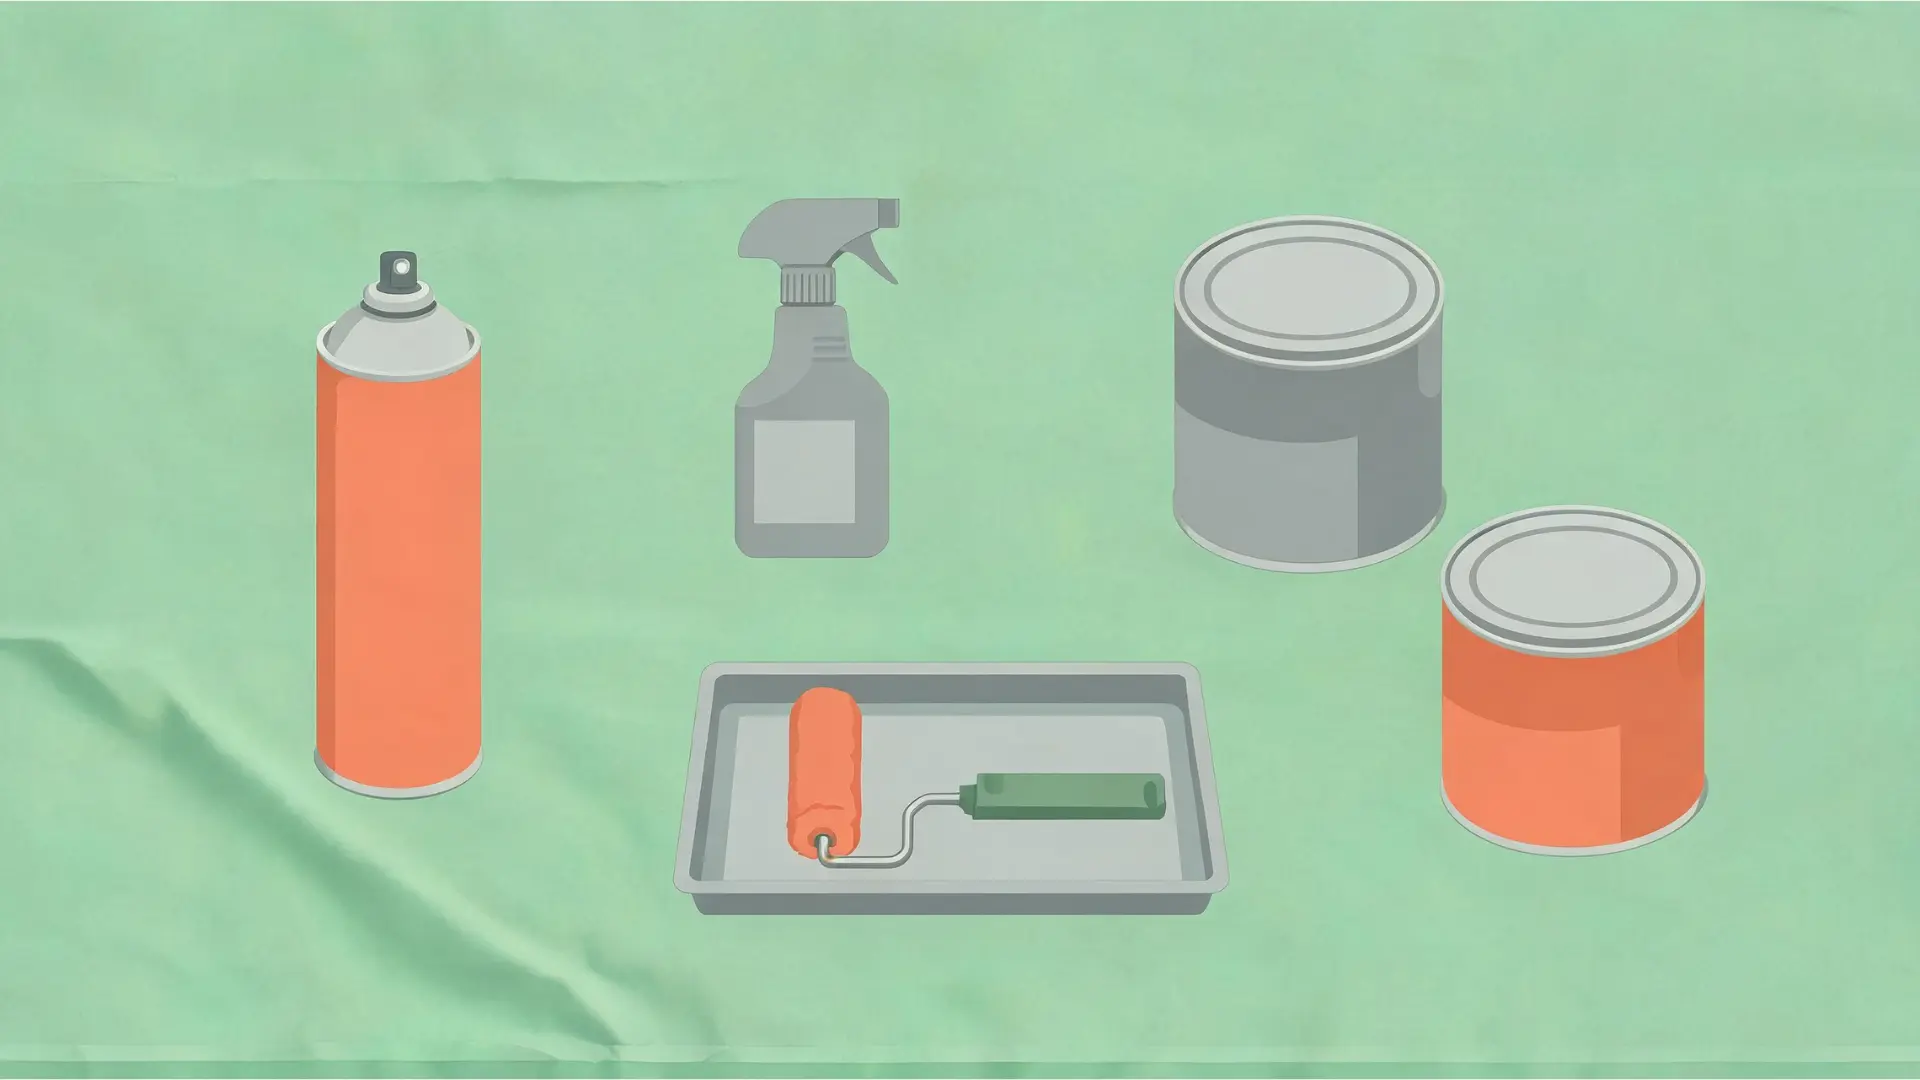
Having the right supplies is half the battle. If you try to fix this with standard tap water and regular wall paint, the problem will return. I keep a specific set of products in my kit designed to clean, seal, and protect the surface.
While I often use Zinsser products like their B-I-N shellac primer and Perma-White topcoat, KILZ Mold & Mildew is another great option widely available in the US.
One tip from experience: decant shellac primer into a separate working pot instead of dipping straight into the can. It skins over quickly once exposed to air, and a ruined half can is an avoidable cost.
Here is a breakdown of what you need to get the job done right:
| Product | Job | When to use |
| Universal Degreaser | Cleaning | To wash the wall and remove dirt before applying any treatments. |
| Mold Killer Spray | Treatment | To spray directly on the dark patches to destroy the active spores. |
| Shellac-Based Primer | Sealing | To block stubborn stains and seal the drywall after cleaning. |
| Mildew-Resistant Paint | Topcoat | To apply the final finish and prevent future growth in damp rooms. |
Now that your kit is ready, let us move on to the very first hands-on step: preparing the damaged wall.
Prepping the Moldy Surface
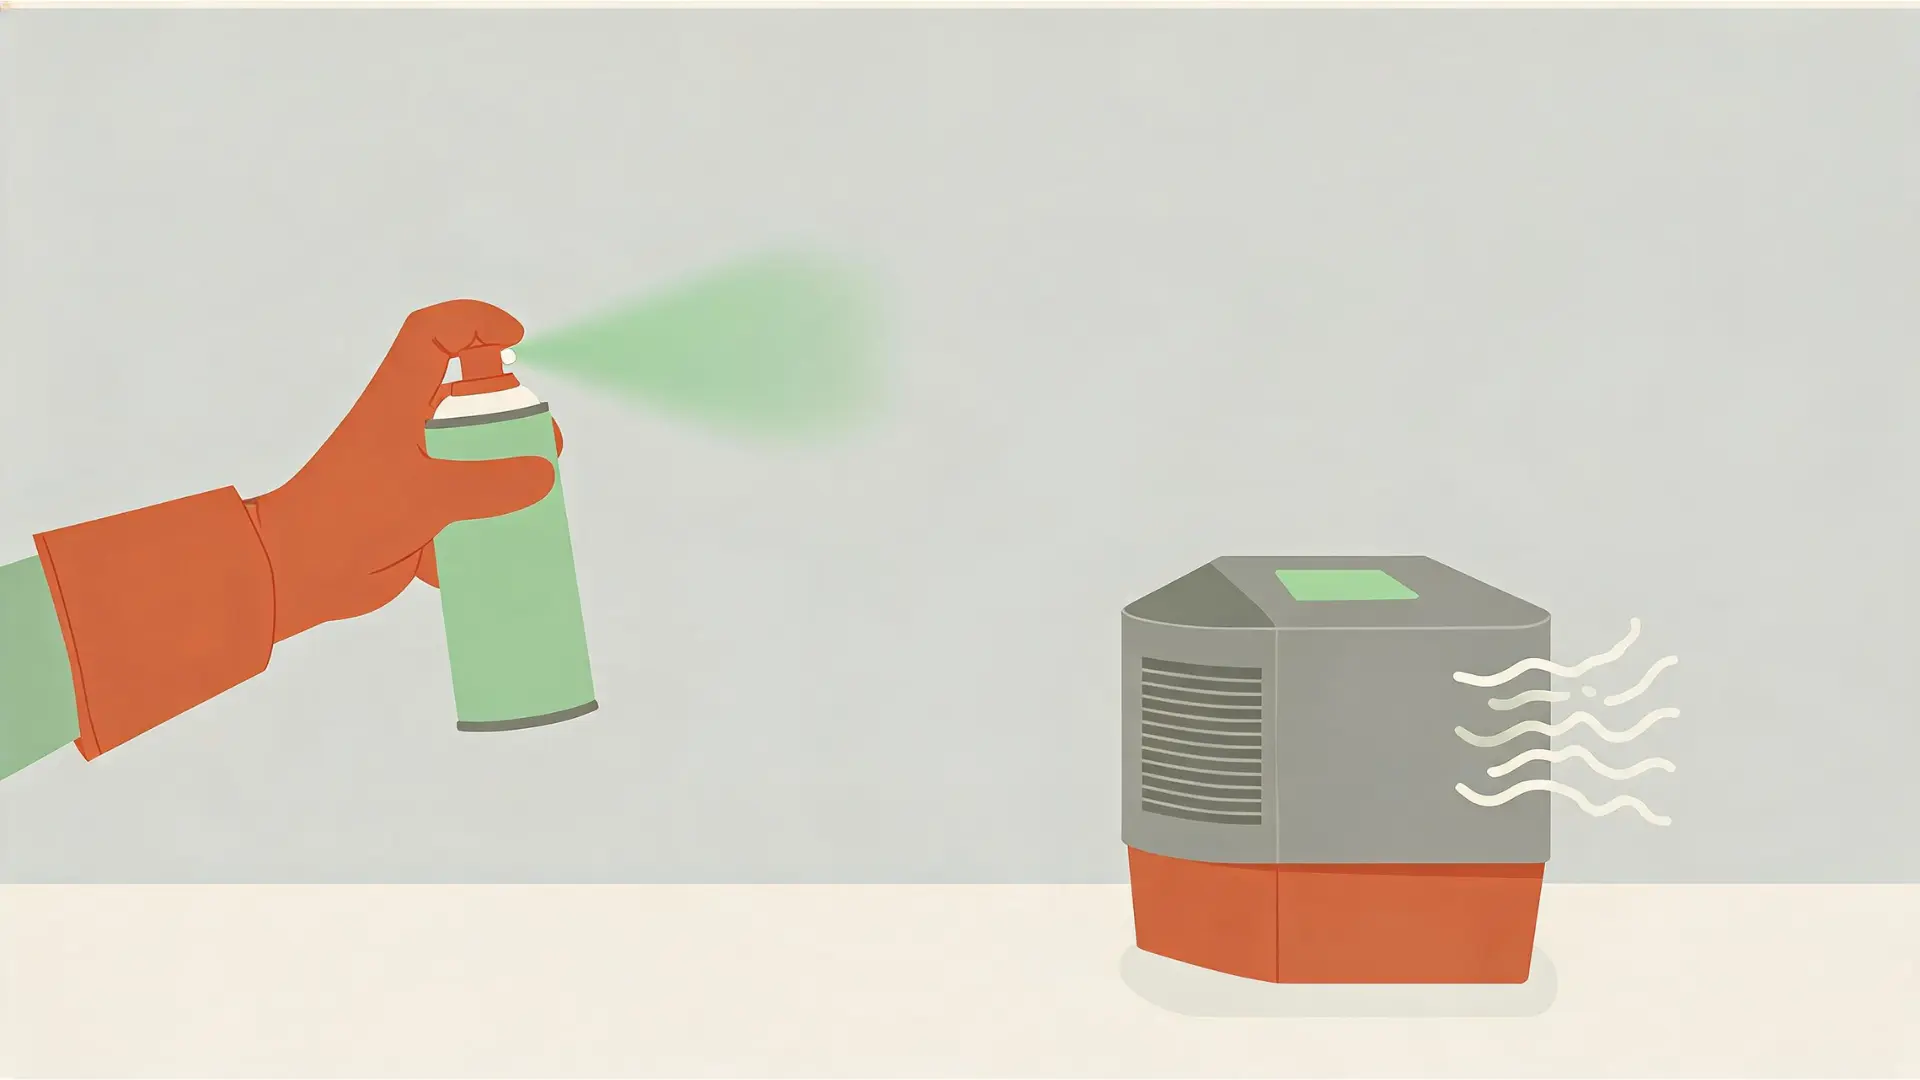
Proper preparation is the most critical part of this entire process. Applying a fresh coat of color over a damp, dirty wall guarantees the paint will fail.
The goal is to completely eradicate the fungi and create a smooth, dry base. Working in a specific, logical order ensures the wall is structurally sound and ready to hold primer. If these steps are skipped, the dark stains will bleed back through.
Here is the exact order for drying the wall, cleaning the surface, and handling any necessary repairs.
Step 1: Dry Out the Area First
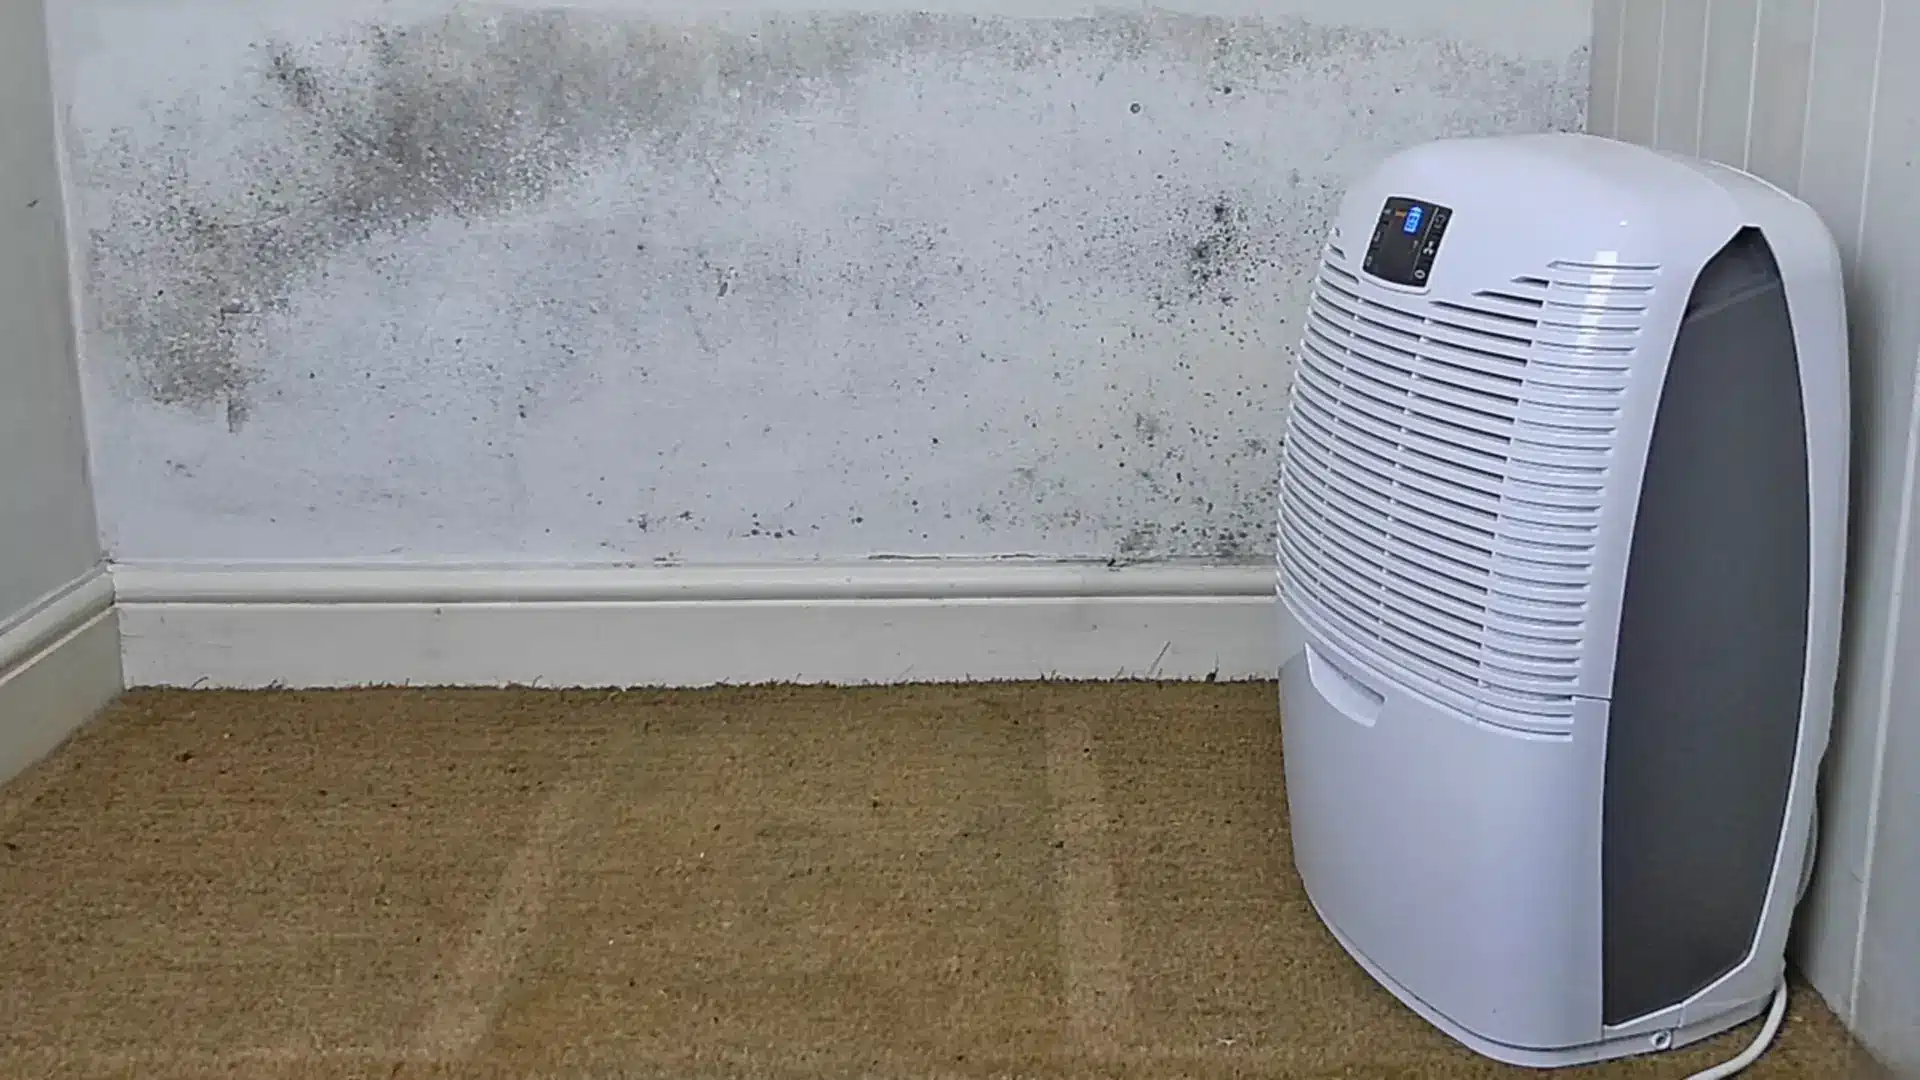
- Set up a dehumidifier or place a room heater near the damp wall to draw the moisture out of the drywall.
- Find and fix the actual source of the dampness, whether it is a poor airflow issue or a slow pipe leak.
- Wait until the surface feels completely dry to the touch before moving on to the next phase.
Step 2: Clean and Remove the Mold
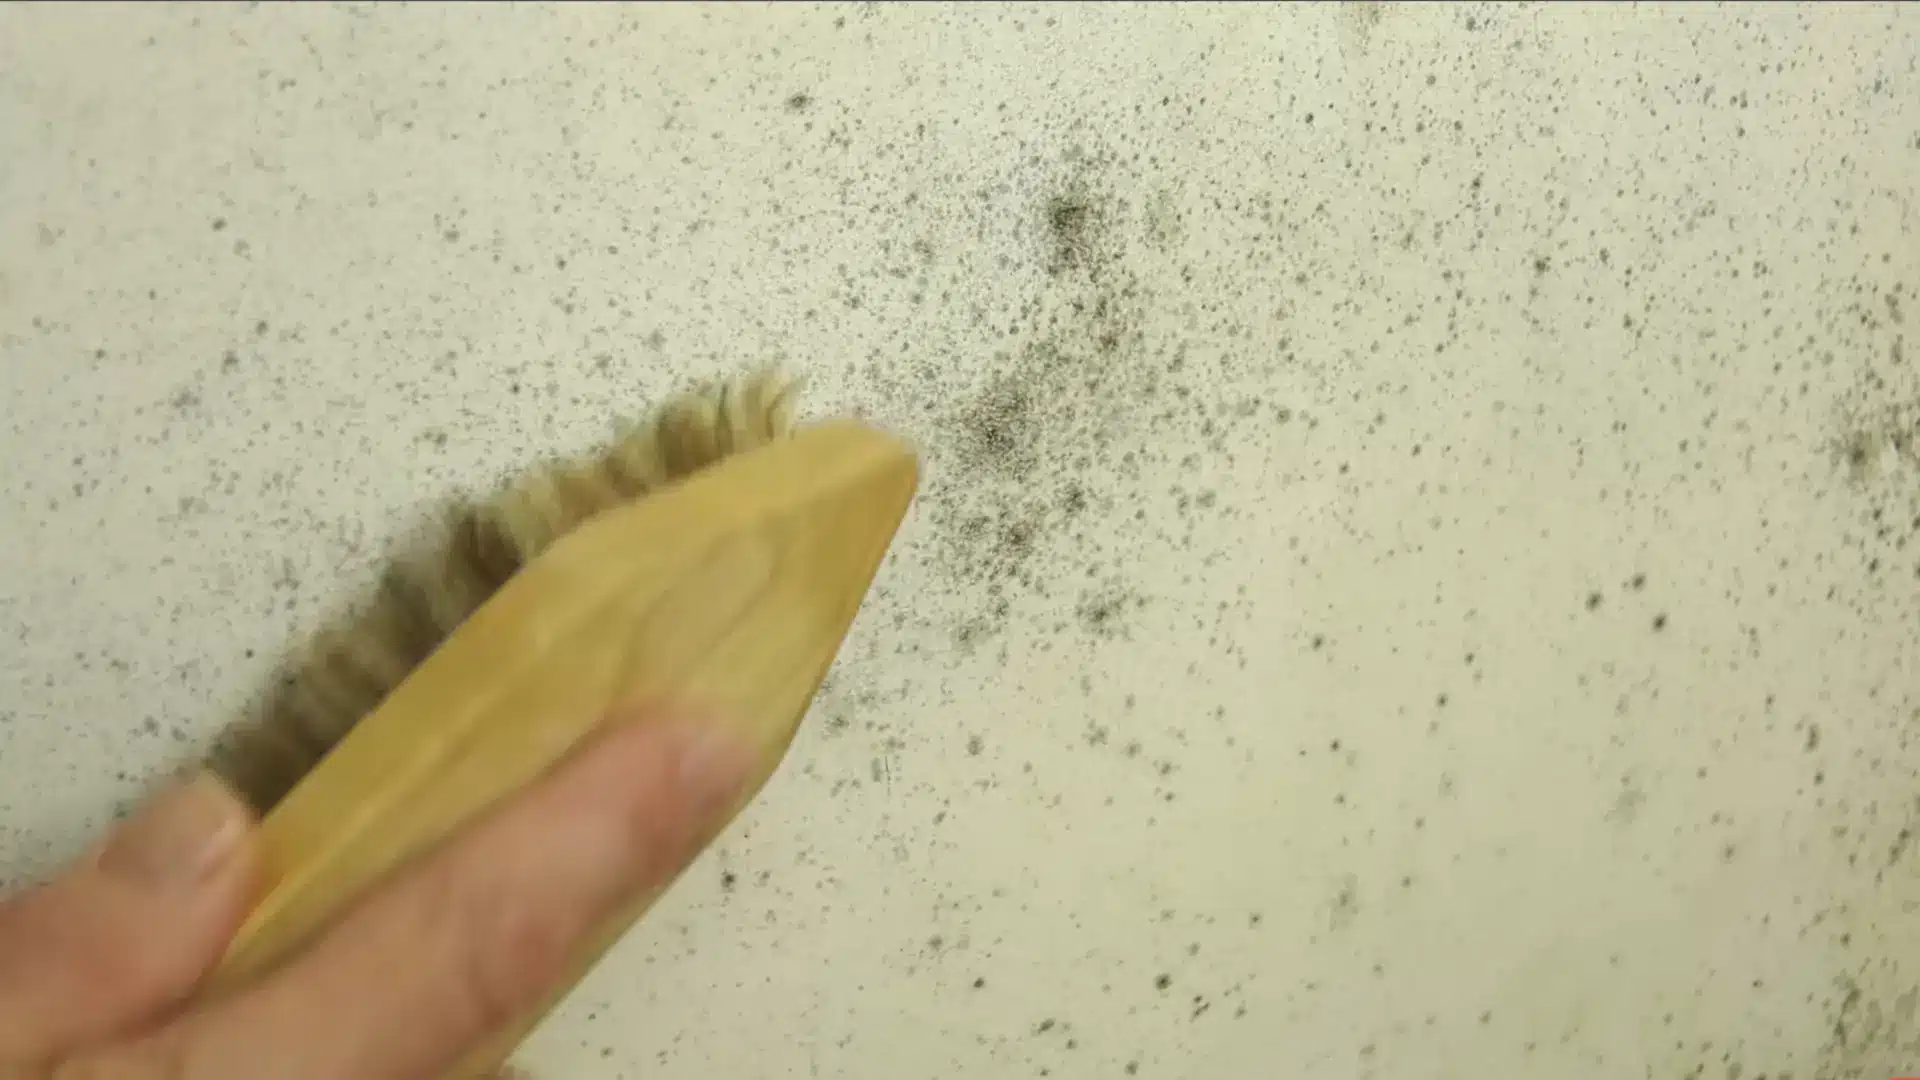
- Grab a stiff bristle brush and scrub away all loose, flaking, or failing paint to reach a sound edge.
- Use 120-grit sandpaper to feather those edges so the transition between the bare wall and the old paint is smooth.
- Wash the entire section thoroughly with a universal degreaser, rinse it clean, and allow it to dry.
- Spray a dedicated mold killer directly onto the dark patches and let the solution dry completely.
Step 3: Fill and Sand Repairs
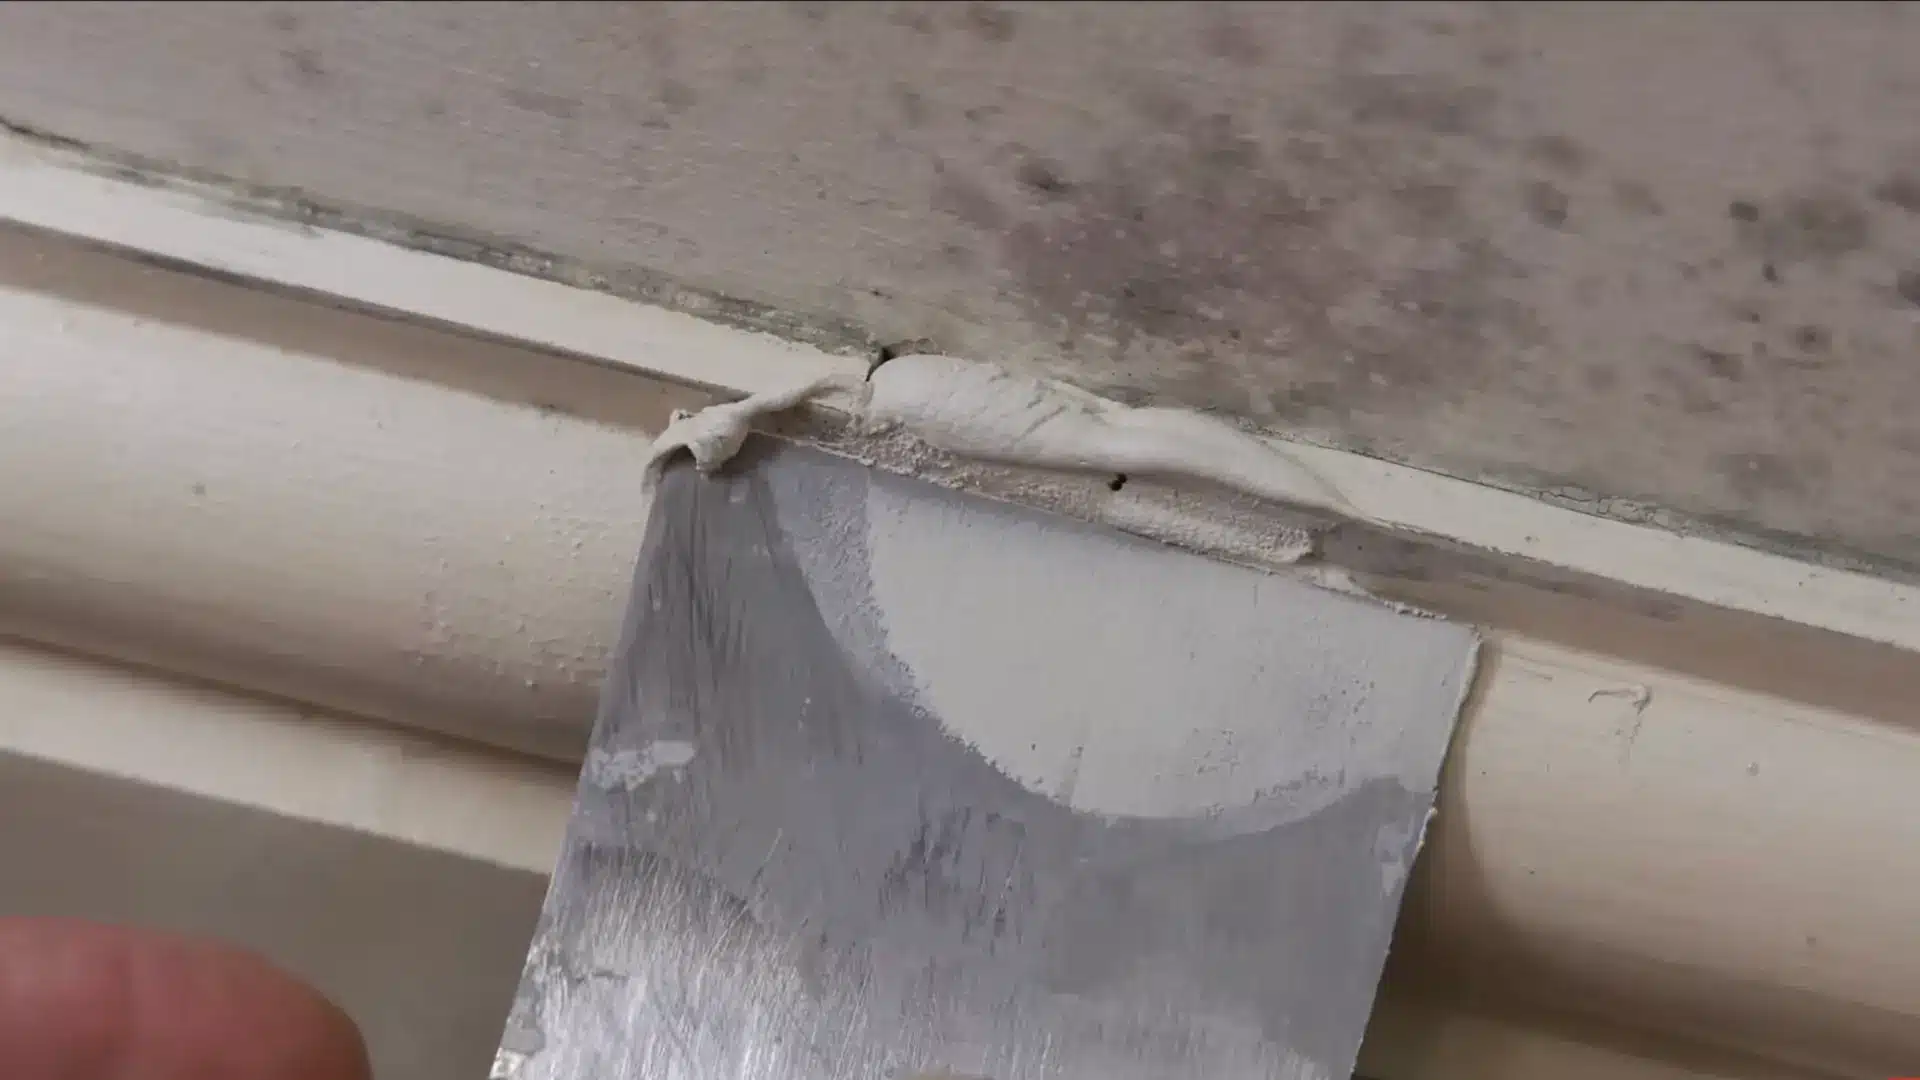
- Apply a suitable filler to any cracks, holes, or surface defects left behind from the scraping process.
- Let the filler set fully, then gently rub it down with fine-grade sandpaper to match the wall texture.
- Vacuum up all the dust using a machine equipped with a HEPA filter bag to trap any harmful particles.
- Apply a fresh bead of caulk along the skirting boards or trim for a neat, finished look.
Step 4: Priming to Block the Stains
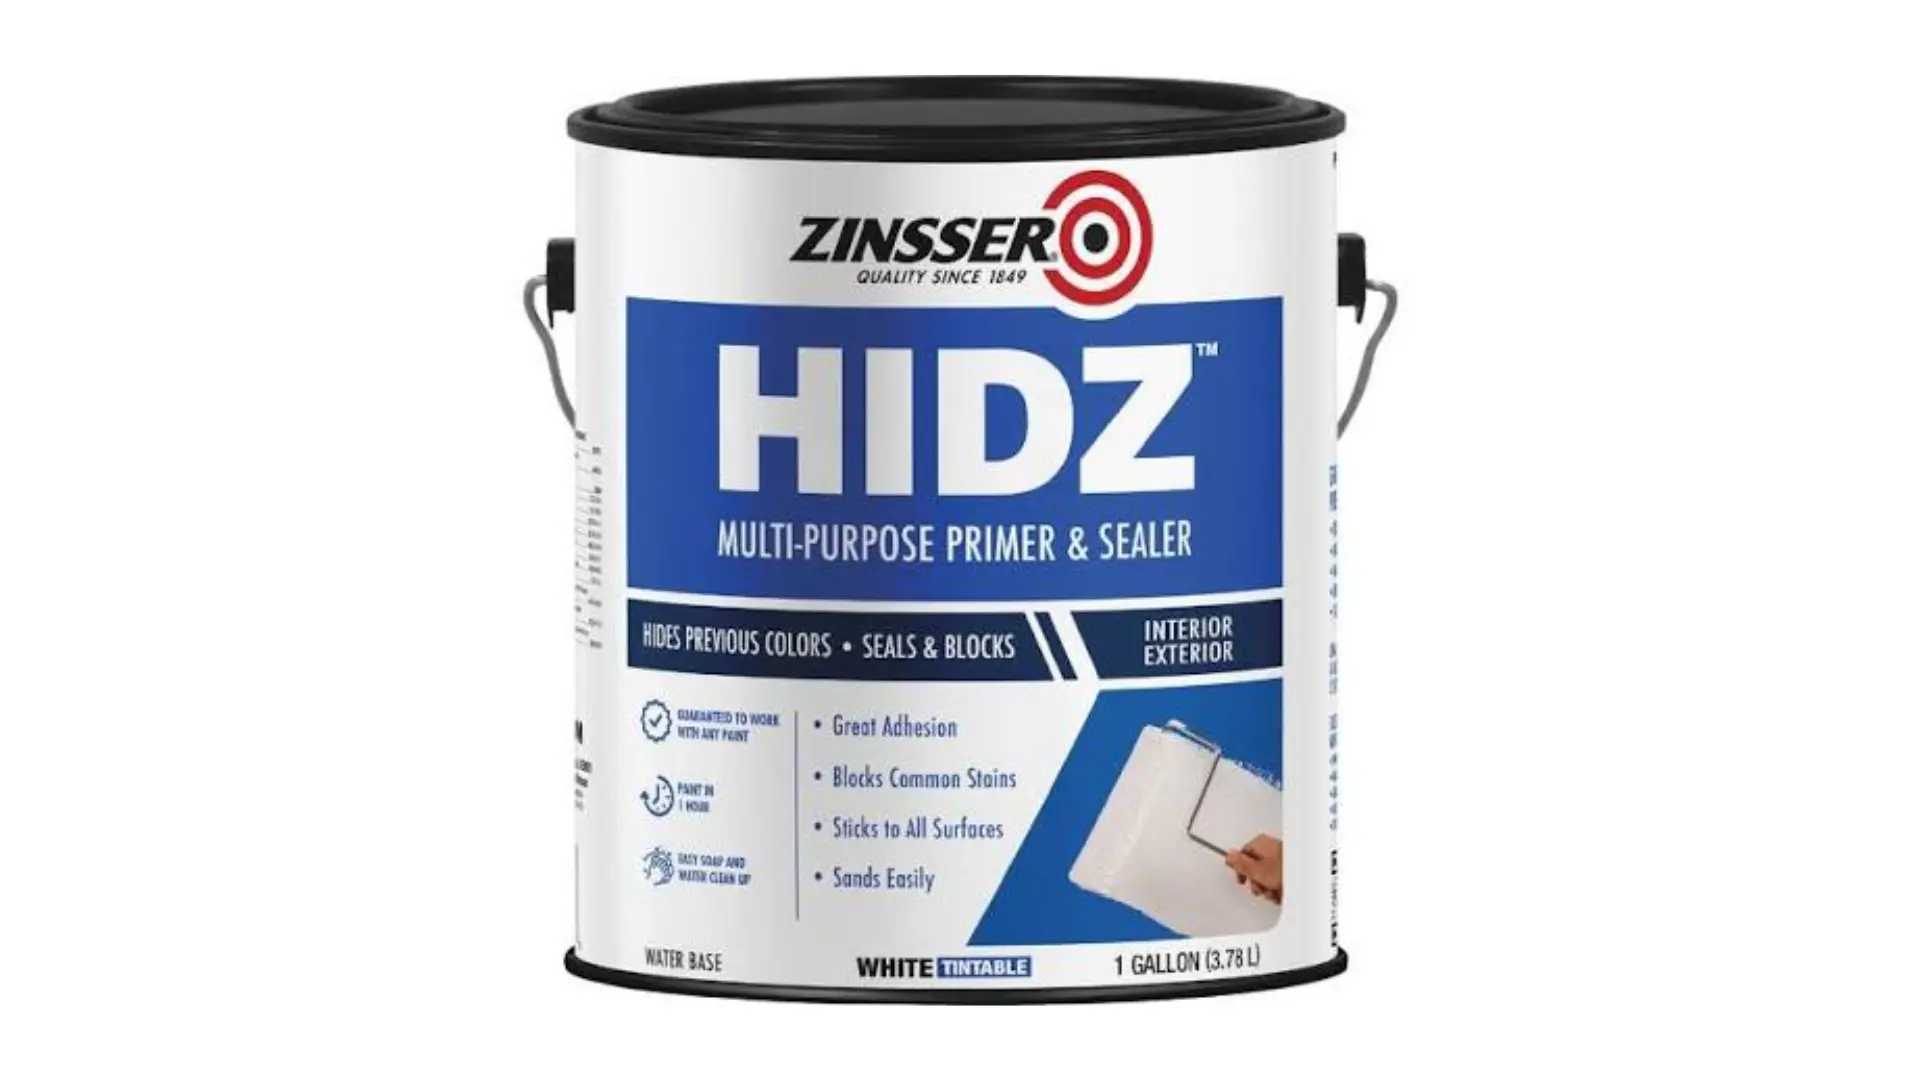
After cleaning the wall, the next step is applying a high-quality primer. A standard water-based primer will not work here. Fungal stains are incredibly stubborn and will easily bleed right through regular wall paint.
You need a shellac-based primer sealer to block the dark marks and trap any lingering odors. The shellac completely seals the porous drywall surface.
This type of primer dries to the touch in about 15 minutes and is ready for a recoat in 45 minutes, allowing you to move quickly. Let us look at the best way to apply this primer and why covering the entire wall is a smart choice.
Covering the full surface prevents this flashing. If you must spot prime, always feather the edges outward so they blend smoothly into the surrounding space.
Step 5: Applying the Primer Coat
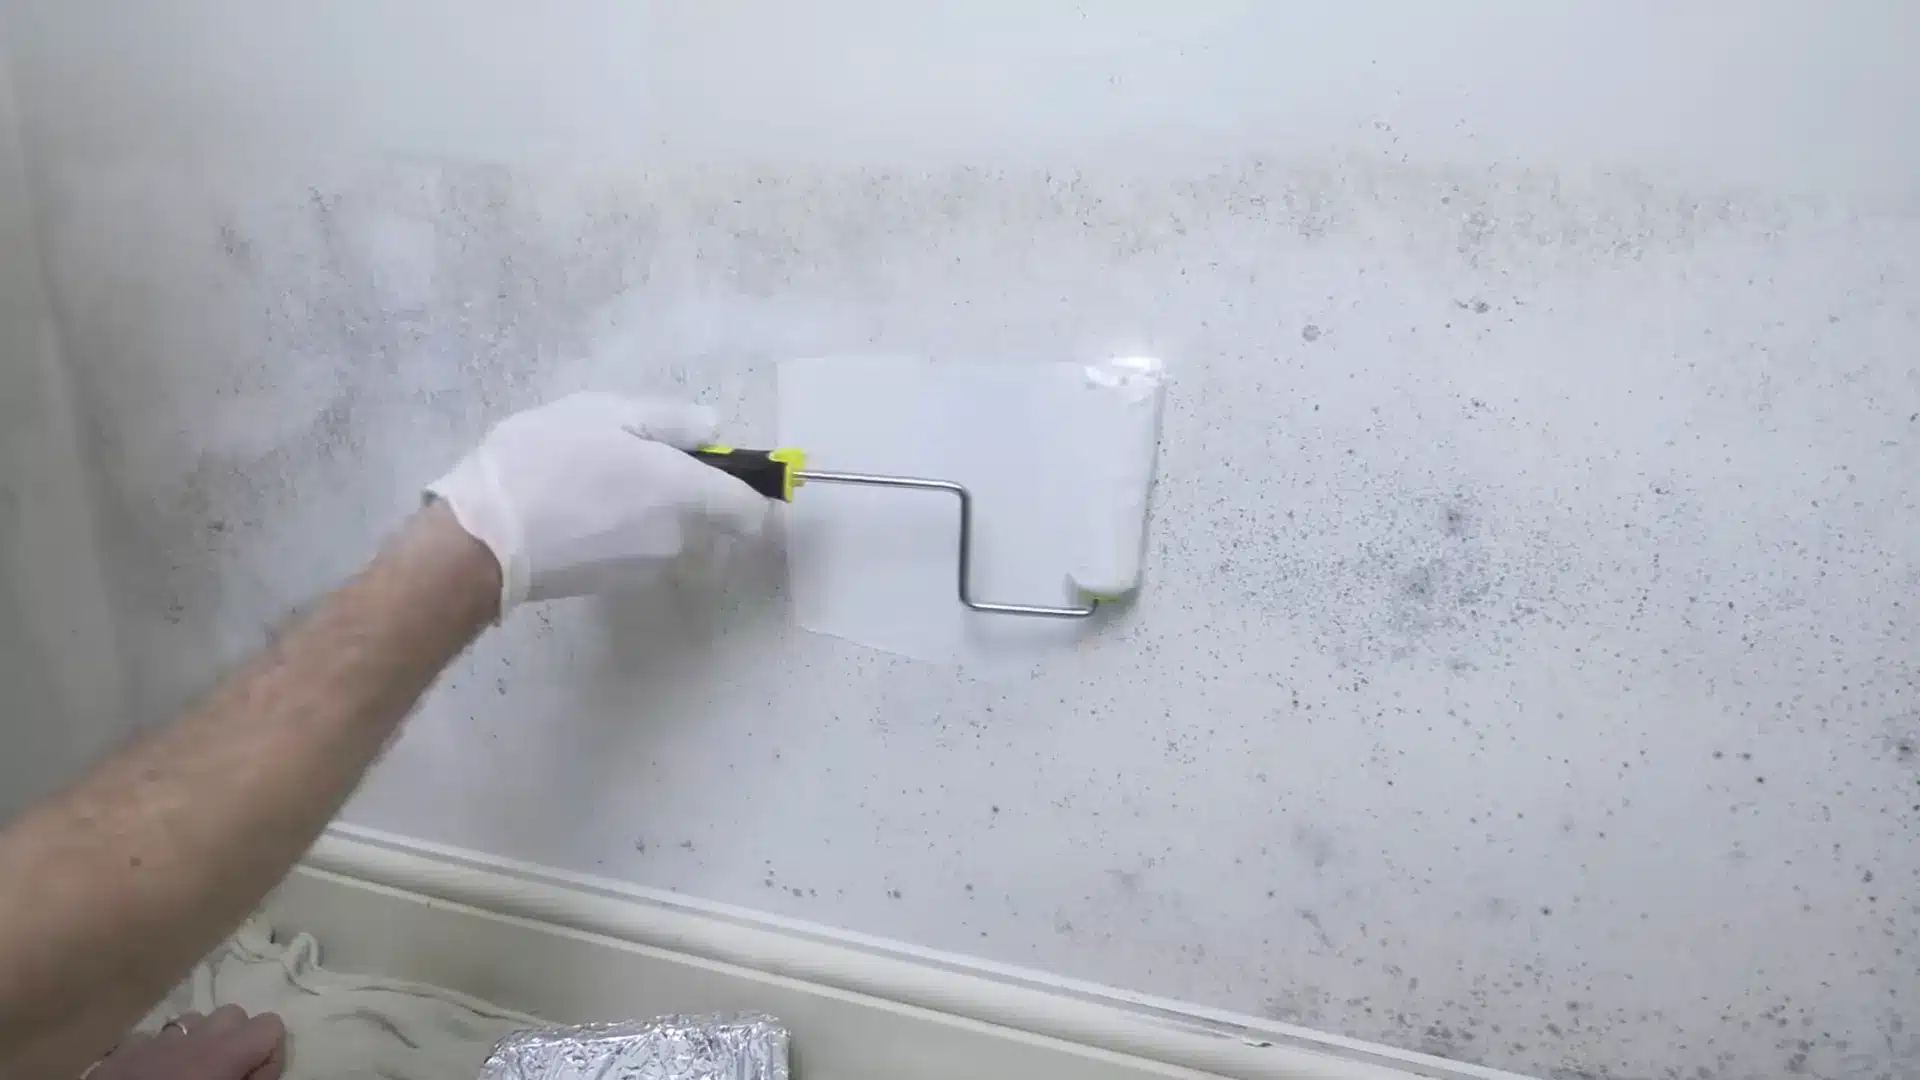
For tight spaces or small patches, use a four-and-a-half-inch mini roller to apply the primer over the bare and filled areas. If you are working on a larger surface, switch to a standard nine-inch roller for better coverage.
Roll on one even coat to seal the wall completely, and allow 45 minutes to dry before moving to the final stage.
Step 6: Applying the Final Topcoat
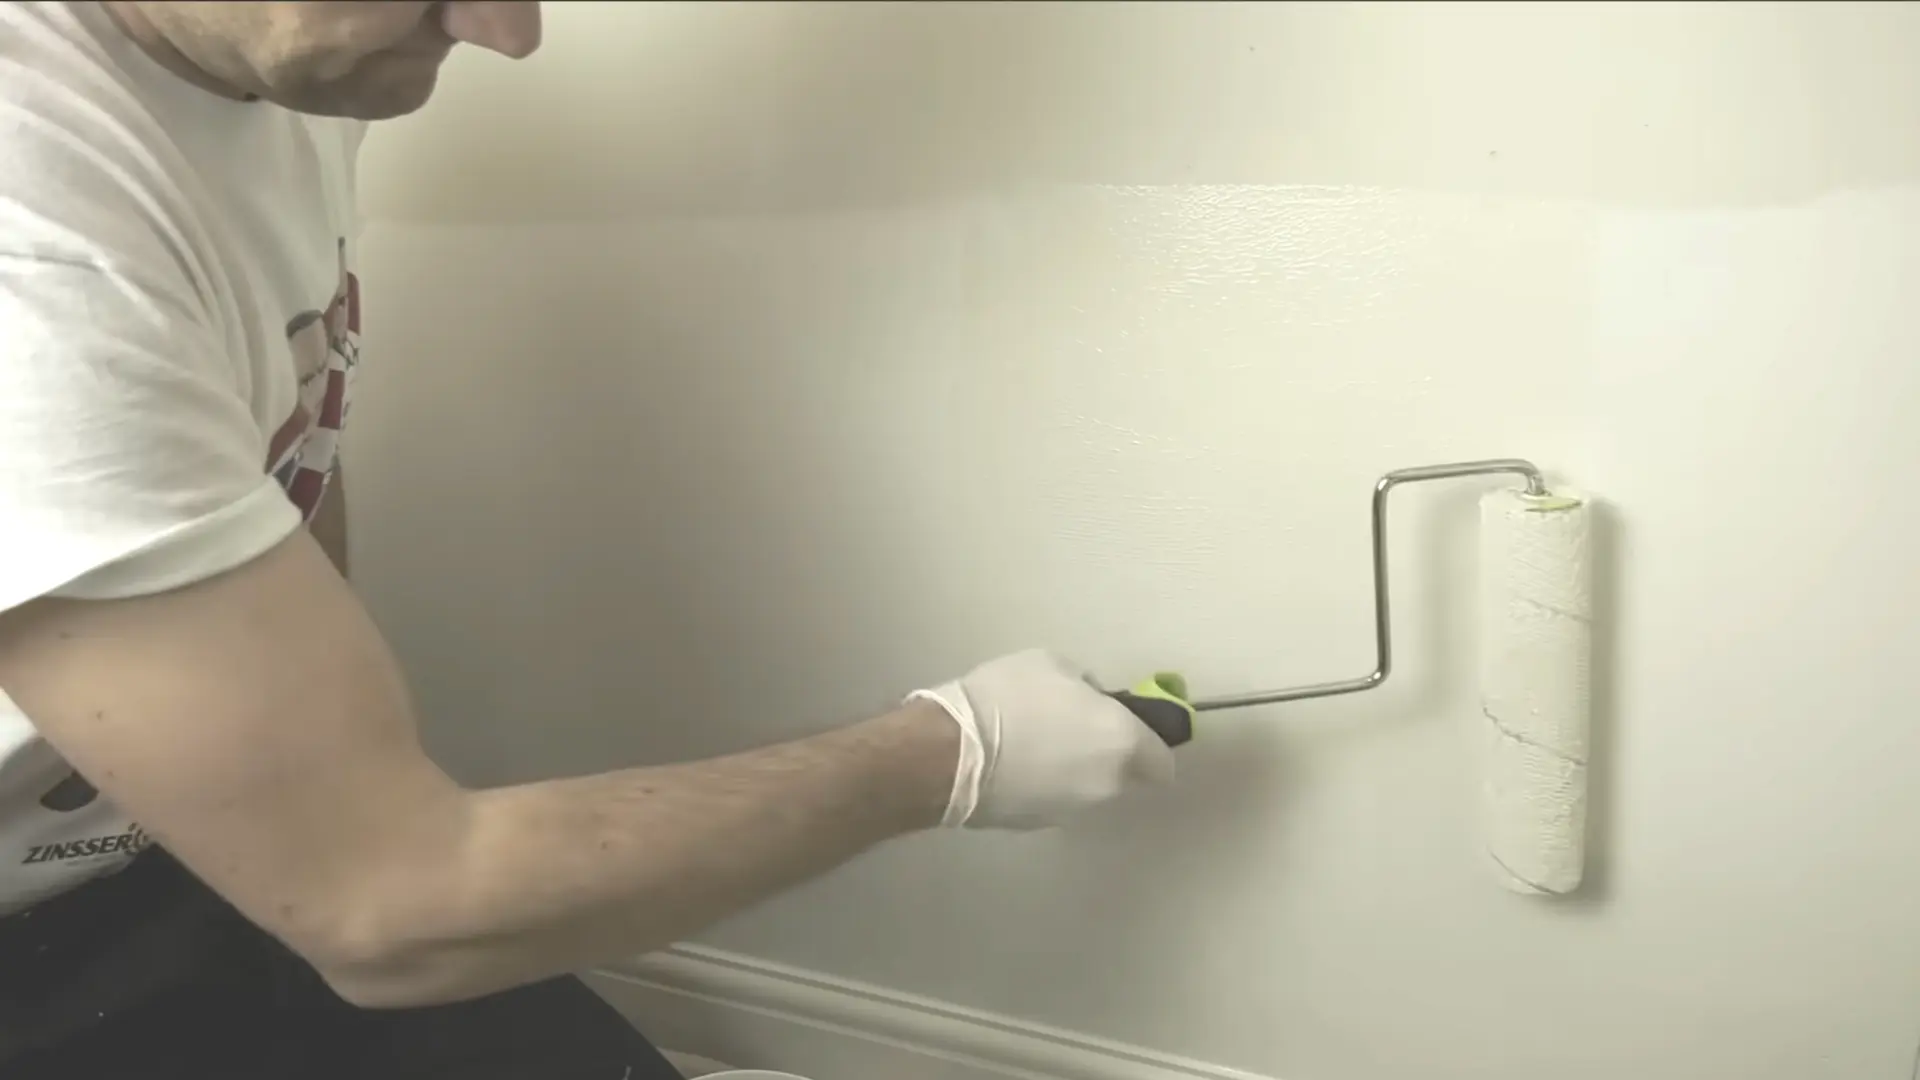
The final stage involves applying the finishing color. You need a topcoat designed specifically for damp spaces. Standard wall paint will not hold up in high humidity or moisture.
Mildew-resistant paint contains a biocide that actively protects the surface against future fungal decay. These paints bond well to the underlying primer and handle frequent temperature changes without peeling.
They are usually touch-dry in 30 minutes and ready for a second coat in two hours. Let us review how to properly apply the finish and clean your brushes effectively afterward for future projects.
Step 7: Painting Two Full Coats
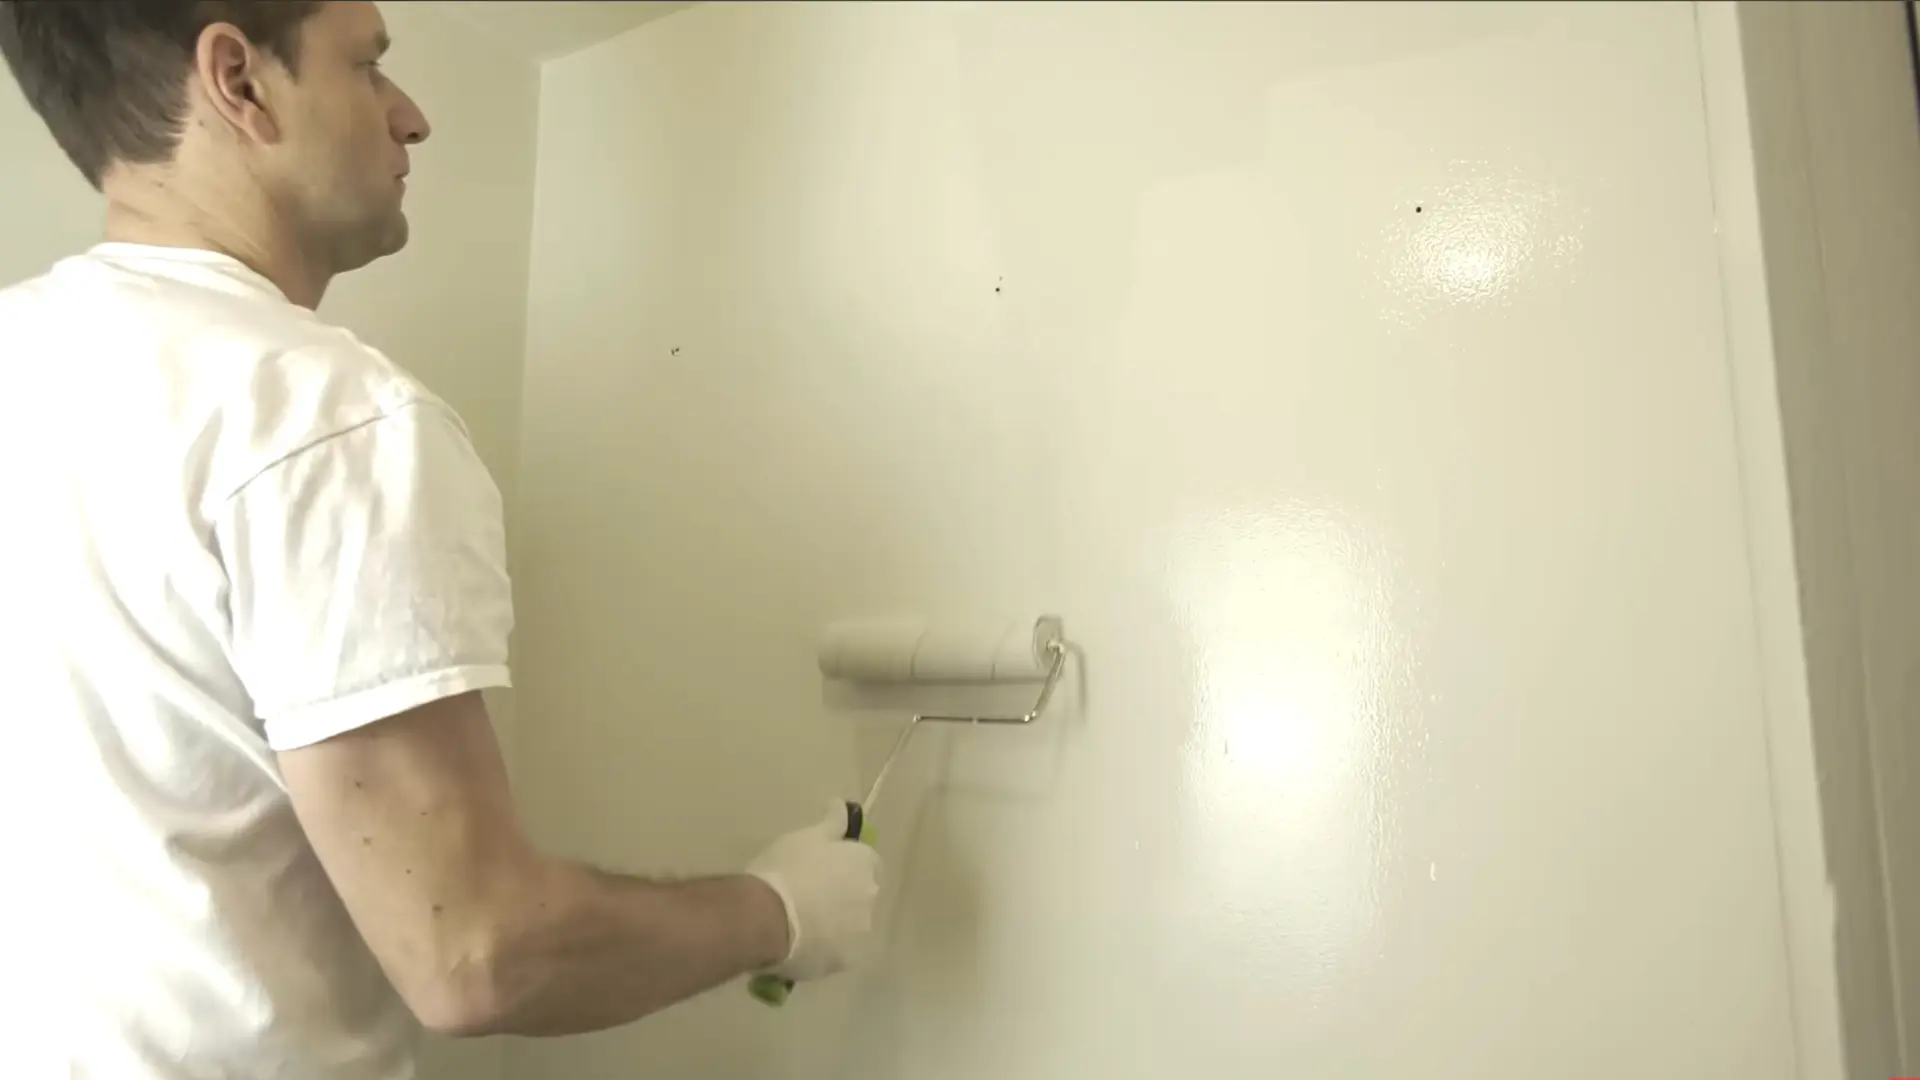
Start by rolling a full, even coat over the primed wall. Let it dry completely according to the two-hour recoat time specified on the paint label.
Once the surface is ready, apply a second full coat to ensure solid coverage and maximum protection. You can typically choose a matte or satin finish depending on the exact look you want for the room.
Step 8: Cleaning Your Brushes After
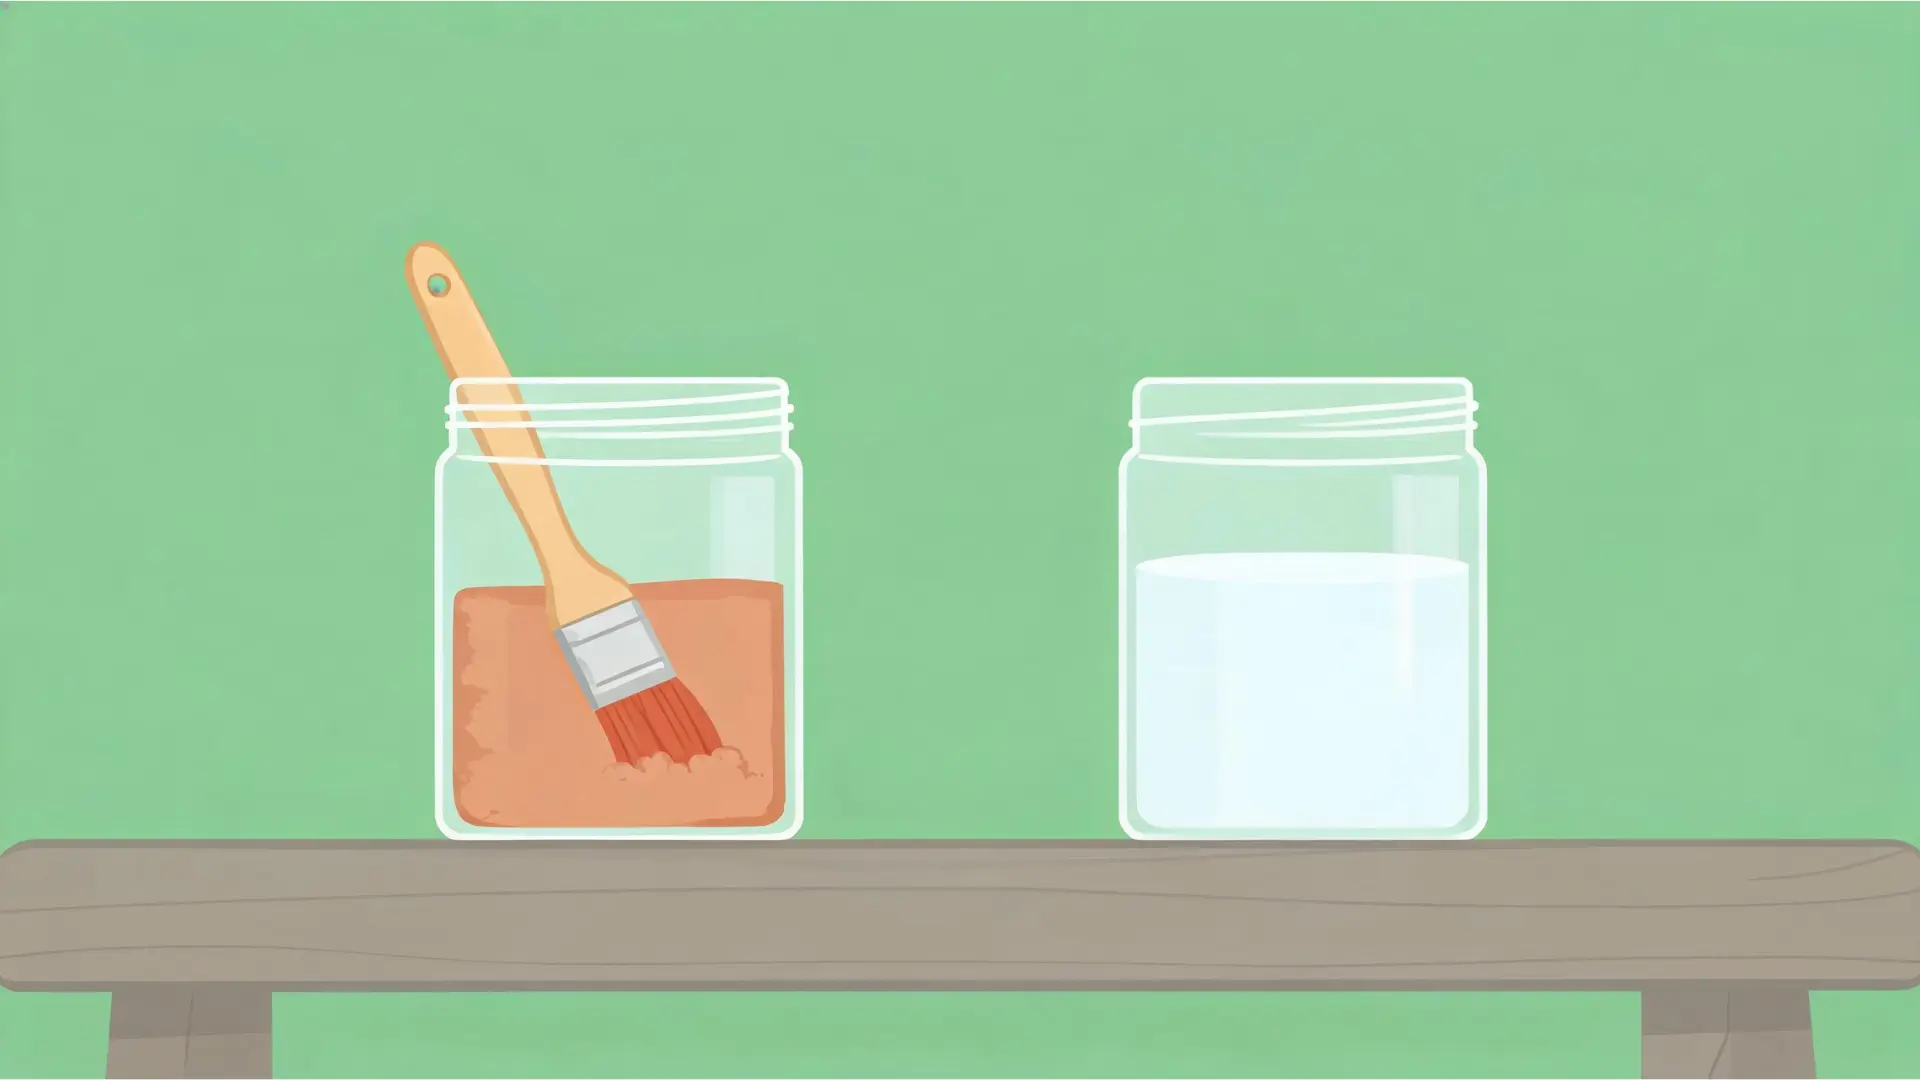
Shellac primer will ruin your brushes if you try to clean them with regular tap water. You must use a dedicated brush cleaner or methylated spirits to dissolve the paint.
Use a simple two-jar method: wipe off the excess paint, soak the bristles in the old cleaner, then rinse the brush in a jar of fresh cleaner. For mini rollers, wrap them tightly in plastic wrap to keep them wet between coats.
Here is a video tutorial from Charlie DIYte (CharlieDIYte) on how to remove mold and apply paint:
Stopping Mold From Coming Back
Cleaning and repainting the surface is only a temporary fix if you ignore the root cause. Fungi thrive when moisture is deposited on cold, damp surfaces.
To prevent new growth down the line, you have to tackle the specific sources of dampness in your home. Here are the daily habits and room adjustments that keep the walls clean.
- Airflow: Keep your furniture pulled slightly away from exterior walls to allow air to circulate freely.
- Humidity: Run a dehumidifier to remove excess moisture from the air. Aim to keep indoor humidity levels between 30 and 50 percent.
- Ventilation: Open windows or run exhaust fans daily, especially in high-moisture areas like bathrooms and kitchens.
- Leaks: Fix any slow plumbing drips or roof leaks as soon as you spot them.
- Finish: Use a mildew-resistant topcoat with a biocide to protect against fungal degradation in damp spaces.
Signs Someone Painted Over Mold
If you just moved into a new home or rental, you might wonder if a previous owner tried a quick cover-up. Because paint does not kill the spores, the hidden problem eventually reveals itself. Knowing what to look for helps you catch the issue before it spreads further.
Warning Signs On the Wall
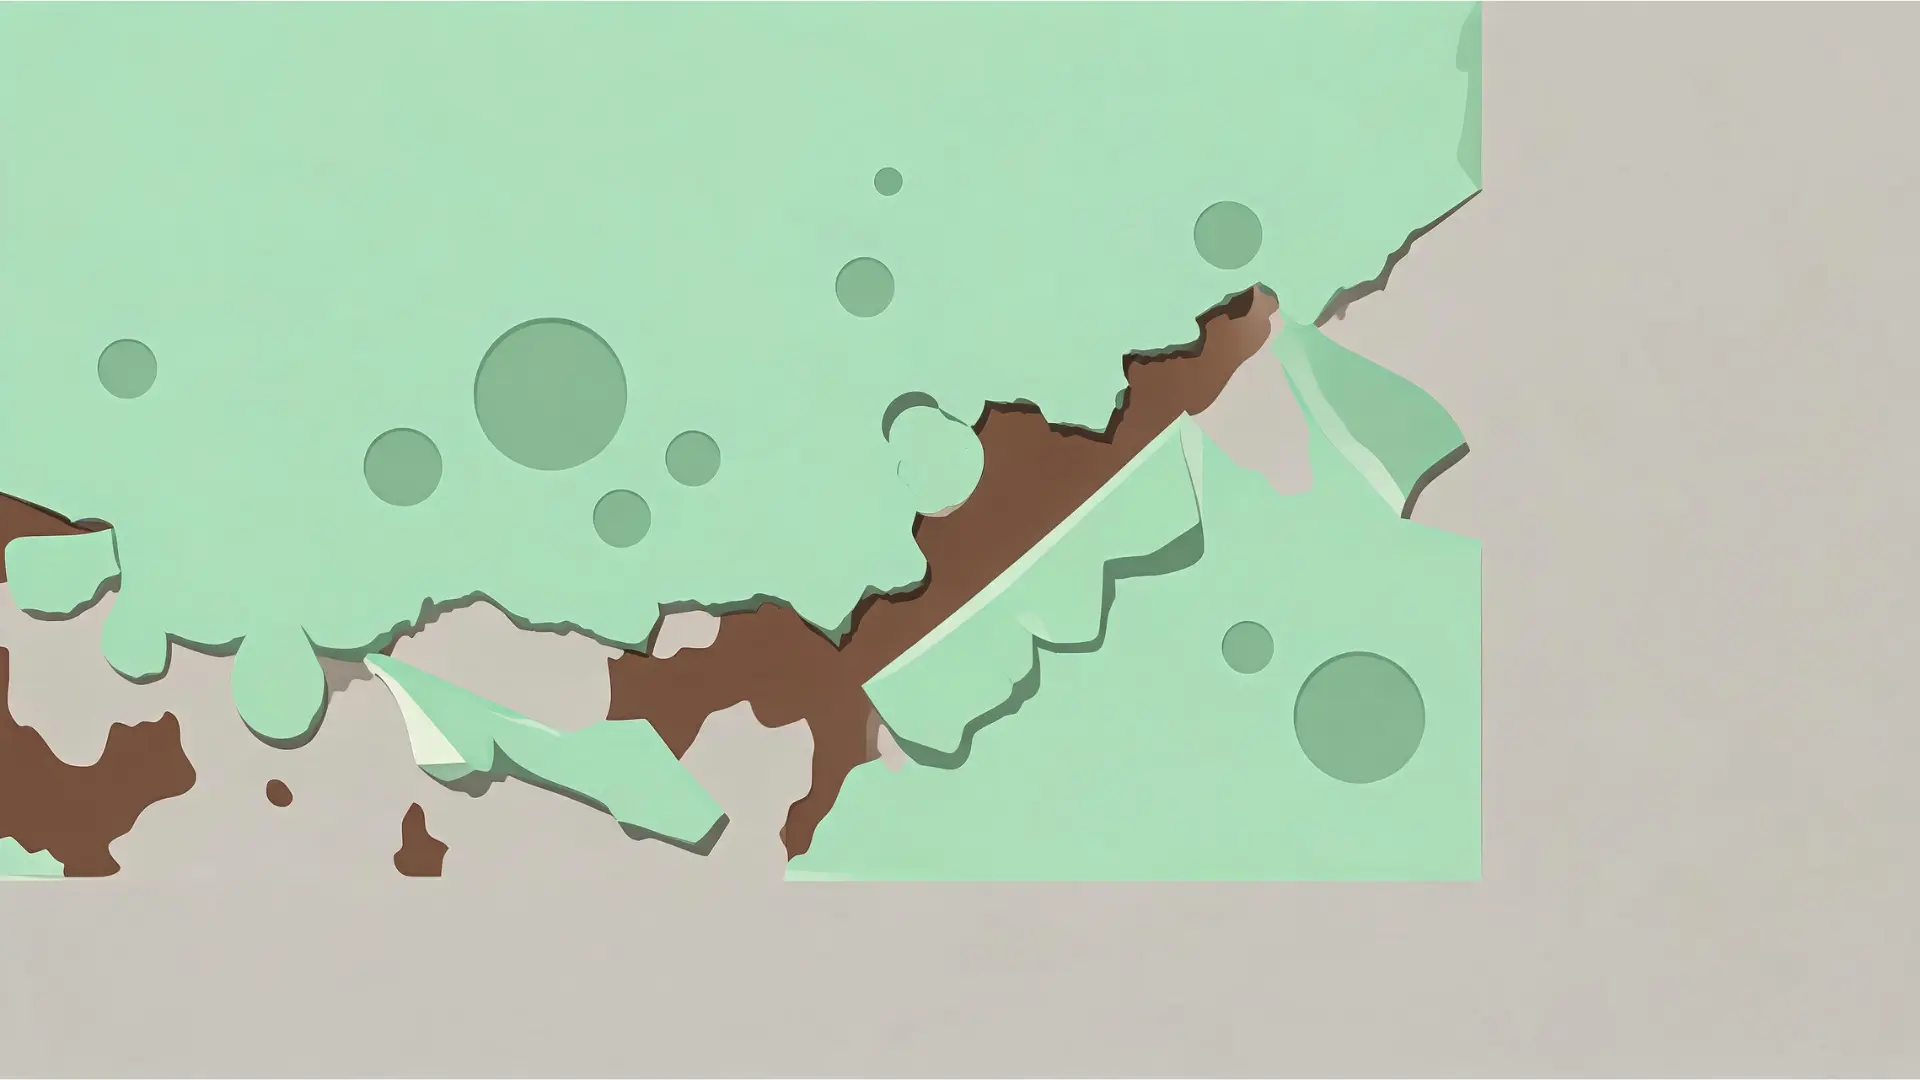
The most common clue is bubbling or peeling paint in an otherwise dry-looking room. You might also notice a faint brown or black stain bleeding directly through a fresh coat of color.
Sometimes, a musty smell lingers near a newly painted wall, or you might spot an uneven, raised patch where someone applied a heavy layer to mask the damage.
What to Do If You Spot It
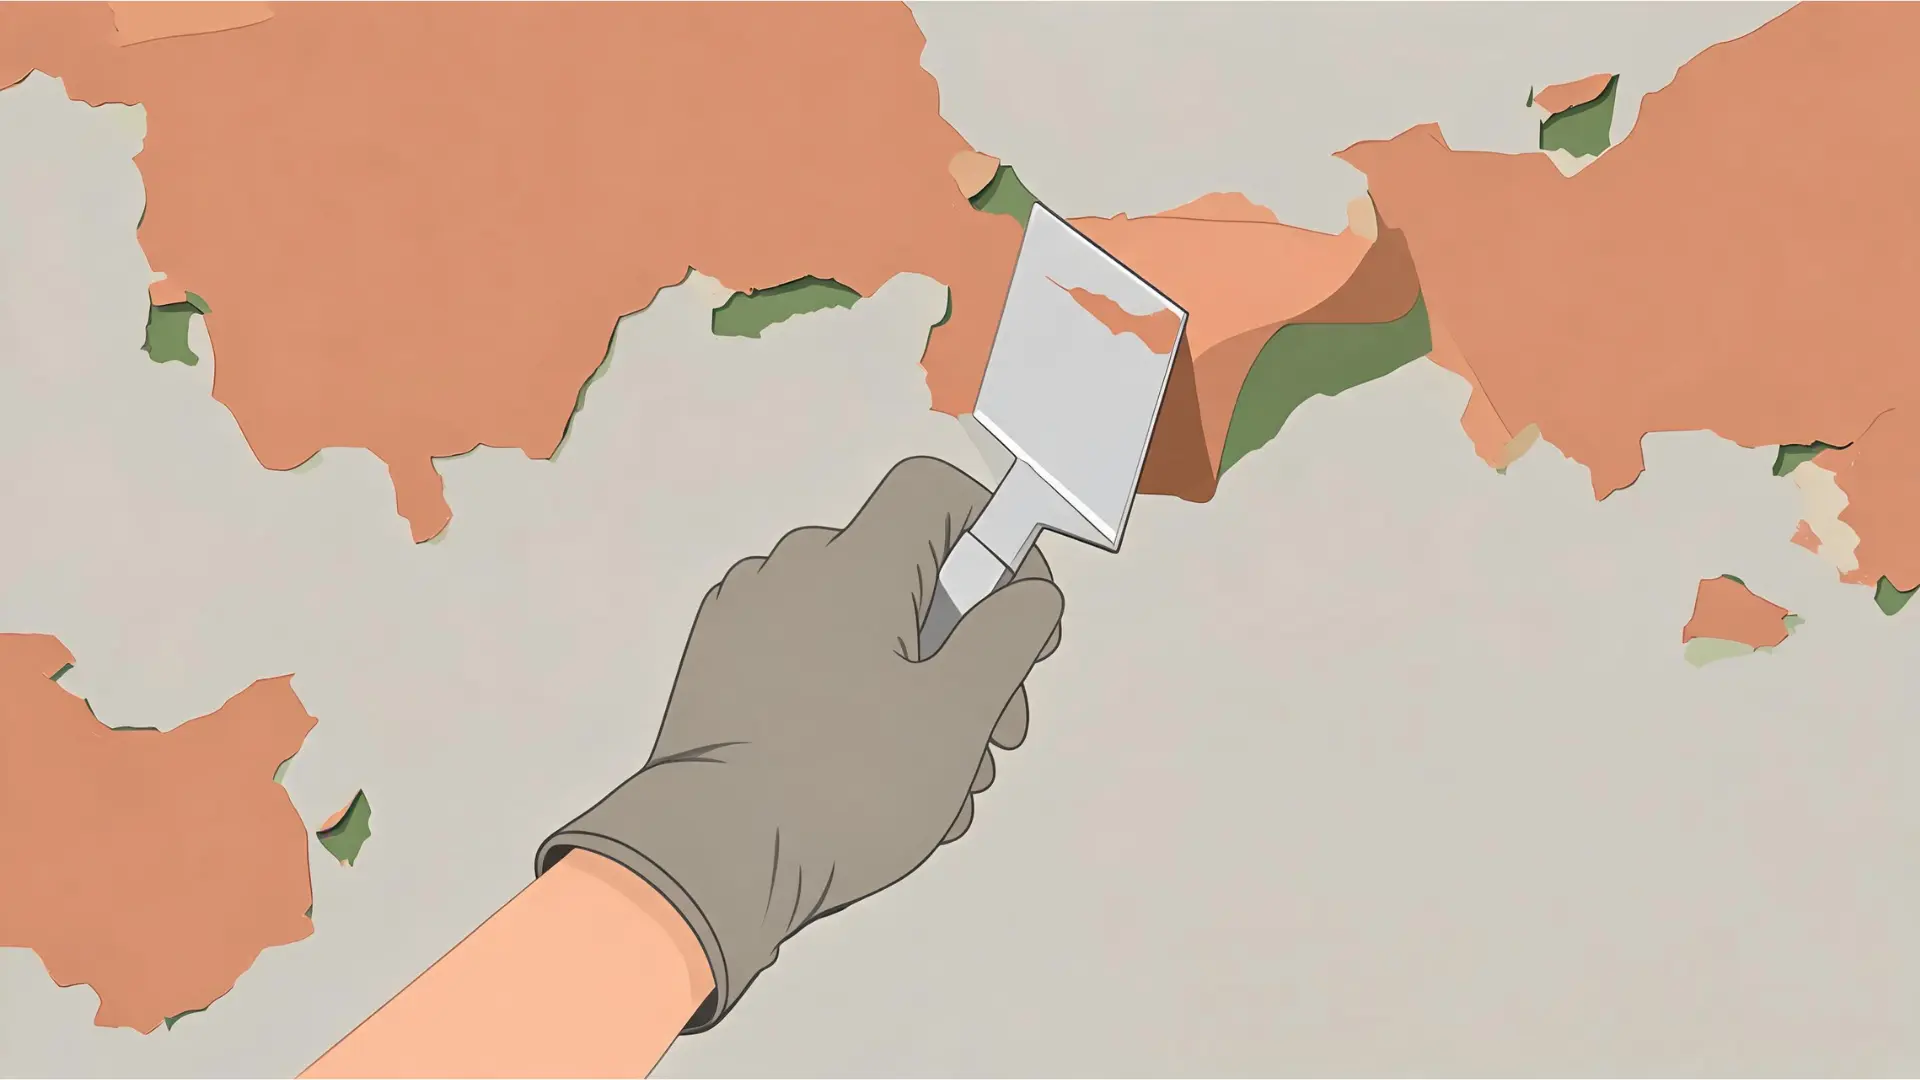
If you find a cover-up job, do not make the mistake of adding another layer of paint over it. First, you need to find the moisture source feeding the hidden colony.
Once you fix the leak or airflow issue, scrape away the failing paint, apply a mold killer, and follow the proper removal steps to fix the wall for good.
Painting Over Mold vs Proper Removal
Taking a shortcut might seem appealing when you want a quick fix, but the long-term results are drastically different. A cosmetic cover-up fails quickly, while true remediation solves the underlying problem. Here is an honest look at how masking the issue compares to doing the job right.
| Factor | Painting Over It | Removing It First |
| Cost | Cheap initially, but requires constant repainting. | Higher upfront cost for tools, but saves money in the long term. |
| Time | The fast application usually takes an hour. | Requires a full day for drying, cleaning, and sealing. |
| How long does it last | Fails within a few weeks or months. | Provides a lasting, permanent fix. |
| Health | Spores remain active and continue multiplying. | Destroys the colony and removes the health hazard. |
| Resale risk | Hiding the issue creates a major disclosure liability. | Gives buyers confidence in a clean, safe home. |
Finishing Up
The bottom line is simple: you cannot fix a fungal issue with a simple coat of color. Can you paint over mold? Technically, yes, but doing so only traps a living problem against your wall.
To protect your home, I highly recommend addressing the root cause rather than relying on a cosmetic mask.
The real fix requires you to dry the area, apply a dedicated killer, block the stains with a shellac primer, and finish with a biocide-rich topcoat.
Taking the time to do this right means you will not have to deal with peeling layers or bleed-through later. Give these prep steps a try on your next project, and let me know how the repair turns out in the comments below!
Frequently Asked Questions
Can You Paint Over Mold On a Popcorn Ceiling?
Popcorn ceilings have a rough texture that easily traps active spores. Overhead removal is incredibly difficult and messy, making thorough cleaning hard. For textured ceilings, it is usually safer to hire a professional.
How Long after Removing Mold Can I Paint?
You should not rely on a fixed clock. Wait until the treated drywall feels completely dry to the touch. Using a moisture meter is the best way to confirm the surface is ready for primer.
Does Mold-Resistant Paint Stop Working Over Time?
Yes, the active mildewcides in the topcoat will eventually lose their effectiveness. To keep the walls clean over the years, you still need to maintain good ventilation and control the indoor humidity levels.
Can I Paint Over Mold In a Rental I Don’t Own?
You should never mask a structural issue in a rental property. Document the damage and report it to your landlord immediately. They are responsible for fixing the moisture source and handling the proper removal.
Is It Safe to Sleep In the Room After Painting?
It is only safe if you actually destroyed the colony rather than just covering it up. You also need to keep the windows open to ventilate the fumes from the strong shellac primer properly.

Tommy Hardy, an alumnus of the Georgia Institute of Technology with a degree in Mechanical Engineering, has been a go-to figure in residential upkeep and innovation for over 18 years. His career commenced in a leading home appliance manufacturing company, where he mastered the intricacies of household systems. Joining our platform in 2020, Tommy quickly became a reader favorite for his practical and easy-to-follow guides. He took the helm of our DIY section in 2019, consistently delivering content that empowers homeowners. Beyond his professional pursuits, Tommy is a passionate gardener and enjoys woodworking, skills enhancing his hands-on approach to home care.