
Every Aussie who has been to their garage in either January or July can attest that you will feel like entering either a burning furnace in the summer, or a refrigerator in winter. Yes, we all know we should insulate our walls, roof and floor, but we forget possibly the most important part, rendering our effort in insulation goes to waste: insulated garage doors.
Your garage door can trap heat during the summer months and keep your garage ice cold in the winter, driving up your energy bills throughout the year.
Why Insulate Your Garage Door?
Uninsulated garage doors not only affect the temperature, but also indirectly affect your utility bills.
During a typical Australian summer, the metal is often grey with heat, where the sunlight directly shines on it. The warmth pours directly into your garage, and if the garage is attached to your house directly, it pumps the heat right into your living spaces. You keep your fans or air conditioning turned on to make the heat tolerable, and there goes your bill sky-high.
An insulated garage door not only makes your home more comfortable in both summer and winter but also helps you save energy 24/7. Putting a thermal barrier on the garage door keeps your garage cooler in summer and warmer in winter. This means lower energy bills, more noise reduction and better protection for your gear that you’ve stacked away in your garage.
Step-by-Step Guide to Insulate Garage Door
Insulating a garage door can be pretty simple. You could do it yourself, or you can hire the pros to handle it for you. But don’t start until you have ticked off all the preparation steps it needs.
Step 1: Preparation
Clear the Area: We’ve seen so many Aussie garages being treated as man caves or multipurpose storage sheds. If that’s your garage, you need to clean up first and create some room for working around.
Clean the Door: When did you last clean your garage door? You probably can’t even remember it! Almost all garage doors are covered in dust, cobwebs, grease and whatnot. You’ll need to remove that for good sticking of the panels. Simply use warm soap water or a mild detergent to clean it inside out and let it air dry.
Check Out the Door: Look for dents, rust or any damage and fix anything major before insulating so that it can last longer.
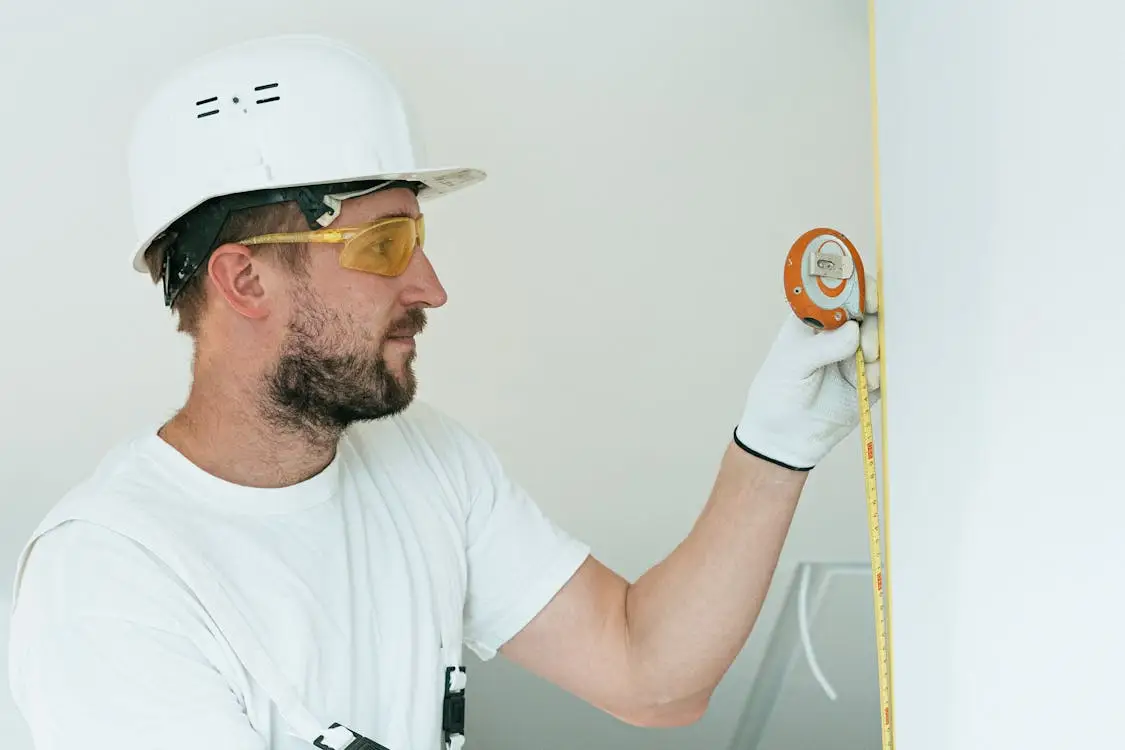
Measure the Panels: Measure each panel one by one (height x width) as accurately as possible to make sure you have a snug-fitting insulation.
Grab Tools and Supplies: The majority of kits require a measuring tape, utility knife, cement, weather stripping and ladder.
Choose Your Insulation Type: Most popular options in Australia for insulating garage doors are: EPS Foam Panels and Foil-faced foam panels. The former are budget-friendly and lightweight yet very durable, while the latter have a reflective foil which makes them best for warmer areas like QLD or WA.
Check the R-Value: R-value is one of the most important aspects when fitting insulation. Make sure that the R-value of your insulation kit is suitable for the area you live in. High R-value means better shielding against heat.
Pro Tip: Don’t skip taking a photo of your door before installing the insulation panels. It can help with easier panel adjustment later.
Step 2: Installation
Well, now you are ready for the installation process.
Begin with the Bottom Panel: Lower panel first, then go up. This prevents the separation of the panels and also allows for a very easy sealing throughout.
Insert Insulation Panels: Push every panel properly into its place, and every time you place the glue, smooth it as evenly as possible on there and apply heavy pressure to ensure good sticking. Make sure the panels are levelled correctly and are exactly in place on each portion of the door.
Trim: Cut the panels with a utility knife to fit as closely around all areas, like hardware, edges or corners.
Seal Openings: Weatherstrip your windows along the sides, top and bottom to protect against hot air drafts or pests.
Check for interference: Slowly open and close the door to see if panels are snagging along the track of the door or other hardware on either side.
Last Step: Do a thorough check of panels and weatherstripping to make sure that there are no gaps around the corners or edges.
Step 3: Check the Door Balance
Adding insulation means adding more weight to your garage door. If the installation is not done properly, it can also lead to an imbalance of the door due to additional weight. Leaving it the way it is can cause your garage motor to make an effort each time you use the door, and the springs won’t last long.
This is how to determine if your door balances correctly:
Disconnect the motor for some time and move the door manually using your hand to see how it rotates. If it feels too heavy or swings back even without applying force, then you know why! Call the garage door thermal insulation professionals and let them handle it safely.
Why Do You Need a Professional?
DIY garage door insulation is usually safe if you have been doing such things in your home for some time now, but it is not as easy and simple as it sounds. After all, measuring the panels, cutting to fit and shimming them into place without leaving zero gaps is harder than most of us think. This is especially true when you have an old, finicky or heavy garage door.
Besides that, getting the R-value correct and sealing each gap for optimal efficacy requires professional experience and knowledge. They will recommend the ideal insulation for your weather conditions, install all panels seamlessly, seal every gap and ensure that the doorway opens and closes with perfect balance.
In summary, you’ll want to insulate your garage door if it has walls in common with your living areas. Many people don’t consider it necessary, but a small investment in insulation panels right now can save you the headache of long energy bills throughout the year. If you can do it yourself, that’s great, but if you’re not confident, it’s better to consult the professionals in your area.

Holding a Master’s in Architecture from the University of Texas at Austin, Emily Rodriguez has dedicated more than two decades to the art and science of building renovation. Starting her journey in historic preservation, she developed a profound respect for blending old with new in building design. Emily became a vital part of our team in 2019, renowned for her insightful and innovative renovation tips. She has been leading our DIY home improvement series since ever since, where she shares her wealth of knowledge in turning outdated spaces into modern havens. When not engaged in writing or consulting, Emily is a passionate advocate for heritage conservation and enjoys exploring vintage architecture, a hobby that complements her professional expertise.