Closet space runs out faster than anyone expects. One day everything fits fine. Next, you’re stacking shoes on the floor and hanging clothes on doorknobs. It happens slowly, and then all at once.
Building your own shelves is a weekend project that most people can pull off without any prior experience.
The materials are affordable. The steps are simple. And the result is storage that actually fits your space, not whatever the store had in stock.
This walks you through every part of the process, from prepping your closet to finishing your DIY closet shelves.
Why DIY Closet Shelves Make Sense
There are plenty of reasons people go the DIY route, but the biggest one is simple: store-bought closet systems are overpriced for what you get. When you build your own shelves, everything changes.
- You save real money. Most DIY closet shelves cost between $80 and $150 in materials. That is a fraction of what a retail system costs, and you end up with something that actually fits.
- It works for your exact space. Custom-built means you measure first and cut to match.
- You decide the layout. You are in charge of how the storage is arranged, not some product designer who has never seen your closet.
- It is easy to change later. If your storage needs shift, you can adjust the shelves without throwing out the whole system. Add a shelf, move a bracket, paint it a different color. It is all up to you.
Tools and Materials Required
Before starting, gather everything in one place. This saves time and keeps the process smooth.
| Category | Items Needed |
|---|---|
| Wood & Structure | Plywood boards, 1×2 wooden boards, support pieces |
| Cutting Tools | Saw (circular or miter), oscillating tool (for baseboard cuts) |
| Measuring Tools | Measuring tape, pencil, level |
| Fastening Tools | Drill, screws, nails |
| Surface Prep | Sandpaper or sanding block |
| Painting Supplies | Paint (satin finish), primer (optional), microfiber paint rollers, paint tray |
| Finishing Supplies | Wood filler, caulk, caulking gun |
| Installation Aids | Stud finder, spacers (scrap wood pieces) |
| Safety Gear | Gloves, safety glasses, dust, and a paint mask |
How to Build a Custom Closet Shelf
Take your time with each step. A little patience here gives better results at the end.
Step 1: Clear out the Closet and Prep the Space

Start with an empty closet before touching anything else. Removing old hardware the right way leaves a clean, undamaged surface to build on.
- Remove all clothes, shoes, and boxes, so you have full access to every wall.
- Take the closet doors off their hinges if they make the space feel too tight to work in.
- Remove any existing wire shelving by pulling out nails first before lifting the brackets away.
- Check the walls for damage once everything is cleared out.
Step 2: Measure and Plan Your Shelf Layout

One wrong number here affects every cut and purchase that follows. Building a cut list and supply list before going to the store saves an extra trip back.
- Measure the full width, height, and depth of the closet and write everything down.
- Decide how many shelves you need. Four is a solid starting point for most closets.
- Plan the shelf spacing based on what you will actually be storing.
- Mark down the center support placement for any span running 36 inches or longer.
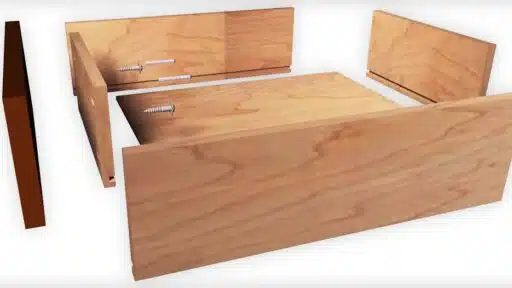
Step 3: Cut All Wood Pieces to Size

Getting every cut done in one session keeps the build moving without delays.
- Cut plywood boards to match the exact width and depth measurements from your closet.
- Cut side braces and center support pieces at the same time, so everything is ready together.
- Clamp boards down before every cut so they do not shift and throw off the line.
- Ask the hardware store to handle large cuts if you do not have space to cut at home.
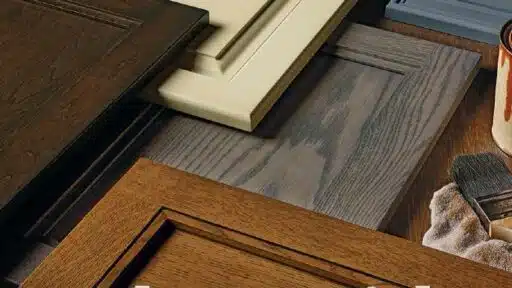
Step 4: Sand and Paint Before Installation

Finishing wood before it goes up is much easier than working around walls and corners. Painting beforehand means cleaner edges, no awkward angles, and a much better finish overall.
- Lightly sand every board and support piece to smooth rough spots before painting.
- Use a paint-and-primer combo to cut down on the number of coats needed.
- Apply paint with a roller for even, consistent coverage across flat surfaces.
- Let everything dry completely, placing wet boards on supports leaves marks that stick.
Step 5: Install Shelf Braces Securely

The braces carry everything, so this step needs full attention. A brace that is not level or not anchored properly will cause problems once shelves are loaded.
- Use a stud finder to locate studs and mark them clearly before drilling anything.
- Hold each horizontal brace in position and check the level before driving a single screw.
- Drive screws directly into the stud; drywall alone will not hold weight over time.
- Use scrap wood pieces as spacers to keep the gap between shelves consistent.
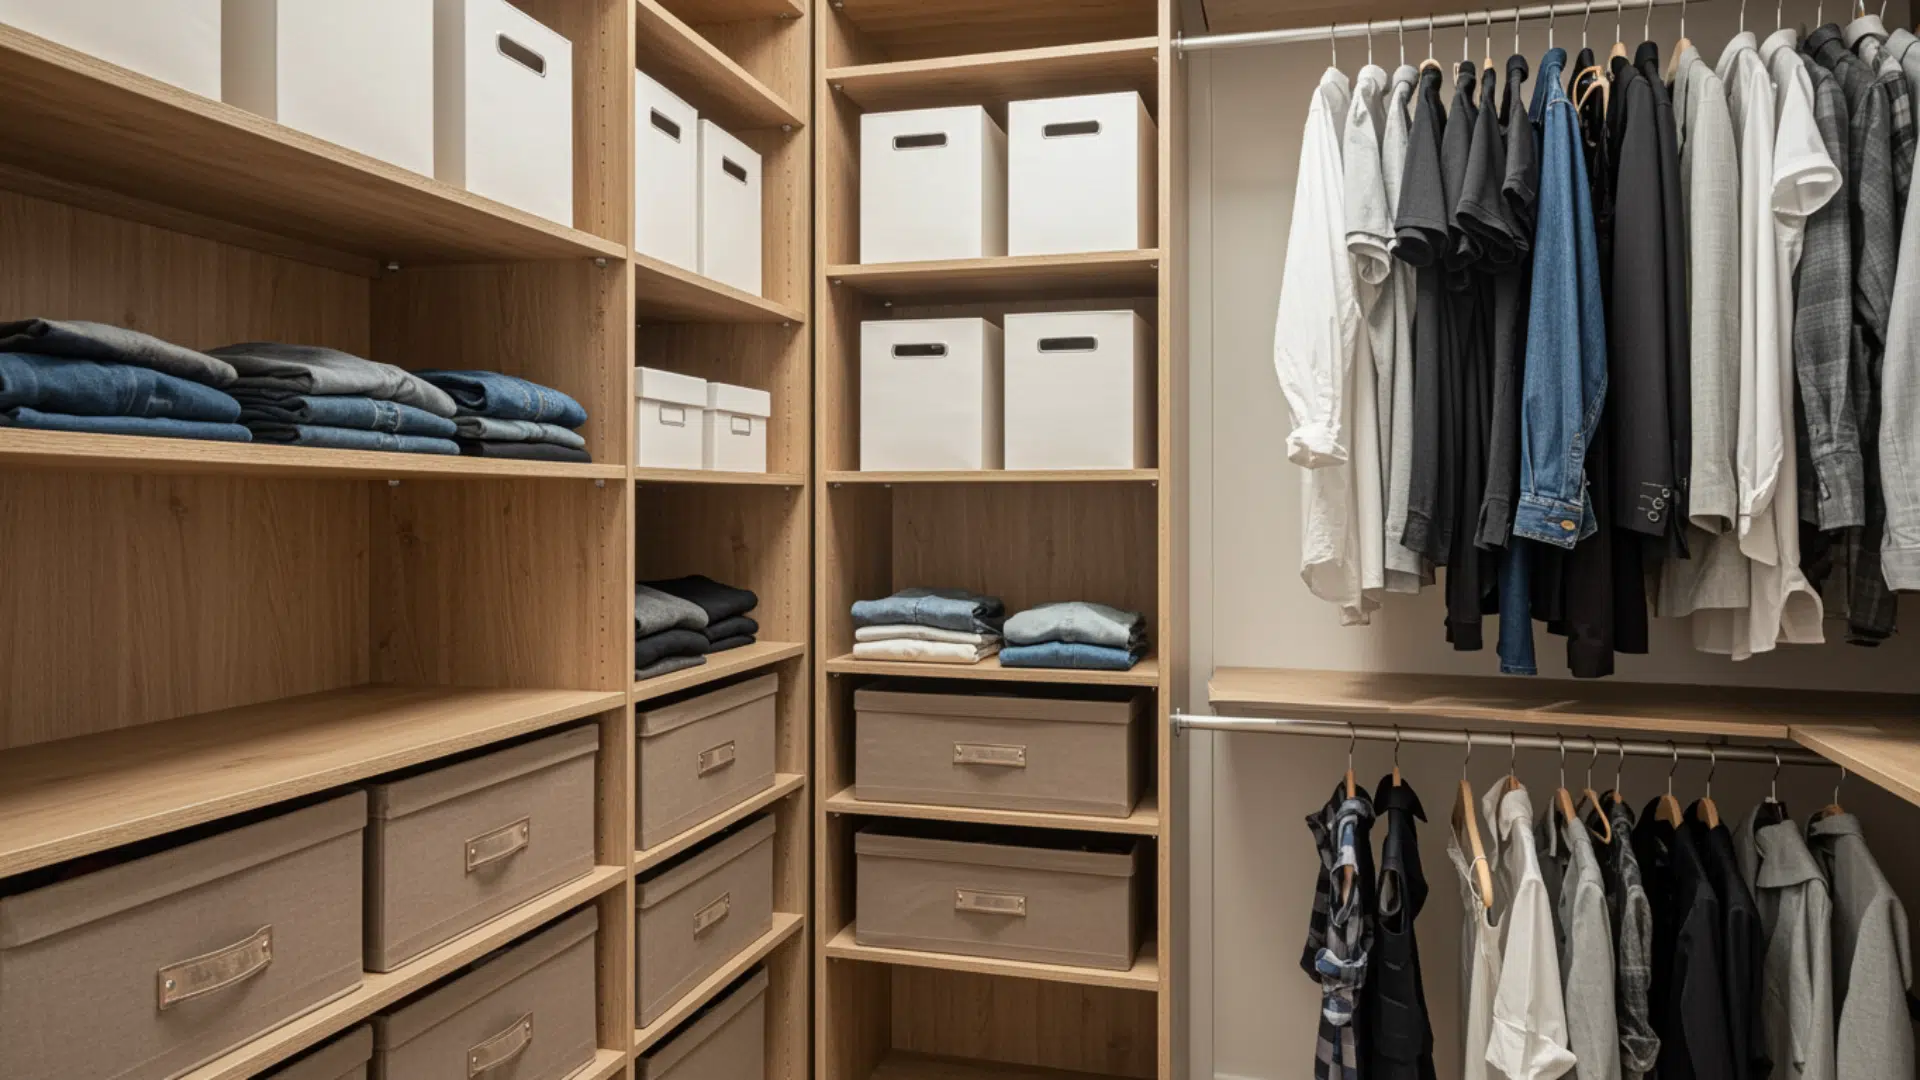
Step 6: Place Shelves and Add Center Supports

This is where the build starts to look like a finished closet.
- Lay each plywood shelf on top of the installed braces and check the fit before securing.
- Add vertical support pieces in the center of any shelf that feels weak or shows flex.
- Notch the baseboard trim where needed, so the center supports sit flush against the wall.
- Press down firmly on each shelf after placing it to confirm there is no movement.
Step 7: Finish with Trim, Filling, and Caulking

The final step is what makes the build look clean and intentional rather than rough.
- Attach 1×2 trim strips along the front edge of each shelf to cover plywood.
- Fill every nail hole with wood filler and let it dry fully before sanding smooth.
- Run a thin line of caulk along every edge where wood meets the wall.
- Touch up any scuffed or missed paint spots, then let everything dry before loading shelves.
Once everything is dry and organized, the closet is ready to work for you.
You can check out the whole video here:
Common Mistakes to Avoid
A few slip-ups keep coming up with this type of project. Being aware of them in advance saves a lot of frustration.
- Not measuring twice: This is the oldest advice for a reason. Cutting a board too short means buying another one. measure the space, mark the board, measure again, then cut.
- Skipping the studs: Drilling into drywall only seems fine until someone puts weight on the shelf. always anchor into studs.
- Using wood that is too thin: Half-inch boards will sag under moderate weight. Stick with ¾-inch plywood for shelves that will actually hold up.
- Uneven shelf spacing: It is easy to eyeball spacing and assume everything will be fine. It usually is not. Use a tape measure for every shelf, and use your level every single time.
- Rushing the finish: Skipping sanding or painting is not a disaster, but rough edges look unfinished and can scratch your belongings over time. Taking an extra hour here makes the whole project look more intentional.
Conclusion
A cluttered closet is not a permanent problem; it is just a project waiting to happen. Building DIY closet shelves is one of the most practical home upgrades you can take on without professional help.
The cost is low, the time commitment is reasonable, and the payoff is a storage space that actually fits how you live. You do not need to be experienced with tools. You do not need a workshop. a measuring tape, a drill, and a free weekend are enough to get started.
Work through them in order, take your time on the measurements, and you will end up with shelves that hold up for years. Your closet is waiting. Grab your tape measure and get started.
Frequently Asked Questions
What is the Cheapest Material for Shelves?
MDF is usually the cheapest material for shelves because it costs less than solid wood and most plywood options. It also has a smooth surface, making it easy to paint and providing a clean finish.
What is the Rule of Three for Shelves?
The rule of three for shelves is a simple styling idea that makes shelves look balanced and neat. It means grouping items into sets of three rather than placing them randomly.
Is It Better to Have Wire or Wood Closet Shelves?
Wooden and closet shelves are usually better if you want a sturdy, clean setup. They hold more weight, look solid, and work well for folded clothes and boxes.

James McLaren, with a rich background in architecture from the University of Manchester, has been contributing his expertise to the world of creative construction and home innovation for over 20 years. His journey began as a project manager for a leading construction firm, where he honed his skills in bringing complex designs to life. James joined our platform as a freelancer in 2019, quickly becoming a favorite for his insightful and practical advice. He has been a pivotal force to our wing ever since, bringing our readers a blend of technical know-how and creative flair. Beyond his professional life, James is an avid woodworker and enjoys restoring vintage furniture, a hobby that complements his professional insights beautifully.