Nobody pays attention to your garbage can and likes to keep it out of sight. As the garbage can doesn’t look anything near pretty, it often appears worn, dirty, and bulky, lying outside of your house.
Hence, even though they keep your trash contained and clean your home, it doesn’t possess any curb appeal, which can cause an aesthetic hamper to your household.
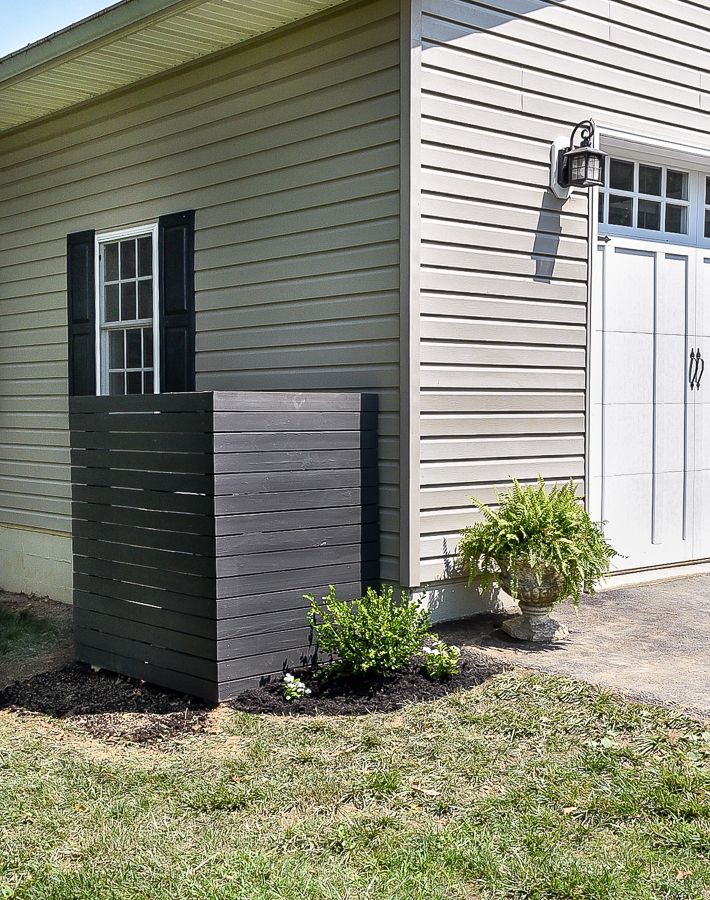
Therefore, if these unsightly garbage cans are ruining your sense of aesthetic for your outer space, it’s time to take matters into your own hands and create your garbage can enclosure DIY. Moreover, these enclosures add charm to your property while not having bins, that look chunky and ruin your aesthetic.
This guide will help you explore the importance of having a garbage enclosure and the step-by-step instructions to make your garbage can enclosure DIY.
The Importance of a Garbage Can Enclosure
Installing fences around your household is an effective way to create security around your home. However, that is not the only way to keep your property secure. A Garbage Can Enclosure DIY can do the same while keeping your property clean and tidy. Here are a few ways to prove the importance of having a garbage enclosure on your property.
1. Keeps Pests Away at Bay
As you might already know, exposed garbage bins can attract a lot of unwanted creatures onto your property. For instance, things like bugs, raccoons, or insects can get attracted to your household. Therefore, it will create a non-aesthetic appearance for your property, and it also means that you need to maintain a clean-up for the property. Hence, building a garbage can enclosure DIY will create a simple solution to cross the concerns off the list.
2. Maintain Your Curb Beautifully
Dumpsters or Garbage bins aren’t one of the most attractive fixtures you keep around your household. Furthermore, it also starts to look more unappealing to you if it stays dirty. Therefore, investing in a fantastic garbage, can enclosure DIY will help you to keep your property clean and neat while creating a decent impression on visitors.
Additionally, if you prefer a hassle-free solution, you might consider using a rubbish removal service to help clear out large amounts of waste, making it easier to maintain your enclosure and overall property.
3. Prevention of Others from Using Your Trashcan
When you keep your garbage bin open, people start to take it as an invitation to use it freely as per their preferences. Therefore, if you are already dealing with a lot of garbage, you don’t want the visitors or passersby to use it as per their preferences.
Materials You’ll Need to Make
Whether you call that thing trash or garbage, you need a place to put it. However, no matter how practical these containers are, no one wants to see them. That’s why you should create a garbage can enclosure DIY at your home to keep your trash. There are a few materials and tools that you need to prepare to make it happen. We have mentioned all of them in the list below.
1. Recommended Tools
2. Materials
- 18 pieces of 16”x16” concrete stepping stones.
- Pressure-treated 18 pieces of 4”x 4”x 8’ posts.
- 1”x 6”x 8 Cedar boards 14 Pieces
- Optionally, Paver Base Panels
- Landscaping Weed Fabric
- 4 bags each of Sakrete Paver base
- 4 bags of Levelling Sand
- Optionally, (6) bags of Marble chip rocks
- 1.5 exterior wood deck screws
These are the materials and some recommended tools that you can use in the following steps to make your DIY garbage can enclosure. There are a few optional materials that may help you to enhance the work quality of your DIY trash can.
Step-by-Step DIY Guide to Build Garbage Can
If you decide to build your garbage can enclosure DIY, then you need some help with the steps, as they can provide you with clarity about making one for yourself.
Therefore, we are here to help you explore steps and plans to make your garbage can enclosure of your own.
Tip: If you want your Garbage Can Enclosure DIY to work out longer for you, then you shall use this guide for better reference.
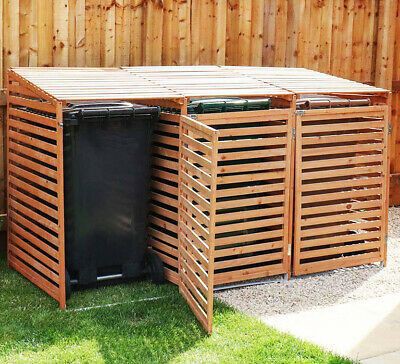
1. Determine the Size
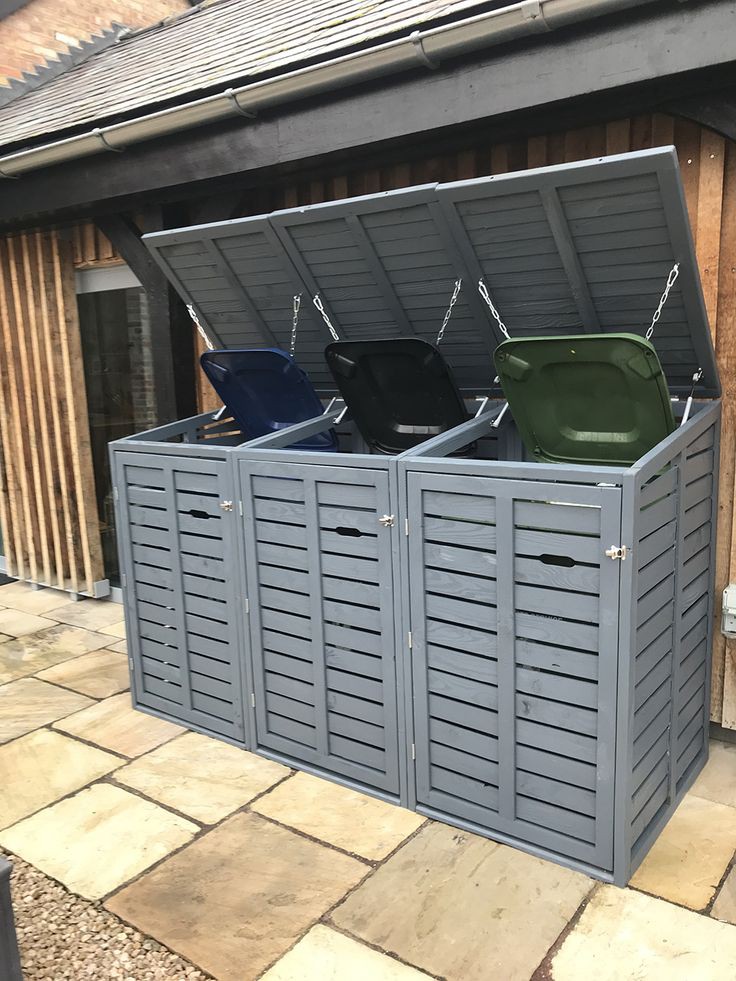
If you have decided to build a garbage can enclosure at the corner of your house, then the first step you shall take is to determine the size of the trash compound. Hence, note that this plan is to adjust at least three garbage cans while having enough space to pull them out with ease.
Therefore, the measurements of the garbage enclosure are 8 ft by 6 ft for the ones we are constructing. However, you shall make the measurements per your preferences to fit in the garbage can while making enough space to pull them out.
2. Prep Foundation & Set Posts
Once you have a clear idea about the enclosure’s size, you can start digging up the existing grass over your backyard to make a flat foundation to keep your trash capacity.
Hence, you can pick up a combination of a garden hoe and a shovel to create a dig in the soil. Therefore, you can take a rake to flatten the mud and prepare it for your garbage can enclosure diy.
Moreover, you should also dig holes to place the post pillars for your trash enclosure in the soil. Afterward, pour a concrete mix into the flat surface and fill the space with a dry mixer.
Later, put the water hose to fill it up with water, and this method works with fast-drying concrete mixes. Every hole will not have the same depth. Hence, try to maintain the end result at 8 feet depth.
3. Paver/Stepping Stone Foundation
After you are done with the first two steps of making the ground flat, you need to lay down the stepping stone to prevent weeds from growing in the soil.
Therefore, to make this happen, you shall follow the instructions and first pour the paver base and level it with a rake. Step two consists of cascading over the paver sand and flattening it with a rake while laying the stones over the mixer.
Therefore, if you have a Toot, known as a tamper, you can use it as a surface leveler to skip the use of paver panels. However, either way, it works to use paver panels or tampers for your background to make a garbage can enclosure.
If you decide to lay down the paver panels on the ground, make sure to leave no spaces in between to poke the soil out of the levels. Afterward, you shall pour over paver sand so it fits in the tiny spaces if you have left any while placing the panels and sweep away the rest.
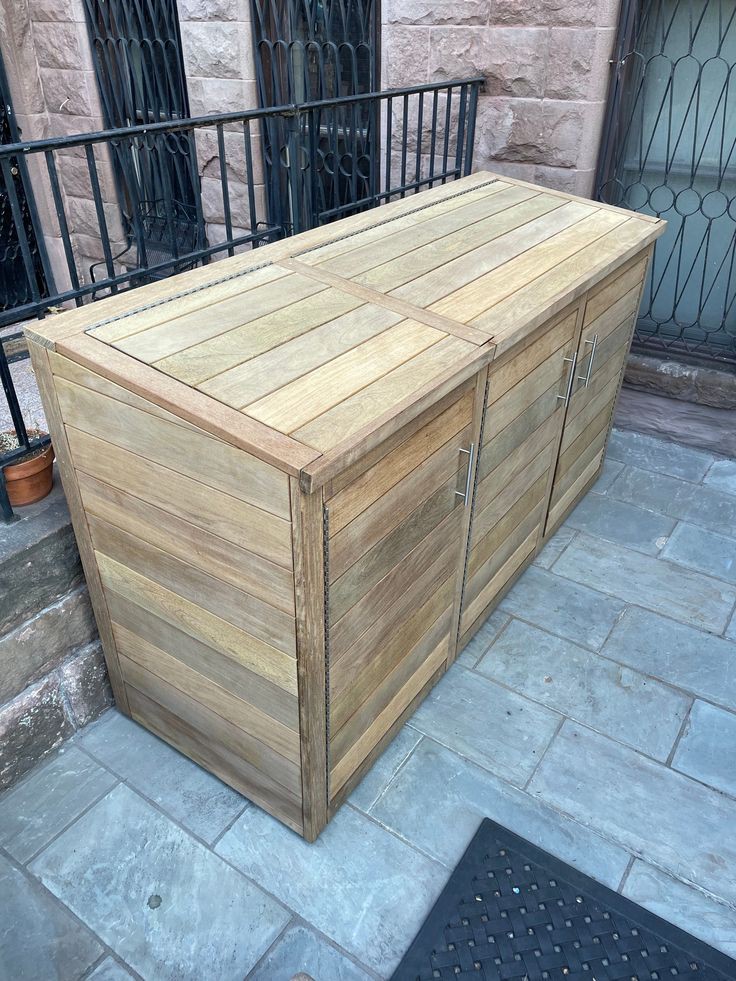
4. Construct a Frame for The Garbage Can Enclosure
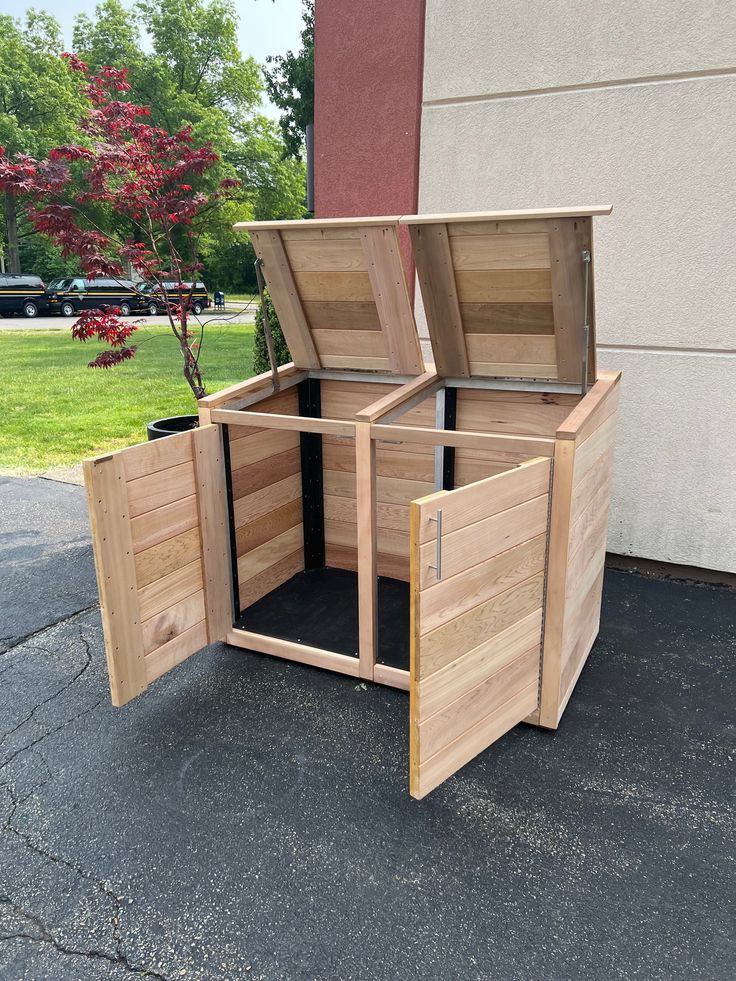
The next step is to go through the construction of the framed photograph for the garbage can enclosure. Hence, you shall report to the cutting guide and take a piece of timber to cut it at once.
Moreover, use a workbench to make your work easier, or you can also use a clamp to hold the wood in place for ease. Afterward, line the pieces of timber to create the back frame and drill pilot holes for the screw.
To ensure that all the pieces join together, use a clamp to prevent the movement of the wood while you make holes and screws. You can also use corner braces to add more stability.
After completing the process of building these side frames, you shall repeat the process. In this design, you can see that we are using things and vertical slats, while you can also opt for different styles and designs.
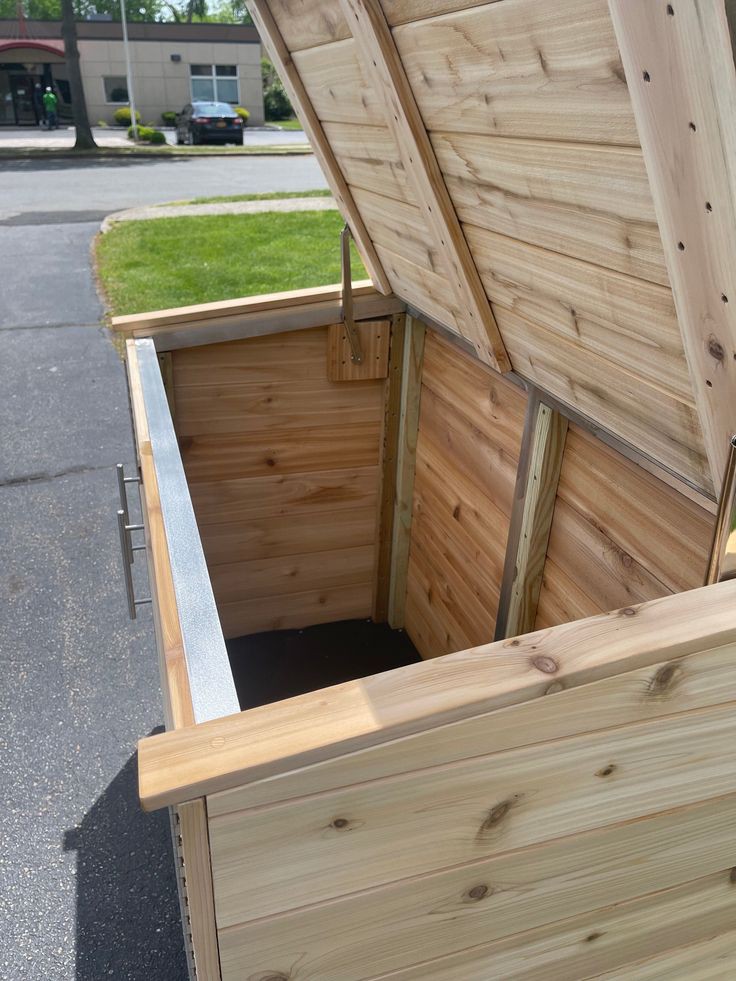
5. Construct a Shelf for The Trash Enclosure
After you are done with constructing the frames, you shall move forward to make a shelf for the trash enclosure’s midsection. Therefore, you can build these shelves with two pieces of wood in some slats.
Hence, in the next step, you shall join these two internal frames together with the pieces of wood in the required lengths of the frames.
Afterward, place the shelf on the position and screw that frame with the sides of the wood. Hence, make sure to check if it fits recycle boxes in it, and if it does, then screw the structure.
Moreover, fix the end pieces of the panels as the back of the frame and create a complex for the essential space of the allocated garbage can enclosure while adding a roof.
6. Make the Planters
After you are done with all the above steps, you shall secure the idea of the housing together by adding lengths across the frame. Hence, this will double up the frame for the base for the planters to make the structure stable and hefty.
In this design, we opted for a rustic look for the rancher on the top of the garbage can enclosure, while you can opt for various other themes. Therefore, for this rustic theme, you can cut off leftover wood. However, you can use new wood to create more of a uniform look to match the frame. Later you can screw the planters to the mainframe over the unit.
7. Now It is Time to Paint the Enclosure
Now it’s time for you to paint your Garbage Can Enclosure DIY to showcase a decent appearance. You can create plenty of looks for your construction that you have made by yourself, and in this guide, we have decided to add a bright, eye-catching color that pops in the eyes of the passerby. Moreover, you can also stain the enclosure for a more natural look.
However, if you have used treated timber to make your construction, you can leave it for a few months without using additional colors. You can buy a paint shade of your own preference and apply it with two or three strokes, depending on the density of the paint.
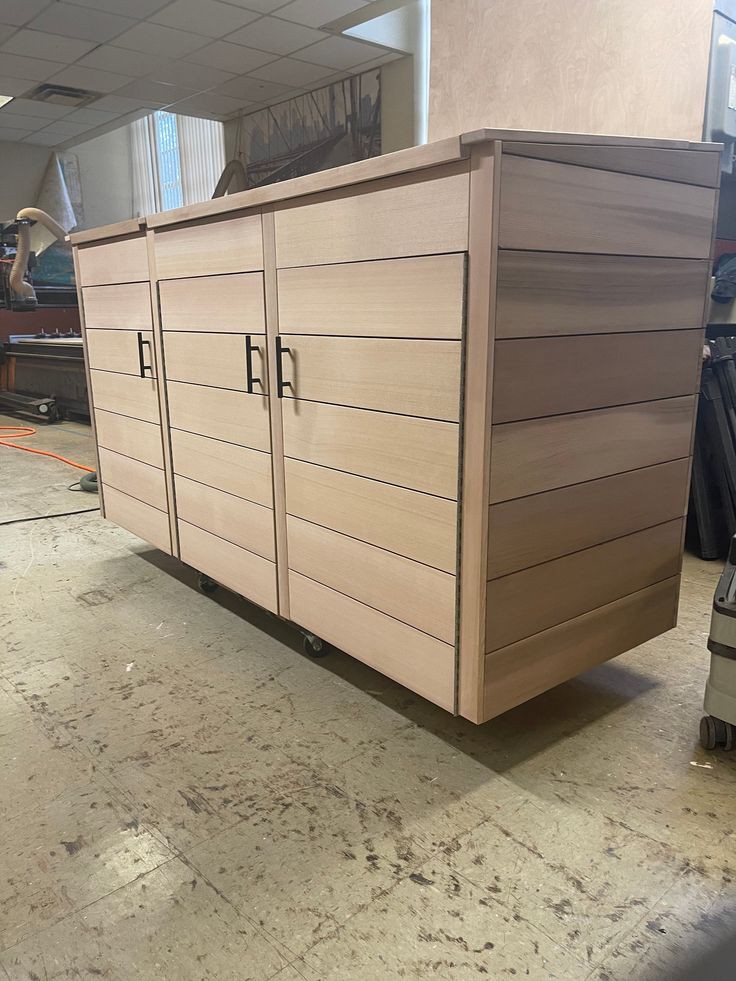
8. Install the Boards
Now, it is your time to attach the boards horizontally to the post of the frame of the unit. You might want to make measurements to make the cuts over each wood piece as you make the lengths.
However, if you do not want to, you can simply install the board over and trim the edges with a router. But this process of cutting the margins after the installation makes the work harder for anyone to pull over. Hence, the recommendation is to make the cuts and measurements before you place the boards over the unit.
Firstly, you can take the height of the wooden board to about 48″ inches off the ground. The board shall be straight, and use the two decks to screw over on the end of each attachment on the board of the posts. Moreover, we keep a piece of board of ¾” thick in between the frames to keep a consistent gap between each.
9. Planting to Make it Look Better
Suppose you choose to grow a selection of herbs and small shrubs over the planters. You can also happily grow them in shallow soil areas but don’t forget to add water to the plants regularly to avoid the heat of the outside.
Hence, this way, you can make your garbage can enclosure DIY with totally customizable options available. Moreover, these plants will help you to enhance the looks of your enclosure and appear beautiful in the yard of every household.
Conclusion
Garbage Can Enclosure DIY is one of the most common things that anyone searches for in the vision of keeping their yards and front curb.
These trash enclosures are something that not only conceals your bin but also enhances the appearance of your space.
Therefore, with little effort, you can make these beautiful enclosures on your own and use them to keep your household and yard clean.
In this guide, you were able to explore different aspects of having an enclosure in your household.
Moreover, you also explored the necessary steps to follow and make your own enclosure at your convenience.

With a Master’s in Architecture from the University of California, Berkeley, Alexander Martin has dedicated the last 18 years to enhancing outdoor living through thoughtful and robust structure design. His career kicked off in urban planning, giving him a unique perspective on integrating structures into diverse environments. In 2019, Alexander brought his expertise to our website, offering insights into creating versatile outdoor spaces. Since then, he has been the lead advisor for our outdoor design projects and is known for his ability to merge functionality with environmental consciousness. Alexander enjoys rock climbing outside of work and participates in community development projects, activities that reflect his passion for the outdoors and sustainable design.