Standing water in the shower is frustrating, especially when the drain cover has no visible screws or refuses to lift. Unusual designs can make a simple cleaning job feel more complicated than it should.
Learning how to clean shower drain systems starts with identifying how the cover is attached.
Most drains can be cleared by removing the cover safely, pulling out trapped hair, washing the removable parts, cleaning the opening, and flushing it with hot tap water.
The challenge is that covers may use screws, clips, friction fittings, movable stoppers, hidden access points, or heavy tile inserts.
From my renovation experience, I recommend identifying the drain design before applying pressure or placing tools around its edges.
This guide explains how to clean standard, linear, tile-in, pop-up, snap-in, and concealed shower drains without damaging the surrounding tile or waterproofing.
How to Clean a Shower Drain Quickly
The quickest way to learn how to clean shower drain openings is to remove physical debris before using any liquid treatment:
- Stop using the shower and remove standing water.
- Inspect the cover for screws, clips, slots, or lifting points.
- Carefully release the cover without forcing its edges.
- Pull out visible hair and soap buildup.
- Wash the cover, basket, and accessible drain surfaces.
- Flush the opening with hot tap water.
- Reinstall the parts and test the water flow.
Avoid using chemical drain cleaners as your first step. They may leave solid hair clumps in place and create a splash risk during later cleaning.
Linear, tile-in, snap-in, and pop-up drains may need different cover-removal methods. Before lifting anything, identify how the drain cover is secured.
Identify Your Shower Drain Design
Shower drain covers can look similar from above while using very different attachment systems underneath. Identifying the design first helps prevent scratched finishes, chipped tile, bent covers, and damaged waterproofing.
Match your drain’s visible features with the descriptions below before choosing any tools.
1. Standard Screw-Fixed Grate
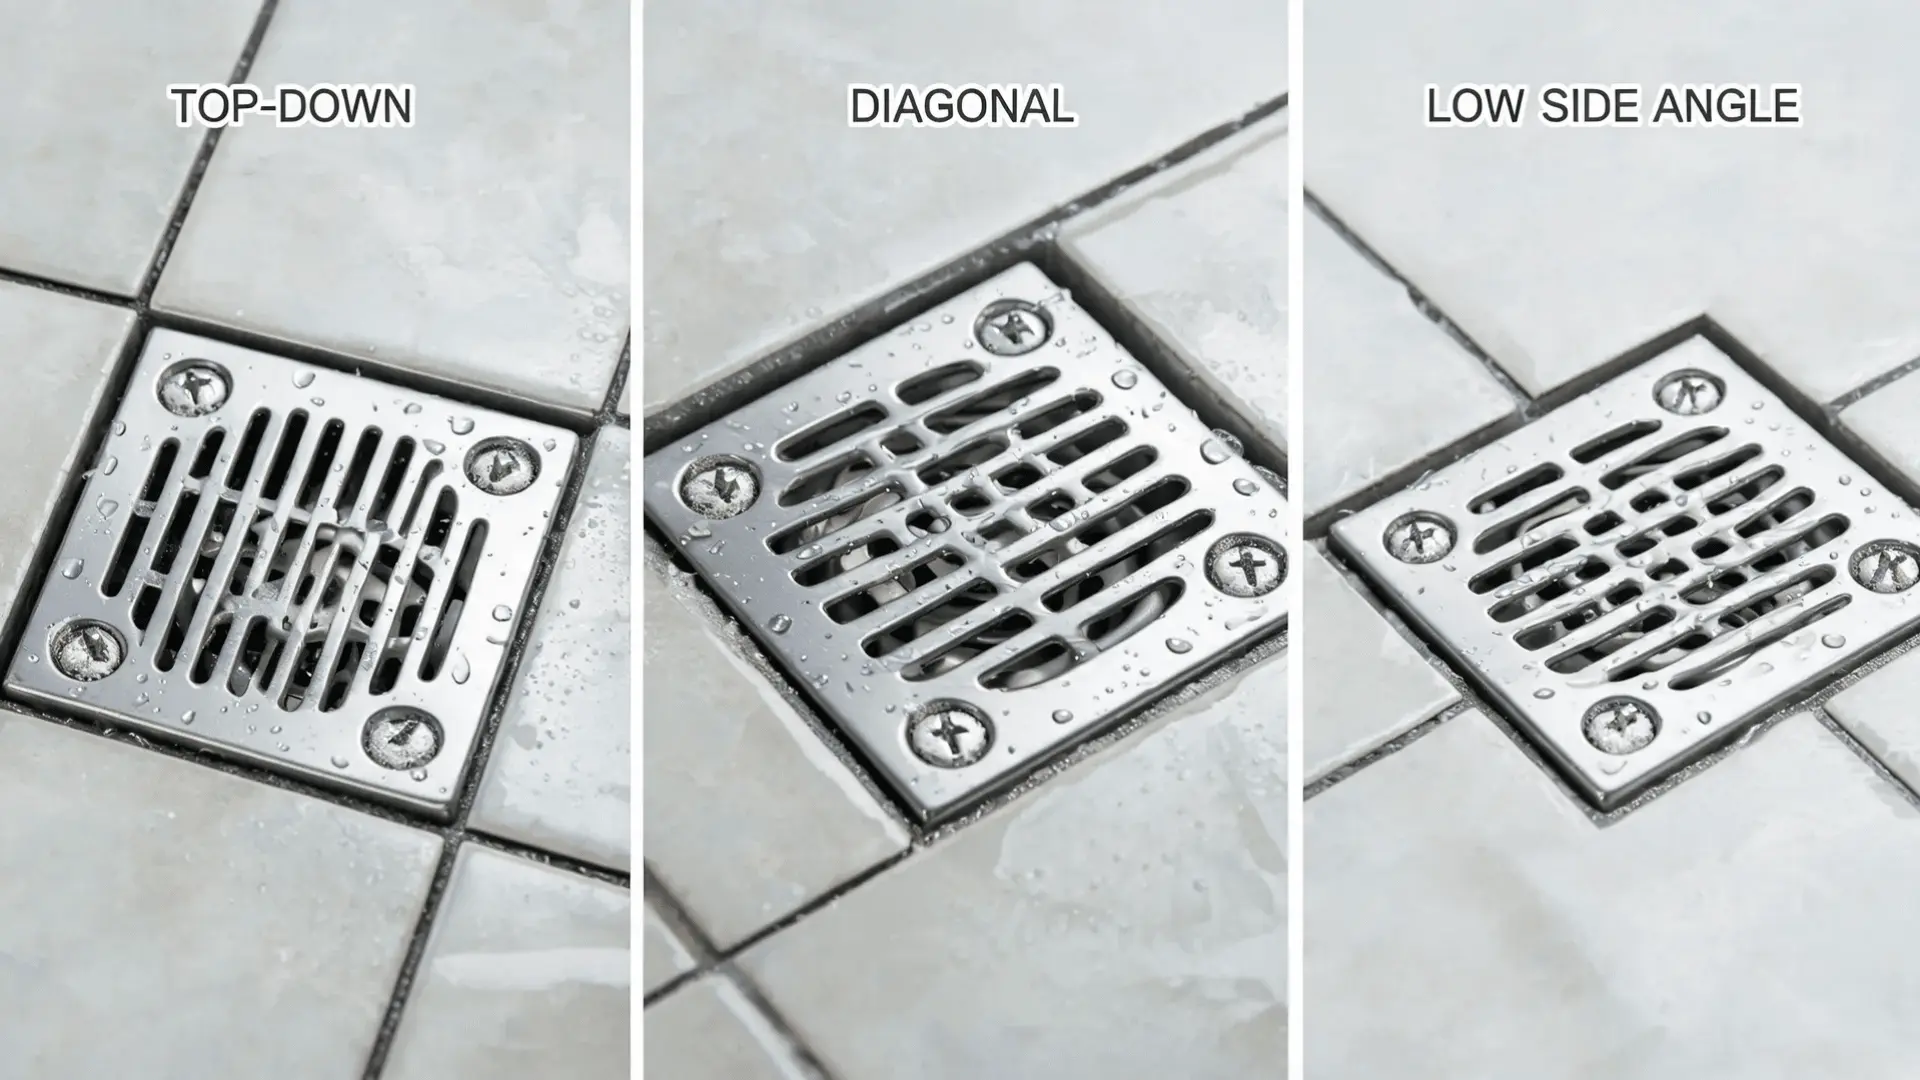
A screw-fixed grate is usually round or square and held in place by one or more visible screws. Soap residue and mineral deposits may hide the screw heads or fill their slots.
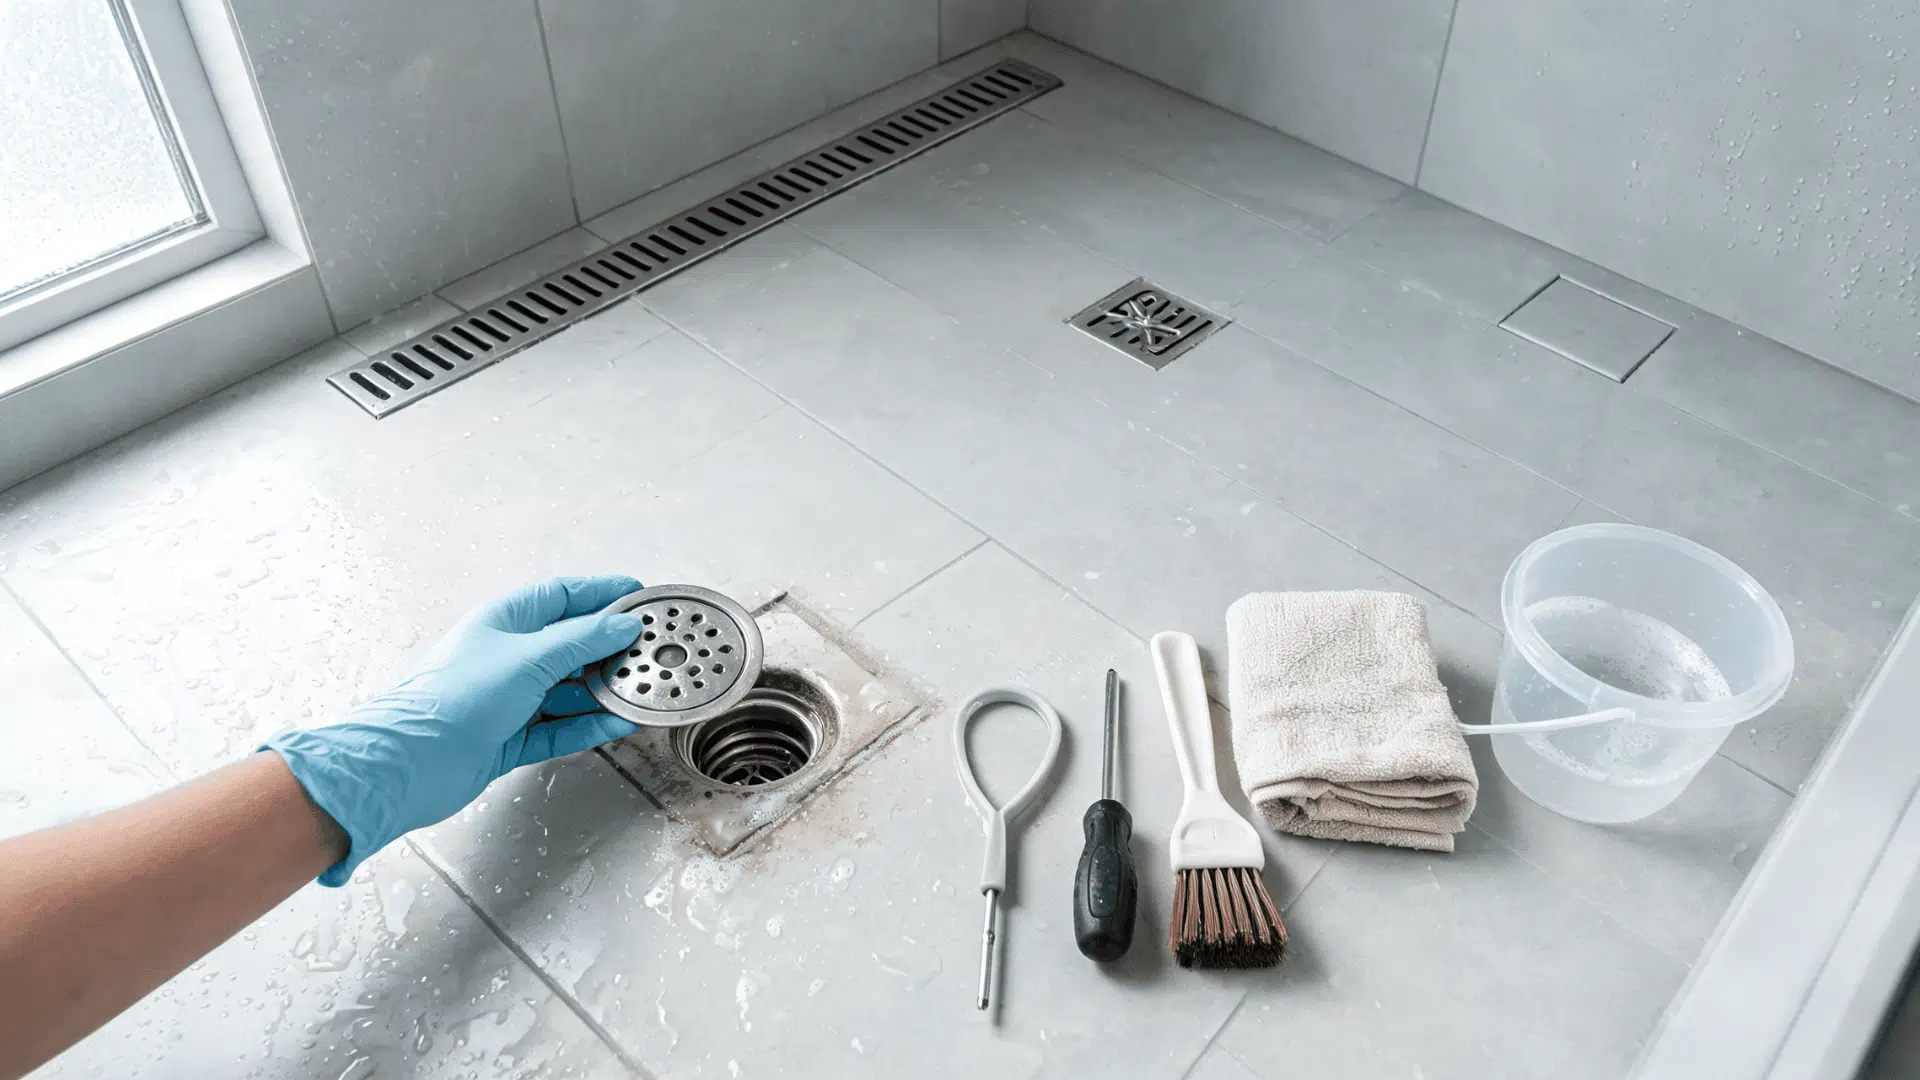
Clean each slot with a small brush before inserting the correct screwdriver. Once every screw is removed, the grate normally lifts straight upward, revealing a hair basket or the upper drain opening beneath it.
When no screws are visible, the cover may rely on clips or a friction fitting.
2. Snap-In or Friction-Fit Cover
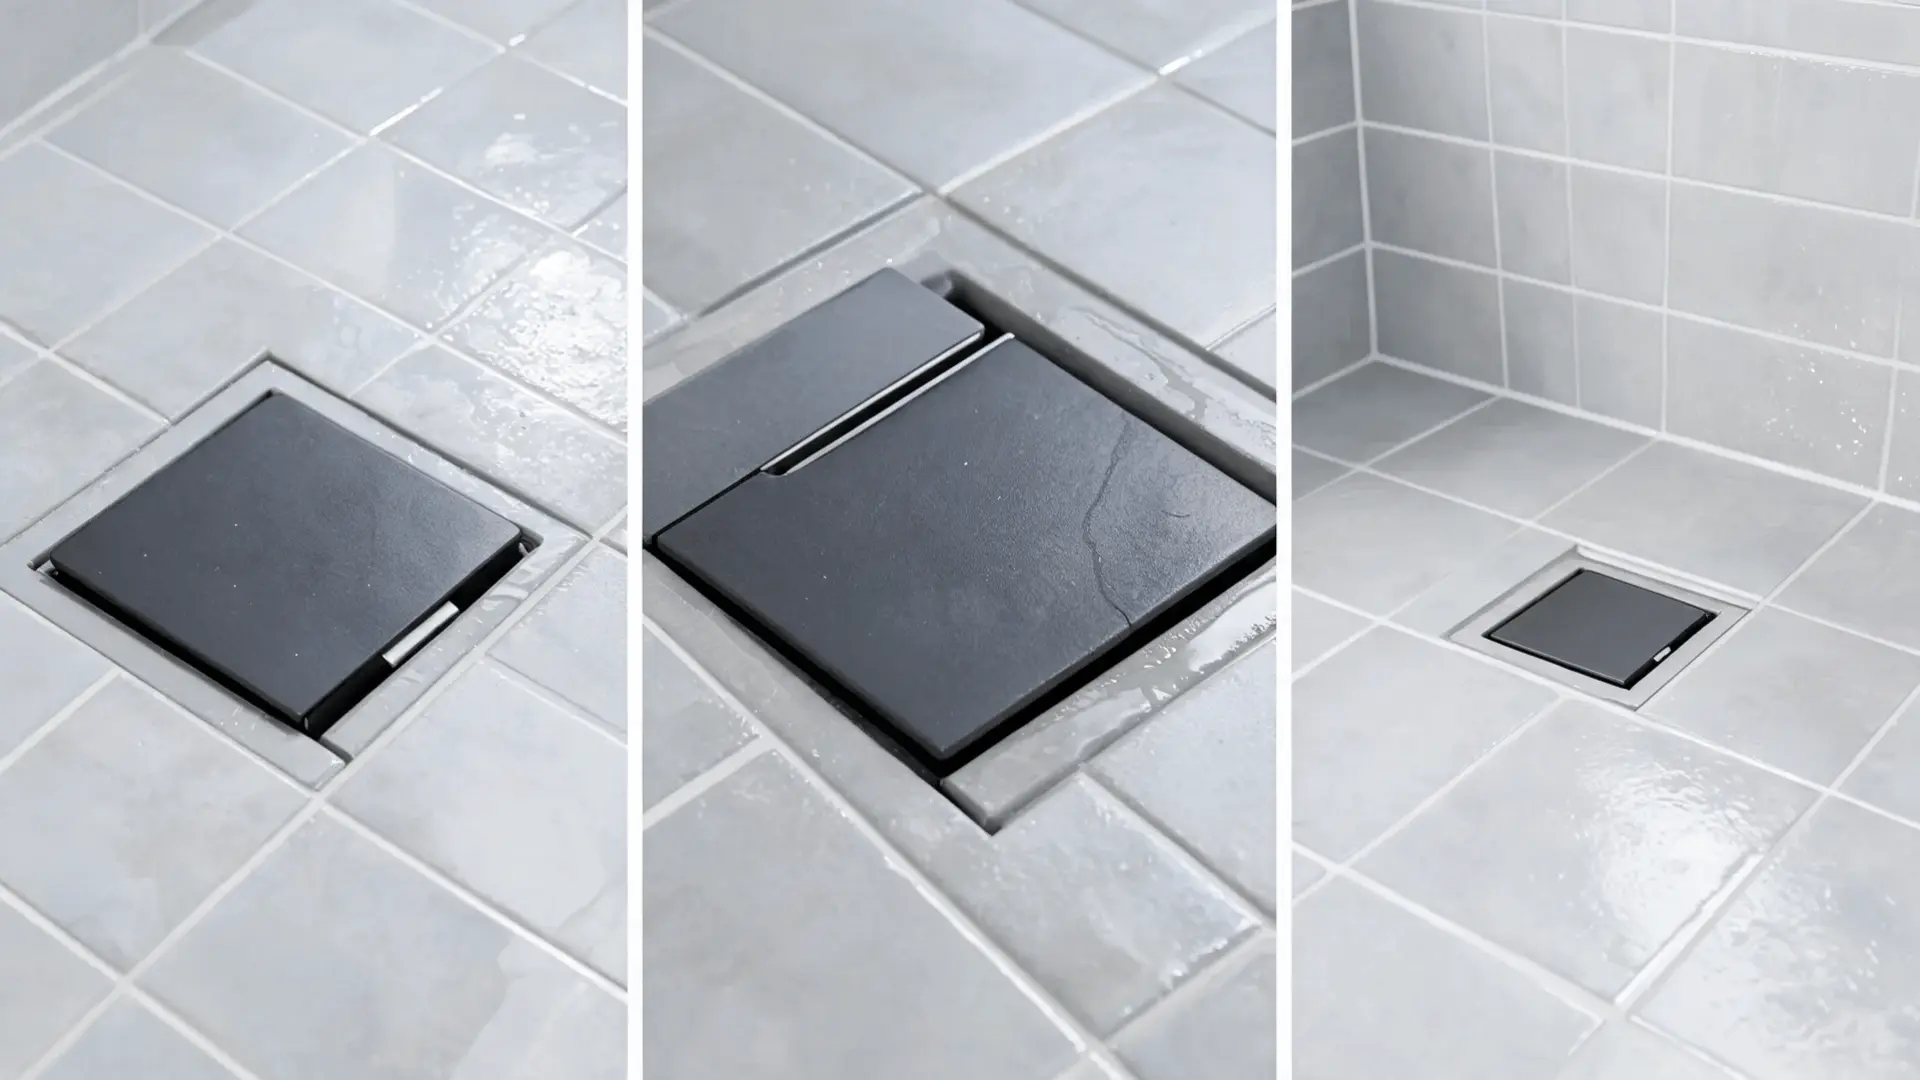
A snap-in cover sits inside a surrounding frame and stays secured through pressure, clips, or small tabs underneath. Look for a narrow gap, lifting notch, or slightly raised edge.
Some models require a drain key, plastic hook, or small suction tool for removal. Avoid placing a sharp screwdriver beside finished tile because it can chip the surface, scratch the frame, or bend the cover.
Longer rectangular covers usually belong to channel-style drainage systems.
3. Linear Channel Drain
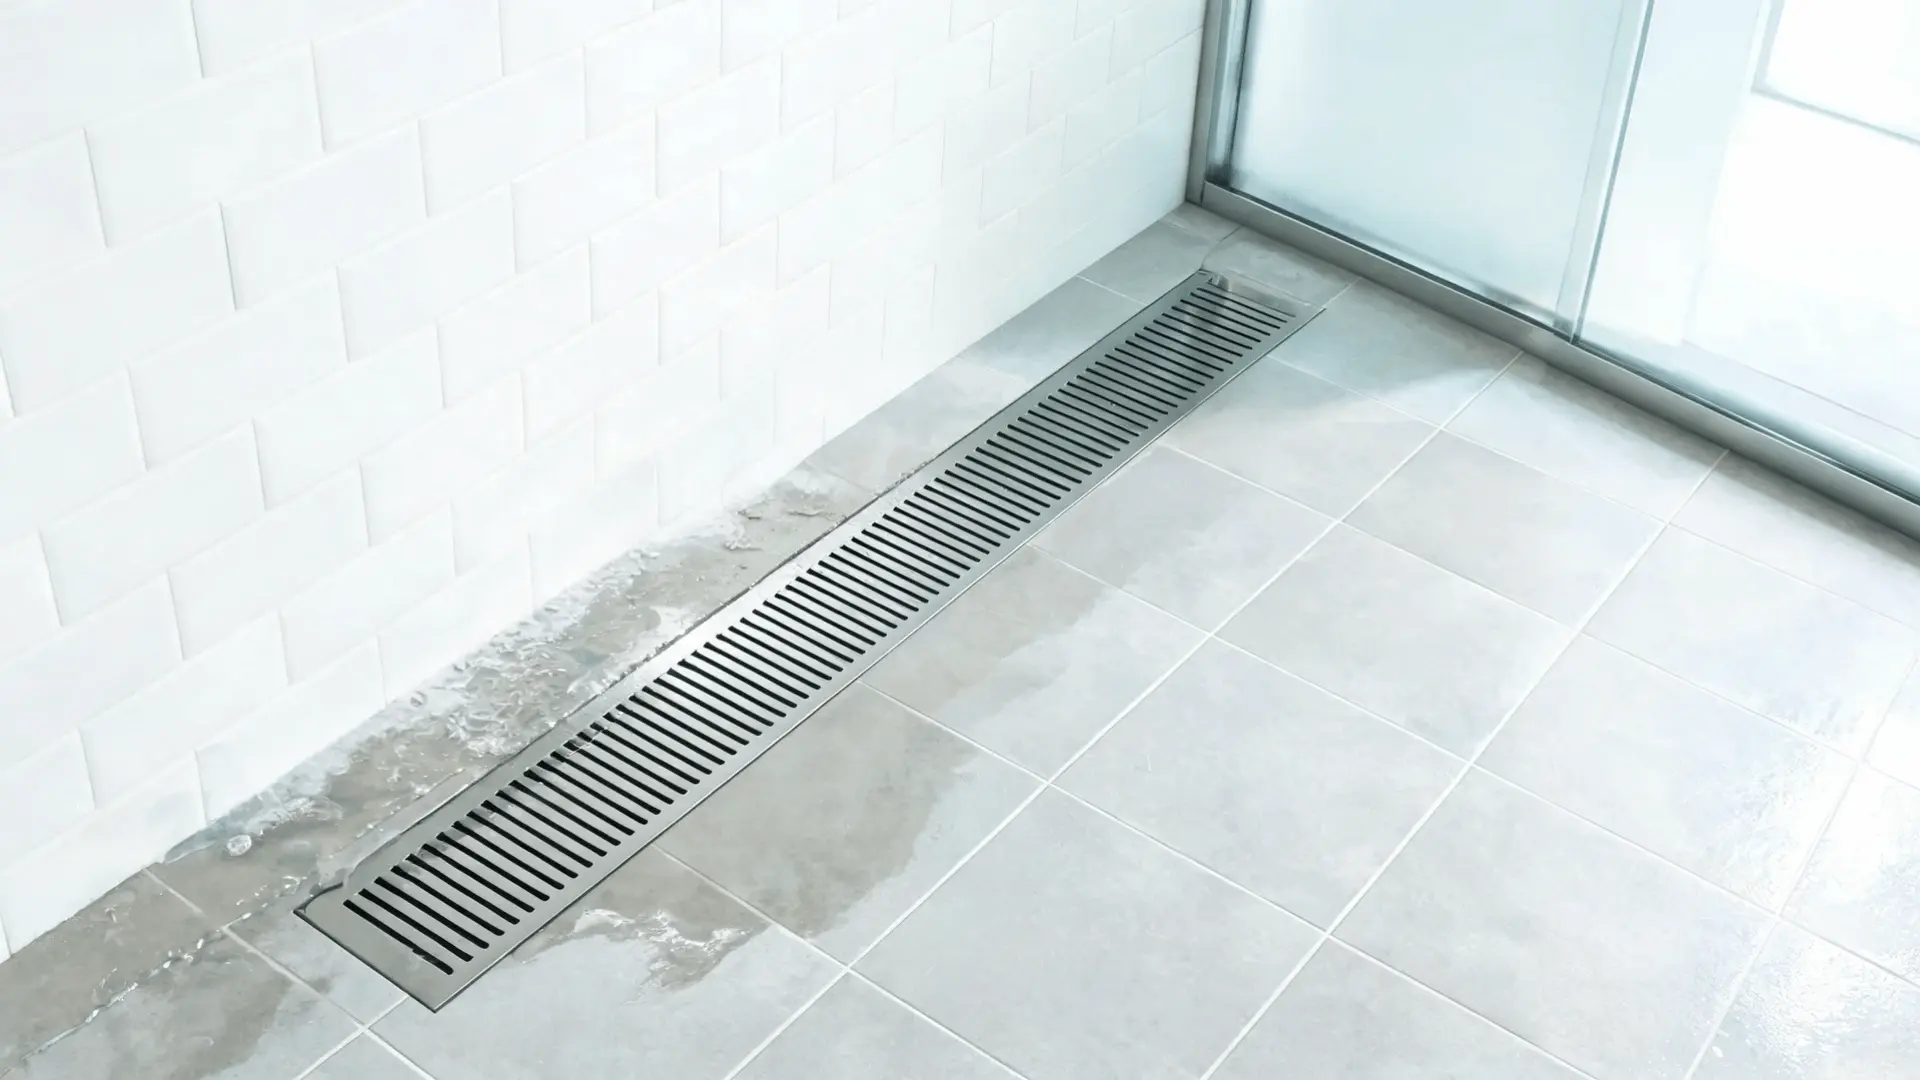
A linear drain is a long rectangular system placed beside a shower wall, near the entrance, or across the central floor area. Its grate or insert normally lifts from designated slots.
Removing the cover exposes a narrow channel that directs water toward one outlet. Some models include a removable hair basket near that outlet. Debris may collect across the full channel, so every corner requires inspection and cleaning.
Some linear drains hide their removable cover beneath matching shower tile.
4. Tile-In Drain
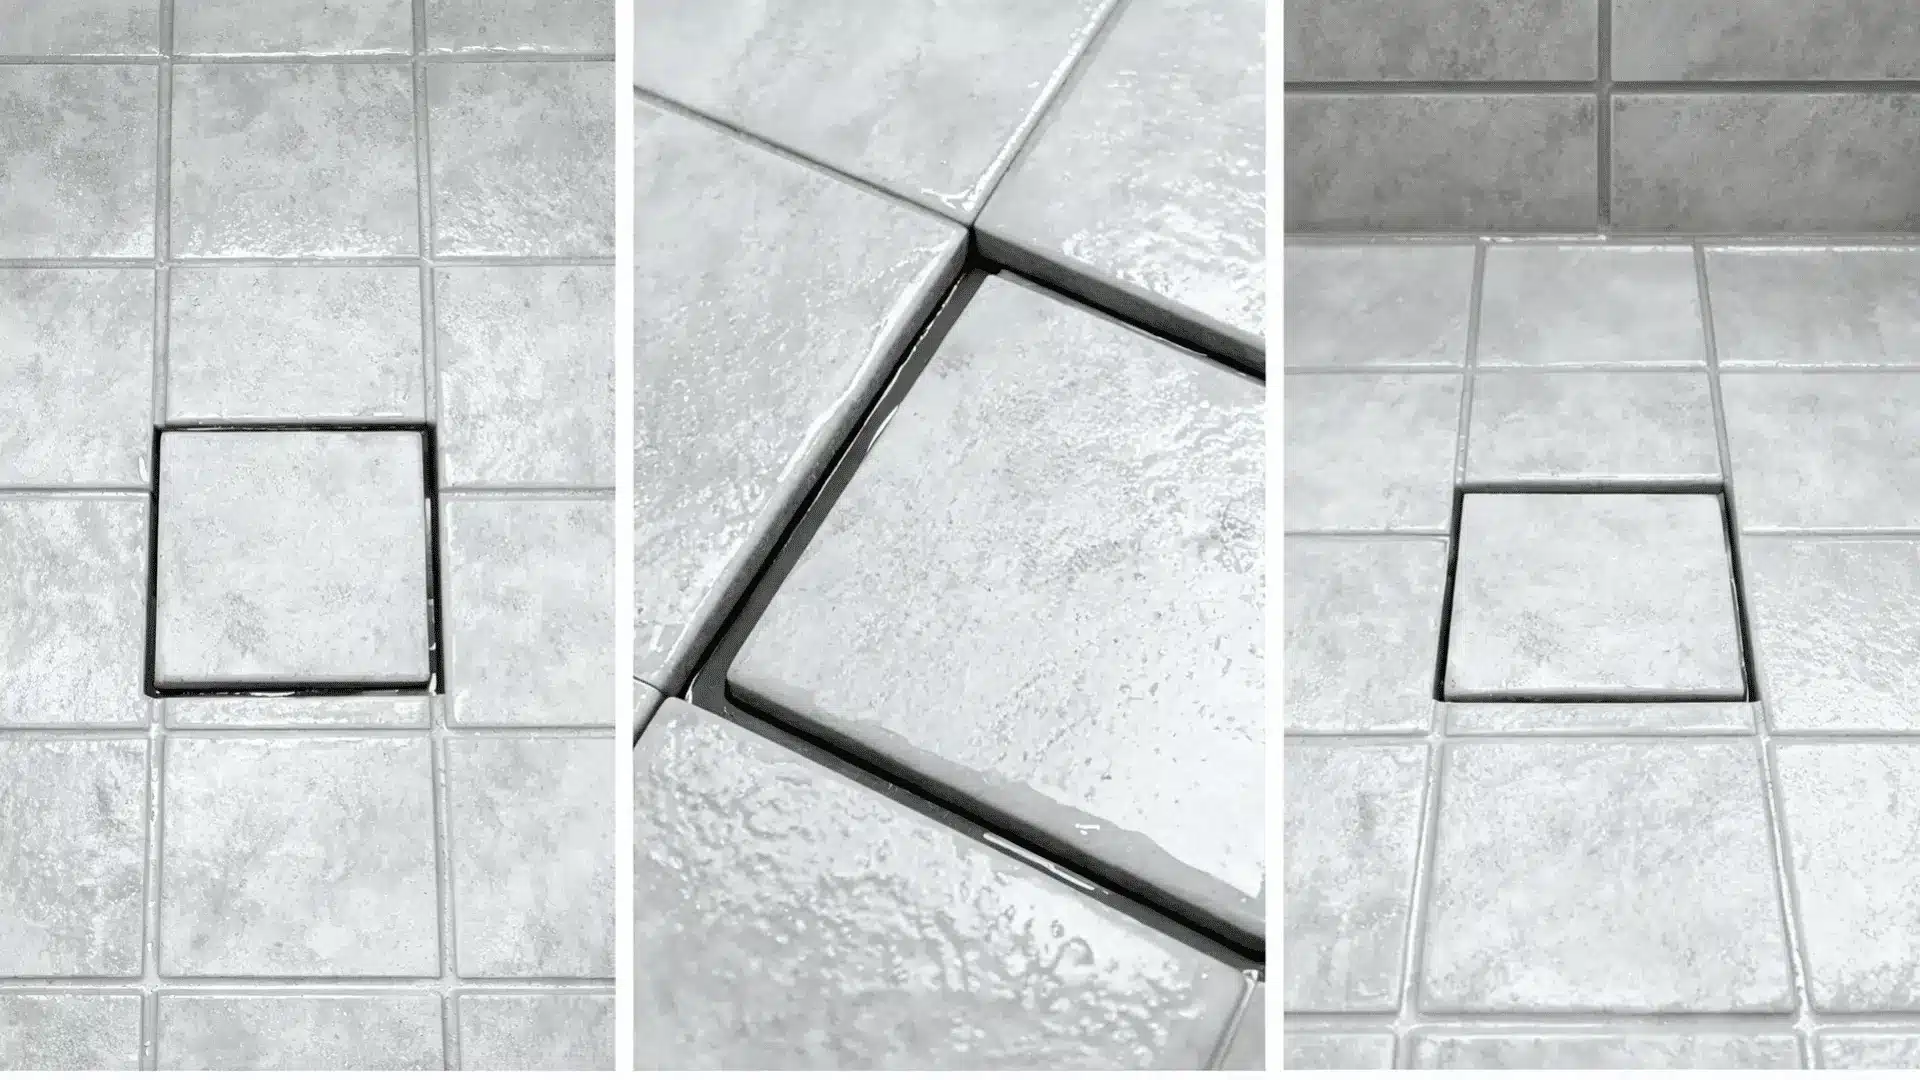
A tile-in drain contains a removable tray fitted with the same tile used across the surrounding shower floor. Only a narrow drainage gap may remain visible around its edges.
The tray may lift through a key opening or with small suction cups. Because tile-in inserts are heavier than plain metal grates, raise both sides evenly and support the tray underneath to prevent dropping or cracking it.
Other drains use a movable stopper instead of a flat removable grate.
5. Pop-Up or Push-Down Drain
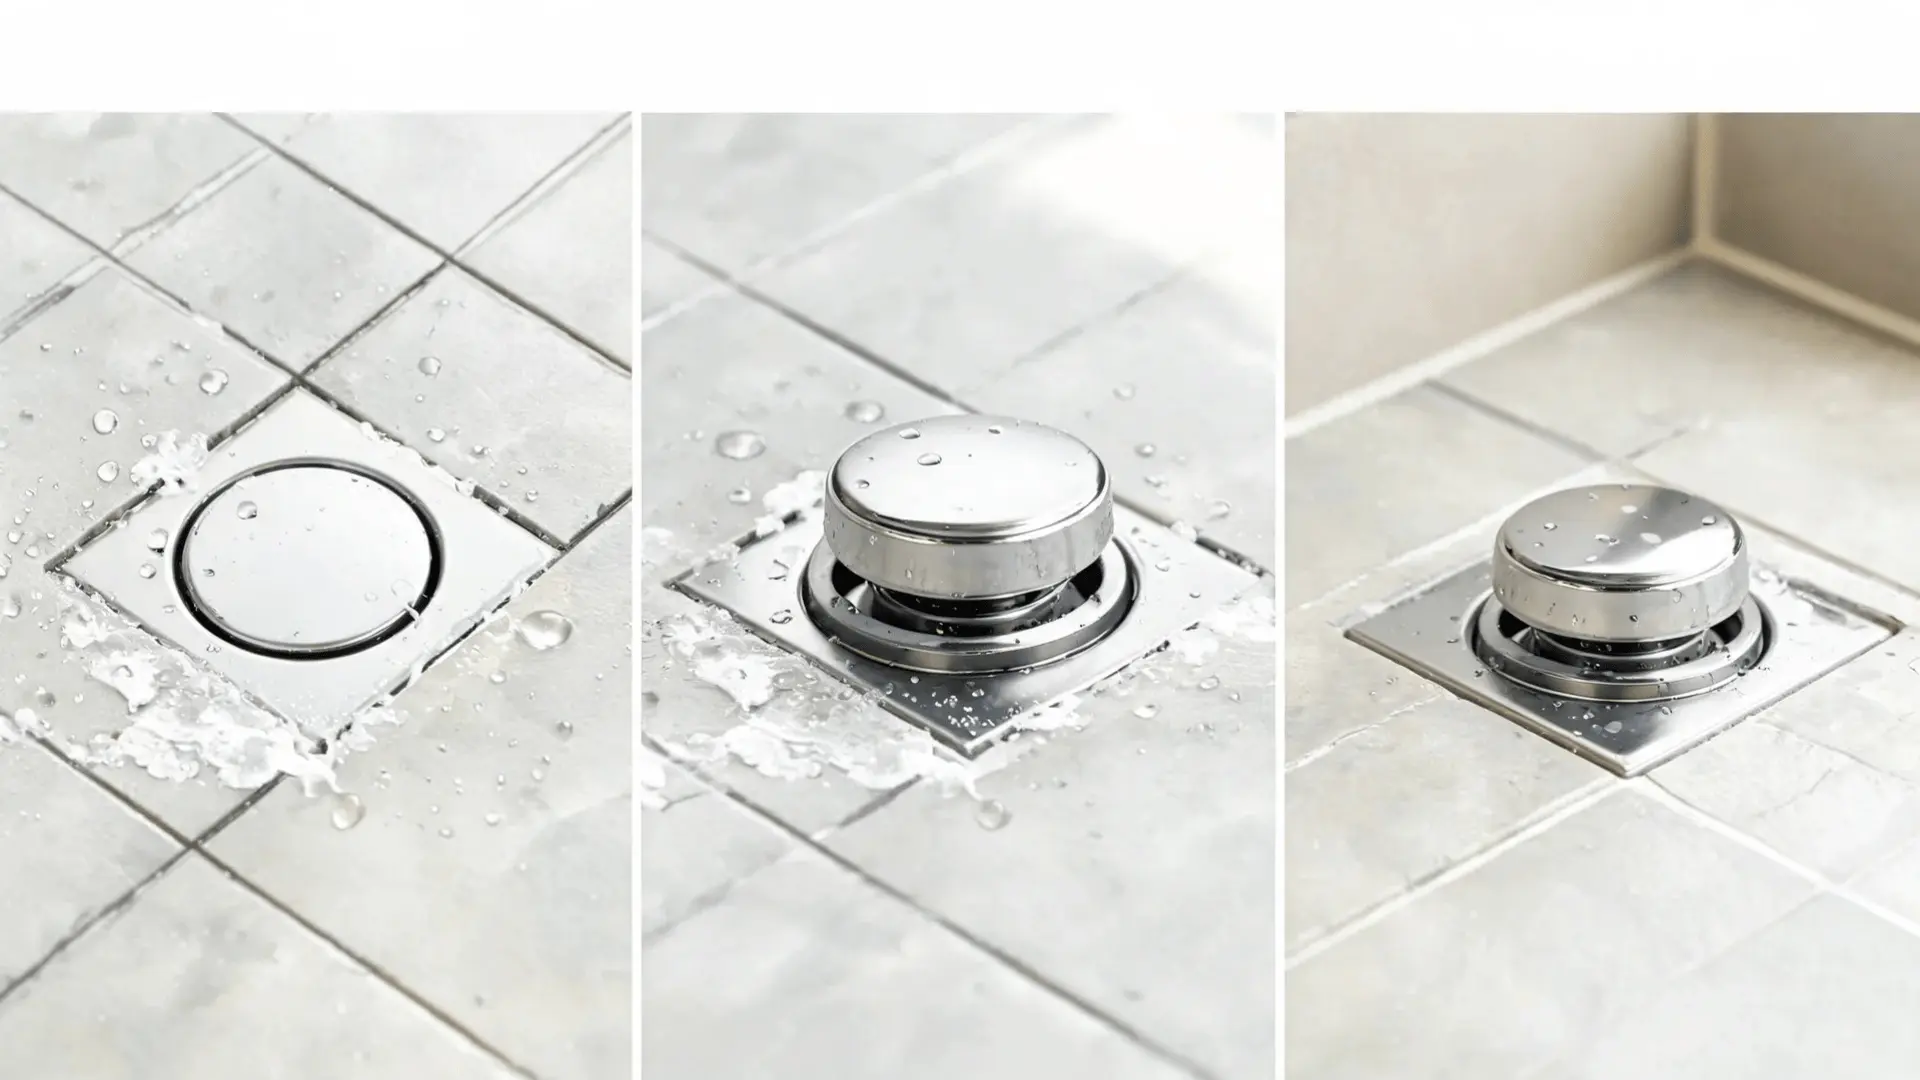
A pop-up drain includes a stopper that opens or closes when pressed, twisted, or pulled. Hair and soap residue often collect around its stem and moving parts.
The upper cap may unscrew while the lower stem remains inside the drain body. Some versions include a small set screw beneath the cap. Test how the stopper moves before using tools because forcing it incorrectly can damage the mechanism.
A cover that appears permanent may still provide access through a concealed channel or panel.
6. Wall-Edge or Concealed Drain
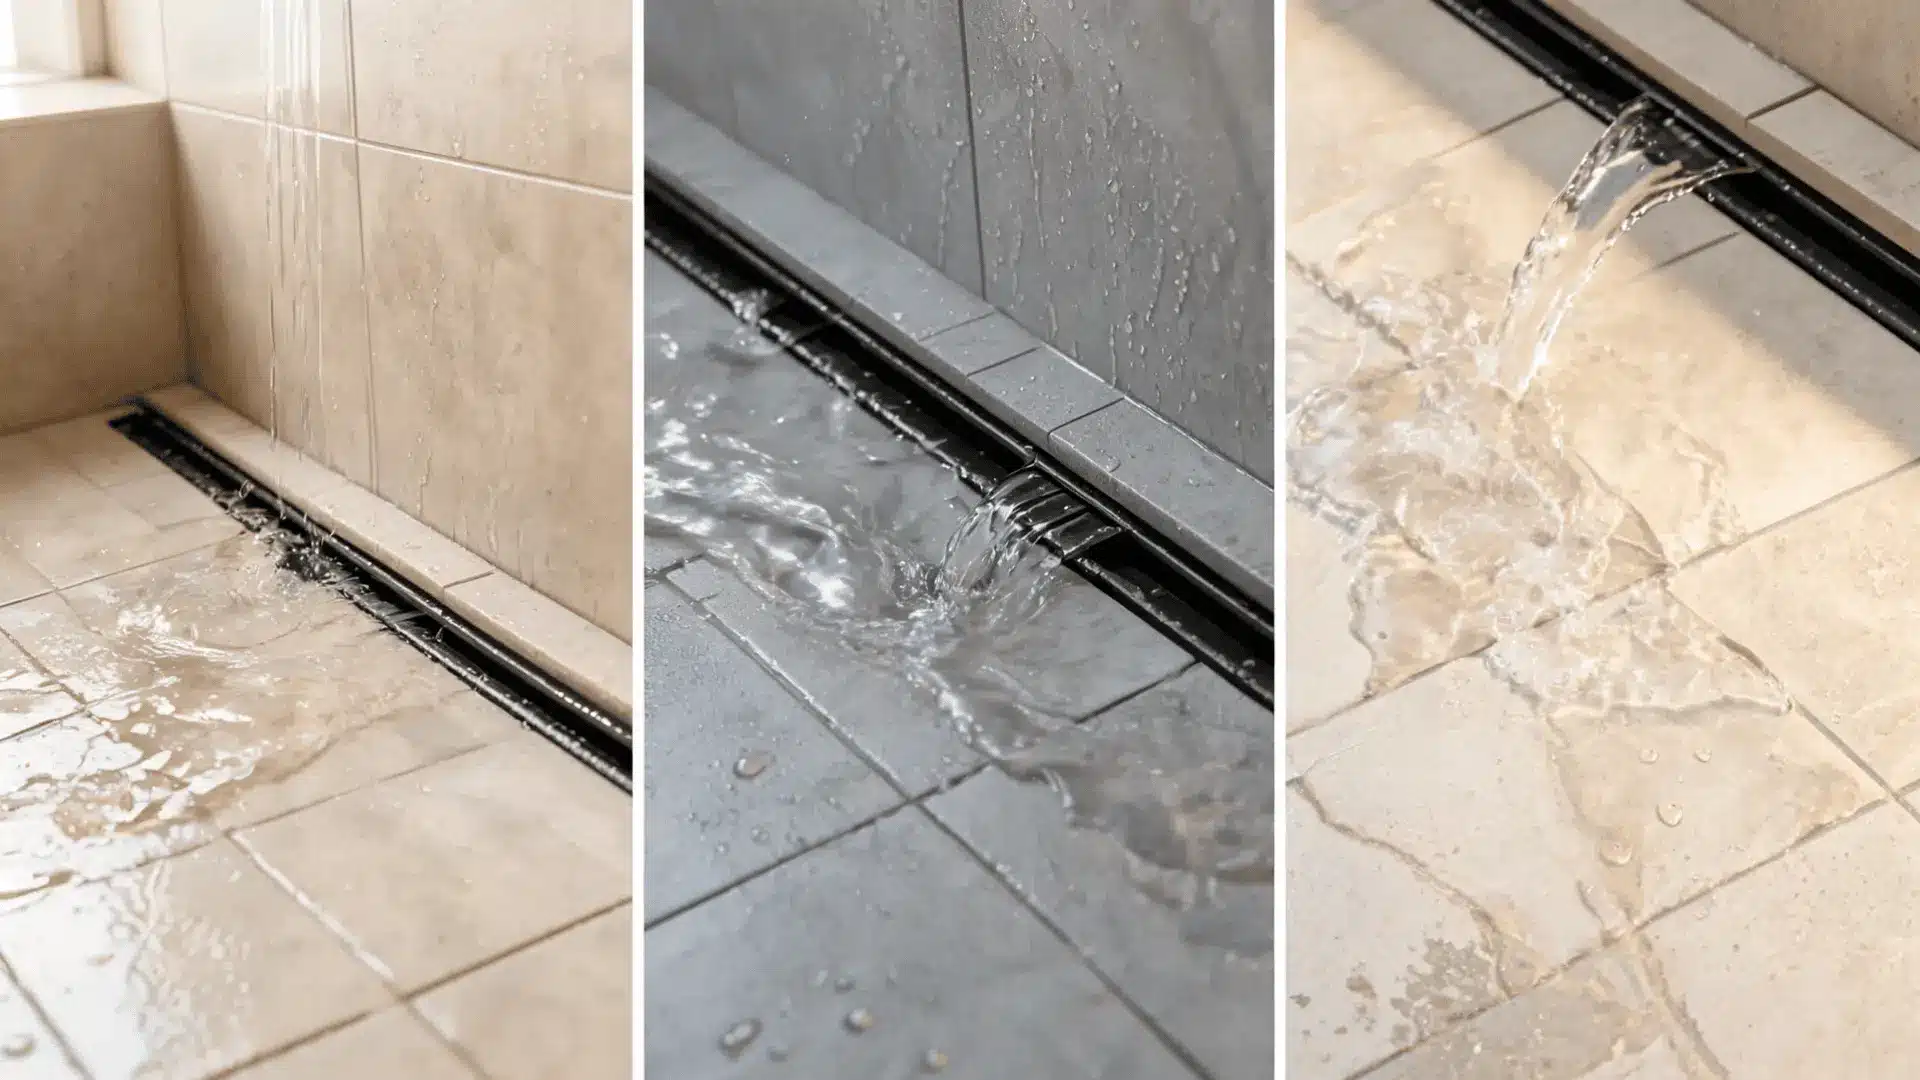
A concealed drain directs water toward a narrow opening positioned along a wall or floor edge. The visible trim may hide a removable channel, collection basket, or separate access plate.
Removal methods differ widely between models, so check the installation instructions when available. Never pry against waterproof wall panels, sealed joints, or grout lines. A bonded trim piece may not be intended for routine removal.
Once the drain type is identified, gather tools that match its attachment system.
Tools and Safety Checks
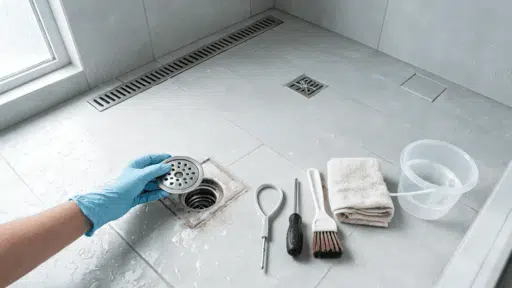
You may not need every item listed below. Choose tools based on the drain cover, attachment system, and amount of visible buildup. I’ve linked the tools to amazon pages for your convenience:
| Tool or Supply | Purpose |
| Rubber gloves | Protect hands from hair, residue, and dirty water |
| Flashlight | Reveals hidden screws, clips, slots, and drain edges |
| Screwdriver set | Removes screw-fixed grates using the correct size |
| Drain key or plastic hook | Lifts snap-in and friction-fit covers safely |
| Needle-nose pliers | Pulls visible hair from the drain opening |
| Plastic hair tool | Reaches soft clogs near the upper pipe |
| Old toothbrush | Scrubs covers, baskets, clips, and narrow channels |
| Dish soap and hot water | Loosens soap film from removable parts |
| Bucket and towels | Hold debris and protect the shower floor |
Ventilate the bathroom and avoid opening a drain recently treated with chemicals. Photograph each part before removal so screws, clips, baskets, and covers return to the correct position.
With the correct tools ready, clean the drain from the surface downward.
How to Clean a Shower Drain Step by Step
The safest way to clean most removable shower drains is to work from the surface downward. Remove physical debris before flushing the pipe or applying any cleaning product.
Follow each step in order and stop when a component does not release with light pressure.
Step 1: Remove Standing Water
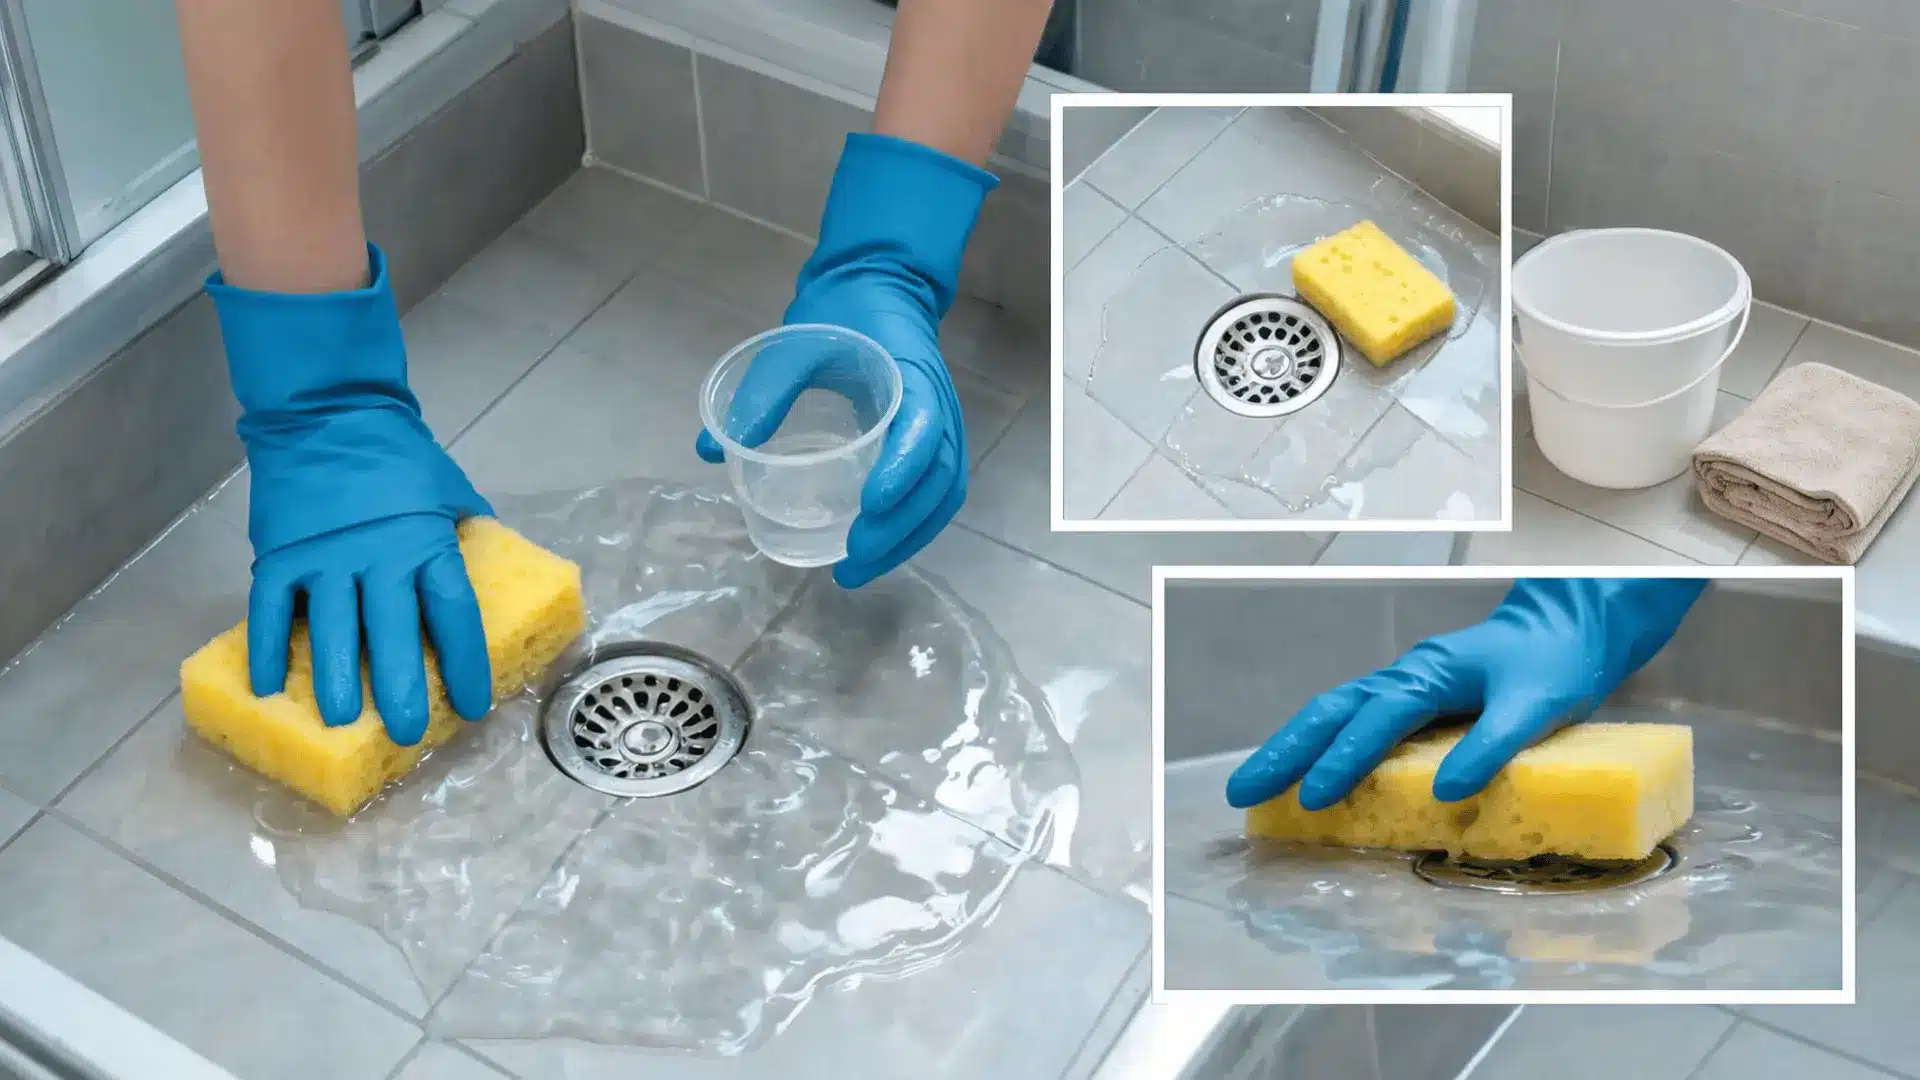
Use a cup, sponge, or wet vacuum to remove pooled water from the shower floor. Dry the cover and nearby tile with an old towel so your hands and tools do not slip.
Clearing the water also makes hidden screws, lifting slots, and damaged edges easier to see. Check for cracked grout, loose fasteners, bent metal, or sealant that could affect removal.
Once the cover is dry and visible, release it using the correct method.
Step 2: Remove the Drain Cover
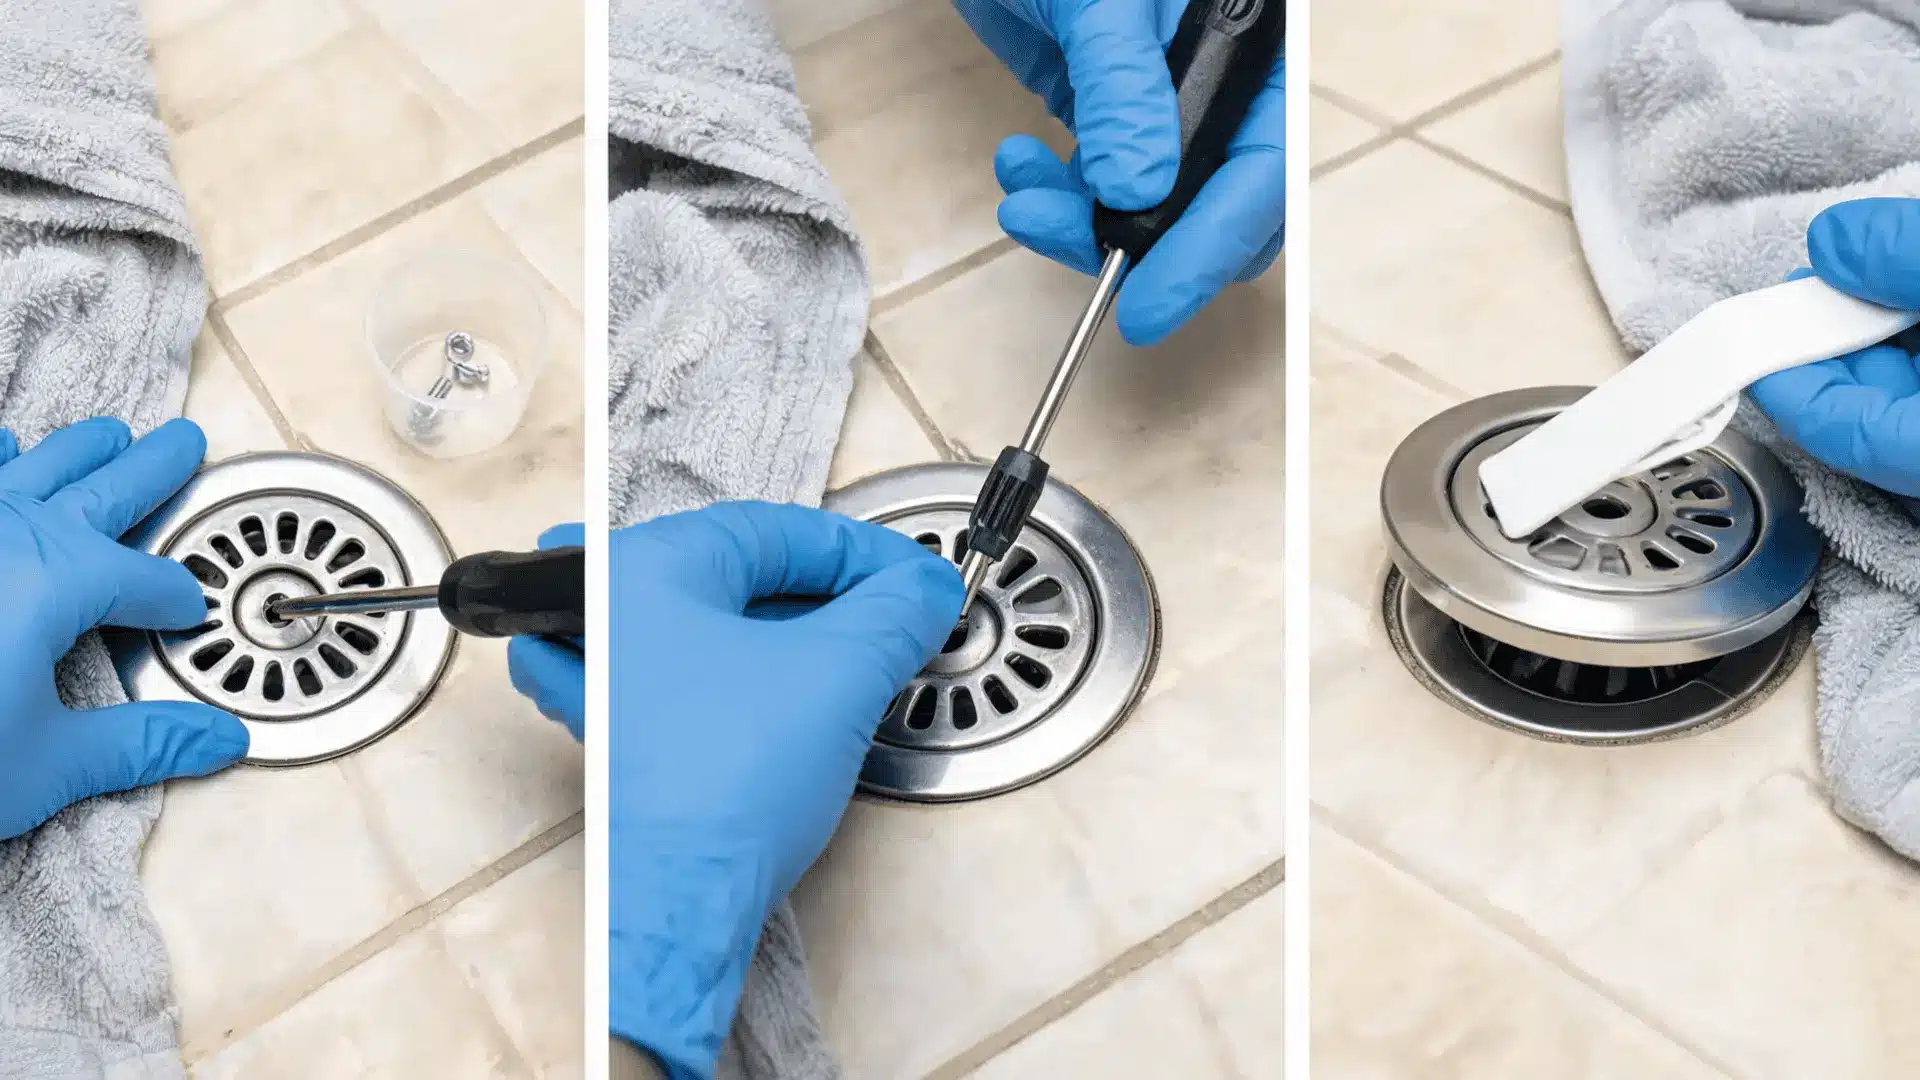
Remove visible screws with a correctly sized screwdriver, keeping steady pressure on the head to prevent stripping. Lift snap-in covers from their designated slot with a plastic hook, drain key, or suction tool.
When learning how to clean shower drain covers, avoid forcing metal tools between the frame and tile. Lift linear and tile-in inserts evenly, then place each removed part on a towel in order.
With the cover removed, take out the debris closest to the opening.
Step 3: Pull Out Hair and Debris
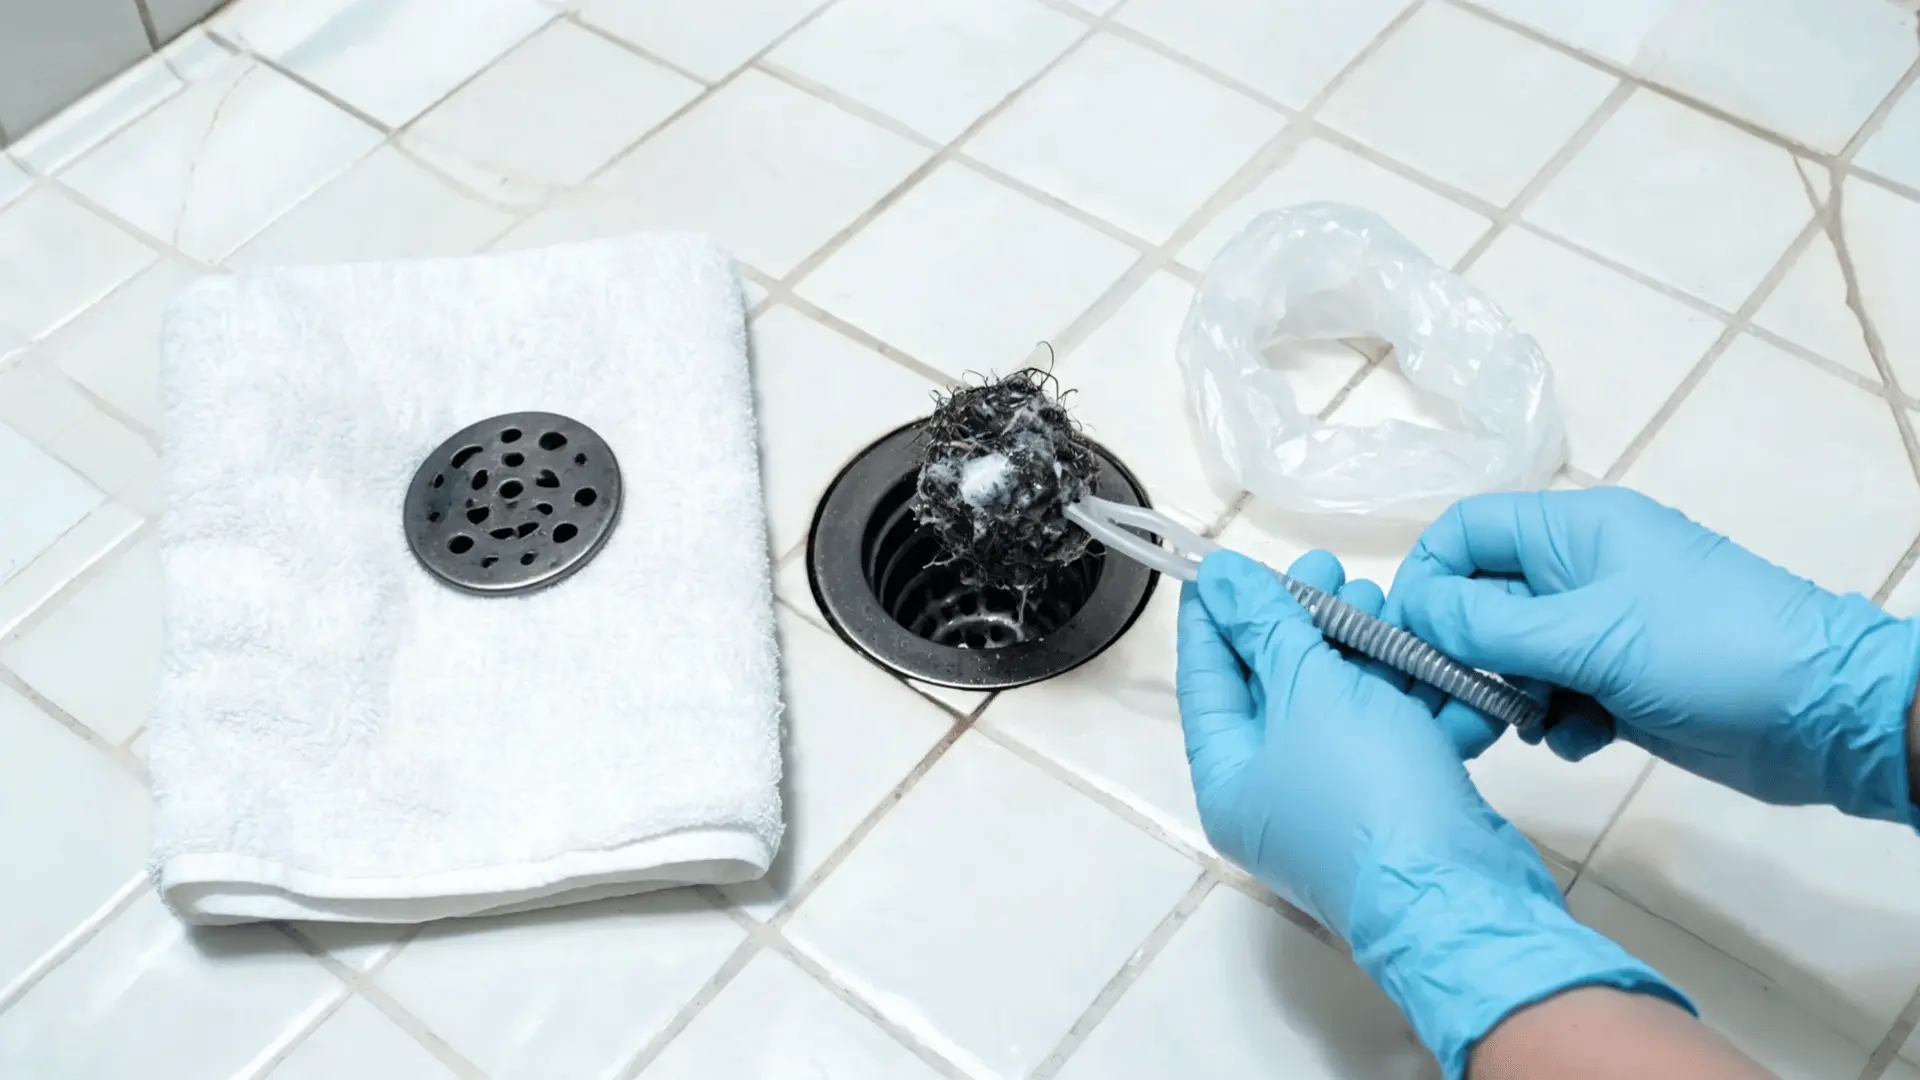
Wear gloves and use your fingers, needle-nose pliers, or a flexible plastic hair tool to remove visible buildup. Pull slowly so the hair mass comes out intact instead of breaking apart and moving deeper.
Inspect beneath the cover, around the frame, inside the basket, and near the upper pipe opening. Place all removed material in a waste bag rather than rinsing it back into the drain.
After clearing the main blockage, clean every reusable drain part.
Step 4: Wash the Cover and Basket
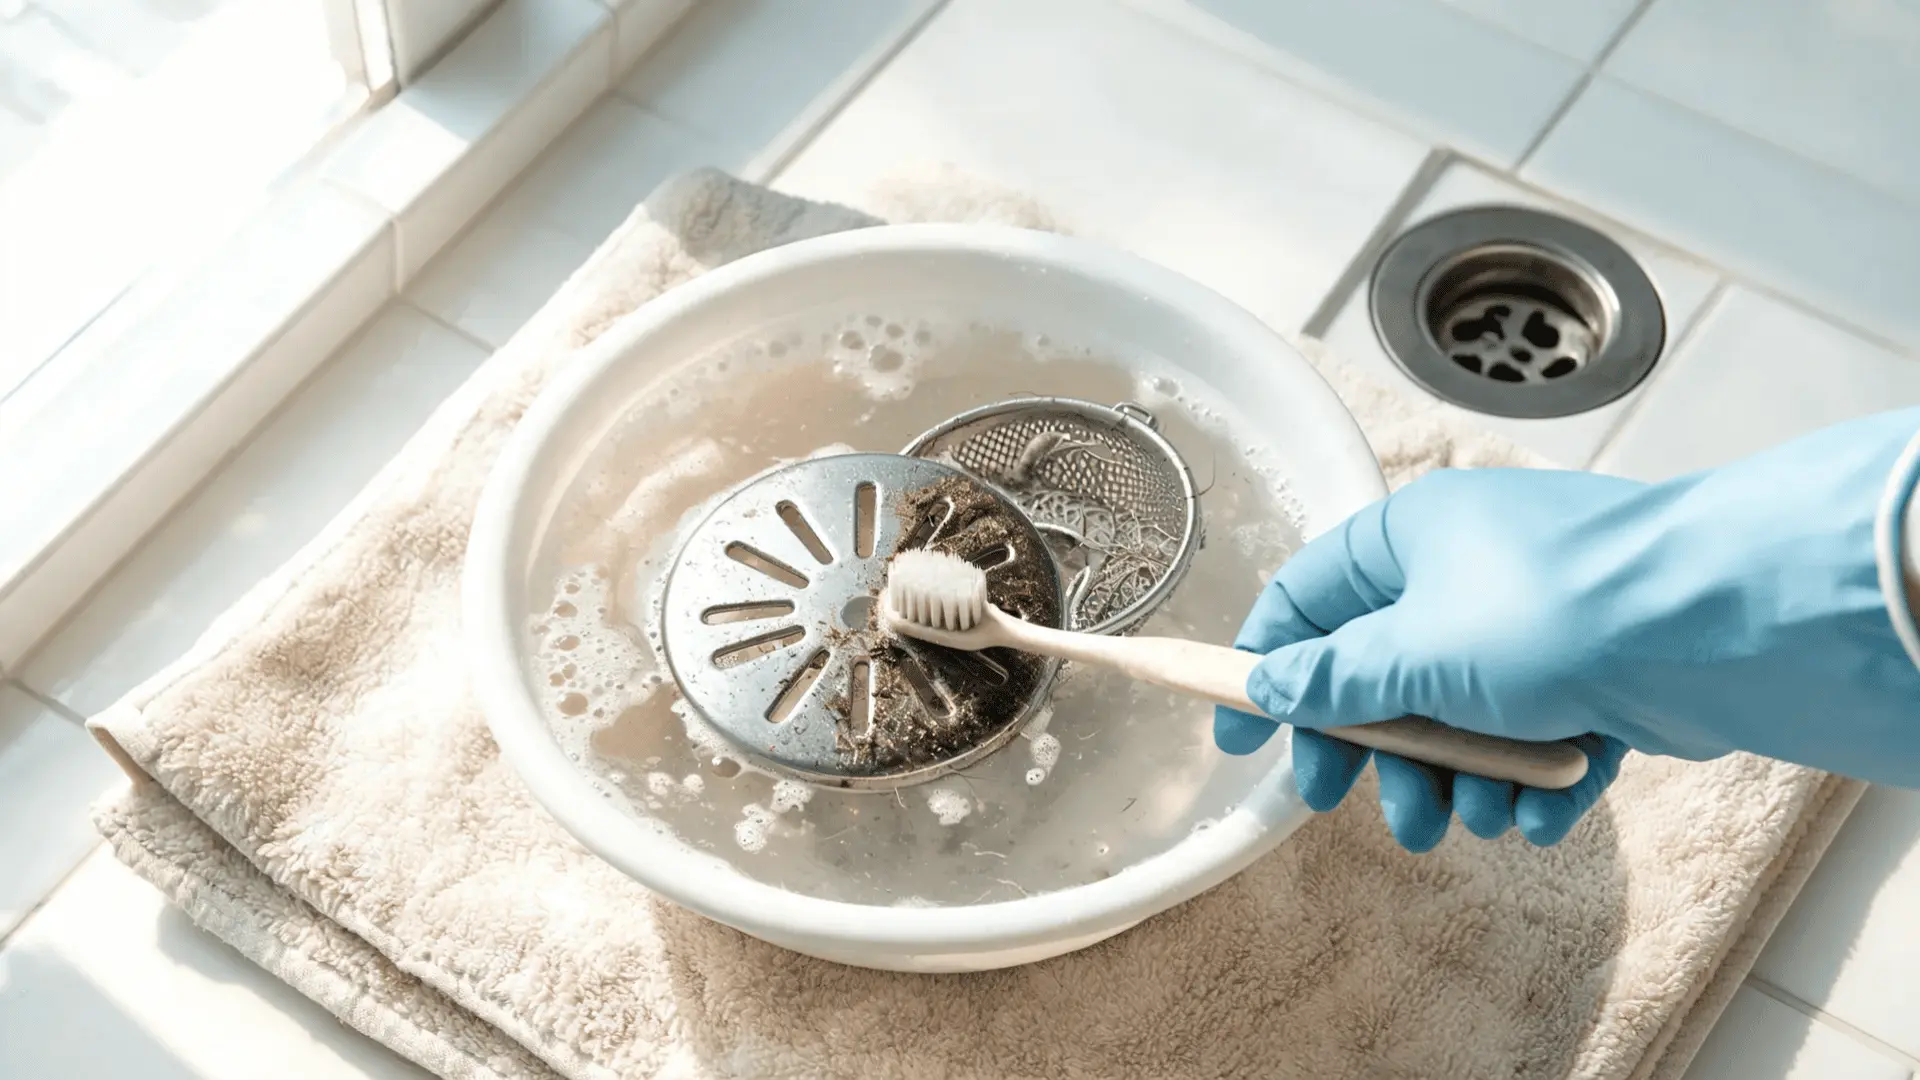
Soak the removable cover, basket, and other washable parts in warm water mixed with dish soap. Scrub the openings, underside, edges, clips, and corners with an old toothbrush.
Avoid abrasive pads on polished metal because they may scratch the finish. Rinse each part thoroughly, then check for corrosion, cracks, loose clips, or bent tabs that could prevent the cover from sitting correctly.
The drain opening and surrounding channel also require careful cleaning.
Step 5: Clean the Drain Opening
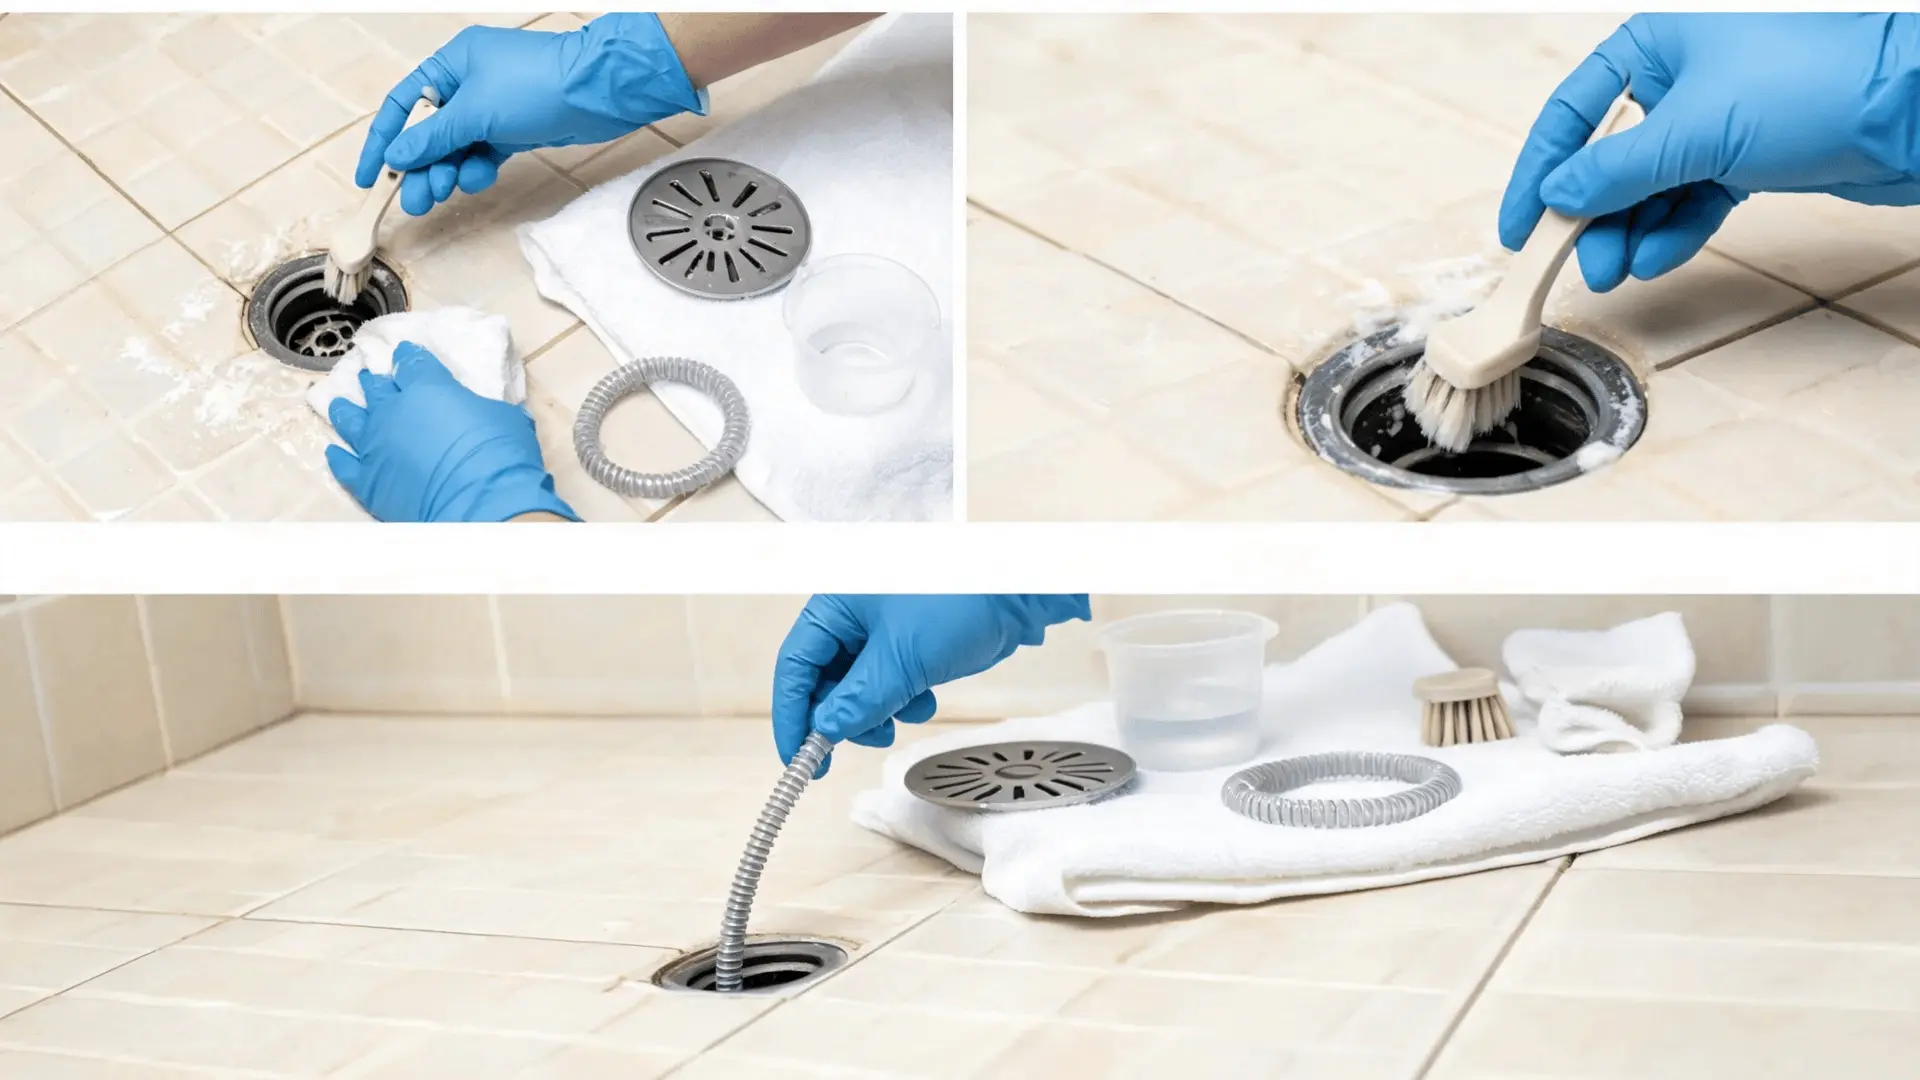
Wipe residue from the inner rim with a damp cloth or small brush. For linear drains, clean the full channel, including corners where soap film and loose hair often settle.
Do not push a cloth or brush so deep that it becomes trapped. A flexible plastic tool may remove hair near the opening, but stop when you meet hard resistance that could be a fitting or pipe bend.
Finish by flushing loose residue and checking the drainage speed.
Step 6: Flush and Test the Drain
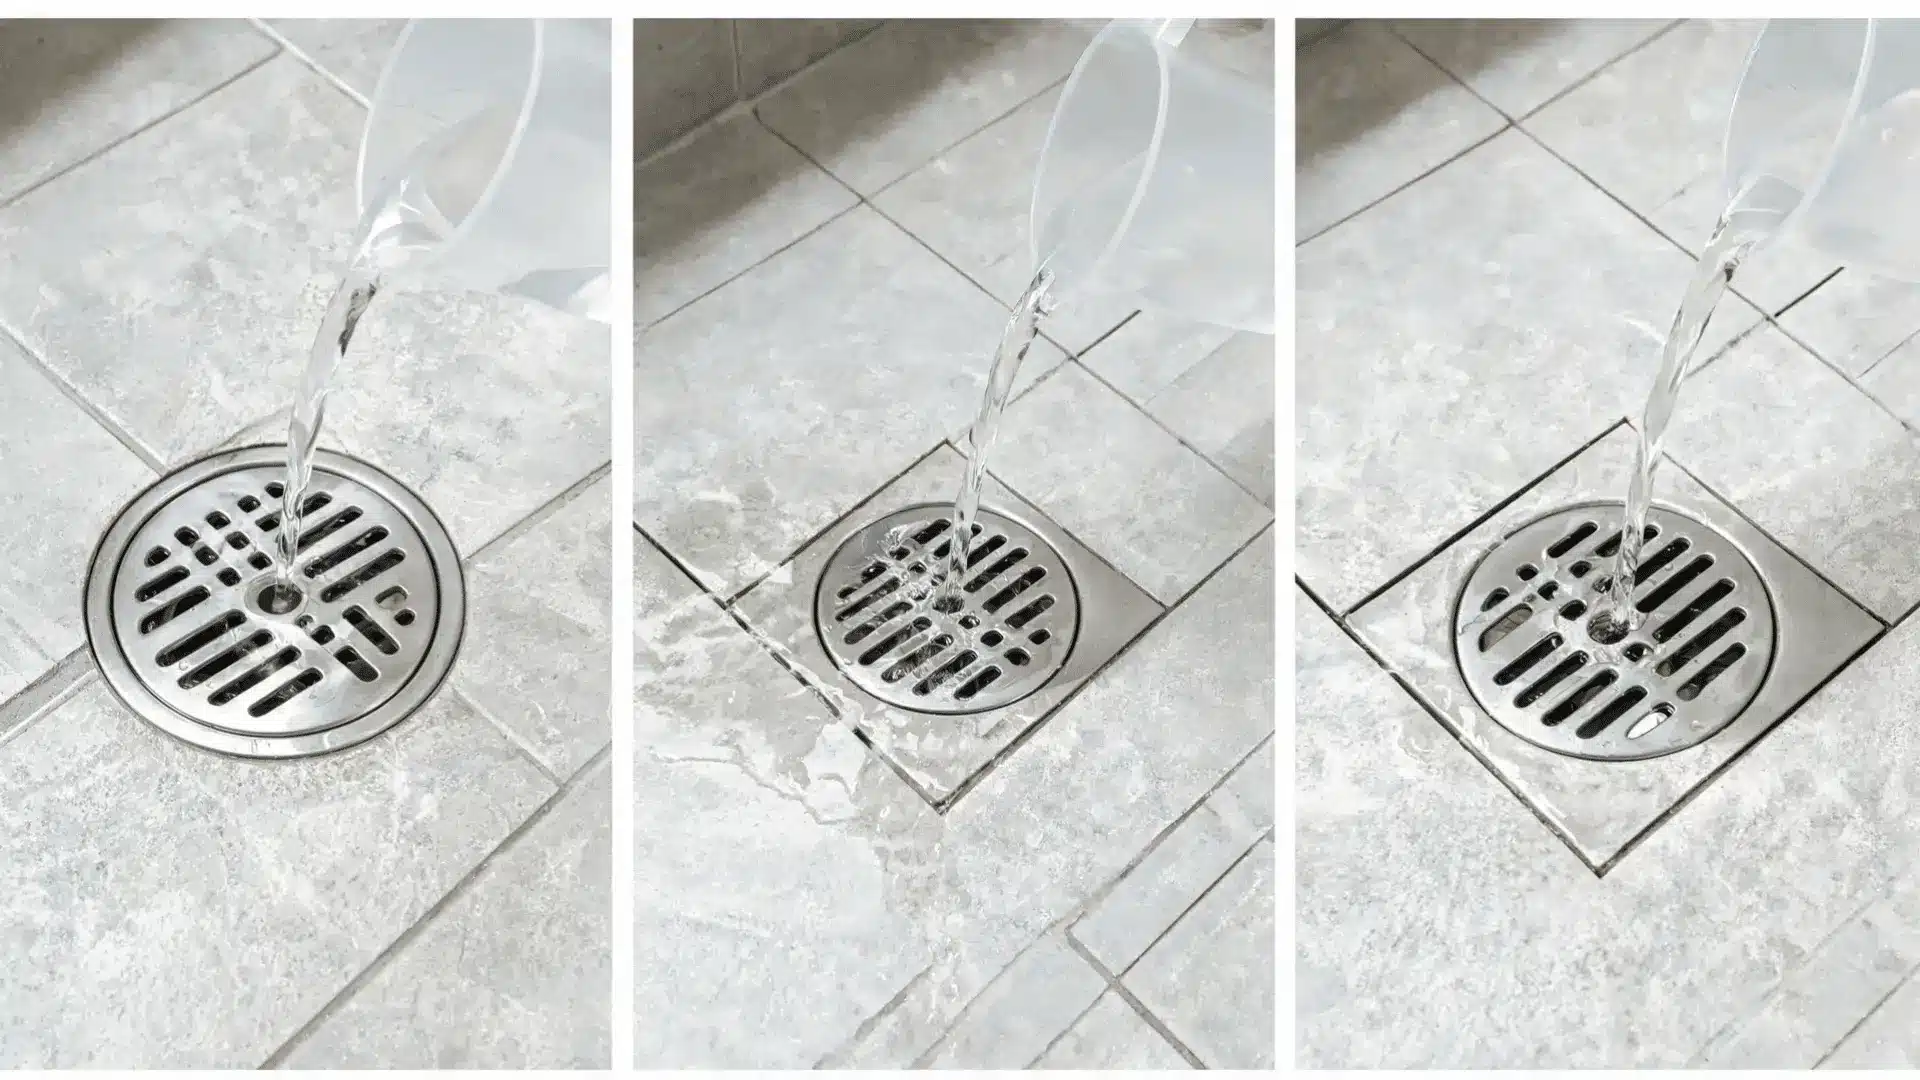
Pour hot tap water into the opening to rinse away loosened soap residue and small particles. Avoid boiling water because high heat may affect plastic pipes, seals, adhesives, or some shower base materials.
Reinstall the basket, stopper, insert, and cover in the same order used during removal. Run the shower for several minutes and confirm that water clears without pooling, leaking, or collecting around the frame.
Certain drain designs need a few additional cleaning steps.
Still in the dark? Here is a YouTube video from Silver Cymbal on how to clean a drain effectively:
Cleaning Methods by Drain Type
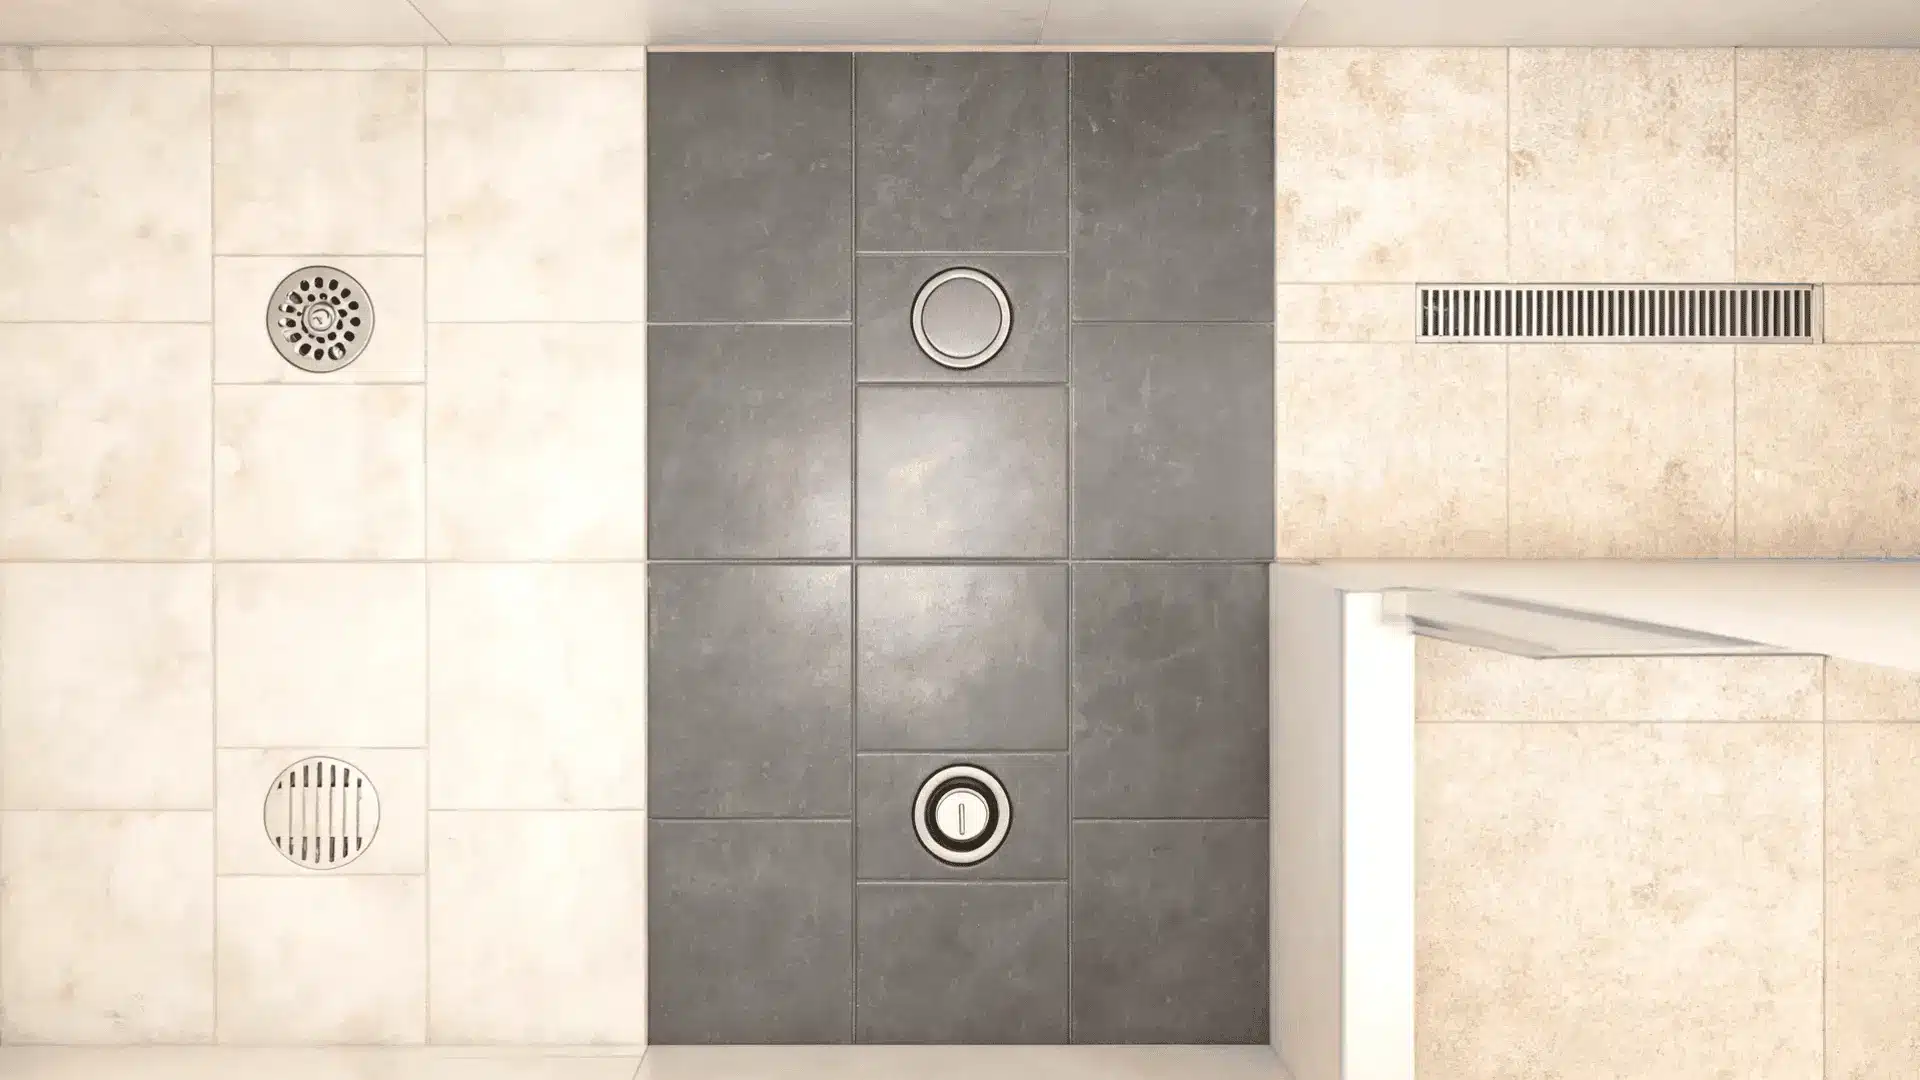
Unusual shower drains collect debris inside channels, clips, trays, stems, and hidden baskets. Clean only removable maintenance parts and leave sealed components untouched.
Use the method that matches your drain design.
- Cleaning a Screw-Fixed Grate: Remove the screws, lift the grate, wash its underside, and pull visible hair from the opening without forcing corroded fasteners.
- Cleaning a Snap-In Cover: Lift from the designated slot with a plastic hook, clean the clips and frame, then press the cover evenly into place.
- Cleaning a Linear Drain: Remove the grate and basket, clear debris across the full channel, scrub the corners, and rinse with controlled hot water.
- Cleaning a Tile-In Drain: Lift the tiled tray evenly, support it underneath, clean the drainage gaps and channel, then remove grit before reinstalling it.
- Cleaning a Pop-Up Stopper: Unscrew or release the stopper, remove hair from its stem, clean the moving parts, then test that it opens freely.
- Cleaning a Concealed Drain: Find the intended access point, clean the removable channel or basket, and avoid cutting sealant or disturbing waterproofed joints.
When Standard Cleaning Does Not Work
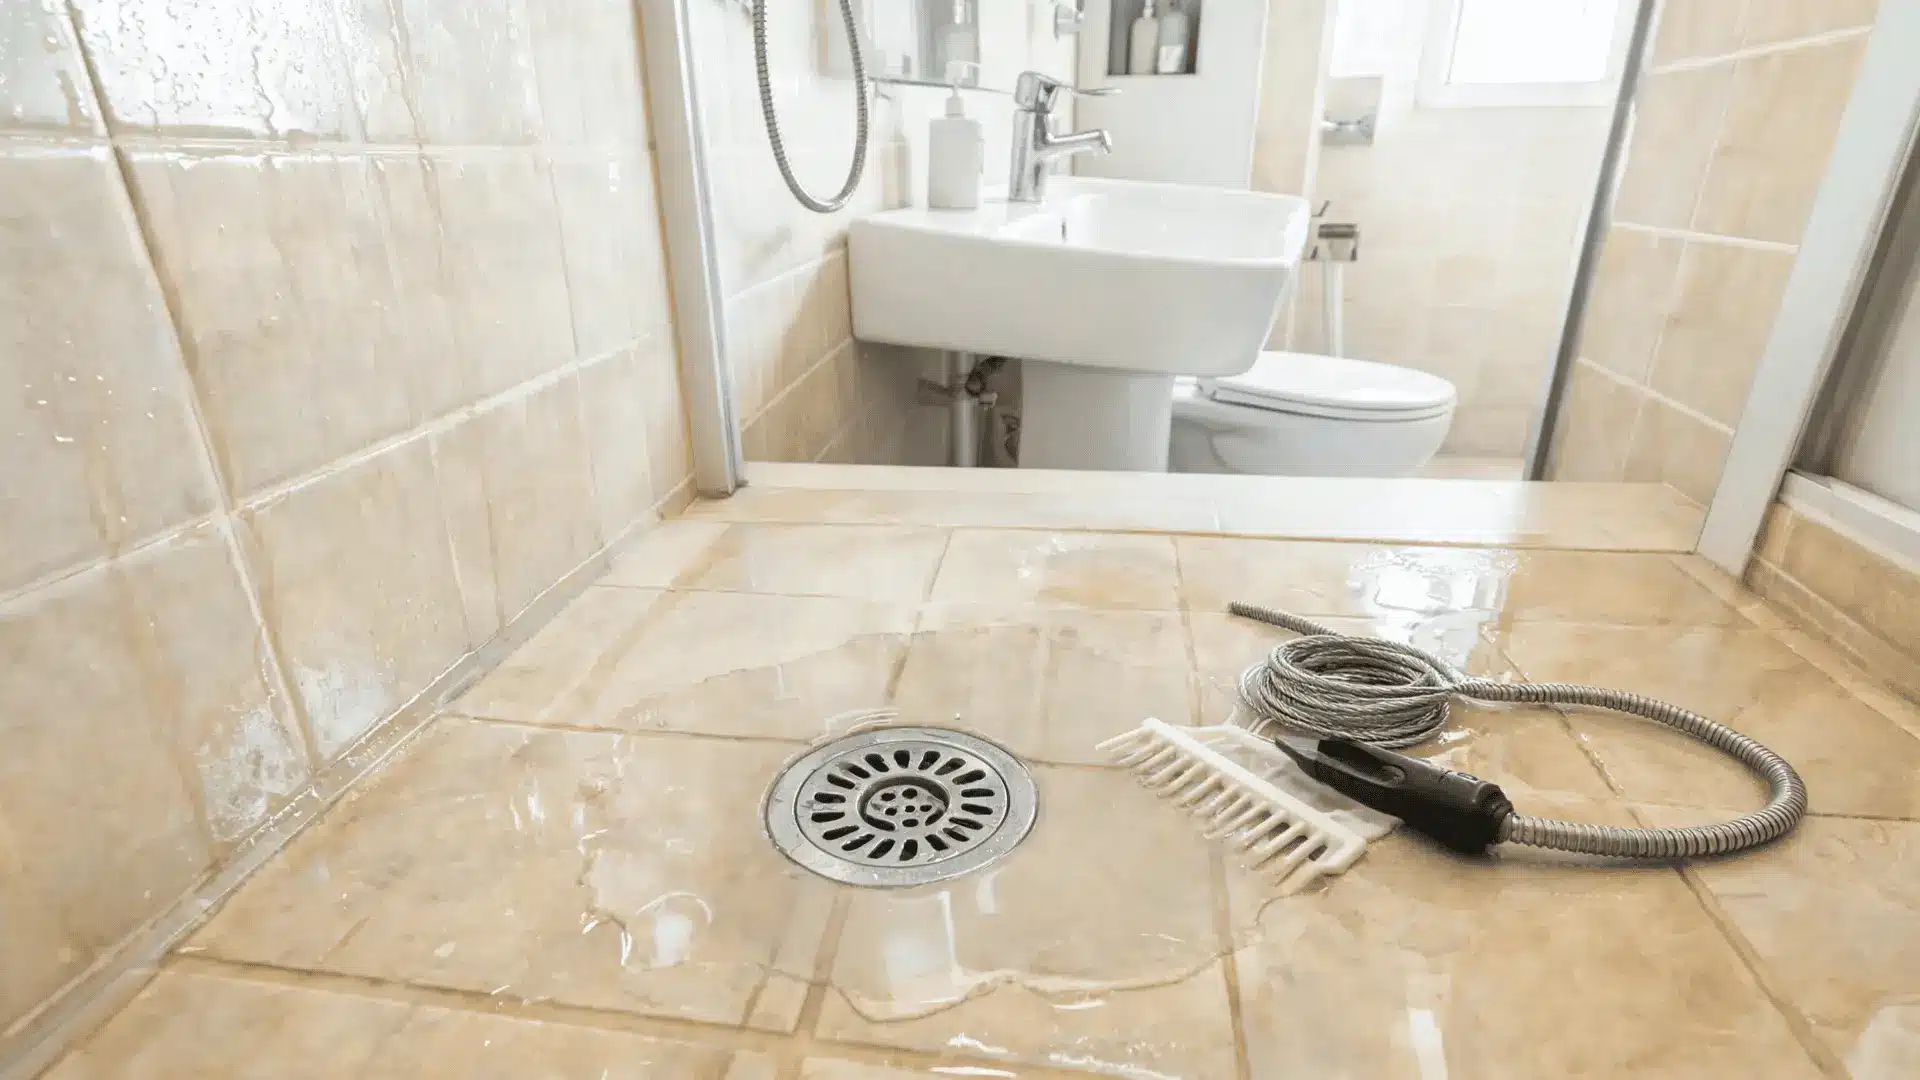
A shower drain that remains slow after surface cleaning may have compacted hair, thick soap residue, mineral deposits, or a blockage inside the trap.
Check the common causes below before deciding whether professional plumbing service is necessary.
1. Hair Deeper in the Drain
Insert a flexible plastic hair tool or hand-operated drain snake slowly into the pipe. Rotate it gently when you feel soft resistance from tangled hair.
Pull the blockage outward rather than pushing it toward the trap. Stop if the tool catches on a solid fitting, becomes difficult to retrieve, or will not move around a bend without force.
Soap and mineral residue can also restrict water flow after the hair is removed.
2. Soap and Mineral Buildup
Shampoo, conditioner, body oils, and mineral deposits can coat the upper pipe and narrow the space available for water.
Scrub accessible surfaces with warm water, dish soap, and a nonabrasive brush. A drain-safe enzyme cleaner may help loosen organic residue when used according to its label. Remove solid hair first because liquid treatments cannot reliably dissolve a compacted blockage.
Persistent odors may come from trapped residue or an empty drain trap.
3. Shower Drain Odors
Wash the cover, basket, channel, and accessible drain walls where damp residue can hold unpleasant smells. Rinse each removable component before reinstalling it.
Run water into a shower that has not been used recently. This refills the trap and may stop sewer gases from entering the bathroom. Persistent sewage odors, bubbling sounds, or smells affecting several fixtures require professional inspection.
Some warning signs mean home cleaning should stop.
4. When to Call a Plumber
Contact a plumber when water repeatedly backs up, several fixtures drain slowly, or the clog returns soon after physical debris is removed.
Professional help is also appropriate for leaks below the shower, cracked drain frames, loose fittings, strong sewer odors, or covers that cannot be removed without disturbing tile or waterproofing. Deeper pipe inspection can locate the obstruction without damaging finished surfaces.
Avoiding common cleaning errors can help prevent drain and shower damage.
Shower Drain Cleaning Mistakes
Small errors can damage the cover, surrounding tile, or waterproofing. Avoid these common mistakes when cleaning any shower drain design.
- Forcing a cover before locating its screws, clips, slots, or lifting points
- Prying against tile, grout, sealant, or waterproof joints
- Mixing bleach, vinegar, drain cleaner, or other household chemicals
- Pouring boiling water into drains with unknown pipe or seal materials
- Pushing hair deeper instead of pulling it toward the opening
- Using metal tools on polished or coated drain finishes
- Misplacing screws, clips, baskets, or stopper parts
- Reinstalling the cover before testing water flow
- Cutting sealed edges around concealed drains
- Continuing after a drain snake becomes stuck
I never recommend forcing a drain part that appears bonded to the shower surface. Routine surface care reduces how often the cover needs removal.
Final Thoughts
Learninghow to clean shower drain systems starts with identifying how the cover is attached.
A safe process follows a clear order: inspect the drain, release the cover properly, remove physical debris, wash removable parts, clean the opening or channel, then flush and test the system.
Linear, tile-in, snap-in, pop-up, and concealed drains need different removal methods and should not be handled like standard screw-fixed grates.
My main advice is to stop when cleaning requires force around tile waterproofing or sealed drain parts. For stubborn clogs, use simple physical cleaning before considering stronger products.
Persistent backups, leaks, sewer odors, or slow drainage after cleaning may point to a deeper pipe problem. In those cases, professional inspection is safer than repeated chemical treatment.
Frequently Asked Questions
How Often Should I Clean a Shower Drain?
Remove visible hair regularly and clean beneath the cover when water slows, smells develop, or residue collects around the drain opening.
How do I Remove a Shower Drain Cover Without Screws?
Look for a lifting slot, clips, or a friction-fit edge. Use a drain key, plastic hook, or suction tool instead of a sharp screwdriver.
Can I Clean a Shower Drain Without Removing the Cover?
You can remove surface hair and flush light residue, but deeper buildup beneath the cover or basket may remain in place.
Why Will My Shower Drain Cover Not Come Off?
The cover may use hidden clips a threaded center piece sealant or a lifting key. Do not force it without identifying the attachment method.

NKBA-certified designer Harper Williams holds a degree in Interior Architecture from Auburn University and has specialized in high-function kitchens and spa-inspired baths since 2011. She joined us in 2024 to simplify layout planning, fixture selection, and budget tricks for remodelers. Away from CAD files, Harper restores vintage cookstoves and crafts small-batch soaps.