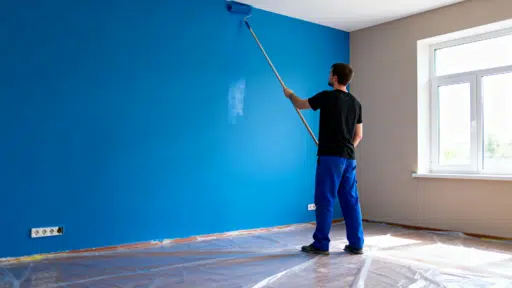

That scuffed, faded wall has been staring at you long enough. Painting it yourself is one of the most cost-effective home upgrades you can make, and it’s far less intimidating than most people think.
A professional painter charges $200–$800 per room on average in the US. Doing it yourself costs $50–$100 in supplies, and the results can look just as clean when done correctly.
Knowing how to paint a wall comes down to three things: the right prep, the right tools, and the right technique.
Skip any one of them, and the result will show. Follow all three, and you’ll finish with smooth, even walls that look exactly the way you wanted.
Choosing the Right Paint Finish
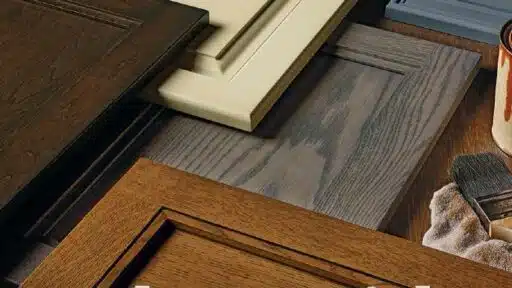
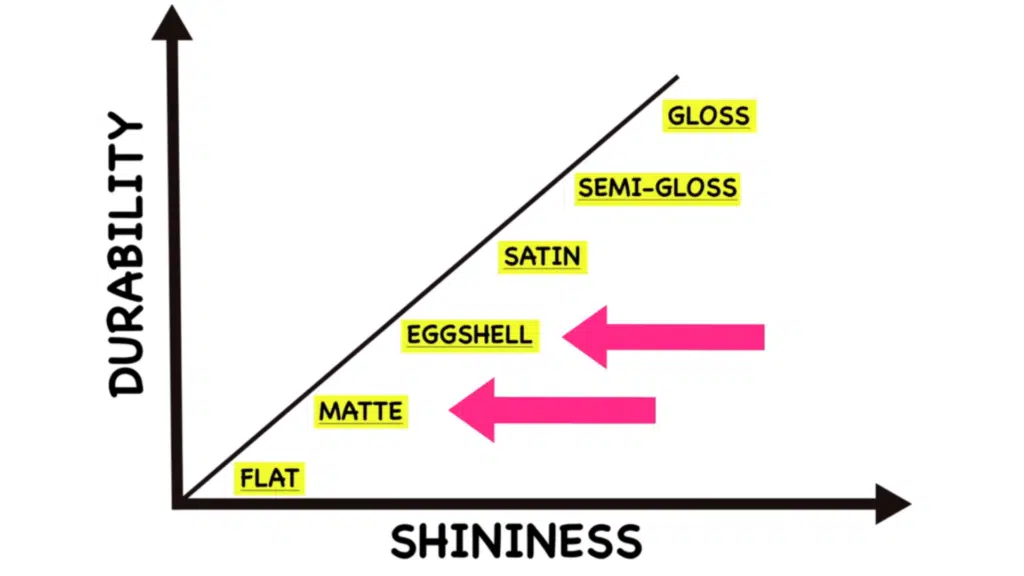
The sheen of your paint matters more than most beginners realize. Using the wrong finish in the wrong room leads to early wear and hard-to-clean surfaces. Here’s a breakdown of the most common finishes and where to use them:
- Flat/Matte: Best for ceilings and low-traffic areas. Hides imperfections well, but is not washable.
- Eggshell: Ideal for bedrooms and living rooms. Offers a slight sheen and is easy to wipe down.
- Satin: A great choice for kitchens, bathrooms, and hallways. More washable and holds up well in humid areas.
- Semi-Gloss: Best reserved for trim, doors, and baseboards. Very durable, though it does highlight surface texture.
Note: When it comes to how much paint to buy, keep this simple rule in mind: one gallon covers approximately 400 sq ft in a single coat. Since most rooms require two coats, plan on one gallon covering around 200 sq ft of wall area per coat and purchase accordingly.
Tools and Materials Required
The right tools make the difference between a frustrating day and a clean result.
| Category | Item | Purpose |
|---|---|---|
| Paint | Water-based wall paint | Main wall coating |
| Paint Finish | Matte / Eggshell / Satin | Controls durability and look |
| Brush | 2–2.5-inch angled brush | Cutting in edges |
| Roller | 9” or 14” roller frame | Covers large areas |
| Roller Cover | Roller sleeve (nap) | Holds and spreads paint |
| Extension Pole | Adjustable pole | Easier reach and faster work |
| Paint Tray | Tray or bucket | Holds paint for rolling |
| Drop Cloths | Cloth/plastic sheets | Protect floors and furniture |
| Painter’s Tape | Masking tape | Clean edges and protection |
| Sandpaper | 100–220 grit | Smooth surfaces |
| Filler | Spackle/joint compound | Fix holes and cracks |
| Primer | Multi-purpose primer | Prepares repaired areas |
| Ladder | Step ladder | Reach high areas |
| Plastic Cover | Furniture covering | Protects furniture |
How to Paint a Wall from Start to Finish
Now comes the part you’ve been waiting for. Follow these steps in order, and painting a wall becomes a methodical, satisfying process.
Step 1: Choose the Right Paint and Sheen
Water-based wall paint is the best starting point for most people; it dries faster and cleans up with just soap and water.
Once you’ve picked your paint type, choose the finish based on how the room gets used.
Step 2: Calculate How Much Paint You Need
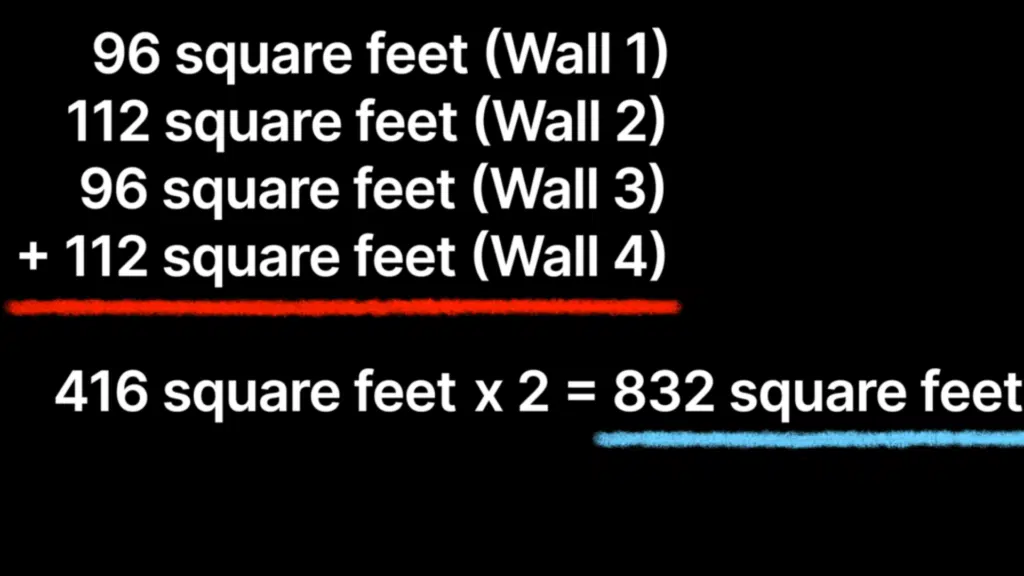
Measure the height and width of each wall, multiply them together, and add all the totals to get your full square footage. Double that number to account for two coats.
Suppose the math feels like too much; a simple rule of thumb works just as well. Most standard rooms need around two gallons to cover everything twice. When in doubt, buy slightly more than you think you need.
Step 3: Gather All Tools Before Starting
Get every single tool ready before you crack open the paint can. Stopping mid-project to hunt for supplies breaks your rhythm and can leave visible marks where wet paint dried unevenly.
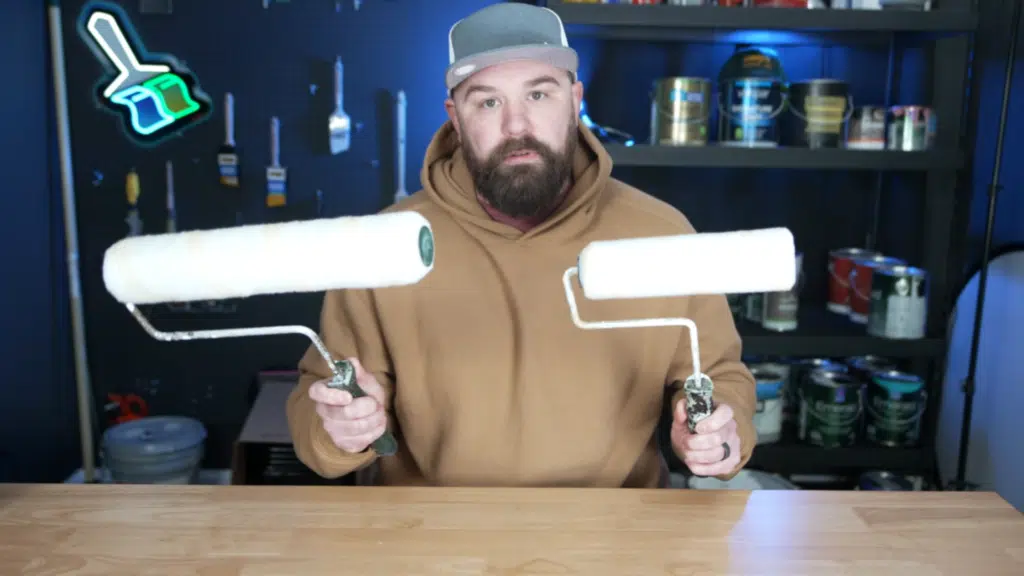
At minimum, you’ll need an angled brush for edges and a roller for the main wall surfaces. An extension pole makes the upper sections much easier to reach without straining.
Round it out with a paint tray, painter’s tape, and drop cloths laid out before you begin. Having everything within arm’s reach keeps the whole process moving without unnecessary pauses.
Step 4: Prepare the Room for Painting
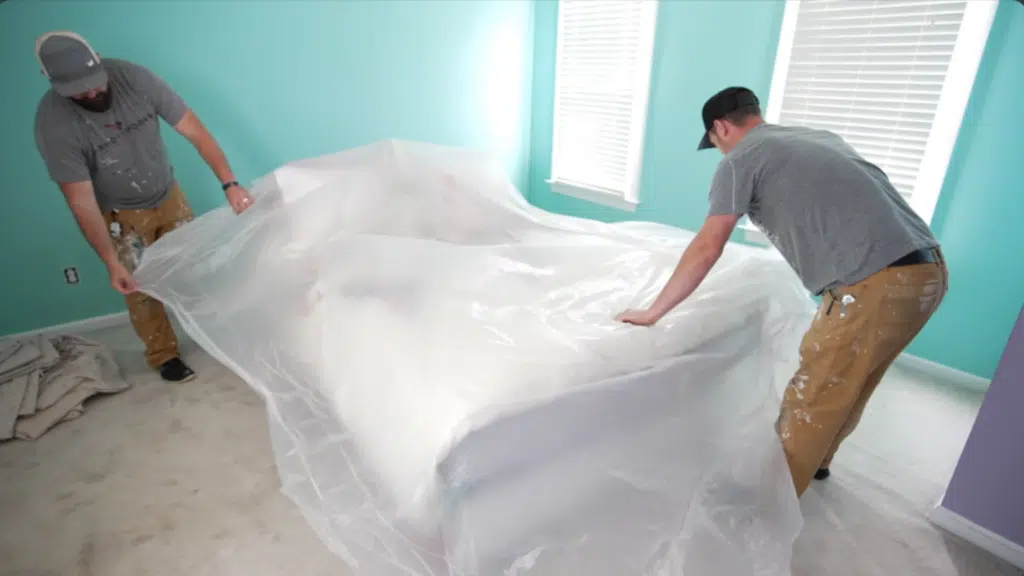
Push all furniture toward the center of the room and cover it with plastic sheeting to protect it from drips. Lay drop cloths flat along the base of each wall where you’ll be working.
Take down outlet covers, curtain rods, wall decor, and any frames before you start. Painting around these objects slows you down and increases the chance of accidental smudges.
Step 5: Prepare the Walls Properly
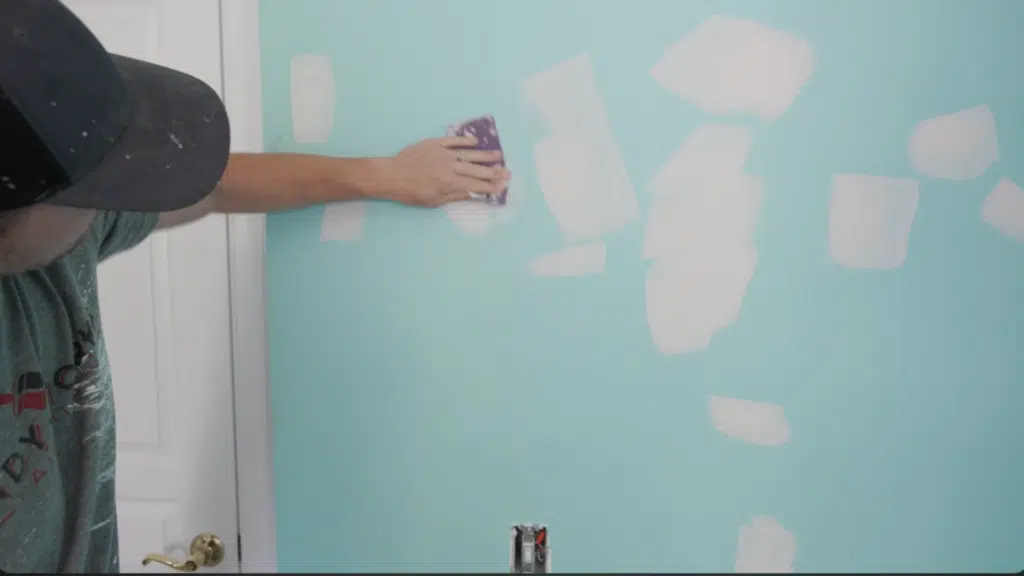
Run your hand along each wall to feel for dust, rough patches, or surface damage. Sand any uneven spots lightly and fill holes or cracks with spackle or joint compound.
Let the filler dry completely before sanding it flush with the surrounding wall. Rushing this step leaves bumps that show through the finished paint, no matter how many coats you apply.
Prime the patched areas before painting to even out the surface absorption. Without primer on repairs, those spots often appear as dull, slightly different-colored patches even after the final coat.
Step 6: Tape Off Edges and Trim
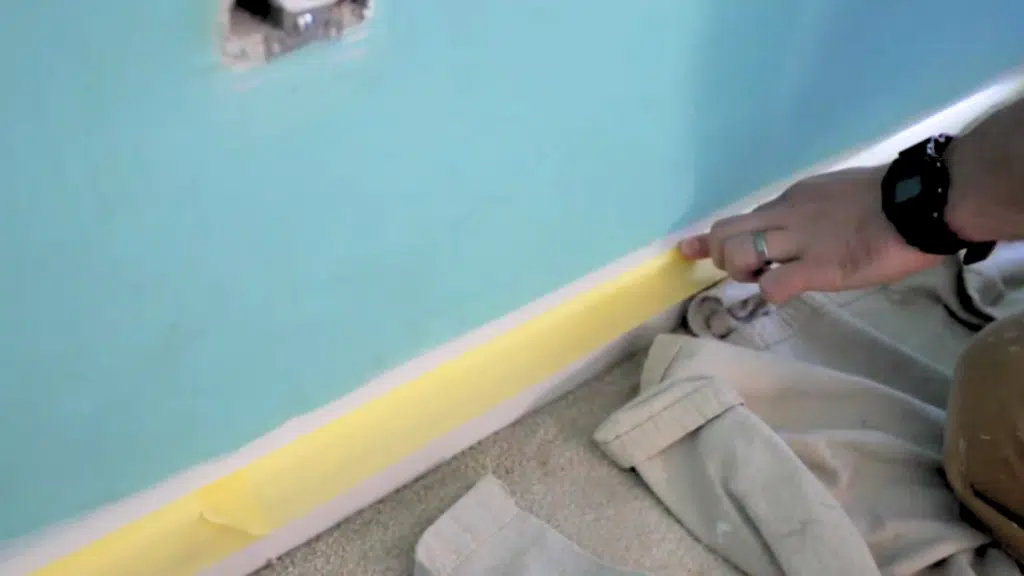
Press painter’s tape firmly along all baseboards, door frames, and window trim before picking up a brush. The firmer the seal, the less chance of paint bleeding through to surfaces you want clean.
Run tape along the ceiling edge, too, if you’re not yet confident painting a straight line freehand. It takes a few extra minutes up front, but saves a lot of correction work later.
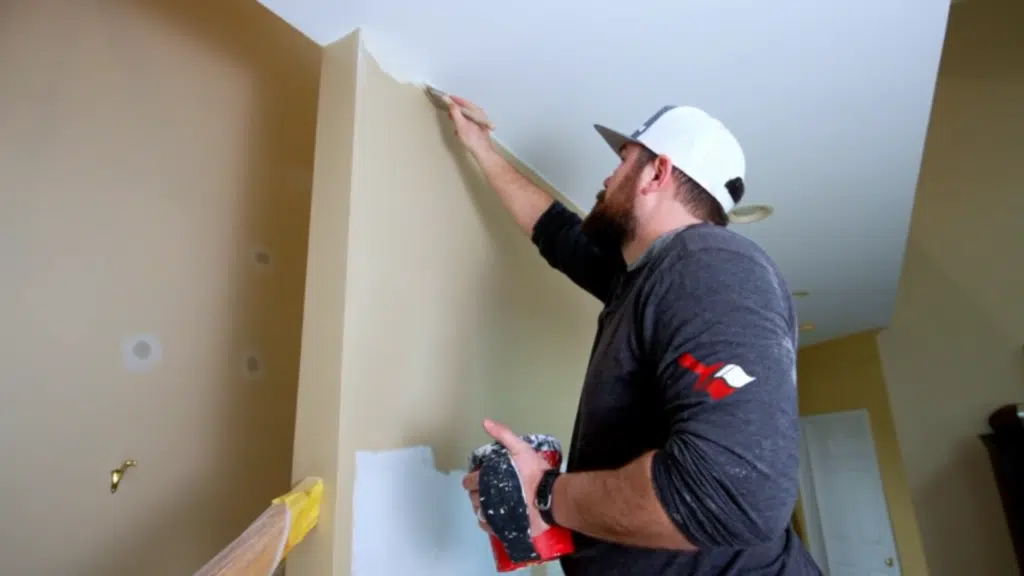
Step 7: Cut in the Edges with A Brush
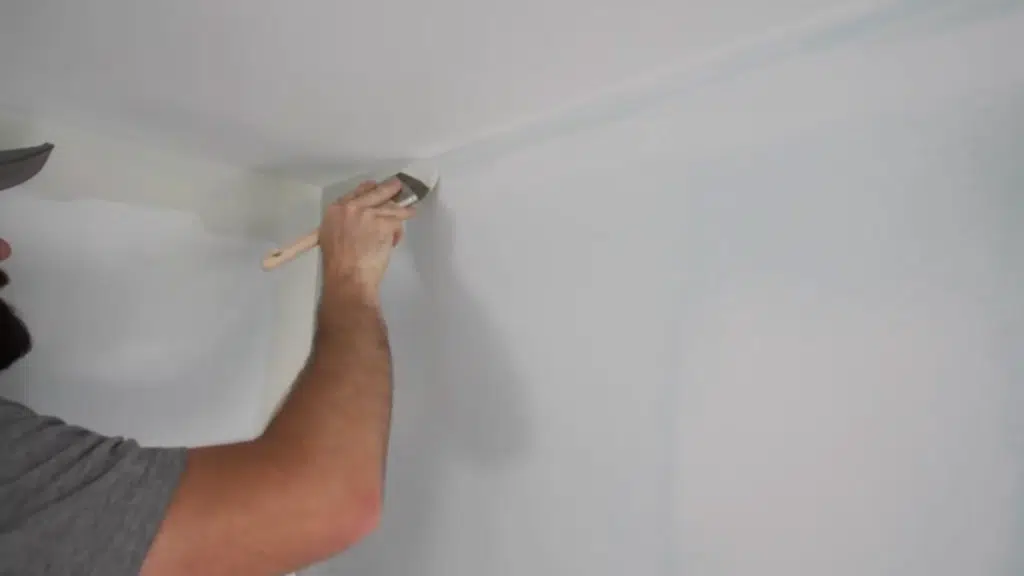
Dip just the tip of your angled brush into the paint and wipe off any excess against the rim of the can. This stops paint from dripping down the wall or loading too heavily onto the brush.
Paint a two-to-three-inch border around every area the roller can’t reach, corners, ceiling lines, and around trim. Start slightly away from the edge and gradually work your way closer for better control.
Move one wall at a time and work in a consistent direction. This keeps your cutting-in neat and avoids going back over sections that have already started to dry.
Step 8: Roll the Walls Evenly
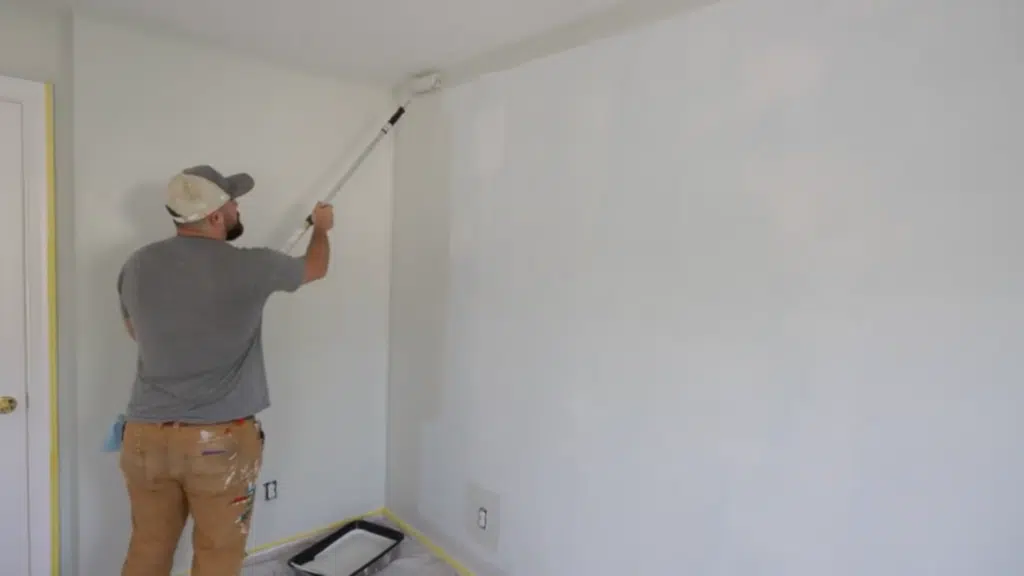
Attach an extension pole to your roller before loading it with paint. This gives you better reach and steadier control across the full wall height. Lightly dampen the roller cover first so it absorbs paint more evenly from the start.
Load the roller well and begin in the middle of the wall rather than at the edges. Use a W or M pattern to spread the paint broadly, then fill in the gaps with overlapping vertical passes.
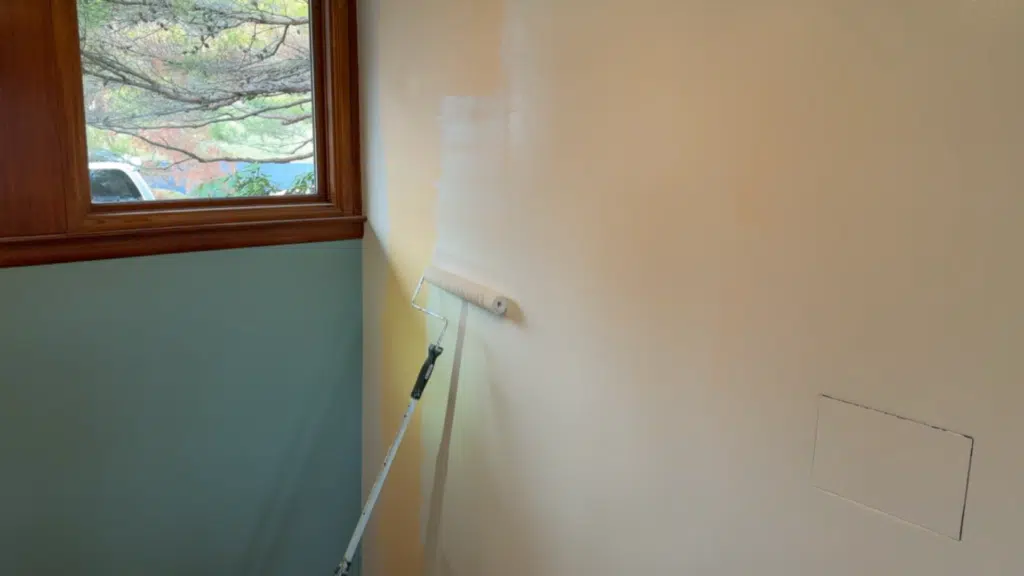
Step 9: Apply the First Coat and Check the Wall
Once the entire wall is covered, step back and let it dry for one to two hours before doing anything else. Touching or inspecting it too early can disturb the surface and leave marks.
When it’s dry, check the wall under good lighting for drips, thin spots, or areas the roller missed. Sand any rough patches lightly so the surface is smooth before the second coat goes on.
Step 10: Apply the Second Coat Properly
Follow the same process as the first coat, cut in the edges first with a brush, then roll the main surface. Using the same direction and method keeps the final finish consistent across the whole wall.
The second coat is where the color fully comes through, and any uneven patches from the first round get covered. Most walls look completely different after this coat, more even, richer, and properly finished.
Step 11: Finish and Clean up the Room
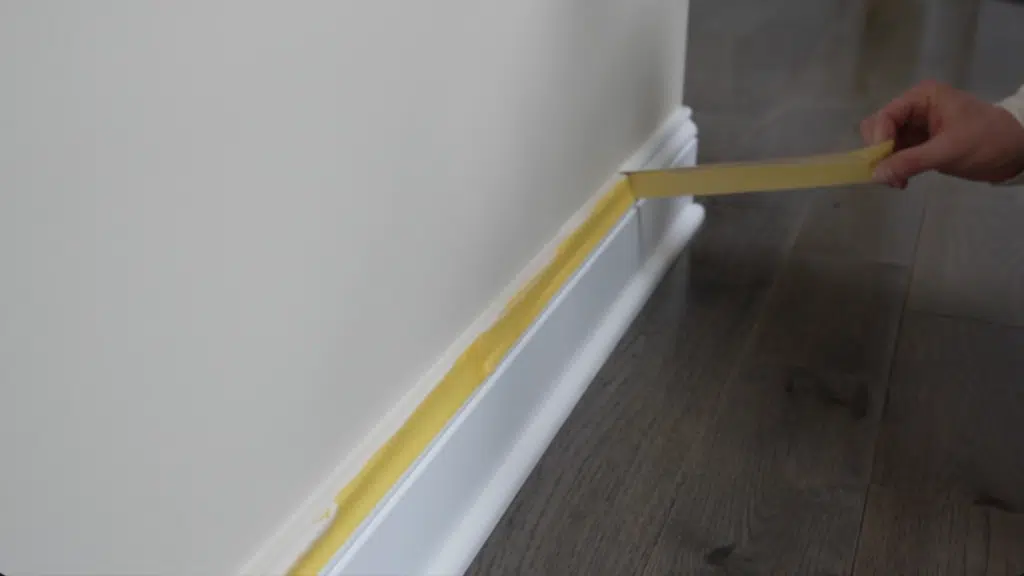
Once the second coat is fully dry, pull the painter’s tape off slowly at a 45-degree angle to keep the edges sharp. Touch up any small spots or missed areas using a small brush before the room is fully reassembled.
Put outlet covers, decor, and furniture back in place once everything is completely dry. Clean your brushes and rollers with warm water right away, and seal leftover paint tightly for future touch-ups.
Check out the full video below:
What Experts and Residents Say About Painting a Wall
This section brings together insights from experienced DIYers and real homeowners to help you paint your walls with confidence.
By drawing on lived experiences, you get a clearer picture of what actually works and what mistakes to avoid before you ever open a can.
“Preparation is the foundation of a flawless paint job.” – Painter’s Solutions Blog
“The importance of prep cannot be overstated.” – Quora Discussion (r/Home Painting)
“It is always worth it to splurge on the most high-quality paint you can.” – Love & Renovations, DIY Guide
“Paint the ceiling first it’s the messiest, and you don’t want splatters on freshly painted walls.” – Semi Gloss Design, Beginner’s Guide
“Maintain a wet edge that’s the key to avoiding lap marks entirely.” – Family Handyman, Interior Painting Tips
Wrapping Up
Learning how to paint a wall is a skill that pays off every single time you use it. The tools are affordable, the process is repeatable, and the results speak for themselves.
Your first room might take a full weekend. Your third room will take half the time. Start with prep, take your time cutting in, roll with intention, and let each coat dry completely.
That’s the entire formula for painting interior walls that look clean, even, and done right. Your wall doesn’t need a professional; it just needs patience and the right steps.

James McLaren, with a rich background in architecture from the University of Manchester, has been contributing his expertise to the world of creative construction and home innovation for over 20 years. His journey began as a project manager for a leading construction firm, where he honed his skills in bringing complex designs to life. James joined our platform as a freelancer in 2019, quickly becoming a favorite for his insightful and practical advice. He has been a pivotal force to our wing ever since, bringing our readers a blend of technical know-how and creative flair. Beyond his professional life, James is an avid woodworker and enjoys restoring vintage furniture, a hobby that complements his professional insights beautifully.