

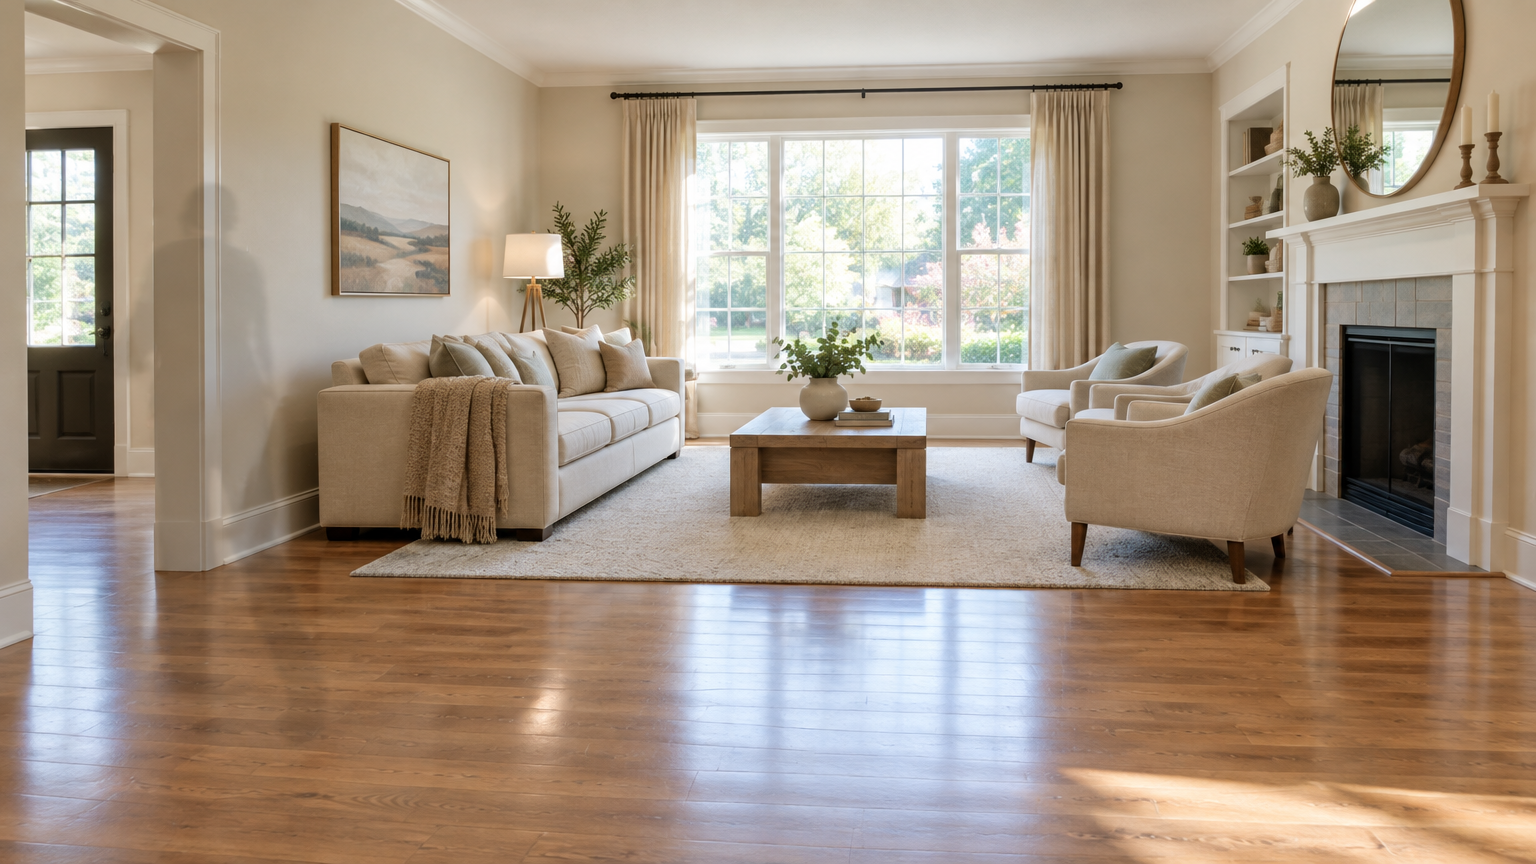
You know how it goes. The kitchen looks great, the light is perfect, and then you notice a contractor’s elbow poking in from the hallway. Or the photographer’s reflection is sitting right there in the bathroom mirror. A single stray person can turn a strong listing photo into one you can’t use, and buyers scroll past fast.
The good news is that you don’t always need a reshoot to fix it. With a little patience and the right approach, you can take people out of your photos so cleanly that nobody ever knows they were there.
Why People End Up in Your Shots
Most of the time, it’s nobody’s fault. Property shoots are messy, real-world situations. Tenants are still living in the unit, so someone walks through the frame. Staging crews are packing up while you’re still shooting. Street-facing exterior shots pick up pedestrians, delivery drivers and the neighbor walking a dog. Cafés, lobbies and model homes are almost never empty when you need them to be.
Then there are reflections. Mirrors, glass doors, shiny floors and window panes love to catch whoever is holding the camera. You often don’t spot it until you’re back at your desk looking at the file at full size.
When the shoot was a one-time booking and the listing goes live tomorrow, retouching is usually faster and cheaper than going back.
What a Clean Removal Actually Takes

Taking a person out of a beach photo is forgiving. Sand and water hide mistakes. Interiors don’t. Rooms are packed with straight lines, repeating patterns and reflective surfaces, and people are good at noticing when something looks off, even if they can’t say why. Floorboards should keep running in the same direction. Grout lines should stay lined up. A shadow should still make sense with the light coming through the window.
Three things matter most. First, your selection has to cover the whole person, including their shadow, a bag, a coat over an arm, or hair. Miss a small piece and the edit looks wrong no matter how good the fill is. Second, the background has to be rebuilt convincingly. Plain walls and carpet are easy for software. Wood grain, patterned rugs, railings and window grids are much harder. Third, you have to check your work at full size. Something that looks perfect as a thumbnail can fall apart along the edge where a countertop meets a backsplash.
Picking the Right Tool
You don’t need a full professional editing suite for every job. Desktop editors with healing and content-aware tools give you the most control, but they take skill and time, so they make the most sense for hero images and complicated scenes. Mobile apps are fine for a quick social post, though they tend to struggle with fine architectural detail. Browser-based AI tools sit in the middle. You brush over the person and the tool fills in the background for you, which is handy if you handle dozens of images every week.
If that sounds like your situation, it’s worth trying a browser tool. CapCut’s online photo cleanup page is one option that lets you easily remove person from photo files without opening a heavy editing program. According to the product page, you mark the unwanted subject with a brush or smart selection, the AI rebuilds the surrounding texture, and you can remove several people one at a time or as a group. It’s one choice among many, and the workflow below applies no matter which tool ends up on your screen.
A Simple Workflow That Works
Start with the best file you have. Use the original, full-resolution image, not a compressed copy that got passed around over email or text. More pixels mean the software has more texture to work with. If you’re still on location, grab a few extra frames with people standing in different spots. That gives you more background information to pull from later.
Before you touch anything, save a copy of the untouched original. You’ll want it for comparison, and some clients and listing platforms expect you to keep it on file.
Next comes the selection. Cover the entire person, shadow included, and nothing else. If they overlap something you want to keep, like the arm of a sofa or the edge of a table, select only the person and look at the mask before you apply the removal. A few extra seconds here saves you a lot of cleanup later.
If more than one person is in the frame, take them out one at a time. This gives you a chance to check each patch of rebuilt background before moving on, and if one pass goes badly, you only have to undo a single step instead of starting over.
After each removal, zoom in and go hunting for problems. Look closely at baseboards, door frames, window dividers and ceiling edges, since straight lines are where AI fills most often slip. Check tile, brick, carpet and floorboards for patterns that don’t quite repeat the way they should. Look at every mirror, window and glossy floor for leftover reflections. Make sure the light and shadows on nearby surfaces still feel natural. And if any signage or text was partly covered, make sure it still reads properly. When one spot looks rough, a second, tighter pass over just that area often fixes it.
Once the person is gone, finish with your usual listing adjustments. Straighten the verticals, balance the exposure, fix the white balance and crop to the final aspect ratio. Doing these last means the software worked from the cleanest version of the original pixels.
Mistakes That Give You Away
Over-editing is the big one. Removing a person is a small fix. Removing the scuffed wall, the stained carpet and the cluttered counter on top of that starts to misrepresent the property. Keep your edits focused on distractions, not on the real condition of the space.
Forgotten reflections are a close second. A room with nobody in it, and a visitor still showing in the bathroom mirror, is an instant giveaway. Check every reflective surface before you export.
Watch for ghost shadows too. Floors and walls often hold a faint dark patch where someone was standing, and it’s easy to leave behind if you only selected the body.
Another common one is a fill that looks too smooth. If the repaired area is cleaner or blurrier than the texture around it, your eye catches the difference right away. Zoom out and compare the patch with its surroundings. If it looks like a different material, redo it.
Privacy deserves a quick thought as well. If you upload client or tenant photos to any online editor, read its privacy terms first. Plenty of free tools limit image size, export quality or daily usage, and those limits can get annoying when you’re preparing a full listing set. Check the results before you rely on any tool for a final delivery.
Where to Draw the Line
Taking out a stranger, a crew member or a parked car is routine, and most people accept it as normal cleanup. The line you shouldn’t cross is accuracy. A listing photo should never hide a structural problem, change the apparent size of a room, or add a feature that isn’t there. Removing a person is cosmetic. Removing a crack, a water stain or a neighboring building that really sits next to the property is something else entirely, and in many markets it can land you in legal trouble.
If you work as an agent or photographer, look up the rules for your area and the policies of the platforms you post on. Some require you to disclose significant digital changes. When you’re unsure, keep your edits minimal and hang on to the original.
When a Reshoot Is the Better Call
AI removal is useful, but it won’t fix everything. Think about going back and reshooting when the person covers a big chunk of the focal point, like the middle of a kitchen island. The same goes when the background behind them is complicated, such as a detailed patterned floor or an ornate staircase, or when several people overlap with key furniture. If the image will be printed large, tiny flaws become much easier to see, so a clean original is worth the extra trip.
For borderline cases, run a quick test edit. It takes a minute or two and tells you right away whether the result will hold up.
The Takeaway
Real estate and interior photography runs on trust. People want to look at a space that feels open, clear and honest, and a few careful edits can remove the distractions that get in the way. That might be a passerby outside the building or a visitor standing in the corner of a lobby. The property itself stays exactly what it is.
Begin with a strong original, select carefully, work in small steps, and check every line, pattern and reflection before you export. Do it right, and the edit disappears. What your viewers notice is the space.

Licensed broker Logan Patel holds an MBA in Urban Economics from UCLA and has steered buyers and investors through market swings for a decade. He joined us in 2024 to demystify listings, financing, and neighborhood data with clear, chart-backed advice. When he isn’t scanning comps, Logan coaches youth basketball and scouts mid-century districts for hidden architectural gems on weekend walks.