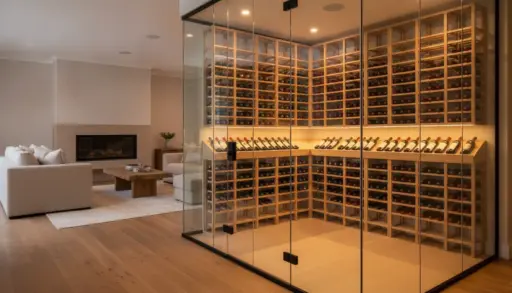
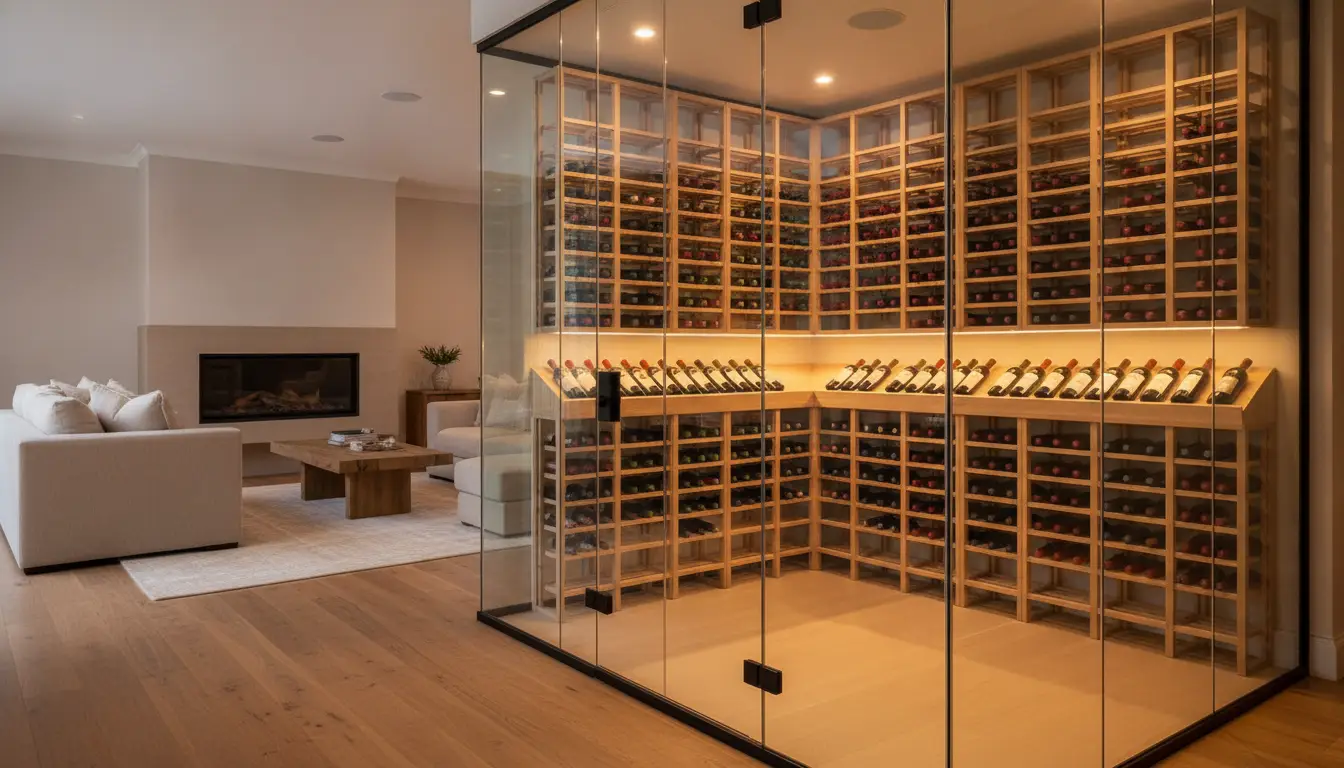

Before building a custom glass wine cellar in an existing home, you need to plan five things: where it will go and whether the structure can support it, how it will be cooled and insulated, what the glass enclosure itself must do thermally, where power and drainage will come from, and what permits or approvals the work triggers. Retrofitting is entirely doable — under-stair alcoves, dining room corners, and converted closets are all common sites — but each of those decisions is much cheaper to make on paper than mid-construction.
Here is what to work through, in the order a designer or contractor would.
1. Choose the Location Before You Fall in Love With the Look
In an existing home, the room chooses you as much as you choose it. Look for a spot that is away from direct sunlight and exterior heat sources — a south-facing window wall is the enemy of stable storage temperatures — and close to the interior of the floor plan, where ambient conditions swing least. Basements remain the easiest retrofit because they start cool, dark, and humid; main-floor showcase cellars are the most dramatic but ask the most of your cooling and glazing.
Then check the structure. Wine is heavy: bottles, racking, and glass together can concentrate a surprising load, and a slab-on-grade floor handles that differently than framed joists over a crawl space. For anything beyond a modest reach-in, have a contractor or structural engineer confirm the floor can carry the loaded weight — especially for upper-floor or under-stair installations.
2. Decide How Serious the Climate Control Needs to Be
This is the fork in the road that sets most of the budget. A true storage cellar holds wine long-term at cellar temperature — typically around 55°F with moderate humidity — and needs a dedicated wine cooling unit sized for the room. A display-oriented wine room that holds bottles you’ll drink within a year or two can sometimes run warmer, closer to ambient, with a smaller unit or, in cool basements, careful passive design.
Decide which one you’re building before anyone quotes anything, because the answer changes the insulation, the glass specification, and the mechanical work. If long-term storage is the goal, plan for a cooling unit made for wine cellars (not a standard air conditioner, which strips humidity), insulation in the surrounding walls and ceiling, and a vapor barrier on the warm side of the assembly so moisture doesn’t migrate into the framing. One detail worth writing down now: don’t aim conditioned airflow directly at the glass — it invites condensation and uneven temperatures at the panel face.
3. Specify the Glass Enclosure for Temperature, Not Just Transparency
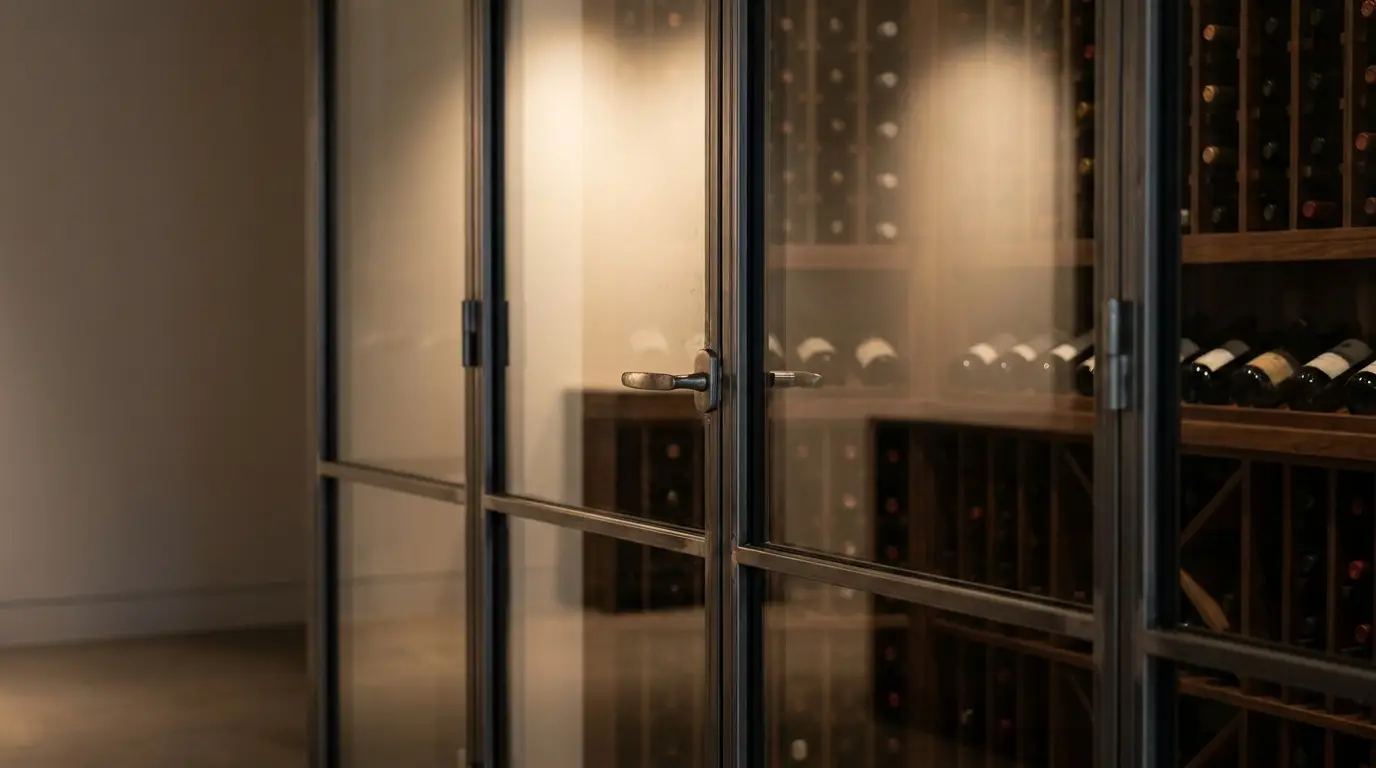
The glass is the wall of this room, so it has to perform like one. For a cooled cellar in a heated home, that generally means insulated (double-glazed) panels rather than single panes, tight door gaskets and thresholds to minimize cold-air leakage, and a door that actually seals — whether you choose a hinged single or double swing or a sliding system. Skipping these is how showcase cellars end up with fogged panels and a cooling unit that never cycles off.
Framing is the other half of the specification. Steel-framed enclosures deliver the classic thin-profile, high-transparency look; aluminum-framed systems offer slimmer budgets and modern grid aesthetics; fully frameless all-glass enclosures maximize the display effect but lean hardest on gasketing and glazing quality for thermal performance. Frosted or clear glass, locking hardware for access control, and finish color are all decisions to lock during design, not during installation — custom glass systems are fabricated to measure, so changes after fabrication are expensive.
4. Plan the Utilities: Power, Drainage, and Where the Heat Goes
Cooling units need three things people forget in existing homes. First, electricity: most cellar cooling systems want a dedicated circuit, which may mean panel work in an older house. Second, condensate drainage: cooling produces water, and that water needs somewhere to go — a nearby drain line or a condensate pump routed during rough-in. Third, heat rejection: the heat pulled out of the cellar has to be dumped somewhere, so through-wall units need an adjacent space that can absorb it, while ducted or split systems need a routing path to a mechanical area or outdoors.
None of this is exotic, but in a finished home each item means opening walls, so map all three before finalizing the location. Sometimes shifting the cellar six feet to share a wall with a utility room saves a meaningful slice of the budget.
5. Check Permits, Approvals, and the Rest of the Paper
Interior renovations that add electrical circuits, mechanical equipment, or new walls commonly require permits, and the threshold varies by municipality — call your local building department early rather than assuming. If you live under an HOA or in a condominium, the alteration may need board approval, particularly where drainage or exterior heat rejection is involved. And if the cellar is part of a larger renovation, tell your insurer: a five-figure glass room with a four-figure collection inside is worth listing properly.
6. Set the Budget and Timeline Around Fabrication, Not Just Construction
A realistic plan has three cost blocks: the room preparation (structure, insulation, vapor barrier, utilities), the climate system, and the glass enclosure with racking. Custom glazing is made to order, so the enclosure carries a fabrication lead time measured in weeks — get current lead times in writing from whichever fabricator you choose, and sequence the project so the room is prepped and the cooling roughed in when the glass arrives. The most common retrofit scheduling mistake is booking installation before final field measurements; in existing homes, out-of-square openings are the rule, and made-to-measure glass depends on measuring the finished opening, not the drawing.
Frequently Asked Questions
Can you add a glass wine cellar to a finished home without major demolition? Often, yes — under-stair spaces, closets, and room corners can be converted with localized work rather than gut renovation. The demolition driver is usually utilities: if power and condensate drainage are nearby, the footprint of the work stays small.
Does a glass wine cellar need a cooling unit? For long-term storage, yes — glass enclosures in heated living spaces can’t hold cellar temperature passively. A short-term display room in a naturally cool basement is the main exception, and even there humidity and light still deserve attention.
What temperature and humidity should a home wine cellar hold? Around 55°F is the widely used storage benchmark, with humidity moderate enough to keep corks from drying — roughly the 50–70% range. Stability matters more than the exact number; the enclosure’s sealing quality is what prevents daily swings.
Why does the glass need to be insulated? A single pane between a 55°F cellar and a 72°F living room becomes a cold surface where room-side moisture condenses. Insulated glazing keeps the room-facing surface warmer, which prevents fogging and reduces the cooling load.
How long does a custom glass wine cellar project take? Plan in phases: design and specification, room preparation and mechanical rough-in, then made-to-measure glass fabrication and installation. The glazing lead time is usually the longest single wait, so confirm it in writing early and schedule the rest of the trades around it.

Holding a Master’s in Architecture from the University of Texas at Austin, Emily Rodriguez has dedicated more than two decades to the art and science of building renovation. Starting her journey in historic preservation, she developed a profound respect for blending old with new in building design. Emily became a vital part of our team in 2019, renowned for her insightful and innovative renovation tips. She has been leading our DIY home improvement series since ever since, where she shares her wealth of knowledge in turning outdated spaces into modern havens. When not engaged in writing or consulting, Emily is a passionate advocate for heritage conservation and enjoys exploring vintage architecture, a hobby that complements her professional expertise.