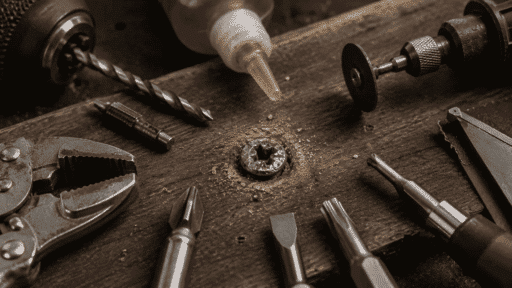
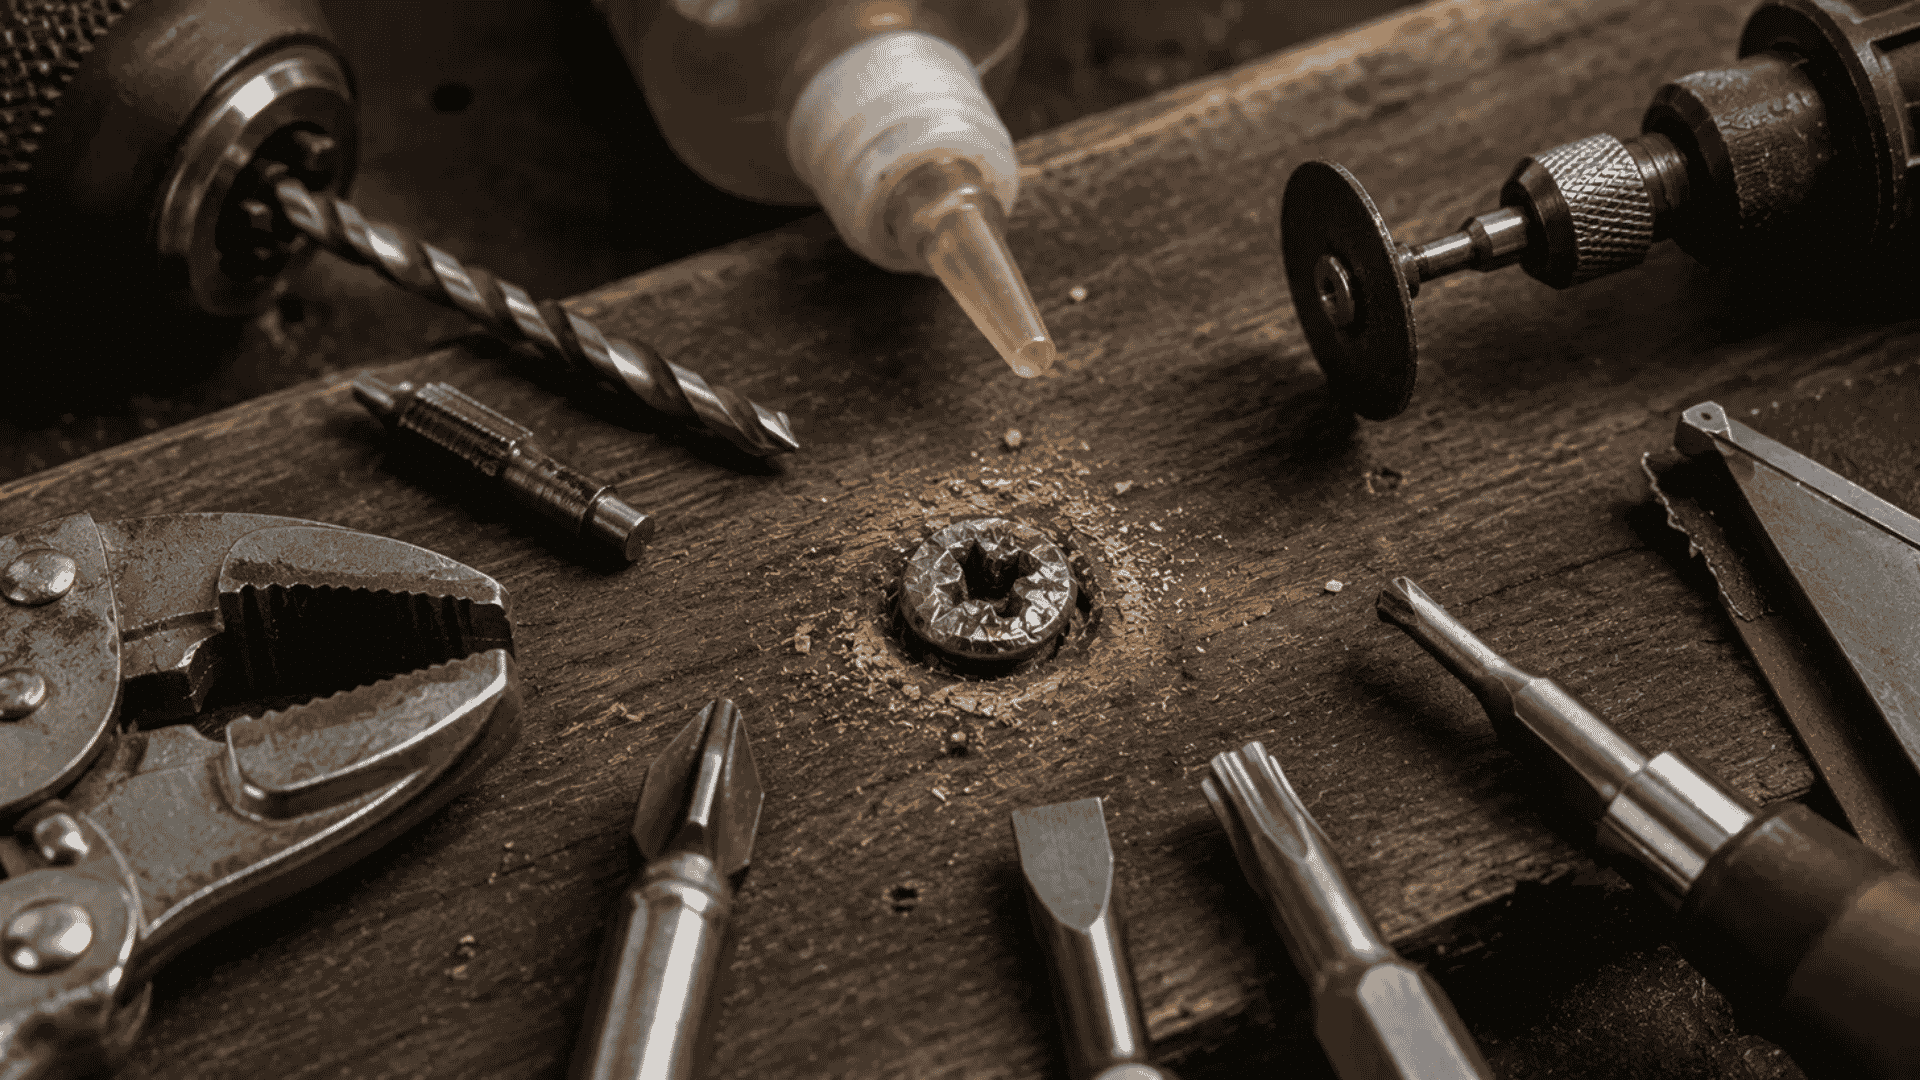

One stripped screw can bring an entire project to a standstill. You may be halfway through building furniture, replacing a hinge, or opening an appliance when the screwdriver suddenly spins without gripping.
I have dealt with this problem on everything from cabinet hardware to room makeovers, and I have learned that more force is rarely the best first move.
When deciding how to remove a stripped screw, I first check the screw head, confirm the correct bit, and see if the head sits raised, flush, or recessed.
I will also share which techniques I reach for first, which popular tricks have limited results, and where other DIYers tend to agree or disagree.
This guide covers practical techniques DIYers commonly recommend, explains which methods work best in different situations, and shows what to try first based on the screw’s condition.
What is the Quickest Way to Remove a Stripped Screw?
The quickest way to remove a stripped screw is to start with a correctly sized manual screwdriver and apply firm downward pressure while turning slowly.
If the driver still slips but catches slightly, place a wide rubber band over the screw head to improve grip. For a screw with a raised head, locking pliers usually provide better control.
If the screw is flush or the recess is badly rounded, try a snug Torx bit, a left-handed drill bit, or a screw extractor. Drill the head off only after the other methods fail.
I always choose the least aggressive method first because it gives the best chance of saving both the screw and the surrounding surface.
In most household repairs, my own order is simple: manual screwdriver first, locking pliers for an exposed head, then a Torx bit or extractor for a recessed screw.
Use this quick chart to choose the first method without causing more damage.
| Level of Damage | Method to Try |
|---|---|
| Light damage | Manual screwdriver or rubber band |
| Moderate damage | Torx bit or locking pliers |
| Severe damage | Left-handed bit or extractor |
| Final option | Drill the head off |
What Should You Check Before Trying Another Tool?
Before reaching for another tool, stop using the bit that keeps slipping. Check the screw carefully so you do not remove more of the remaining grip.
- Confirm the screw drive type, such as Phillips, flathead, Torx, or hex.
- Check that the driver is the correct size.
- Note if the screw head is raised, flush, or recessed.
- Remove any paint, rust, or debris filling the recess.
- See if the screw turns without rising, which may mean the threads are stripped.
- Decide if the surrounding wood, metal, plastic, or electronics can tolerate impact or drilling.
I always test the bit by hand before using a drill. A proper fit should reach the bottom of the recess without rocking from side to side. Repeated slipping wears away the edges that later removal methods need to grip.
Which Stripped Screw Removal Methods Should You Try First?
Always begin with the least aggressive method that matches the screw’s condition. You do not need to try every option. Make one or two controlled attempts, then switch techniques if the driver keeps slipping.
Stopping early helps preserve the remaining grip and reduces the chance of damaging the surrounding surface. Work through these methods in order, stopping as soon as the screw begins turning cleanly.
1. Use the Correct Manual Screwdriver
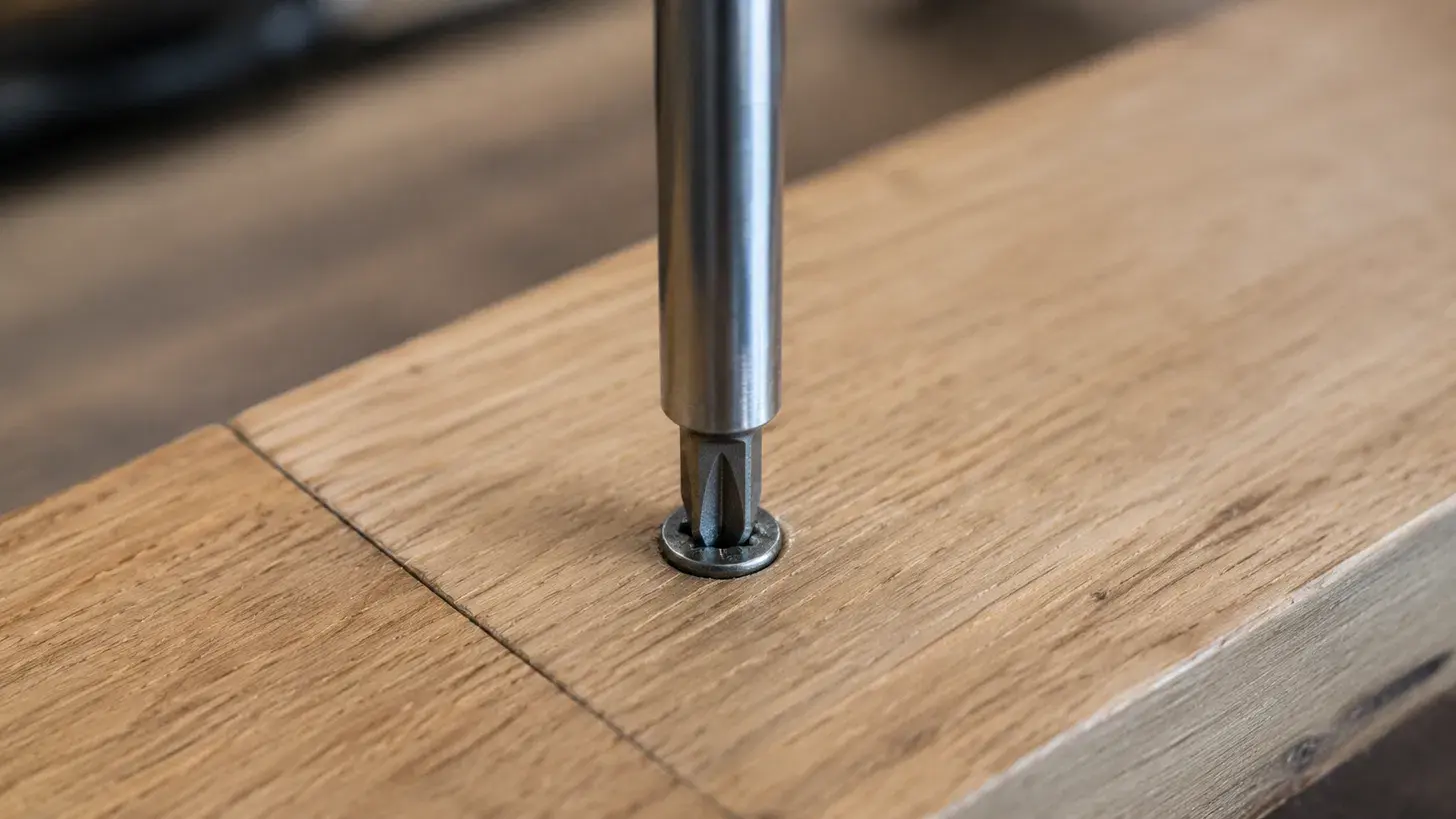
A manual screwdriver is always my first choice because it gives better control and helps you feel when the bit starts slipping.
Start with these simple checks before trying another method.
- Clean dirt, rust, or dried paint from the screw recess.
- Choose the largest correct screwdriver that seats fully.
- Hold the driver perfectly straight.
- Press down firmly.
- Turn the screw counterclockwise by hand.
I follow one workshop rule every time: if the driver jumps twice, I stop and switch methods before damaging the screw head further.
2. Try a Larger, Flathead, or Torx Bit
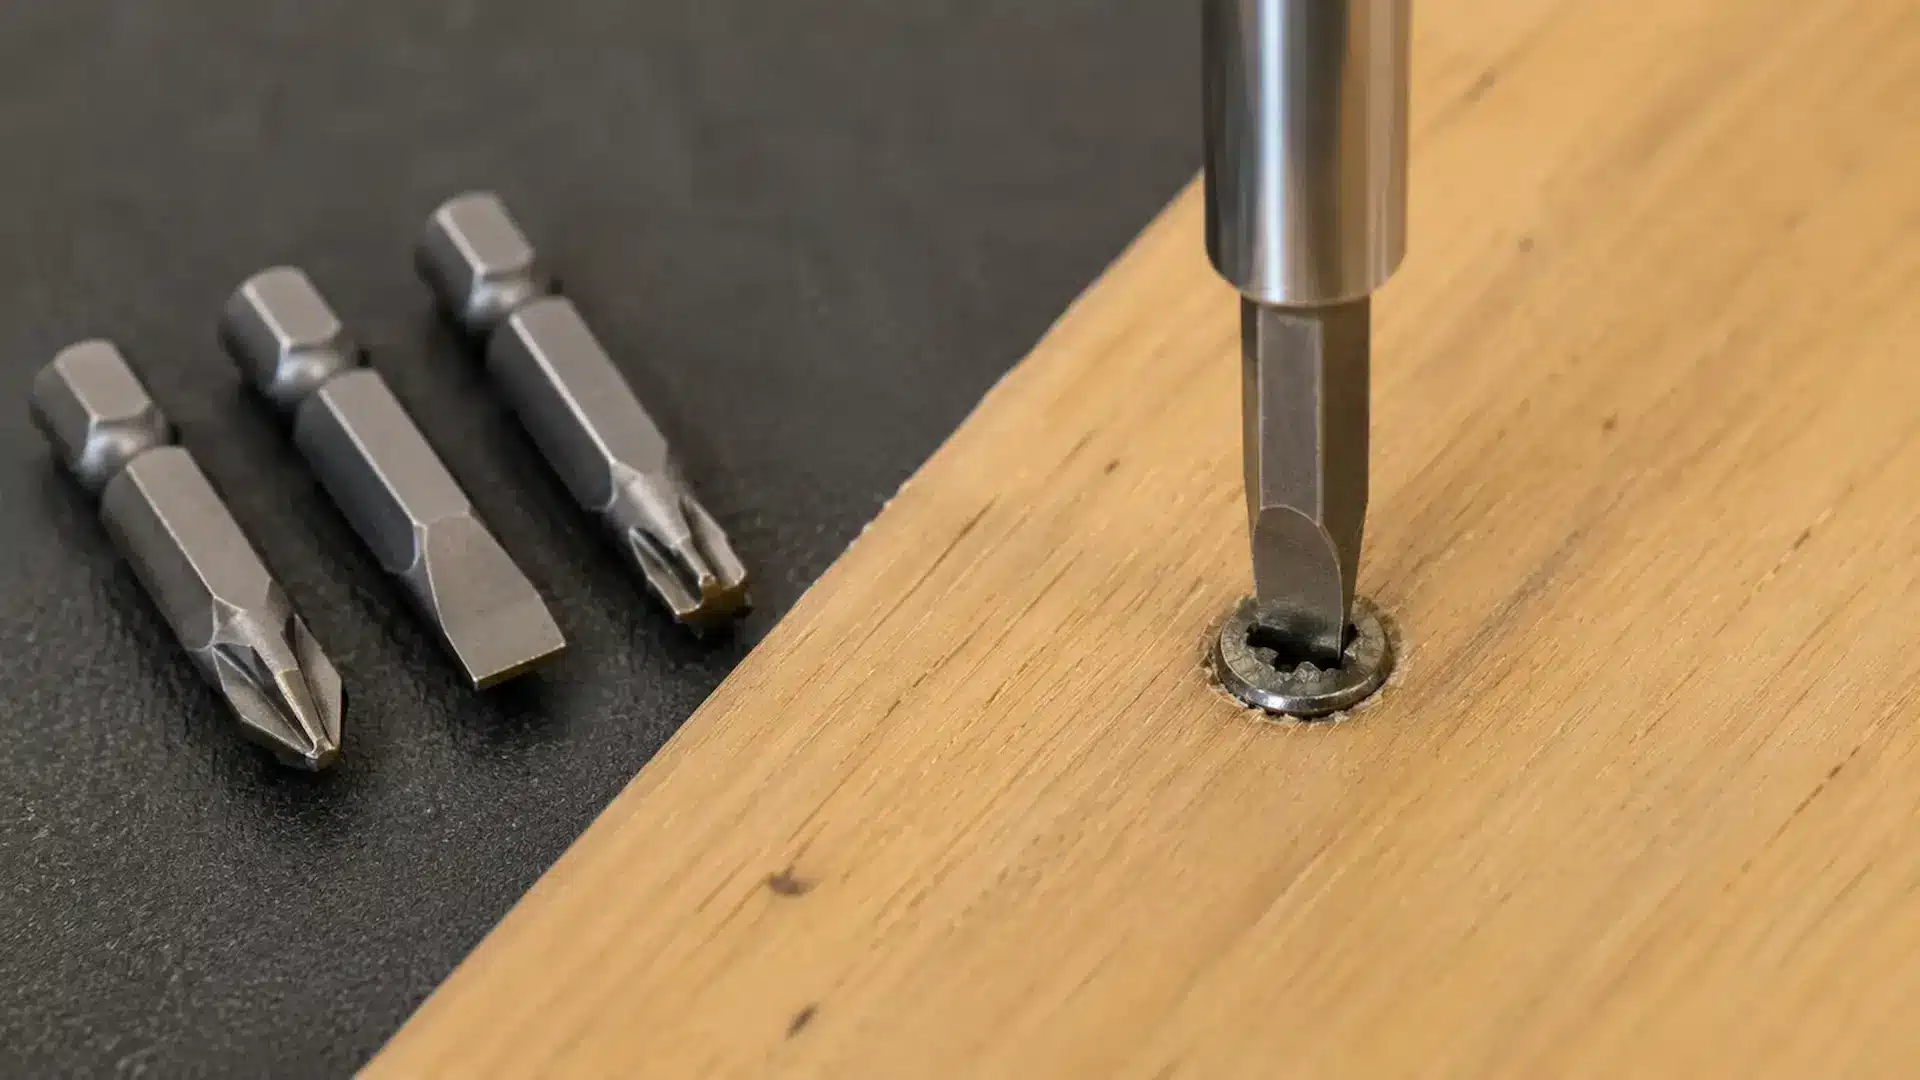
If the original driver no longer grips, another bit profile may catch enough of the remaining edges to loosen the screw. Try another bit before reaching for specialist removal tools.
- Test a slightly larger compatible bit.
- Try a flathead that bridges the damaged recess.
- Seat a snug Torx bit firmly into the screw.
- Apply steady downward pressure.
- Turn slowly in reverse.
A snug Torx bit is one of the most common suggestions in DIY discussions, and it is usually my next choice for a rounded Phillips screw.
However, I skip this approach when the surrounding plastic or metal could crack, bend, or become marked.
3. Add Grip With a Rubber Band
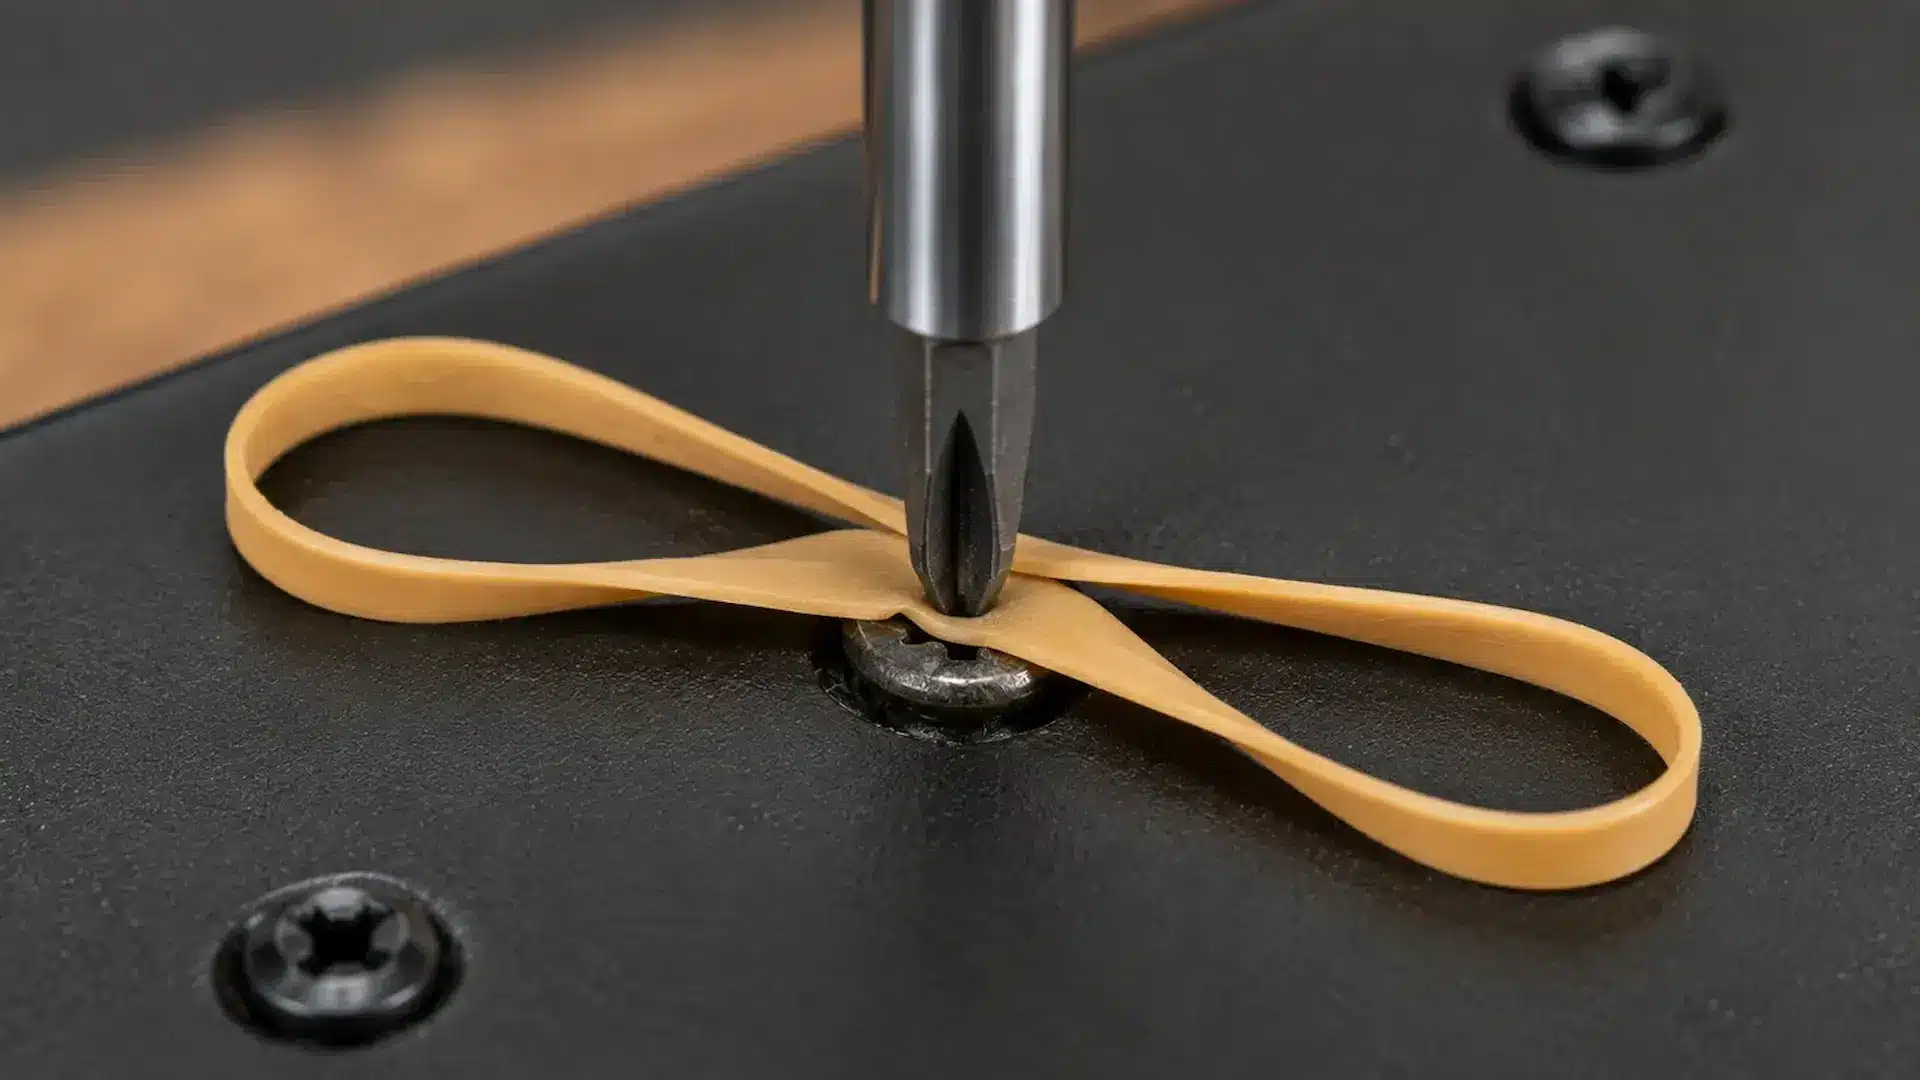
A rubber band can improve grip when the screw is only lightly stripped, and the driver still catches part of the recess.
Use this quick trick before moving to more aggressive methods.
- Lay a wide rubber band flat across the screw head.
- Insert the correct screwdriver through the rubber.
- Press down firmly.
- Turn slowly while maintaining steady pressure.
- Remove the rubber once the screw starts turning.
I treat the rubber band as a quick test rather than a dependable fix.
It can help when the recess is only lightly worn, but DIYers often report poor results once the head is smooth or the threads are seized. Grip paste may provide a stronger alternative.
4. Use Locking Pliers on a Raised Head
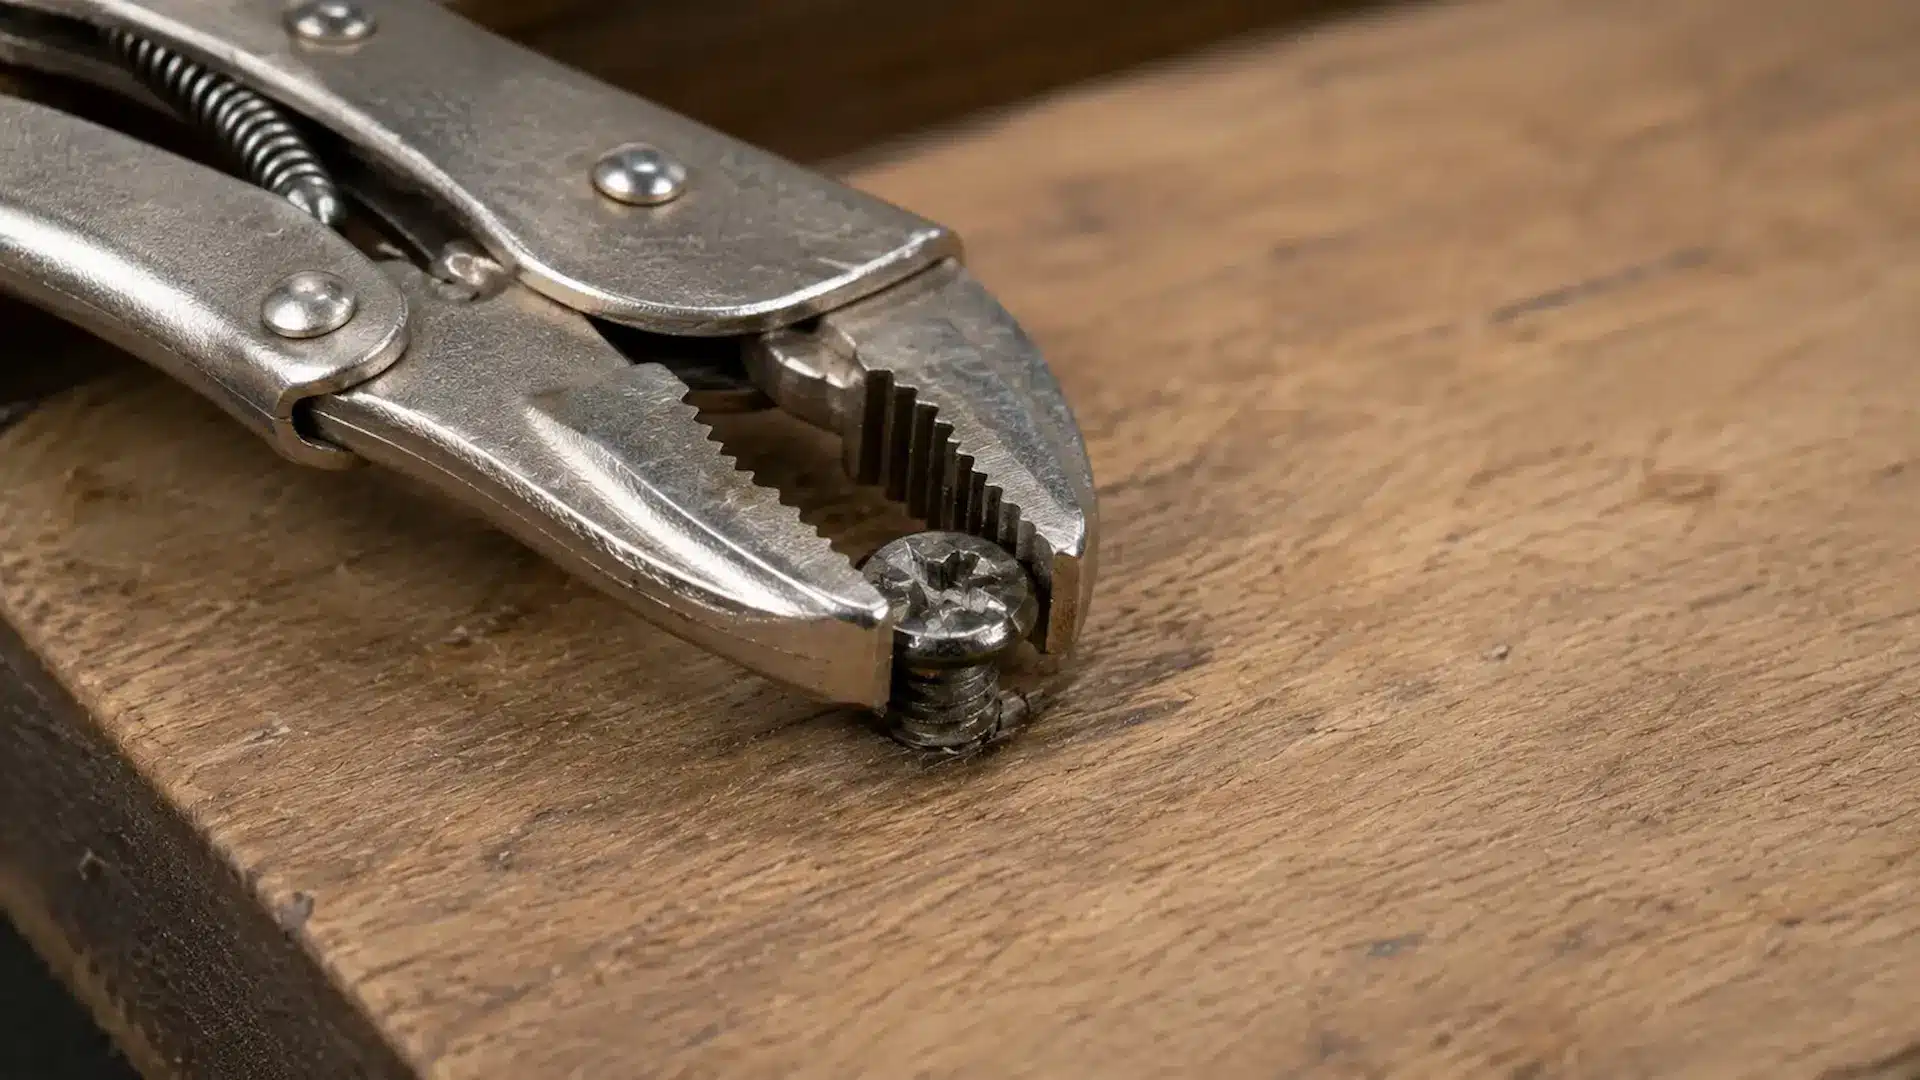
Locking pliers work well when enough of the screw head or shank sits above the surface to grip securely.
Protect the surrounding finish before clamping the screw.
- Cover nearby surfaces with tape or thin cardboard.
- Clamp the locking pliers tightly onto the screw.
- Lock the jaws securely.
- Turn counterclockwise using short movements.
- Reposition the pliers if the grip loosens.
When the head is raised, I usually prefer locking pliers over an extractor because they avoid drilling and give immediate feedback.
Standard pliers often slip under pressure, while locking or screw-extracting pliers provide a much firmer grip on exposed screw heads.
5. Loosen Rust or Paint Around the Screw
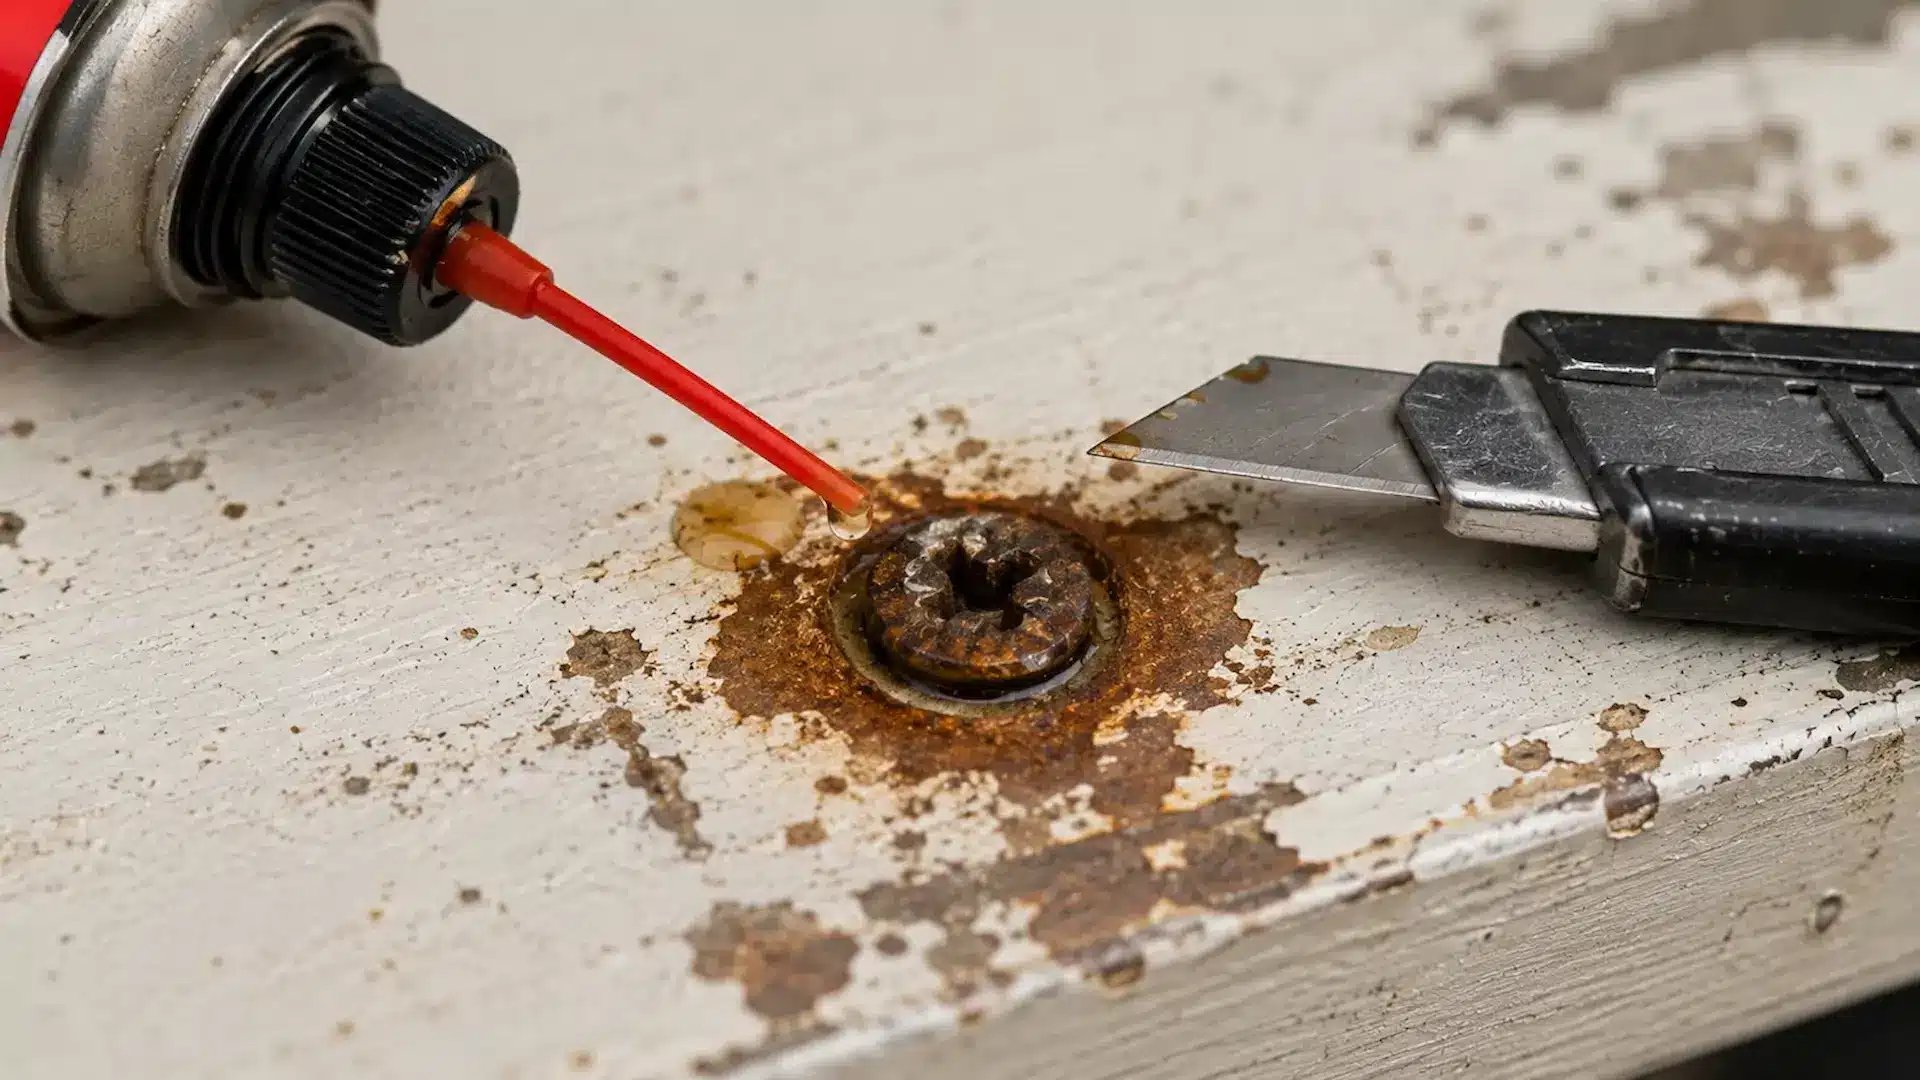
Sometimes rust, dried paint, or thread-locking compound is preventing the screw from turning rather than the stripped head itself.
Free the threads before applying more force.
- Apply penetrating oil around rusted threads.
- Allow the oil several minutes to soak in.
- Score dried paint around the screw with a utility knife.
- Wipe away loose debris.
- Try removing the screw again.
Localized heat can soften some thread-locking products, but never use it around plastic, wiring, batteries, flammable materials, or finished surfaces.
How Do You Remove a Badly Stripped Screw?
If the screw still will not move, the next methods remove part of the screw head or reshape it to create a fresh gripping surface. Save these options until hand tools, added friction, and locking pliers have failed.
Before you begin, protect the surrounding surface, wear safety glasses, and keep cutting wheels or drill bits centered on the screw.
Working slowly gives you more control and reduces the risk of damaging the material around the fastener.
Try these methods carefully, moving to the next option only if the previous one fails.
6. Cut a New Slot in the Screw Head
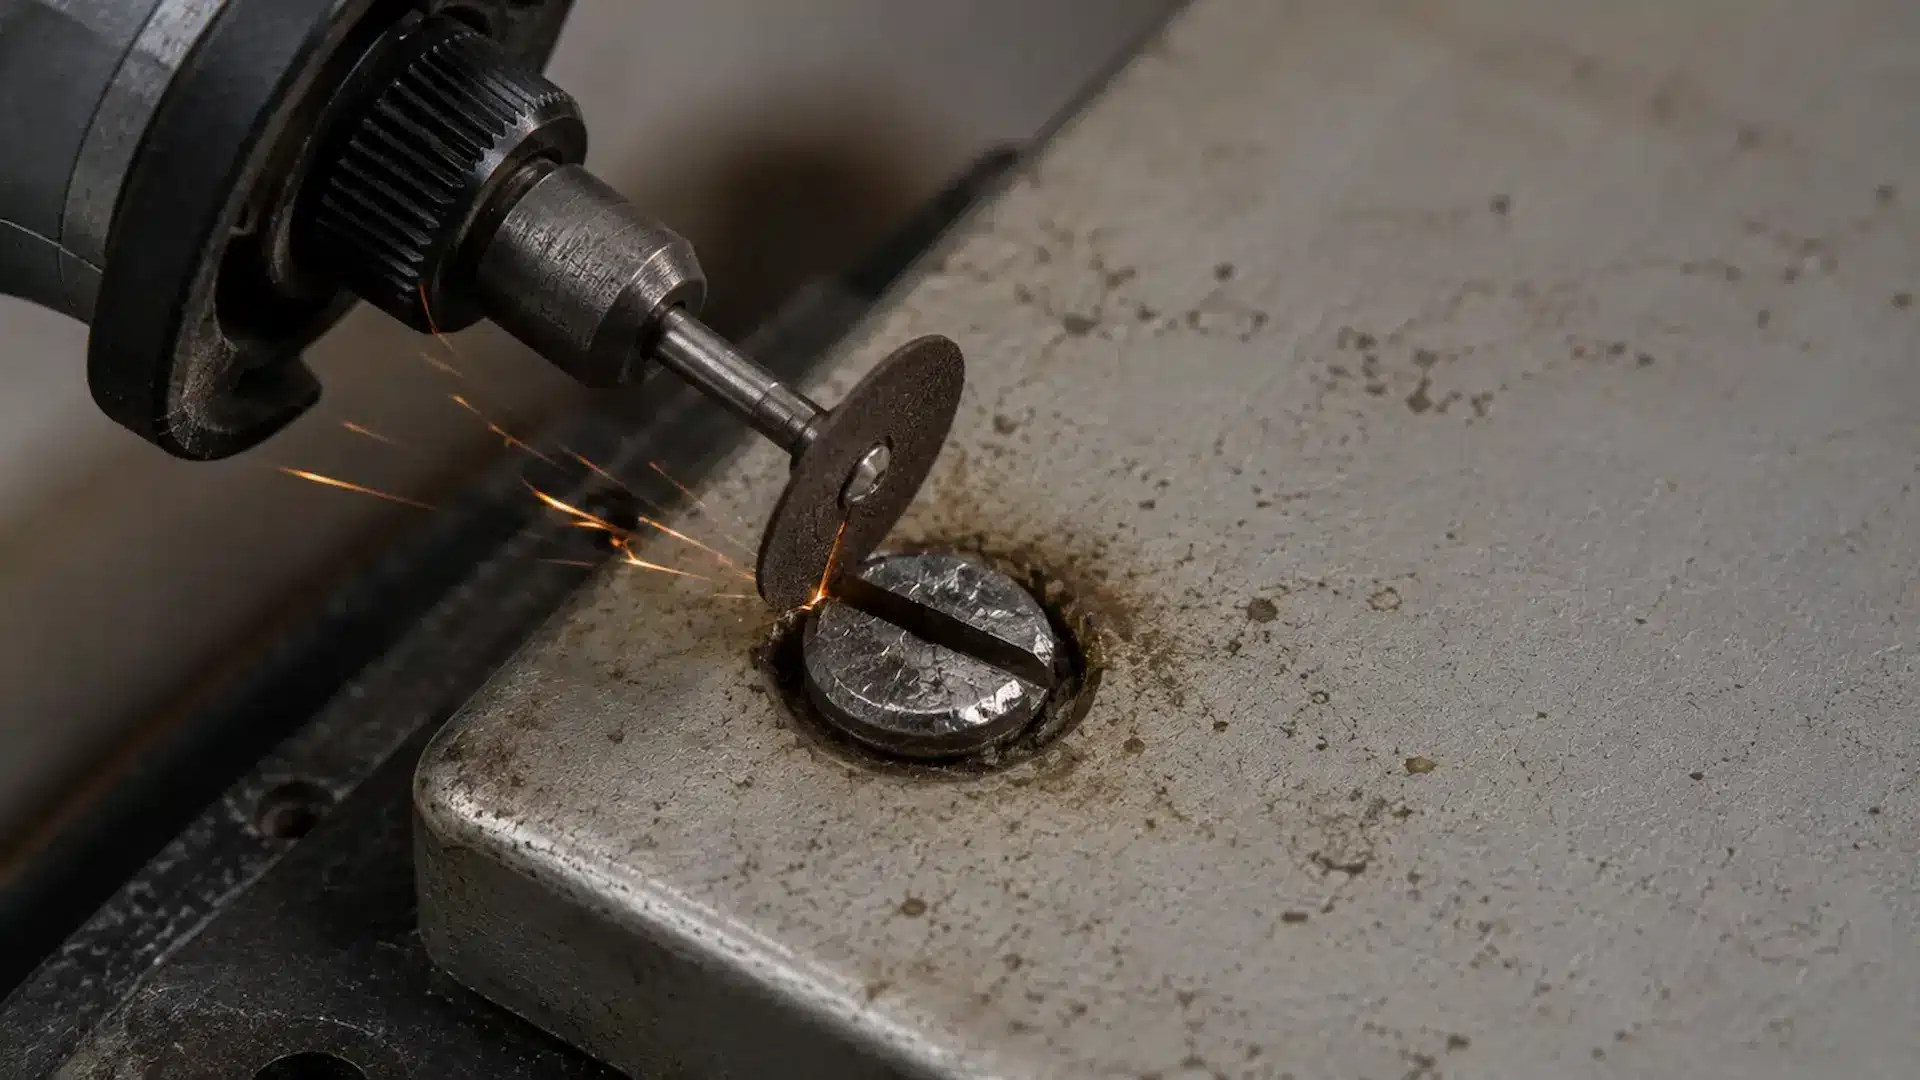
Cutting a fresh slot gives a flathead screwdriver a new place to grip when the original recess is too damaged to hold a bit.
Keep the cut shallow and centered for the best results.
- Cut one straight slot with a thin rotary-tool disc or fine hacksaw blade.
- Keep the cut centered across the screw head.
- Make the slot only deep enough for a flathead screwdriver.
- Remove any loose metal shavings.
- Turn the screw slowly with a flathead screwdriver.
This method works best on exposed screw heads with enough metal remaining. Protect nearby surfaces and keep metal shavings away from electronics and sensitive equipment.
7. Use a Left-Handed Drill Bit or Screw Extractor
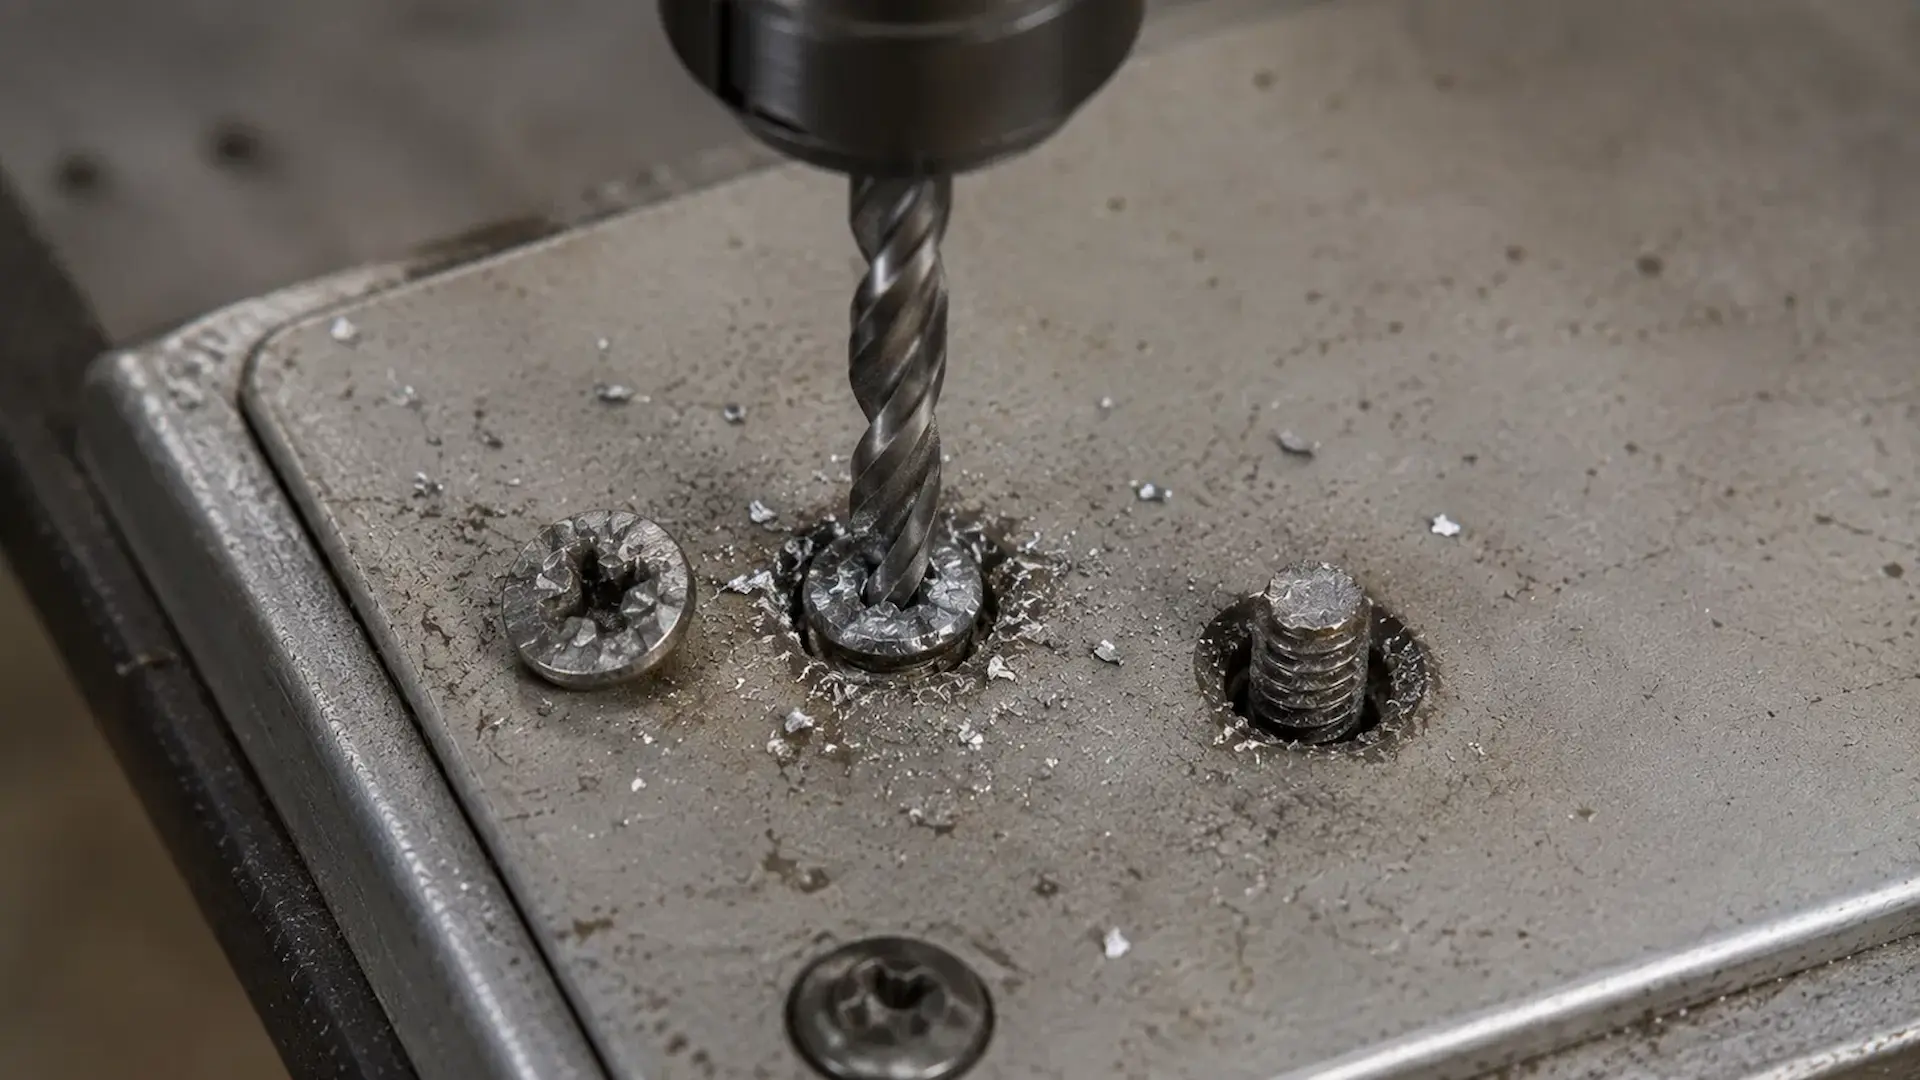
A left-handed drill bit or screw extractor is often the next choice when the screw head is too damaged for standard drivers but still has enough material for drilling.
Take your time and keep the drill straight throughout the process.
- Choose the correct extractor size for the screw.
- Mark the center of the screw with a punch.
- Drill the recommended pilot recess.
- Insert the extractor and turn it counterclockwise at low speed with steady inward pressure.
- Remove the screw once the extractor bites.
I prefer trying a left-handed bit before switching to the extractor because the reverse drilling action may loosen the screw on its own.
DIY commenters often blame extractor failures on shallow pilot holes, excessive speed, or poor alignment rather than the tool itself.
8. Drill the Screw Head Off
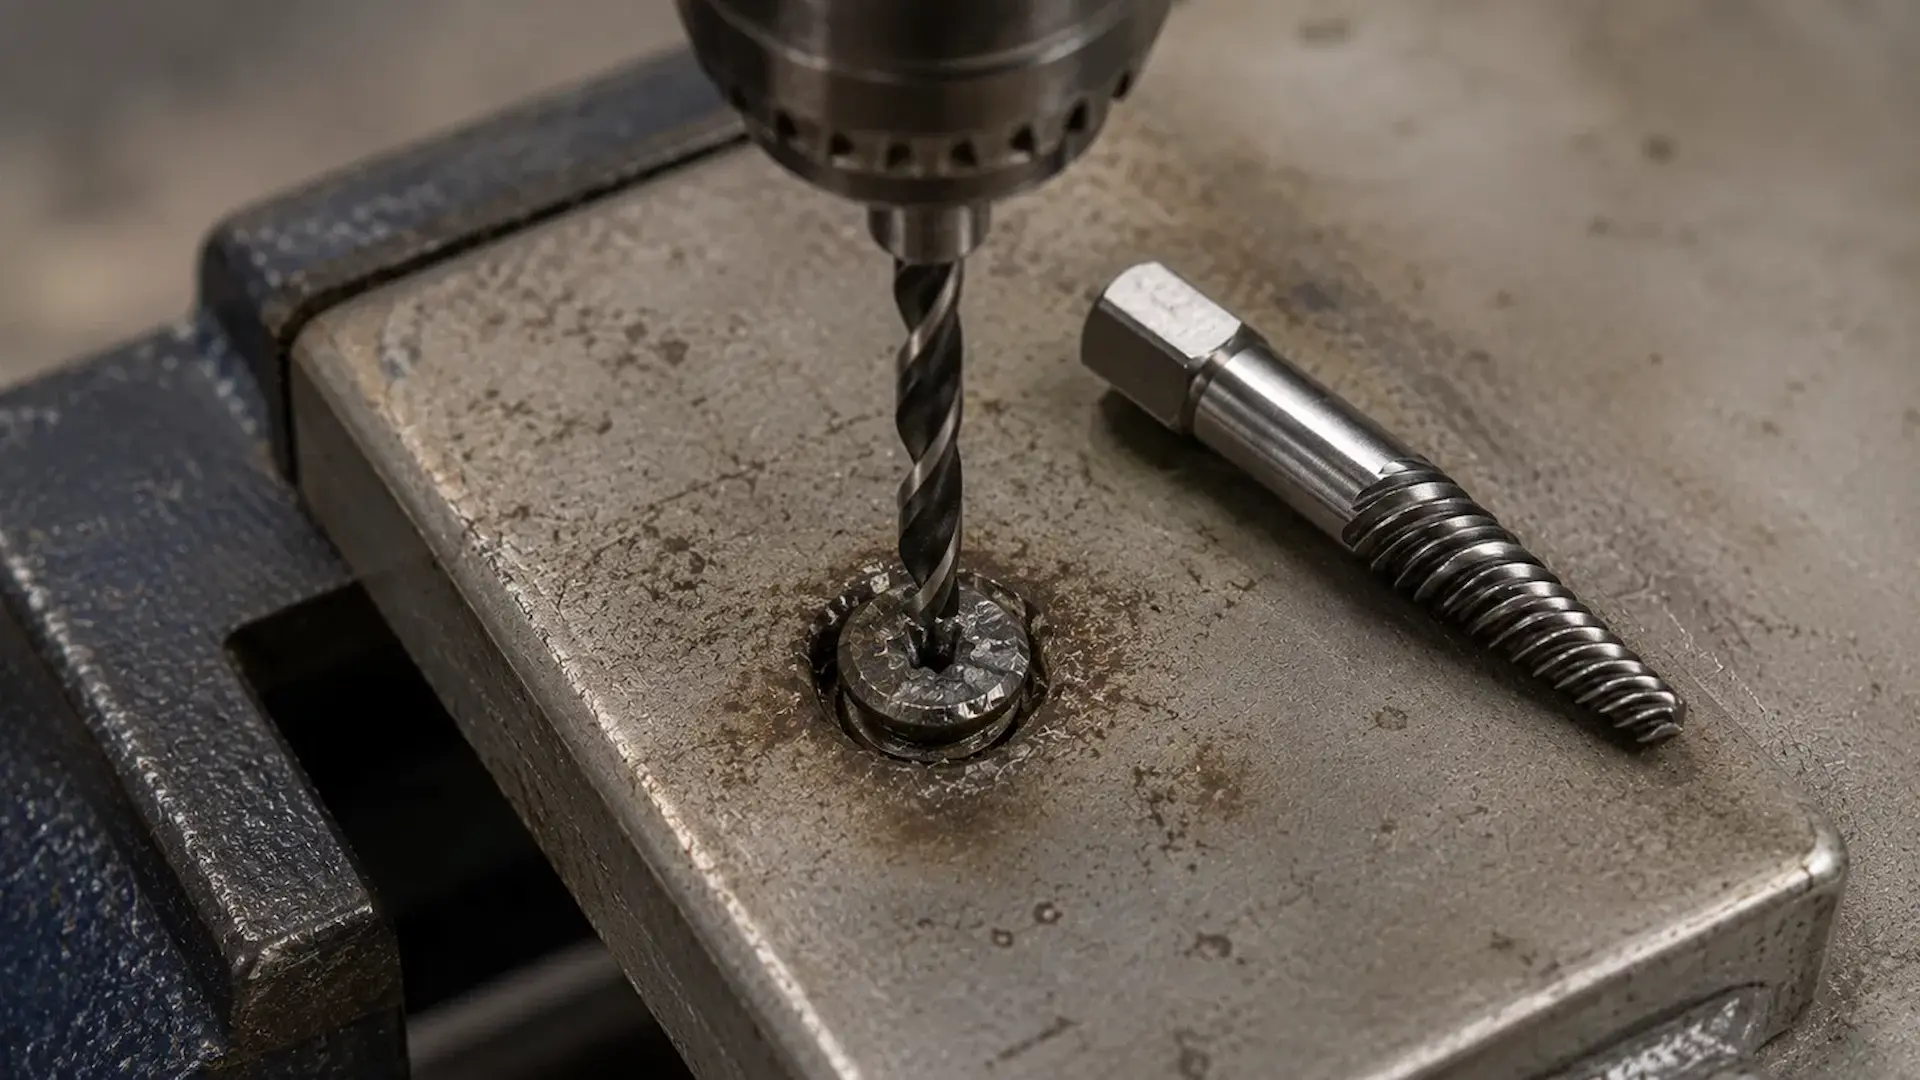
Drilling off the screw head should be your final option when every other removal method has failed.
Work slowly and stop as soon as the head separates from the screw.
- Start with a small drill bit centered on the screw head.
- Drill until the head separates from the shank.
- Remove the attached bracket, hinge, or panel.
- Grip the remaining shank with locking pliers.
- Unscrew the remaining piece slowly.
Stop drilling as soon as the head releases to avoid damaging the surrounding material. Never drill near hidden wiring, plumbing, batteries, or other sensitive components unless you know the area is clear.
Which Method is Safest for Wood, Metal, Plastic, and Electronics?
The safest way to remove a stripped screw depends just as much on the surrounding material as the screw itself. Wood can split, plastic can crack, painted surfaces can chip, and electronics can be damaged by heat or metal shavings.
Before applying more force or reaching for a drill, think about what sits around the screw. Choosing the right starting method often prevents a small repair from becoming a much larger one.
Use this comparison before moving to impact, cutting, heat, or extractor tools.
| Surface | Safer Starting Method | Main Risk |
|---|---|---|
| Wood | Hand screwdriver or locking pliers (if the head is exposed) | Splintering the wood or enlarging the screw hole |
| Metal | Penetrating oil followed by a screw extractor if needed | Scratching the surface or snapping the screw |
| Plastic | Precision screwdriver with a rubber band or grip paste | Cracking, chipping, or melting the plastic |
| Electronics | Exact-size precision screwdriver with gentle pressure | Metal shavings, slipping tools, or internal component damage |
| Painted Surfaces | Score the paint first, then use hand tools | Chipping or peeling the painted finish |
If the stripped screw sits next to a battery, circuit board, display, sealed appliance component, or another delicate part, I recommend stopping before using drills, cutting tools, or heat.
In these situations, professional repair is usually the safer and less expensive option than replacing a damaged device.
Which Stripped Screw Removal Method Should You Try First?
The right starting method depends on the screw’s condition, its position, and the surrounding material.
Use this table to compare the safest first options and choose a technique that provides enough grip without causing unnecessary surface damage.
| Screw Condition | Best Starting Method | Why It Is a Good First Choice |
|---|---|---|
| Driver still catches slightly | Correct manual screwdriver | Provides the most control and preserves the remaining grip |
| Rounded Phillips screw | Snug Torx bit | Often catches the damaged recess without drilling |
| Raised screw head | Locking pliers | Grips the outside of the head instead of the stripped recess |
| Rusted outdoor screw | Penetrating oil | Helps release seized threads before more force is applied |
| Flush badly rounded screw | Left-handed drill bit | May loosen the screw while creating a pilot hole |
| Tiny electronics screw | Exact-size precision screwdriver | Reduces the risk of damaging delicate internal parts |
I almost never begin with an extractor unless the recess is already too damaged for a hand tool to grip. A manual driver, Torx bit, or locking pliers usually provides a safer starting point.
What Common Mistakes Make a Stripped Screw Worse?
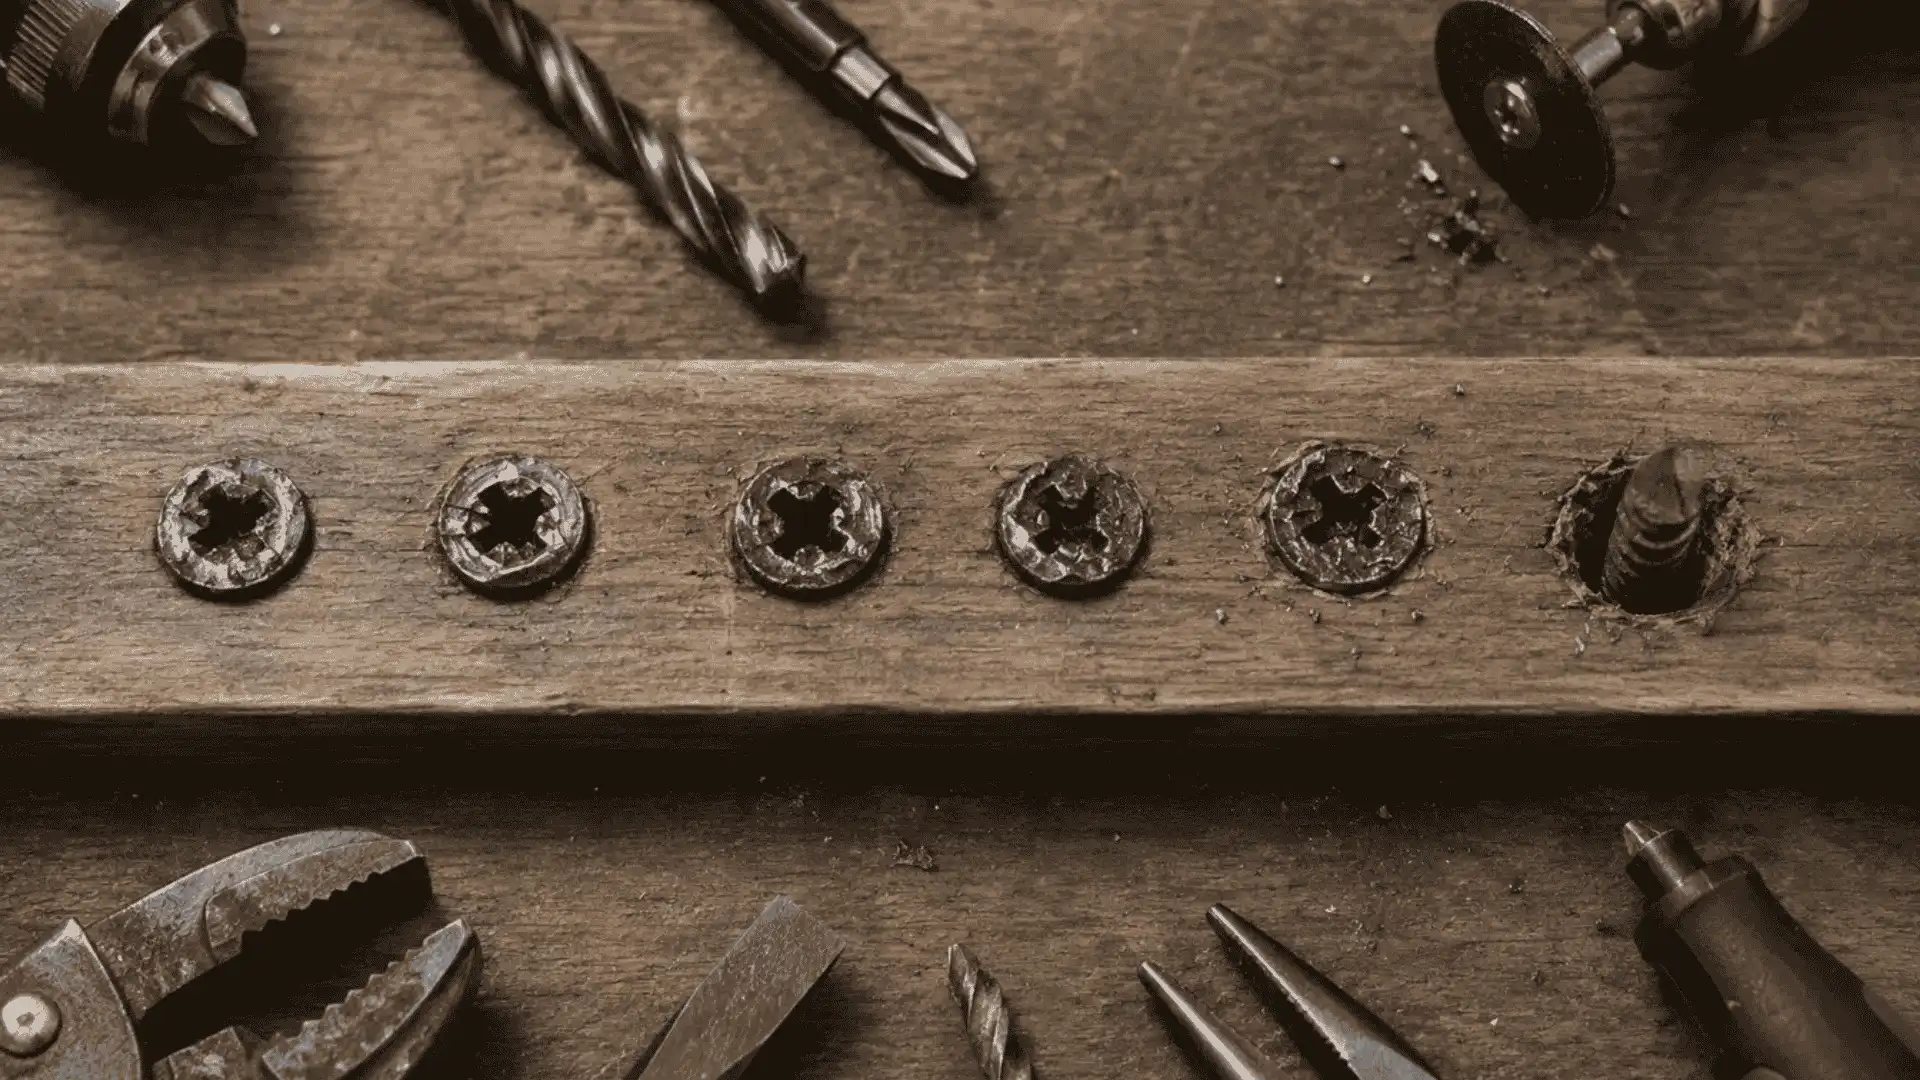
Most stripped screws become much harder to remove because of small mistakes made in the first few minutes.
I see these problems repeatedly during repairs, and avoiding them can save both the screw and the surrounding surface from unnecessary damage.
- Continuing with a slipping bit: Stop after one or two failed attempts. Repeated slipping quickly rounds off the remaining edges.
- Using high drill speed: Slow, controlled drilling gives better accuracy and helps extractors grip more effectively.
- Holding the driver at an angle: Keep the driver straight to maintain full contact with the screw head and reduce slipping.
- Applying heavy impact to delicate materials: Avoid excessive force on plastic, electronics, thin metal, or fragile fixtures, as they can crack or bend.
- Cutting without protecting the surface: Cover nearby finishes before using a rotary tool or hacksaw to prevent accidental scratches.
- Drilling an off-center pilot hole: A centered pilot hole helps the extractor bite properly and reduces the chance of damaging the threads.
- Reusing the damaged screw: Replace stripped screws with new ones instead of reinstalling hardware that has already lost its grip.
How Can You Prevent Screws from Stripping Again?
Most stripped screws can be avoided by using the right bit, applying steady pressure, and stopping before the screw is overtightened.
Small adjustments to your technique often make a bigger difference than using more force or a more powerful drill.
Use this checklist before driving any screw to reduce slipping, protect the screw head, and make future removal much easier.
| Prevention Tip | Why It Helps |
|---|---|
| Match the drive type and bit size | A properly fitting bit grips the screw head fully and reduces slipping. |
| Replace worn or rounded bits | Sharp, undamaged bits maintain better contact with the screw recess. |
| Keep the driver straight | A straight angle prevents the bit from camming out under pressure. |
| Apply steady downward pressure | Firm pressure keeps the bit engaged while the screw turns. |
| Drill pilot holes where needed | Pilot holes reduce driving resistance, especially in hardwood and dense materials. |
| Reduce drill speed | Slower speeds provide better control and lower the chance of stripping the head. |
| Set the clutch correctly | The clutch stops the drill before excessive torque damages the screw. |
| Stop once the screw is seated | Overtightening is one of the most common causes of stripped screws. |
| Turn soft brass or aluminum screws by hand | Softer metals strip easily under power tools, especially during final tightening. |
| Replace damaged screws | A worn screw is more likely to strip again, even with the correct driver. |
What do DIYers Say Works Best?
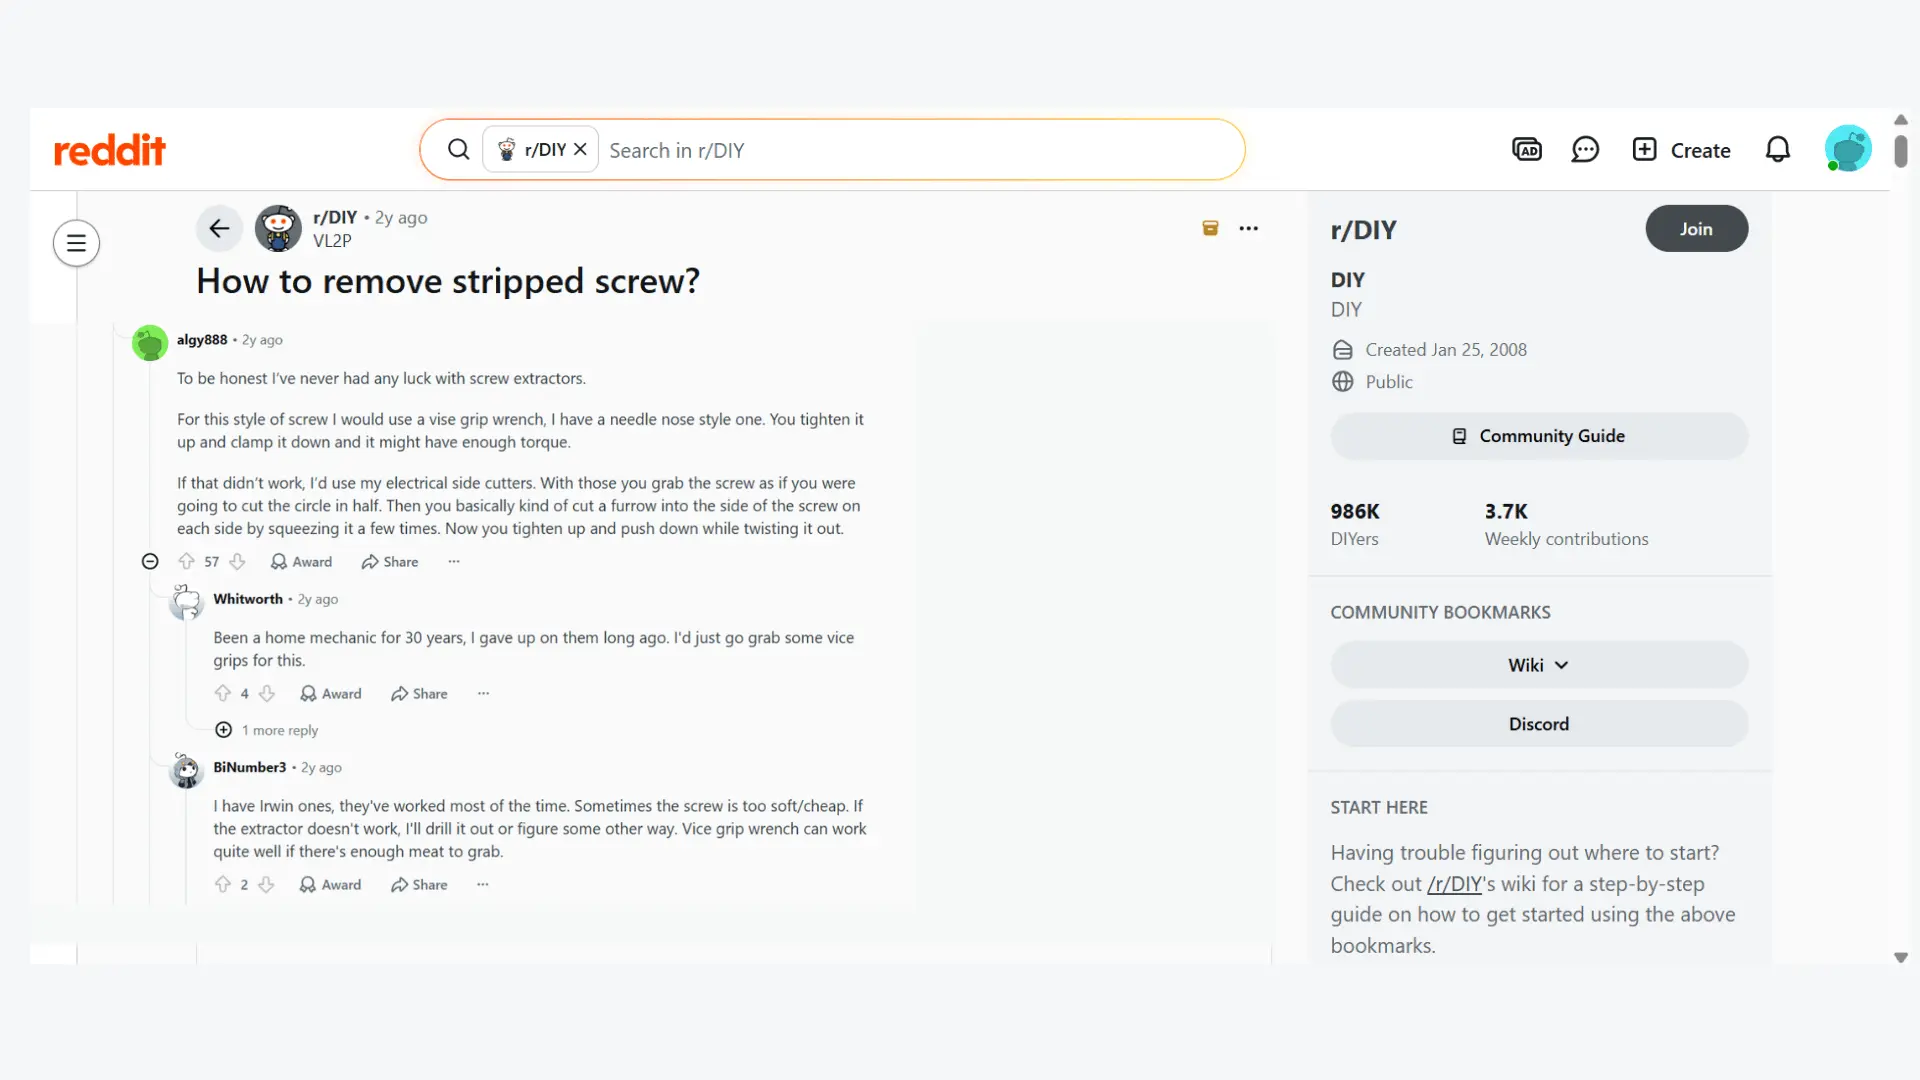
Reddit discussions show that DIYers agree more on the order of attack than on one perfect removal trick.
Most recommend saving drilling for the final attempt and beginning with a method that preserves the remaining metal.
Torx bits and locking pliers receive the most consistent support, while opinions on the rubber band trick are divided.
Some users find it helpful on lightly worn recesses, but others report that it slips or tears without moving the screw.
Extractors receive mixed reviews too, with results often depending on pilot-hole depth, alignment, speed, and sizing.
The clearest point of agreement is to stop when the driver repeatedly slips rather than remove the little grip that remains.
Final Thoughts
Removing a stripped screw does not have to end with drilling or replacing damaged parts.
In many cases, taking a moment to assess the screw, choosing the right tool, and knowing when to change your approach can save both the fastener and the surrounding material.
I have found that patience usually delivers better results than applying more force. If one method does not work, there is almost always another worth trying before making the problem worse.
The next time you run into a stripped screw, keep this guide nearby and work through the methods one step at a time.
If you have a go-to technique that has worked well for you, share it in the comments so other DIYers can learn from your experience too.
Frequently Asked Questions
Can a Stripped Screw Be Reused?
A stripped screw should usually be replaced. Even if you remove it successfully, the damaged recess makes future tightening and removal much less reliable.
Why does My Screw Keep Spinning Without Coming Out?
The threads may no longer grip the material. This often happens in worn wood, plastic, or metal, where the screw turns freely without backing out.
Should I Replace the Driver Bit After Stripping a Screw?
Yes. A worn or rounded driver bit slips more easily and can damage additional screws. Replacing inexpensive bits often prevents repeat problems during future repairs.

James McLaren, with a rich background in architecture from the University of Manchester, has been contributing his expertise to the world of creative construction and home innovation for over 20 years. His journey began as a project manager for a leading construction firm, where he honed his skills in bringing complex designs to life. James joined our platform as a freelancer in 2019, quickly becoming a favorite for his insightful and practical advice. He has been a pivotal force to our wing ever since, bringing our readers a blend of technical know-how and creative flair. Beyond his professional life, James is an avid woodworker and enjoys restoring vintage furniture, a hobby that complements his professional insights beautifully.