Have you ever found yourself with a beautiful gift but no bag to put it in? Or maybe you’re tired of spending money on gift bags that get used once and thrown away?
Learning how to fold wrapping paper into a bag is a useful skill that will save you both money and last-minute shopping trips.
With just a few simple folds and some basic supplies you already have at home, you can convert ordinary wrapping paper into custom gift bags perfectly sized for your presents.
This practical technique solves your gift packaging problems while adding a personal touch that store-bought bags simply can’t match.
Ready to impress your friends and family with your crafty skills? Follow along with this simple guide!
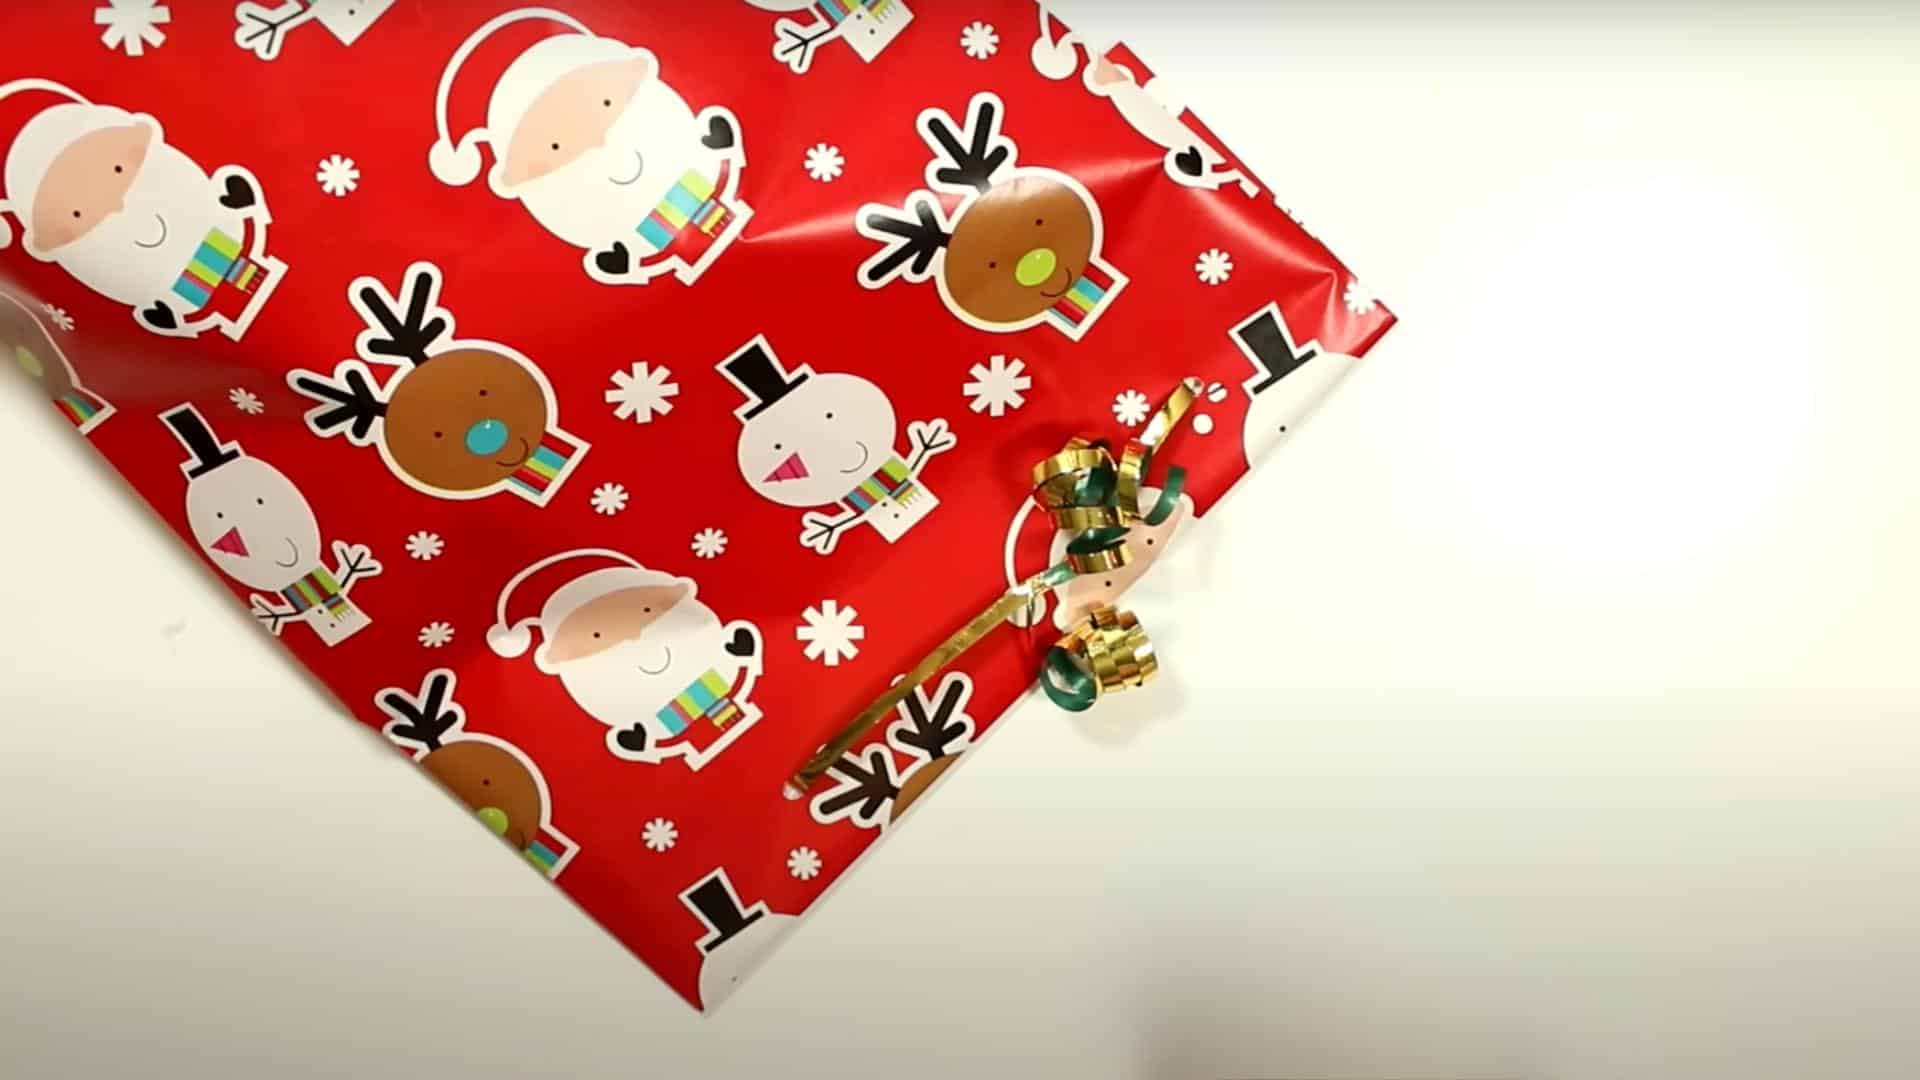
Choosing the Right Wrapping Paper
Not all wrapping paper works well for making gift bags. Look for paper with some thickness and sturdiness. Those super-thin, bargain papers tear easily during folding.
They won’t hold their shape well. Medium-weight papers work best. They provide structure without being too stiff to fold properly. Pay attention to pattern orientation before cutting your paper.
If the design has a clear top and bottom, plan your cuts carefully. This ensures the pattern appears correctly on your finished bag, especially for directional patterns like Christmas trees or animals.
Size matters, too. For small items like jewelry or gift cards, an 8×10 inch paper works well. Medium gifts like books need about 12×20 inches. Larger items require paper around 20×30 inches. With the right paper selected, you’ll be ready to create a beautiful, personalized gift bag.
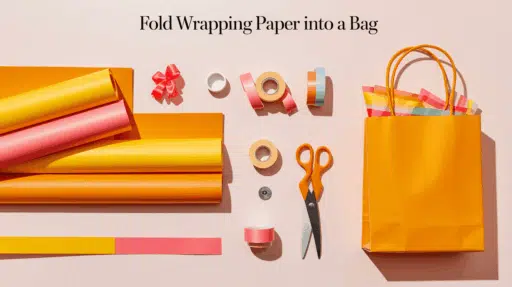
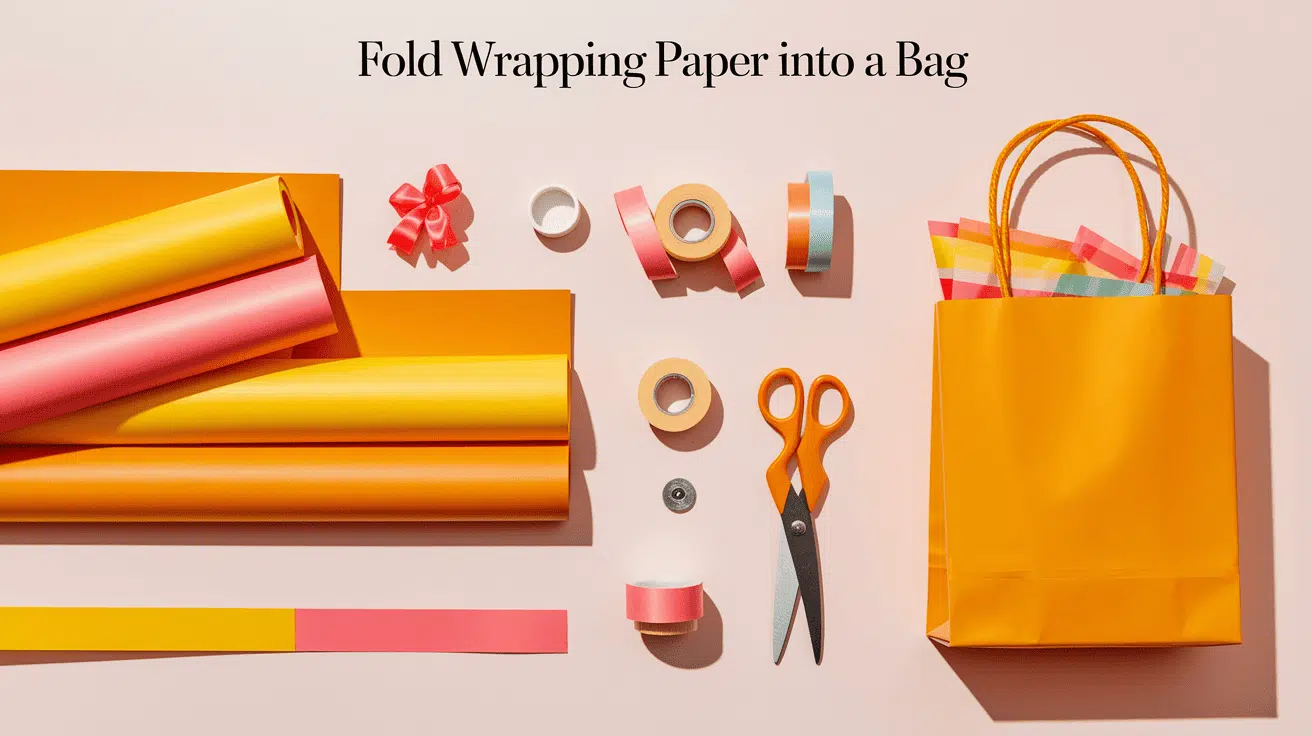
Materials You’ll Need
Creating your own wrapping paper gift bag requires just a few basic supplies. You’ll need good-quality wrapping paper that won’t tear easily during folding.
Some simple tools like scissors and adhesive will help you construct a sturdy bag. Optional items can enhance your finished product but aren’t necessary for a basic bag.
- Wrapping paper (medium to thick is best)
- Scissors
- Double-sided tape or glue
- A flat surface
- Hole punch and ribbon or string for handles
- Cardboard insert for the base
Most of these materials are likely already in your home, making this a convenient and cost-effective project. With these simple supplies, you can change ordinary wrapping paper into a custom gift bag.
This eliminates the need to buy pre-made gift bags and adds a personal touch to your gift presentation.
Total Estimated Cost Range
- Basic Supplies Only:$7 – $19
- With Optional Extras:$12 – $28
Step-By-Step Guide to Fold Wrapping Paper Into a Bag
Turning wrapping paper into a gift bag is easier than you might think. The process involves just a few simple folds and some strategic taping.
Follow these steps carefully to create a customized bag that’s perfect for your gift. With a bit of practice, you’ll be making professional-looking gift bags in minutes.
Step 1: Measure and Cut the Paper
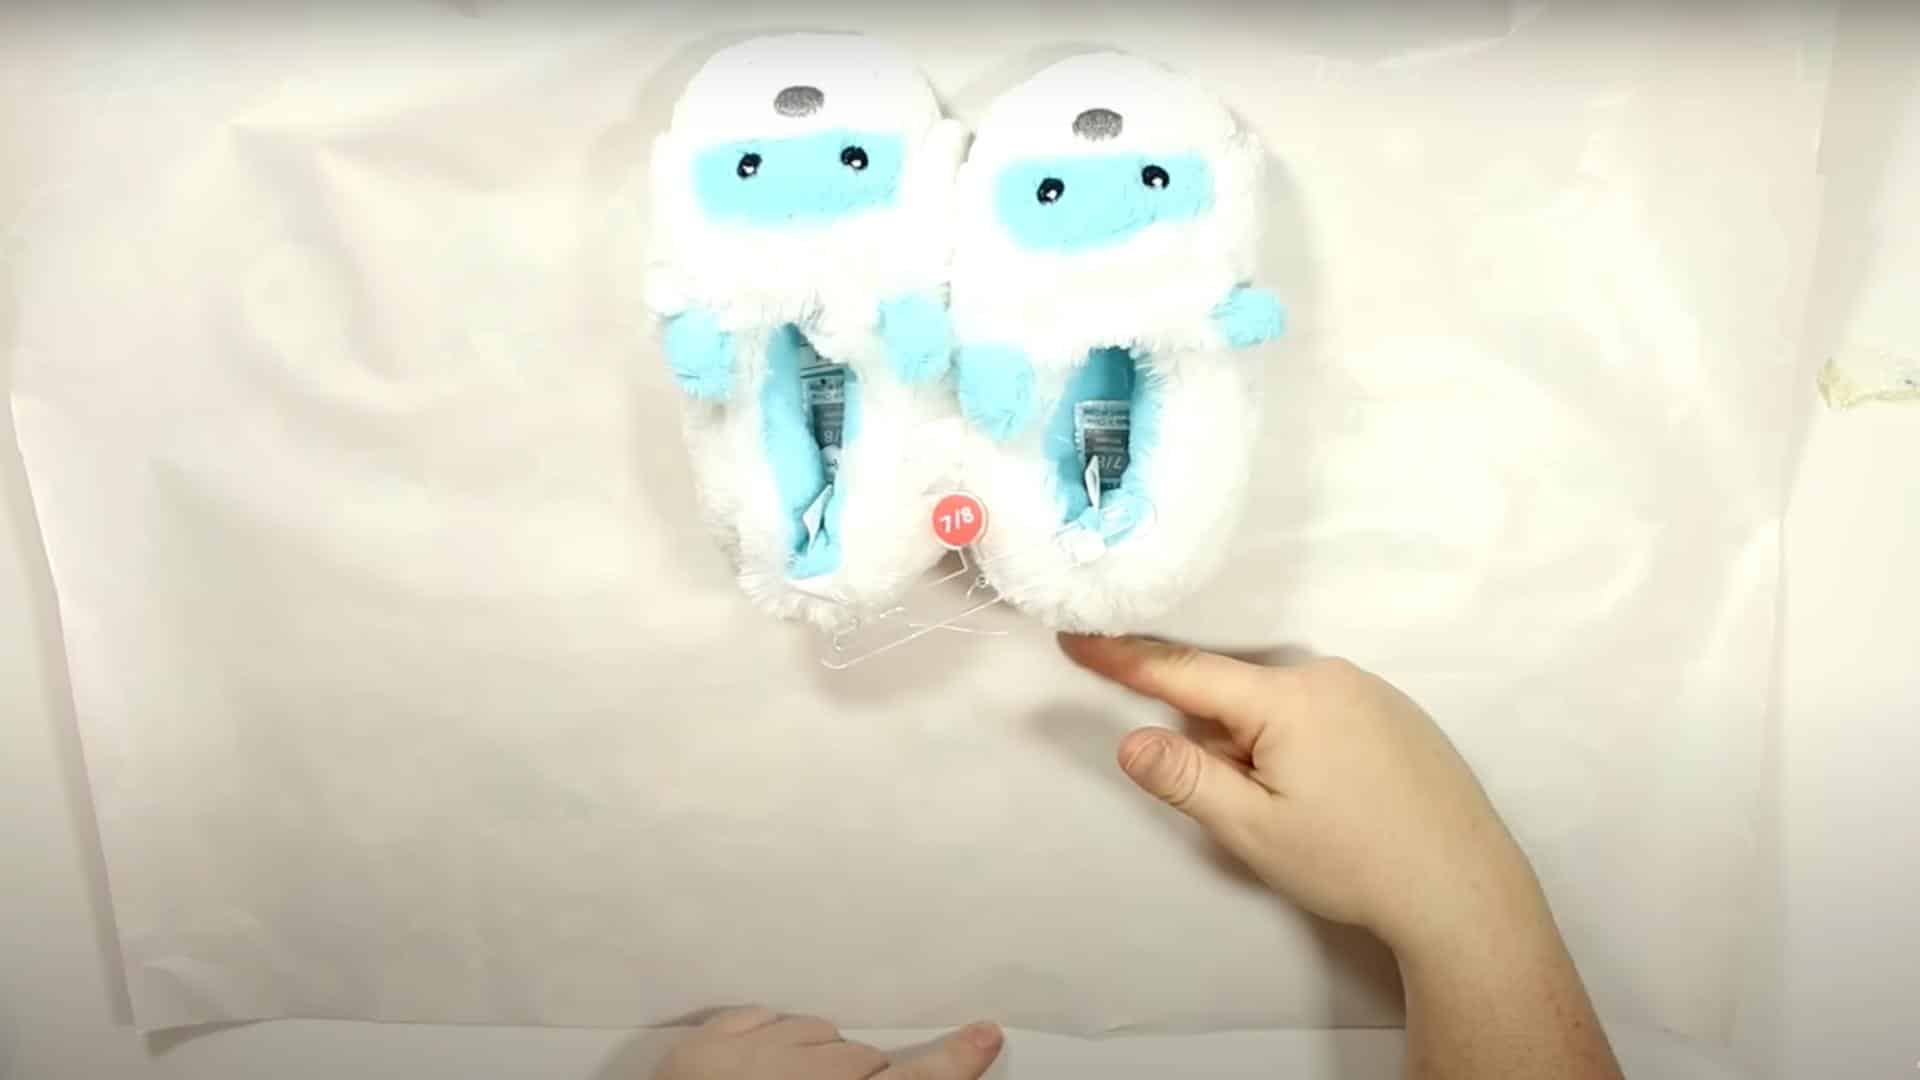
Start by placing your gift on the wrapping paper to measure how much paper you’ll need. For a standard gift bag, the paper should be about three times wider than your item and twice as tall, plus a few extra inches for folding the bottom.
Cut your paper into a rectangle shape, making clean, straight cuts with your scissors.
Remember that it’s better to cut too large than too small – you can always trim excess paper later. If your wrapping paper has a pattern, consider which direction you want it to appear on your finished bag before cutting.
Step 2: Create the Bag Shape
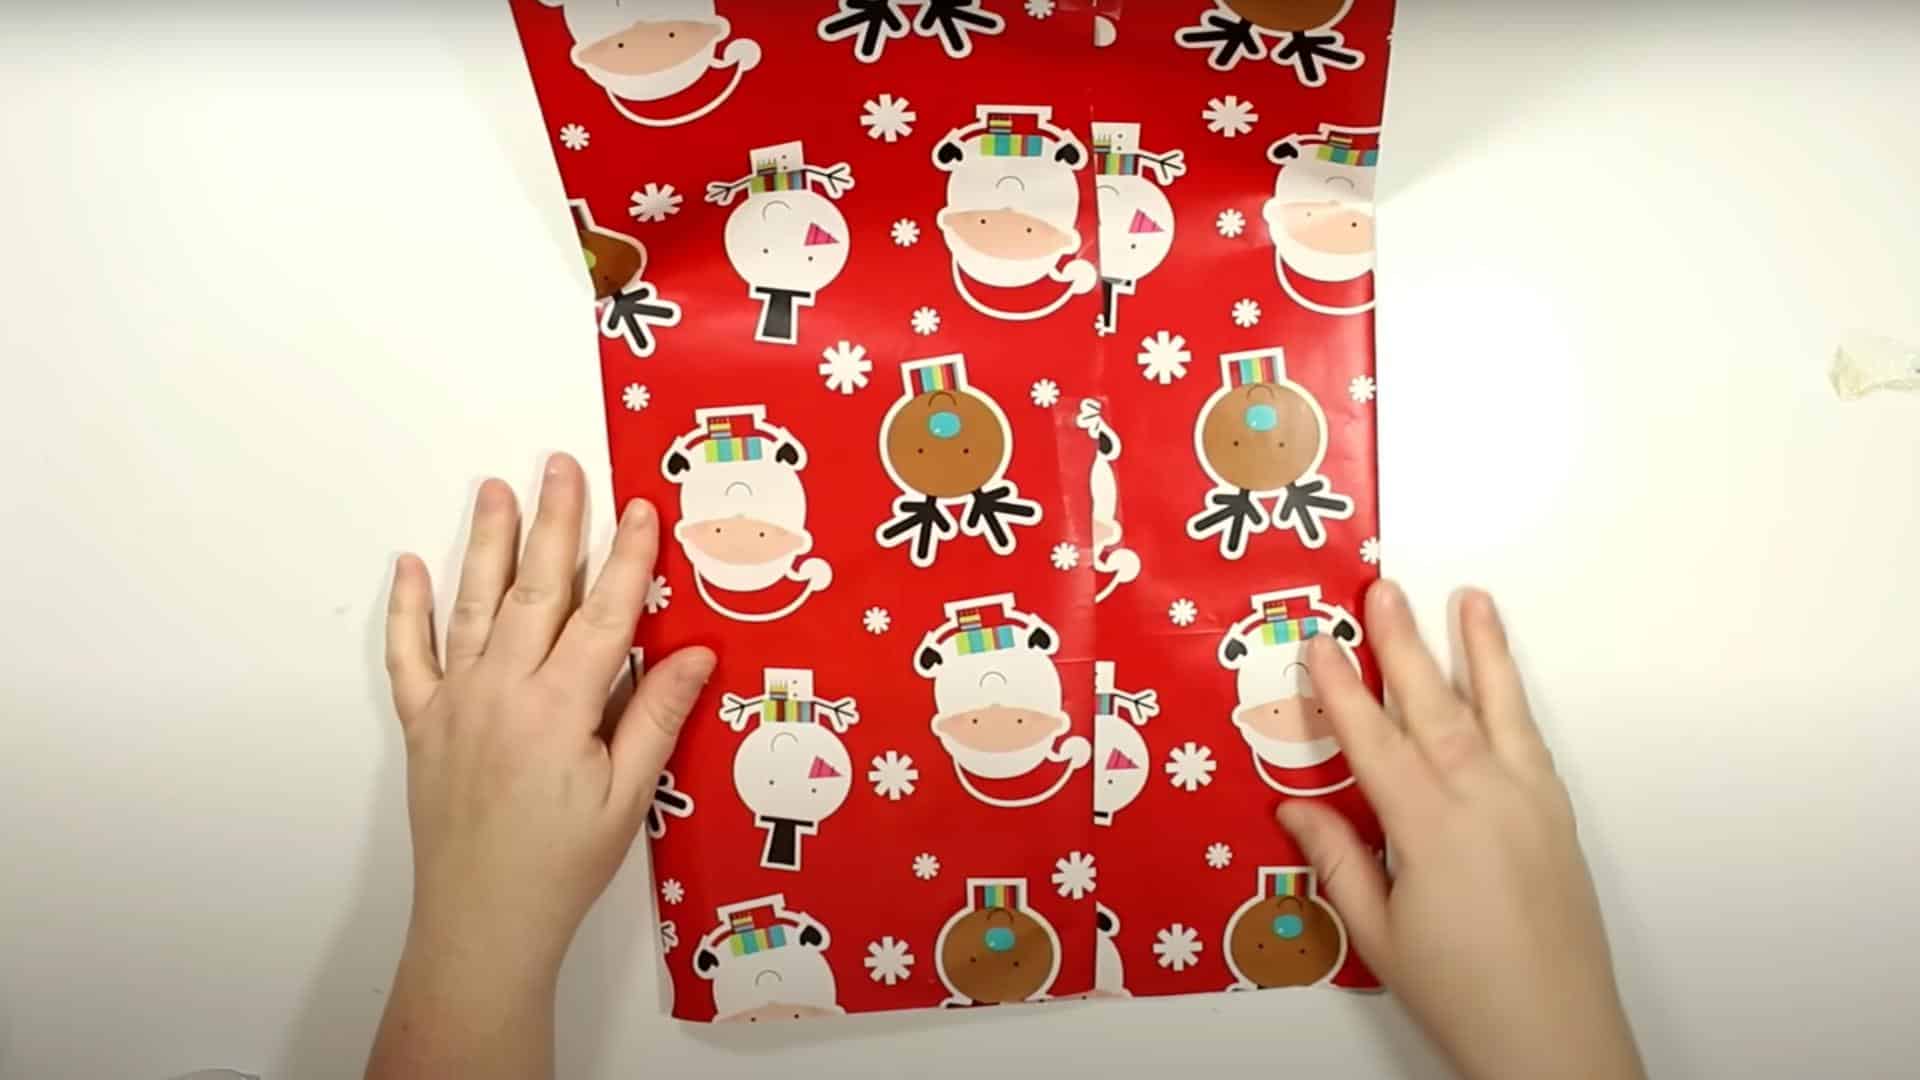
With your paper lying flat, position it so the shorter edges are at the top and bottom.
Fold one-third of the paper from the left toward the center, then fold one-third from the right to overlap slightly with the first fold.
Secure these overlapping edges with double-sided tape or a thin line of glue to create a tube shape.
Press firmly along the seam to ensure it’s well secured. This tube will form the main body of your gift bag, so make sure the pattern is facing outward and the seam is straight.
Step 3: Make the Bottom of the Bag
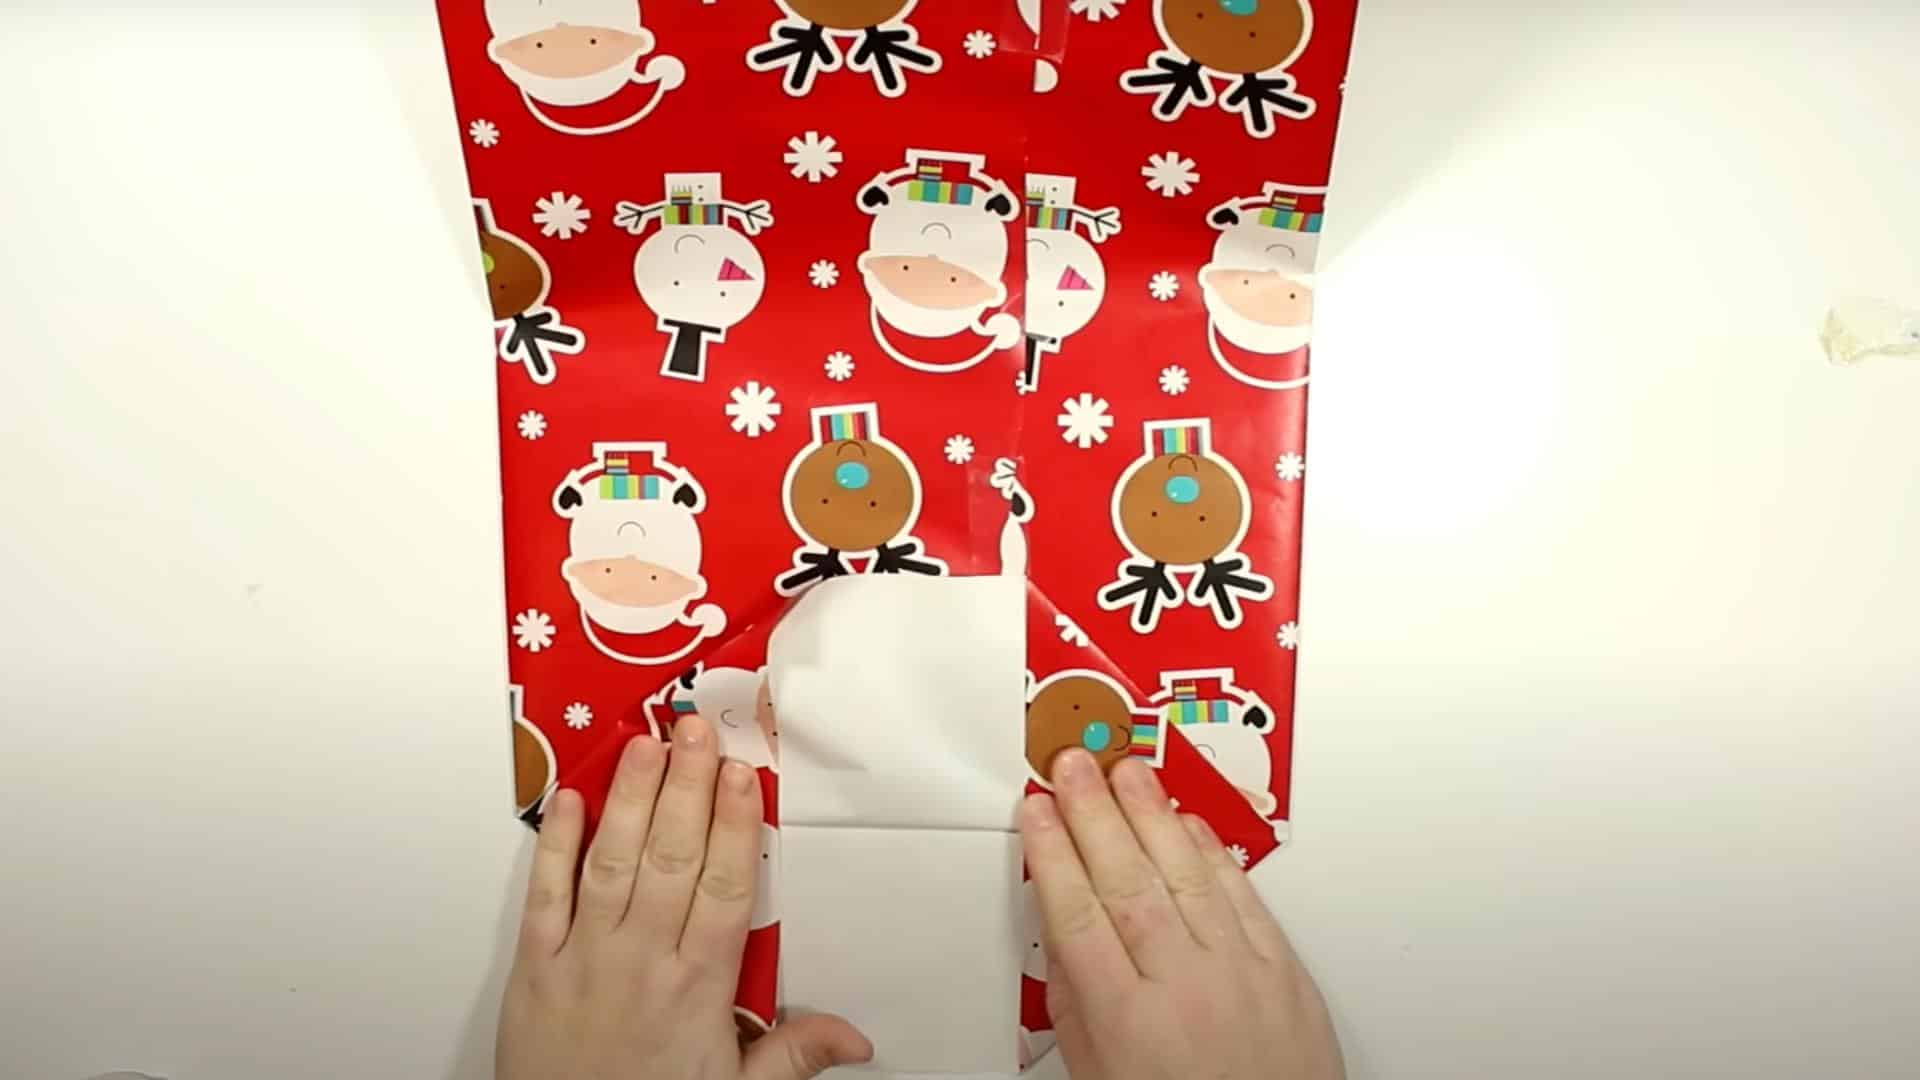
Place your tube on a flat surface with the bottom edge facing up. Fold this bottom edge upward about 2-3 inches and crease firmly.
Pinch the sides of this folded portion inward so it collapses into a diamond shape. Four triangular flaps will form—two on the sides and two on the top and bottom.
Fold the top and bottom triangles toward the center of the diamond, overlapping them slightly. Secure it with tape or glue. This origami-like fold creates a flat bottom that allows your bag to stand upright.
Step 4: Shape the Bag
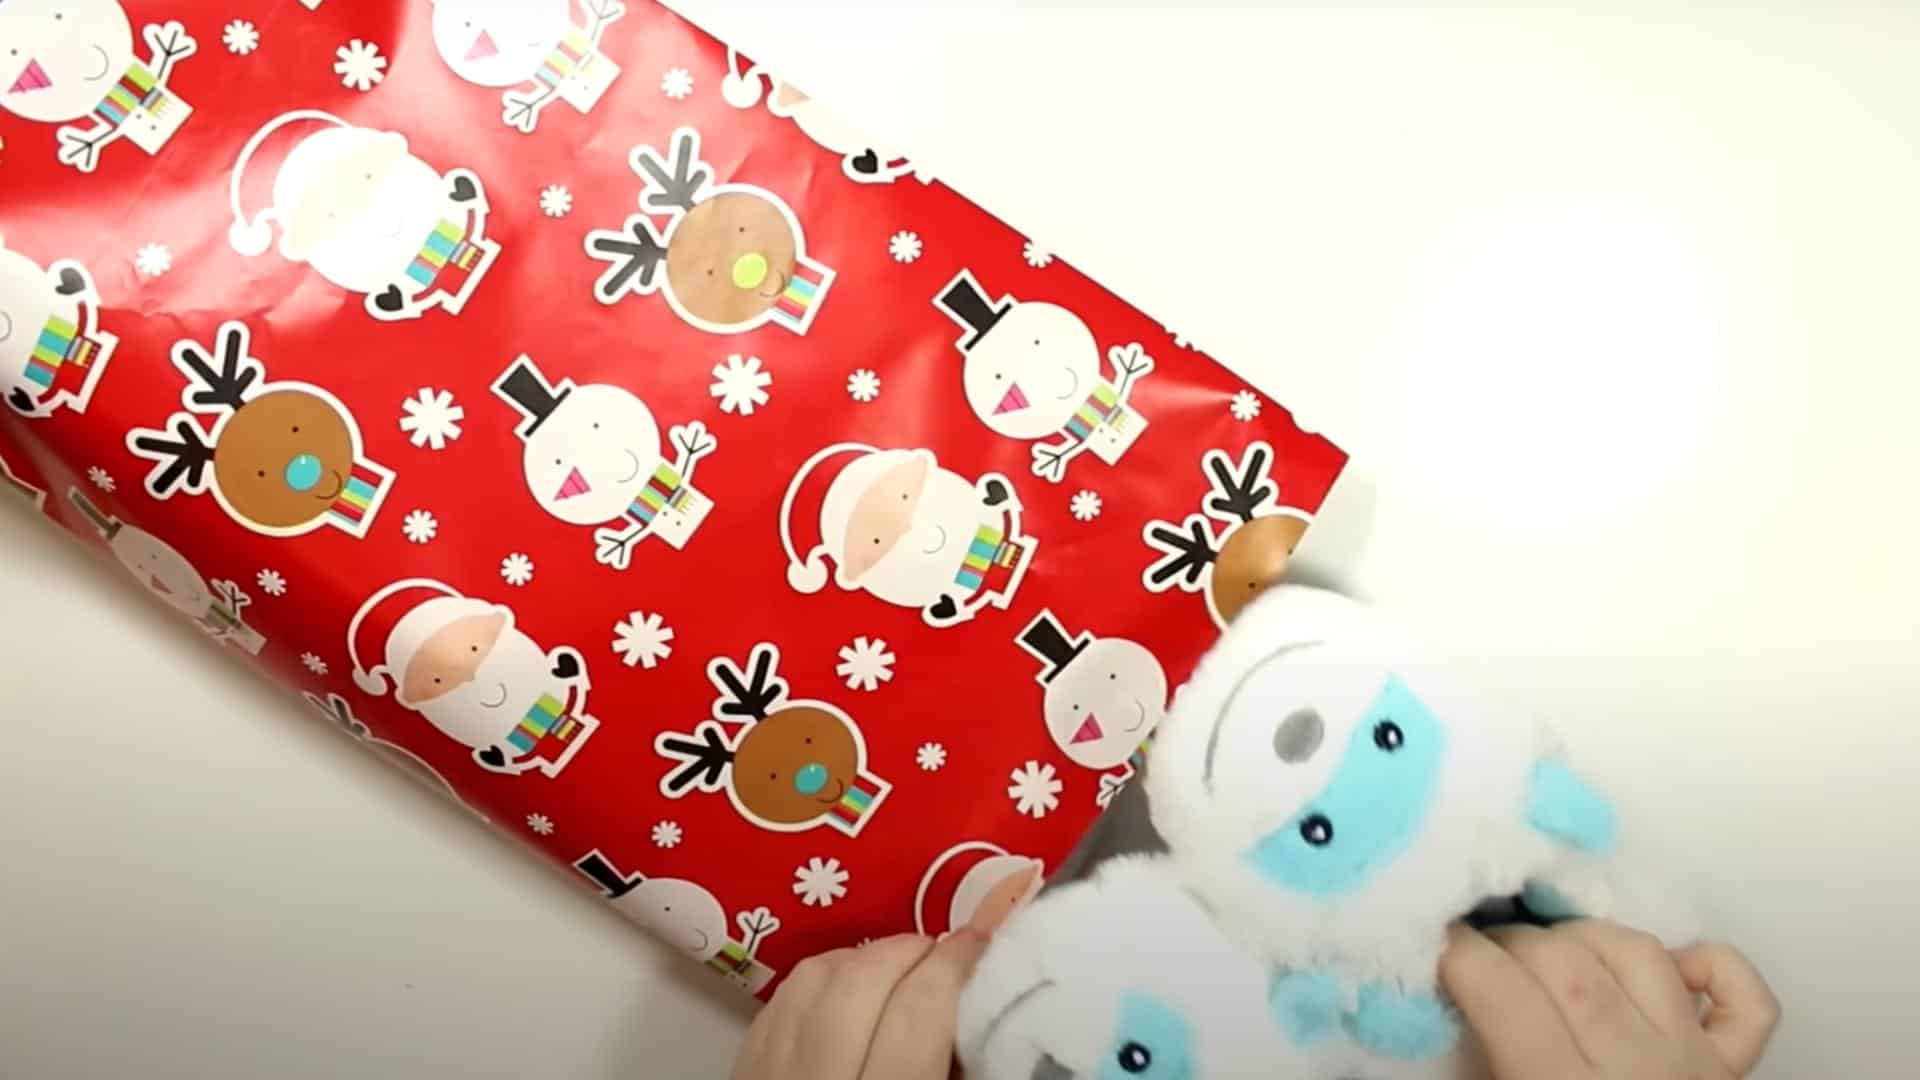
Gently open the top of your bag, reaching inside to push out the corners and sides. The bag should naturally take shape as you open it.
Press along all the edges to create crisp, defined creases that will help your bag maintain its shape. For extra stability, cut a piece of cardboard to fit the bottom of your bag and place it inside.
This optional step is especially helpful for heavier gifts or if your wrapping paper is on the thinner side.
Step 5: Add Handles
To add handles, fold down the top edge of your bag about an inch to create a reinforced rim.
Use a hole punch to create two holes on each side of the bag, placing them about 1-2 inches down from the top edge and 2-3 inches apart.
Thread ribbon, string, or even twisted paper through these holes from outside to inside.
Tie a secure knot on the inside of each hole to prevent the handles from pulling through. Make sure your handles are long enough to carry the bag comfortably but not so long that they flop over when the bag is standing.
Video Tutorial
For more information, check out this video tutorial by Charmed by Ashley
Pro Tips for a Perfect Bag
Making your wrapping paper bag look professional requires attention to small details. These finishing touches can boost your handmade creation from good to great.
With a few simple techniques, your homemade gift bags will rival store-bought ones in both appearance and durability.
- Use double-sided tape for invisible seams.
- Press folds with a ruler or card for crisp edges.
- Reinforce the bottom with cardboard for stability.
- Match ribbon handles to your wrapping paper colors.
- Add stickers or washi tape for personalization.
- Create matching gift tags from the same paper.
- Adjust measurements for oddly shaped items.
These homemade gift bags make a lasting impression and show extra thought beyond store-bought options.
Recipients often keep and reuse these custom bags, extending their life beyond a single use. The personal touch of a handmade presentation demonstrates care and attention that enhances any gift-giving experience.
When to Use These DIY Bags
These homemade wrapping paper bags are perfect for many gift-giving situations. They work especially well for small to medium-sized presents that might be awkward to wrap traditionally, like oddly shaped toys, bath products, or clothing items.
When you’ve run out of store-bought gift bags or need something in a pinch, this technique is a true lifesaver – just grab some wrapping paper and basic supplies.
For themed parties or special events, making your own bags allows you to match all your gifts perfectly, creating a coordinated look that store-bought options rarely provide.
They’re ideal for creating gift sets, too – make several matching bags in different sizes for a collection of items. Children’s birthday parties, baby showers, and wedding showers are perfect occasions for these custom bags.
They’re also great for holiday gifting when you want all your presents to complement your home décor or Christmas tree theme.
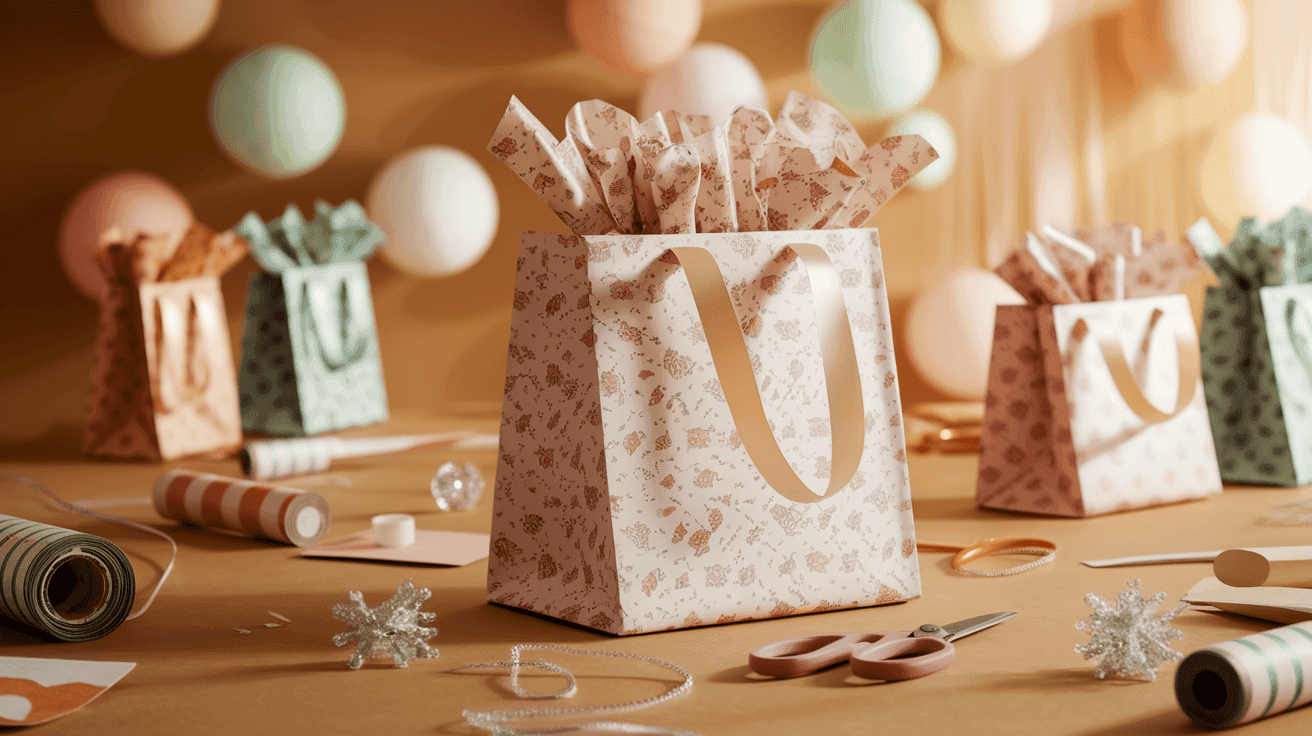
Wrapping It Up
Now you know how to fold wrapping paper into a bag quickly and easily! This simple skill lets you create custom gift packaging whenever you need it without running to the store.
By making your own bags, you save money, reduce waste, and add a personal touch to your gifts that shows extra care and thought.
The best part is that you can make these bags in any size, color, or pattern to match any occasion – from birthdays to holidays and everything in between. Keep some basic supplies on hand, and you’ll never be caught without a gift bag again.
So, the next time you’re getting ready to give a present, remember these steps for folding wrapping paper into a bag and creating something special that’s just as impressive as the present!
If you’re interested in more DIY projects for your home, feel free to click here and explore our collection of easy weekend makeovers and step-by-step renovation tutorials.

Stephanie Grace, a graduate with a degree in Fine Arts from the Savannah College of Art and Design, has been inspiring DIY enthusiasts with her creative and practical guidance for over 14 years. Her career in design and crafting began in a small artisan workshop, where she developed a passion for transforming everyday materials into beautiful and functional items. Stephanie joined our website in 2018, rapidly gaining popularity for her easy-to-follow DIY tutorials and innovative project ideas. Since then, she has been the creative mind behind our DIY section, helping readers bring their artistic visions to life. Outside her professional pursuits, Stephanie enjoys pottery and urban gardening, hobbies that showcase her love for hands-on creativity and nature.