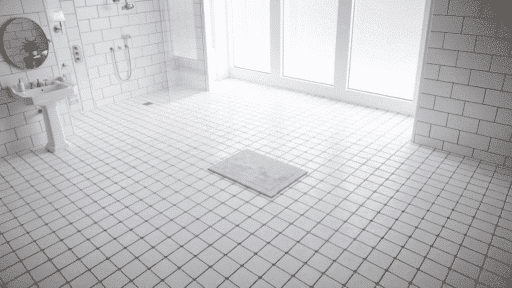
You’ve seen it a hundred times. That thin line of material sitting between tiles in the bathroom, kitchen, or on the floor. But do you actually know what it is or what it does? That’s grout.
So, what is grout, exactly?
In this guide, you’ll learn what grout is, why it matters, where it’s used, and how to install it properly.
What is Grout?
Grout is a thick paste used to fill the gaps between tiles after installation. It binds tiles together, seals the joints, and gives the surface a clean, finished look.
Most grout contains cement, water, and sand, though some types include additives for better flexibility, bonding strength, or water resistance.
Once it dries, grout hardens into a durable filler that supports the tiles and keeps them evenly spaced.
It also acts as a protective barrier, helping block moisture, dirt, and bacteria from entering the joints, which is especially important in kitchens and bathrooms.
Where is Grout Used?
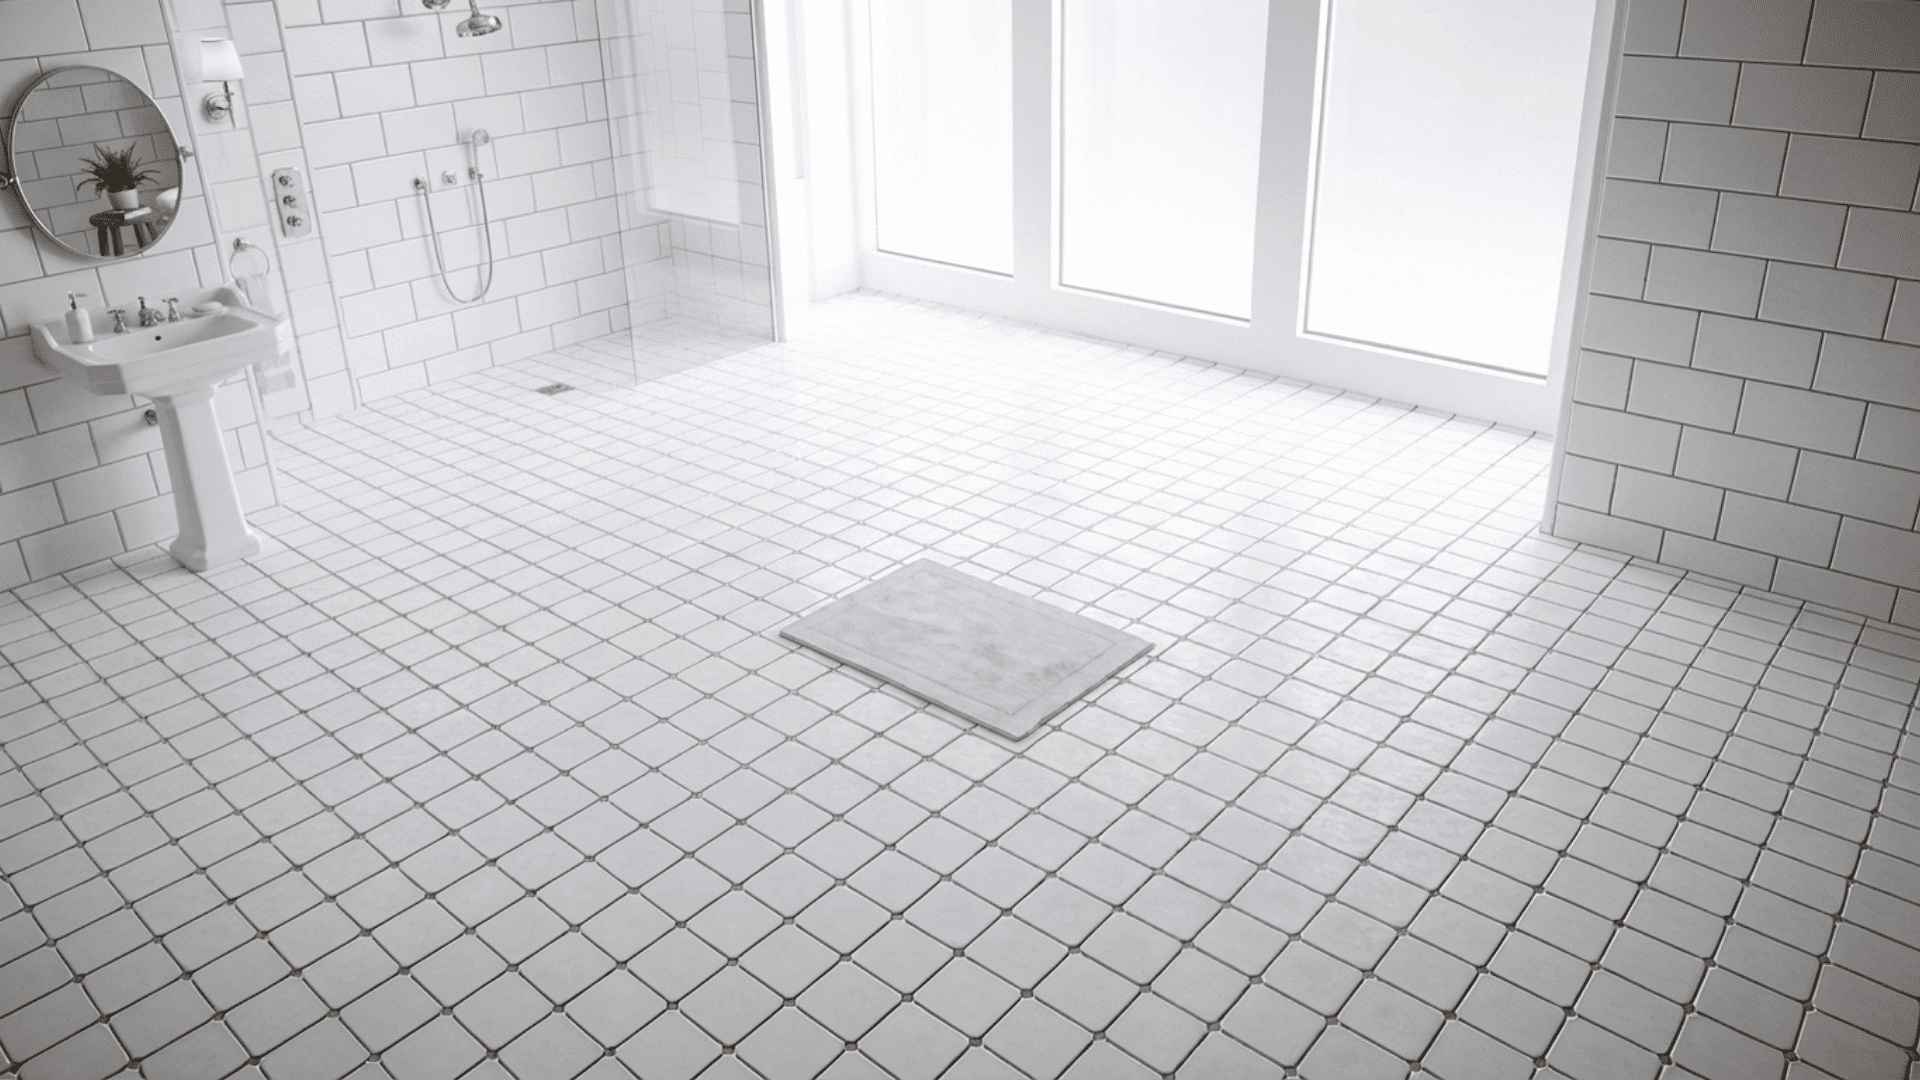
If you’ve ever asked what grout is used for, the answer is simple: it goes anywhere tiles go. Grout is used in almost every tiled surface you can think of, both indoors and outdoors.
1. Floor Tile Applications
Floor tiles in bathrooms, kitchens, entryways, and hallways all rely on grout to stay secure and properly spaced.
These areas deal with constant foot traffic, moisture, and spills, so grout plays a key role in keeping the joints sealed and the tiles stable over time. Without it, water and debris would work their way into the gaps and cause serious damage underneath.
2. Wall Tile Applications
Shower walls, kitchen backsplashes, and decorative tile walls all need grout to hold the installation together and seal the joints.
In wet areas, especially, properly applied grout helps protect the wall behind the tiles from moisture damage. It also gives the tiled surface a neat, finished look that ties everything together.
3. Other Tile Surfaces
Grout is also used on tiled countertops and outdoor areas like patios. Countertops need tight, sealed joints to stay hygienic, while outdoor surfaces rely on grout to handle weather exposure, temperature changes, and regular foot traffic.
In both cases, choosing the right type of grout makes a big difference in how long the surface holds up.
Common Types of Grout Used for Tile
Not all grout is the same. Different tile projects call for different types, and using the wrong one can affect both the durability and appearance of the finished surface. Here’s a breakdown of the three most common types:
- Sanded Grout: Contains fine sand particles that add strength and body to the mix. It works best for wider grout joints, typically over 1/8 inch, and is commonly used on floor tiles and outdoor surfaces. It’s a reliable choice for beginners working on floor installations.
- Unsanded Grout: Has a smooth texture and is best suited for narrow grout lines of 1/8 inch or less. It’s ideal for wall tiles and glass tiles where a finer finish is needed without risking surface scratches. If you’re tiling a bathroom wall, this is usually the right call.
- Epoxy Grout: Made from epoxy resins instead of cement, making it highly water-resistant and long-lasting. It’s a go-to choice for kitchens and bathrooms due to its strong resistance to moisture, stains, and chemicals. Keep in mind it’s a bit trickier to work with, so it’s better suited for those with some tiling experience.
Tools and Materials Needed to Install Grout
Before you start grouting, it’s important to have everything ready. Having the right tools on hand makes the process smoother and helps you get a clean, professional result.
| Tool or Material | Purpose |
|---|---|
| Grout mix | Fills the joints between tiles |
| Rubber grout float | Spreads grout into tile joints |
| Mixing bucket | Used to mix grout with water |
| Grout sponge | Cleans excess grout from tile surfaces |
| Clean water | Helps with mixing and cleaning |
| Grout sealer | Protects grout from stains and moisture |
How to Install Grout: Step-by-Step Process
Installing grout isn’t complicated, but each step must be done correctly to achieve a strong, clean finish. Follow this process, and you’ll get solid results every time.
Step 1: Prepare the Tile Surface
Before applying grout, make sure all tiles are firmly set and the adhesive has fully dried. Any loose or unstable tiles need to be fixed first, as grouting over them will only cause problems later.
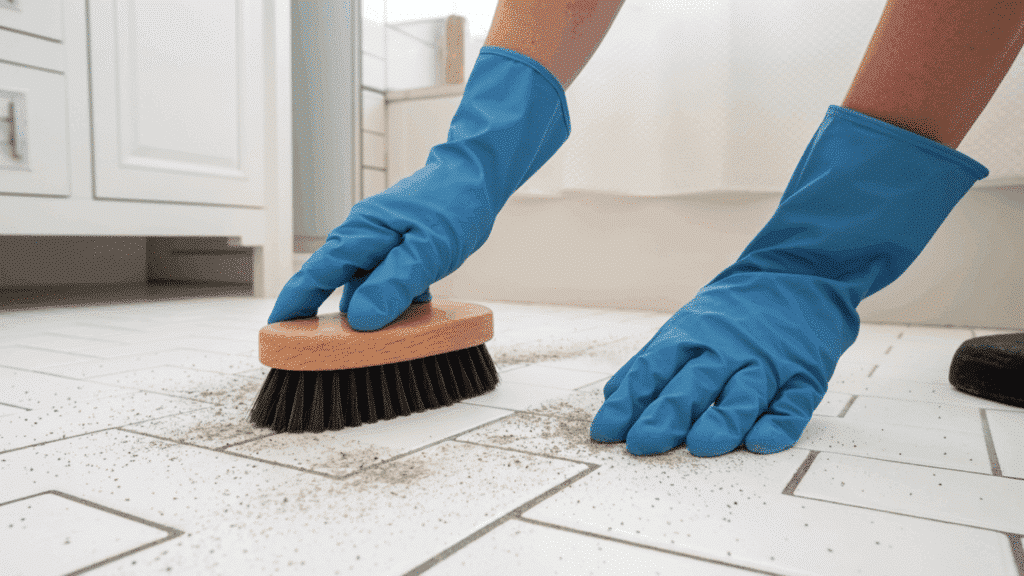
Once the tiles are secure, clear out any dust, debris, or leftover adhesive from the joints. Clean joints allow the grout to bond properly and fill the gaps without any interference.
Step 2: Mix the Grout
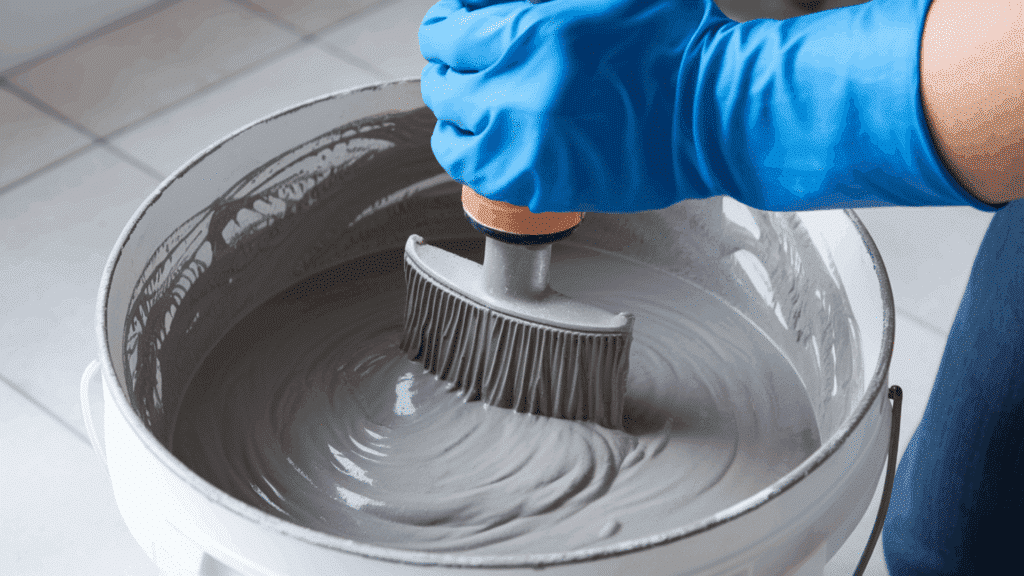
Start by reading the instructions on your grout packaging carefully. Add the recommended amount of water to your mixing bucket, then gradually mix in the grout powder until it reaches a thick, paste-like consistency.
Avoid making the mix too watery or too stiff. Proper consistency should hold its shape while still spreading smoothly. Let it sit for a couple of minutes after mixing before you start applying it.
Step 3: Apply Grout Between Tiles

Take your rubber grout float and scoop up a generous amount of grout. Hold the float at a roughly 45-degree angle and press the grout firmly into the joints, working in small sections at a time.
Make sure the joints are fully packed with grout and there are no gaps or hollow spots. Work diagonally across the tiles to push the grout deep into the joints rather than dragging it back out.
Step 4: Remove Excess Grout
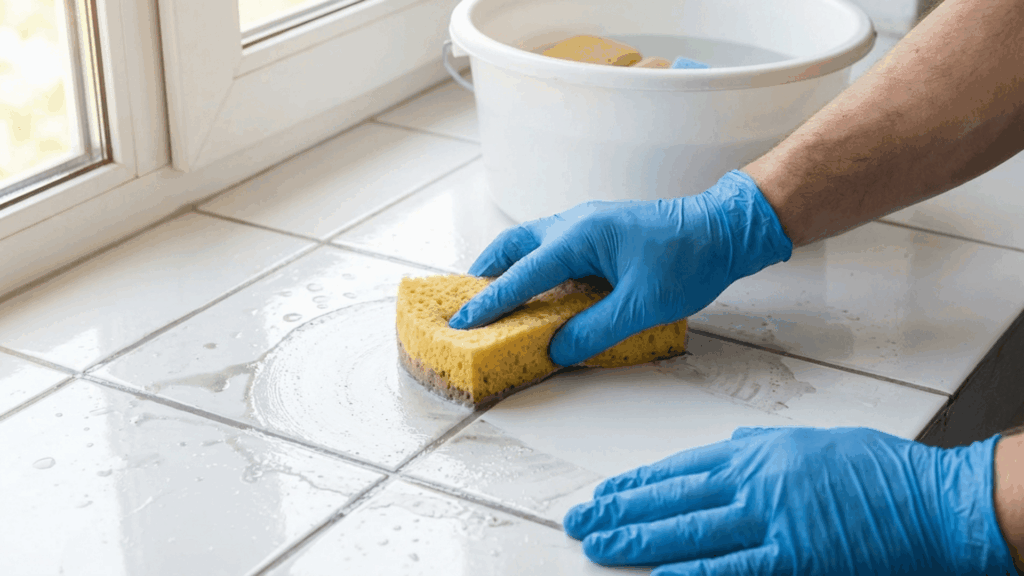
Once a section is grouted, tilt the float to a steeper angle and scrape off as much excess grout as possible from the tile surface. Do this before the grout starts to set.
Follow up with a damp sponge, wiping the tiles in a circular motion to remove the remaining residue. Rinse the sponge frequently and avoid using too much water, as that can weaken the grout in the joints.
Step 5: Allow the Grout to Cure
After the application is complete, give the grout enough time to cure fully before using the tiled area. Most grout types require 24 to 72 hours, depending on the product and conditions.
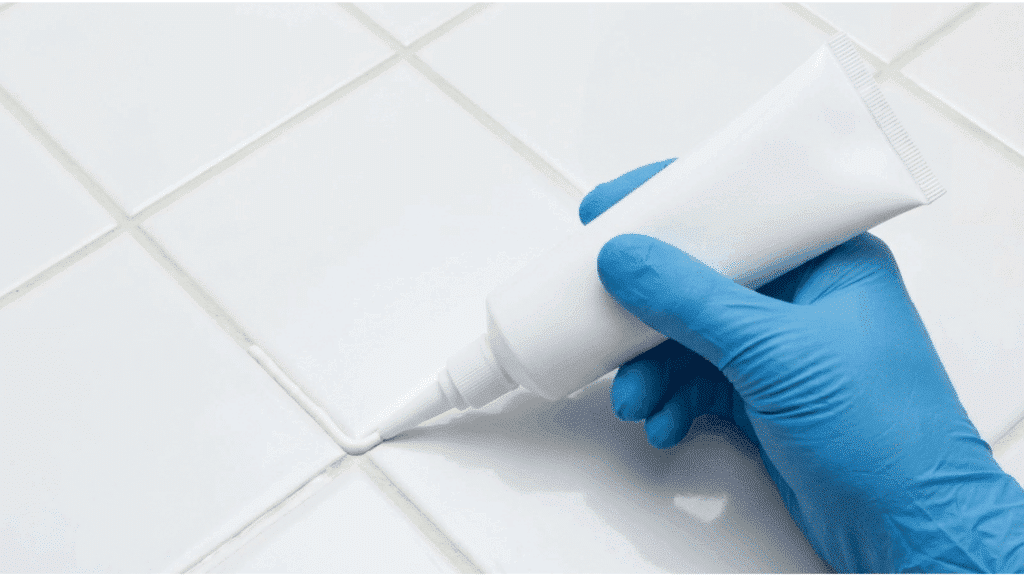
Avoid walking on grouted floors or exposing the surface to water during this period. Once fully cured, apply a grout sealer to protect the joints from moisture and staining.
You’ll already have the sealer ready from your tools list, so this step is easy to fold into your process, especially in bathrooms and kitchens where moisture exposure is high.
Common Mistakes to Avoid When Installing Grout
Now that you know how to install grout step by step, here’s what to avoid along the way. Even a small mistake during grouting can affect the durability and appearance of the finished surface. Here are the most common ones to watch out for:
- Mixing grout that is too watery or too thick: If the consistency is off, the grout won’t bond properly. Always follow the mixing instructions carefully.
- Not cleaning tile joints before applying grout: Dust or leftover adhesive in the joints prevents grout from bonding correctly. Clean them out before you start.
- Leaving excess grout on tiles for too long: Grout hardens fast and becomes tough to remove once it dries on the tile surface. Wipe it off while still fresh.
- Applying grout before tile adhesive has fully dried: Tiles can shift during grouting if the adhesive isn’t fully set, ruining the entire installation.
- Skipping grout sealer in moisture-prone areas: Unsealed grout absorbs water and stains quickly. Always apply a sealer once the grout has fully cured.
Conclusion
Understanding what grout is and how it works is the first step toward any successful tile installation. It’s not just a filler. It’s what keeps tiles stable, joints sealed, and surfaces looking clean for years.
Getting it right comes down to a few basics: using the correct type, mixing it properly, applying it with care, and sealing it once it’s cured. Skip any of those steps, and the results will show.
So before your next tile project, take the time to prep correctly and choose the right grout for the job. A little effort up front goes a long way toward ensuring your tiled surfaces stay strong and intact.

Holding a Master’s in Construction Management from Purdue University, William Ray has dedicated more than two decades to studying and applying construction principles. His professional journey includes a tenure with a prominent construction firm, where he specialized in project management and building technologies. William brought his knowledge to our team, providing in-depth insights into practical construction techniques. As the leader of our beginner’s guide to building since 2019, he has a knack for breaking down intricate processes into easily digestible content. When not involved in writing or onsite consultations, William enjoys woodworking and volunteering in community building projects, which aligns with his passion for hands-on construction and community service.