
Most people throw away kitchen scraps every single day without realizing they are tossing out something valuable. That vegetable peel, that coffee ground, it can all turn into rich, healthy compost.
A homemade compost bin is something more households are turning to these days, and for good reason. It reduces waste, feeds the soil naturally, and costs almost nothing to set up.
The best part? No special skills are needed. A few basic materials, a small outdoor space, and a little patience are all it takes.
This guide covers exactly how to build and use it from scratch.
Why Build a Homemade Compost Bin?
Building a compost bin is one of the most practical things a household can do for both the garden and the environment.
It converts everyday kitchen scraps and garden waste into nutrient-rich compost without spending much at all. Fruit peels, coffee grounds, eggshells, and grass clippings can all be reused instead of ending up in a landfill.
Beyond reducing waste, a DIY compost bin also eliminates the need to buy expensive fertilizers, since the compost it produces naturally improves soil health and supports plant growth.
And because the process stays in your hands, moisture levels, airflow, and material balance can all be adjusted to achieve the best possible results.
Greens vs Browns: Understanding Compost Ingredients
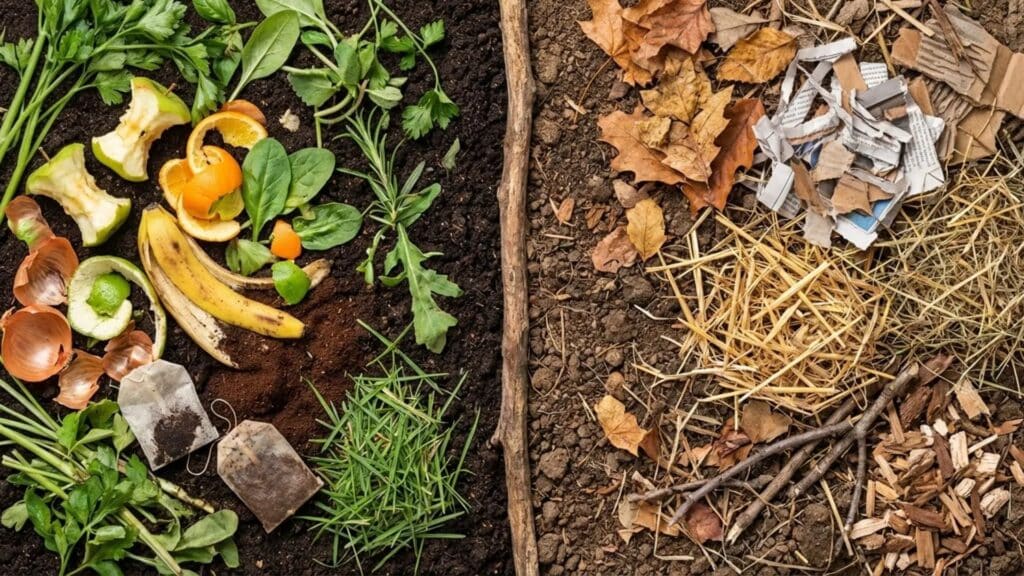
For composting to work properly, you need a balance between green materials and brown materials. This balance helps microorganisms break down waste efficiently inside your compost bin.
Greens (Nitrogen Rich Materials)
- Fruit and vegetable scraps
- Coffee grounds and tea bags
- Fresh grass clippings
- Plant trimmings
Browns (Carbon Rich Materials)
- Dry leaves
- Shredded newspaper or cardboard
- Straw or hay
- Small twigs and wood chips
Maintaining the right mix of greens and browns in your DIY compost bin helps speed up decomposition and ensures the compost develops properly, just like in the best compost bin systems.
Essential Tools and Materials for Compost Bin
Setting up a compost bin requires only a few simple tools and materials that are often already available at home.
| Tool / Material | Purpose |
|---|---|
| Plastic storage bin, trash can, or wooden box | Acts as the main container for your DIY compost bin |
| Lid or cover | Protects the compost from heavy rain and helps maintain moisture |
| Drill or sharp tool | Creates ventilation holes for proper airflow inside the bin |
| Garden fork or shovel | Helps turn and mix the compost to speed up decomposition |
| Kitchen scraps and yard waste | Organic materials that break down into compost |
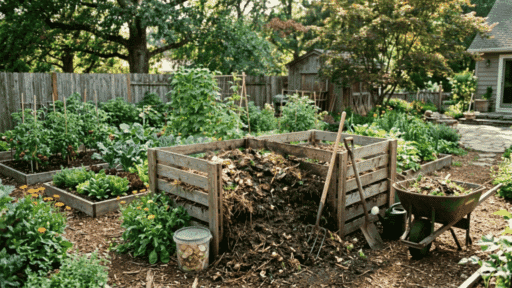
Build Your Homemade Compost Bin in Some Easy Steps
Building a homemade compost bin is simple and does not require expensive tools or complex equipment. When managed properly, your setup can work just as effectively as the best commercially available compost bin.
Step 1: Select a Container or Frame
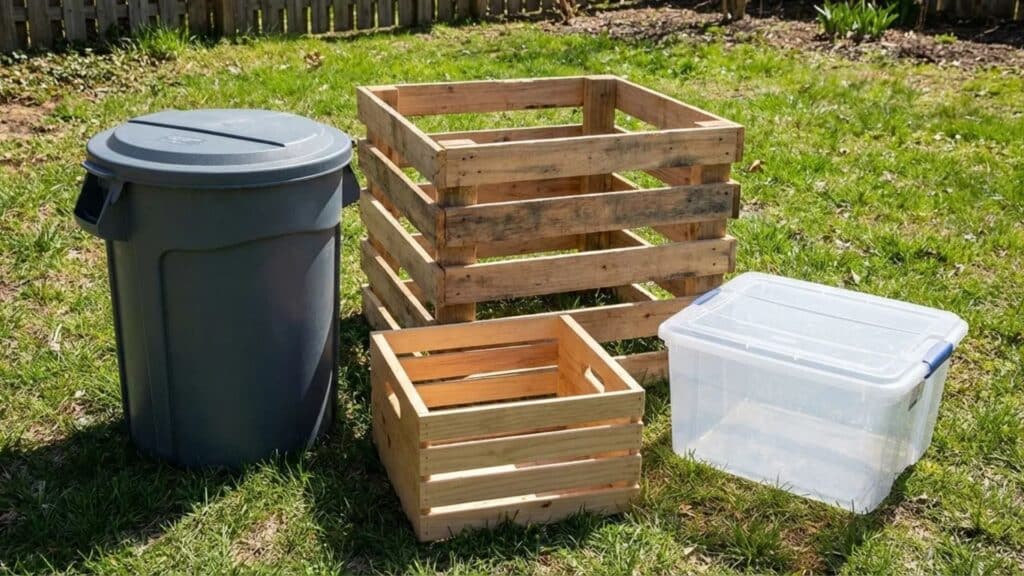
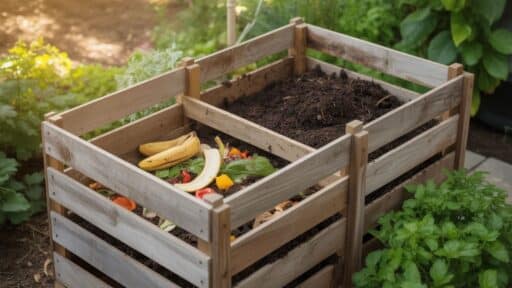
The first step is choosing a suitable container or frame for your homemade compost bin. You can use a plastic storage bin, an old trash can, wooden pallets, or even a wooden box.
The container should be sturdy and large enough to hold organic waste while still allowing room for proper decomposition.
A medium-sized container works well for most households and helps your DIY compost bin function efficiently, similar to the best compost bin systems designed for home use.
Step 2: Create Ventilation Holes
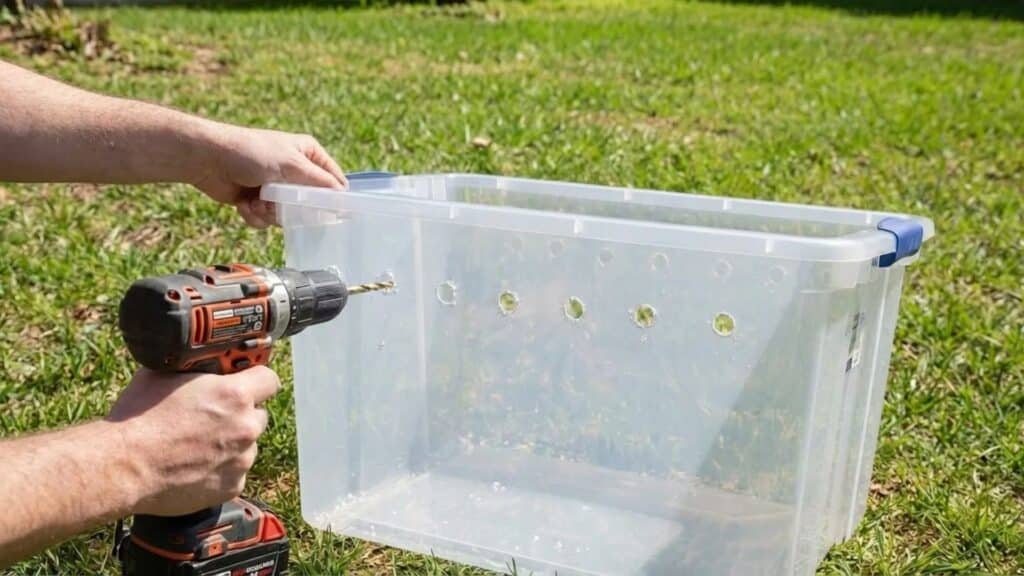
Once you have selected the container, the next step is to create ventilation holes. Proper airflow is essential for the microorganisms that break down organic materials.
Drill small holes along the sides and bottom of your homemade compost bin to allow air circulation and prevent excess moisture buildup.
Good ventilation helps your compost bin maintain the right balance of air and moisture, a key feature of the good compost bin designs.
Step 3: Add a Base Layer
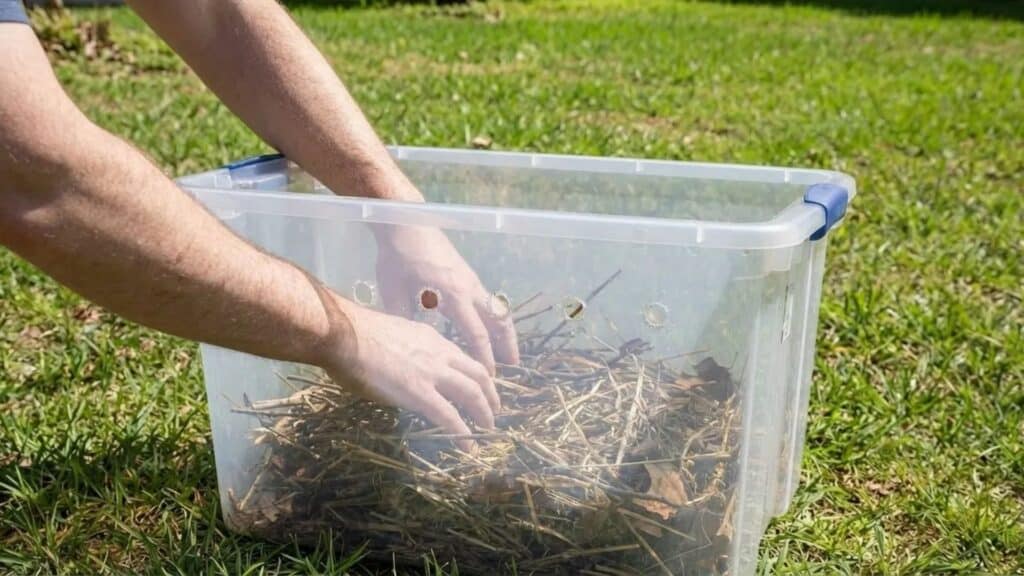
After preparing the container, add a base layer at the bottom of your homemade compost bin. This layer helps improve drainage and keeps the compost from becoming too compact.
Materials like small twigs, straw, or dry leaves work well as a base. This simple foundation supports airflow and makes your DIY compost bin more effective, similar to the design of the best compost bin systems.
It also helps maintain a proper moisture balance inside the bin for better decomposition.
Step 4: Layer Greens and Browns
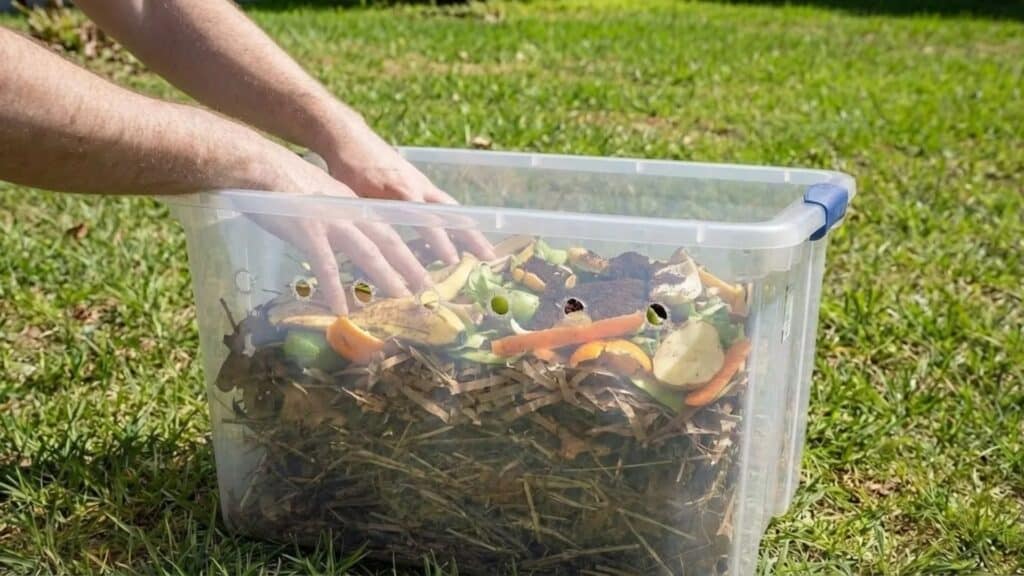
The next step is to begin layering compost materials. For successful composting in a homemade compost bin, it is important to maintain the right balance between green and brown materials.
Greens include fruit scraps, vegetable peels, and coffee grounds, while browns include dry leaves, shredded paper, and straw.
A common guideline is to add about 2 parts brown and 1 part green.
This layering process helps your DIY compost bin break down materials efficiently and produce high-quality compost, similar to the best compost bin systems.
Step 5: Maintain Moisture and Turn the Compost
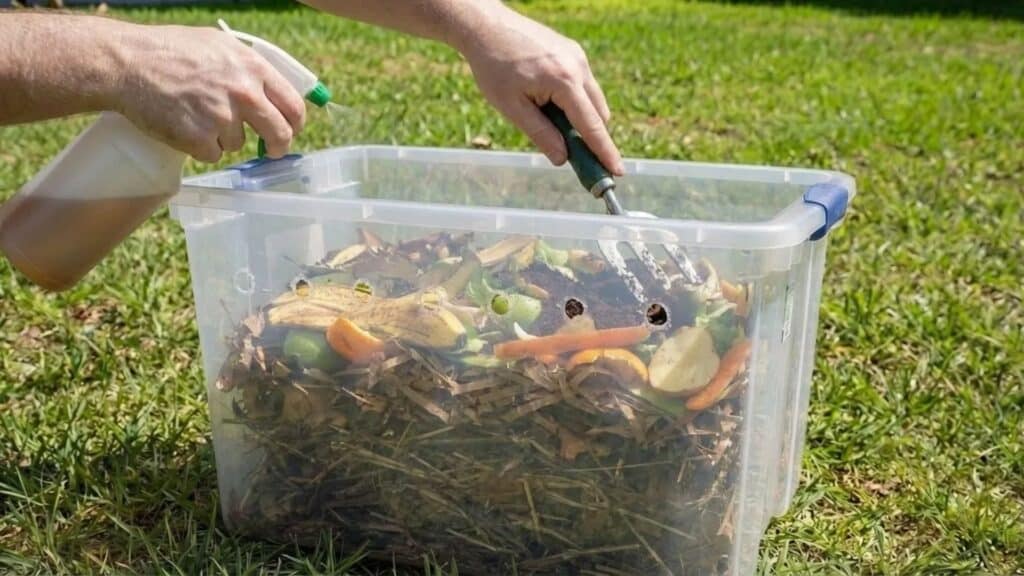
The final step is to maintain the compost so the decomposition process continues properly. The compost inside your bin should remain slightly moist, similar to the texture of a damp sponge.
If it becomes too dry, you can add a small amount of water, and if it becomes too wet, add more brown materials. Turning the compost every 1 or 2 weeks helps improve airflow and speed up the breakdown of materials.
How to Know that Your Compost Is Ready?
After maintaining your homemade compost bin for several weeks or months, the organic materials will gradually break down into rich compost that can be used in your garden.
Knowing when the compost is fully ready is important because unfinished compost may not provide the best nutrients for plants.
Signs of Mature Compost:
- Dark color: Mature compost appears dark brown or almost black.
- Crumbly texture: It feels loose and soil-like, with no large visible scraps.
- Earthy smell: Finished compost smells fresh and earthy like garden soil.
- Cool temperature: Ready compost feels cool instead of warm.
- No visible scraps: Original food or leaf pieces are mostly broken down.
Common Problems and Solutions
Composting is simple, but a few common problems can slow things down, and most of them are easier to fix than you think.
| Problem | Possible Cause | Solution |
|---|---|---|
| Compost smells bad | Too many green materials, excess moisture, or poor airflow | Add more brown materials, such as dry leaves or cardboard, and turn the compost to improve aeration. |
| Compost is not breaking down | The materials are too dry, the pieces are too large, or lack of nitrogen | Add green materials, chop large scraps into smaller pieces, and mix the compost regularly. |
| Pests in the compost bin | Exposed food scraps or improper covering of compost | Bury food scraps under brown materials and keep the compost bin covered. |
| Compost is too wet | Excess water from rain or too many wet food scraps | Add dry brown materials, such as leaves or paper, and ensure proper drainage in the compost bin. |
| Compost is too dry | Lack of moisture or too many dry materials | Lightly sprinkle water and mix the compost to maintain proper moisture, similar to conditions in the best compost bin systems. |
The Bottom Line
Starting composting at home is simple and rewarding. A homemade compost bin allows you to recycle kitchen scraps and garden waste into nutrient-rich compost that improves soil health and supports plant growth.
The best part is that a basic DIY compost bin can be made with simple materials can still work just as effectively as the best compost bin available in stores.
By turning organic waste into compost, you help keep the environment cleaner while creating healthier soil for your plants.

With a Master’s in Landscape Architecture from the University of Virginia, Sophia Stephenson has dedicated the last 20 years to creating and maintaining vibrant outdoor spaces. Her professional journey started in landscape design, where she gained a reputation for innovative and sustainable approaches. Sophia became a part of our editorial team as a freelancer in 2019, offering a fresh perspective on outdoor living. Since 2020, she has been the chief for our outdoor design content, blending aesthetic appeal with environmental stewardship. In her leisure time, Sophia is a keen photographer, capturing the beauty of natural landscapes, a hobby that complements her professional expertise.