Most people think oil painting for beginners is tough. Long wait for the paint to dry. It does not have to be that way.
Learning how to oil paint comes down to a few simple steps, the right materials, and a little patience. Errors can be fixed later.
Colors can be adjusted before they dry; that flexibility is exactly what makes it a great starting point for anyone picking up a brush for the first time.
This blog covers everything: from basic tools to first brushstrokes, all in one place.
What is Oil Painting?
Oil painting is a method of applying pigments mixed with oil, usually linseed oil, onto surfaces like canvas or canvas board.
Unlike other media, it dries slowly. That slow drying time gives artists the freedom to blend colors, fix mistakes, and build up layers without rushing.
The paint stays workable for artists for centuries and remains one of the most respected forms of painting to this day.
Why Oil Painting Works Well for Beginners?
Oil painting offers flexibility and control that few other media can match. Here is why it works so well:
- Longer Drying Time Allows Corrections: The paint stays wet for hours, giving artists plenty of time to fix mistakes before they set.
- Easier Blending: Colors mix smoothly on the canvas, making soft transitions much easier than with fast-drying mediums.
- Works Well for Layering: Building multiple layers is straightforward, helping create depth and richness in the final piece.
- Suitable for Simple and Detailed Subjects: From basic still life to complex portraits, oil paint can handle a wide range of subjects.
- Gradual Learning Curve: There is no need to rush. The medium allows artists to learn at their own pace without any pressure.
Basic Tools and Materials Required
Starting with the right materials makes learning smoother. Here is a breakdown of everything needed to get started:
| Tool/Material | Purpose |
|---|---|
| Primary Colors (Red, Yellow, Blue) | Core colors are used to mix a wide range of shades |
| Titanium White | Lightens colors and adds opacity to the mix |
| Filbert Brush | Ideal for toning the canvas and blending shapes |
| Angle Brush | Covers larger areas while allowing precise edges |
| Liner Brush | Used for fine details and smaller sections |
| Wooden or Glass Palette | Flat surface for mixing colors before applying |
| Galca Gel or Linseed Oil | Smoothens paint flow and adjusts drying time |
| Gamsol (Odorless Mineral Spirits) | Cleans brushes and thins paint without strong fumes |
| Pre-Primed Canvas or Canvas Board | Ready-to-use surface that holds paint well |
| Oil Painting Paper | A more affordable surface, great for practice studies |
How to Oil Paint: Step-by-Step Process
Following a clear process helps avoid confusion and keeps the painting on track. Each step below builds on the previous one.
Step 1: Tone the Canvas
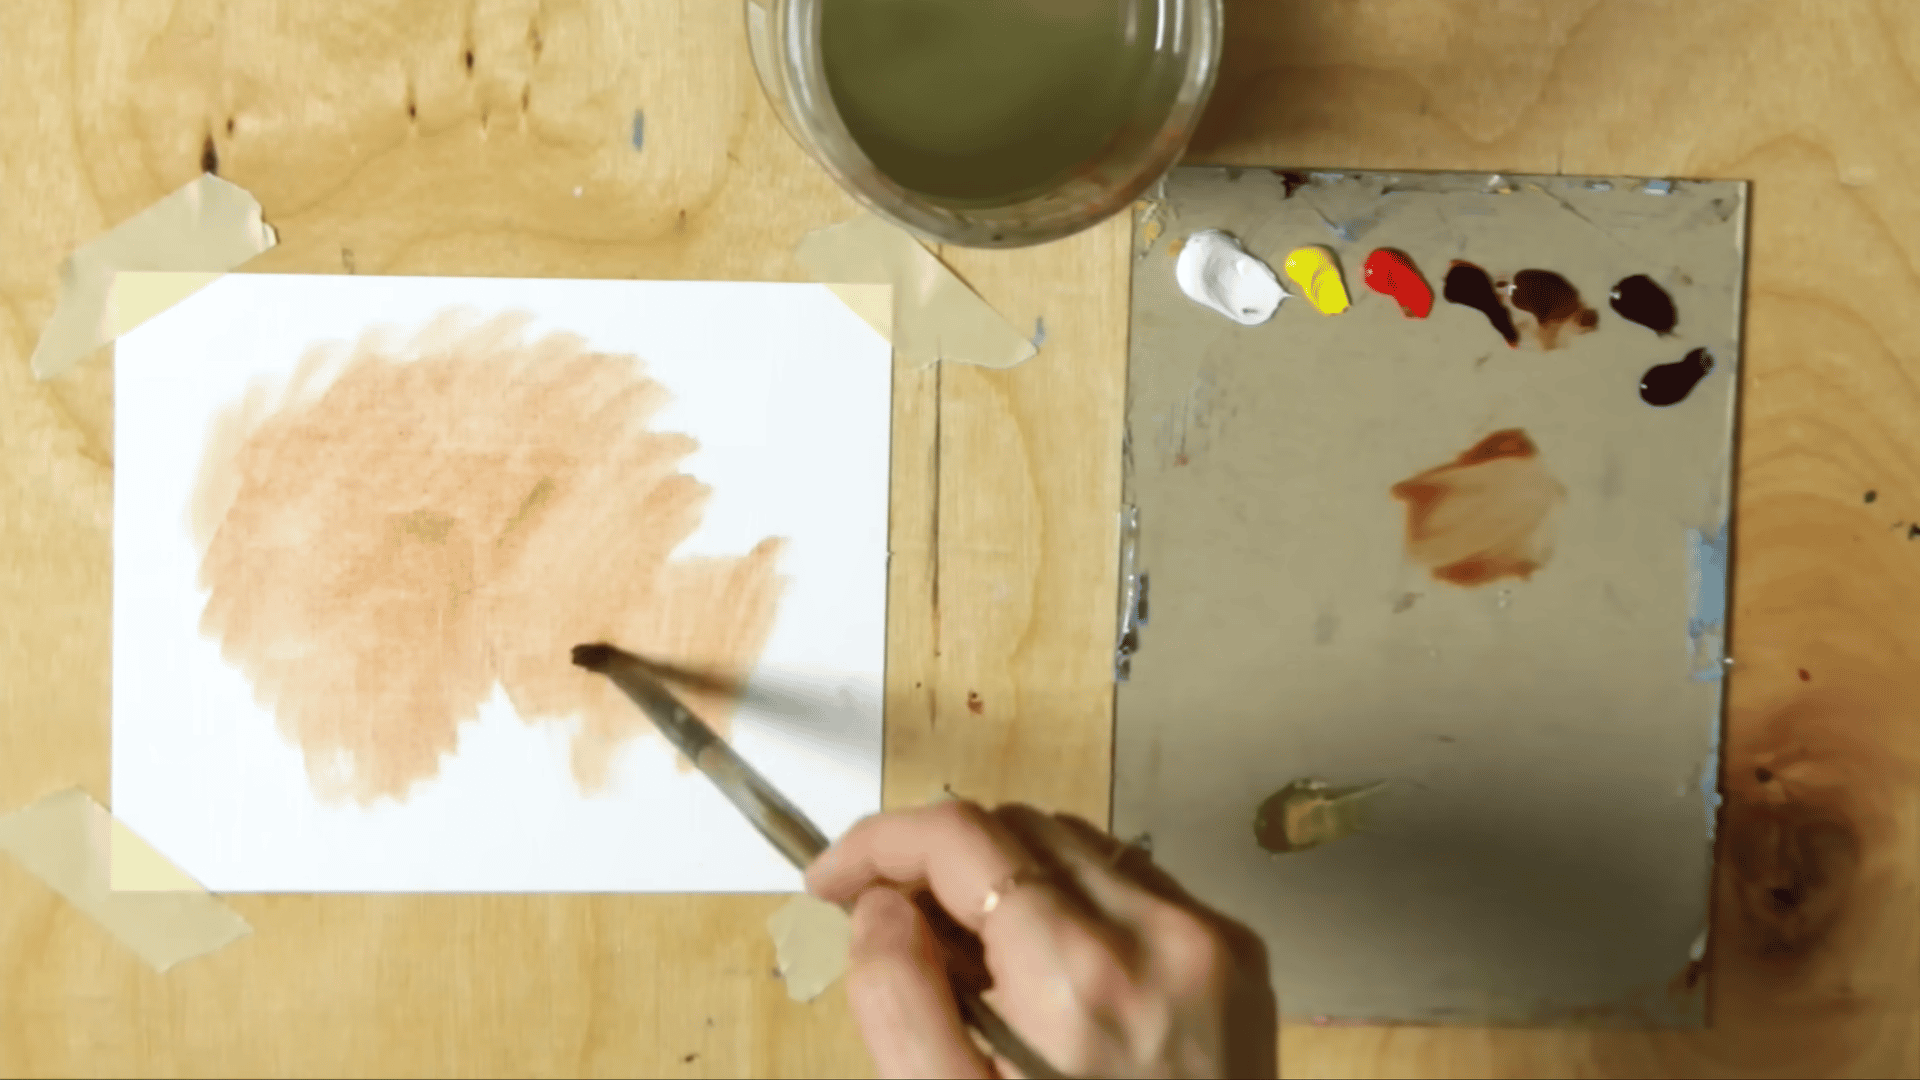
Before any paint touches the canvas, toning the surface is a smart first move. It replaces the blank white with a mid-tone base, making colors and values easier to judge.
A filbert brush dipped in Gamsol and mixed with burnt sienna works well for this. The mixture should be thinned to an almost watercolor-like consistency and applied across the surface.
Step 2: Sketch Your Subject
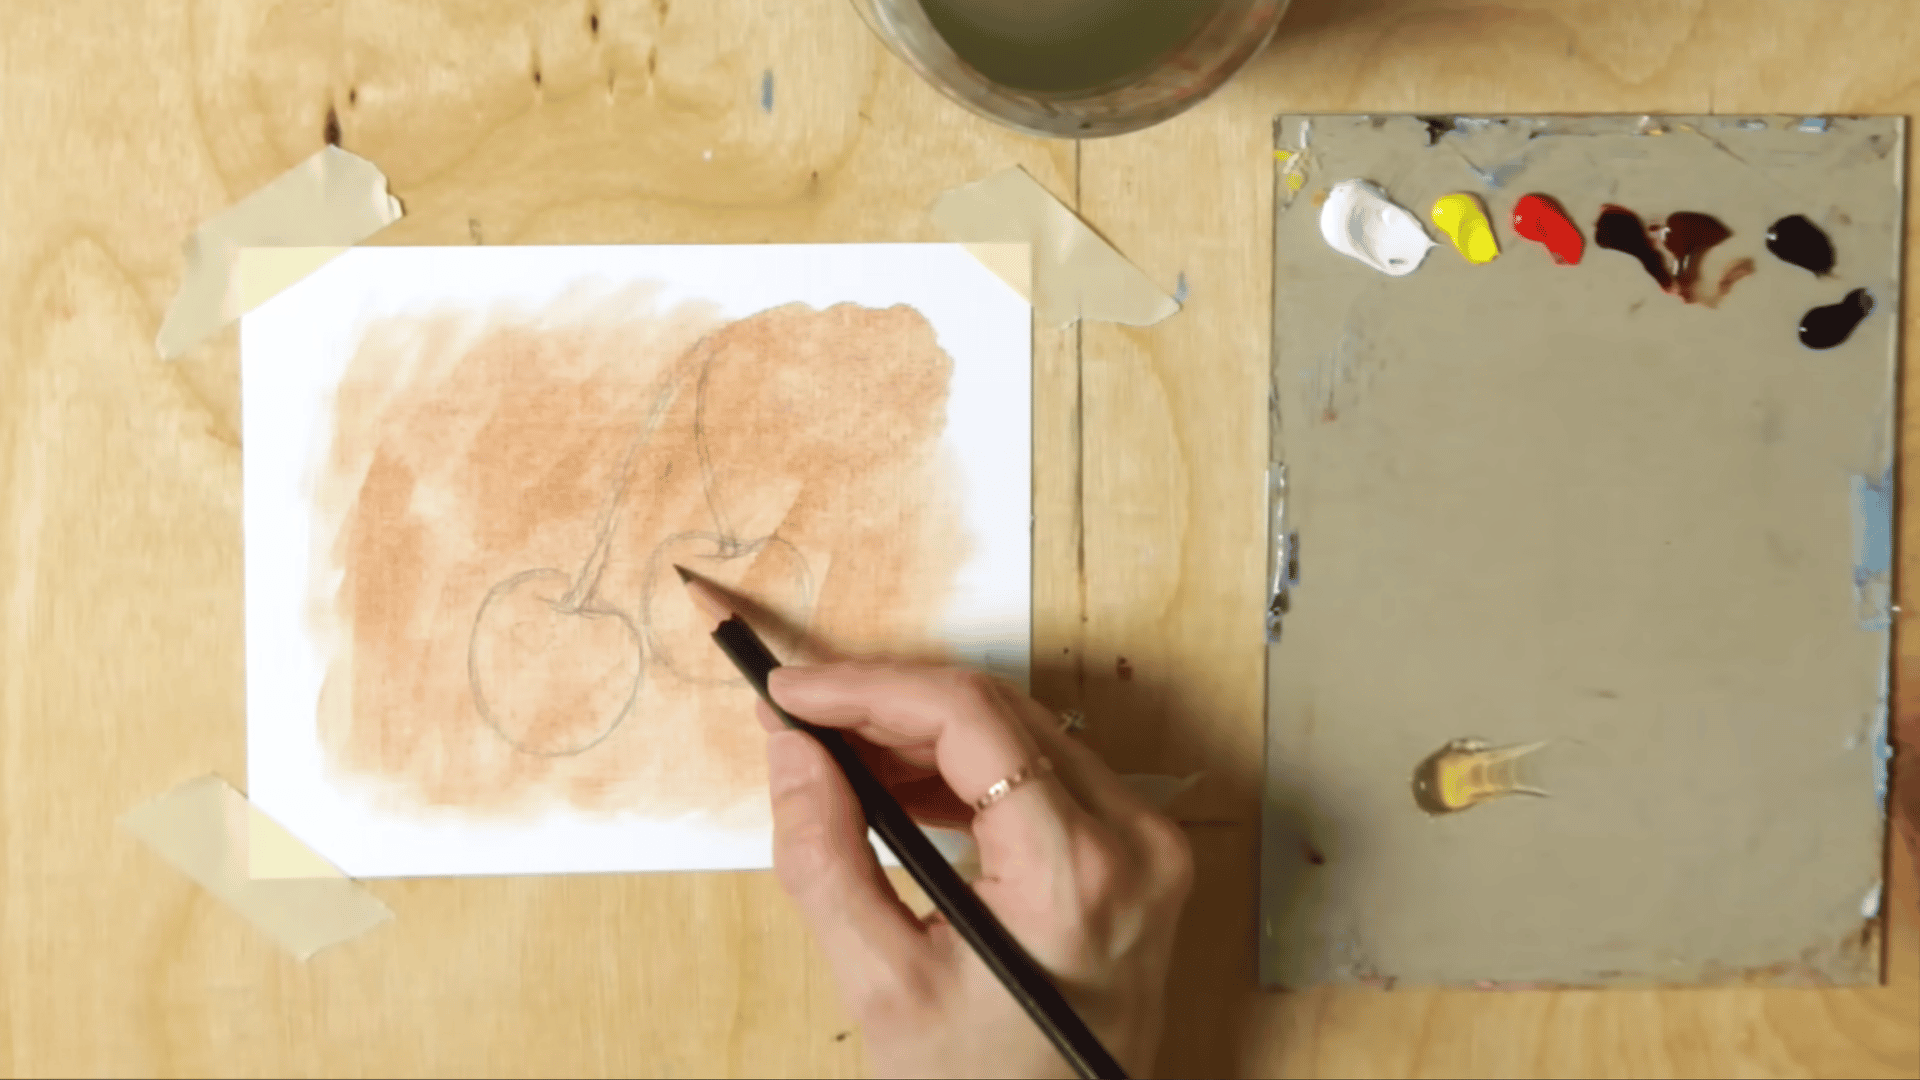
Once the canvas is toned, sketching the basic shapes gives a clear map to follow. A pencil or a thin brush with diluted burnt sienna works well for this step.
The sketch does not need to be exact. Simple outlines are enough to guide the placement of colors and shadows in the next steps.
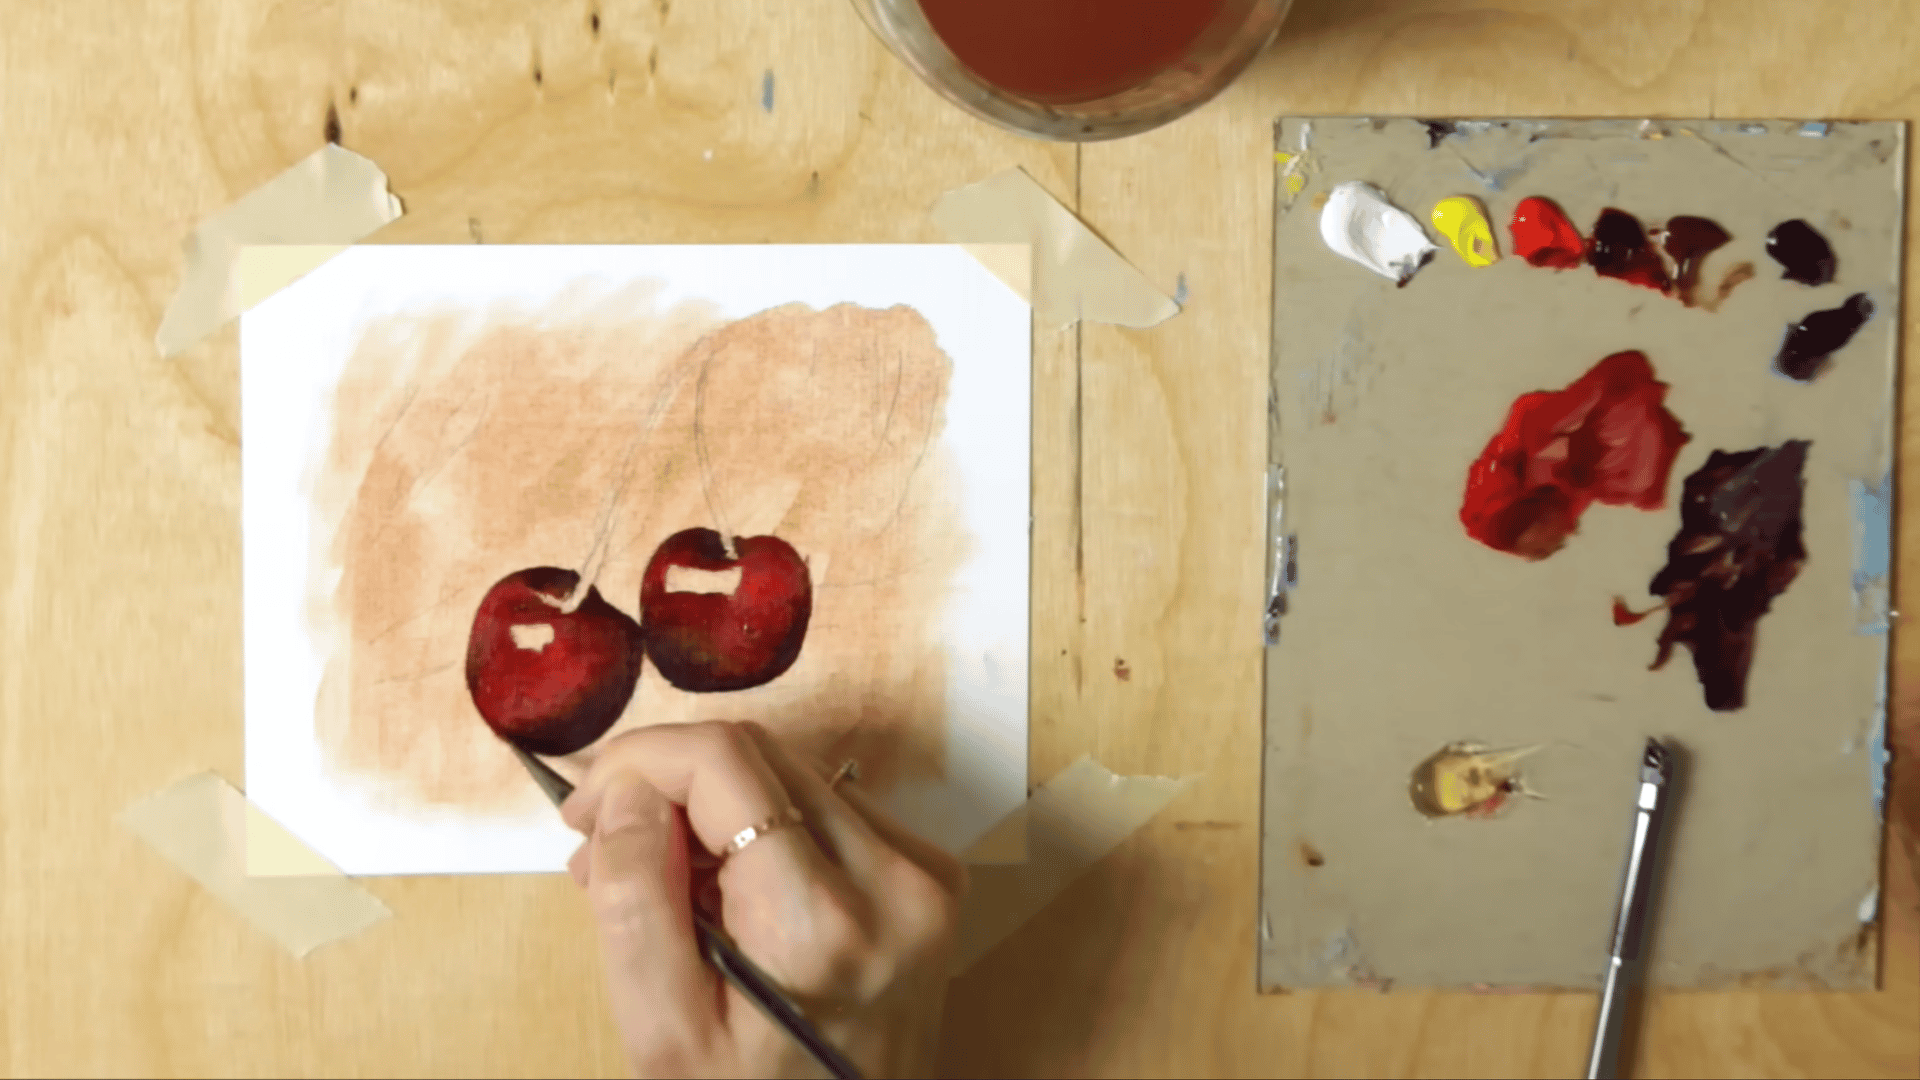
Step 3: Add the Middle Colors
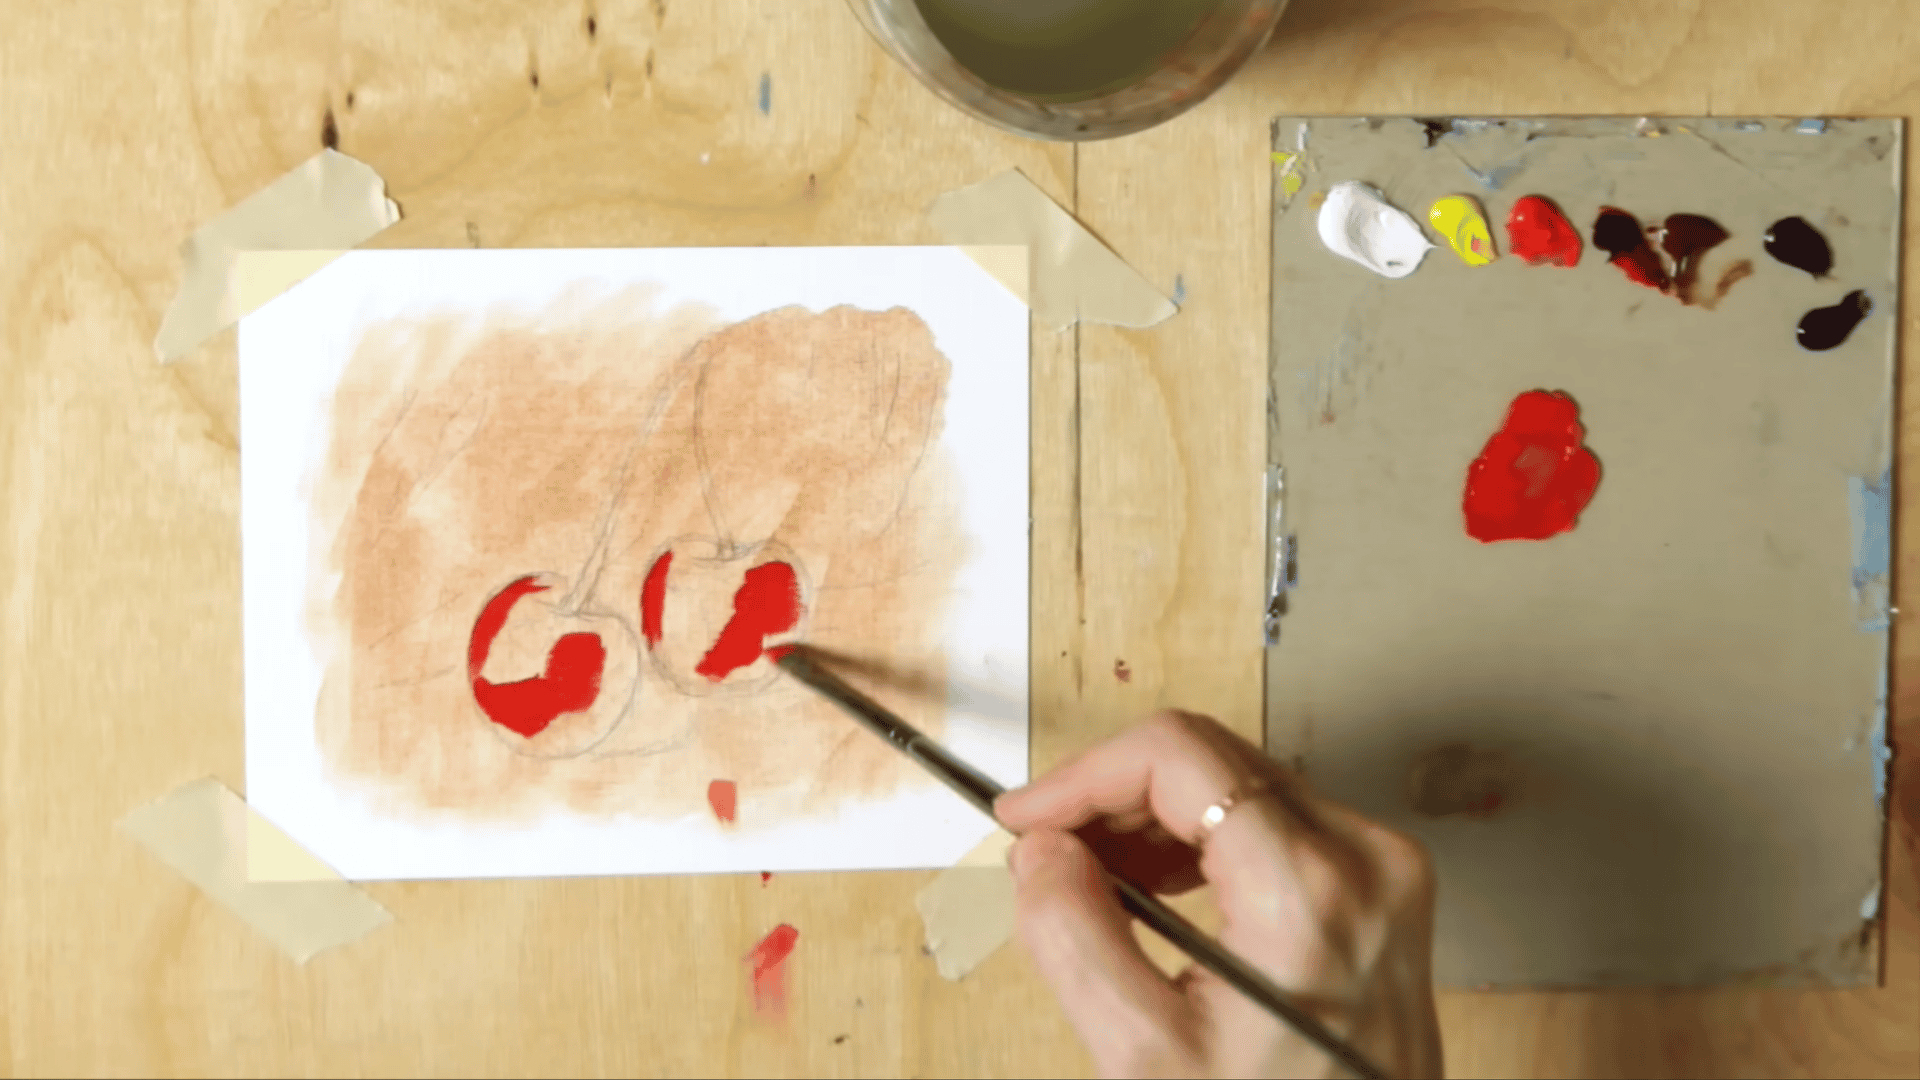
The middle colors go in between the shadows and the areas where light hits the subject. These are the main colors of the objects being painted and cover the largest areas of the canvas.
A clean brush is used to apply these colors carefully around the shadow areas. Keeping the edges soft at this stage makes blending easier in the later steps.
Step 4: Fill in the Dark Areas
Starting with the darkest shadows first helps build the three-dimensional structure of the subject early on. A mix of ultramarine blue, alizarin crimson, and burnt umber creates a deep, rich shadow color.
Dark areas are applied first and blended at the edges. This creates a smooth shift between shadows and mid-tones.
Step 5: Mix and Apply Highlights
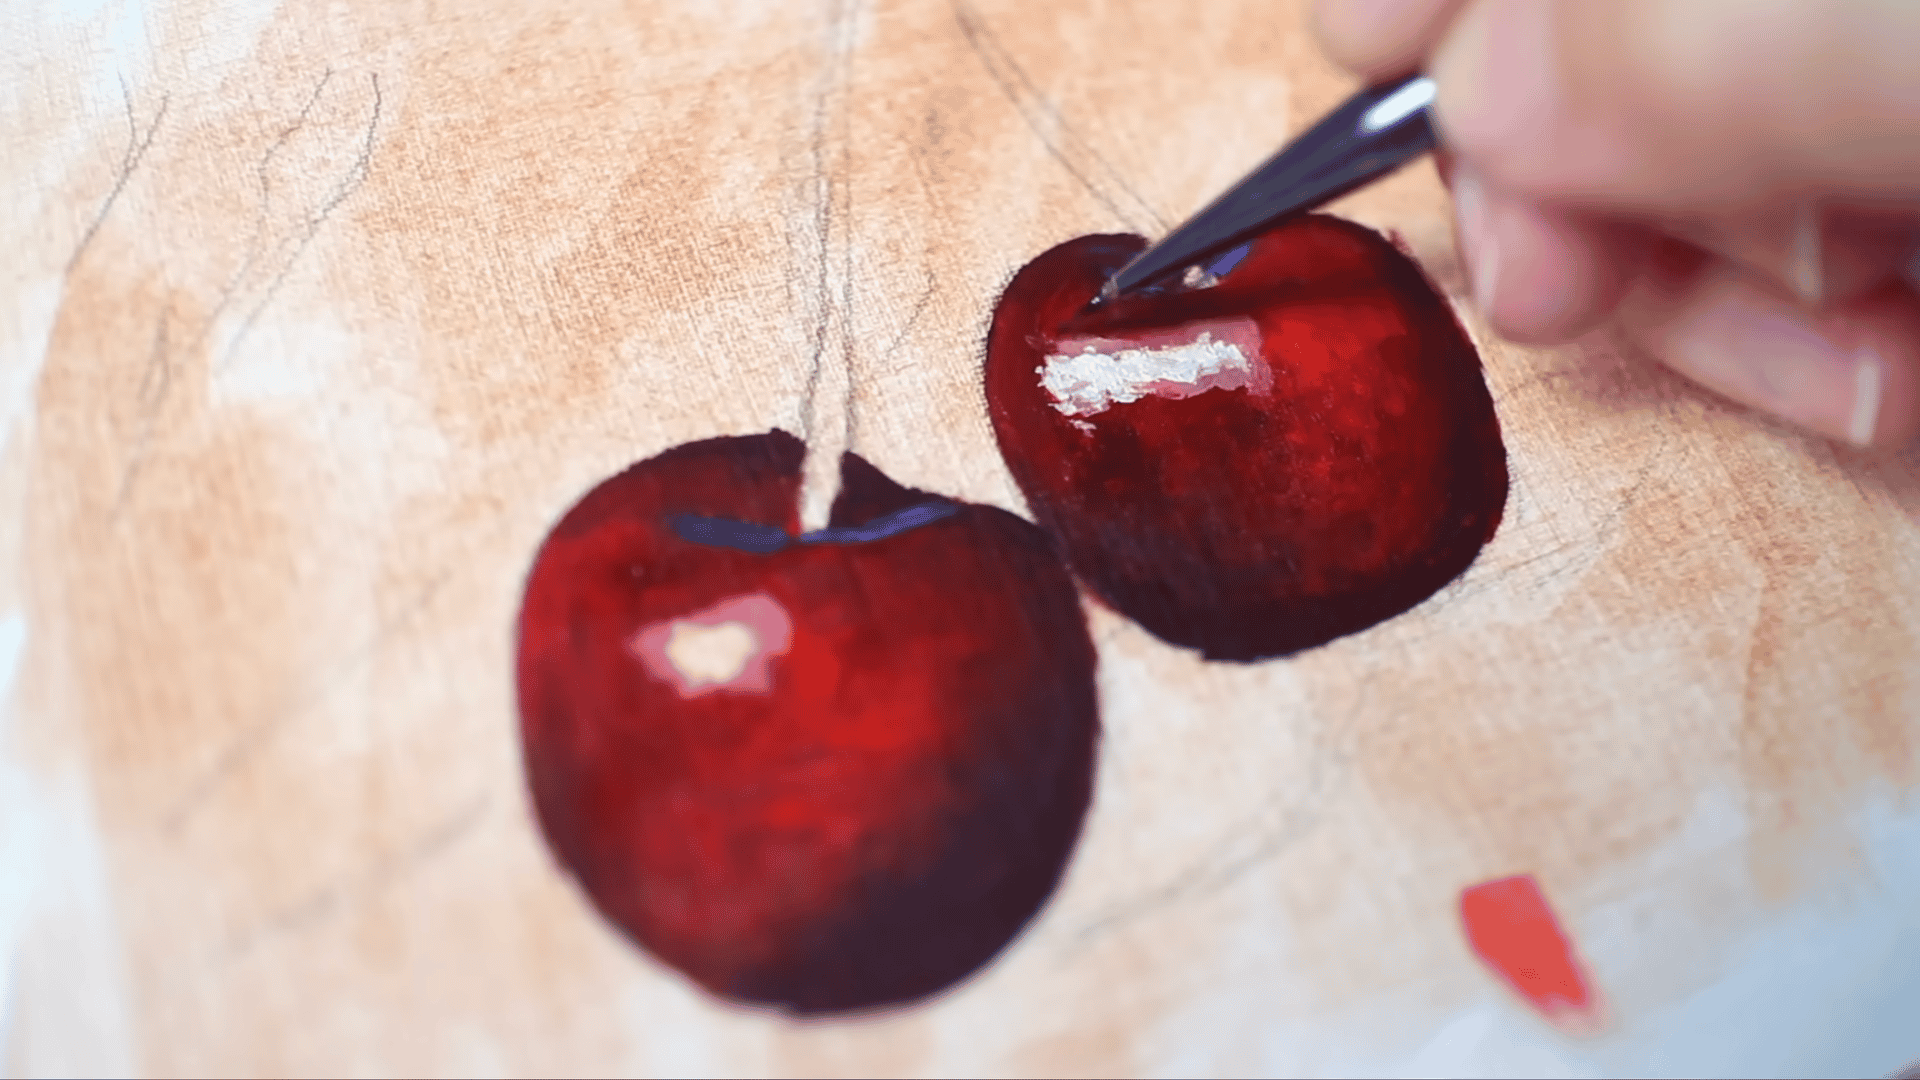
Applying highlights correctly makes a big difference in the final result. The brightest areas are not pure white. They are a mix of titanium white with small amounts of the subject’s base color.
A liner brush works best for placing highlights accurately. The paint is applied thickly in small shapes exactly where the light hits the strongest.
Step 6: Paint the Background
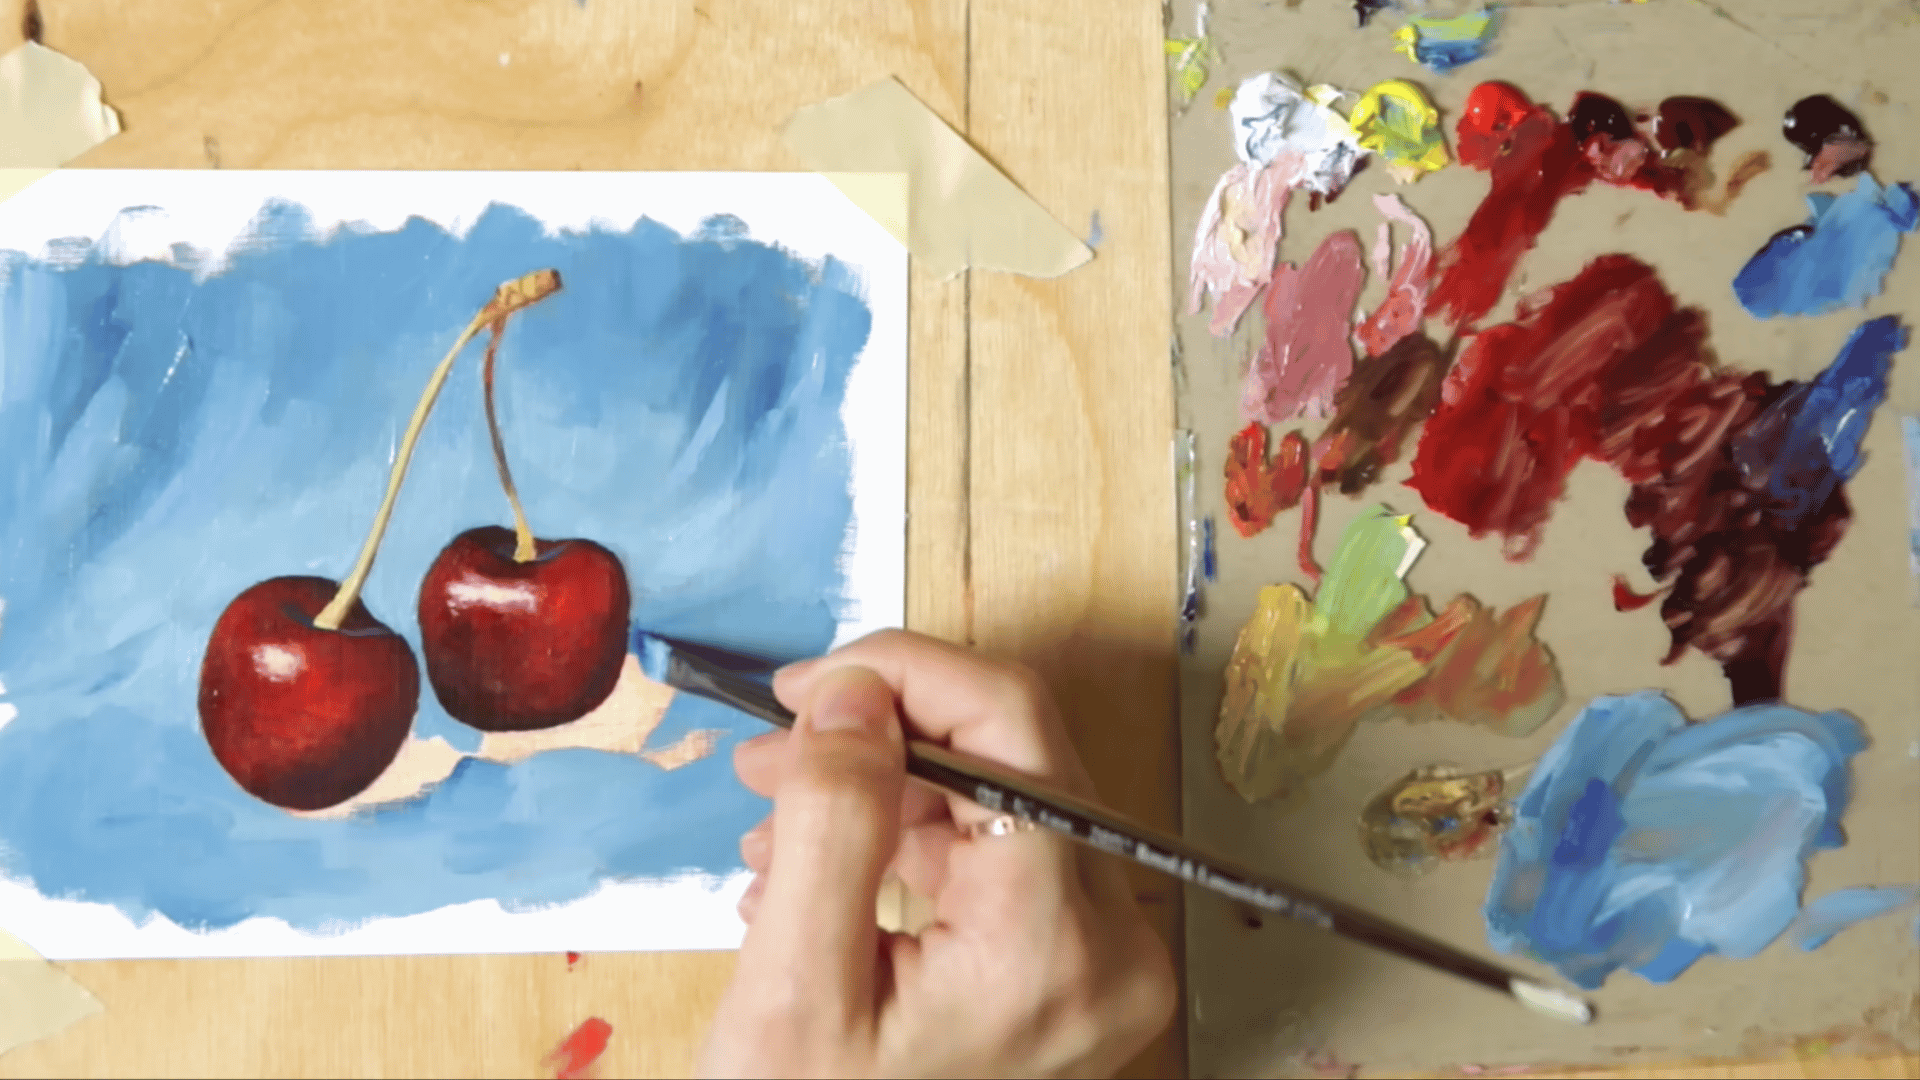
Once the main subject is done, filling in the background brings the whole painting together. A mix of ultramarine blue, cadmium lemon, and titanium white covers the lighter areas.
Darker shadow sections are filled with a deeper version of the same mix. Blending both tones softly creates smooth transitions across the background.
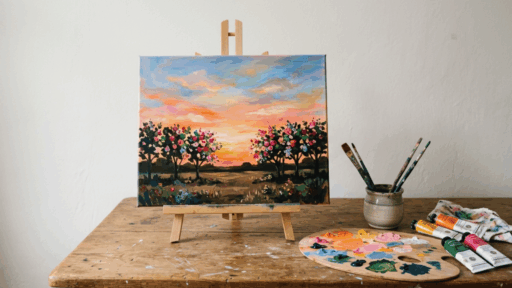
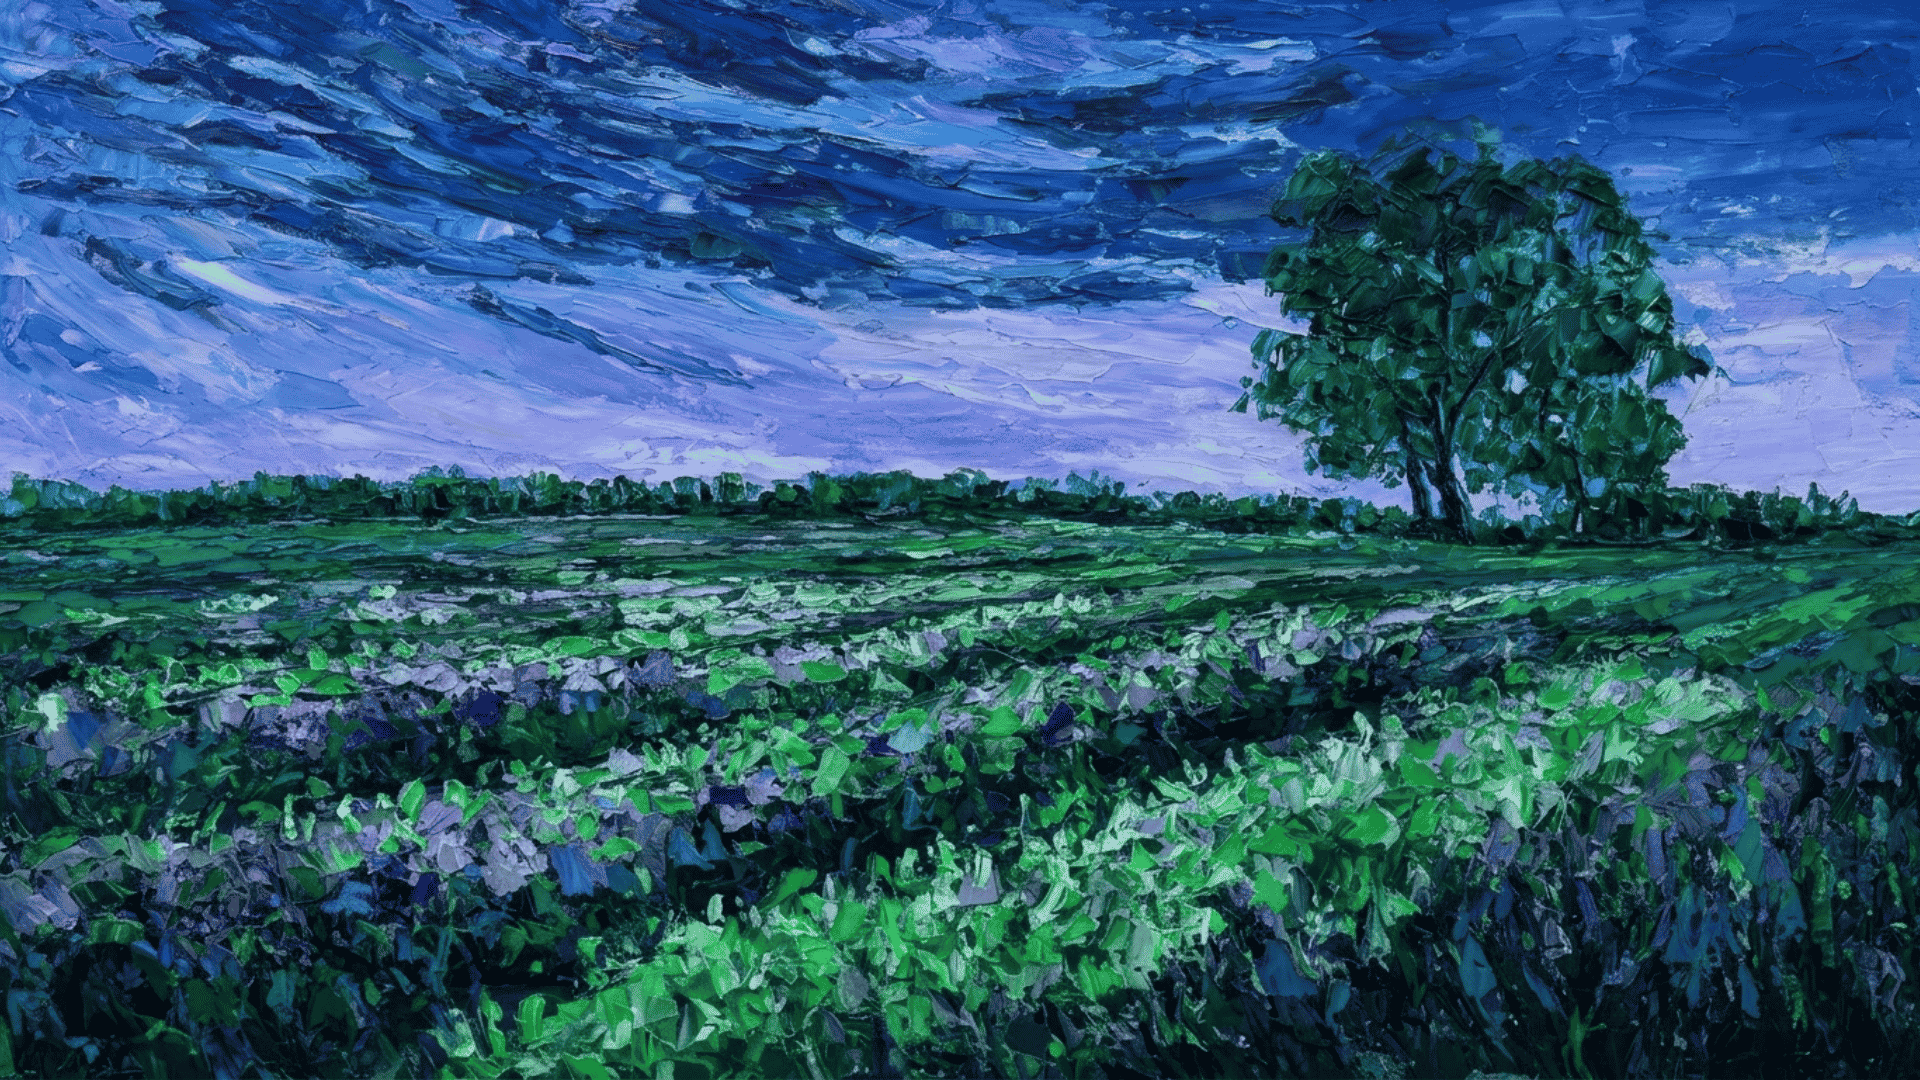
Step 7: The Final Result
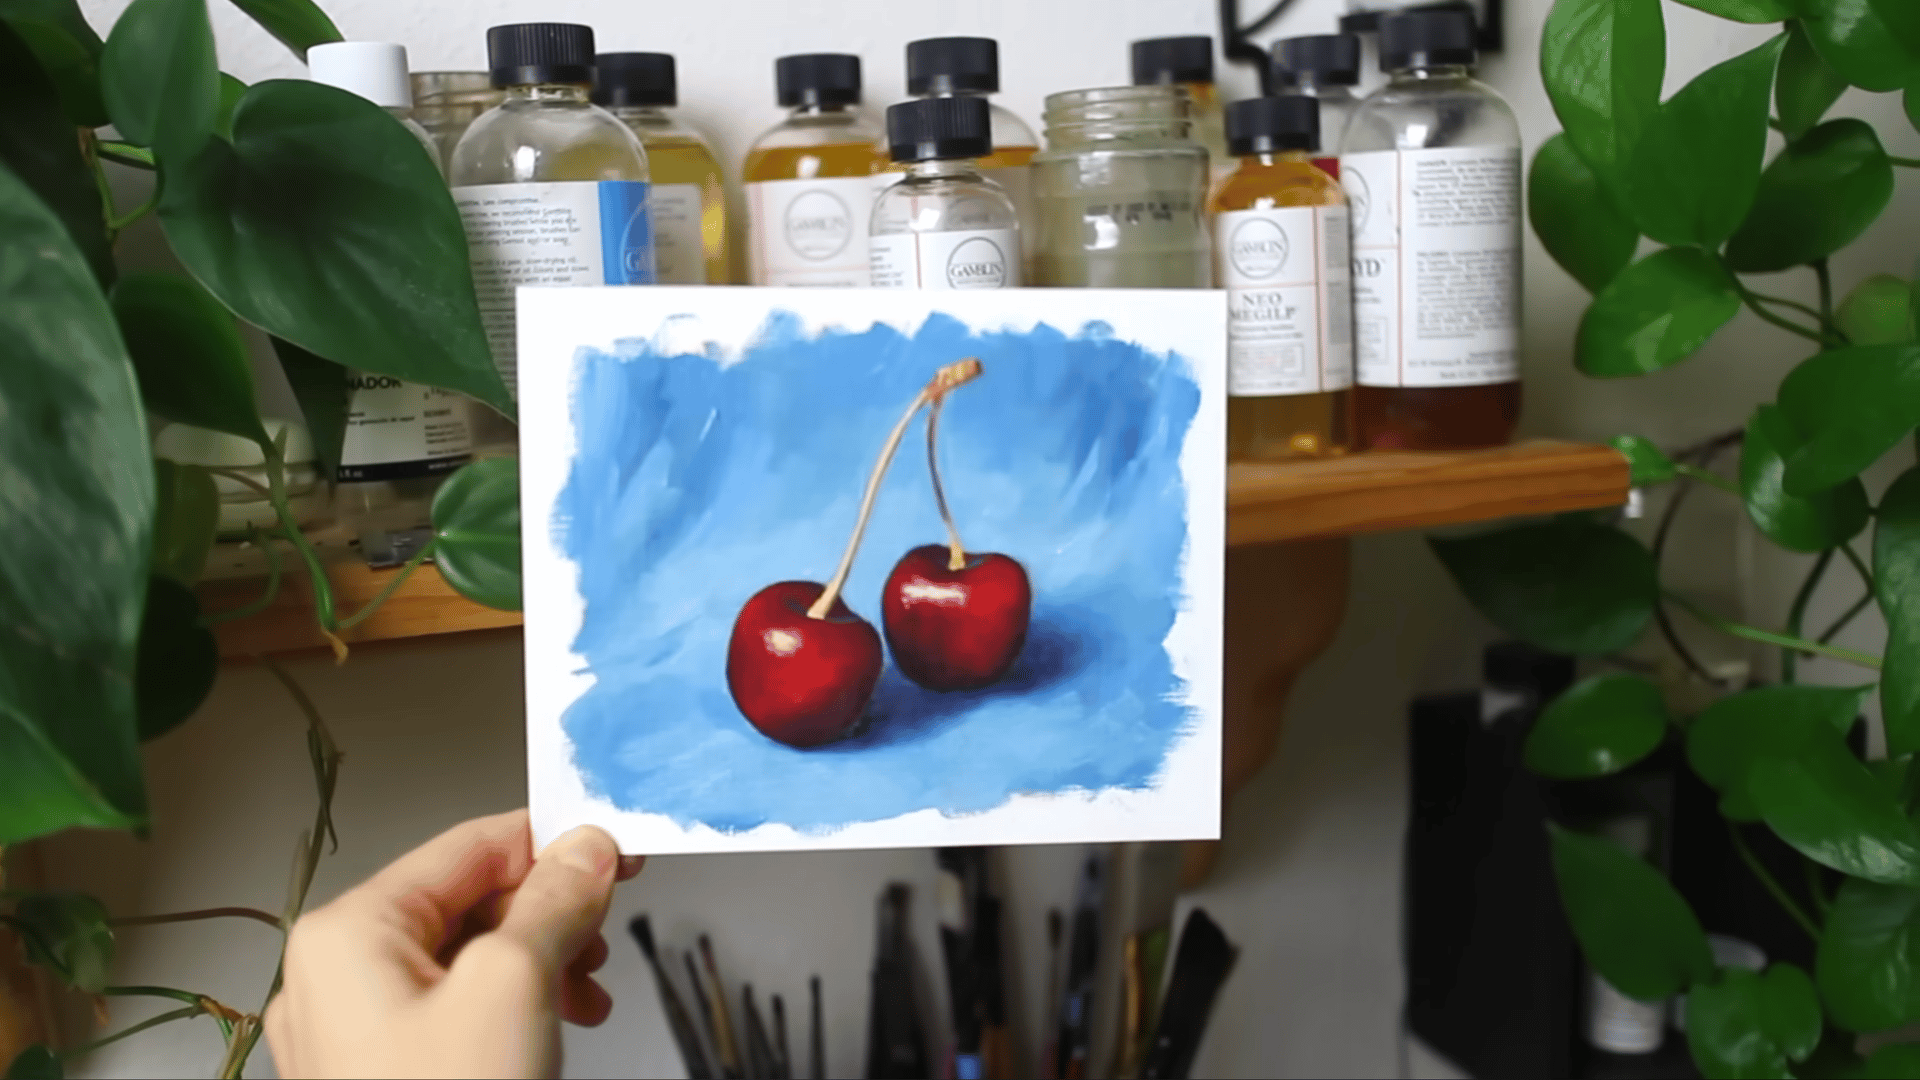
This is where all the steps of oil painting come together into a completed piece. The toned base, layered colors, and refined highlights combine to create a painting with real depth and dimension.
Here is the full tutorial video for a complete walkthrough:
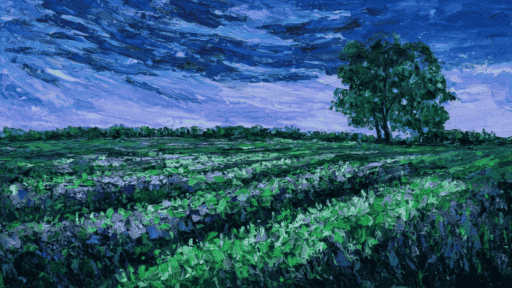
Other Techniques of Oil Painting for Beginners
These techniques help build control over paint, texture, and layering. Here is what to practice:
- Fat Over Lean: Top layers should always contain more oil than the bottom layers. This prevents the paint from cracking as it dries.
- Wet-On-Wet: Colors are mixed directly on the canvas while still wet. This creates smooth, natural transitions between tones.
- Dry Brushing: A brush with very little paint is dragged across the surface. This creates rough, textured effects over dried layers.
- Palette Knife Mixing: Using a palette knife keeps colors clean. It also protects brush bristles from unnecessary wear.
- Glazing: Thin, transparent layers are applied over dried sections to build depth. This adds richness to shadows without covering the layers beneath.
- Impasto: Thick paint is applied directly onto the canvas to create raised texture. This works best for highlights and areas of strong light.
How Artists Develop Their Own Painting Style?
Every artist who learns to oil paint eventually develops their own way of working. It takes time, patience, and a willingness to experiment.
Trying different subjects helps a lot. Some artists prefer simple still life over complex portraits. Others enjoy loose, expressive brushwork more than fine detail work.
Paying attention to which techniques feel most natural is a good starting point. Over time, certain color combinations and approaches will start to feel more comfortable.
Final Thoughts
Oil painting takes time to learn, but the process is straightforward once the basics are in place. Starting with simple subjects and the right materials makes a difference.
The techniques covered here, from toning the canvas to building layers gradually, give a solid foundation to work from. Mistakes are part of the process.
They are how control and consistency develop over time.
For anyone serious about oil painting, the only way forward is to pick up a brush and start. Learning how to oil paint does not require precision. It just requires a willingness to begin.

James McLaren, with a rich background in architecture from the University of Manchester, has been contributing his expertise to the world of creative construction and home innovation for over 20 years. His journey began as a project manager for a leading construction firm, where he honed his skills in bringing complex designs to life. James joined our platform as a freelancer in 2019, quickly becoming a favorite for his insightful and practical advice. He has been a pivotal force to our wing ever since, bringing our readers a blend of technical know-how and creative flair. Beyond his professional life, James is an avid woodworker and enjoys restoring vintage furniture, a hobby that complements his professional insights beautifully.