Growing your own greens at home sounds like a lot of work, but it doesn’t have to be.
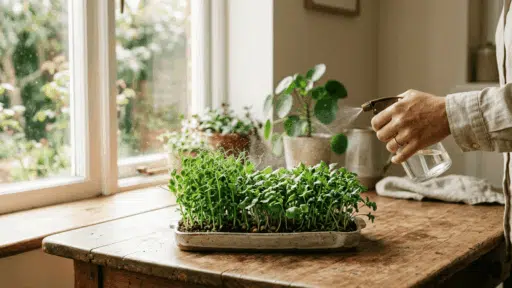
If you’ve been wondering how to grow microgreens indoors, let me tell you that you don’t need a garden, special tools, or much space to get started.
Microgreens grow quickly, and they fit easily into small containers on a windowsill or kitchen counter. Still, many people aren’t sure where to begin or what actually works indoors.
This blog breaks it down simply so you can grow fresh microgreens at home without overcomplicating the process.
What Makes Microgreens Unique?
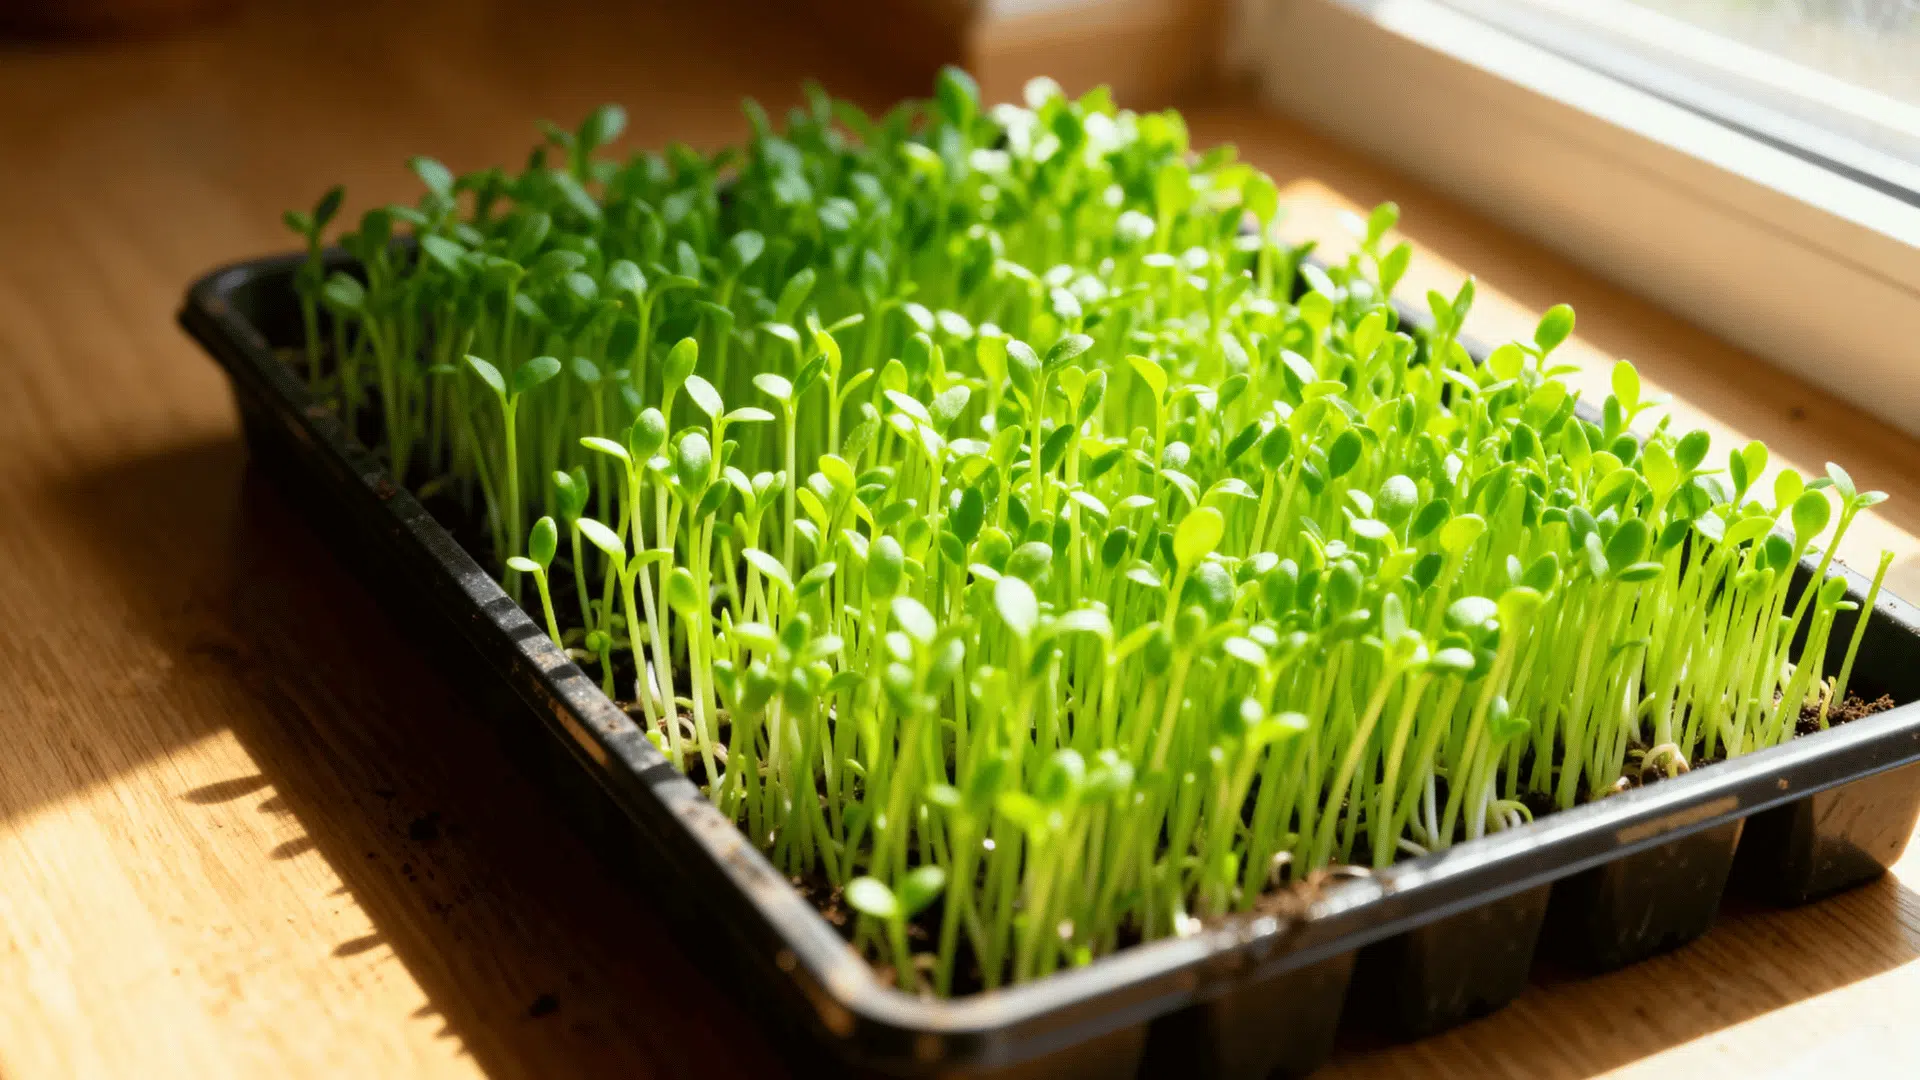
Microgreens are young vegetable greens that are harvested early, usually just after the first few leaves develop.
They are smaller than baby greens but more developed than sprouts, which makes them a unique category of edible plants.
These greens are known for their strong flavor and high nutrient content, even in small amounts. They are often used in salads, sandwiches, and as toppings for various dishes.
Because they grow quickly and don’t need much space, they have become a popular choice for indoor growing.
Why Grow Microgreens Indoors?
Growing microgreens indoors in containers is one of the simplest ways to start with indoor gardening. You don’t need a backyard or a large setup, just a small space and basic materials.
Since they grow fast and require minimal care, they’re a practical option for anyone looking to grow fresh greens at home.
- Requires very little space, making it ideal for small homes or apartments
- Grows quickly, usually ready to harvest in 7 to 14 days
- Easy to manage indoors with simple watering and light
- Can be grown year-round regardless of the weather
- No garden needed, everything can be done in small containers
All You Need to Grow Microgreens Indoors
You don’t need a complicated setup to begin growing microgreens indoors. Most of the items are simple, easy to find, and often already available at home.
| Category | Item | Purpose |
|---|---|---|
| Seeds | Microgreen seeds | The main growing element is choosing fresh and high-quality seeds |
| Growing Medium | Soil/coco coir / growing mats | Supports root growth and holds moisture |
| Container | Tray or shallow container | Holds the growing medium and seeds |
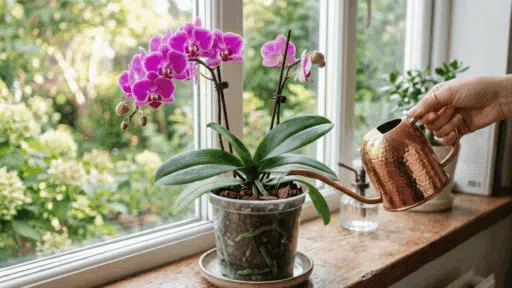
| Watering Tool | Spray bottle or watering can | Helps with gentle and controlled watering |
| Light Source | Sunlight or grow light | Supports healthy growth and proper development |
| Drainage | Container with holes or a layer for drainage | Prevents excess water buildup and root issues |
| Cover | Lid or tray cover (optional) | Helps with germination in the early stage |
| Space | Indoor area (windowsill or shelf) | Provides a stable place for growing indoors |
How to Grow Microgreens Indoors: Step-by-Step Process
Growing microgreens indoors becomes much easier when you follow a simple routine and understand what each stage requires. These are simple steps to help you get started.
Step 1: Prepare the Container
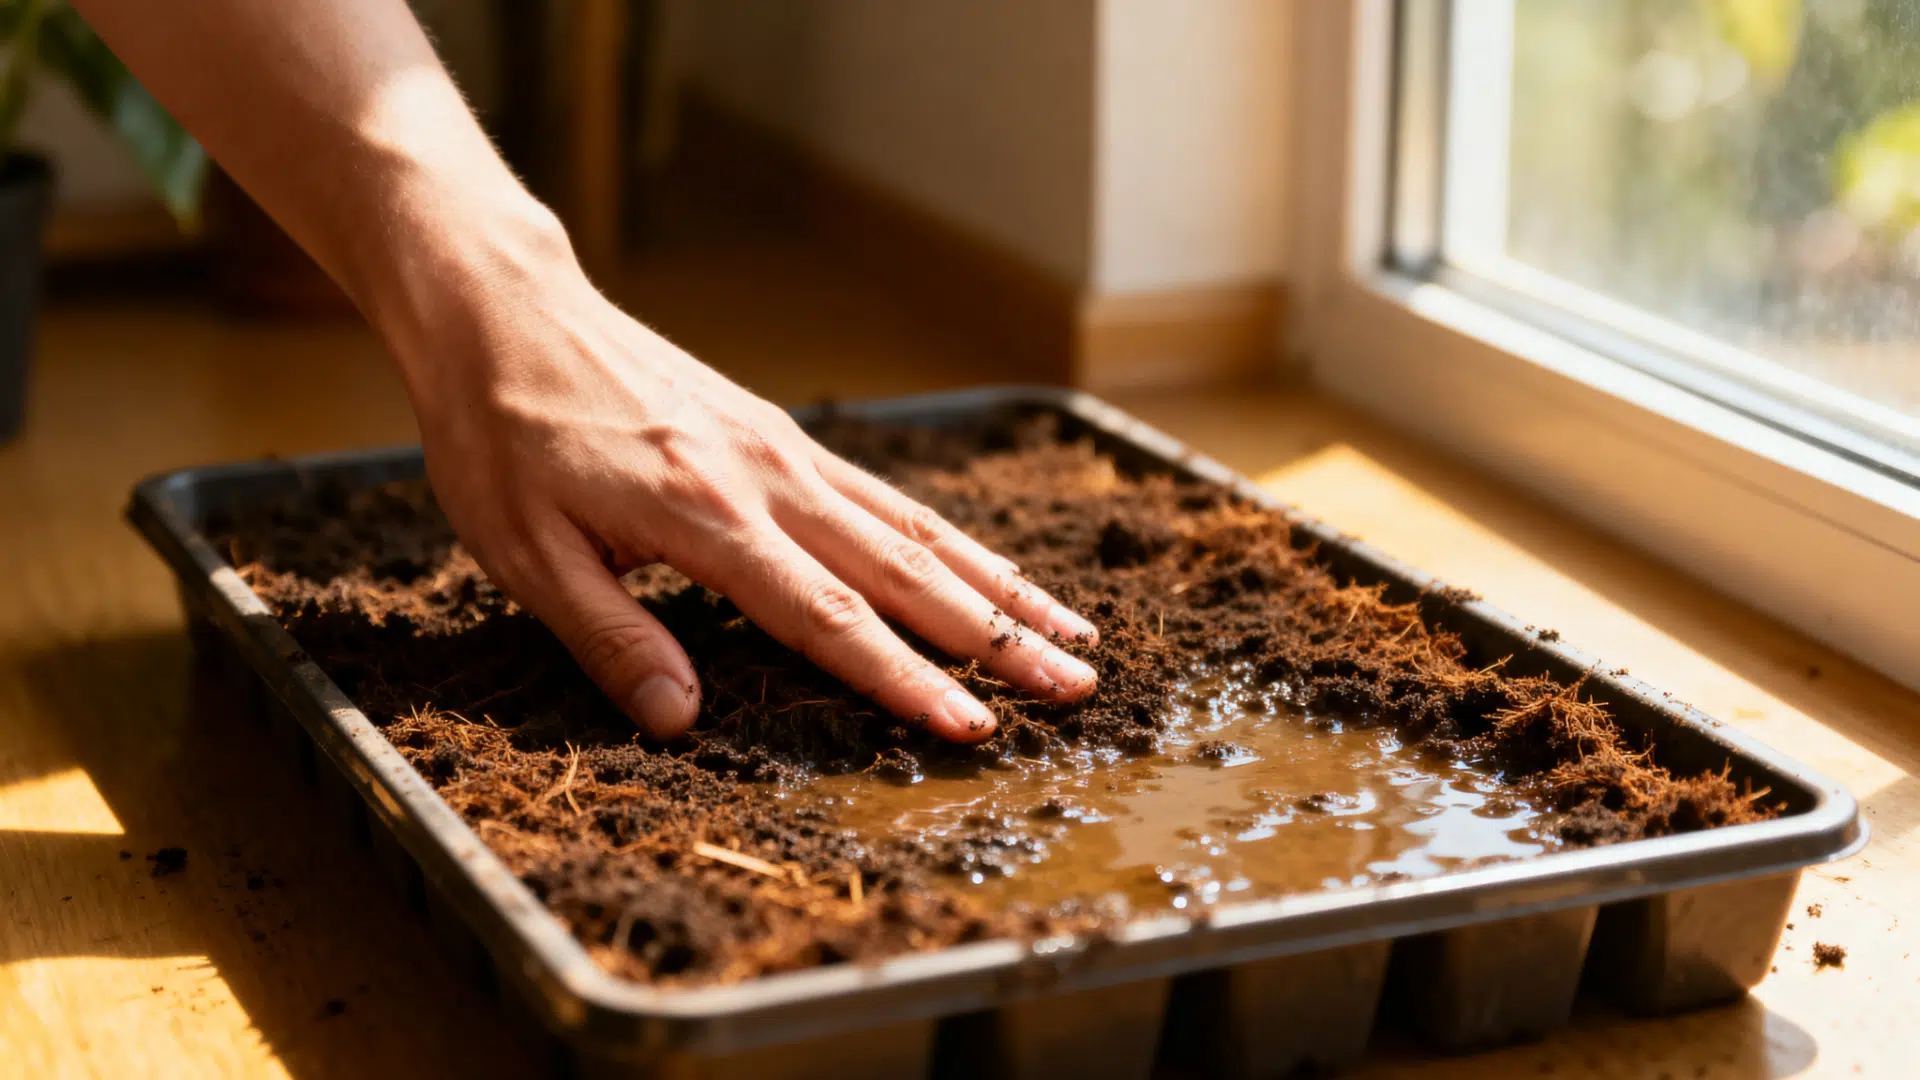
Start by selecting a shallow container with proper drainage or one that allows excess water to escape. Fill it with a growing medium like soil or coco coir, spreading it evenly so the surface is level.
Lightly moisten the medium before planting, as this helps seeds settle and begin the germination process. A well-prepared base makes a big difference in how evenly your microgreens grow.
Step 2: Sow the Seeds
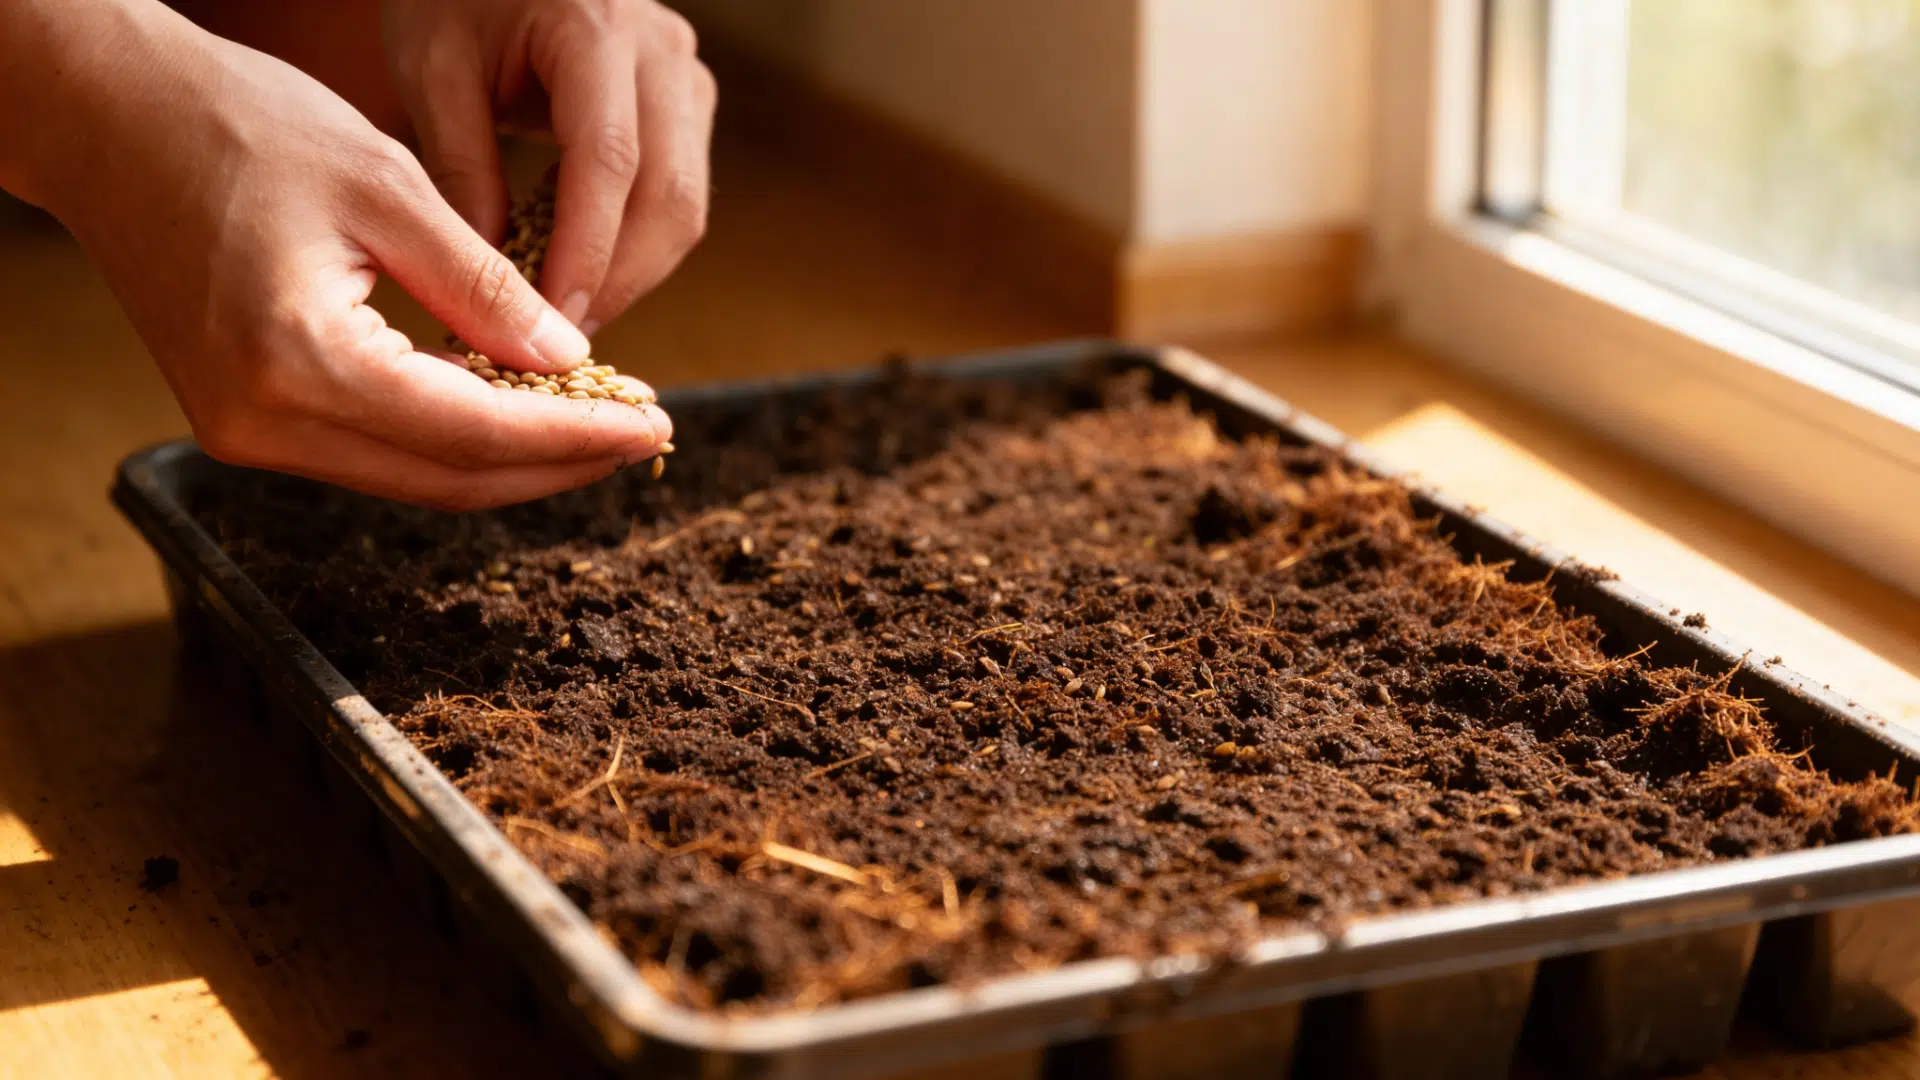
Scatter the seeds evenly across the surface without pressing them too deeply into the medium. Try to maintain an even layer so each seed has enough space to grow properly.
Avoid overcrowding, as this can lead to poor airflow, uneven growth, and a higher chance of mold. A balanced spread helps ensure stronger and healthier plants.
Step 3: Cover and Germinate
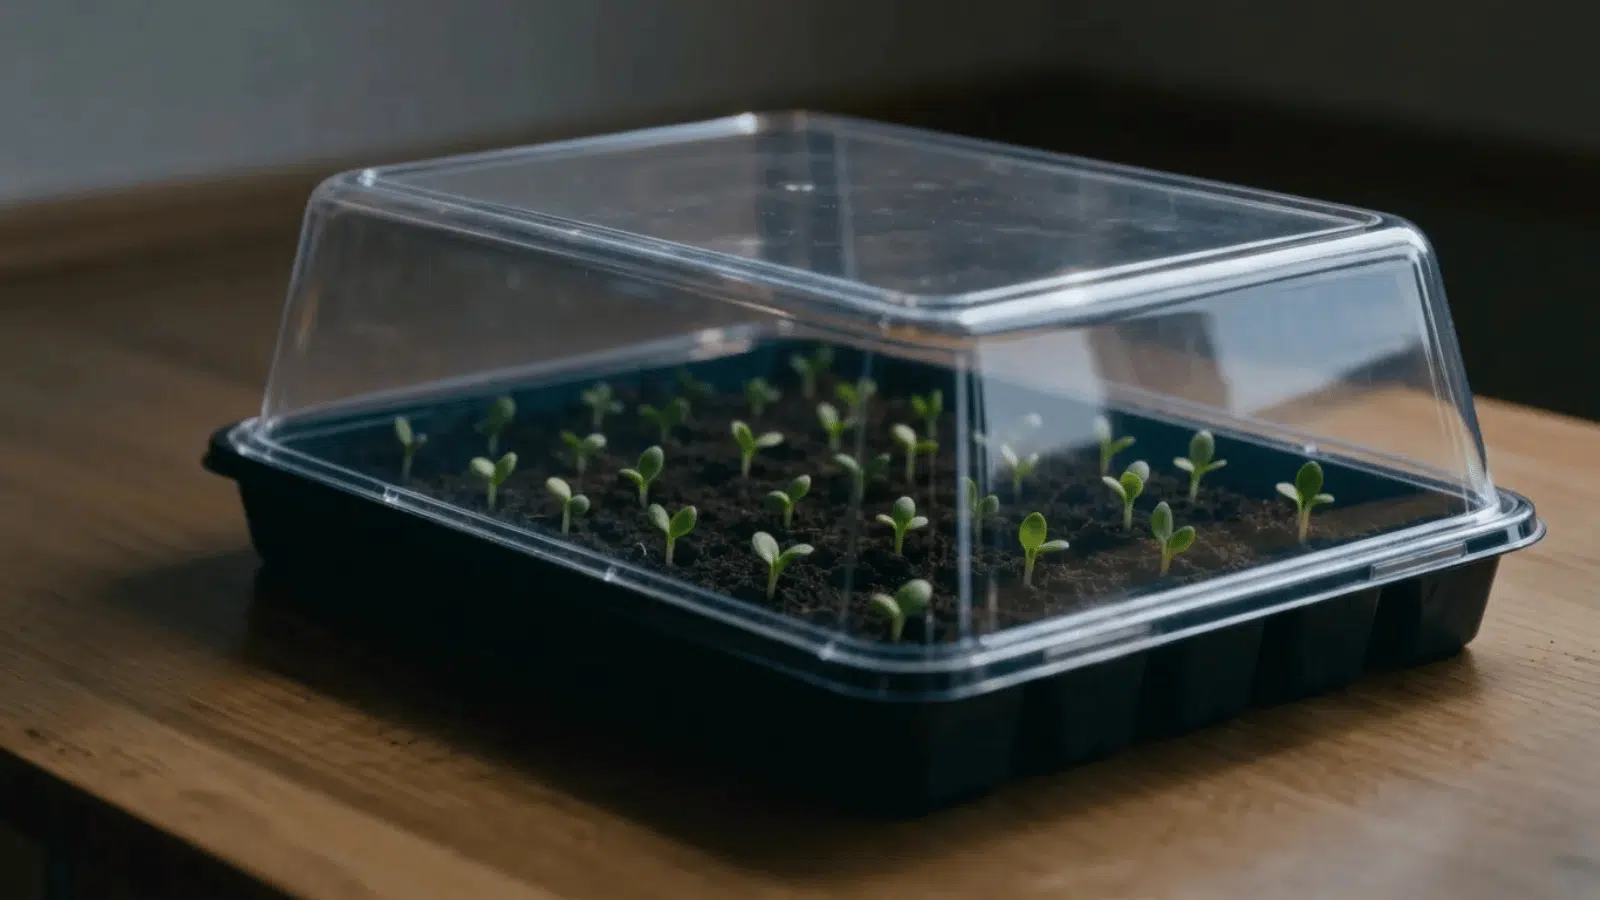
After sowing, cover the container with a lid or another tray to create a dark and slightly humid environment. Place it in a warm spot for about 2 to 3 days to support germination.
During this stage, the seeds begin to sprout, and darkness helps them grow faster. Check occasionally to ensure the medium stays slightly moist.
Step 4: Provide Light
Once the seeds have sprouted, remove the cover and move the container to a well-lit area. A bright windowsill works well, but you can also use grow lights if natural light is limited.
Make sure the light is consistent so the microgreens grow upright rather than lean. Good lighting supports healthy color and steady development.
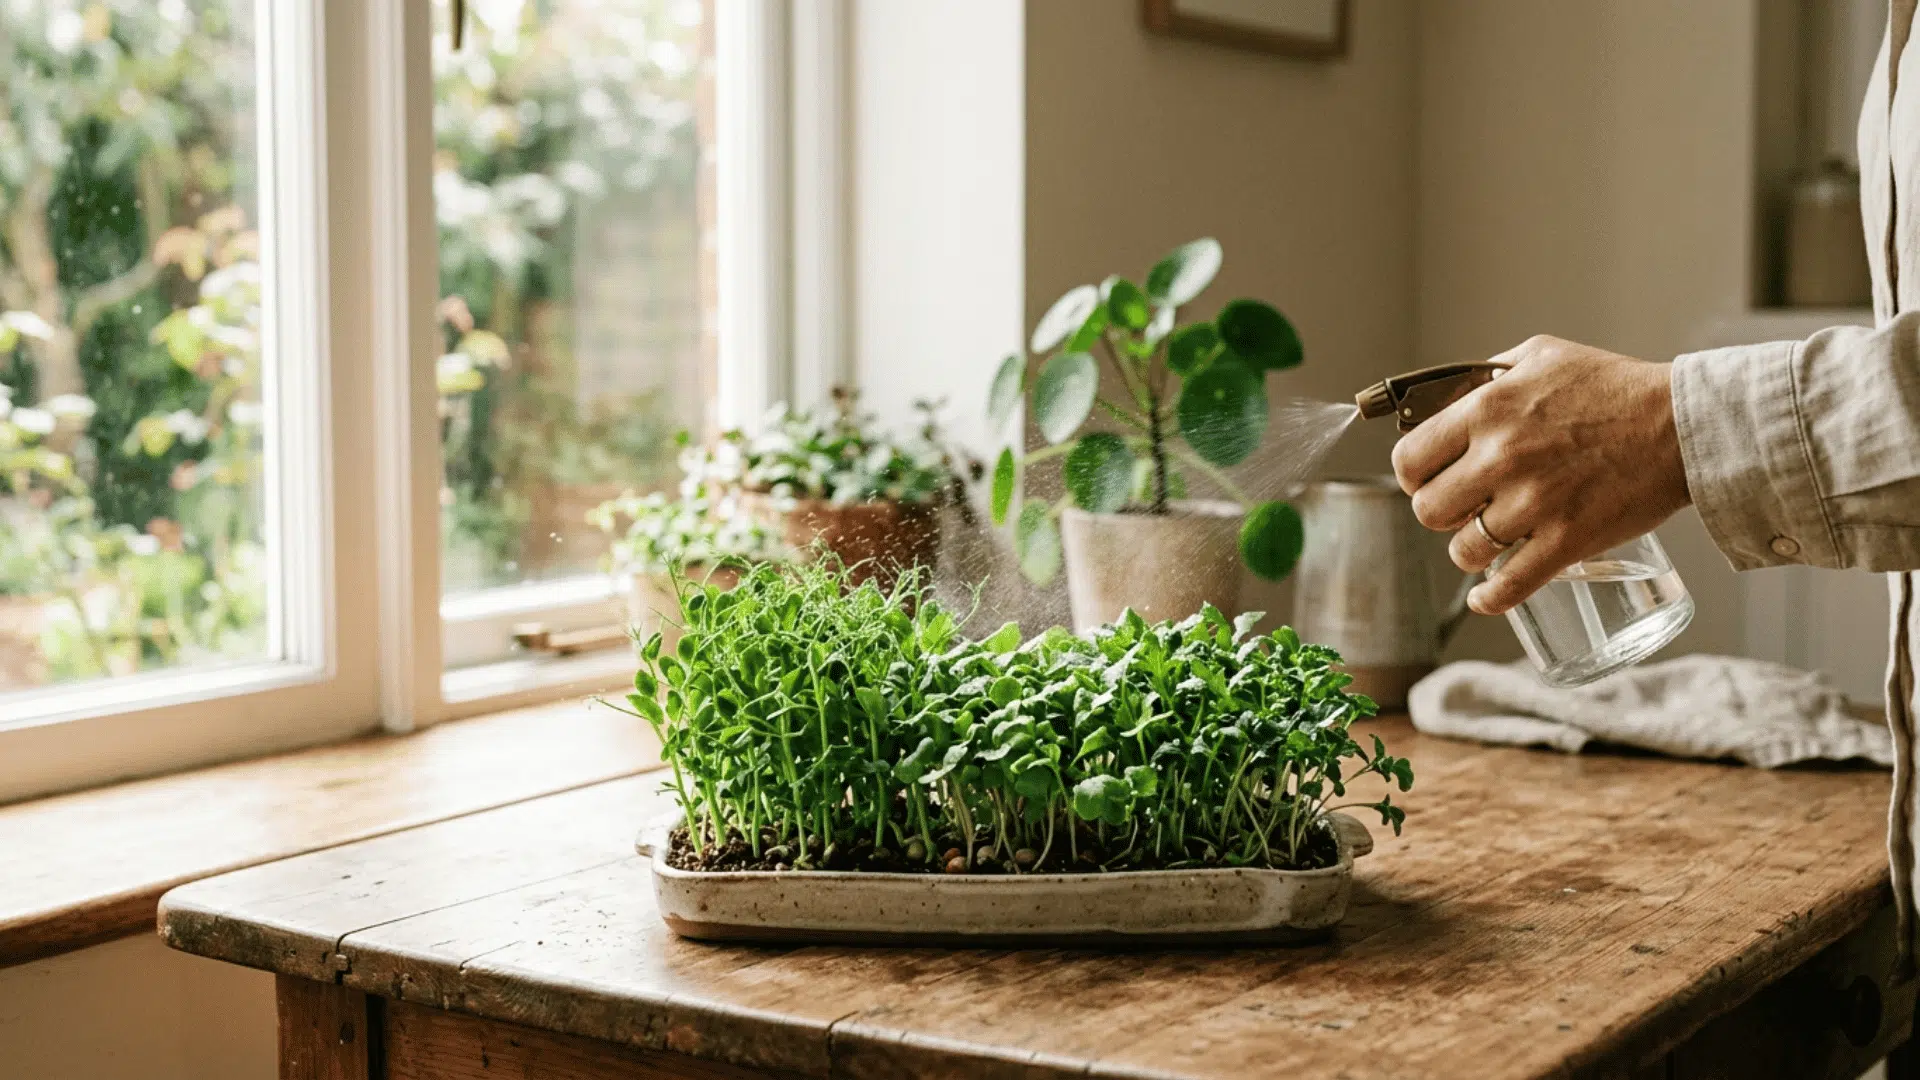
Step 5: Water Properly
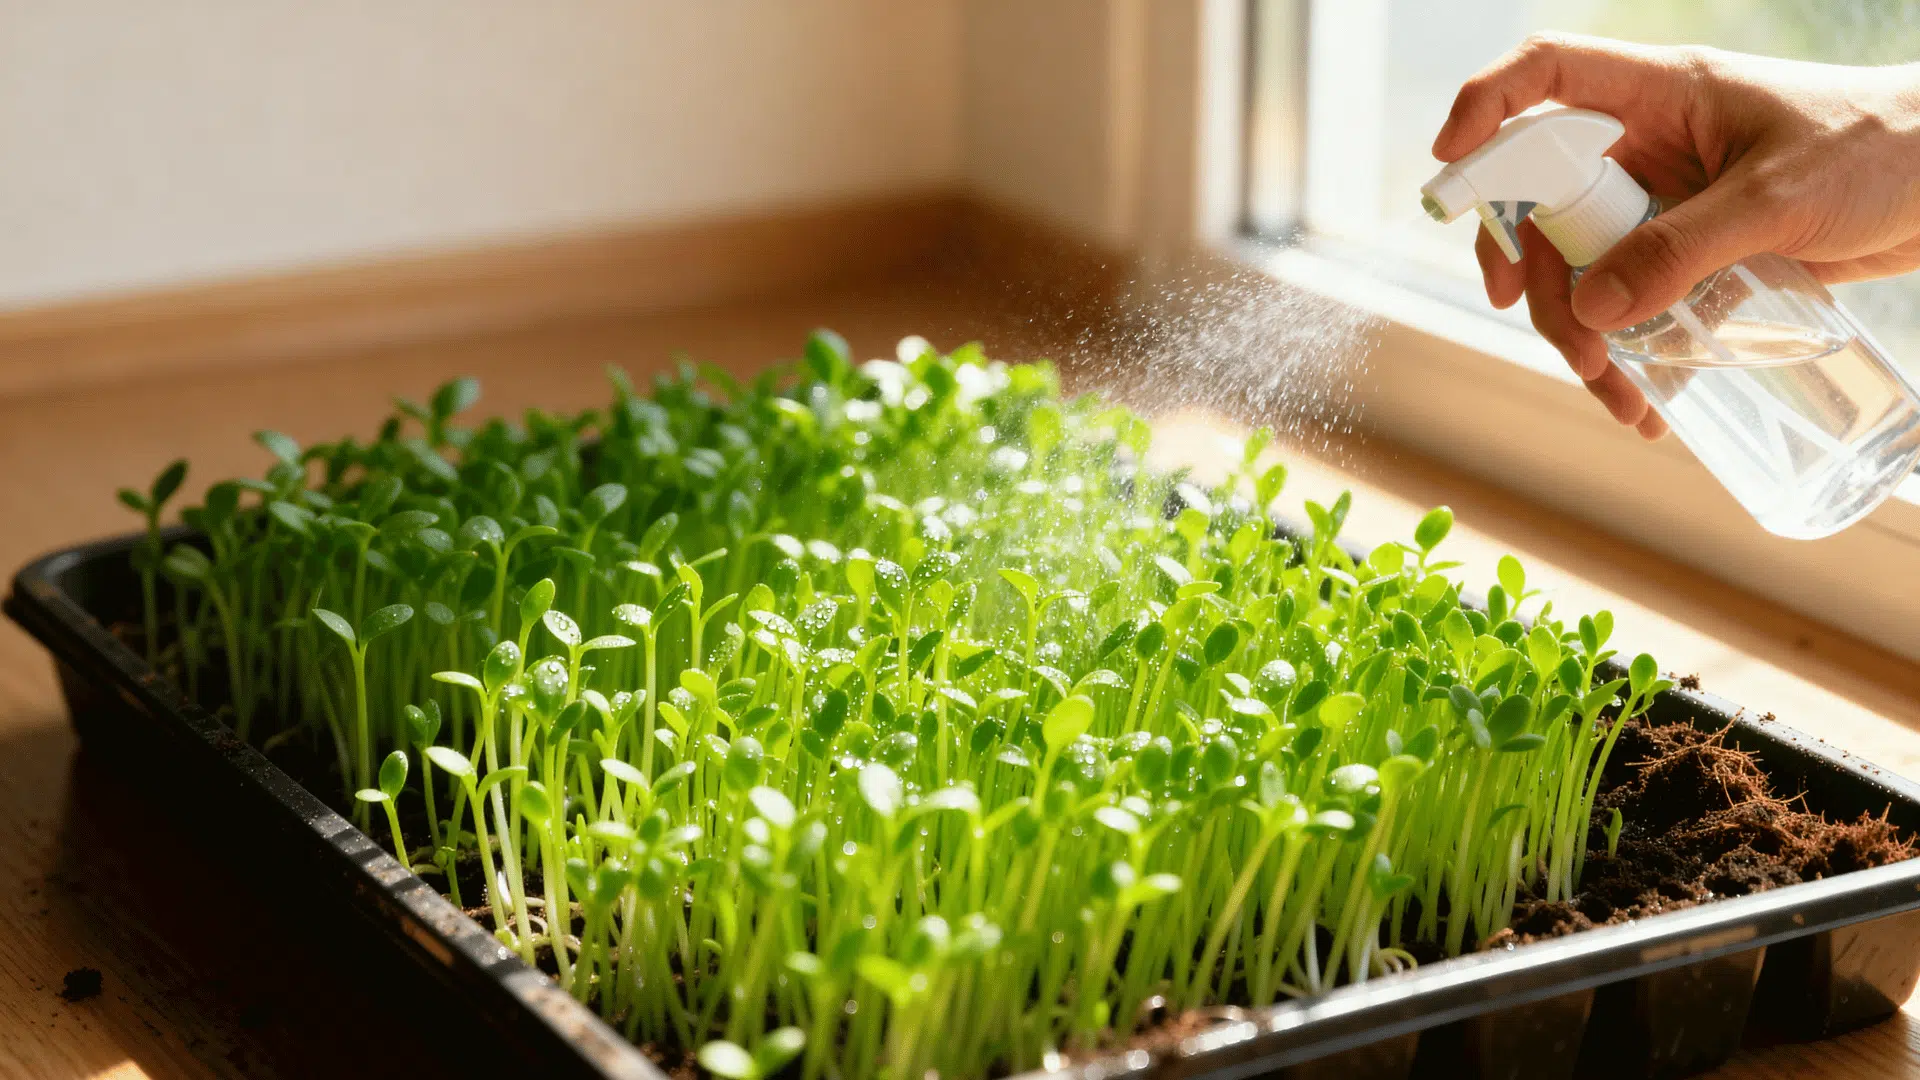
Keep the growing medium moist but not overly wet; excess water can cause mold or root problems. Use a spray bottle for gentle watering or try bottom watering to avoid disturbing the young plants.
Check moisture levels daily and water as needed to maintain steady growth. Proper watering is key to keeping microgreens healthy until harvest.
Types of Microgreens You Can Grow Indoors
Microgreens come in a variety of types, each offering different flavors, textures, and uses in cooking. Choosing the right type depends on your taste preferences and growing conditions.
| Category | Description | Examples |
|---|---|---|
| Vegetable Microgreens | Common and easy to grow, with fresh, mild to spicy flavors | Broccoli, radish, kale, cabbage |
| Herb Microgreens | Stronger aroma and flavor, often used as a garnish | Basil, cilantro, parsley, dill |
| Grain Microgreens | Mild taste, often used in juices and smoothies | Wheatgrass, barley, oats |
| Flower Microgreens | Decorative with unique flavors (sweet or peppery) | Sunflower, nasturtium, marigold |
Common Mistakes to Avoid
When growing microgreens indoors, small mistakes can affect growth and yield more than you might expect. Here are some common issues to watch out for:
- Overwatering: Too much water can lead to mold and root problems. Keep the medium moist, not soaked, to maintain healthy growth.
- Using Poor-Quality Seeds: Low-quality or old seeds may not germinate properly, leading to uneven or weak growth. Always choose fresh, reliable seeds.
- Not Enough Light: Without enough light, microgreens can grow thin and weak. Place them near a window or use a grow light for better results.
- Overcrowding Seeds: Planting too many seeds in one tray limits airflow and space, which can cause poor growth and increase the risk of mold.
- Poor Drainage: Containers without proper drainage can trap excess water, damaging roots and slowing down growth.
Conclusion
Growing microgreens at home is simpler than it seems once you understand the basics.
When you follow the right steps, use proper containers, and avoid common mistakes, results come quickly and consistently.
For understanding how to grow microgreens indoors, the key is to keep things simple and stay consistent with light, watering, and spacing. Over time, you’ll find what works best in your space.
With a little practice, growing microgreens indoors becomes an easy routine that gives you fresh, homegrown greens whenever you need them.

With a Master’s in Landscape Architecture from the University of Virginia, Sophia Stephenson has dedicated the last 20 years to creating and maintaining vibrant outdoor spaces. Her professional journey started in landscape design, where she gained a reputation for innovative and sustainable approaches. Sophia became a part of our editorial team as a freelancer in 2019, offering a fresh perspective on outdoor living. Since 2020, she has been the chief for our outdoor design content, blending aesthetic appeal with environmental stewardship. In her leisure time, Sophia is a keen photographer, capturing the beauty of natural landscapes, a hobby that complements her professional expertise.