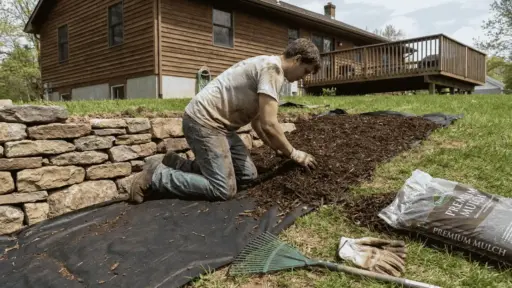
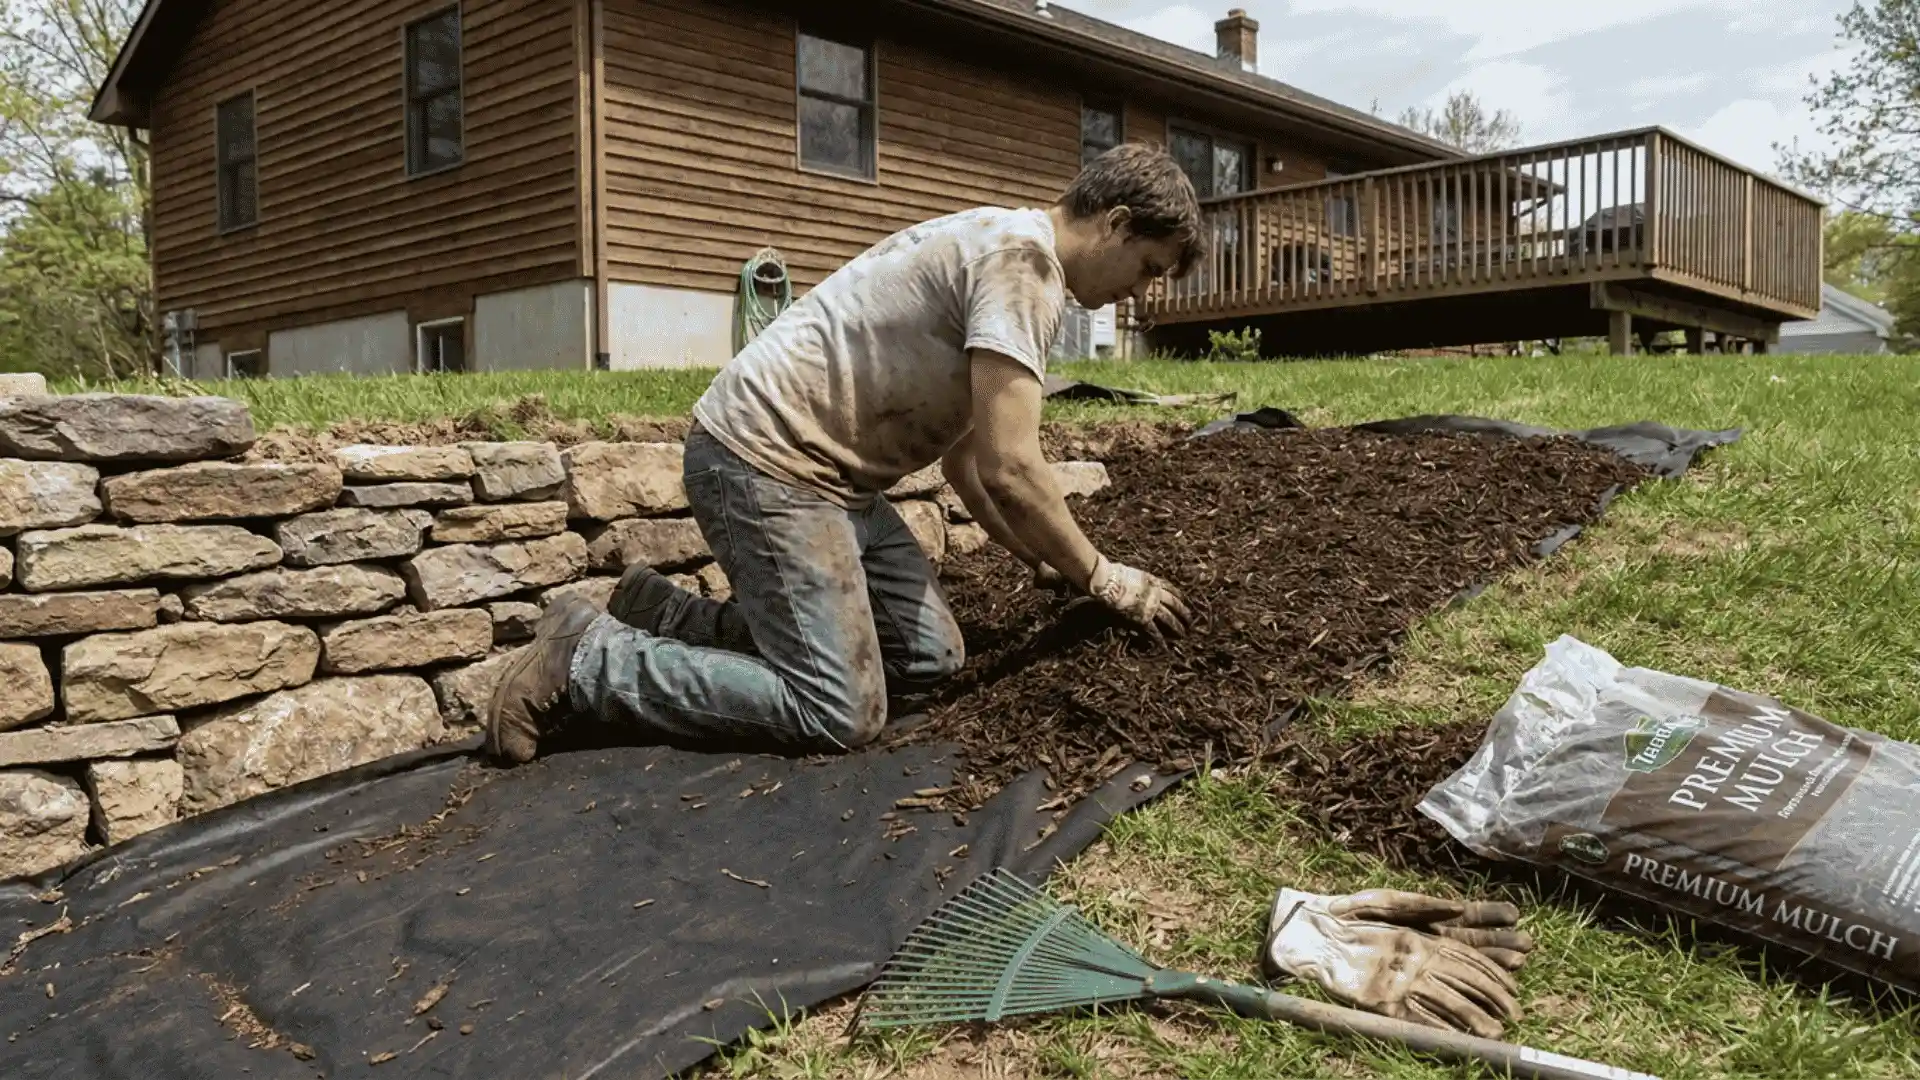

My backyard drops off like someone tilted the whole plot on purpose. For months, I treated it as a problem to hide rather than a space to design.
Turns out most sloped yards get ignored for the same reason: people assume “sloped” means “unusable” and stop there. It doesn’t. This post breaks down what actually works on a downhill yard.
You’ll learn how to read your slope before spending a dollar on it, and which walls and steps fit different grades.
I’ll also teach you how to carve a steep yard into zones you’ll actually use, planting picks that hold soil instead of washing away with it, and where to cut costs without cutting corners on safety.
Start here before you touch a shovel.
How to Evaluate Your Slope Before Picking an Idea
Before committing to any single idea from that list, it helps to know what kind of slope you’re actually working with.
| Factor | What to Check | What It Means for Your Yard |
|---|---|---|
| Grade: Gentle (under 10%) | Stand back and eyeball the drop, or use a level and tape measure over a set distance | Most freedom. Plant, build a low wall, or lay a simple path without much extra work |
Grade: Moderate (10–20%) | Same measurement, steeper drop over the same distance | Usually needs at least one retaining wall or a set of steps to make the space safe to walk on |
| Grade: Steep (20%+) | Noticeably hard to stand on without leaning | Limits options fast. Likely needs terracing or professional grading before building anything permanent |
| Soil: Clay | Digs up dense and sticky when wet | Holds water and drains slowly, so runoff builds up and pushes against anything built on it |
| Soil: Sandy or Silty | Crumbles apart easily, drains fast when wet | Erodes fast, especially with nothing planted to hold it together |
| Soil: Drainage Test | Dig a small hole, pour in water, and time how long it takes to soak in | Slow soak means poor drainage; plan accordingly before building anything permanent |
| Accessibility | Try carrying a chair, a hose, or a bag of mulch up and down the slope | If it’s a struggle, steps or a path need to come before any of the fun stuff on the list |
| Safety | Ask whether the slope is usable day to day, not just to stand on | A yard that’s hard to move around in safely is not one that gets used much |
Structural and Hardscape Ideas
Once the grade and soil are sorted, it’s time for the part most people search for first: what to build. These hardscape options do the heavy lifting of holding soil in place and creating flat, usable ground.
1. Multi-Level Retaining Walls (Terracing)
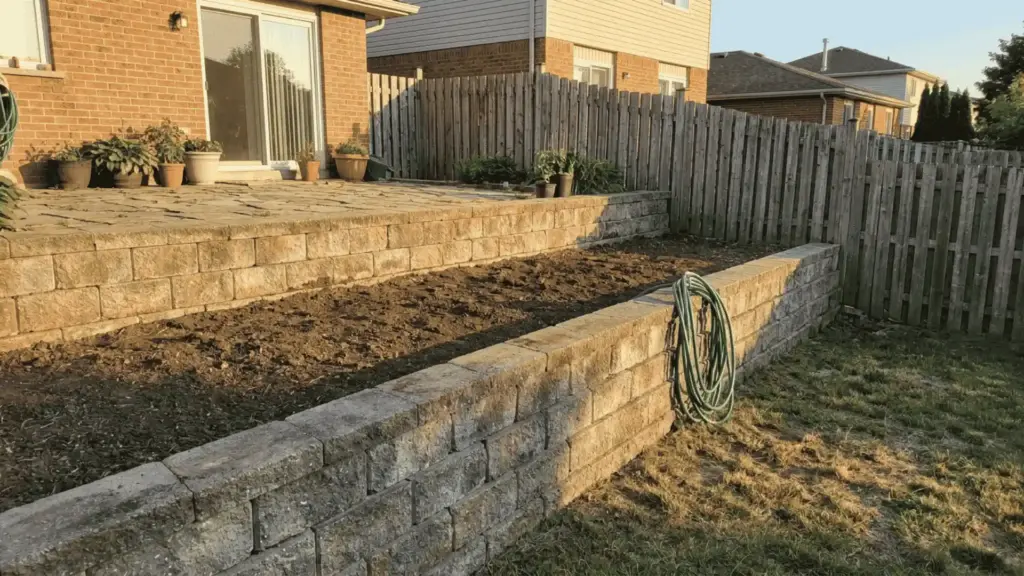
If the yard is steep, terracing is usually the best fix. Instead of one tall wall fighting a big drop, the slope breaks into two or three shorter walls with flat ground between them.
Each level becomes its own space, one for planting, one for sitting, one for whatever’s needed. It costs more upfront than a single wall, but it spreads soil pressure out instead of putting it all in one spot.
Tip: keep each tier roughly the same height. Uneven tiers place more pressure on the shorter walls, shortening their lifespan.
2. Staggered or Small Retaining Walls
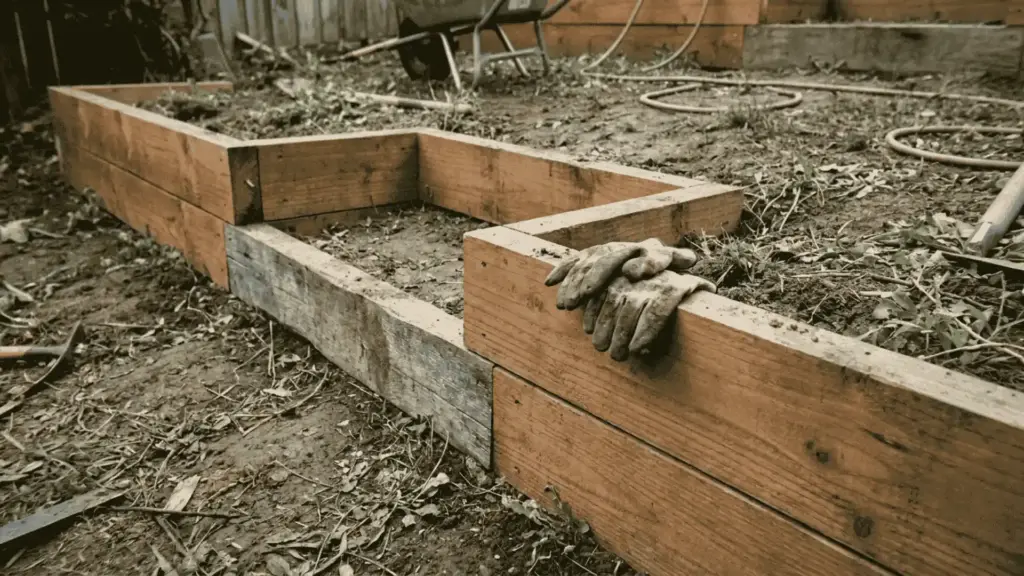
For a gentler slope, a full terrace system isn’t always necessary. A few small, staggered walls made from stone, concrete block, or timber can hold back just enough soil to level out a patio or garden bed.
This works well on a smaller budget, since each section can be built on its own rather than committing to a single big project.
3. Stone or Timber Steps
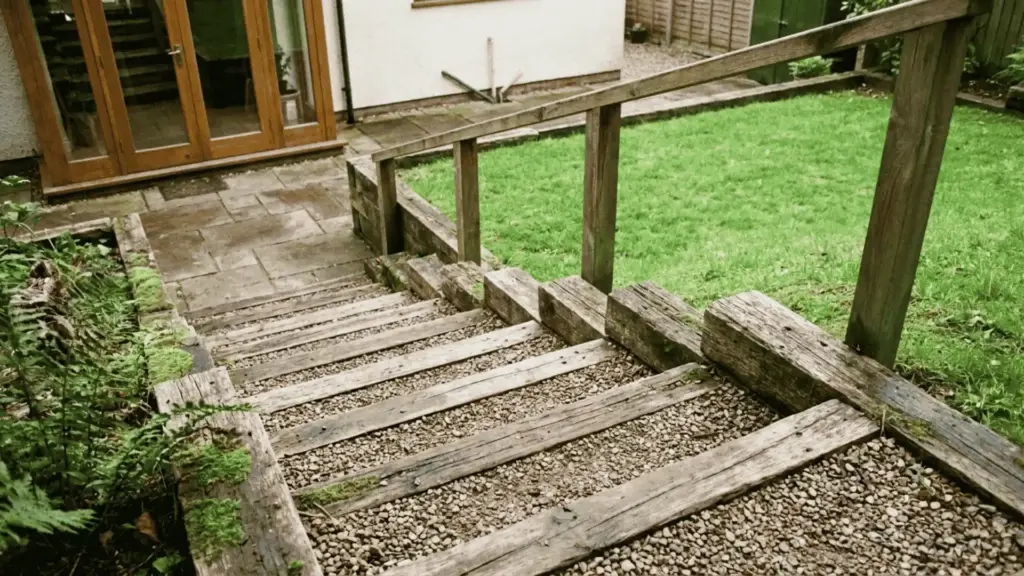
Steps may sound simple, but they make the biggest difference in how much a sloped yard is actually used. Stone steps hold up well over time and match most home styles, while timber steps cost less and look more natural in a garden setting.
Keep the rise of each step even, and add a handrail on steeper slopes, since uneven steps on a hill are where most falls happen.
4. Curved Pathways
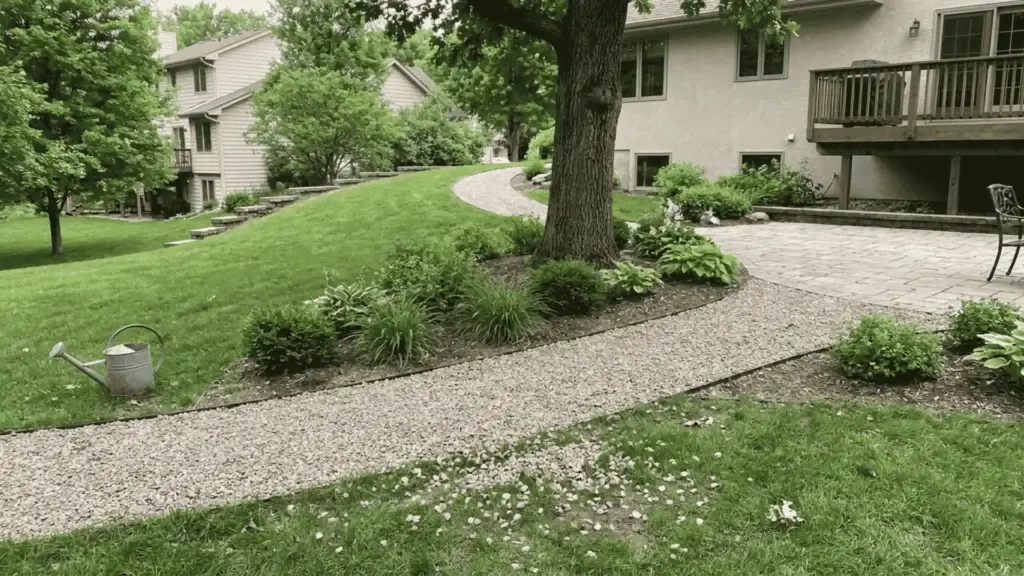
A straight path down a steep slope is hard on the legs and hard on the soil, since water runs straight down it too. A curved path breaks up that straight run, slowing both foot traffic and runoff at the same time.
It also tends to look more intentional than a path that cuts the yard in half. Gravel or stepping stones work well here, since a curved line reads more naturally in loose material than in a single poured slab.
5. Switchback Paths
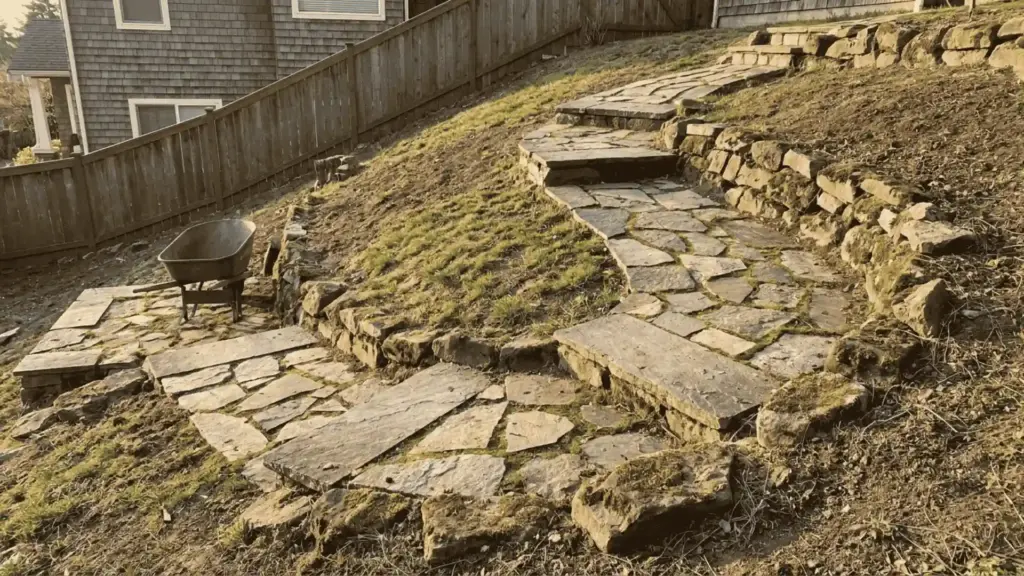
For anything steeper than moderate, a switchback path, one that zigzags back and forth across the hill, cuts down the grade being walked at any single point.
It takes up more space than a straight path, but it turns a tiring climb into an easy one and holds up better against erosion.
Each turn is worth widening slightly into a small landing, since that gives you a spot to pause or turn a wheelbarrow around without stepping off the path and disturbing the soil beside it.
6. Deck Built Mid-Slope
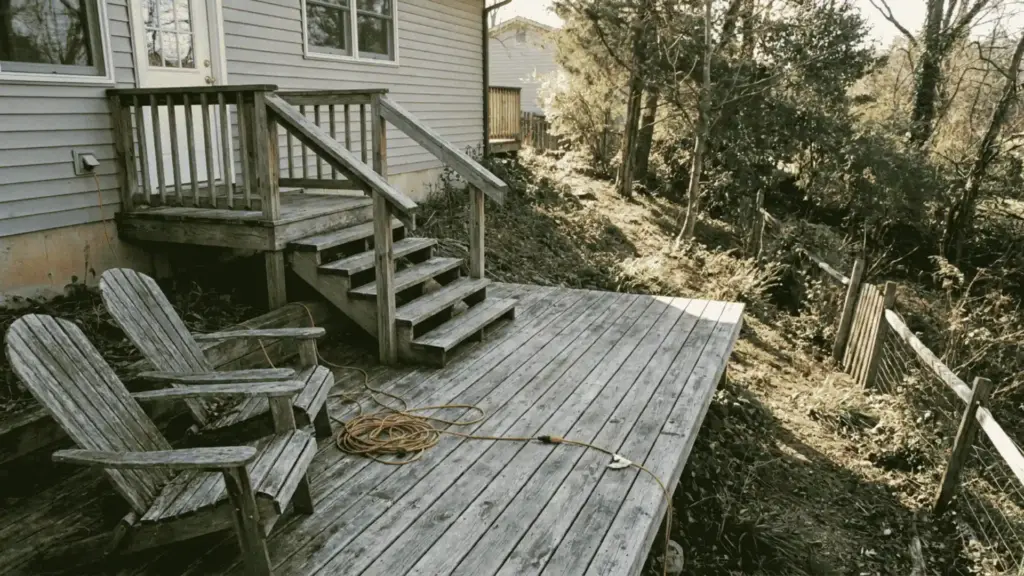
A deck skips fighting the slope altogether. Instead of grading or building walls, a raised platform sits above the uneven ground, creating one flat level to work with.
This works especially well when the house sits high, and the yard drops off right behind it, since the deck can connect straight to the back door without steps in between.
Pressure-treated wood or composite decking both hold up outdoors, though composite costs more upfront and needs far less maintenance over time, which matters more the harder the deck is to access for repairs.
7. Raised Patio for Seating and Dining
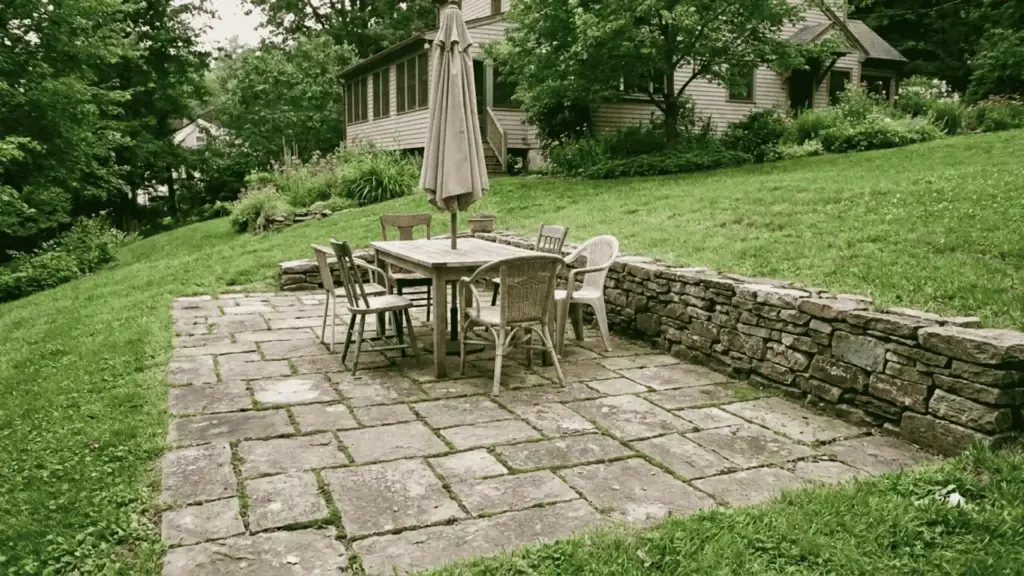
A raised patio works much like a deck but is built from stone, pavers, or concrete instead of wood. It’s a solid pick for a permanent dining or seating spot, since it lasts longer outdoors and needs less upkeep over the years.
Building it into a mid-slope section also creates a natural viewpoint over the rest of the yard.
Pavers are the easiest to repair individually if one cracks or shifts, while poured concrete gives a cleaner, more uniform look but is harder to patch later if the ground beneath it settles.
8. Garden Shed Built Into the Hillside
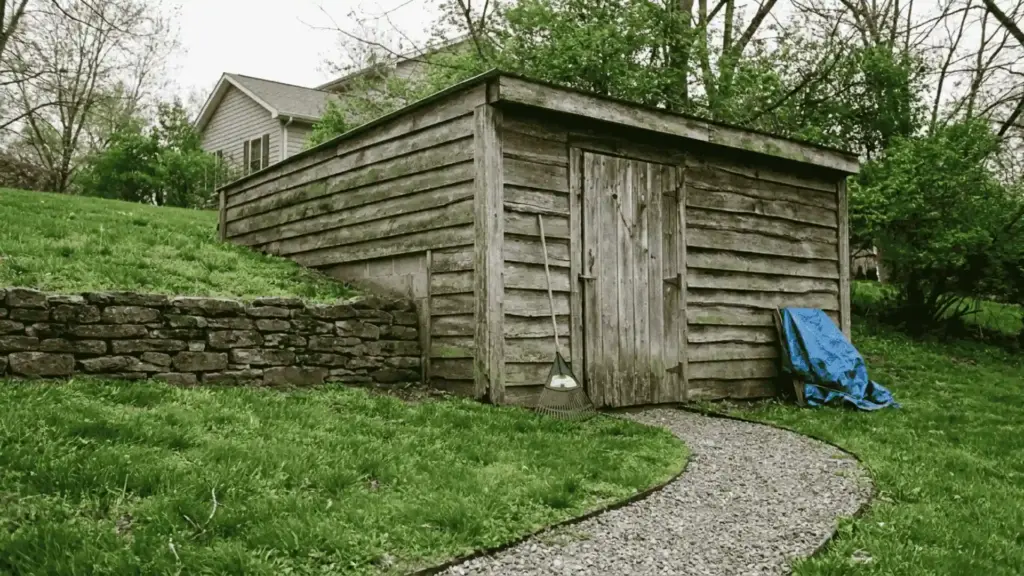
If space is tight, building a shed into the hill itself saves flat yard space that would otherwise be used for storage. The slope gets cut into, a retaining wall goes up on the uphill side, and the shed sits partly below ground level.
It also stays cooler in summer, which is a nice side effect of being partly underground.
Waterproofing the uphill wall matters more here than in a normal shed build, since that wall is holding back soil directly, and any moisture that gets through will sit against it instead of draining away.
Functional Zones You Can Create on a Slope
With the structural work sorted, the next question is what to actually do with that flat space. A sloped yard works best when treated as a series of small rooms stacked one atop the other, rather than a single large lawn.
9. Fire Pit Gathering Area
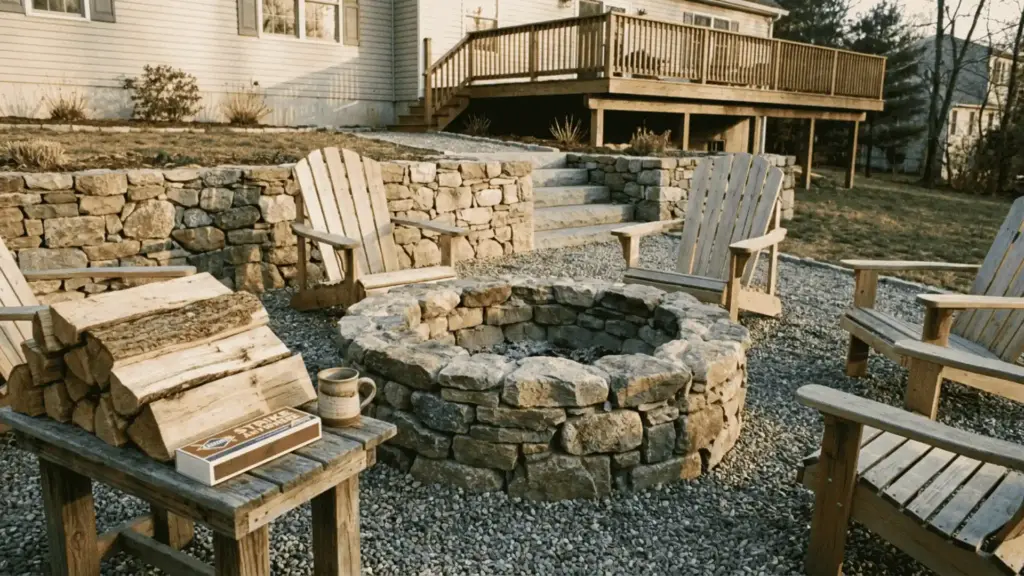
A fire pit needs flat, stable ground more than almost anything else in the yard, so this is usually the first zone to plan once a terrace or patio is in place.
Pick a level that sits a bit away from the house for smoke and safety, but close enough that carrying chairs and drinks out there isn’t a chore. Gravel or pavers around the pit also help with drainage.
10. Outdoor Dining or Kitchen Terrace
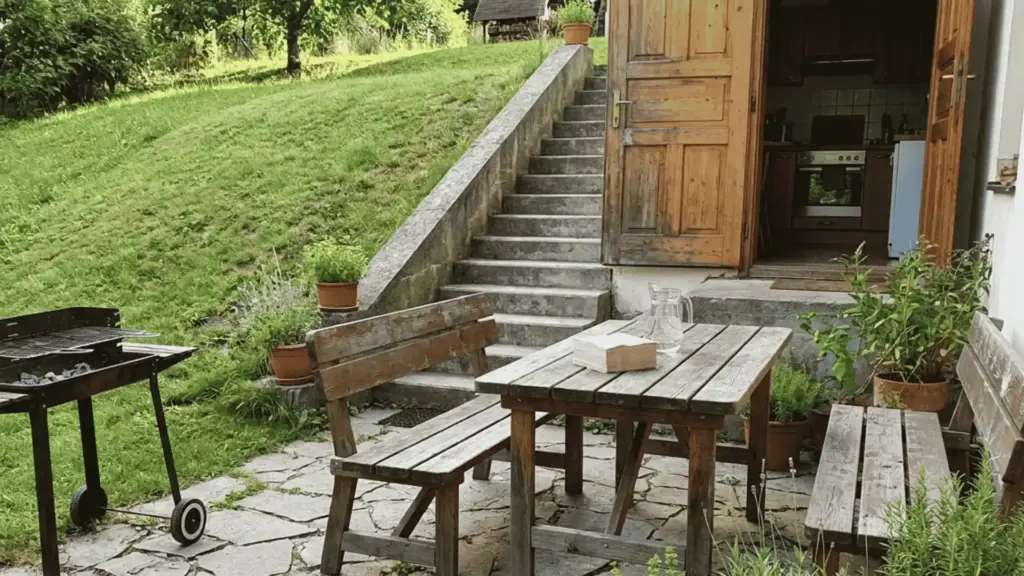
A mid-slope terrace works well for a dining setup, especially near the kitchen door, so food doesn’t need to be hauled up and down steps.
Keep this level wide enough for a table and some walking room around it, since a cramped terrace gets old fast.
A simple overhead structure or umbrella helps too, since these terraces often sit more exposed than a yard at ground level.
11. Multi-Level Pool at a Lower Tier
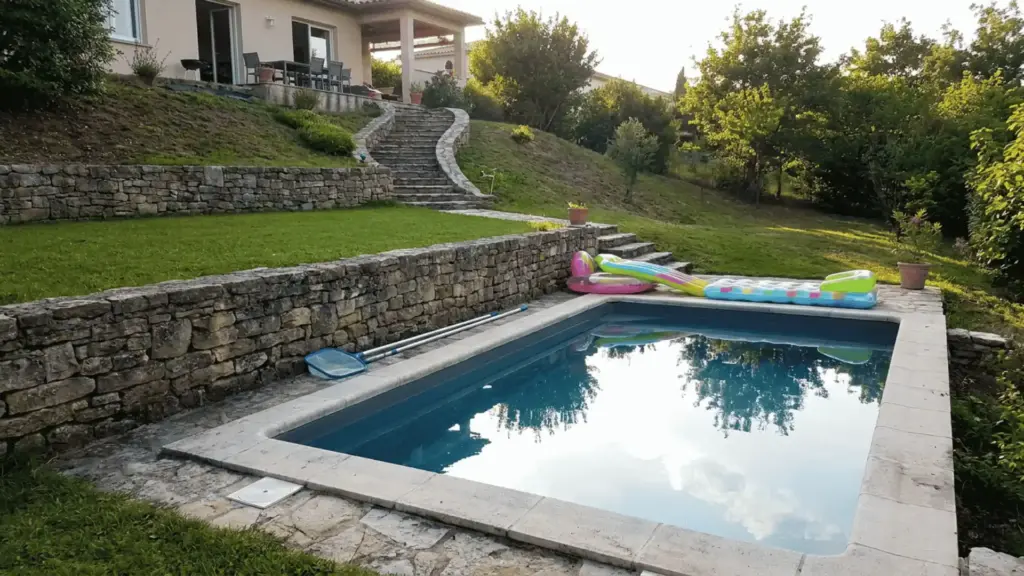
A pool set into a lower tier of the slope actually works in your favor, since the ground drops away naturally instead of needing a deep dig on flat land.
This spot also tends to feel more private, tucked below the main yard and shielded by whatever terracing sits above it. Getting the grade right around a pool is a job worth handing to a professional.
12. Play Area Built Into the Hill
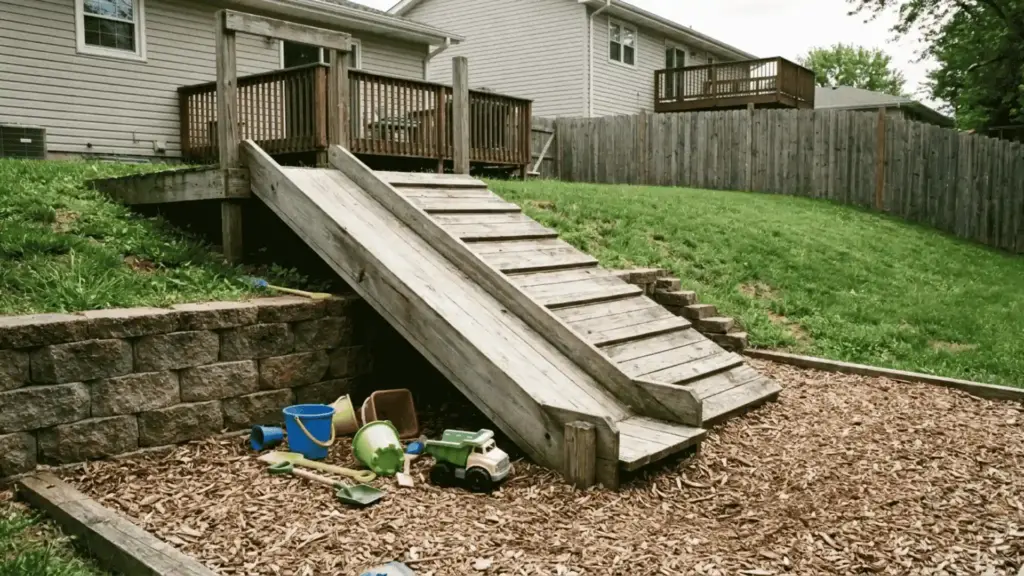
Kids actually like a slope, so it’s worth using instead of fighting. A play structure with a slide built into the hillside, or a small climbing wall set against a retaining wall, turns the grade into part of the fun instead of a hazard.
Just make sure the ground underneath is soft, like mulch or rubber matting, since a fall on a hill lands harder than one on flat ground.
13. Stacking Multiple Zones
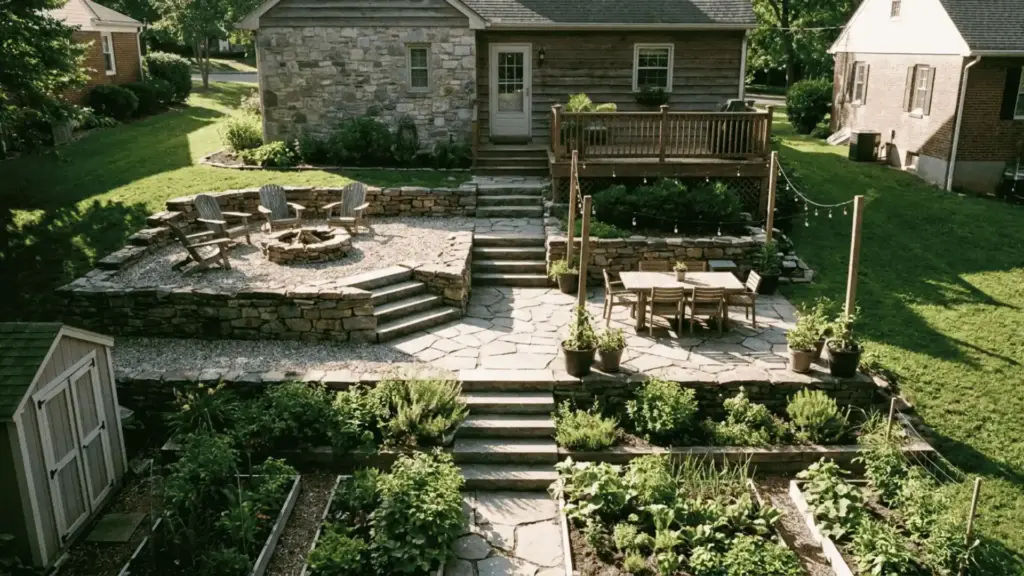
The real trick with a steep yard is not choosing one big idea; it’s stacking a few small ones. A fire pit on one level, a dining terrace on another, and a garden bed on a third turn one steep problem into several usable spaces.
Connecting each zone with a short run of steps or a narrow path keeps the yard feeling like one connected space instead of a set of disconnected platforms, which matters more than people expect once the whole thing is actually built.
Tip: sketch the slope first and mark where each zone naturally fits, based on how flat that section already is, before deciding what goes where.
Planting Strategies for a Sloped Backyard
Hardscaping holds the big main layout together, but plants are what keep soil where it belongs day to day. A slope without the right planting plan keeps losing dirt every time it rains, no matter how many walls go up.
14. Tiered Garden Beds With Berms
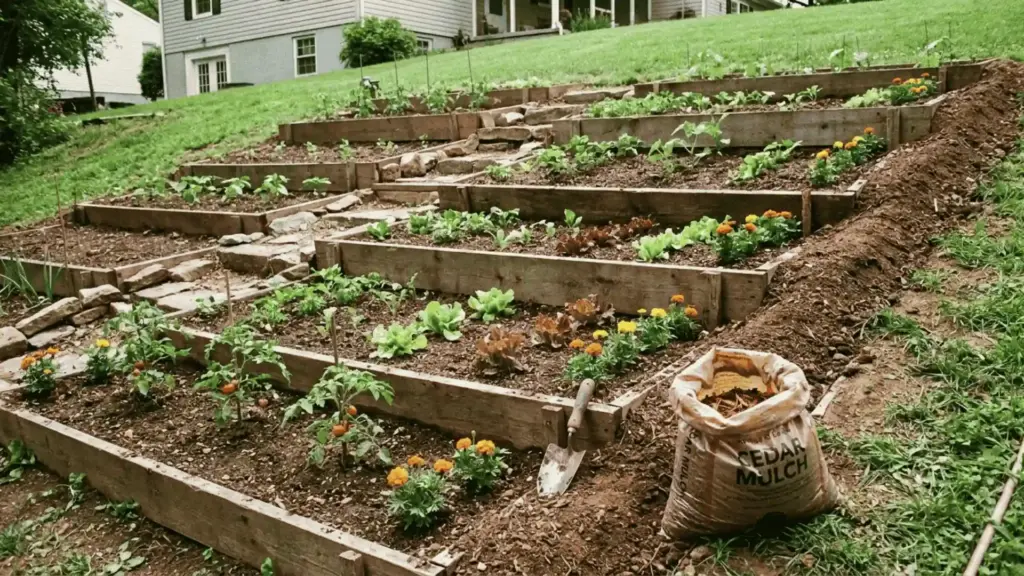
Breaking a slope into small tiered beds, each with a slight berm or raised edge on the downhill side, stops water from running straight through and carrying soil with it.
Each berm acts like a tiny dam, holding water long enough to soak in rather than rushing past the plants. Building these beds along the natural contour of the slope, rather than in straight lines, slows water down more effectively.
15. Edible or Vegetable Garden Beds
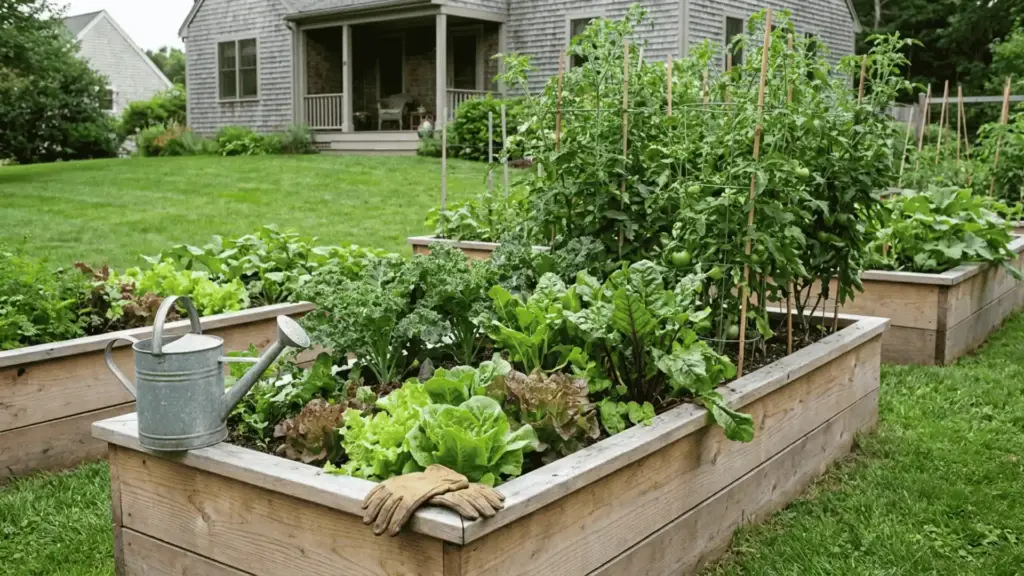
A vegetable garden on a slope does double duty, since the same tiered beds that hold soil also grow food. Raised beds work especially well here because they let you control soil quality directly.
A gentler section of the slope suits these best, since steep grades make regular watering and harvesting harder than necessary.
Root vegetables and leafy greens tend to do well in these beds since they don’t need staking, while taller crops like tomatoes are easier to manage on a flatter tier where wind and gravity aren’t working against the stakes
Design Tips Before You Start
A bit of upfront planning saves a lot of redone work later.
- Sketch the Slope and Zones First: Draw the slope on paper before touching anything, marking grade changes and where each zone might fit. It doesn’t need to be neat, just accurate enough to show flatter sections, sun exposure, and where water collects.
- Match Materials to the Home’s Style: Echo materials already on the house, like foundation stone or deck wood tone, across the yard. Stick to one or two materials across walls, steps, and paths instead of mixing several looks. Warm brick or wood tones pair better with timber and gravel; modern stone or stucco pairs better with grey concrete
- Common Mistakes to Avoid: Building a wall without a drainage plan behind it is a leading cause of wall failures. Skipping a soil test before planting often means the wrong plant dies and wastes money. Building the fun part, like a fire pit or deck, before the slope is stable means redoing it later.
- When to Call a Landscape Professional: Bring in a professional for a steep grade, a slope prone to sliding, or a pool. Getting the engineering wrong on these risks real damage to the home or yard. Gentler slopes with smaller projects, like a garden bed or a short wall, are fine to handle solo
Cost and Time Expectations for a Sloped Backyard Project
Every idea on this list costs something in money or time, usually both. Here’s a realistic range for the most common projects, so the budget conversation happens before the shovel hits the ground, not after.
| Project | DIY Cost | Professional Cost | Typical Time |
|---|---|---|---|
| Small retaining wall (under 3 ft) | $8–18 per sq ft in materials | $20–50 per sq ft installed | A few weekends DIY, 3–5 days professional |
| Full terrace system (walls over 4 ft) | Not recommended without engineering | $35–70 per sq ft installed, plus $500–2,000 for engineering | 2–6 weeks |
| Timber or stone steps | Roughly $50–150 per step in materials (timber/stone type highly affects the price) | Roughly $150–300 per step installed | A weekend DIY, 2–4 days professional |
| Gravel or paver path | $3–6 per sq ft in materials | $10–25 per sq ft installed | 1–2 days DIY, 2–3 days professional |
| Deck built mid-slope | Not recommended for elevated framing | $30–70 per sq ft installed, more on steep sites | 1–3 weeks |
| Raised paver patio | $10–17 per sq ft in materials (material/type heavily affects the price) | $25–40 per sq ft installed | A few days to 2 weeks |
| Shed built into the hillside | Rarely a DIY job once waterproofing is involved | $8,000–20,000+ (depends upon the shed size) | 3–6 weeks |
| Fire pit area | $150–650 in materials | $850–2,500 installed | A weekend |
| Pool at a lower tier | Not a DIY project | $50,000–120,000+ | 2–4 months |
| French drain | $5–20 per linear foot in materials | $10–65 per linear foot installed | A weekend DIY, 1–2 days professional |
A slope adds cost on top of these base numbers, no matter what gets built. Sloped ground requires substantially more excavation and step-downs, which can increase labor costs by 50 percent or more compared to flat ground.
It’s worth asking any contractor to quote the slope surcharge separately, so it doesn’t get buried in a single lump number.
Tip: Most cities require a permit for retaining walls taller than 3 to 4 feet, so check with the local building department before pricing out a full terrace system. A permit that gets skipped now can turn into a expensive problem at resale.
Final Thoughts
My yard used to look like it was trying to escape into the neighbor’s plot. Now it’s the one part of the house people actually ask about. Nothing changed except how I looked at the slope. I stopped fighting gravity and started letting it do some of the work for me.
That’s the whole trick tucked into this post. Read your grade and soil before you buy a single brick. Fix the drainage before it wears out your patience.
Build one zone at a time instead of trying to conquer the whole hill in a weekend. And let the slope do a bit of the heavy lifting instead of bulldozing it into submission.
So pick one idea from this post, any one, and go make your yard argue back. A small wall or a patch of groundcover is enough to start. Tell me how it goes.
Frequently Asked Questions
Is a Sloped Backyard Bad for Resale Value?
Not if it’s landscaped well. Buyers often see a terraced, usable slope as a bonus for views and privacy, not a defect, once it’s designed properly.
Can Grass Grow on a Steep Slope?
Yes, but it struggles above a 25 percent grade and erodes fast when mowed. Groundcovers or ornamental grasses usually hold up better on steep sections.
How do You Mow a Sloped Backyard Safely?
Mow across the slope, not up and down, to keep better footing and control. For very steep sections, a string trimmer is safer than a mower.
Does a Sloped Backyard Drain Toward My House?
It can if the grade tilts that way. A French drain or diversion swale redirects runoff around the foundation instead of letting it pool against it.

With a Master’s in Landscape Architecture from the University of Virginia, Sophia Stephenson has dedicated the last 20 years to creating and maintaining vibrant outdoor spaces. Her professional journey started in landscape design, where she gained a reputation for innovative and sustainable approaches. Sophia became a part of our editorial team as a freelancer in 2019, offering a fresh perspective on outdoor living. Since 2020, she has been the chief for our outdoor design content, blending aesthetic appeal with environmental stewardship. In her leisure time, Sophia is a keen photographer, capturing the beauty of natural landscapes, a hobby that complements her professional expertise.