
What if fresh mint were always within arm’s reach, growing right inside your home, ready to use any time you needed it? People assume that growing mint indoors requires special equipment, a sunny room, or daily care.
Learning how to grow mint indoors is genuinely one of the simplest things a home gardener can do.
It needs a small pot, decent light, and occasional trimming. That is mostly it.
From a sunny windowsill to a dark office corner, mint grows well when given the right setup.
This blog covers everything from picking the right variety to troubleshooting problems before they kill the plant.
No filler, no vague advice.
Why is Mint a Great Herb to Grow Indoors?
Mint is one of the few herbs that genuinely thrives in confined spaces.
Unlike basil or cilantro, it doesn’t bolt quickly or require perfect conditions. One healthy plant supplies leaves for months before replacement and also acts as a natural insect repellent, a quiet bonus for indoor spaces.
What makes mint especially practical is that it regrows after every harvest.
Cut it back, and within days, new shoots appear.
Most herbs punish neglect; mint mostly shrugs it off. For anyone starting with indoor herbs, mint builds confidence fast and keeps delivering long after other plants have given up.
What Mint Actually Needs to Grow Well Indoors
Get these basics right before picking a method, and mint will grow faster and stronger than you expect.
- Light: Bright indirect light daily. South or east-facing windowsills work best.
- Soil: Loose mix of potting soil and perlite. Avoid anything heavy or compacted.
- Temperature: Stable room temperature. Keep away from heaters, vents, and cold drafts.
- Drainage: Pot with drainage holes, always. Standing water kills roots faster than anything else.
- Pruning: Trim stem tips regularly once placed. Cut just above a node where two leaves meet, not mid-stem.
With these in place, every growing method ahead will make more sense and deliver better results.
Indoor Mint Tips Shared By Plant Owners

Many plant owners consider mint one of the easiest herbs to grow indoors. Community discussions often highlight bright indirect light, regular trimming, and container growing as key factors for success.
One Reddit user shared, “Mint is basically a weed,” while another explained that regular trimming helped their indoor plant stay fuller and healthier over time.
Apartment gardeners frequently recommend grow lights for rooms with limited sunlight.
While others prefer terracotta pots to help manage soil moisture.
Overwatering is one of the most commonly reported mistakes, whereas water propagation is often praised for being low-maintenance and highly effective for starting new mint plants.
Choosing the Right Mint Variety for Indoor Growth
Not all mint varieties grow the same way indoors. Some stay compact and are easy to manage in small spaces, while others spread quickly and need more frequent trimming.
Choosing the right type based on your available space and intended use can make indoor growing much easier.
| Mint Variety | Best Use | Indoor Suitability |
|---|---|---|
| Spearmint | Tea, salads, everyday cooking | Best for beginners and small pots |
| Peppermint | Tea, desserts, flavored drinks | Needs regular trimming |
| Chocolate Mint | Desserts and hot drinks | Works well in containers |
| Apple Mint | Fruit dishes, herbal drinks | Needs slightly more room |
| Orange Mint | Drinks, sauces, garnishes | Needs bright light |
| Pineapple Mint | Garnishes, decorative pots | Best for visual appeal |
For most indoor gardeners, spearmint and peppermint are the easiest options to start with.
They adapt well to containers, grow steadily indoors, and provide a regular supply of fresh leaves for daily use.
Complete Step-by-Step: How to Grow Mint Indoors
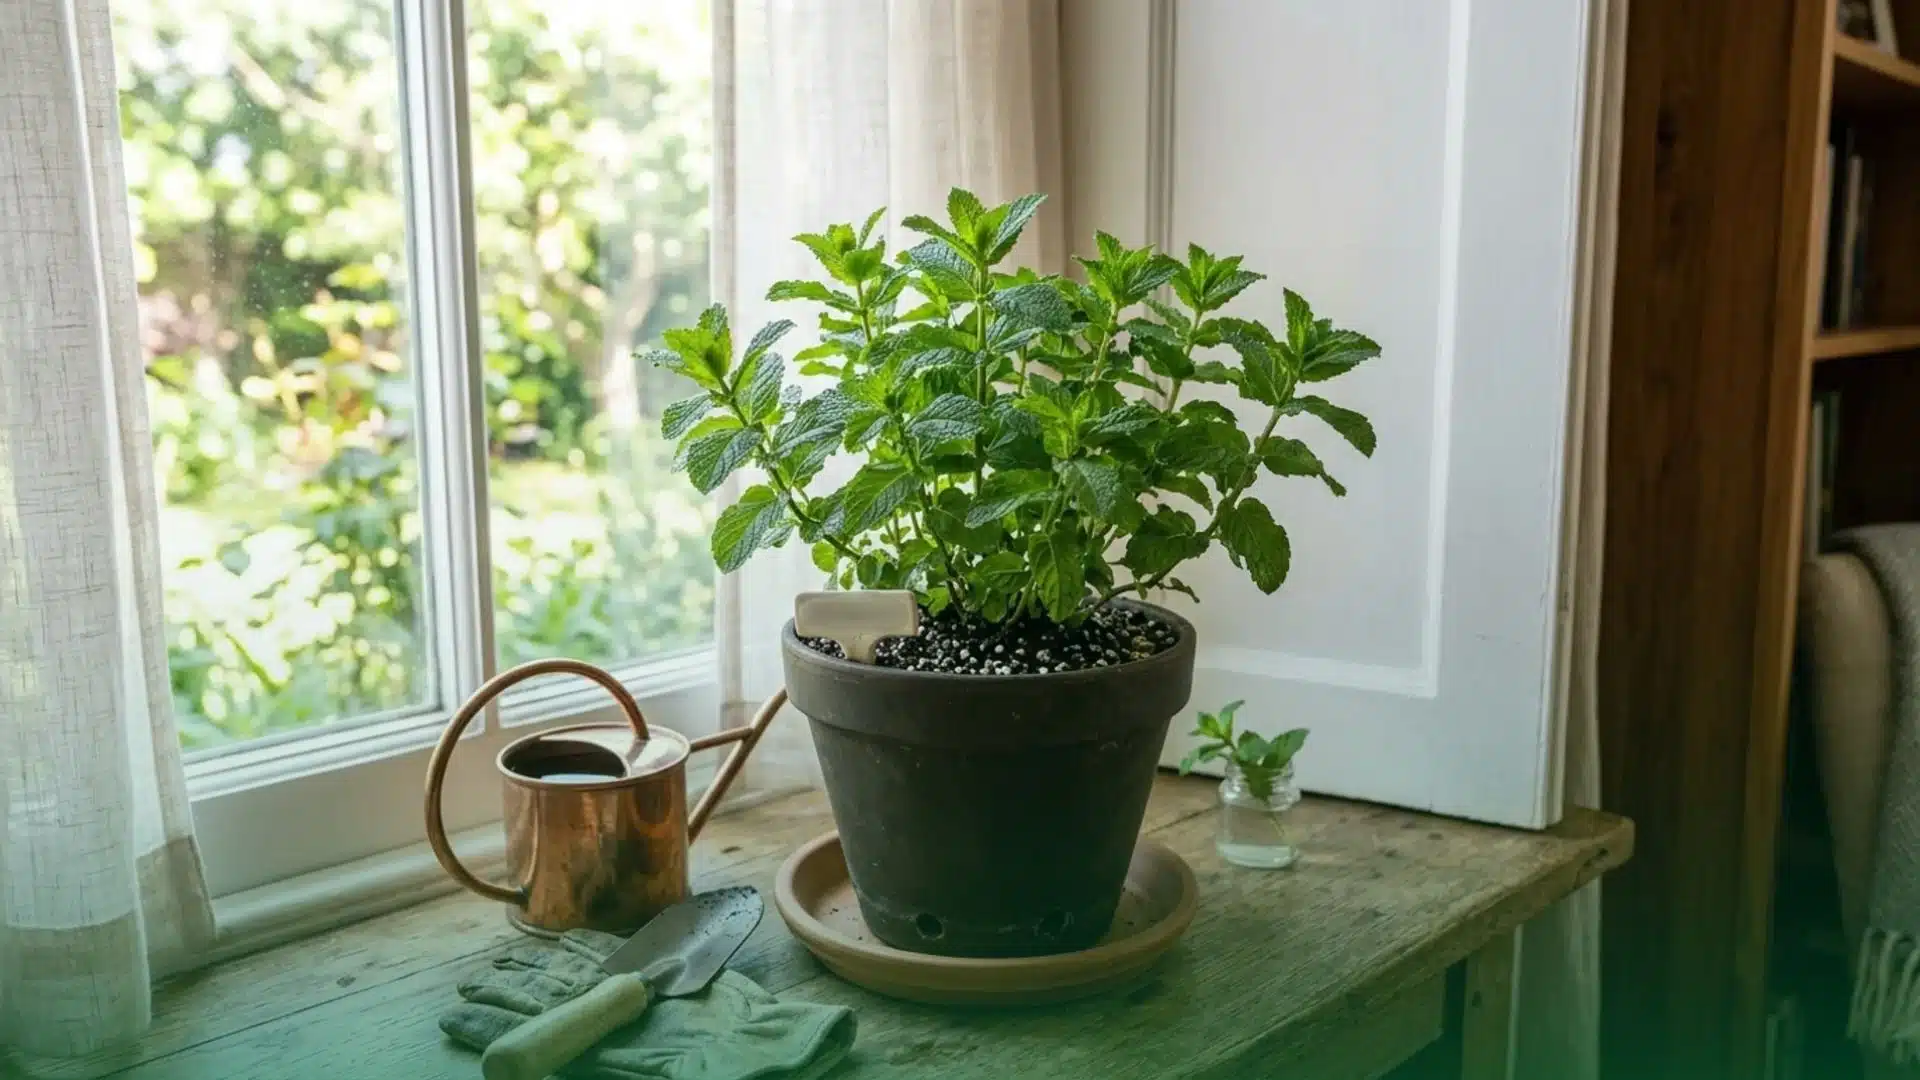
Here’s the ideal method for beginners learning how to grow mint indoors without special equipment.
Step 1: Pick the Pot
Choose a small pot with drainage holes at the bottom so extra water can move out easily.
Fill it with loose potting soil that feels light in your hand. Leave a little space near the rim so water does not spill over. A 4- to 6-inch pot is the right starting size for a single mint plant.
Anything larger holds excess moisture around the roots before the plant is big enough to absorb it.
Start small and report only when roots begin pushing out of the drainage holes.
Step 2: Add the Mint Plant
Place a young mint plant or rooted cutting in the center of the pot. Keep the base of the stem level with the top of the soil. Add more soil around the roots, then press it gently so the plant stands firm.
Do not pack the soil too hard, as roots need air to grow well.
If using a water-rooted cutting, expect a brief stall after transfer as roots rebuild for soil.
Keep moisture consistent during this phase and hold off on any feeding until new growth appears.
Step 3: Water After Planting
Water the soil slowly after planting so that moisture reaches the roots.
Stop once water begins to drain from the bottom of the pot.
Let the extra water run out before placing the pot back on a tray. The goal is moist, not soggy, soil. If your pot sits near a heater or under direct airflow, the surface dries faster than the root zone.
Stick your finger two inches deep before watering again rather than relying only on how the top looks.
Step 4: Place it in Bright Light
Set the pot near a bright window where the plant gets soft light during the day.
Avoid harsh afternoon sun, which can dry the leaves too quickly. Turn the pot every few days so all sides receive light. If stems stretch toward the glass instead of growing upright, it indicates insufficient light.
Move the pot closer to the window or use a grow light. A leaning plant struggles, not thrives.
Step 5: Trim for Fresh Growth
Once the plant starts growing new leaves, trim the top stems with clean scissors.
Cut just above a leaf pair so new shoots can form from that point. Use the trimmed leaves fresh in tea or food.
Always use clean scissors, not fingers, to snap stems.
Tearing creates ragged cuts that dry out and invite fungal issues, especially in humid rooms. Small, frequent trims produce a bushier plant far more reliably than one heavy cut every few weeks
Growing Mint Indoors in Different Situations
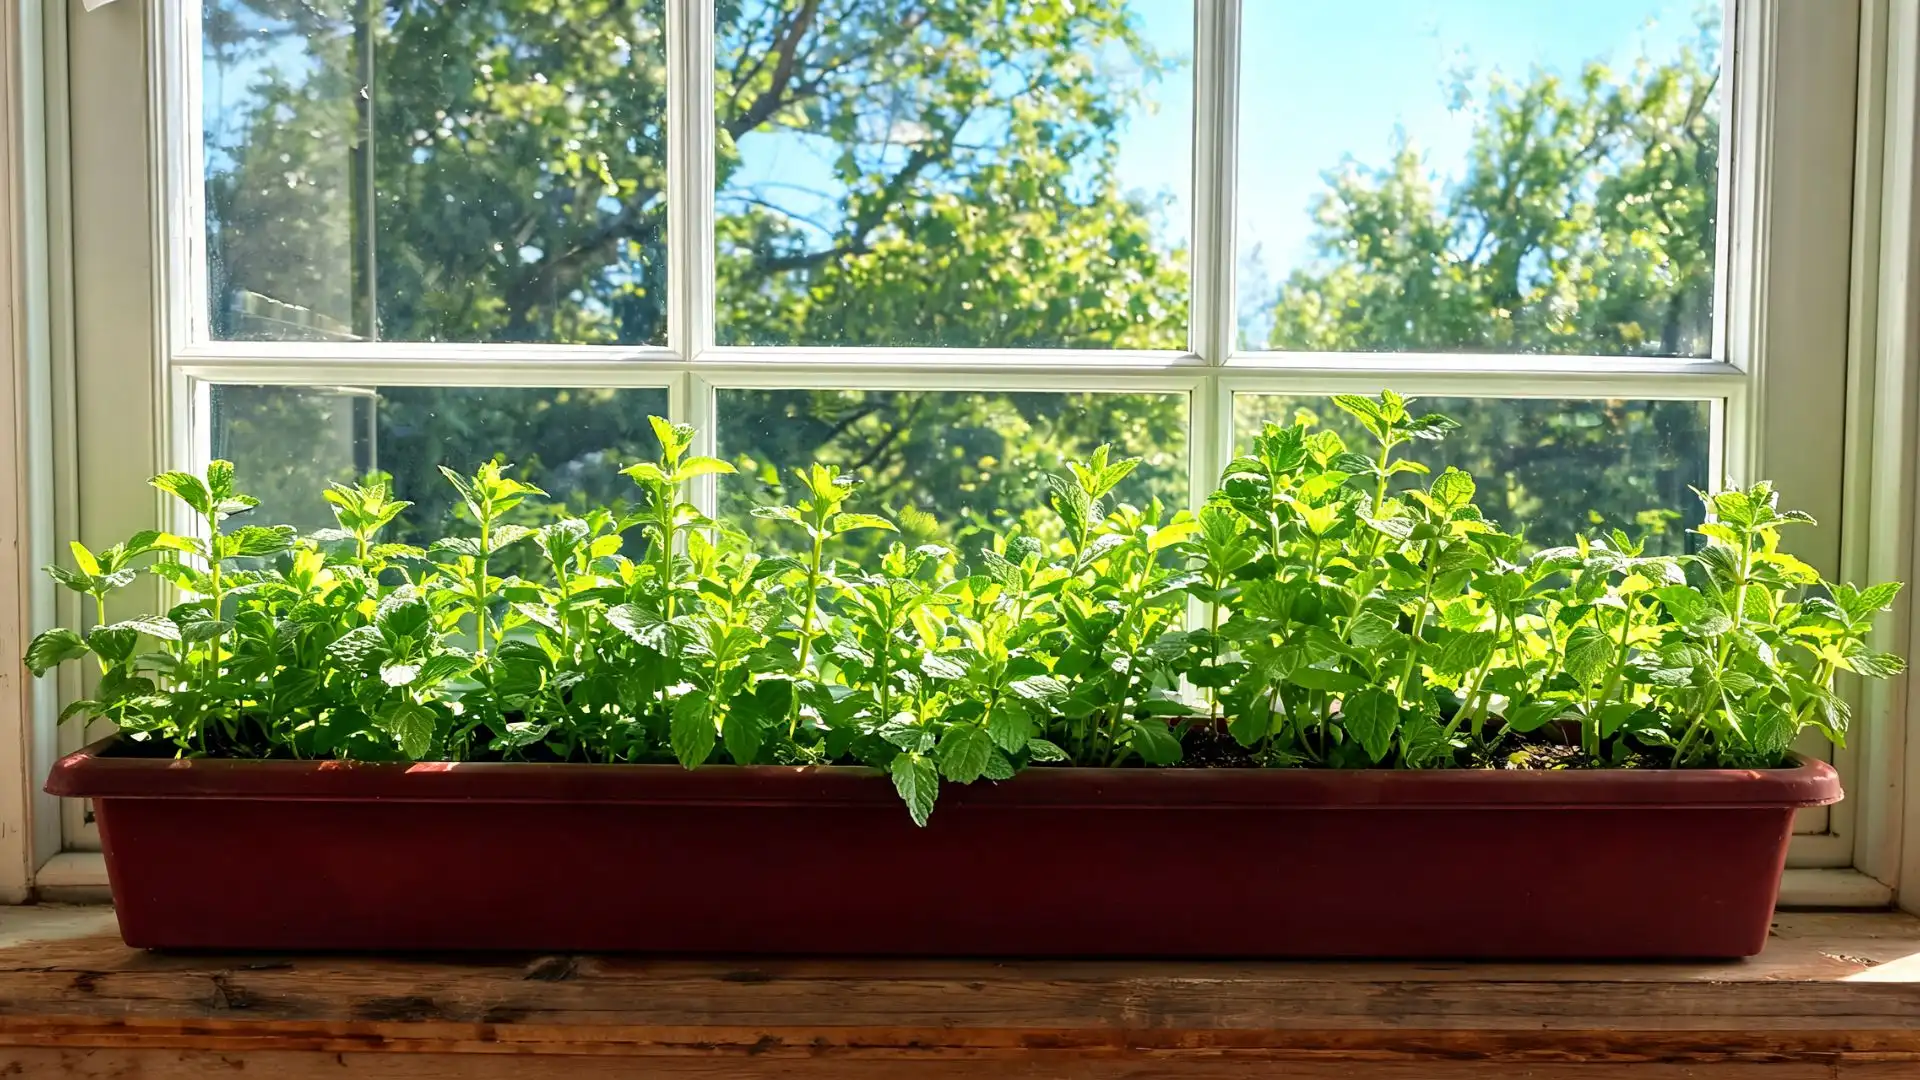
The best way to grow mint indoors often depends on the space, light, and setup available in your home.
Grow Mint from Stem Cuttings in Water
Place a healthy cutting in a glass of water near a window.
Roots appear within a week. No soil, no mess, no special equipment needed. Ideal when counter space is tight.
Grow Mint Indoors in a Terracotta Pot
Terracotta regulates moisture better than plastic. The walls absorb excess water, reducing the risk of overwatering.
Best choice for steady, long-term indoor growth with minimal fuss.
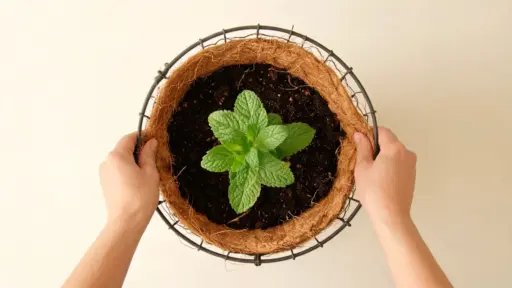
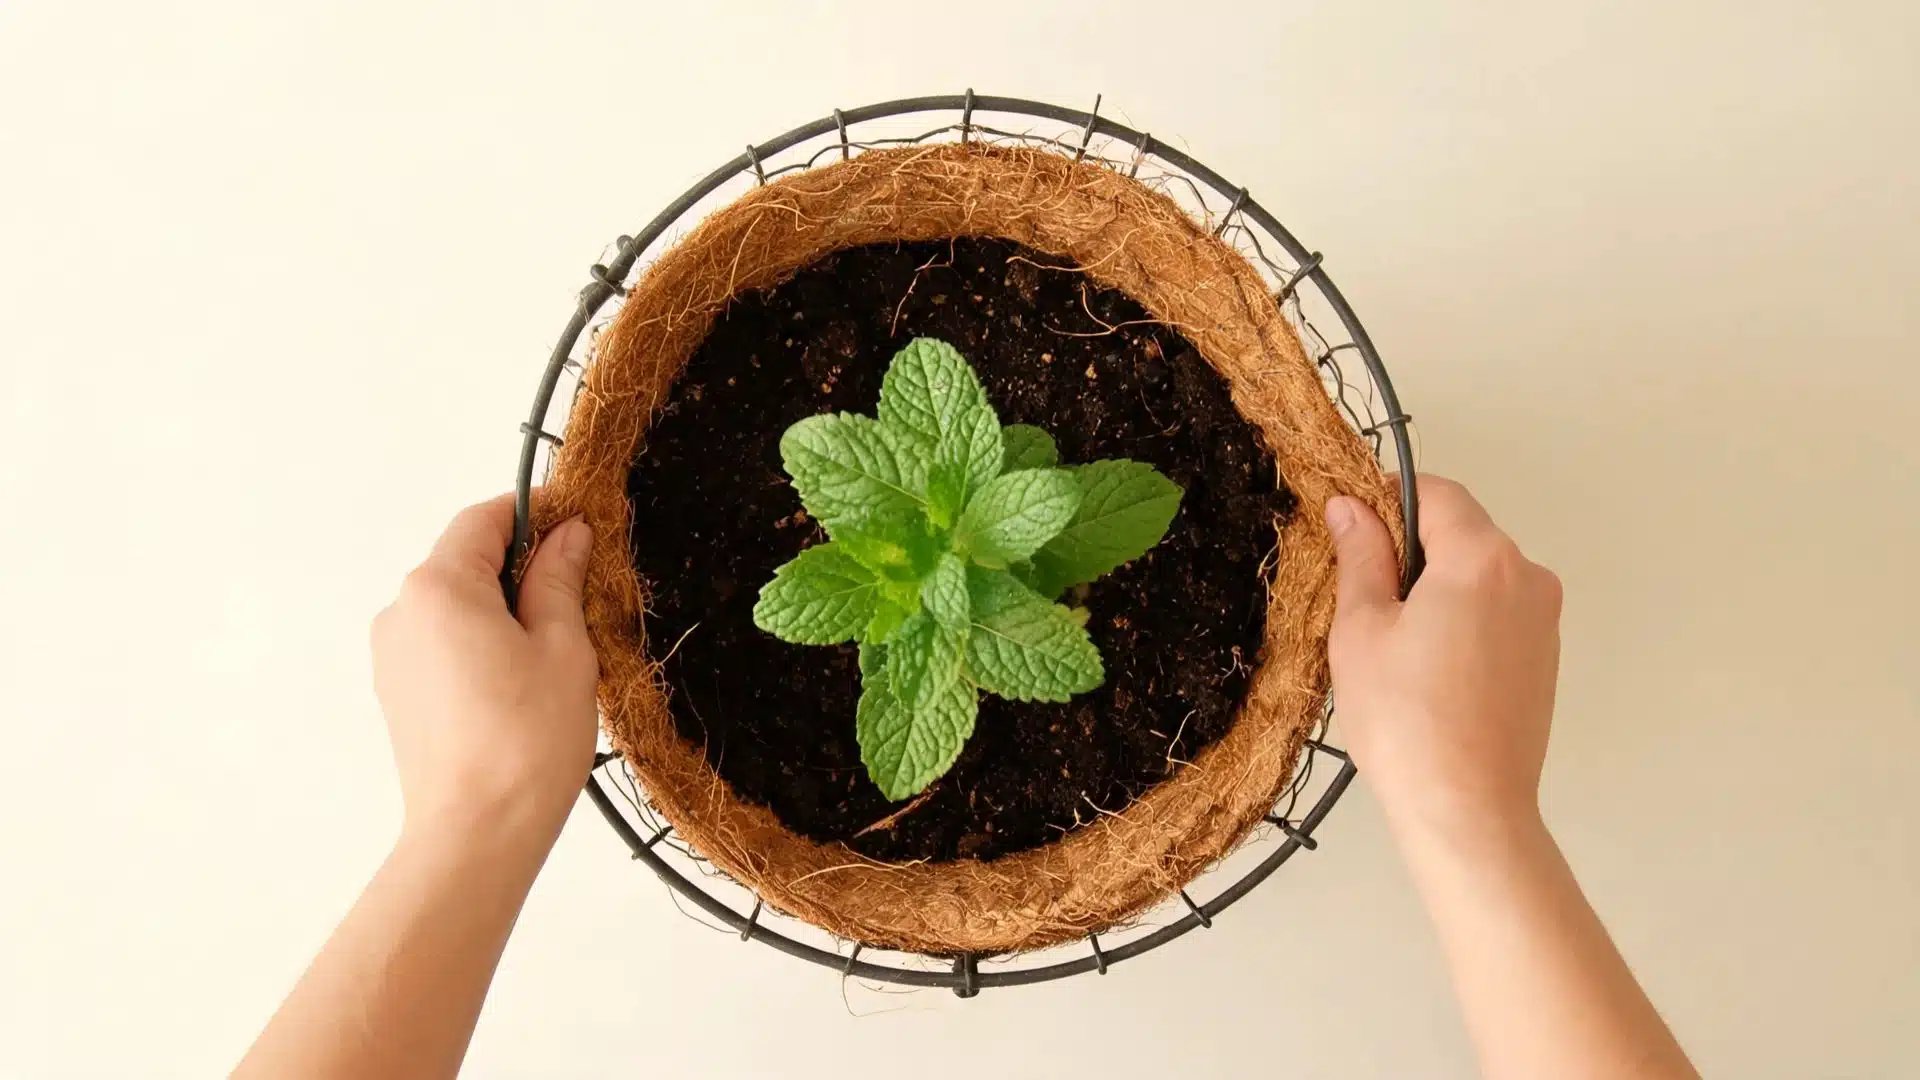
Grow Mint in a Hanging Basket
Frees up shelf and counter space entirely. Mint trails naturally over basket edges, making it both functional and decorative. Works well in kitchens with overhead hooks or ceiling mounts.
Grow Mint in a Window Box
Wider than standard pots, giving roots more room to spread. Best suited for bright windowsills that receive consistent morning light throughout the day.
Set Up Grow Lights and Grow Mint Without a Window
A basic full-spectrum grow light placed 6 to 8 inches above the plant effectively replaces natural light.
Suitable for offices, dark kitchens, or any room with no usable window.
Pick what matches your space, then follow the detailed steps as discussed.
Watering and Humidity Tips for Indoor Mint
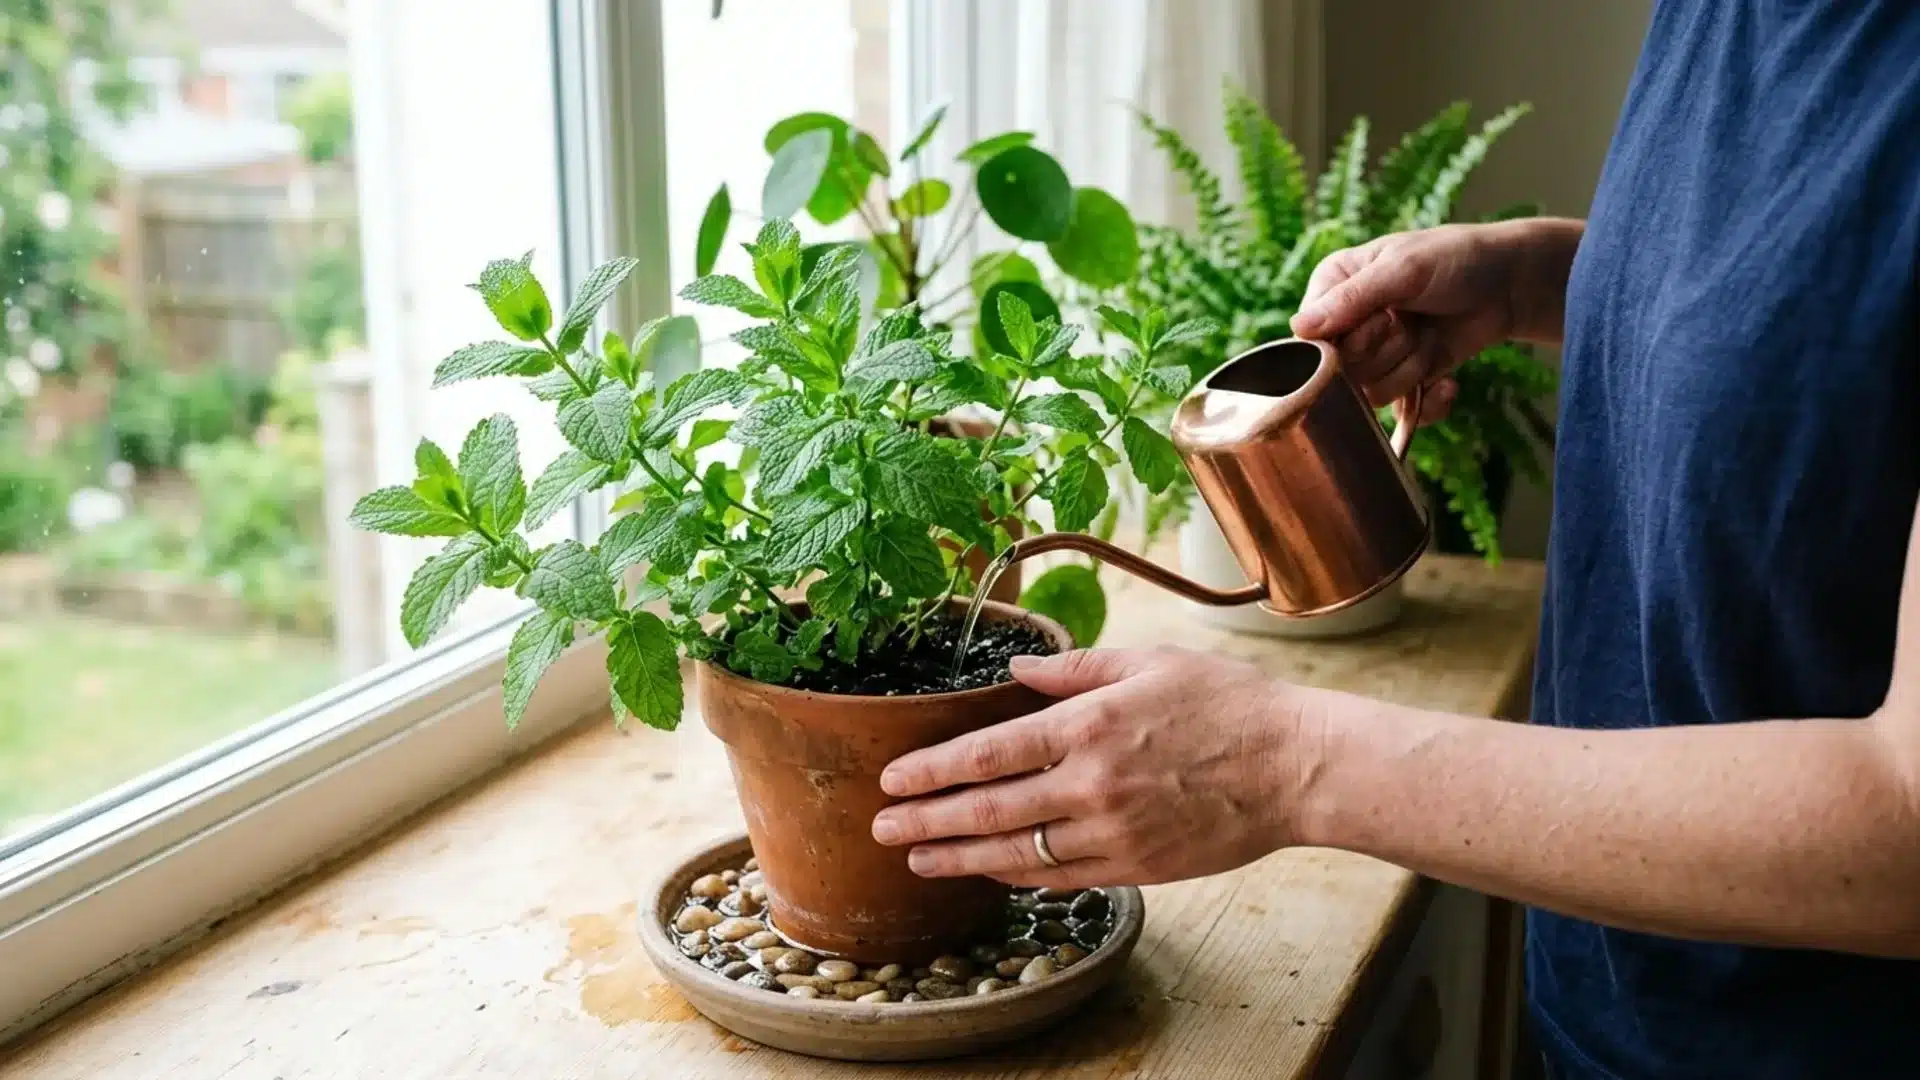
Watering and humidity can directly affect the health of indoor mint.
Too much moisture damages roots; dry conditions harm leaves. Use this checklist to stay on track.
Indoor Mint Care Checklist:
- Water only when the top layer of soil feels slightly dry.
- Empty the tray after watering to prevent standing water.
- Watch for yellow leaves, which can be a sign of overwatering.
- Keep mint in moderate humidity for healthy leaf growth.
- Use a pebble tray or humidifier if indoor air becomes too dry.
These basics can help prevent the most common moisture problems and keep your mint growing well indoors.
Pruning and Harvesting for Maximum Flavor
Pruning and harvesting play a major role in keeping indoor mint healthy and productive.
Pruning involves trimming stems and removing unwanted growth, while harvesting means collecting leaves for everyday use. Both practices encourage the plant to produce fresh foliage rather than become tall and sparse.
Start pruning once the mint is established and showing steady new growth.
Trim stem tips rather than removing individual leaves to encourage branching and a fuller shape.
Remove flower buds as soon as they appear, as flowering can reduce leaf production and flavor.
Use sharp, clean scissors for neat cuts. Regular trimming promotes healthy growth and flavorful leaves.
Feeding and Fertilizing Your Indoor Mint
Mint is not a heavy feeder. Less feeding and more light will give a stronger taste.
Get the basics wrong here, and you will end up with a fast-growing plant that tastes of nothing.
| Do | Don’t |
|---|---|
| Use a mild liquid or organic fertilizer | Use strong or high-nitrogen fertilizers |
| Feed lightly during active growth only | Fertilize on a fixed schedule regardless of plant condition |
| Refresh potting soil occasionally | Rely entirely on fertilizer while ignoring soil quality |
| Water the plant before feeding | Apply fertilizer to dry soil |
| Feed once every 3 to 4 weeks in the growing season | Feed during winter when growth naturally slows |
High-nitrogen feeding encourages fast leaf growth but dilutes the essential oils that give mint its flavor.
Creative Ways to Use Your Indoor Mint
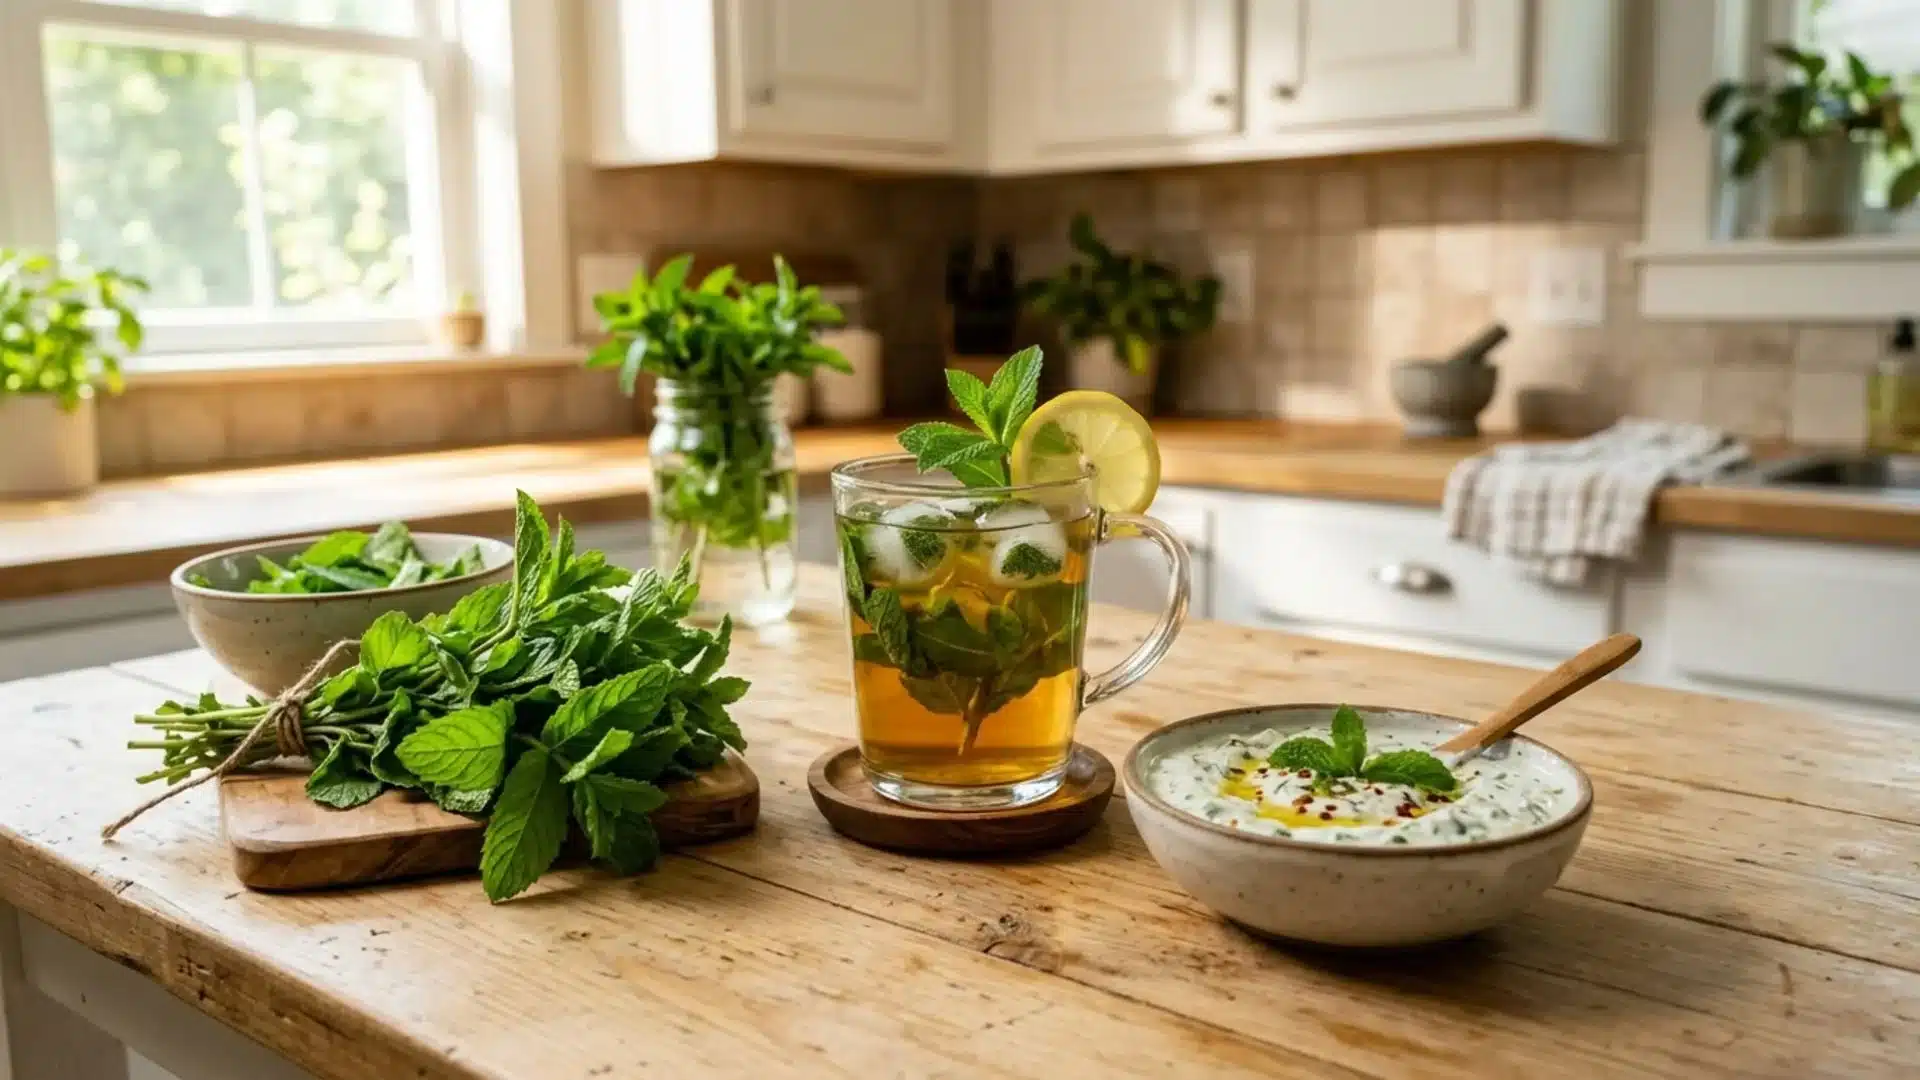
Growing mint indoors gives you a steady supply of fresh leaves that can be used in simple and practical ways.
1. Fresh Mint Tea
Steep freshly washed mint leaves in hot water for a few minutes, then strain and serve.
Lightly crush the leaves before steeping to release more flavor and aroma. Spearmint makes a milder cup; peppermint gives a sharper, more intense flavor. Use fresh leaves rather than dried for a noticeably cleaner taste.
2. Mint Ice Cubes
Place mint leaves in an ice cube tray, fill with water, and freeze. Add the cubes to water, lemonade, or other cold drinks. Add lemon or lime slices before freezing for extra flavor.
These cubes also work well in iced tea or blended summer drinks without watering down the flavor.
3. Mint Yogurt Dip
Mix finely chopped mint leaves into plain yogurt, then add a pinch of salt.
Chill briefly before serving to let the flavors blend together. A small squeeze of lemon and a drizzle of olive oil turn it into a proper dip worth serving to guests.
4. Mint Sugar
Blend fresh mint leaves with white sugar until the mixture turns pale green.
Spread it on a tray and let it dry completely. Use it to rim glasses, sweeten lemonade, or dust over baked goods.
It stores well in a sealed jar for up to two weeks.
5. Mint Face Mist
Steep a handful of mint leaves in boiled water, cool completely, and pour into a spray bottle.
Refrigerate and use as a quick facial mist on hot days. The natural menthol provides an immediate cooling effect on the skin. Use within four to five days for best results.
Fresh mint is a universal indoor herb. Even a small harvest can be put to good use with a bit of creativity.
Maintaining Indoor Mint Year-Round
Mint does not demand much, but small seasonal adjustments keep it productive when conditions shift.
| Area | What to Do | Why It Matters |
|---|---|---|
| Light | Move to a brighter spot as natural light decreases | Prevents leggy, weak growth |
| Temperature | Keep away from heaters, AC vents, and cold drafts | Avoids leaf drop and plant stress |
| Soil & Pot | Report when roots push out of drainage holes | Prevents stunted growth |
| Harvesting | Continue trimming even during slower growth periods | Stops the plant from flowering early |
| Seasonal Check | Inspect leaves and stems during every season change | Catches pest or moisture problems early |
A few small adjustments throughout the year keep the mint productive without having to start over from scratch.
Personal Tips and Hacks for Thriving Indoor Mint
These are the small habits that separate a struggling mint plant from one that keeps producing all year.
- Rotate the pot every few days to prevent stems from leaning toward light.
- Harvest little and often rather than cutting back heavily all at once.
- Pinch flower buds off weekly during summer before they fully open.
- Occasionally wipe leaves with a damp cloth to remove dust and improve light absorption.
- Always root a few extra cuttings in water as backup in case the main plant declines.
- Never fertilize a stressed or dry plant; water first and feed only when it is actively growing.
- If leaves taste weak despite healthy growth, reduce feeding and increase light exposure.
Troubleshooting Common Indoor Mint Problems
Most mint problems show up before they become serious.
Yellow leaves mean overwatering. Leggy stems mean insufficient light. Brown leaf edges usually point to dry air or a nearby heat source. Fine webbing on leaf undersides signals spider mites, common near AC vents.
Tiny flies hovering around soil are fungus gnats, caused by consistently wet soil.
For fungus gnats, letting the top two inches of soil dry out completely between waterings disrupts their breeding cycle more effectively than any spray. Catch problems early; fixes are often simple, free, and quick.
Wrapping It Up
Knowing how to grow mint indoors means you will never reach for a wilted supermarket bunch again.
A single pot on a windowsill, trimmed regularly and watered correctly, produces fresh leaves for months.
The variety you pick shapes the flavor. The pot size shapes the roots. The light shapes everything else.
Nothing here requires expertise or expensive equipment. It requires consistency and a little attention. Follow what this blog covers, fix problems early, and Mint will reward you with more than you expect.
Start with one plant. You will likely end up with several.
Frequently Asked Questions (FAQ’s)
1. How Long Does It Take for Mint to Grow Indoors?
Roots appear in seven to ten days from cuttings. Full leaves ready to harvest take three to four weeks.
2. How Often Should I Water Mint Growing Indoors?
Water only when the top inch of soil feels dry. Overwatering kills mint faster than underwatering ever will.
3. What are the Benefits of Growing Mint Indoors?
Fresh leaves are available year-round with no store runs or pesticides, and mint naturally repels certain insects.

With a Master’s in Landscape Architecture from the University of Virginia, Sophia Stephenson has dedicated the last 20 years to creating and maintaining vibrant outdoor spaces. Her professional journey started in landscape design, where she gained a reputation for innovative and sustainable approaches. Sophia became a part of our editorial team as a freelancer in 2019, offering a fresh perspective on outdoor living. Since 2020, she has been the chief for our outdoor design content, blending aesthetic appeal with environmental stewardship. In her leisure time, Sophia is a keen photographer, capturing the beauty of natural landscapes, a hobby that complements her professional expertise.