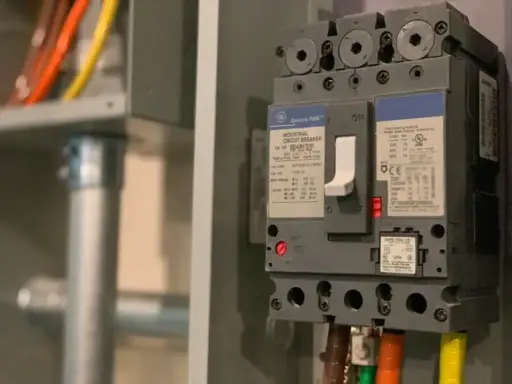
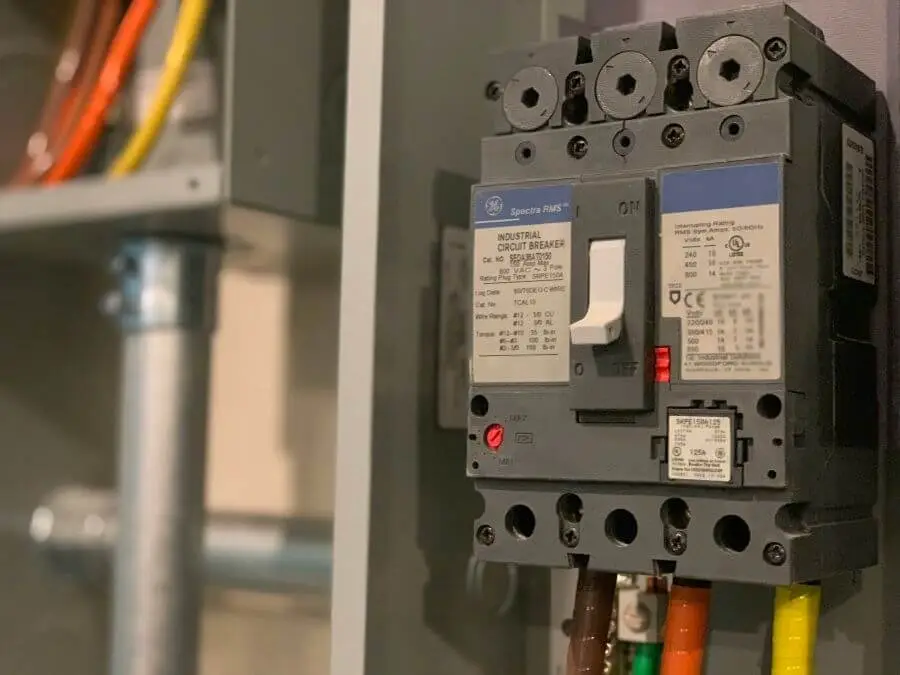

A panel that reads cleanly under fault conditions is built, not improvised, and cable labeling is where that readability is won or lost. In switchgear, control cabinets, and structured cabling, the identification system determines how fast a technician isolates a circuit, how reliably an as-built matches the field, and whether an inspector signs off on the first pass. Done with method, it turns a bundle of conductors into a documented, navigable network.
Why Cable Labeling Is Essential
Traceability is the first return on a disciplined labeling scheme. When every conductor carries an unambiguous identifier tied to the schematic, fault isolation drops from guesswork to a lookup, and mean time to repair contracts in direct proportion to how legible the marking remains after years in service. Safety follows the same logic: clear identification at terminations and disconnects supports lockout-tagout and keeps an operator from energizing the wrong circuit. Compliance closes the case, since standards such as ANSI/TIA-606 for administration and NEC marking requirements treat identification as part of the installation, not a cosmetic afterthought.
When and Where Labeling Is Required
Labeling obligations scale with the criticality of the installation. Inside electrical panels, every conductor, terminal, and modular component is identified so that the physical build mirrors the wiring diagram. Data centers and structured cabling fall under ANSI/TIA-606 administration, which governs how patch cords, trunks, and outlets are named and recorded. Building and network wiring carry their own identification duties at junctions, distribution points, and equipment ports. The environment dictates the label as much as the code does: a marker that survives a climate-controlled comms room will fail on a conductor exposed to oil mist, UV, or washdown, where material selection becomes the governing decision.
Cable Labeling Methods Compared
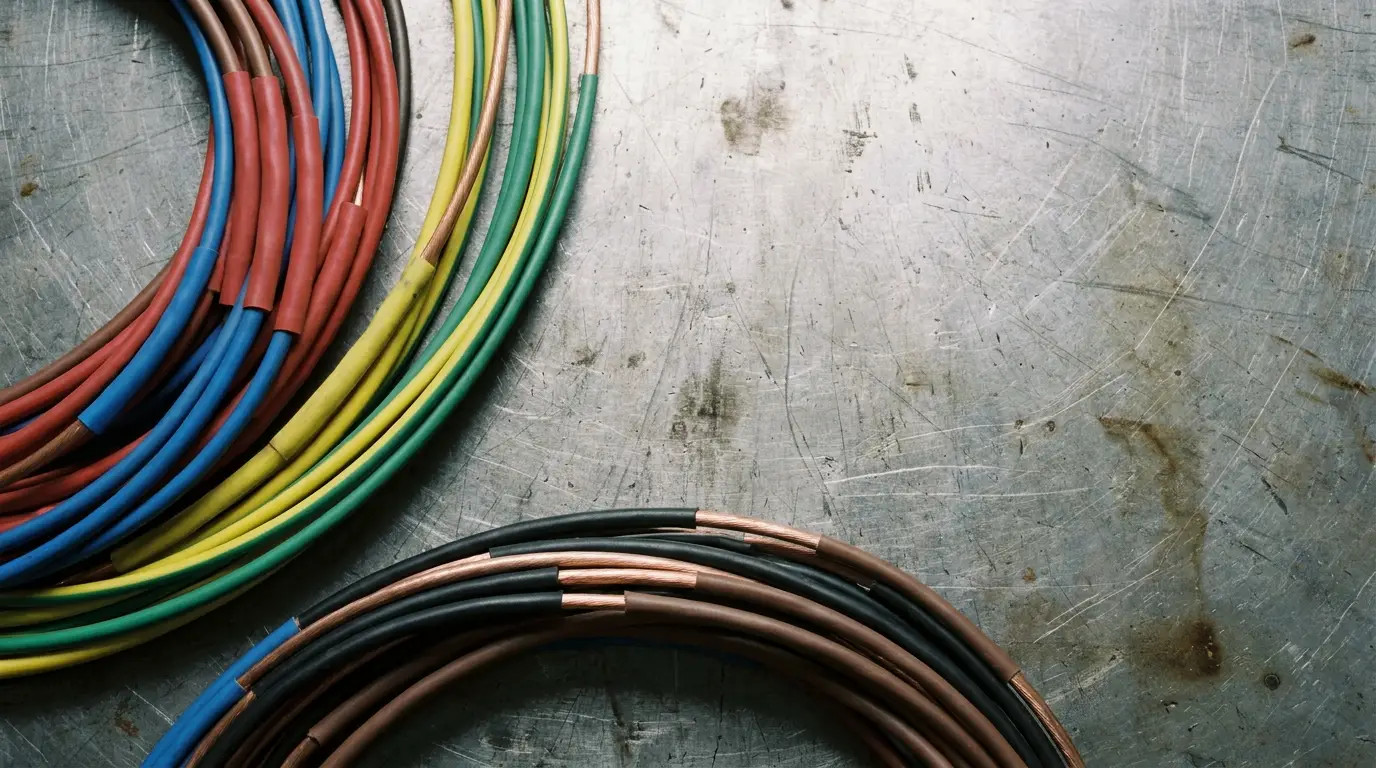
Handwritten markers remain the fastest field fix and the least durable, prone to abrasion and ink fade the moment conditions turn industrial. Wrap-around labels with a clear over-laminate protect printed text and suit data and building wiring. Heat-shrink sleeves, printed before installation and shrunk onto the conductor, give the most permanent identification on power and control cables and resist solvents and handling. Tie-on tags answer large cross-sections and retrofit work where the cable is already terminated. Printed adhesive and thermal-transfer labels cover panels, terminals, and equipment with consistent, machine-generated text. Each method trades speed against durability, and the installation environment decides which compromise is acceptable.
Choosing the Right Cable Marking Labels
Selection starts from the substrate the marker has to survive on and the stresses it will see: temperature range, abrasion, chemical exposure, UV, and the mechanical handling of installation. Printed legibility has to outlast the cable’s service life, which rules out any material that yellows, lifts, or smears under field conditions. A professional range of cable marking labels spans adhesive labels for electrical systems and equipment alongside marker formats matched to thermal-transfer printing, so identification stays consistent from the conductor to the panel exterior. Durability is verifiable rather than assumed: labels qualified to UL 969 for adhesion and legibility, and identification systems aligned with IEC 62491, give the installer a defensible basis for material choice. Matching label format to printer and to cable diameter is what keeps a scheme uniform across an entire job rather than improvised bundle by bundle.
How to Label Cables Step by Step
Execution follows the scheme, never the reverse. The naming convention is fixed first, derived from the schematic and the administration standard in force, so every identifier is decided before a single label is produced. Markers are then printed in batch from the project data, which removes transcription error and guarantees typographic consistency. Application happens at defined points, both ends of every run and at each transit through a panel or junction, with the conductor clean and dry so adhesive or shrink sleeves seat correctly. Verification closes the loop: each applied label is checked against the as-built and the documentation updated to reflect the field exactly.
Building a Consistent Labeling Scheme and Naming Convention
A naming convention earns its keep by being readable, unique, and scalable. Identifiers should encode source, destination, and circuit function in a fixed order so that any technician decodes them without a legend. A scheme that cannot absorb future additions without breaking its own logic is a scheme that will be abandoned at the first expansion. The convention is documented once, distributed, and enforced, so that the installation, the drawings, and the labels speak a single language across maintenance cycles and contractor changes.
Common Mistakes and Field Best Practices
Illegibility defeats the entire exercise, whether from undersized text, poor print contrast, or a material wrong for the environment. Non-durable markers that survive commissioning and fail within a year are a recurring field failure, almost always traced to skipping the durability rating at selection. Inconsistency is the third trap: mixed conventions, partial labeling, and undocumented changes erode traceability until the as-built no longer matches reality. The fix in each case is procedural, fixing the scheme before production, qualifying the material against the environment, and labeling both ends of every run without exception.

Holding a Master’s in Architecture from the University of Texas at Austin, Emily Rodriguez has dedicated more than two decades to the art and science of building renovation. Starting her journey in historic preservation, she developed a profound respect for blending old with new in building design. Emily became a vital part of our team in 2019, renowned for her insightful and innovative renovation tips. She has been leading our DIY home improvement series since ever since, where she shares her wealth of knowledge in turning outdated spaces into modern havens. When not engaged in writing or consulting, Emily is a passionate advocate for heritage conservation and enjoys exploring vintage architecture, a hobby that complements her professional expertise.