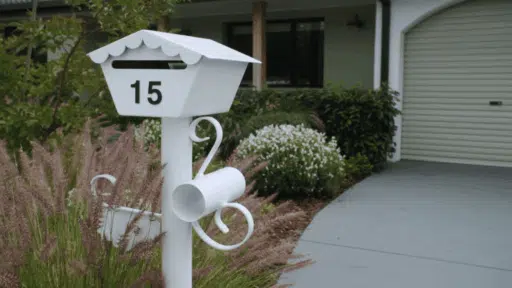
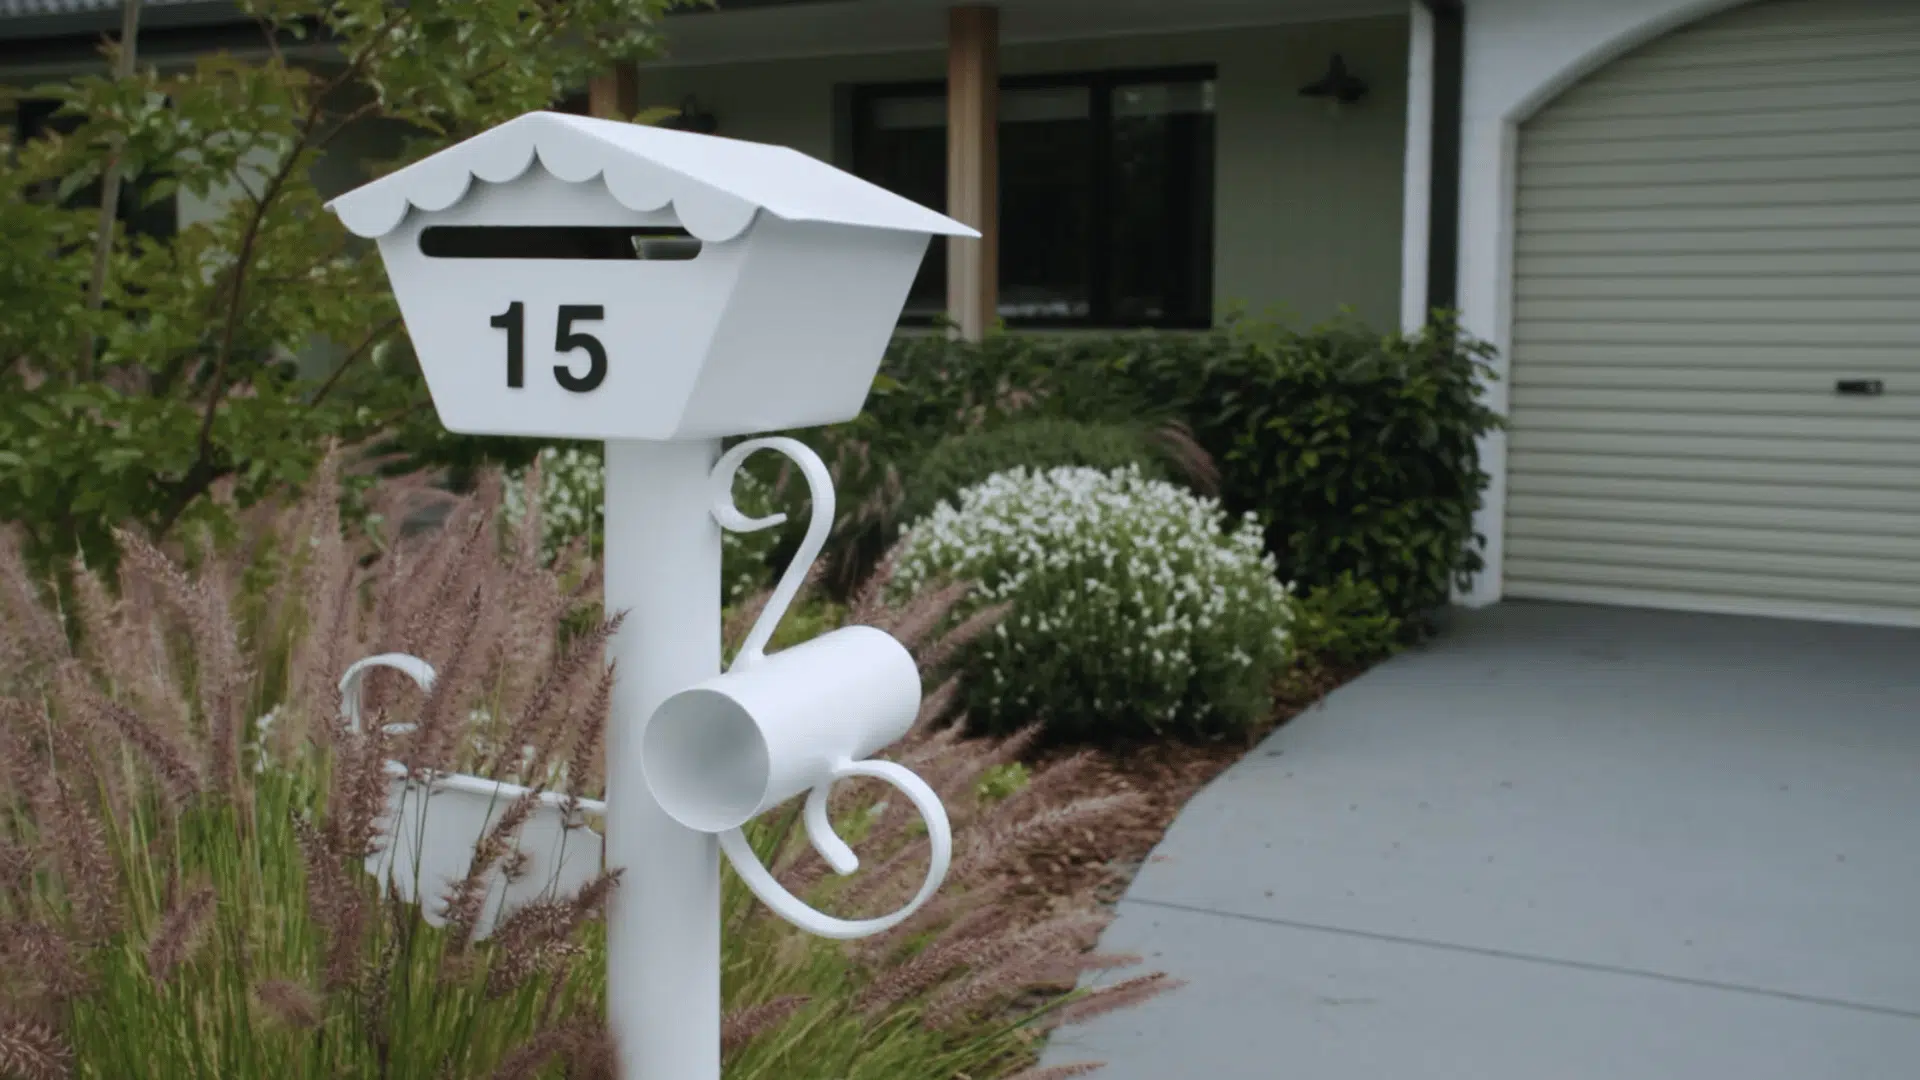

Painting metal is one of the most satisfying DIY projects you can take on at home. A fresh coat can bring new life to patio furniture, railings, light fixtures, shelves, bed frames, and small decor pieces without the cost of replacing them.
Here is the part most people miss: the finish depends more on prep than on the paint alone.
In this blog, I’ll walk you through how to paint metal step by step, from cleaning and rust removal to sanding, priming, and applying thin coats that actually hold up.
I’ll also cover how to pick the best paint for metal so your project lasts.
I have seen metal paint jobs fail early when the surface was dusty, rusty, or too glossy before painting, so I’ll show you how to avoid those mistakes and get a smooth, durable finish the first time around.
Quick Answer: What is the Best Way to Paint Metal?
The best way to paint metal is to clean the surface, remove loose rust or peeling paint, sand any glossy areas, apply a metal primer if needed, then finish with thin coats of metal-safe spray paint, enamel paint, or direct-to-metal paint.
Spray paint works well for curved furniture and detailed fixtures, while brush-on enamel or direct-to-metal paint holds up better on railings, doors, and larger flat surfaces.
Prep matters more than the paint you choose. How much prep you need depends on the type of metal, the environment it lives in, the coating you pick, and how long you want the finish to last.
Identify the Metal Before Choosing Primer
A simple magnet test can save you from buying the wrong primer because steel, aluminum, and galvanized metal do not all need the same prep.
Before you buy paint or primer, figure out what type of metal you are working with. The fastest test I use is a fridge magnet.
If it grabs and holds, the metal contains iron and can rust. If it does not stick, the piece is usually non-ferrous. Galvanized steel differs because it has a zinc coating, so it requires a primer that can bond to the surface.
| Metal Type | How to Spot it | Rust Risk | Primer to Use |
|---|---|---|---|
| Ferrous Metal Steel Cast Iron Wrought Iron | Magnet sticks firmly | High | Rust-inhibiting or red-oxide metal primer |
| Non-Ferrous Metal Aluminum Copper Brass Tin | The magnet does not stick | Low | Self-etching or bonding primer |
| Galvanized Steel | Magnet sticks with a dull silver or mottled surface | Low unless the zinc wears through | Self-etching primer made for galvanized metal |
What Metal Items can You Paint at Home?
Most household and outdoor metal items can be repainted as long as they are structurally sound, with no crumbling rust holes or loose joints that would fail under weight.
If the piece is solid, a fresh coat is usually worth the effort. Here are the metal items that repaint well at home:
- Metal patio chairs and tables
- Wrought iron furniture
- Railings and gates
- Metal light fixtures
- Cabinet pulls and door handles
- Bed frames
- Shelving units
- Mailboxes
- Planters
- Metal decor pieces
Best Paint for Metal by Project Type
The best paint for metal depends on where the item is located, how often it gets touched, and whether it is exposed to moisture or sun.
Outdoor furniture needs rust protection and weather resistance, indoor fixtures need a smooth finish and good adhesion, and high-touch pieces need a harder enamel finish that resists daily wear.
| Metal Project | Best Paint Type | Primer Needed? | Best Application |
|---|---|---|---|
| Patio Furniture | Rust-resistant spray paint | Usually yes, if rusty or bare | Spray |
| Railings And Gates | Exterior enamel or DTM paint | Yes, for bare/rusty metal | Brush, roller, or sprayer |
| Light Fixtures | Metal-safe spray paint | If glossy or bare | Spray |
| Cabinet Pulls | Durable enamel spray paint | Often yes | Spray |
| Metal Doors | Direct-to-metal or exterior enamel | Depends on product | Brush or roller |
| Decorative Pieces | Spray paint for metal | Sometimes | Spray |
You don’t need to memorize brands on any can; look for the words “direct-to-metal,” “rust-inhibiting,” or “for metal & rust.” That label language matters more than the logo.
Tools and Supplies You Need Before Painting Metal
Gathering your tools first keeps you from having to stop mid-project to hunt for something. Metal prep gets messy, so plan to control rust dust, old paint flakes, and overspray. Here is what to have ready:
- Drop cloth or cardboard
- Gloves and safety glasses
- Mask or respirator for sanding and spraying
- Degreasing cleaner or mild soap
- Wire brush
- Sandpaper or sanding block
- Tack cloth or lint-free rag
- Painter’s tape
- Metal primer
- Metal-safe paint
- Clear coat if needed
Always spray paint in a well-ventilated area, away from open flames or heat sources. The fumes are flammable and need room to clear.
How to Prepare Metal Before Painting
Paint will not adhere well to dirt, grease, loose rust, peeling paint, or shiny, slick surfaces. Good prep is what separates a finish that lasts from one that flakes off in a season.
Before opening the paint can, make sure the metal feels clean, dry, and slightly scuffed so the new coating has something to grip.
| Steps | What to do | Watch for |
|---|---|---|
| Clean the surface | Wash with mild soap or degreaser, rinse, and dry fully. Removes grease, dirt, and hand oils that block bonding. | Hidden grease; trapped water in joints that causes rust. |
| Remove loose rust and paint | Use a wire brush, scraper, or sandpaper to take off flaky, bubbling, or lifting spots. Solid paint can stay. | Edges lifting under light pressure; soft spots you can feel. |
| Sand glossy areas | Scuff slick finishes and old gloss until flat and matte so paint can grip. | Swirl marks; missed edges and undersides. |
| Wipe off dust | Wipe down with a tack cloth or lint-free rag right before priming. Surface should feel clean and grit-free. | Dust in corners; touching clean metal bare-handed. |
Check for Lead Paint Before Sanding Metal
If the metal has an old painted coating, check its age before sanding, scraping, or wire brushing. In the US, paint on homes and buildings built before 1978 may contain lead.
Do not dry-sand or power-wire-brush old paint until you know it is lead-free. Use a lead test swab first, and call a certified pro for large, damaged, or attached surfaces.
How to Paint Metal: Step-by-Step
Once the prep is done, painting goes fast, and none of these steps are hard. Work in order, keep your coats thin, and let each stage dry before the next. Keep the can or nozzle moving for an even result.
Step 1: Set Up a Safe Work Area
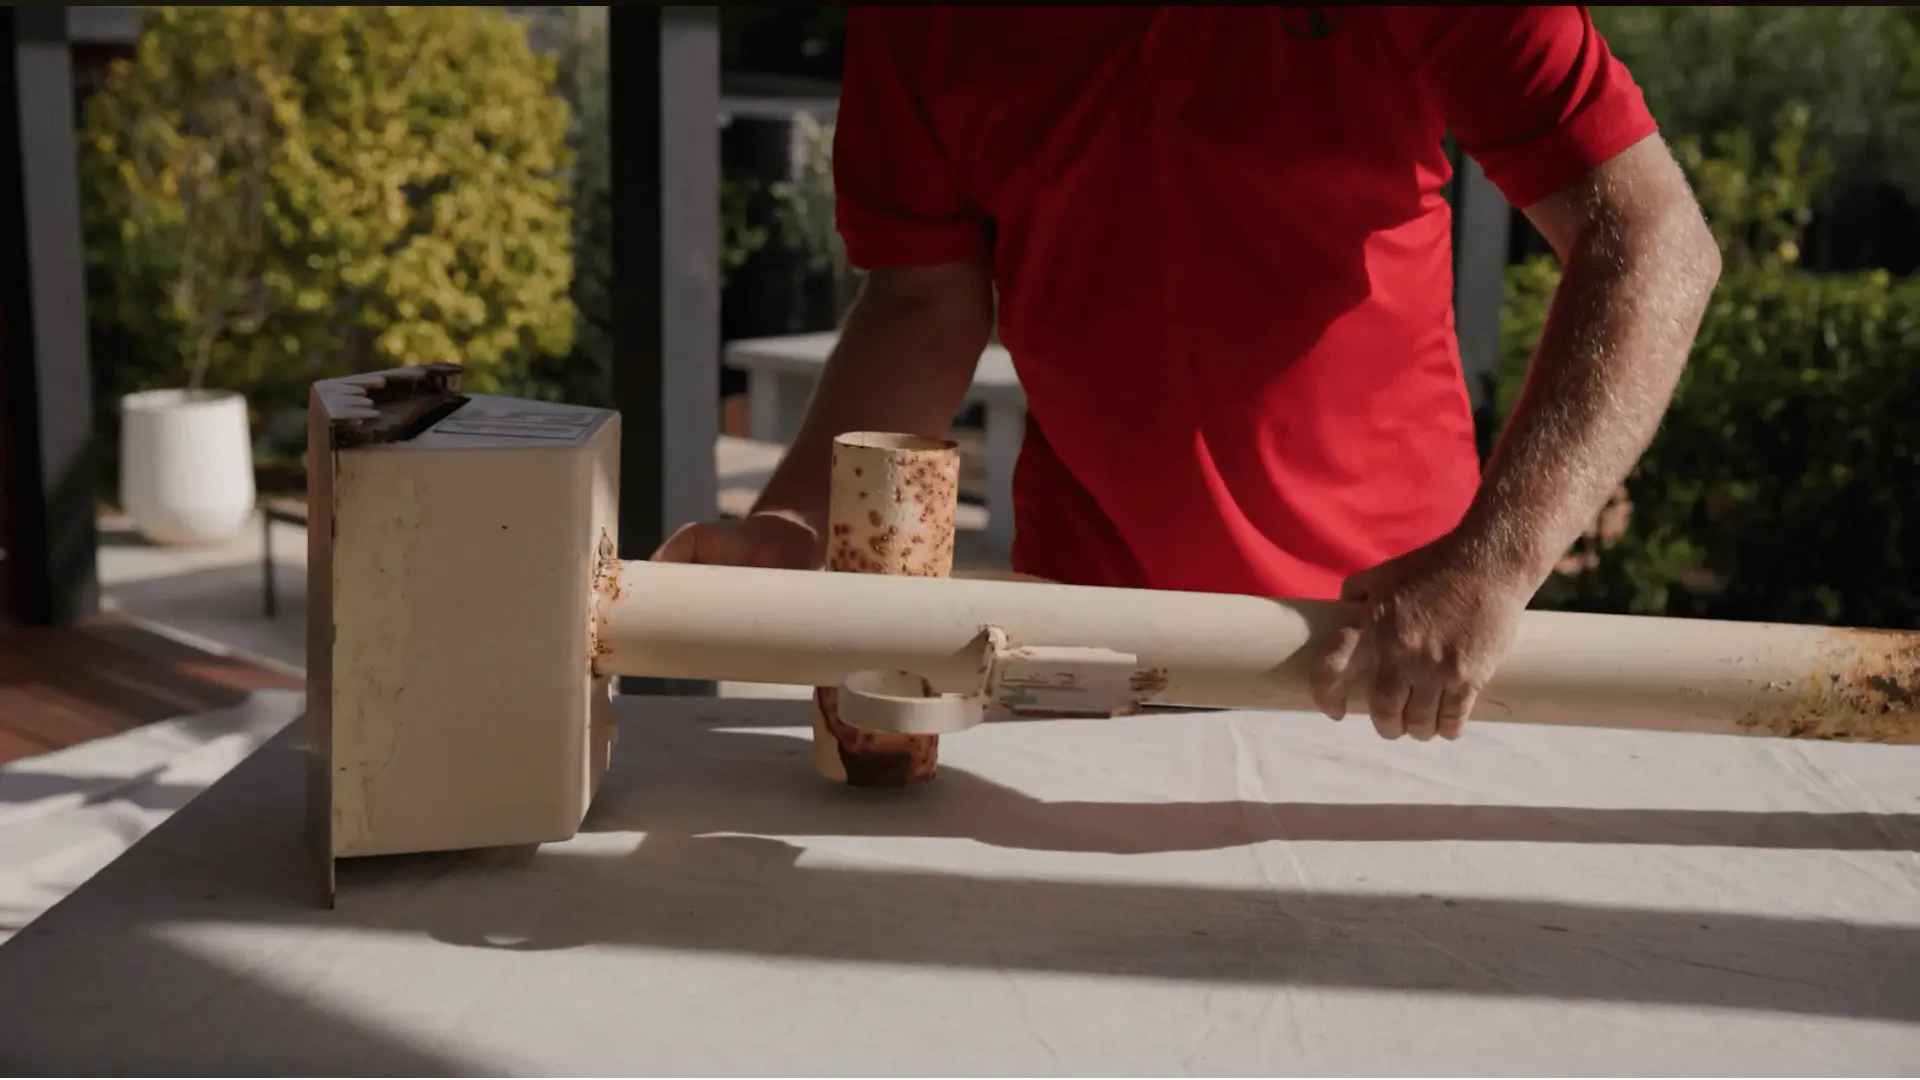
Pick a spot with good airflow, either outdoors or in a garage with the door open. Lay down a drop cloth or cardboard and leave space to walk all the way around the piece.
If you are spraying, work in the shade so the paint does not dry too fast, and avoid windy days that blow overspray and dust onto your wet coat.
- Keep a rag nearby to catch drips.
- Aim for 50-85°F for proper curing.
Step 2: Clean and Sand the Metal
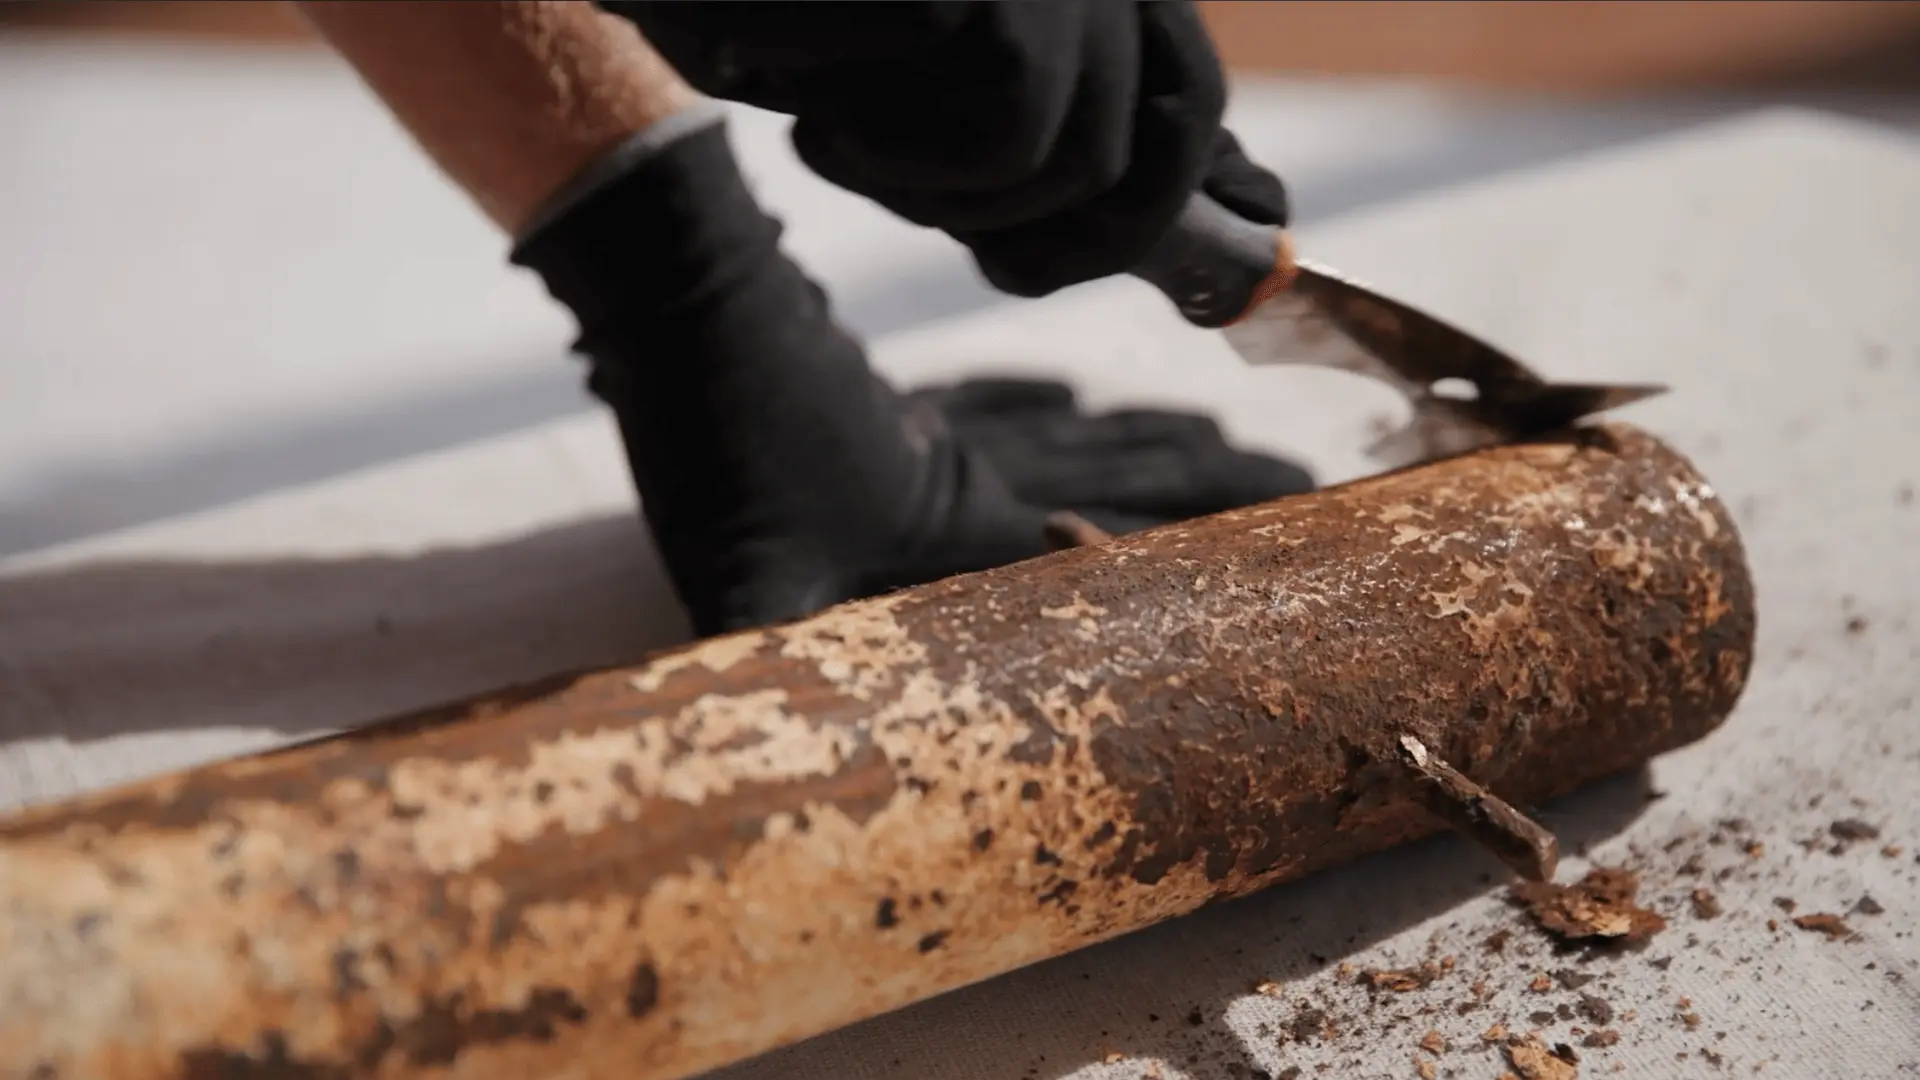
Before painting, remove any loose, peeling, or flaking paint with a paint scraper or wire brush. Scrub away rust until you reach a solid surface, then sand the entire piece to smooth rough edges and scuff glossy areas so the primer can bond properly.
Finish by wiping away all dust with a tack cloth or a damp, lint-free cloth. The metal should feel clean, dry, and slightly rough before you apply primer.
- Scrape off all loose paint and remove rust before sanding.
- Wipe away sanding dust just before applying primer.
Step 3: Apply Metal Primer
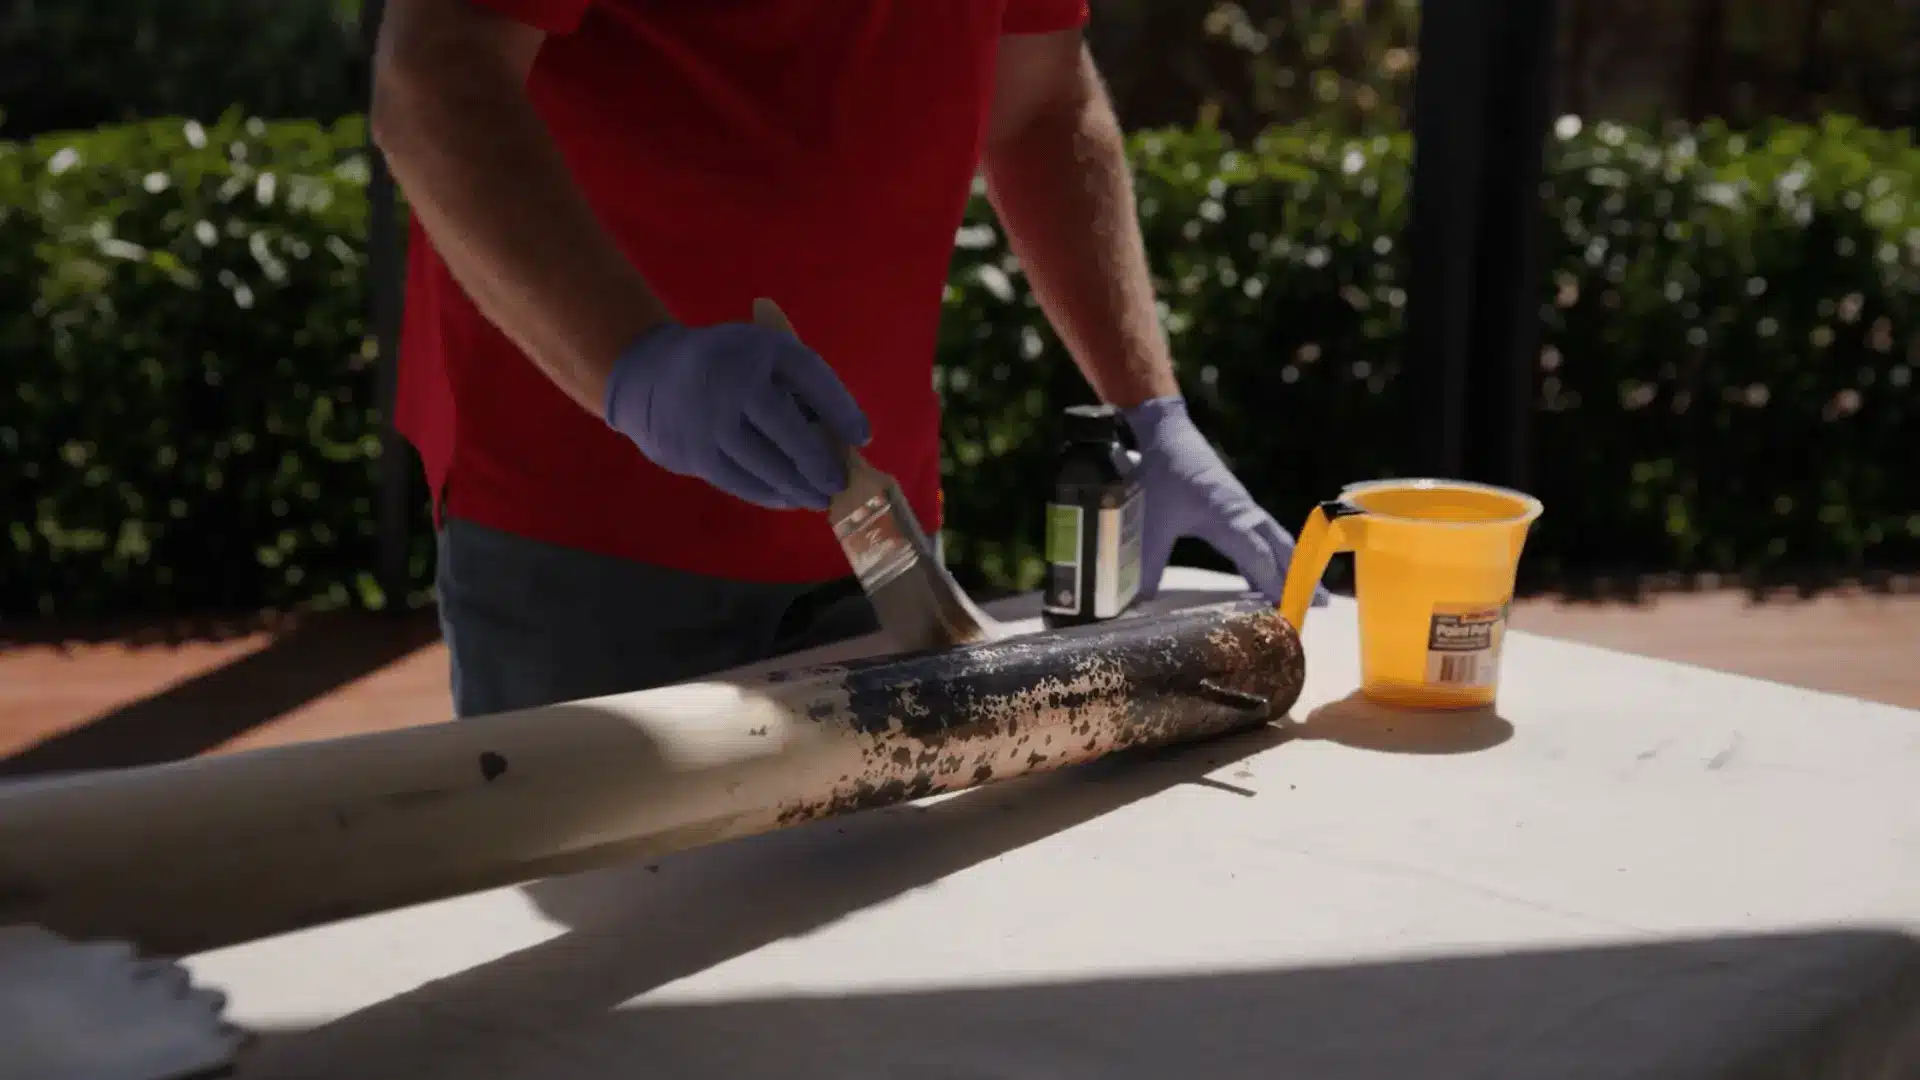
Primer is what helps the paint bond and blocks future rust, so do not skip it. Spray or brush on a thin, even coat, keeping the can about eight to ten inches away if using spray.
Aim for light passes rather than one heavy layer. Let it dry completely for the time listed on the product label before you add paint.
- Match the primer to your metal type.
- Shake spray cans for the full time.
Step 4: Apply the First Thin Coat of Paint
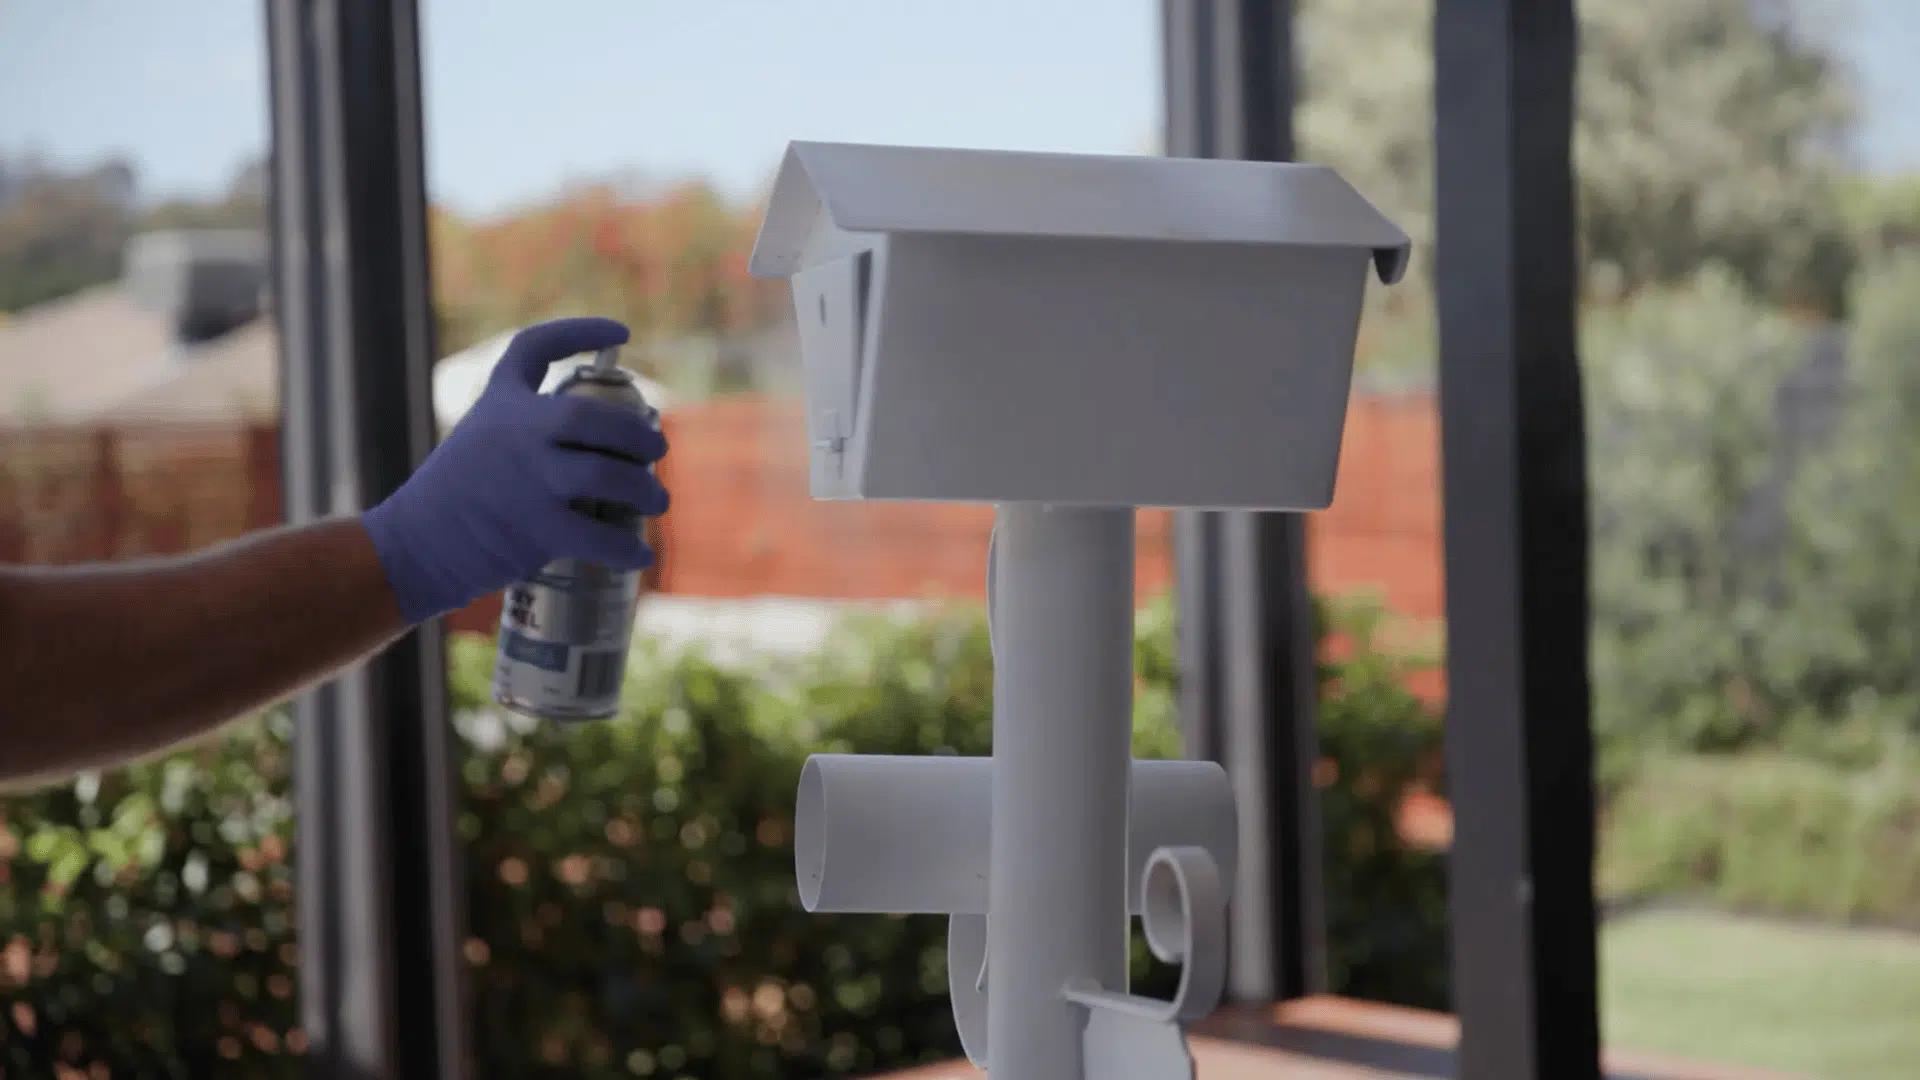
Resist the urge to cover everything in one pass. Lay down a thin, even coat and expect the primer to still show through a little. Thin coats dry faster and avoid drips, tacky spots, and uneven texture. Keep the brush or spray moving in steady strokes, overlapping slightly as you go so the coverage stays consistent across the whole surface.
- Start and stop spraying off the edge.
- Test the color on a scrap first.
Step 5: Add a Second Coat
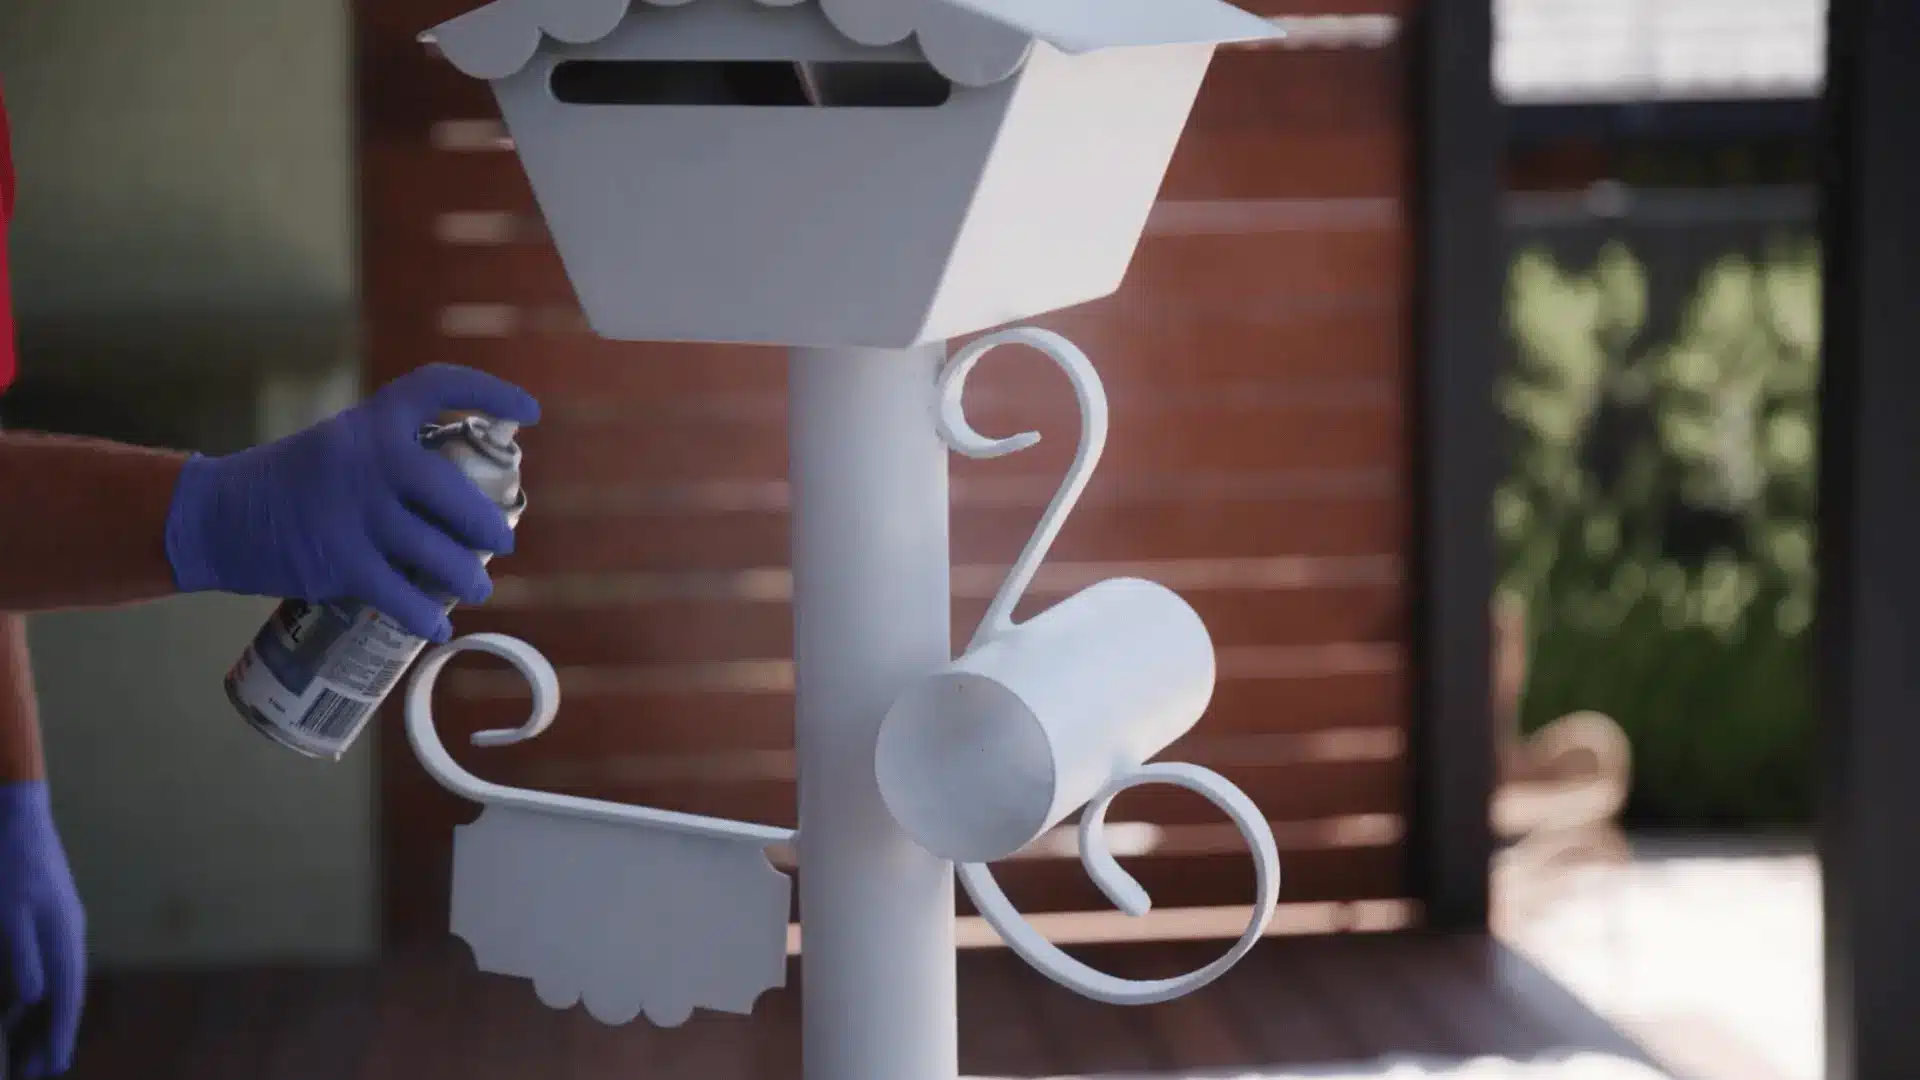
The second coat is where the color fills in, and the coverage evens out. Wait for the recoat window listed on the label, since painting too soon can wrinkle the first layer.
Apply it the same way, thin and even, with steady overlapping passes. Most projects look finished after two coats, though a third thin coat never hurts on lighter colors.
- Change your angle to spot thin patches.
- Missed the window? Wait for the full cure.
Step 6: Let the Paint Cure Before Use
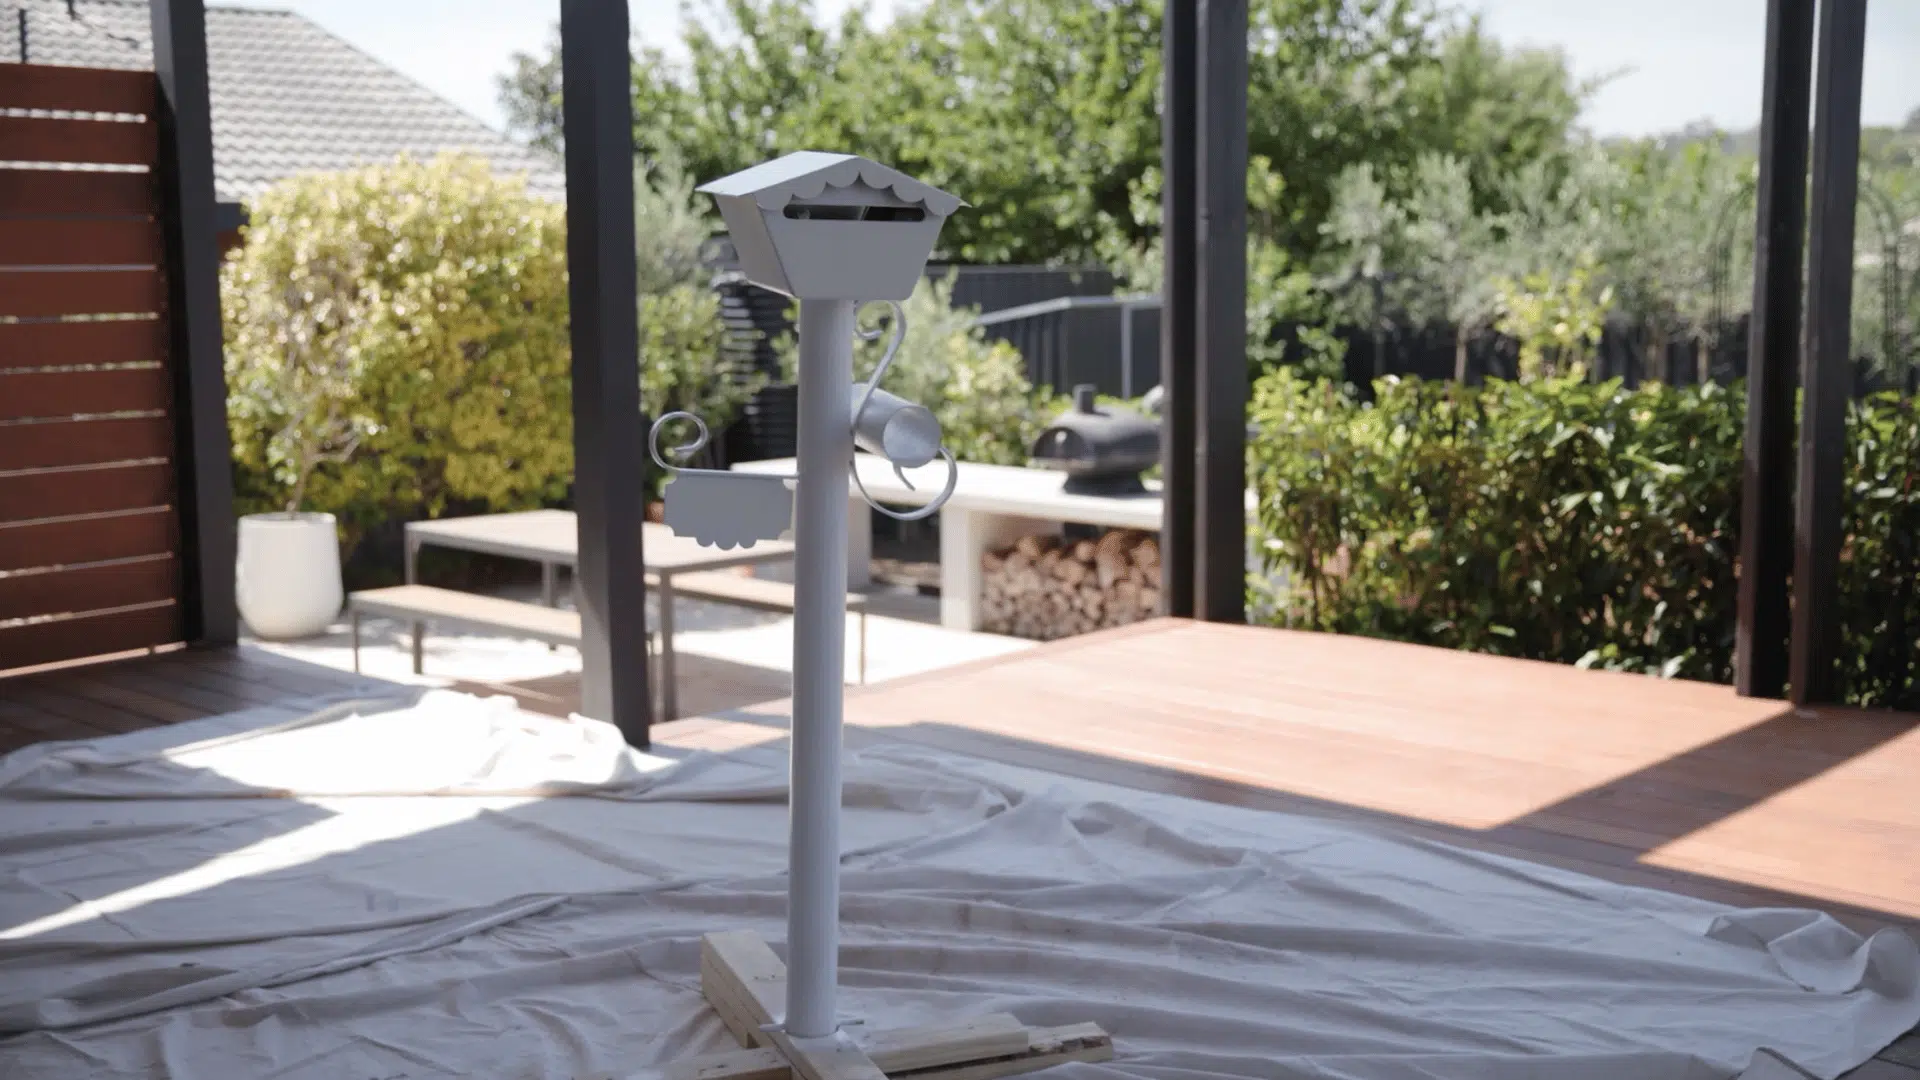
Dry to the touch is not the same as fully cured. The surface may feel dry in an hour, but the paint underneath needs days to harden completely.
Furniture, handles, and railings all take real use, so give them the full cure time on the label before setting things down or gripping them. Rushing this is what leaves fingerprints and dents in a finish that looks done.
- Keep it dust-free and out of the rain.
- Clear coat only after full cure.
Check out this tutorial by Bunnings Warehouse for a better visual guide:
Spray Paint Vs Brush-on Paint for Metal
Both work well; they just suit different jobs. Spray paint is easier for curved surfaces, thin legs, and detailed fixtures.
Brush-on paint offers greater control over railings, gates, doors, and larger flat surfaces. The shape of your project usually decides for you.
| Option | Best for | Pros | Watch Out for |
|---|---|---|---|
| Spray Paint | Furniture, fixtures, decor | Smooth finish, reaches details | Overspray, wind, thin coverage |
| Brush-on Paint | Railings, gates, doors | Good control, thicker coverage | Brush marks, slower work |
| Roller | Metal doors, panels | Fast on flat areas | Not ideal for detailed pieces |
Whichever method you pick, apply several thin coats rather than one heavy layer. Spraying too close causes runs, and overloading a brush leaves marks that show once the paint dries.
How to Paint Rusty Metal
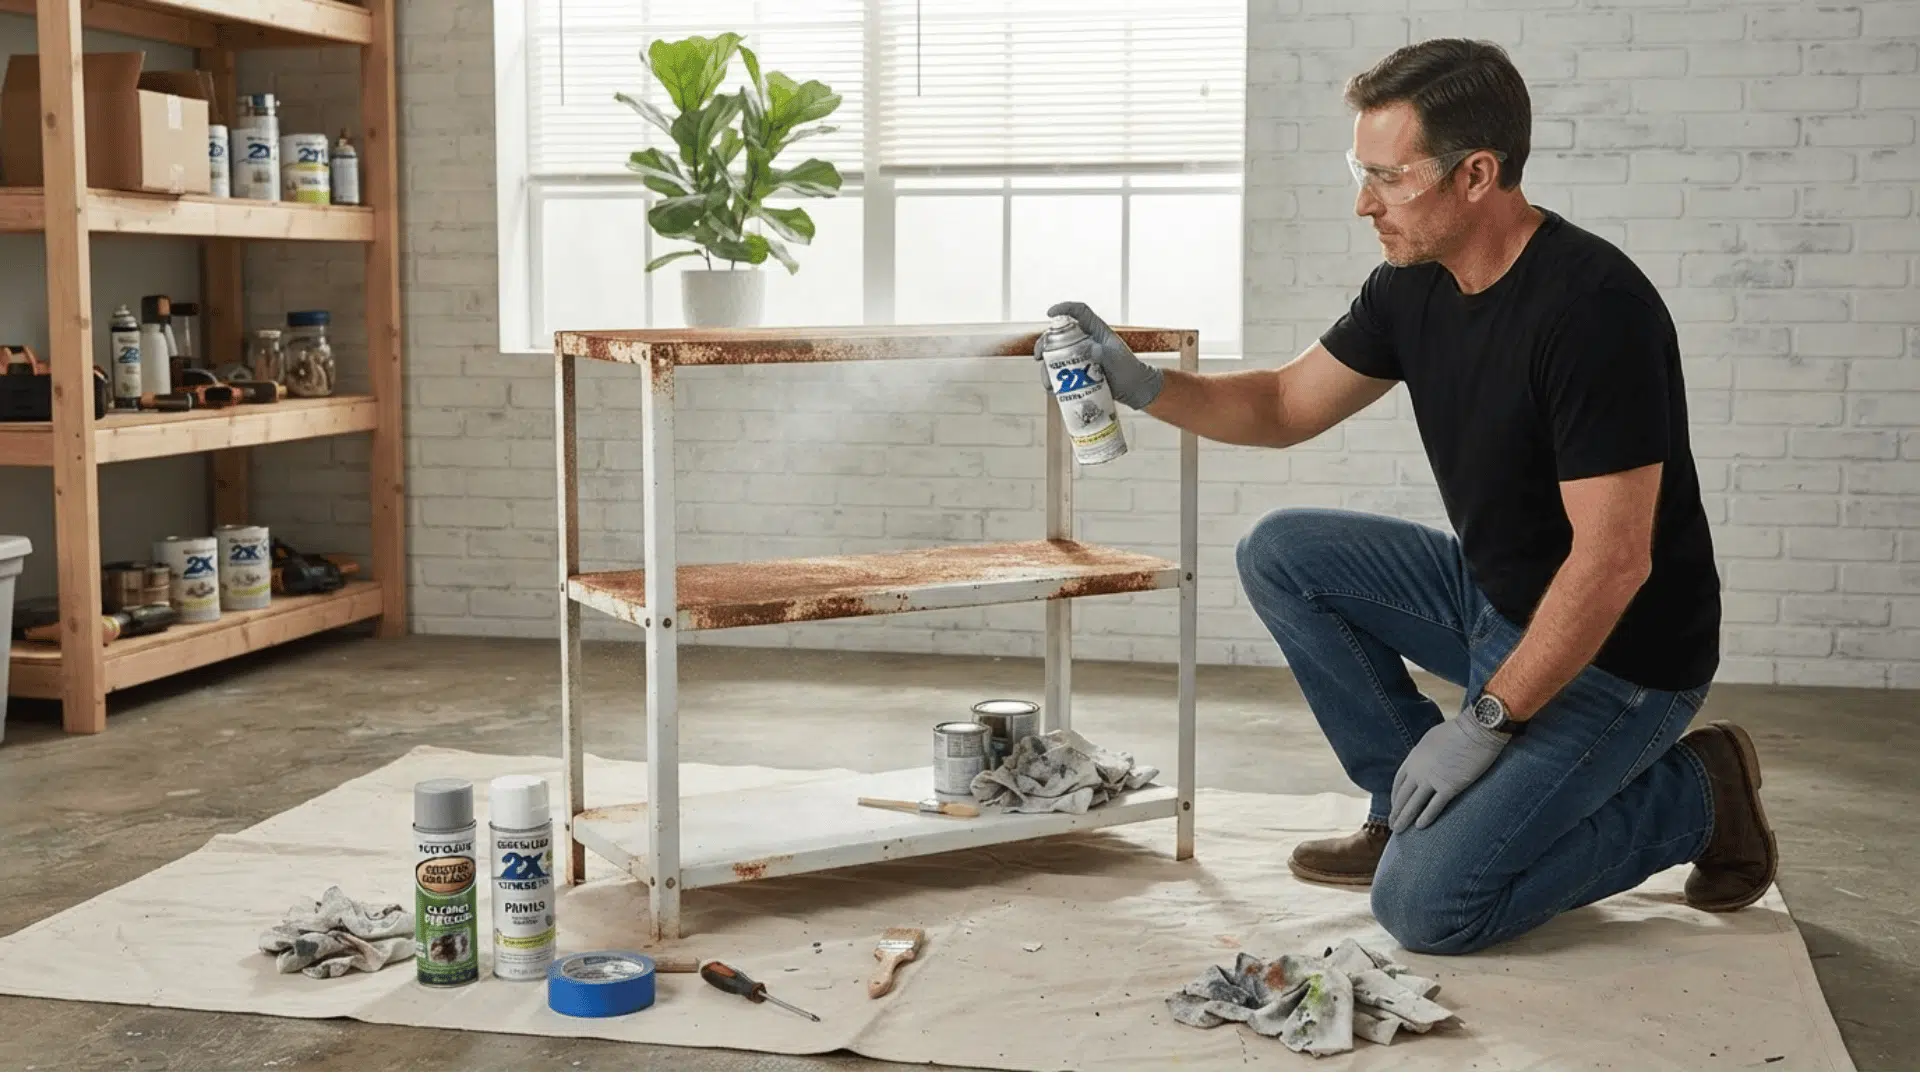
Rusty metal needs extra prep before paint will stick. If you paint over loose rust, the coating usually fails because rust keeps spreading underneath. The finish bubbles, flakes, and peels within months.
- Remove loose rust with a wire brush, sandpaper, or a scraper.
- Clean the surface to remove dust, grease, and grime.
- Sand rough or flaking edges until they feel smooth.
- Apply a rust-inhibiting primer or a rust-converting product when the surface is still spotty and hard to fully clear.
Warning: check the condition first. If the metal is deeply pitted, weak, sharp, or structurally damaged, paint will not fix it. A fresh coat hides the problem but does not restore strength.
The next steps depend on how bad the rust is. Some surfaces respond well to a rust converter after cleaning. Others are too far gone and need to be swapped out. Here is how to tell the difference.
When to Use Rust Converter
Rust converter helps on stubborn rusty surfaces after you have removed the loose, flaking material.
It reacts with the leftover rust and turns it into a stable, paintable layer, which works well on patches that keep coming back. Keep in mind it is not a replacement for cleaning.
You still need to scrub off dirt, grease, and loose rust first, or debris gets trapped under the coating.
When to Replace Instead of Paint
Sometimes paint is not the answer. Badly weakened patio furniture, railings, or outdoor fixtures can rust through until they no longer hold weight.
A chair leg that flexes or a railing that wobbles is a safety risk, not a paint problem. Safety comes before appearance. If the metal is thin, crumbling, or cracked at a joint, replace the piece instead.
A good finish cannot bring back lost strength.
Common Mistakes to Avoid When Painting Metal
Most metal paint problems trace back to two things: rushing the prep or laying the paint on too thick.
Metal is less forgiving than wood or drywall, so dirt, rust, and skipped primer show up fast as peeling, bubbling, or a finish that never hardens. Use the table below to match each mistake with what goes wrong and the simple fix.
| Mistake | What Happens | Better Fix |
|---|---|---|
| Skipping Cleaning | Dirt and grease stop paint from bonding, causing peeling or fisheyes. | Wash with soap and water, then dry fully. |
| Painting Over Loose Rust | Rust spreads under paint and bubbles through later. | Brush, sand, and prime the surface. |
| No Primer on Bare Metal | Paint may not grip well and can flake early. | Use a metal primer before painting. |
| Heavy Coats | Thick paint drips, runs, and stays tacky. | Apply two or three thin coats. |
| Painting in Wind | Dust sticks to wet paint, and overspray spreads. | Paint in calm weather or shield the area. |
| Using too Soon | Soft paint scratches, dents, or marks easily. | Let the paint cure as the label says. |
How Long does Paint Take to Dry on Metal?
Drying time is not the same for every project. It depends on the type of paint, temperature, humidity, the thickness of each coat, and how much air moves around the piece.
Always follow the product label, since recoat and cure times are printed there for a reason. Paint goes through three stages. Dry to the touch means the surface feels dry but is still soft underneath.
Ready for another coat means you can safely add the next layer. Fully cured means the paint has hardened all the way through, which can take days or weeks.
Wait for full curing before you sit on painted chairs, reinstall handles, or set heavy items on shelves.
How to Make Painted Metal Last Longer
Painted metal holds up best when you clean it often and keep moisture away where you can. Water is the main problem, because any chip or crack lets bare metal show, and exposed metal can rust again.
Check outdoor pieces for chips regularly. A few habits help the finish stay strong:
- Touch up scratches quickly before rust starts
- Keep outdoor furniture covered in harsh weather
- Do not drag metal chairs across rough ground
- Clean with mild soap and water, not harsh abrasives
- Store small metal pieces indoors when they are not in use
- Recoat high-wear spots once the finish starts thinning
Key Takeaways
Good results come down to a little prep before you open the can. Start with clean metal, since dirt and grease keep paint from sticking.
Brush off any loose rust, scrape away peeling paint, and sand glossy spots until they feel dull. Make sure the surface is fully dry, and add a metal primer if the piece is bare or prone to rust.
Always pick a paint made for metal, and save the work for a calm, dry day so wind and damp air do not ruin the finish. Give each coat enough time to dry, and let the piece fully cure before you put it back into use.
Run through those steps once before you begin, and your paint job will look better and last far longer. Ready to get started? Grab your supplies, set aside enough time, and give your metal piece the finish it deserves.
Frequently Asked Questions
Can You Paint Stainless Steel?
Yes, but stainless steel needs extra grip. Clean it thoroughly, lightly scuff the surface, and apply a bonding primer before painting.
Can You Paint Over Powder-Coated Metal?
Yes, if the powder coating is solid. Clean it, sand the glossy surface dull, wipe away dust, then use a bonding primer.
What Paint Finish Looks Best on Metal?
Satin and semi-gloss finishes usually look best on metal because they hide small flaws while still being easy to clean.
Can You Use Acrylic Paint on Metal?
Acrylic paint can work on small indoor metal decor, but it needs proper prep and sealing. For outdoor metal, use metal-rated paint.
Should You Remove Hardware Before Painting Metal?
Yes, remove handles, screws, cushions, and moving parts when possible. This gives cleaner edges and prevents paint from sticking parts together.

James McLaren, with a rich background in architecture from the University of Manchester, has been contributing his expertise to the world of creative construction and home innovation for over 20 years. His journey began as a project manager for a leading construction firm, where he honed his skills in bringing complex designs to life. James joined our platform as a freelancer in 2019, quickly becoming a favorite for his insightful and practical advice. He has been a pivotal force to our wing ever since, bringing our readers a blend of technical know-how and creative flair. Beyond his professional life, James is an avid woodworker and enjoys restoring vintage furniture, a hobby that complements his professional insights beautifully.