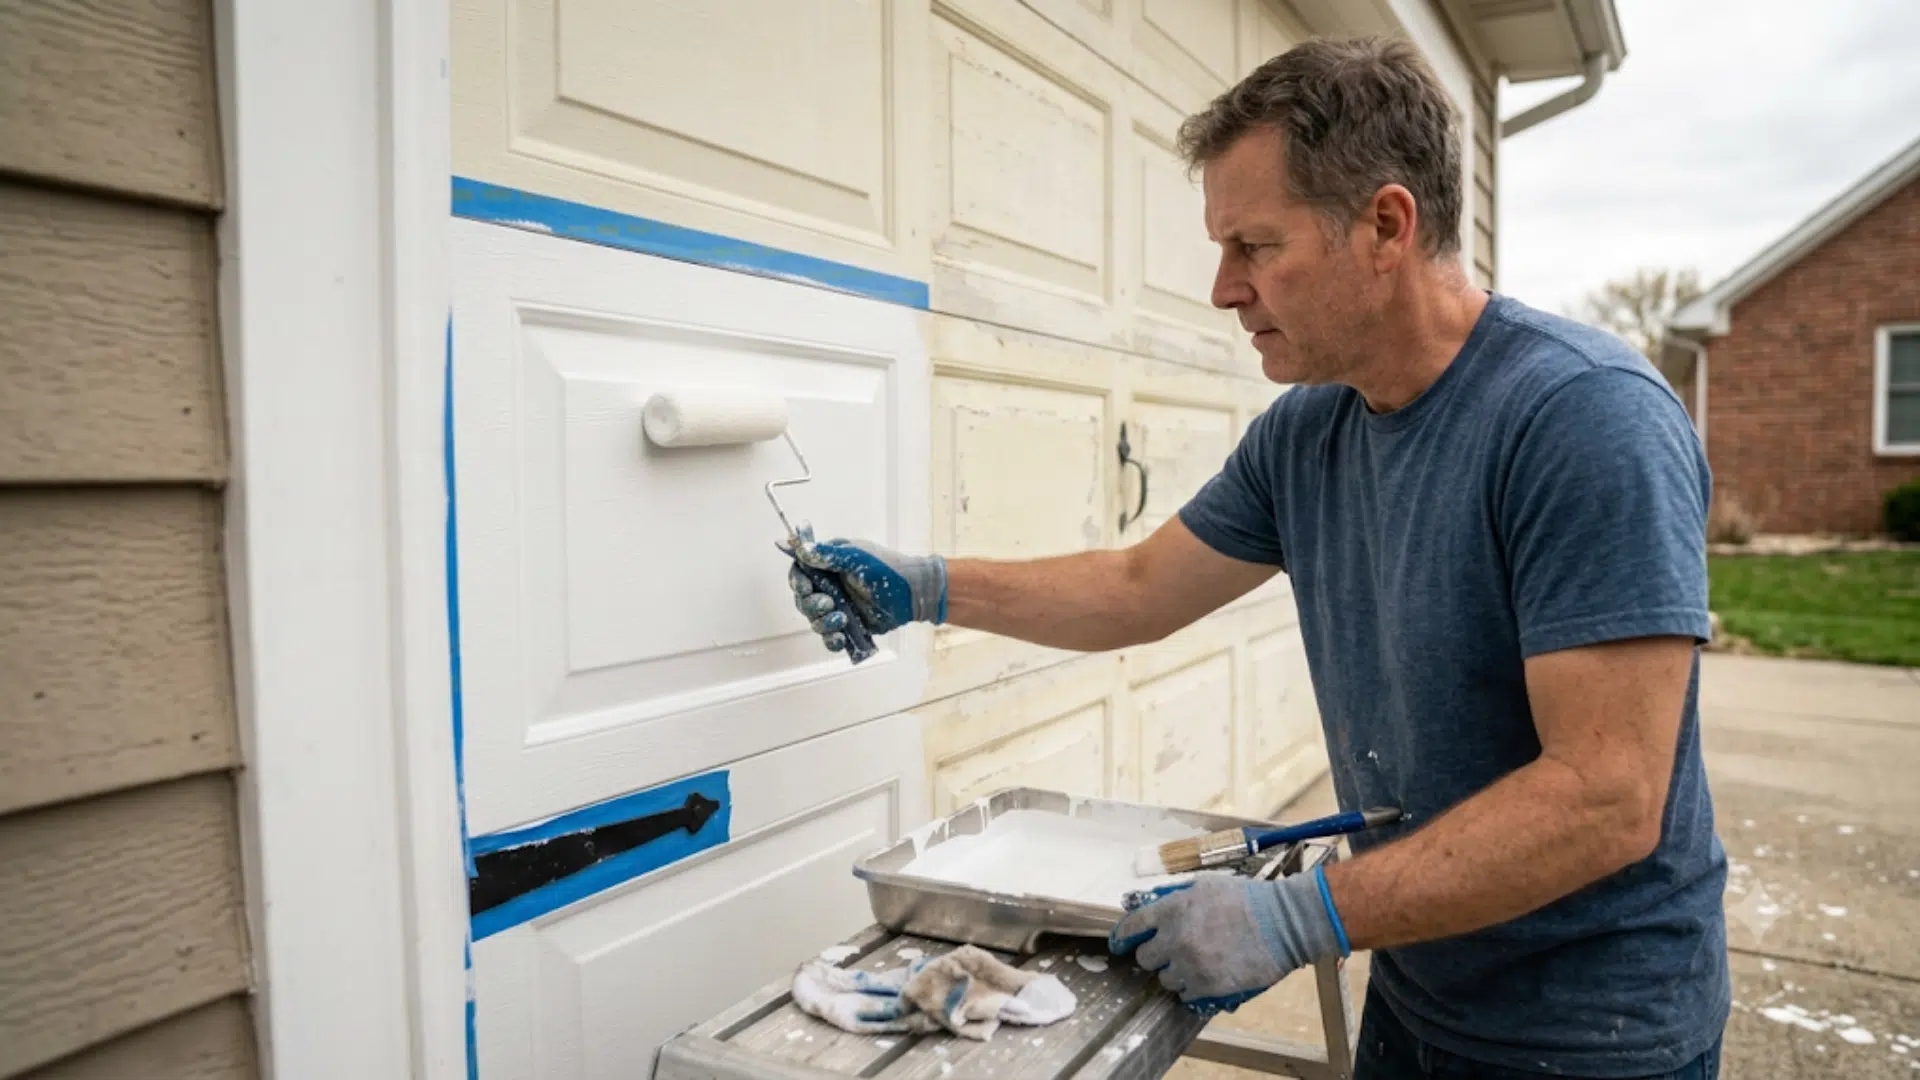

A faded, chipped garage door can make even a well-kept house look older than it really is.
Peeling paint, uneven color, and visible wear often become one of the first things people notice from the street.
The good news is that you do not need expensive equipment or years of painting experience to give it a fresh, clean appearance.
Most professional-looking results come from taking your time with the preparation and following each step in the right order.
This guide will walk you through how to paint a garage door properly, from the initial cleaning and surface preparation to choosing the right paint and applying smooth, even coats.
You will learn which tools are worth using, how to avoid streaks and brush marks, and the simple techniques that help the new finish last longer through daily use, changing weather, and regular exposure to sunlight.
Tools and Materials You’ll Need
Before you start, lay out everything you need so you’re not running back and forth mid-project. Here’s what to gather:
- Exterior paint
- Painter’s tape
- Brushes
- Roller with tray
- Sanding block
- Safety glasses
- A fume-rated mask
- Rags
- Ladder
- Primer
How to Paint a Garage Door Step by Step
Once your tools are ready, work through these steps in order rather than jumping around the door.
Each one builds on the last, from sanding and cleaning through to the final coat, and skipping ahead is usually what leads to a patchy, uneven finish down the line.
Step 1: Sand the Surface
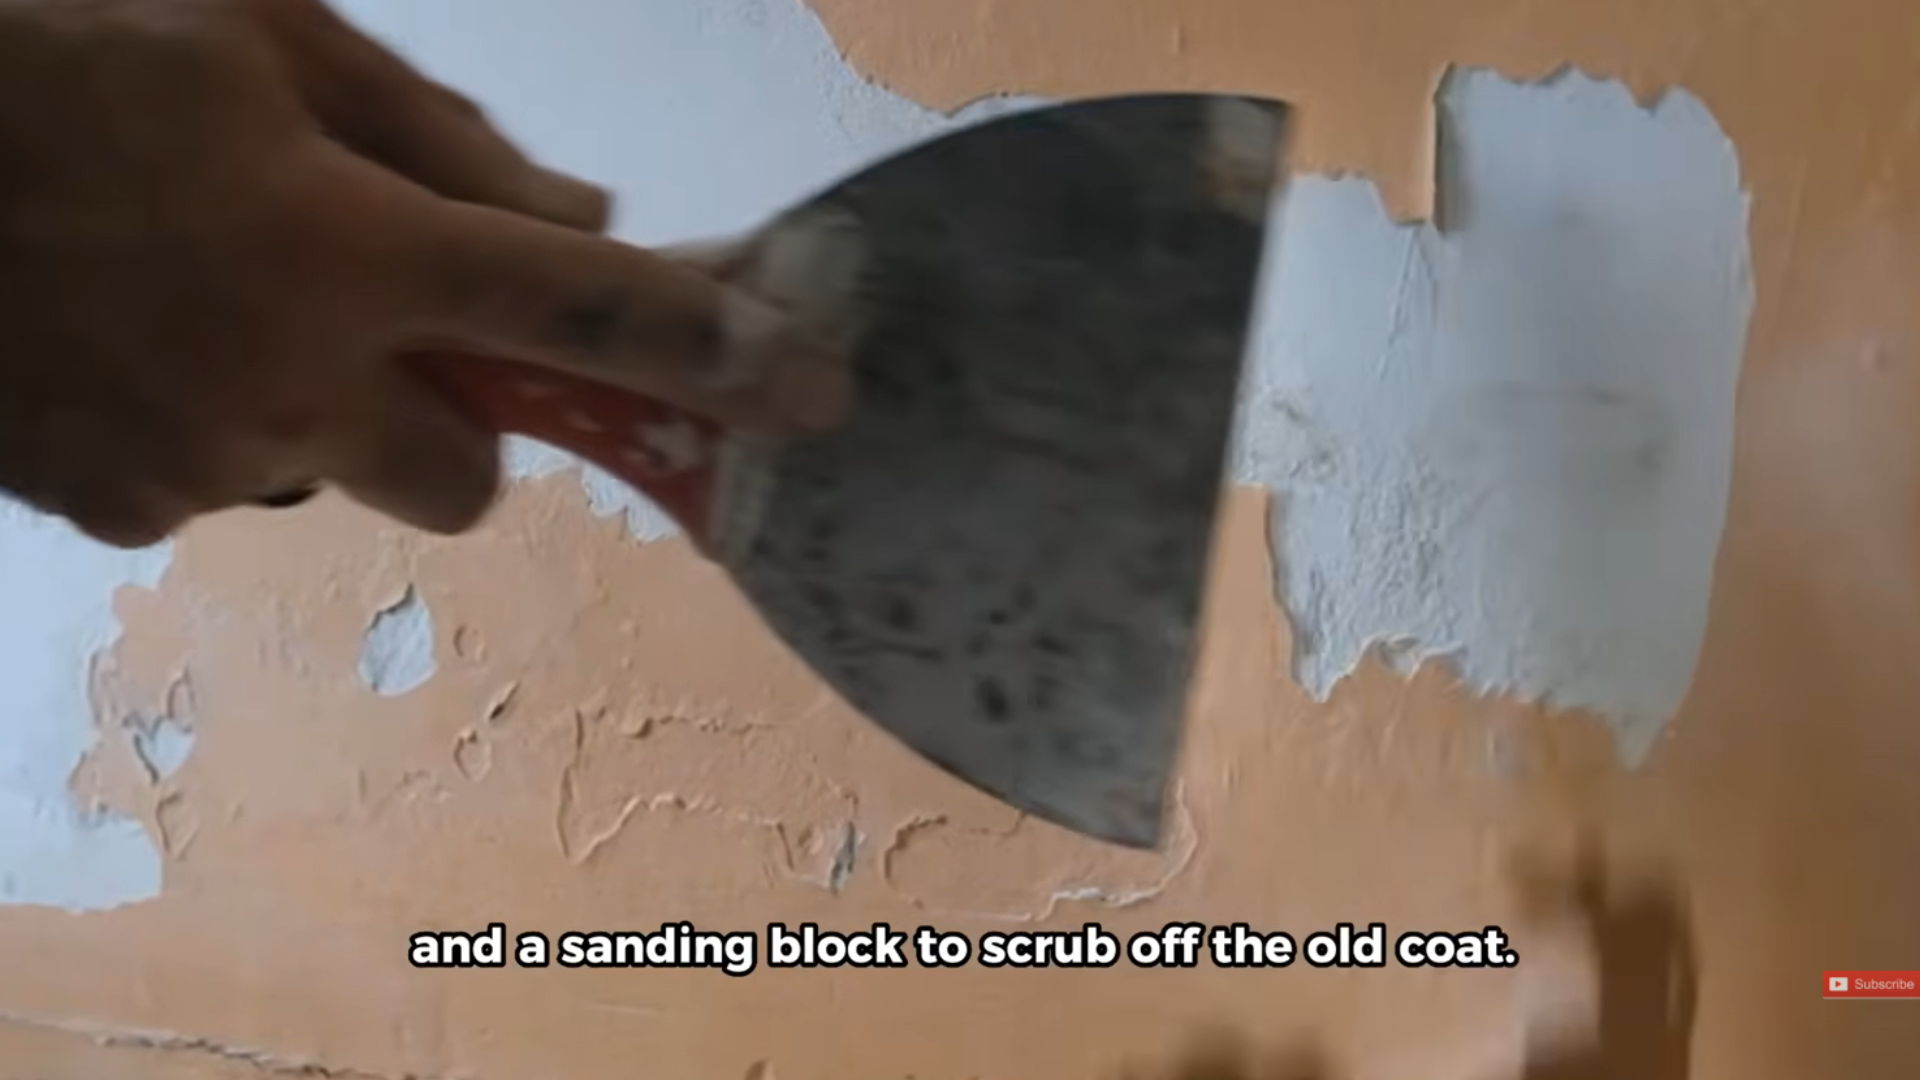
Remove any old, flaking paint using a scraper, wire brush, and sanding block.
This gives the new coat something solid to grip instead of sitting on top of loose paint that will eventually peel.
Work slowly around dented or rusted spots so you don’t gouge the metal underneath.
A smooth base here prevents patchy spots later, once the primer and paint go on top..
Step 2: Wash and Rinse
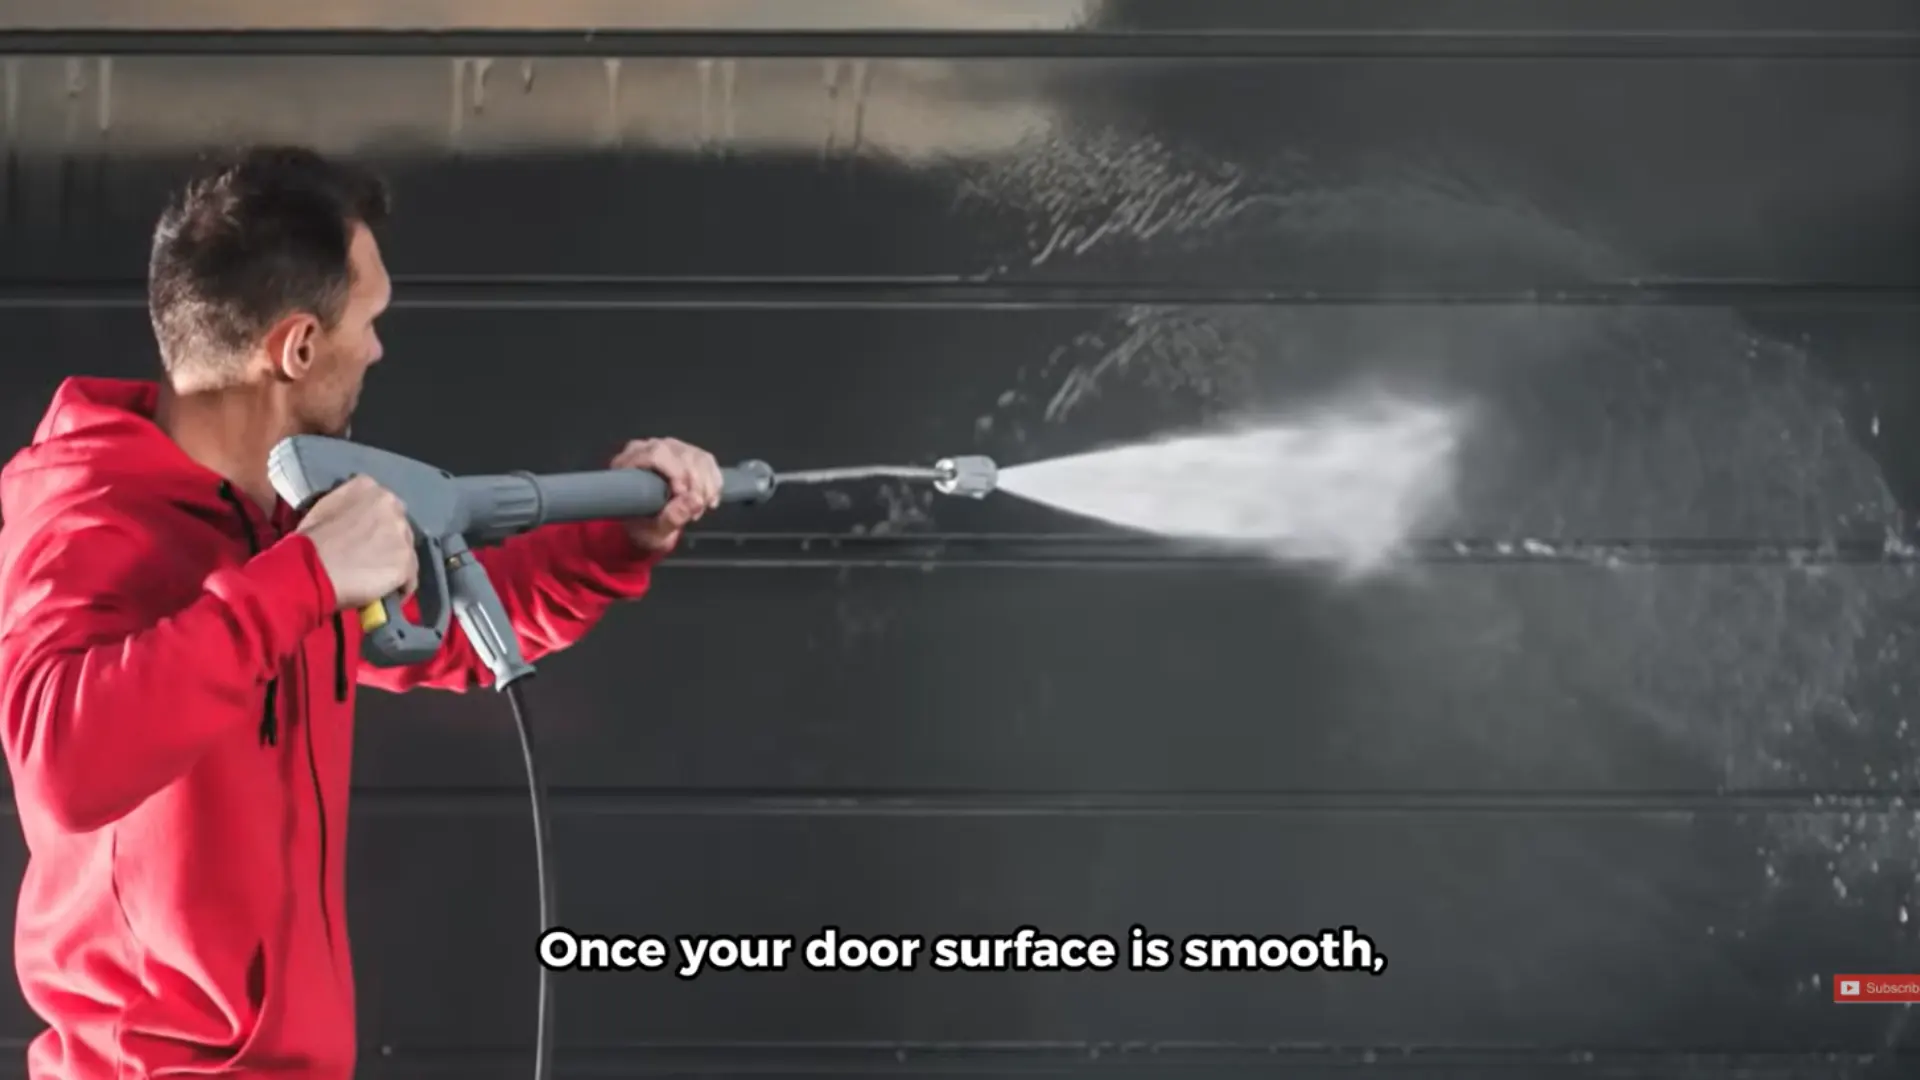
Scrub the whole door with dish soap and water to clear off dirt, grease, and rust.
Grease tends to hide in the panel grooves, so go over those spots twice.
Once the door looks clean, rinse it well and dry it fully with a rag before touching anything else.
Painting over a damp surface is one of the fastest ways to ruin an otherwise good prep job.
Step 3 :Unplug and Tape Off the Door
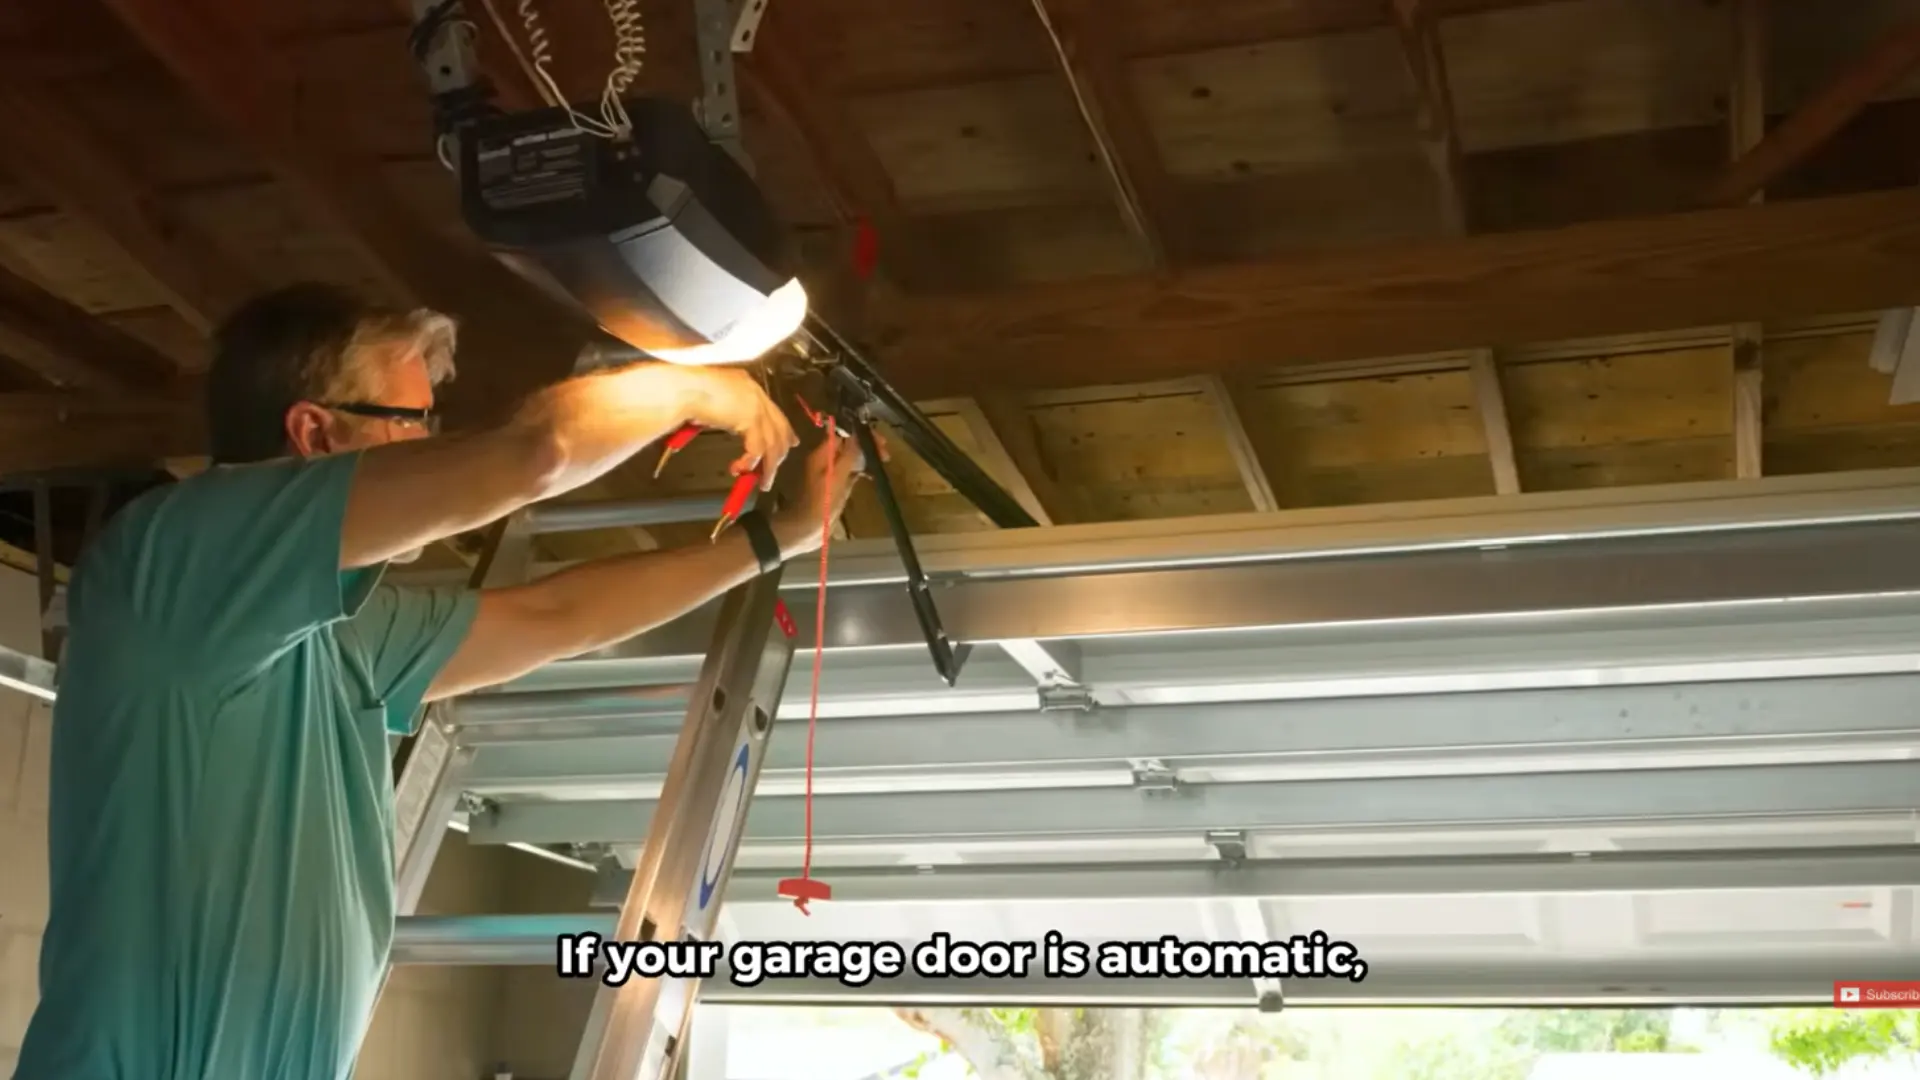
Before working near the door with paint, unplug the automatic opener and pull the safety release chain so it can’t shift while you’re working close to it.
Then tape off the windows, trim, and handles, and lay down a drop cloth underneath. This step feels slow, but it saves a lot of scraping and cleanup once the paint starts drying.
Step 4: Apply Primer
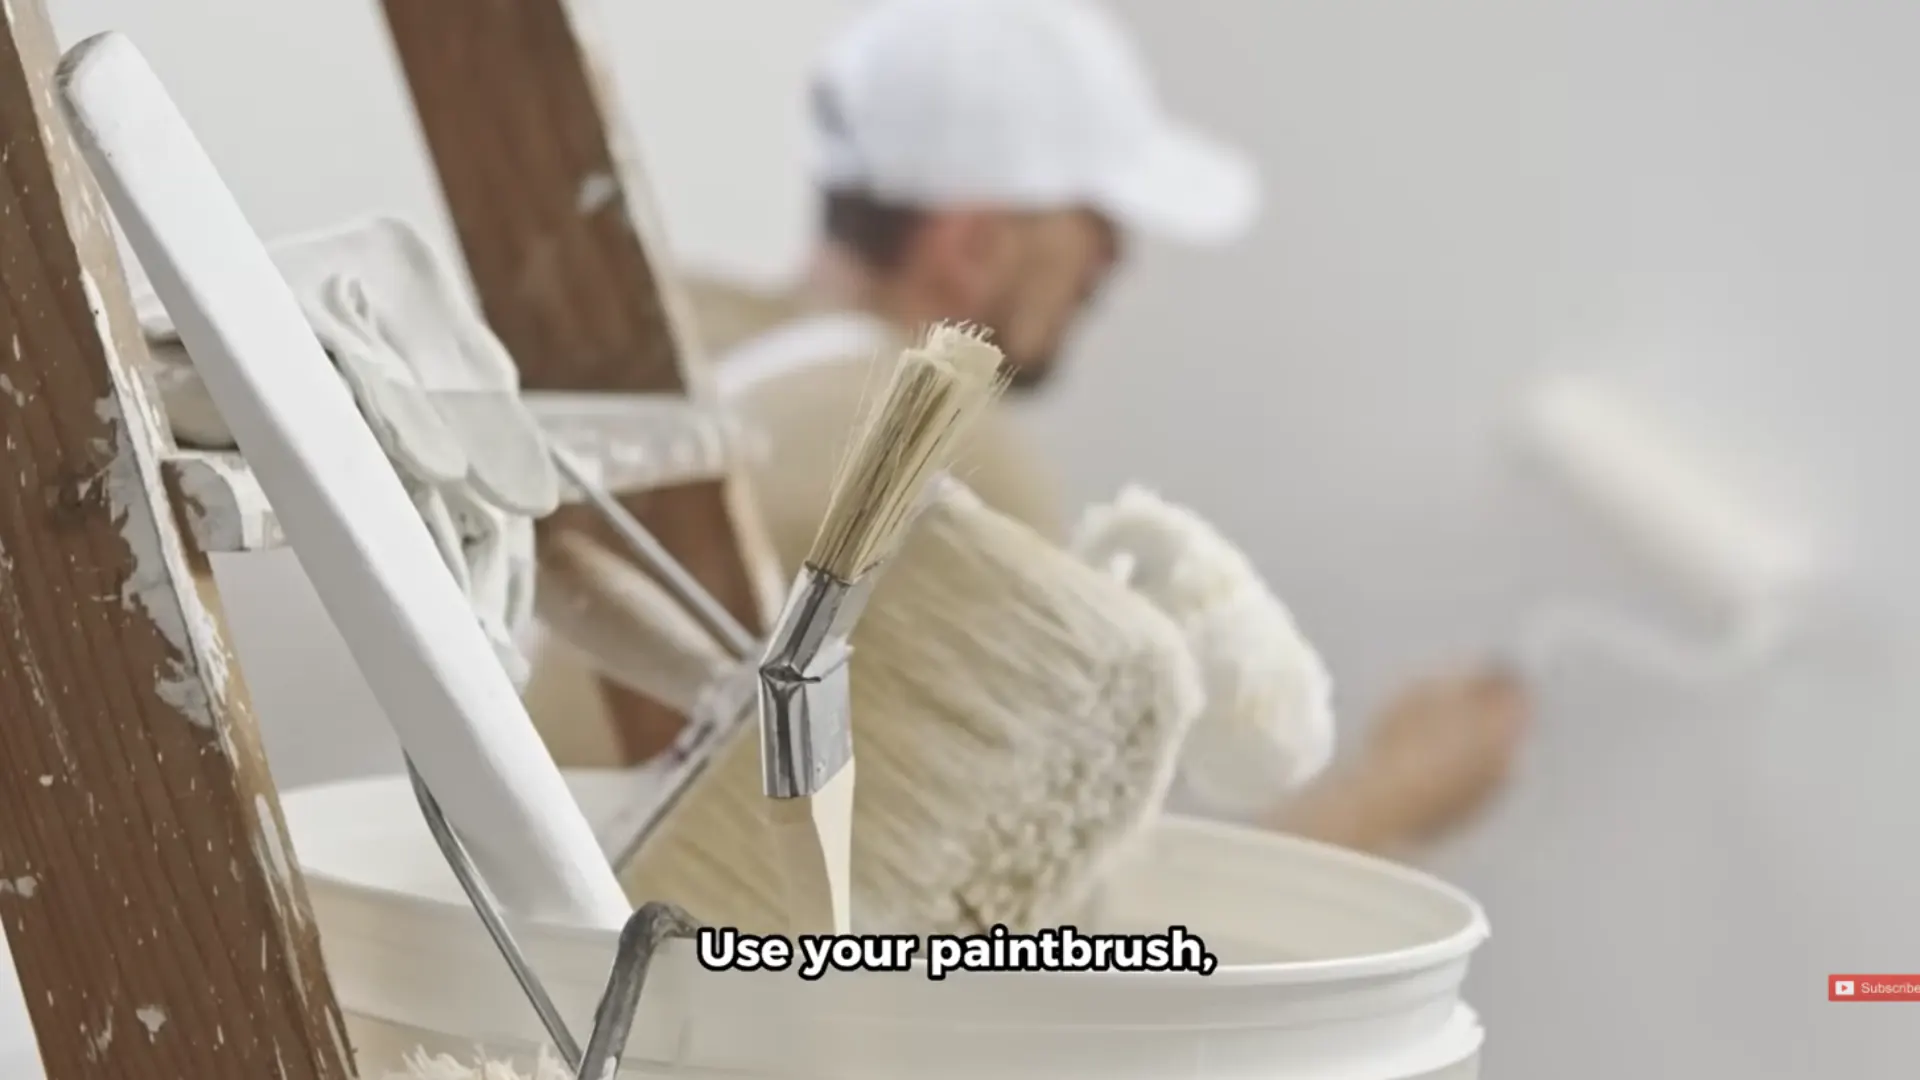
Any bare metal, wood, or patched spot needs a coat of primer first.
Skipping this step is risky, since paint applied straight over bare material tends to look blotchy, uneven, or peel early, no matter how many topcoats go on afterward.
Primer also helps the color sit evenly across patched and unpatched areas.Let the primer dry fully, following the time listed on the can, before opening the paint.
Step 5: Paint Grooves First, Then Roll Flat Areas in Thin Coats
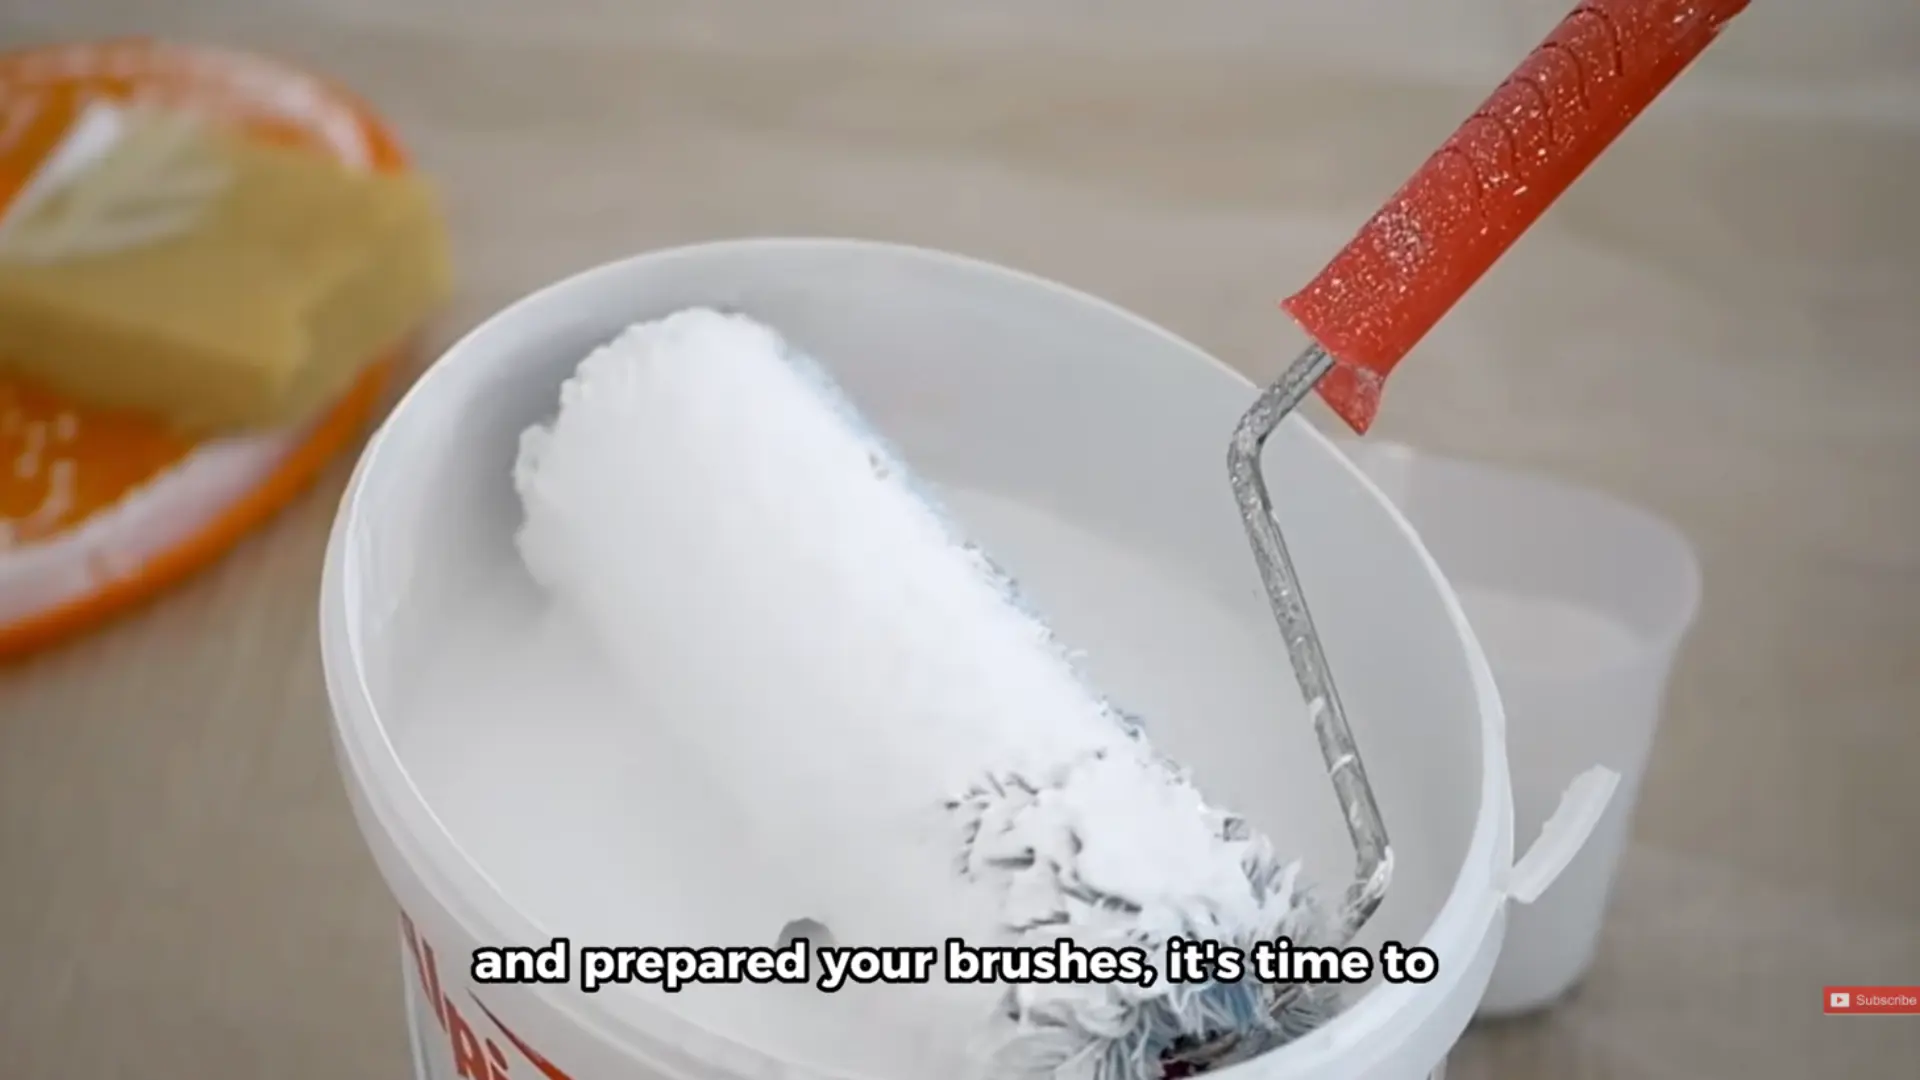
Use a brush to handle the grooves and edges, since a roller almost always misses these tight spots. Once those areas are done, switch to a roller and go over the flat panels in thin, even layers.
Reload the roller lightly instead of soaking it to avoid drips.
Work one section at a time to keep a wet edge, which is really what keeps the finish free of streaks.
Step 6: Work Top to Bottom
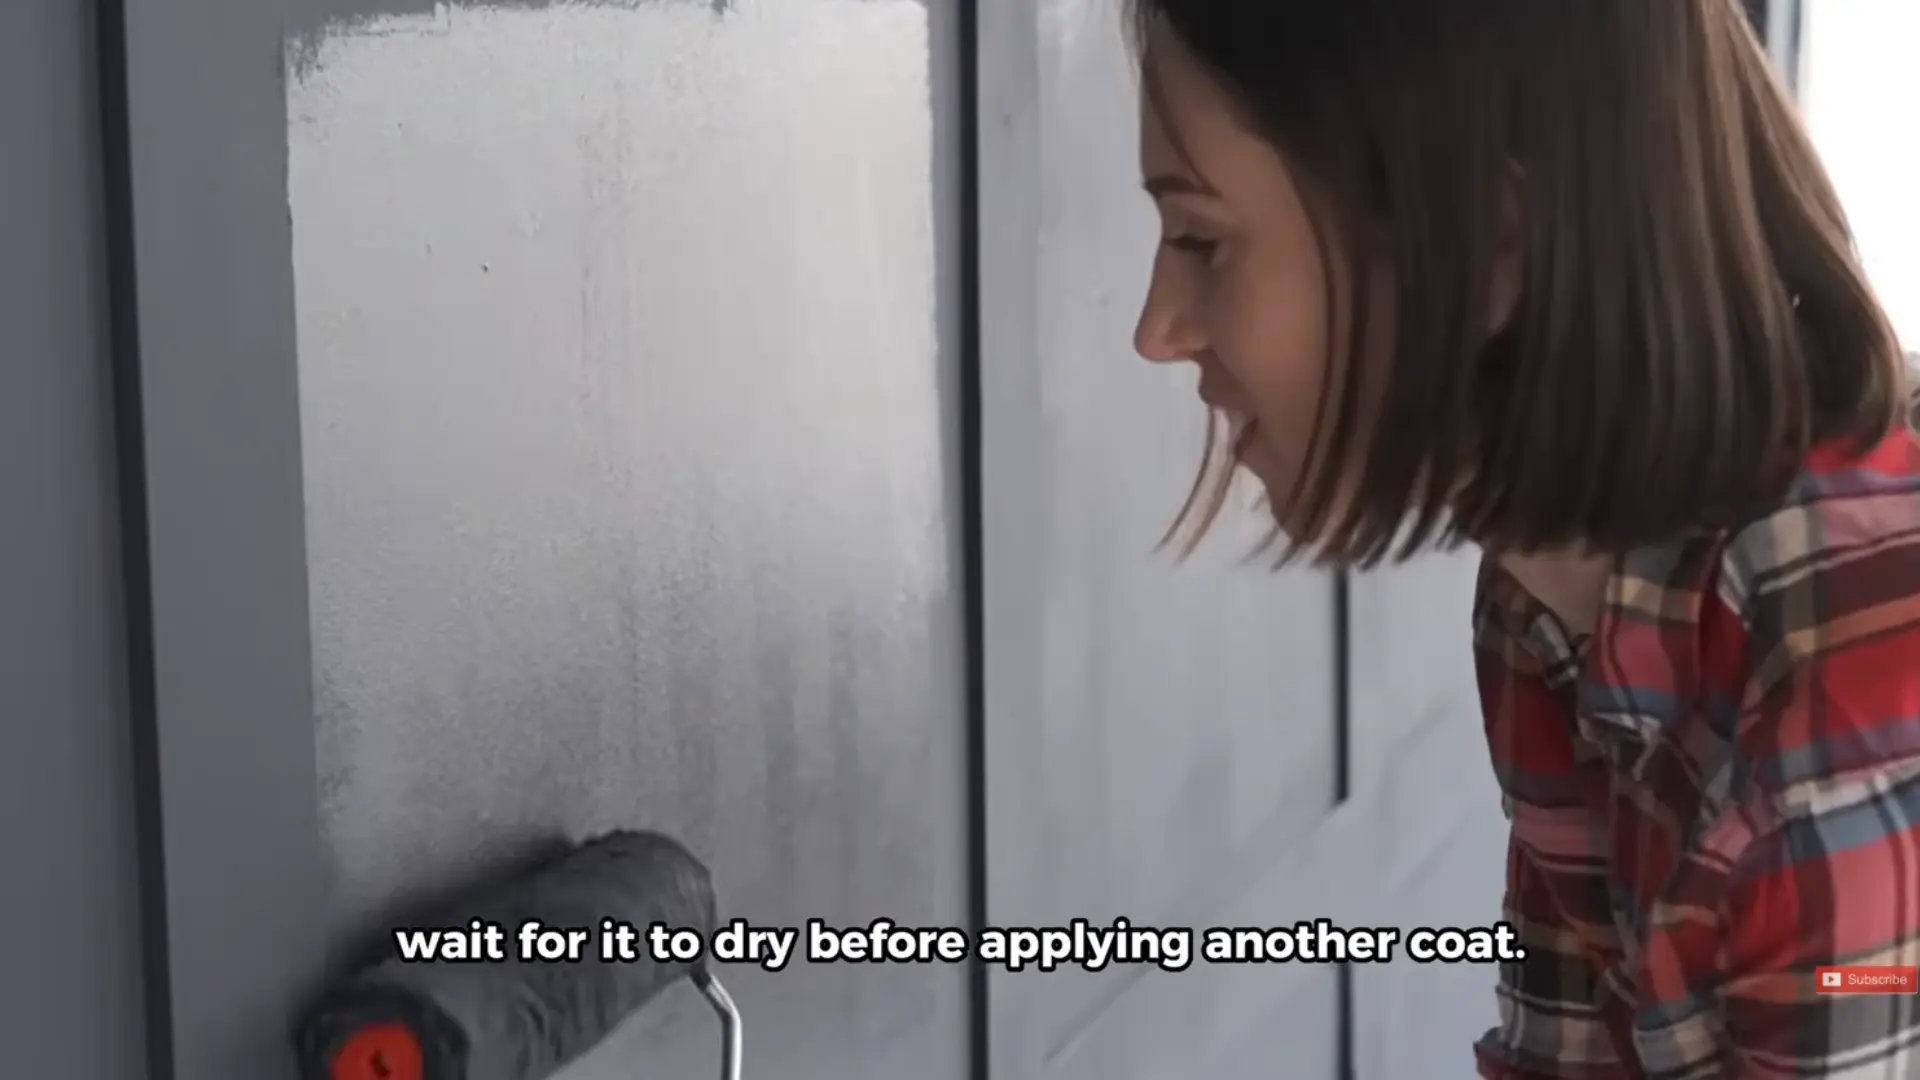
Start painting at the top right panel and move down, one panel at a time, until you reach the hinges. Working in this order keeps drips from landing on sections you’ve already finished.
This also makes it easy to spot thin patches early. Once you’re close to the bottom, lift the door slightly so you can reach the seams and edges that stay hidden while it’s closed.
Step 7: Let It Dry Fully Before Closing

Touch dry does not mean fully dry. Leave the door open well past that point, since closing it too soon can cause fresh paint to stick to the rubber seal.
Recoat time and full cure time both depend on the paint label, so check that before adding a second coat or cleaning the door later.
Waiting the extra day or two now prevents dents, smudges, or stuck panels later on.
How to Choose the Right Paint for a Garage Door
The paint you pick changes how long the finish holds up, so this part is worth getting right. The best choice largely depends on what the door is made of.
| Door Material | Best Paint Type | Primer Needed | Key Caution |
|---|---|---|---|
| Metal | Exterior acrylic latex | Yes, on bare metal or rust | Watch for rust spots |
| Wood | Exterior wood-rated paint | Yes, on bare wood | Needs flexibility for movement |
| Vinyl | Manufacturer-approved paint | Usually not | Avoid heat-absorbing dark colors |
| Composite | Manufacturer-approved paint | Sometimes | Check the warranty before repainting |
Before buying anything, check the manufacturer’s instructions, as some materials have paint restrictions that are tied to the warranty.
Prepping a Garage Door Before Painting
Prep is not the fun part, but it’s the part that saves the finish. Rushing here is the biggest reason a paint job ends up looking uneven.
- Wash Away Dirt and Grease: Wash the whole door with warm water and a mild cleaner, working section by section, then let it dry completely
- Scrape Loose Paint Carefully: Lift any chipped or flaking areas with a scraper, working gently to avoid gouging the surface underneath.
- Sand the Edges Smooth: Go over scraped spots with a sanding block so there’s no visible ridge between old paint and bare surface.
- Tape the Trim, Handles, and Weatherstripping: Run painter’s tape along the trim, handles, windows, and rubber seals before opening a single can of paint.
- Prime the Bare Spots: Anywhere that’s been scraped or sanded down to bare metal or wood needs a coat of primer, which should be left to dry fully before moving on.
Best Weather for Painting a Garage Door
Checking the forecast before starting matters, since weather can undo even the best prep work and the right paint choice.
- No rain in the forecast, before or after painting
- Temperature between 50–85°F
- Low wind and minimal dust
- Dew has fully dried off the surface
- Enough daylight is left for the coat to set before evening moisture rolls in
Hot, direct sun can make paint dry too quickly, leaving brush marks instead of a smooth finish. Stick to that 50 to 85 degree range and skip the hottest part of the day.
Keeping the Finish Streak-Free
Once the door is ready, the technique decides how smooth the finish looks.
A few habits make the biggest difference.
- Paint grooves and edges with a brush before rolling
- Roll flat panels in thin, even layers instead of one heavy coat
- Work one section at a time to keep a wet edge
- Lift the door slightly to reach the seams near the hinges
- Add a second coat if the first looks thin, especially over a bold old color
Common Garage Door Painting Mistakes to Avoid
Small mistakes can make a door look uneven fast. Most of them come down to the same handful of shortcuts, so it helps to know what to watch for while learning how to paint a garage door.
| Mistake | What Happens | Simple Fix |
|---|---|---|
| Painting over dirt | Paint bubbles or flakes | Wash and dry the door first |
| Skipping primer | Blotchy, uneven color | Prime all bare spots before painting |
| Using interior paint | Fades or peels fast | Use exterior-rated paint only |
| Applying thick coats | Drips, wrinkles, uneven drying | Use thin, even coats |
| Closing the door too soon | Paint sticks to seals | Wait for full dry time before closing |
Garage Door Painting Safety Tips
A garage door paint job is simple, but safety still matters. A few habits keep the project accident-free.
- Unplug the automatic opener and pull the safety release chain so the door can’t move
- Use a stable ladder on flat, solid ground, and avoid leaning too far to one side
- Wear gloves, eye protection, and a fume-rated mask while sanding or priming
- If the home was built before 1978, check for lead paint before scraping or sanding
- Keep kids and pets away from the work area until everything is dry
How Long Does Garage Door Paint Take to Dry
Rushing this part is where a good paint job can go wrong. Touch dry and fully dry are two very different things.
| Stage | What It Means | What to Avoid |
|---|---|---|
| Touch dry | Surface feels dry to a light touch | Don’t assume it’s fully set |
| Recoat time | Safe window for a second coat | Don’t recoat before label time |
| Full dry | Safe to close the door | Don’t rush this stage |
| Full cure | Paint has fully hardened | Don’t scrub or pressure wash early |
When in doubt, go back to the paint label. It’s the most accurate guide for how long that specific product needs.
When to Repaint or Touch Up a Garage Door
A gentle wash now and then keeps dust and pollen from building up, and touching up small chips as soon as they appear stops moisture from getting underneath.
Rust, peeling, or heavy fading is usually the sign that it’s time to repaint the door instead of just patching it.
Final Takeaway
Painting a garage door isn’t about being a professional; it’s about not skipping steps.
Clean the surface, sand the rough spots, prime where it’s bare, and let thin coats do the work instead of one heavy layer.
Pick paint made for the door’s material, give it real time to dry, and that’s what keeps a paint job from turning patchy.
If there’s one thing to remember, it’s this: don’t rush the parts that feel boring. Prep and dry time aren’t exciting, but they’re what make the color actually last.
Pick a mild, dry day this week, gather your supplies, and give it a try. Your garage door and your curb appeal will thank you.
Frequently Asked Questions
Do I Need to Pressure Wash a Garage Door Before Painting?
Not always. A sponge, hose, and mild cleaner usually work fine, unless the door has heavy dirt or grime buildup that a normal wash can’t remove.
How Many Coats of Paint does a Garage Door Need?
Most garage doors need one to two coats. A big color change, or painting over a bold old color, usually calls for a second coat to get even coverage without patchy spots showing through.
Why is My Garage Door Paint Peeling?
Peeling usually comes from poor cleaning, trapped moisture, skipped primer, or painting in bad weather. Fixing the prep work is almost always the real fix, rather than just adding another coat over the problem.

James McLaren, with a rich background in architecture from the University of Manchester, has been contributing his expertise to the world of creative construction and home innovation for over 20 years. His journey began as a project manager for a leading construction firm, where he honed his skills in bringing complex designs to life. James joined our platform as a freelancer in 2019, quickly becoming a favorite for his insightful and practical advice. He has been a pivotal force to our wing ever since, bringing our readers a blend of technical know-how and creative flair. Beyond his professional life, James is an avid woodworker and enjoys restoring vintage furniture, a hobby that complements his professional insights beautifully.