
Staining a deck can seem simple until the cleaning, sanding, weather, and drying time begin. I learned this after helping with a deck that looked ready for stain but still had dirt, loose coating, and damp areas between the boards.
Rushing would have caused patchy color and poor bonding. With the right preparation, though, the job becomes easier to manage.
This blog explains how to tell when your deck needs staining, choose a suitable product, prepare the wood, apply the finish evenly, and avoid mistakes.
You will also learn how to maintain the surface, decide if a separate sealer is needed, and know when professional help makes more sense. Careful steps now can give your deck a cleaner, longer-lasting finish.
How to Tell If Your Deck Is Ready for Staining
Before staining, look closely at the deck’s condition. Faded, gray, or patchy boards often show that the old finish has worn away. I usually sprinkle a few drops of water on several areas; if the wood absorbs them quickly, it is likely ready for stain.
Peeling or flaking coating should be removed first because a fresh stain will not bond well over loose material. Inspect boards, stairs, railings, posts, screws, and visible joists for rot or movement.
New wood, bare wood, and previously stained surfaces need different preparation, ranging from simple cleaning and light sanding to stripping or heavier sanding.
Choose the Right Deck Stain for Your Project
Choose a deck stain based on the wood’s condition, the look you want, and the existing finish. Clear and transparent products show the most grain but add little color.
Semi-transparent stain adds color while keeping the natural pattern visible.
Semi-solid stain provides stronger coverage while still showing some texture. Solid stain hides discoloration and creates a more even look.
Oil-based stains penetrate well but dry slowly and smell stronger, while water-based options dry faster and clean up easily.
Check whether the product already includes sealer, match it with the old coating, and test the color on a hidden board first.
Tools and Materials Needed to Stain a Deck
Gather all tools and materials before starting so the stain can be applied without unnecessary pauses.
- Cleaning: outdoor broom, deck cleaner, stiff-bristled brush, garden hose, pump sprayer, stripper, brightener, sandpaper, sander, and shop vacuum.
- Repairs: replacement boards, exterior screws, drill, hammer, exterior wood filler, and putty knife.
- Application: deck stain, tray or bucket, stain pad, roller, extension pole, quality brush, angled brush, and approved sprayer.
- Protection: gloves, safety glasses, mask, knee pads, drop cloths, painter’s tape, and plastic sheeting.
Having supplies nearby helps maintain a wet edge and prevents visible overlap marks.
Pick the Right Weather for Deck Staining
Weather can make or break a deck staining project because it affects absorption, drying, color, and curing.
I usually check the stain label first since every product has its own temperature range. Avoid staining in strong direct sunlight, as hot boards can dry the finish too quickly and leave uneven marks.
Look for several dry days so the deck has time to dry after washing and cure after staining. High humidity and morning dew can slow the process, so start after the boards are fully dry.
Work in the shade when possible, especially during cooler morning or late-afternoon hours.
How to Stain a Deck Step by Step for Lasting Results
Follow these ten steps in order to prepare the wood, apply the stain evenly, and allow enough drying time for a durable finish.
Step 1: Test Whether the Deck Needs Staining
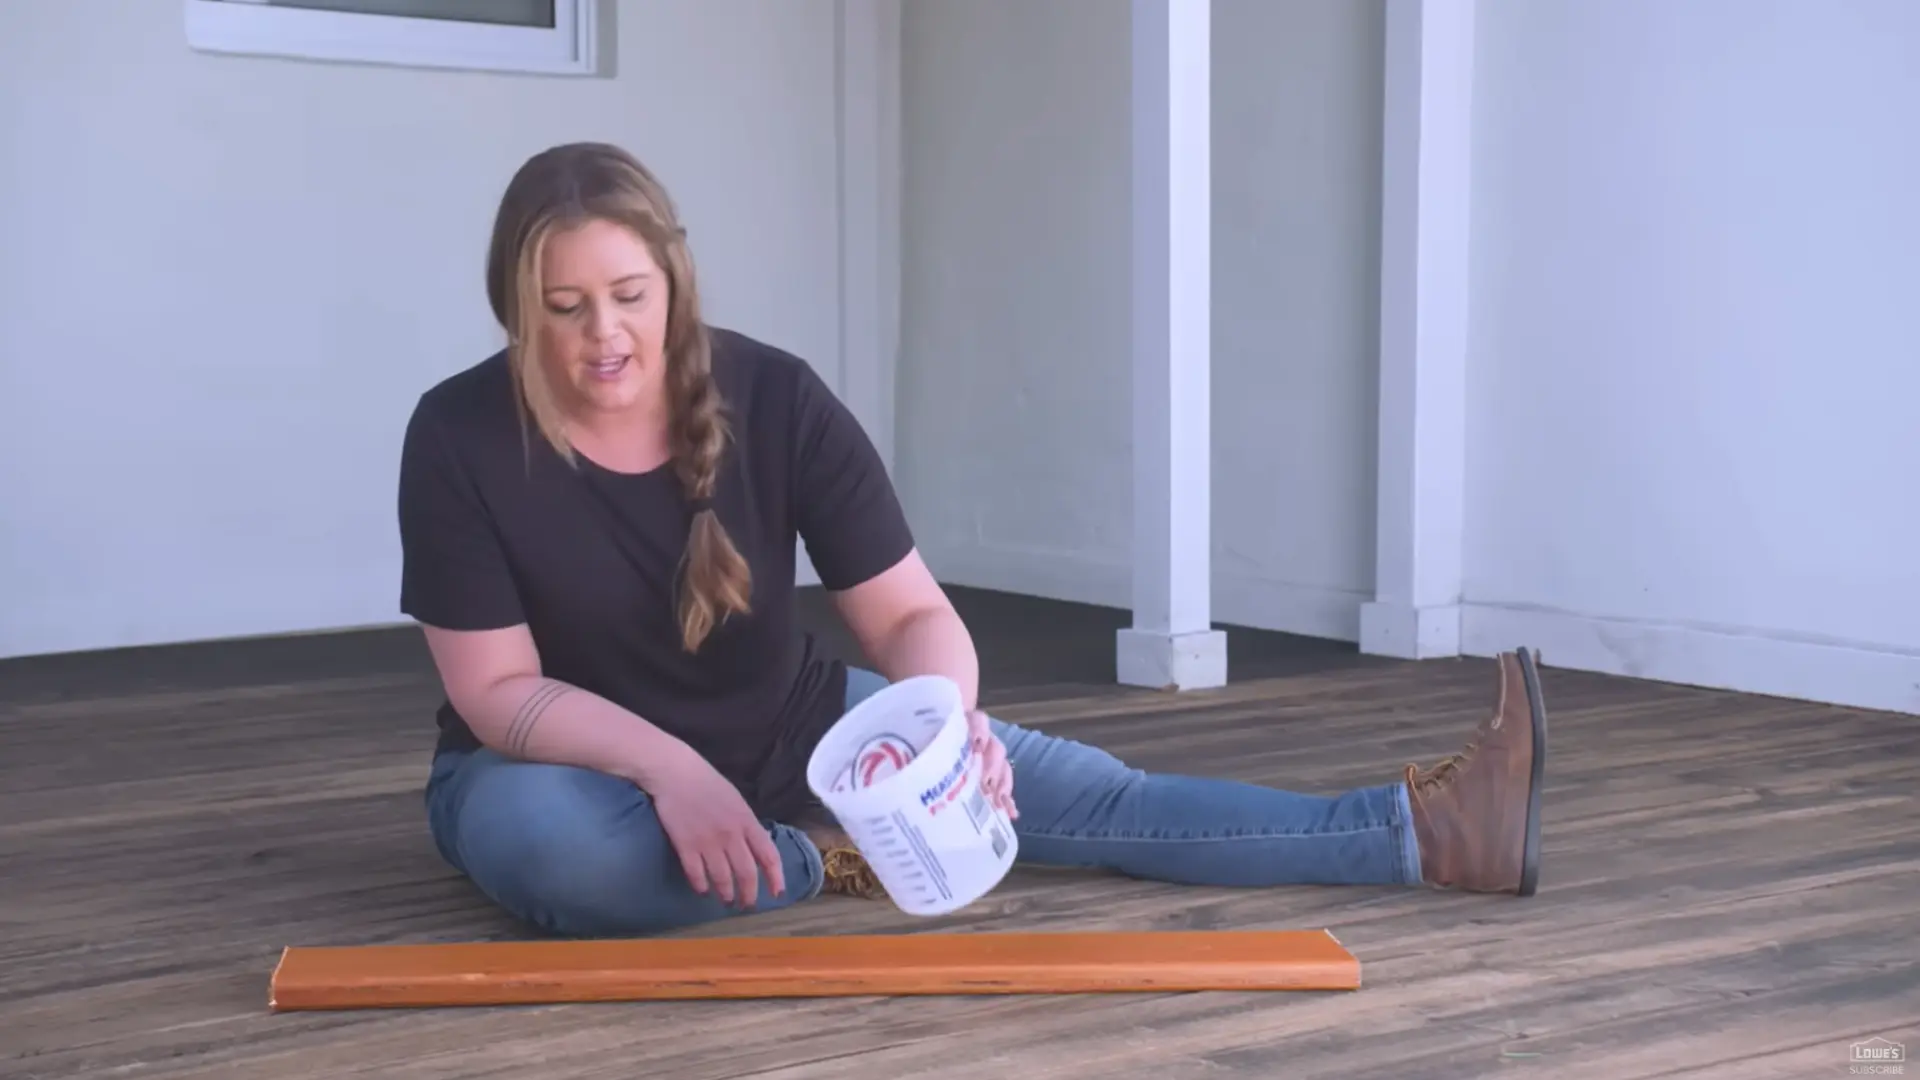
Pour a small amount of water onto a frequently used section of the deck. If the water immediately absorbs into the wood, the deck likely needs to be stained and sealed.
If the water forms beads and remains on the surface, the existing protective coating may still be working.
Repeat the test in several areas, including sunny, shaded, and high-traffic sections, because the finish may wear unevenly across the deck.
Step 2: Pressure Wash the Deck Surface
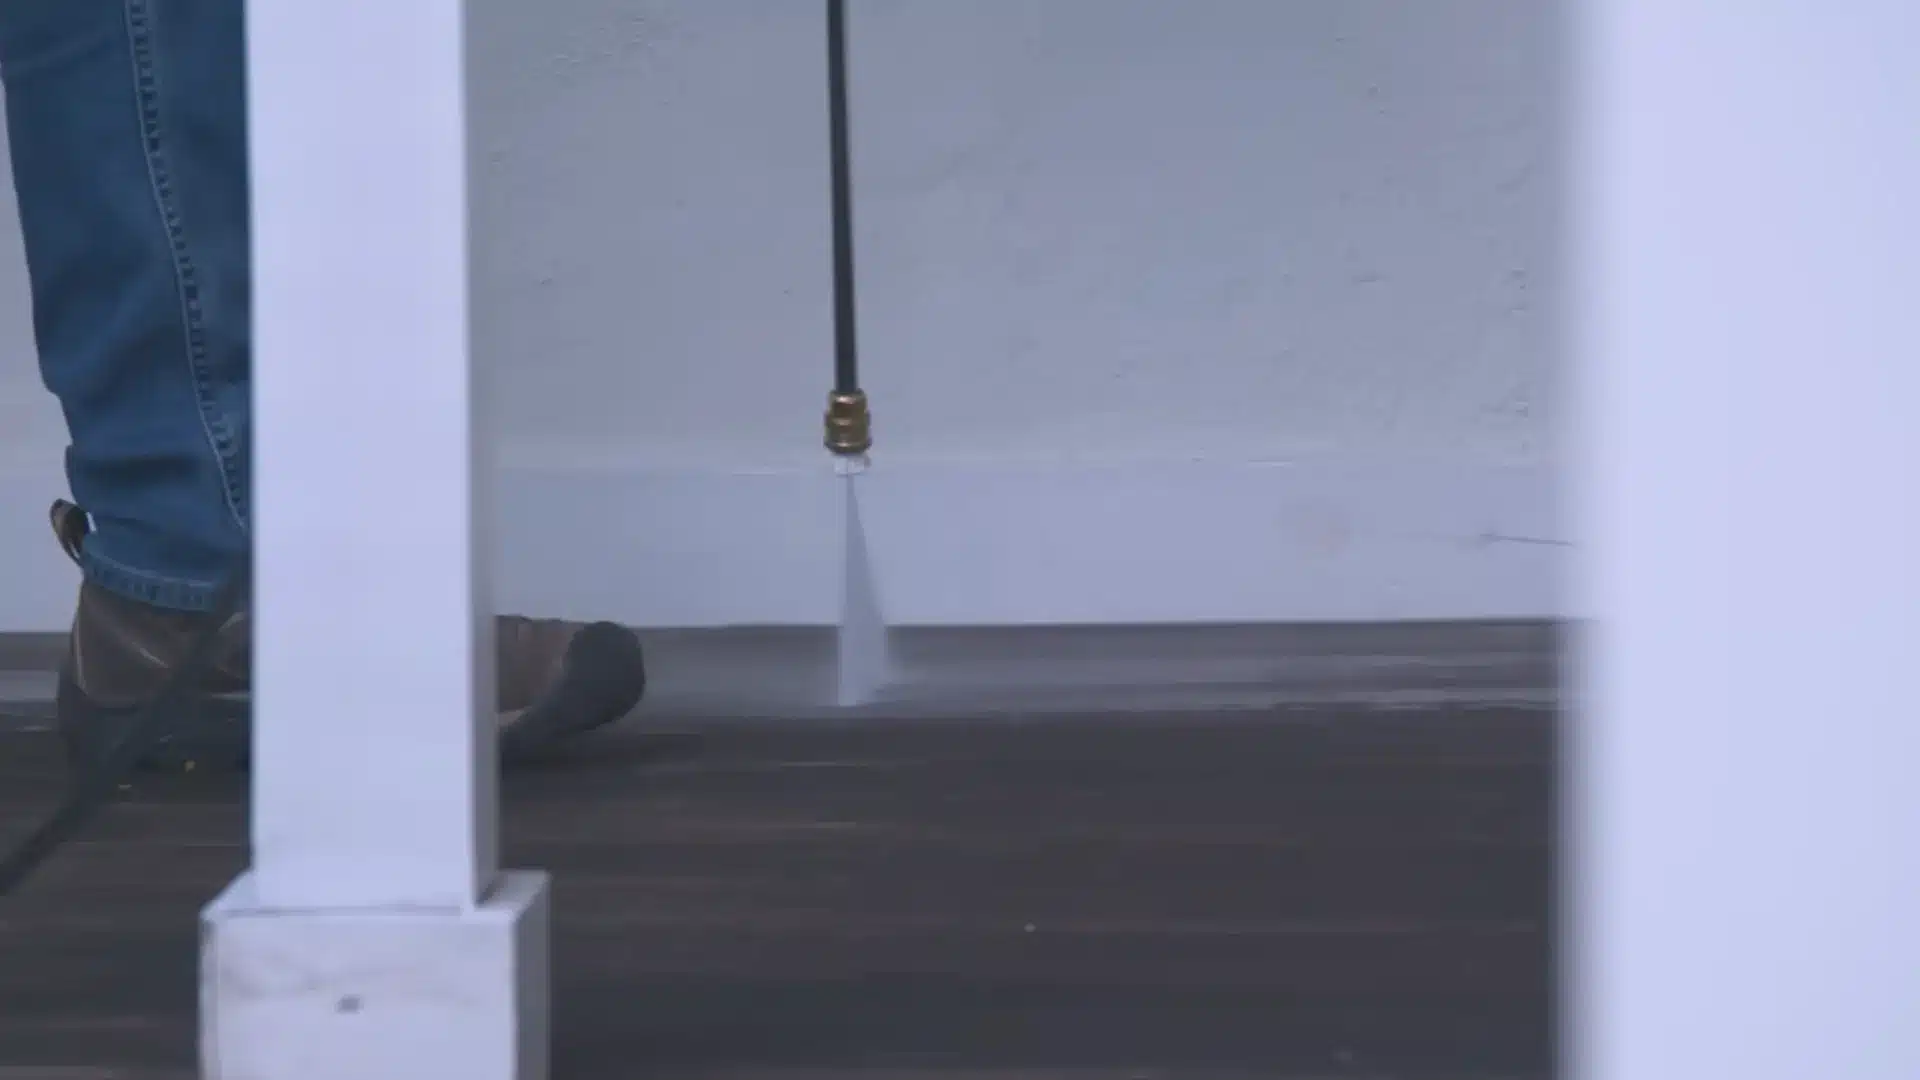
Pressure-wash the deck to remove old stains, dirt, mildew, and debris. Use a fan-shaped spray tip and follow the pressure washer manufacturer’s distance recommendations.
Test the washer on a hidden section first, especially when cleaning softer woods such as pine, spruce, or cedar.
Move the spray steadily in the direction of the boards, and avoid holding it in one spot because concentrated pressure can cut grooves or raise the wood fibers.
Step 3: Protect the Surrounding Areas
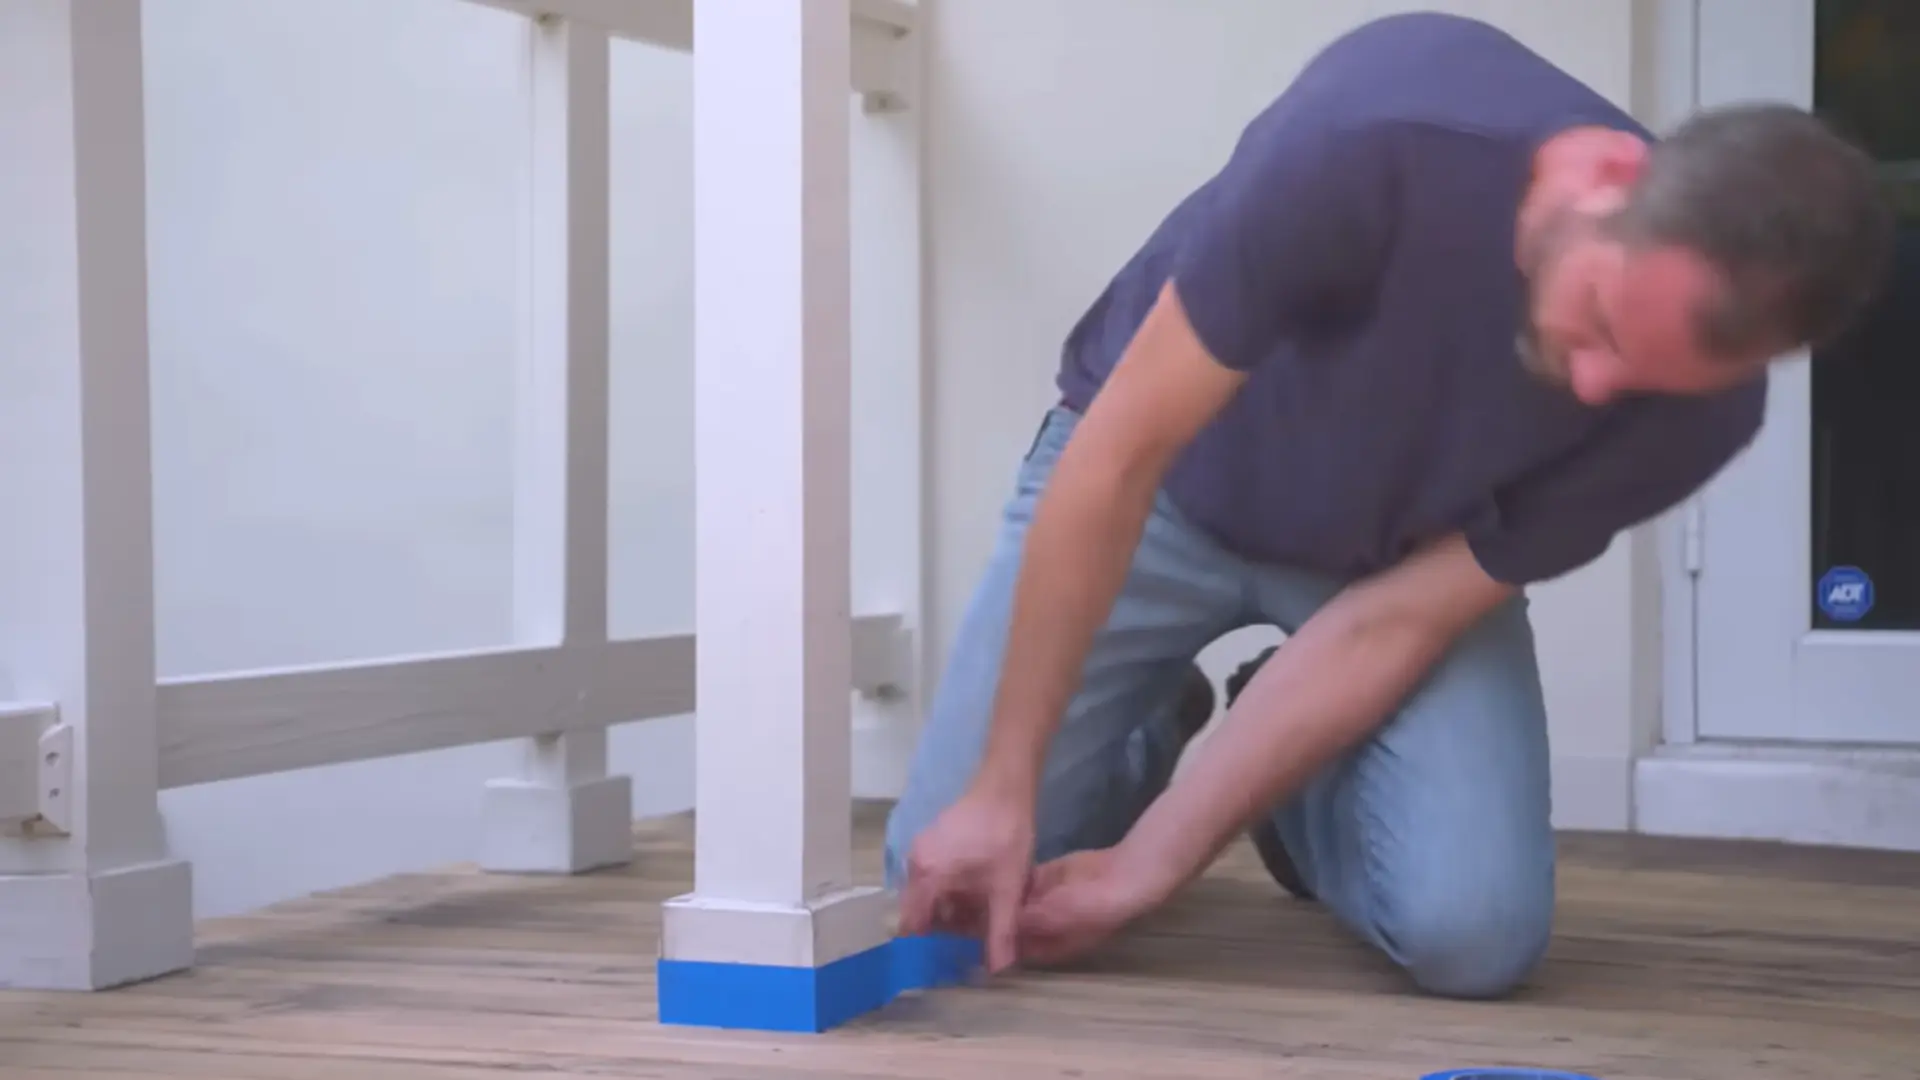
Place painter’s tape around the bottom of railings, walls, and other nearby painted surfaces. This helps prevent deck cleaner and stains from splashing onto the house, railings, or outdoor fixtures during the project.
Cover nearby plants, concrete, doors, windows, metal fittings, and furniture with plastic sheeting or drop cloths.
Remove any items that could block your path so you can clean and stain the surface without unnecessary interruptions.
Step 4: Apply the Deck Cleaner
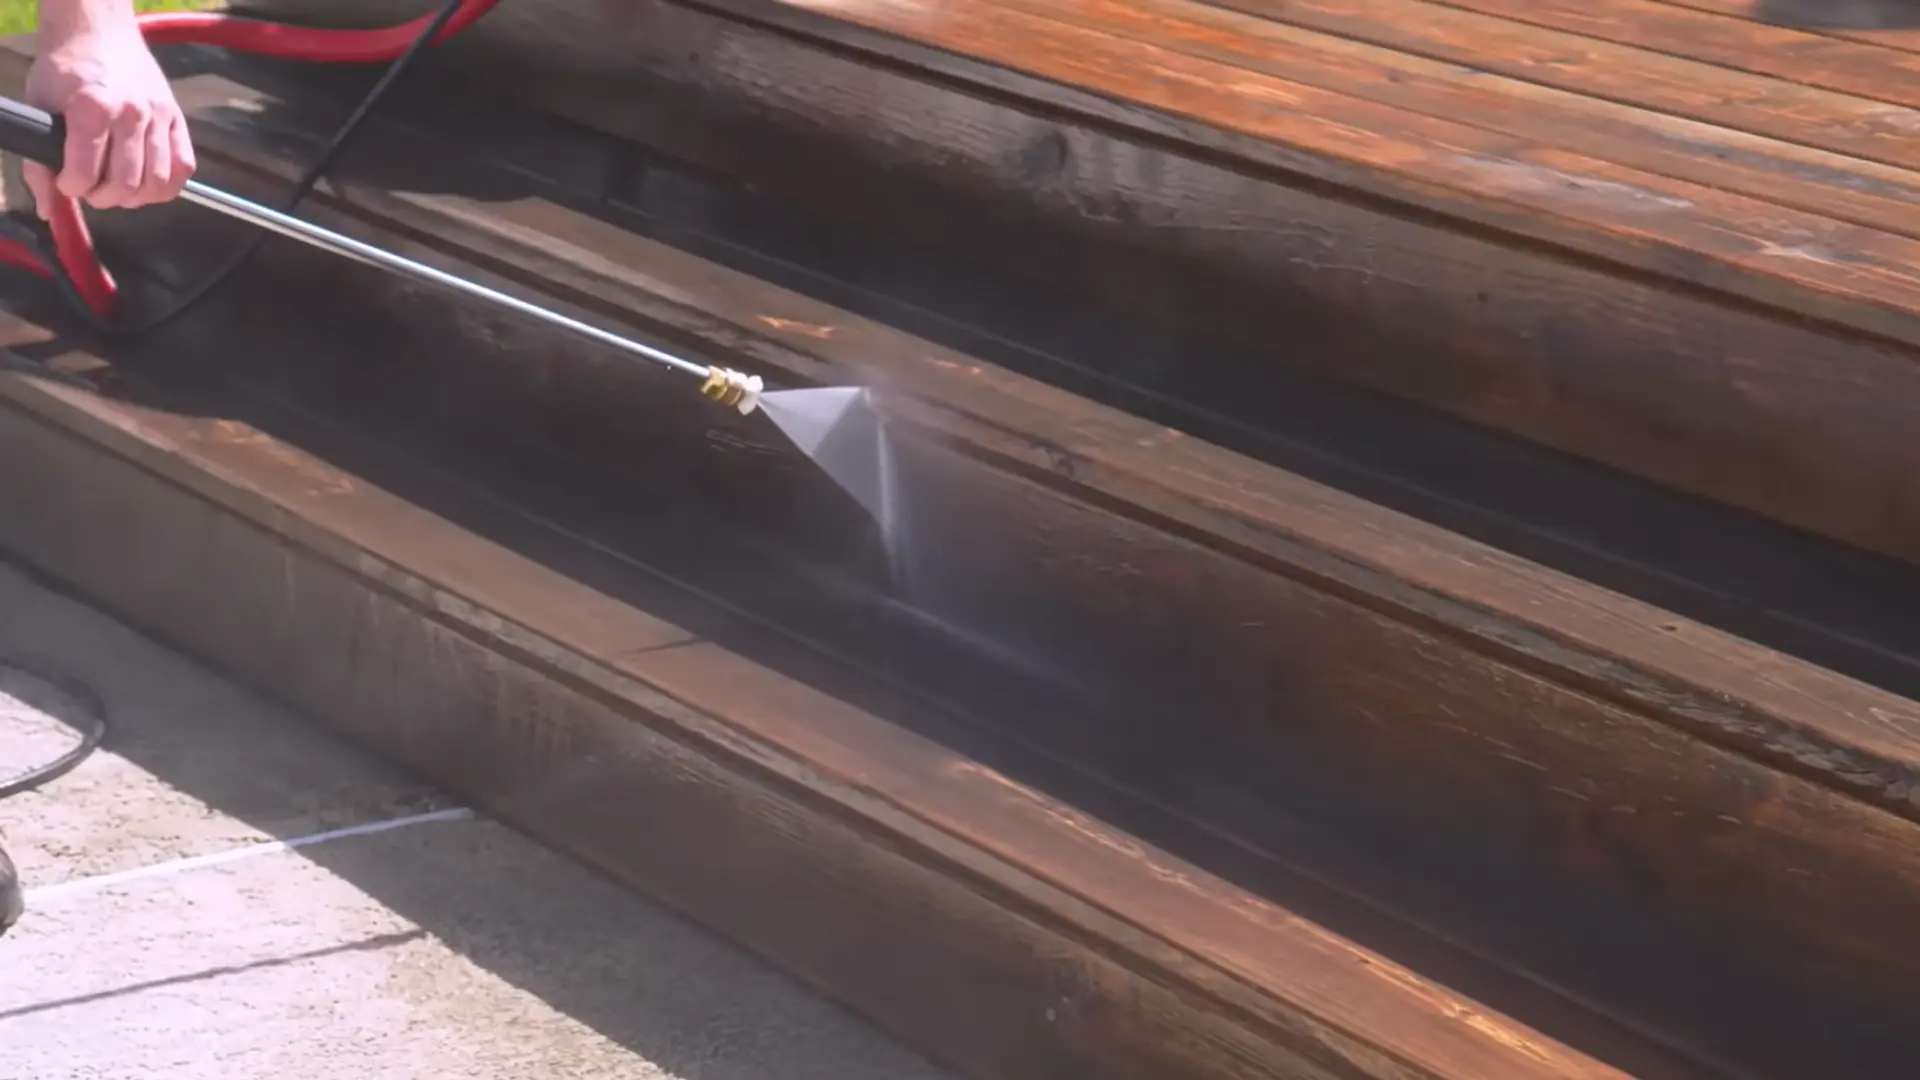
Choose a cleaner suitable for the deck’s wood type and condition. Wear protective eyewear, gloves, and closed-toe shoes.
Pour the cleaner into a pump sprayer according to the product instructions, and apply it evenly over a small section of approximately five to ten boards.
Keep the sprayer nozzle close to the surface to reduce splashing. Begin at the far end of the deck and work toward your planned exit point.
Step 5: Work the Cleaner Into the Wood
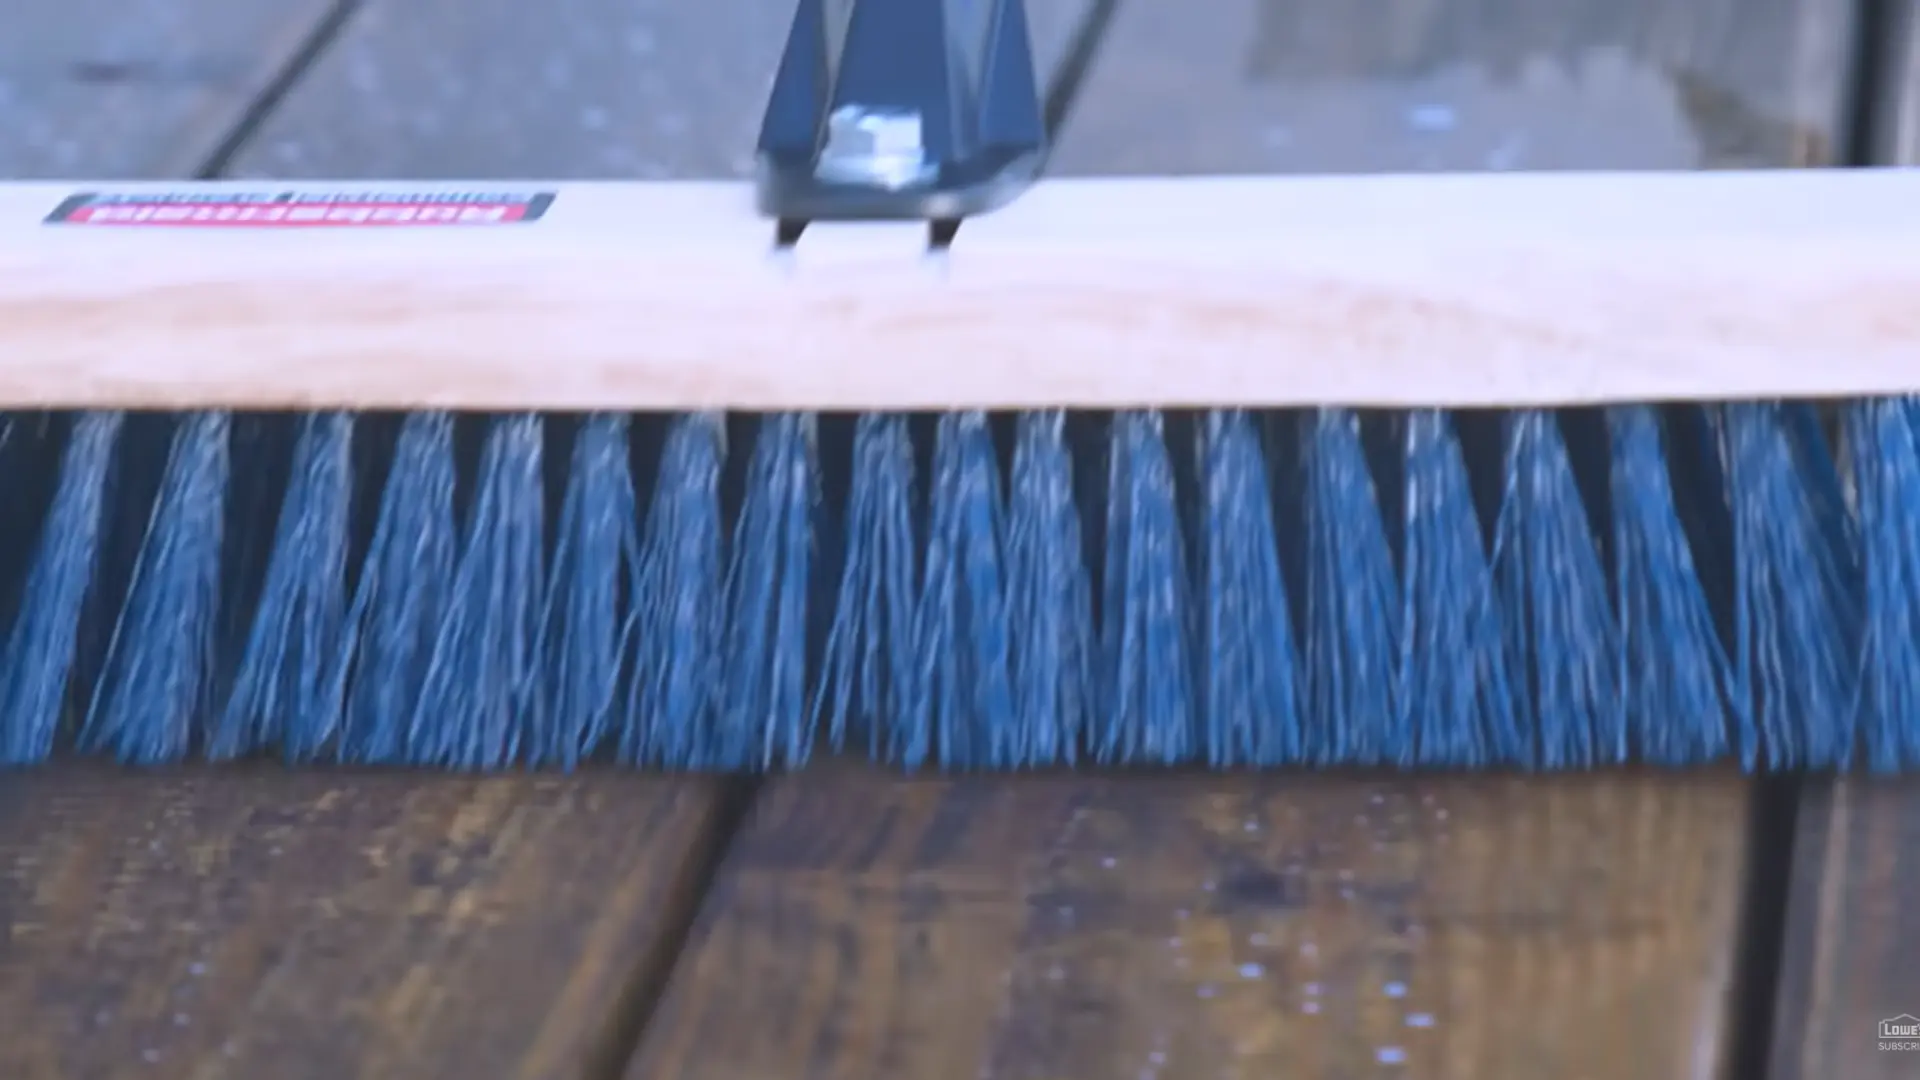
Use a stiff-bristled cleaning brush to spread the cleaner into the grooves and between the grain. Apply enough product to keep the surface wet without creating puddles.
Allow the cleaner to remain on the boards for the time listed on the label, which may be around 10 to 15 minutes.
Brush in the direction of the grain and add more cleaner if an area begins to dry before the recommended waiting time has passed.
Step 6: Rinse and Dry the Deck

Rinse each cleaned section thoroughly after the recommended waiting time. Once the entire deck has been cleaned and rinsed, keep people and pets off the surface.
Allow the wood to dry completely for about 48 hours, and plan the work when rain is not expected.
Check shaded spaces, board gaps, and areas beneath railings because they may remain damp longer. Do not stain until every section feels fully dry.
Step 7: Sand the Dried Wood
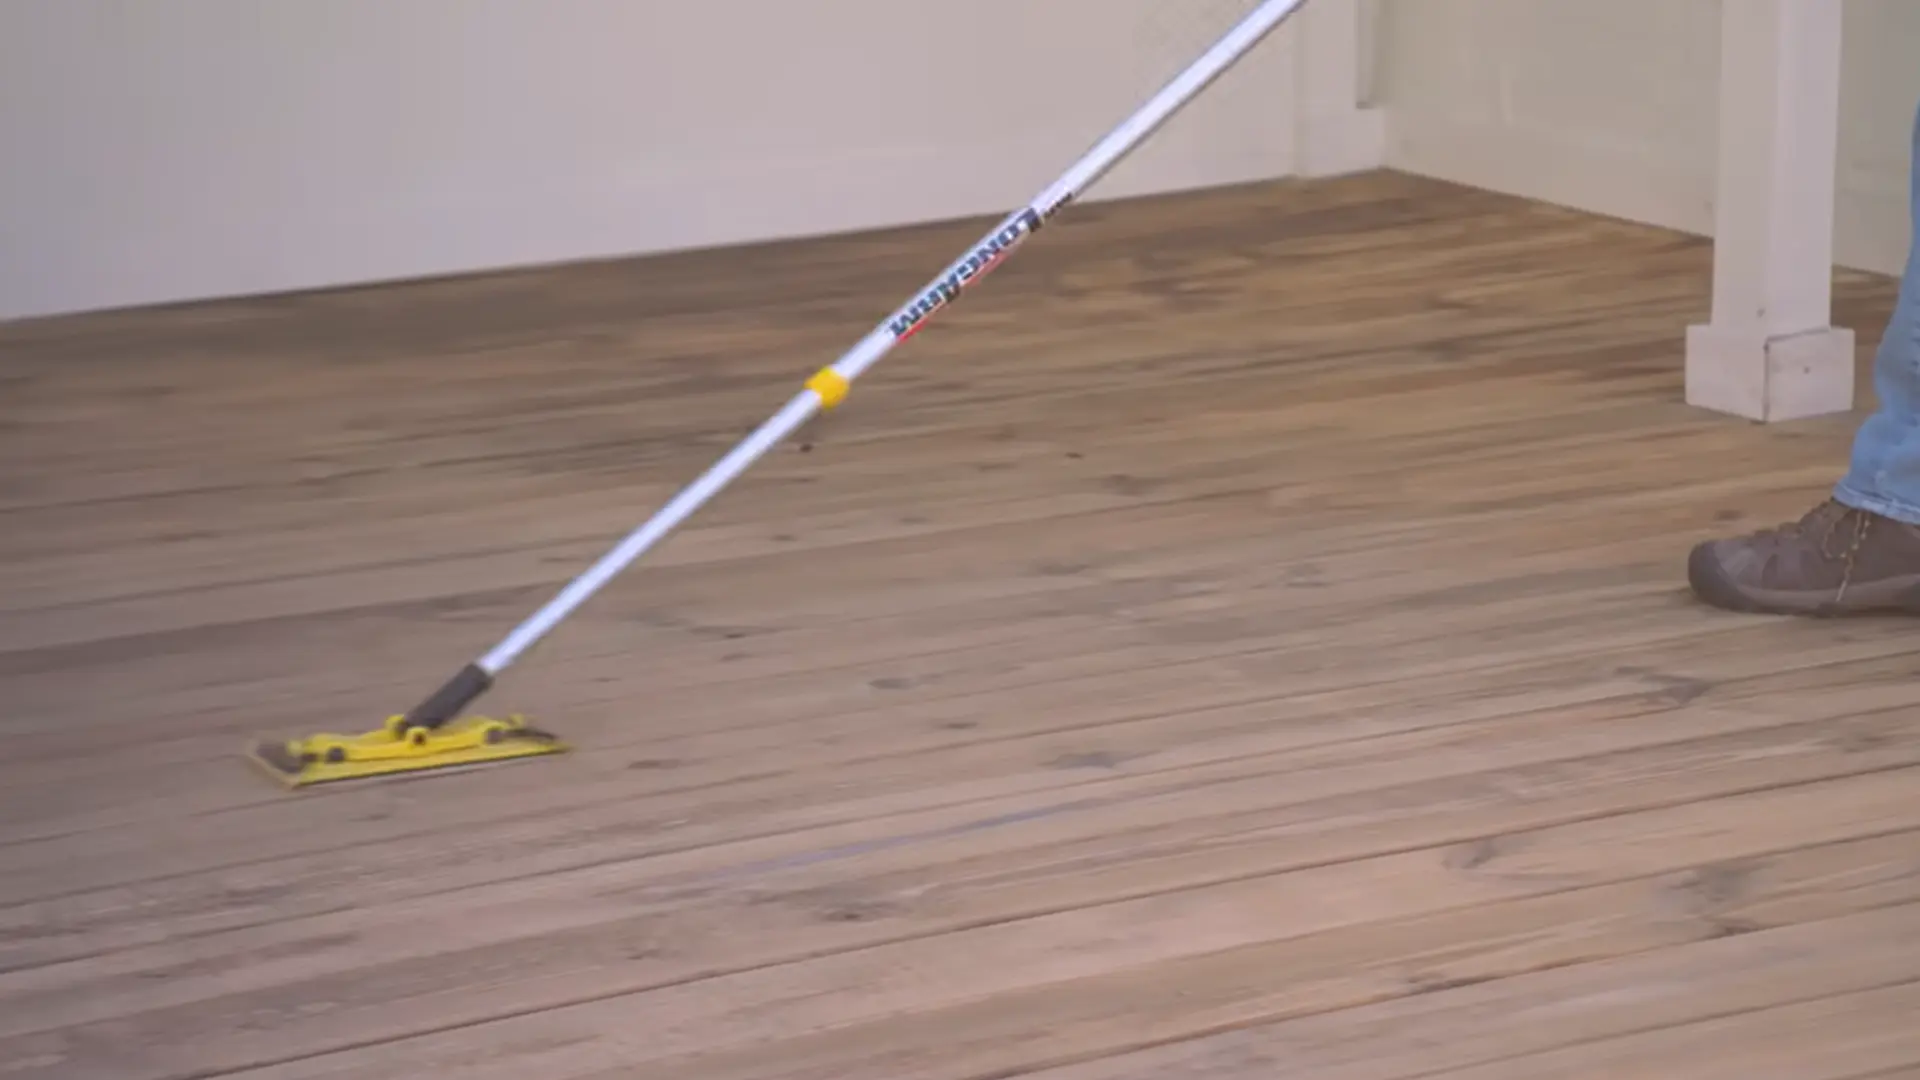
After the deck has dried, sand the boards using 120-grit sandpaper and a pole sander. Sanding removes dirt that may have settled during drying and smooths the fuzzy wood grain that pressure washing can sometimes create.
Work evenly with the grain and avoid sanding one area too deeply. Pay extra attention to rough edges, splinters, and raised fibers near stairs, railings, and frequently used walking areas.
Step 8: Remove Dust and Repair Damage
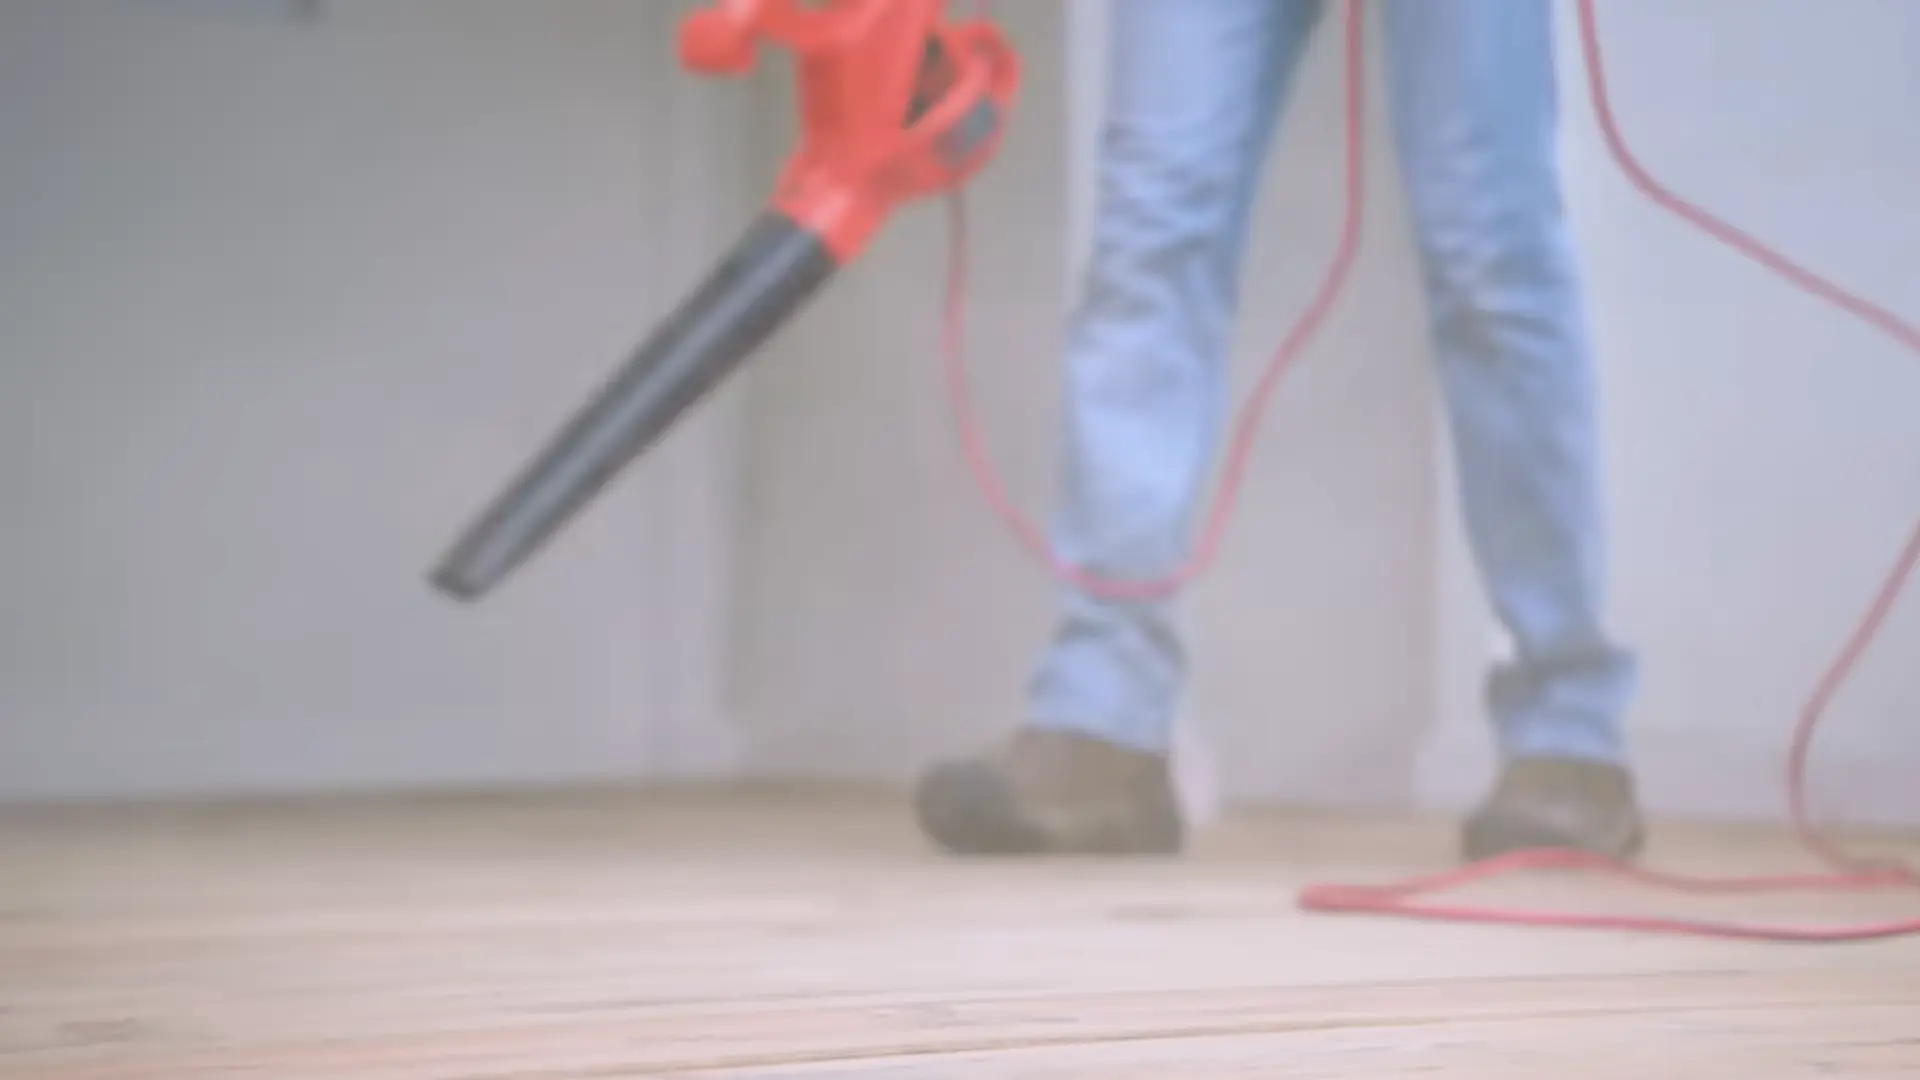
Use a blower to remove sanding dust and loose debris. Inspect the deck for damaged boards, loose boards, raised screws, and other problems. Secure loose fasteners and complete necessary repairs before applying the stain.
Replace boards that are rotten, badly split, or too soft to support weight safely. Check stairs, posts, and railings for movement, and make sure repaired areas are clean, smooth, and dry before continuing.
Step 9: Select and Prepare the Stain
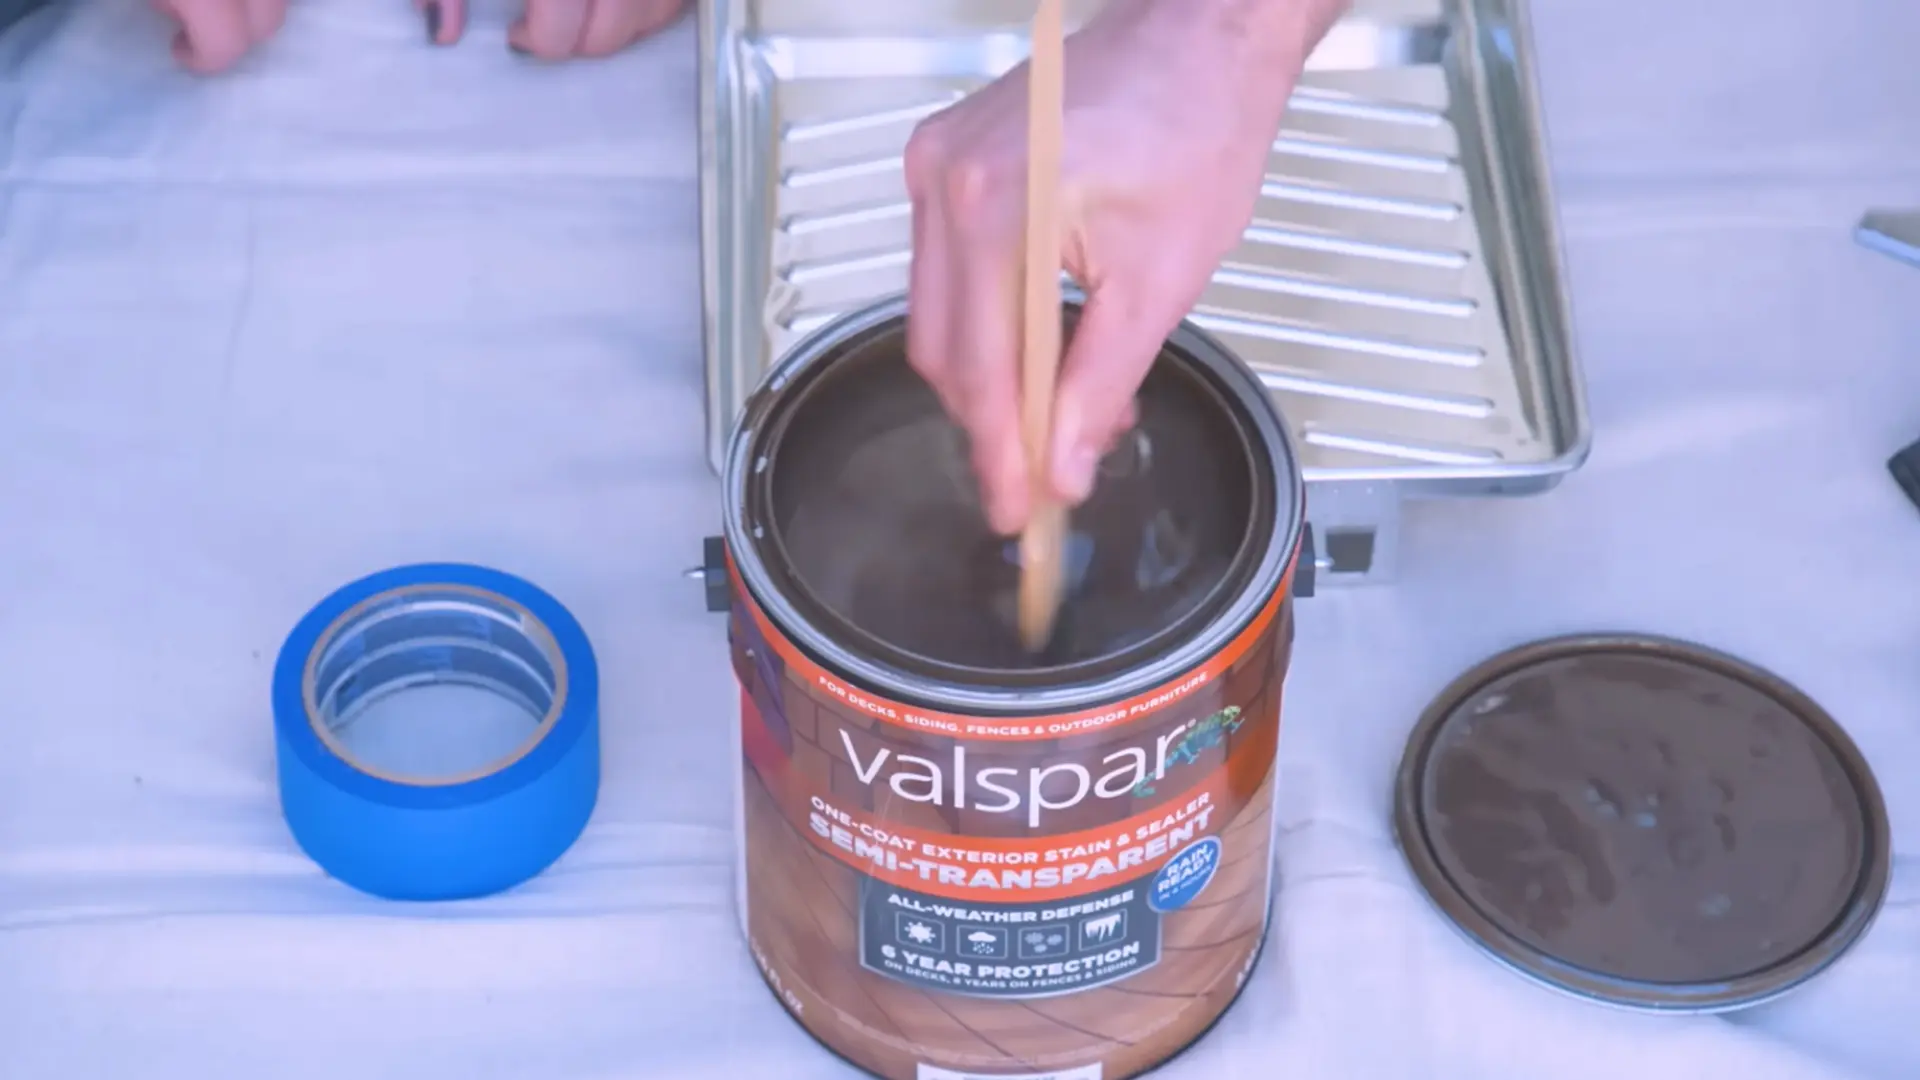
Choose a water-based or oil-based product based on the required finish and cleanup preferences. The video uses a water-based, semi-transparent stain and sealer.
Place a drop cloth beneath the container, open the stain carefully, and stir it thoroughly because the tint can settle at the bottom.
Stir slowly to avoid bubbles, and repeat whenever you refill the tray. Test the stain on a hidden board before covering the full deck.
Step 10: Cut In Around the Edges
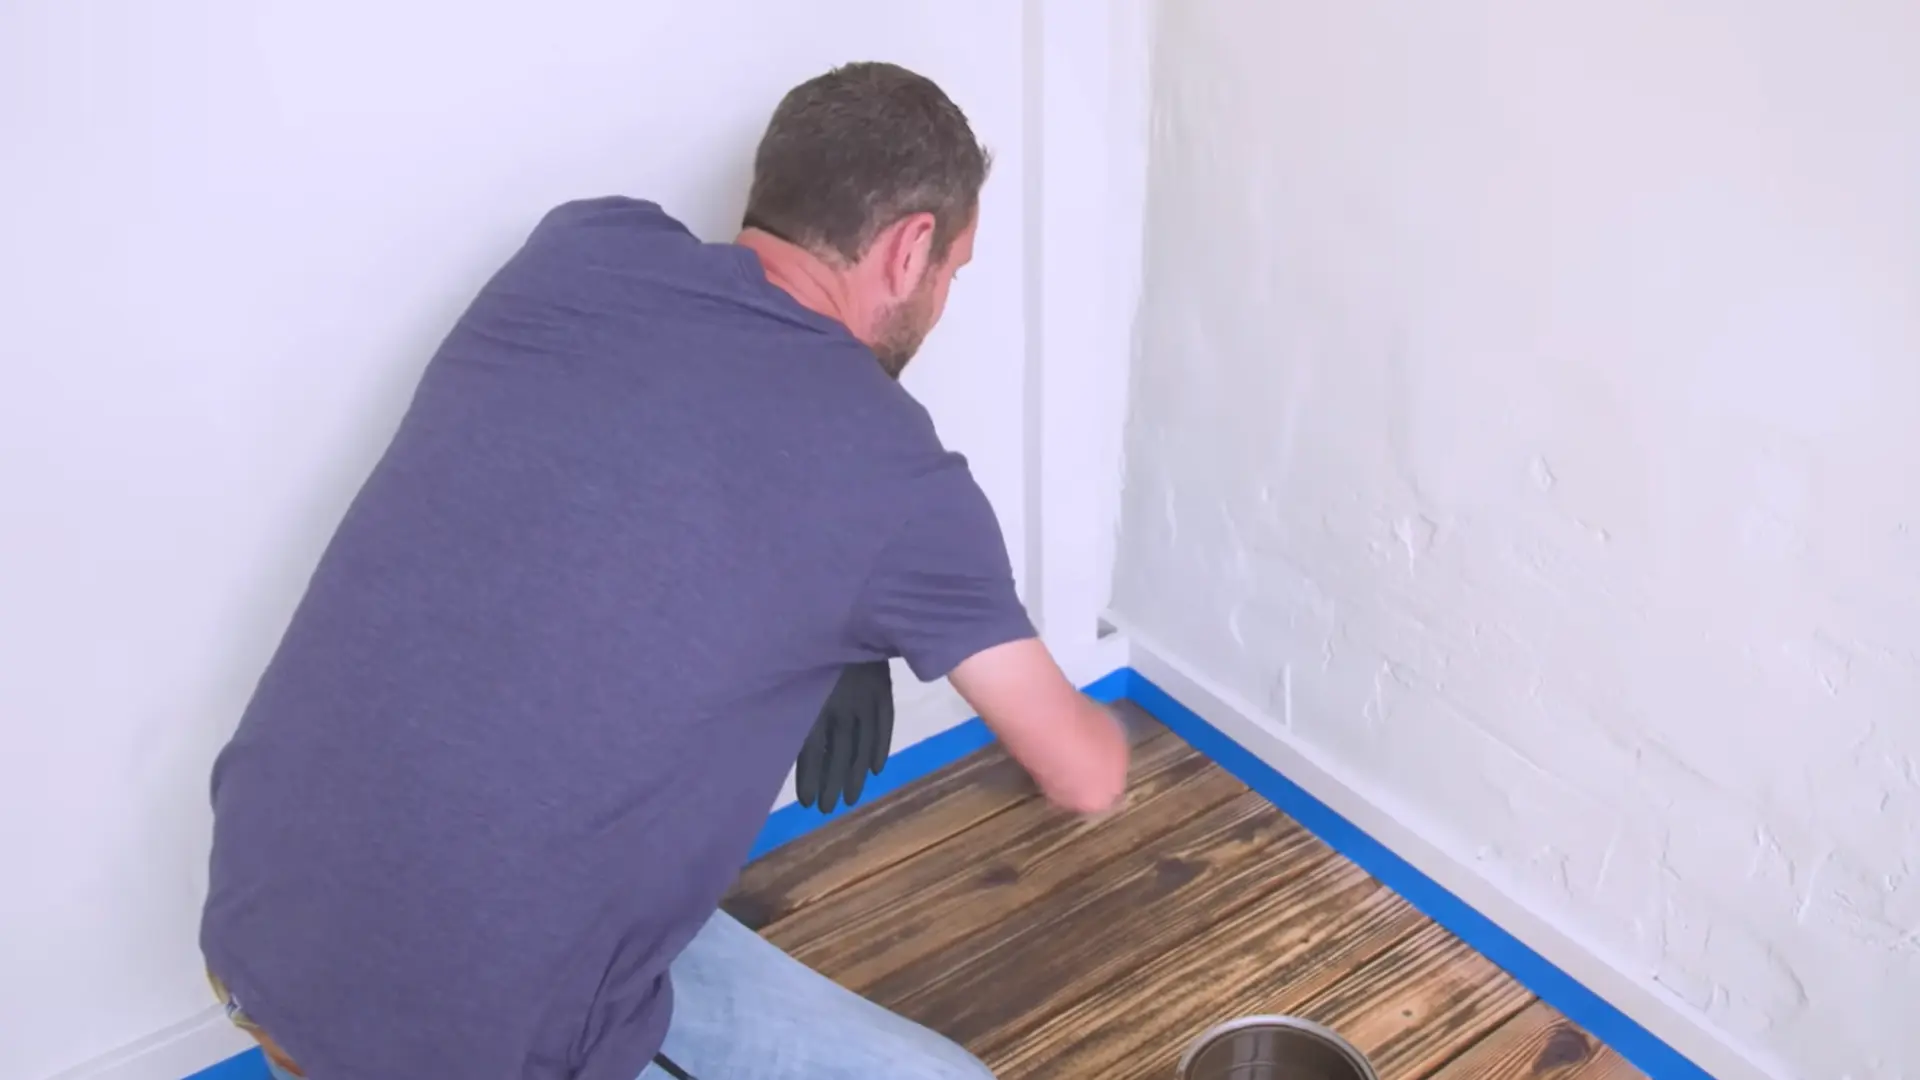
Use a brush to apply stain around deck posts, walls, railings, cracks, and other difficult areas. Remove excess stain from the brush before application to prevent drips.
Work the material into the gaps and extend it slightly onto the main boards to create a smooth transition.
Keep the brushed edge wet so the main application blends into it. Clean any accidental splashes promptly, following the product’s cleanup instructions.
Step 10: Apply Stain Across the Boards
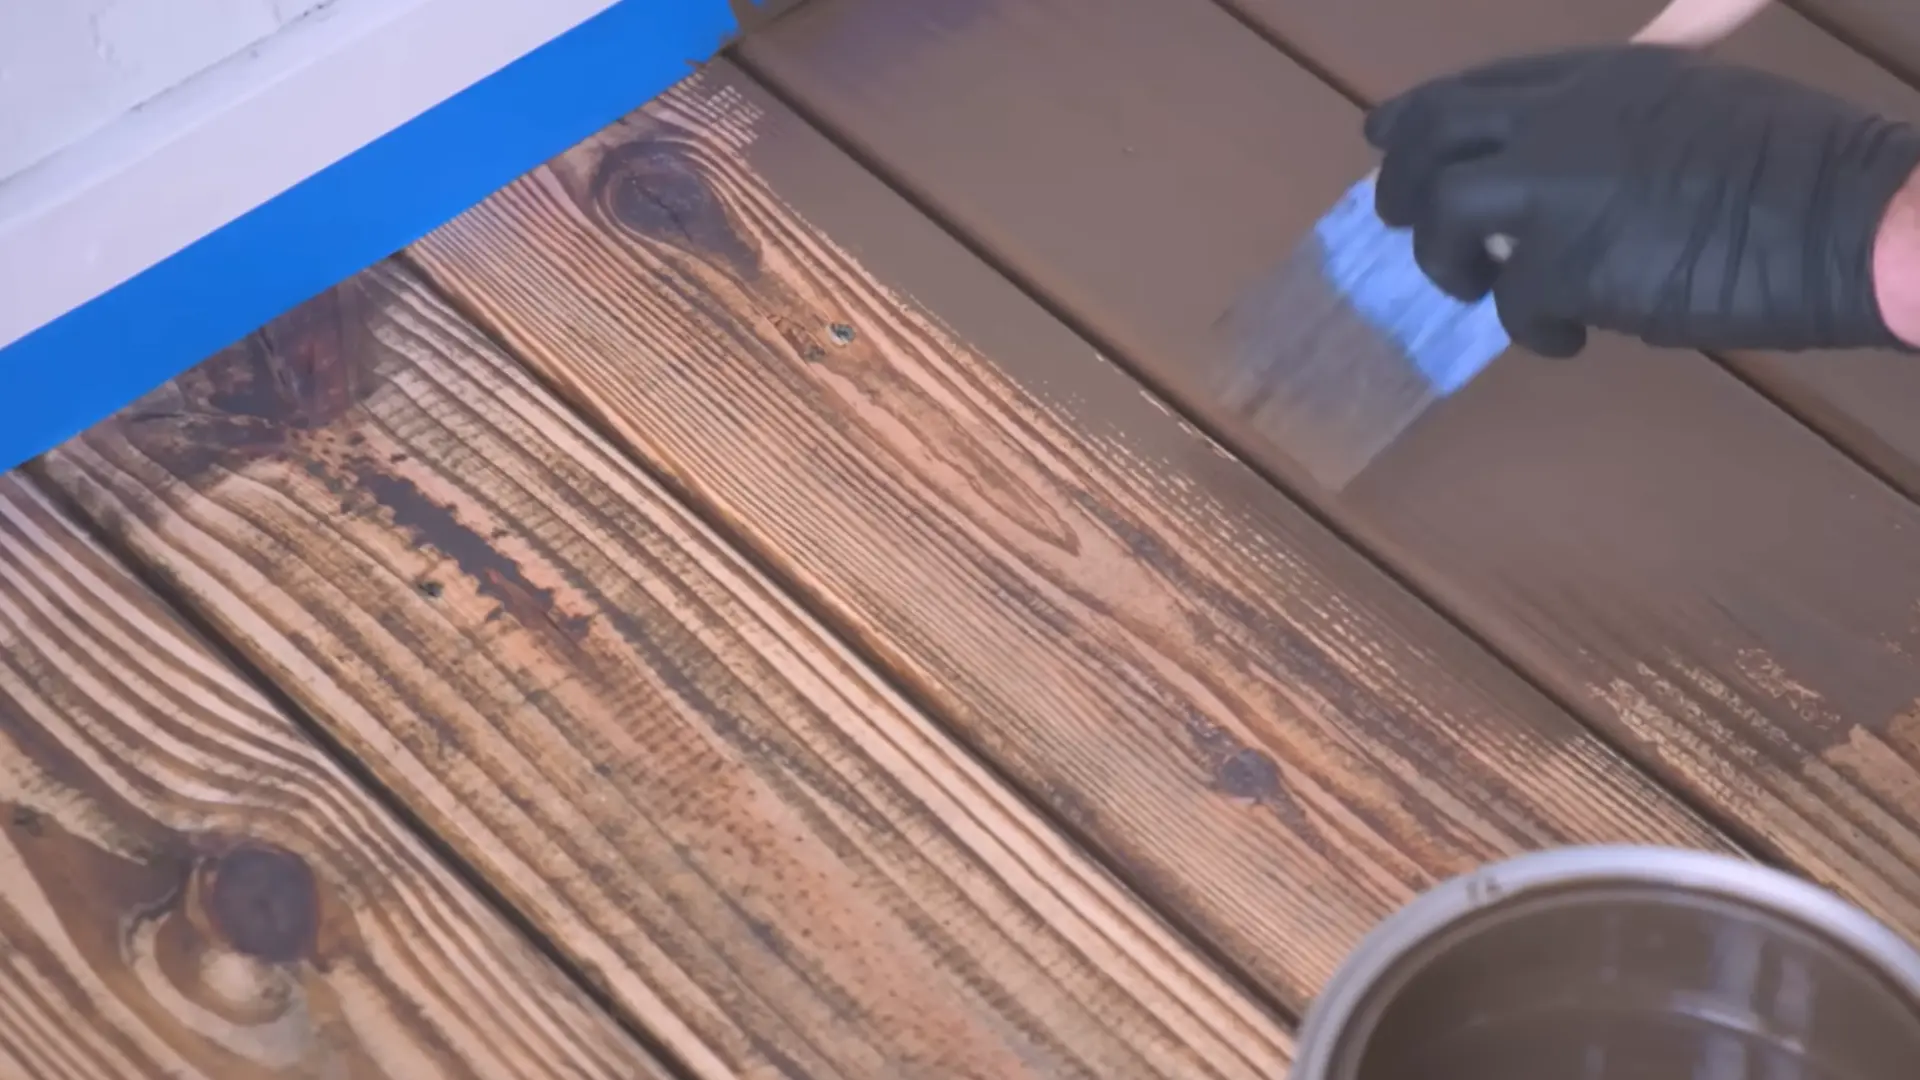
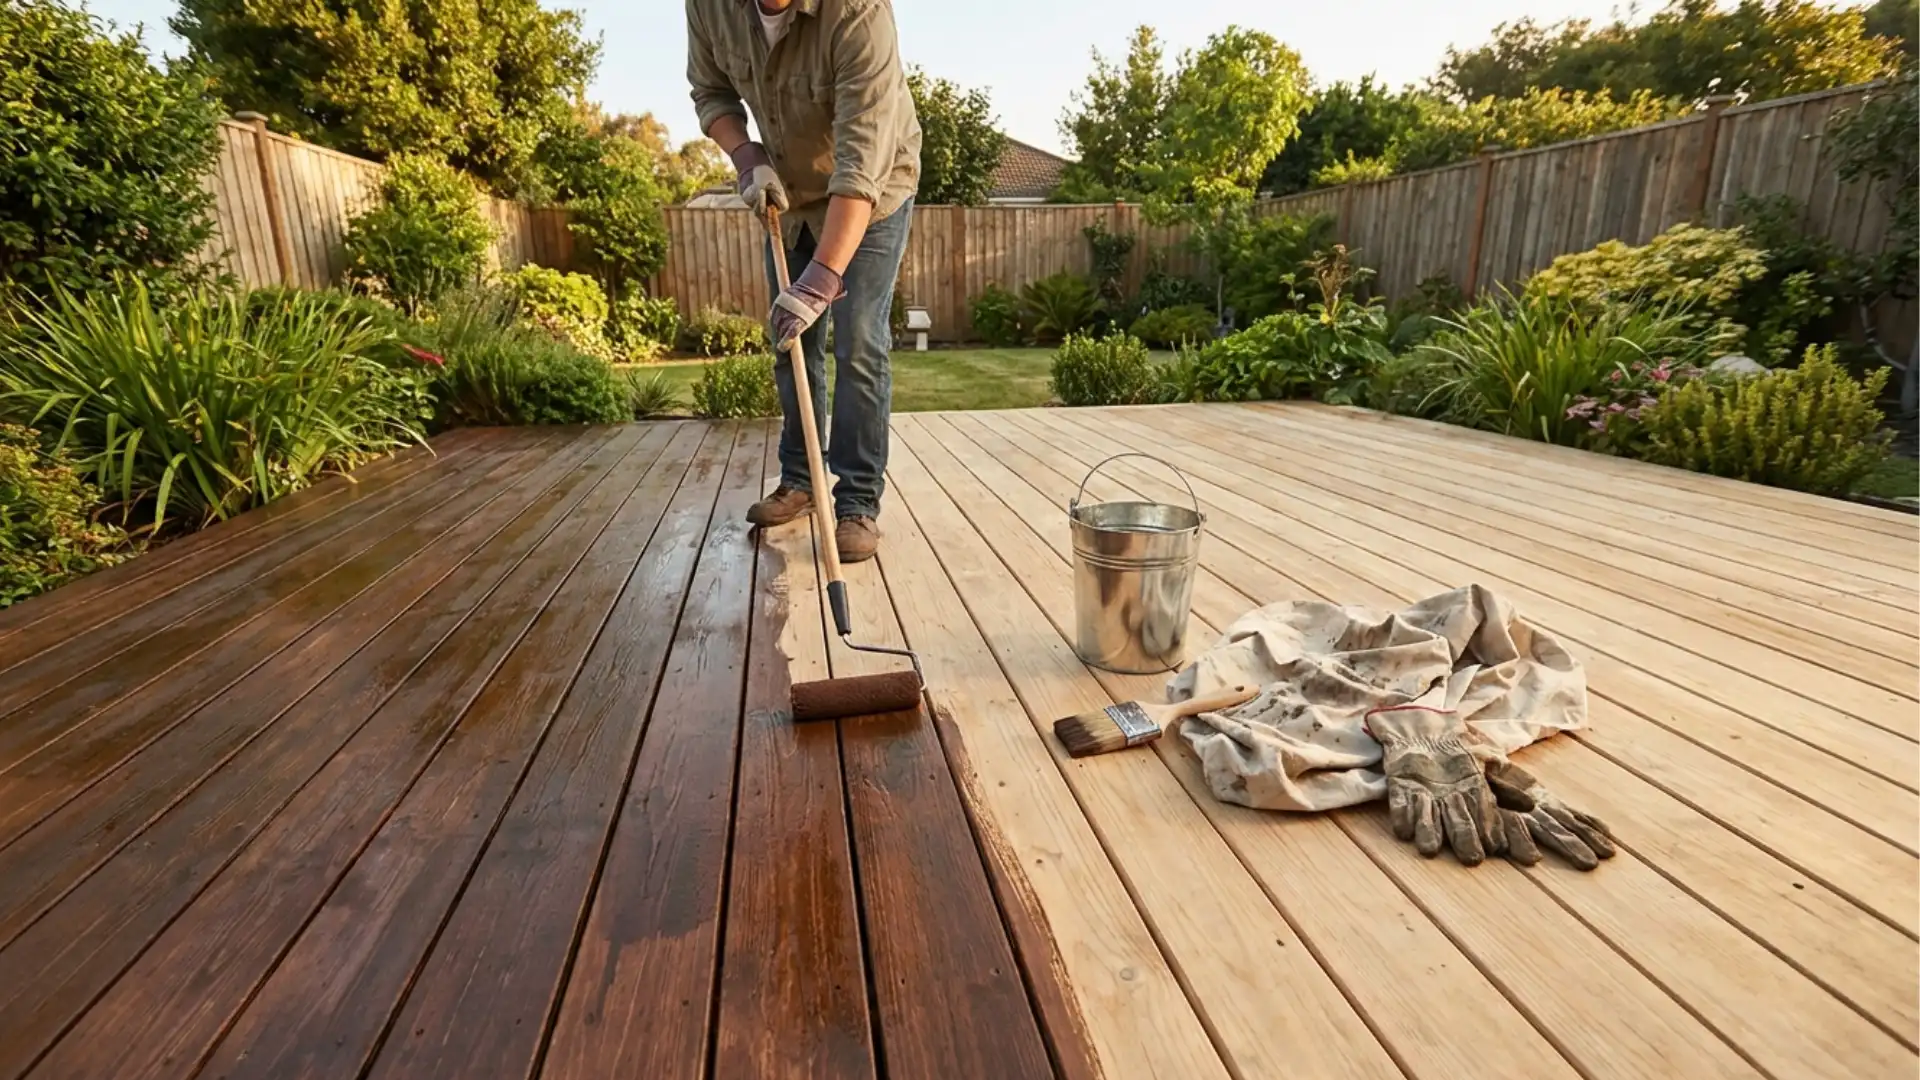
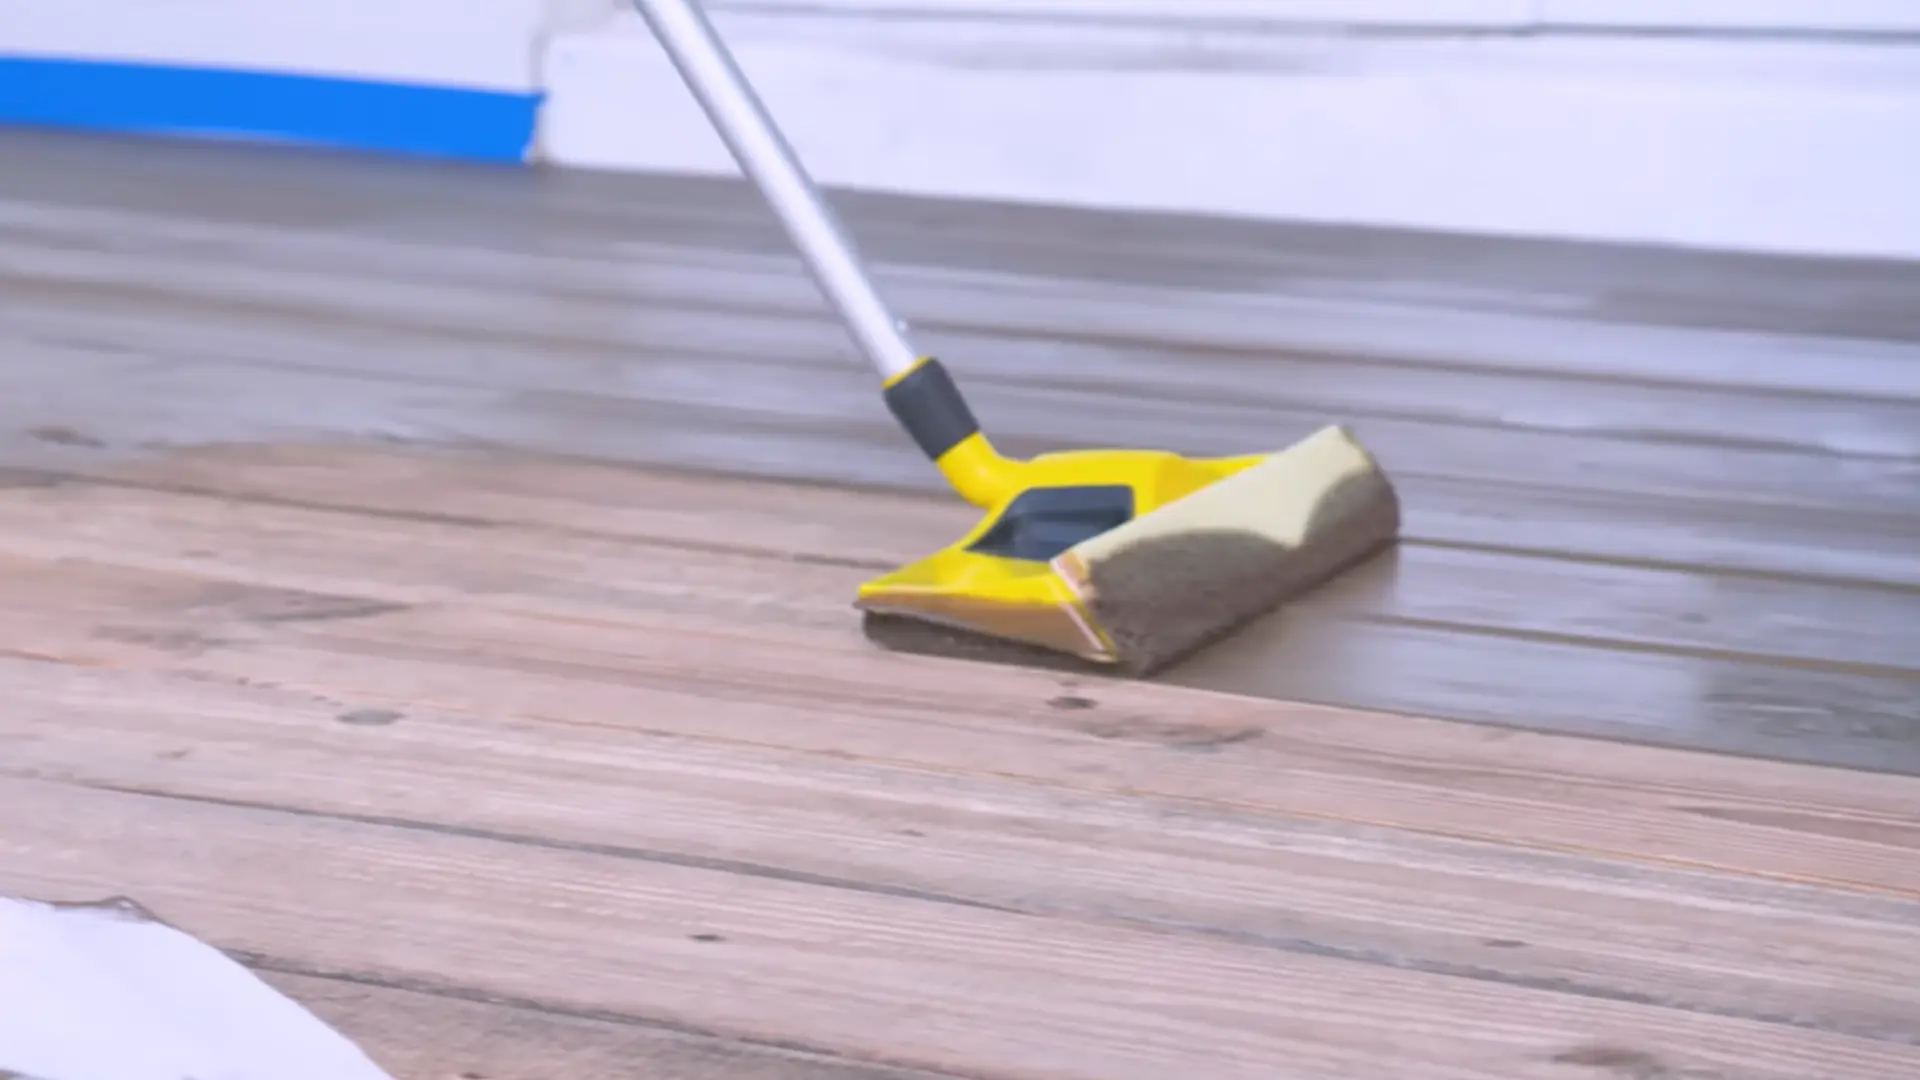
Follow the brushed edges with a stain applicator attached to an extension pole. Pull the applicator toward you using long, even strokes.
Reload it whenever the coverage becomes uneven, and work steadily to avoid heavy patches, gaps, and visible application lines.
Cover a few boards at a time from end to end. Spread out puddles immediately, and maintain a wet edge so each new section blends smoothly with the previous one.
Step 12: Work Toward the Deck Exit
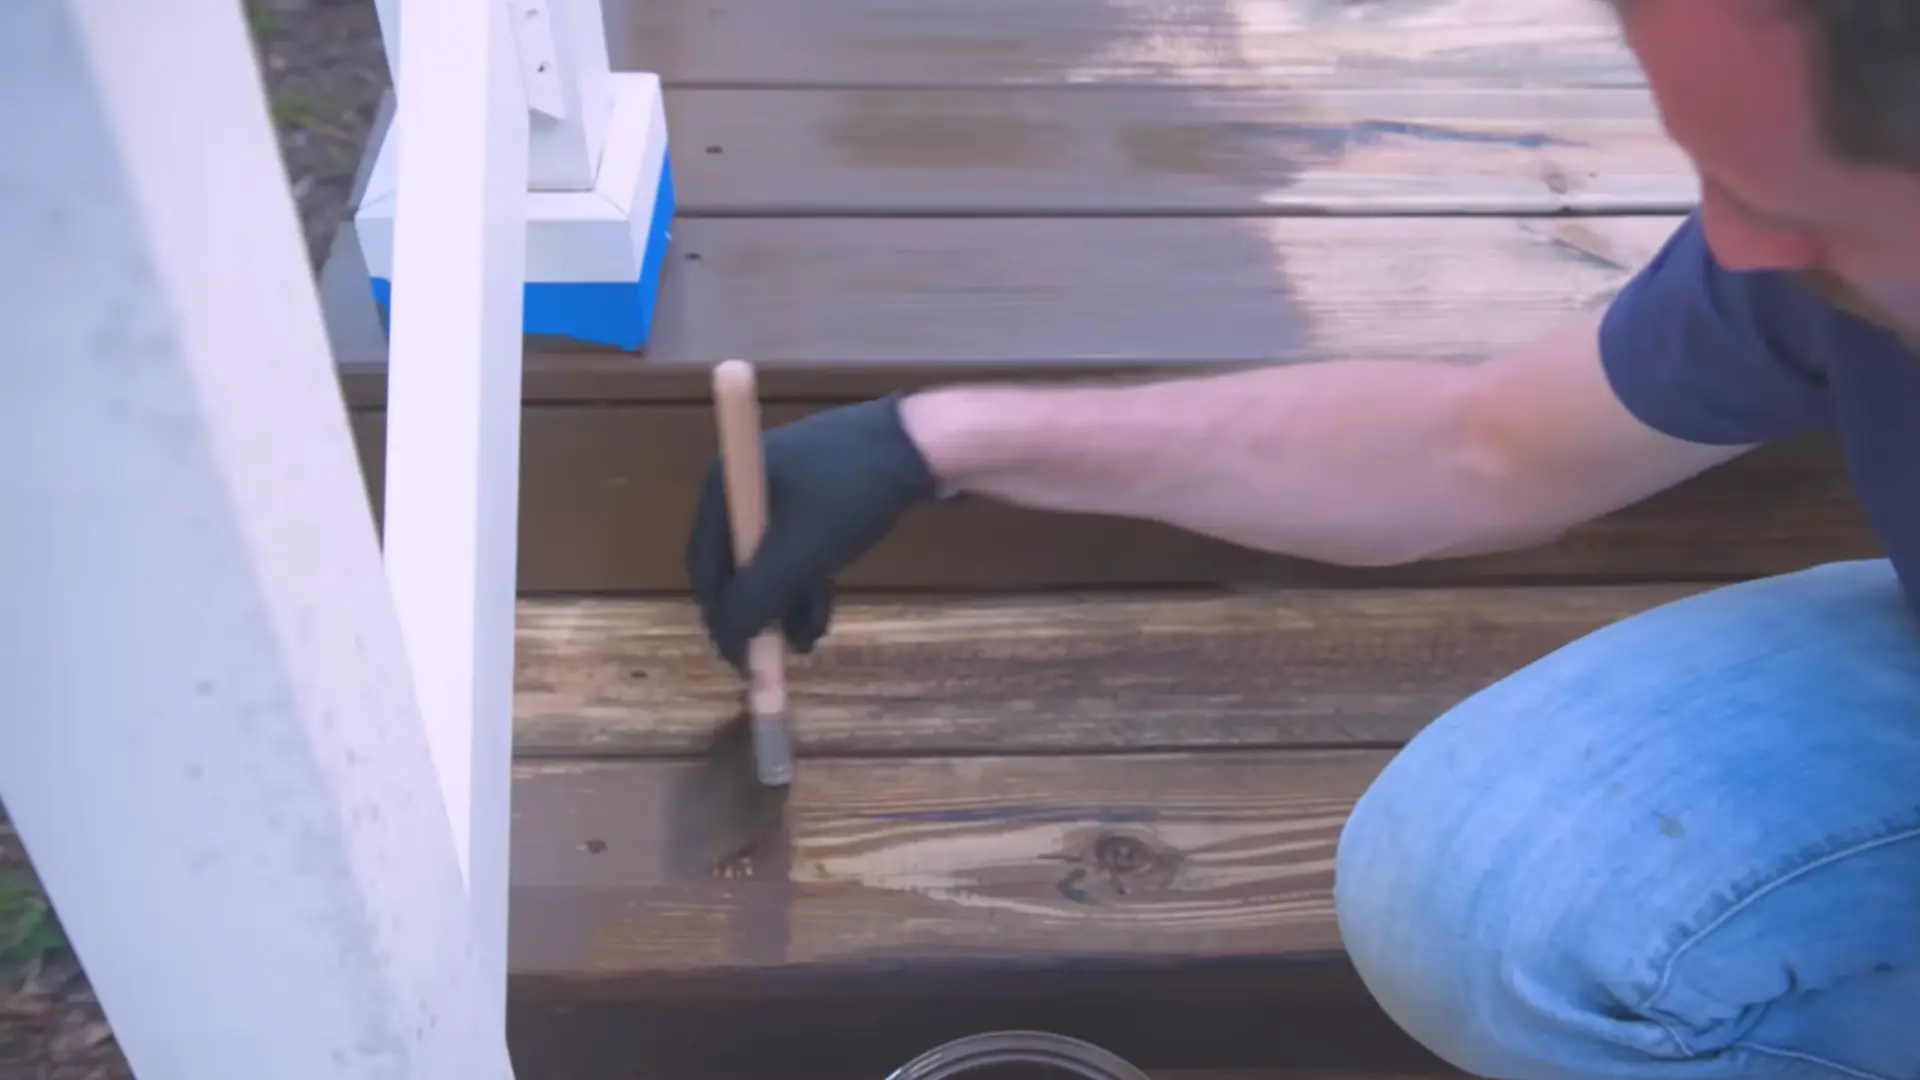
Begin near the house or the farthest point of the deck and work toward the stairs or exit. Plan the direction before starting so you do not stain yourself into a corner or walk over freshly coated boards.
Keep your tools, stain tray, and supplies on the unfinished side as you move. Complete full board lengths whenever possible, and avoid stopping halfway because partially dried edges can create darker overlap lines.
Step 13: Handle Used Rags Safely
Do not place oily stain rags together in a pile, as heat can build up and pose a fire risk. Hang the rags separately and allow them to dry completely before disposing of them in accordance with the stain manufacturer’s safety instructions.
Keep used clothes away from buildings, flames, children, and pets while drying. Also follow the product label for safely cleaning brushes, trays, and applicators, and for removing any remaining stain after completing the work.
Step 14: Allow the Stain to Dry
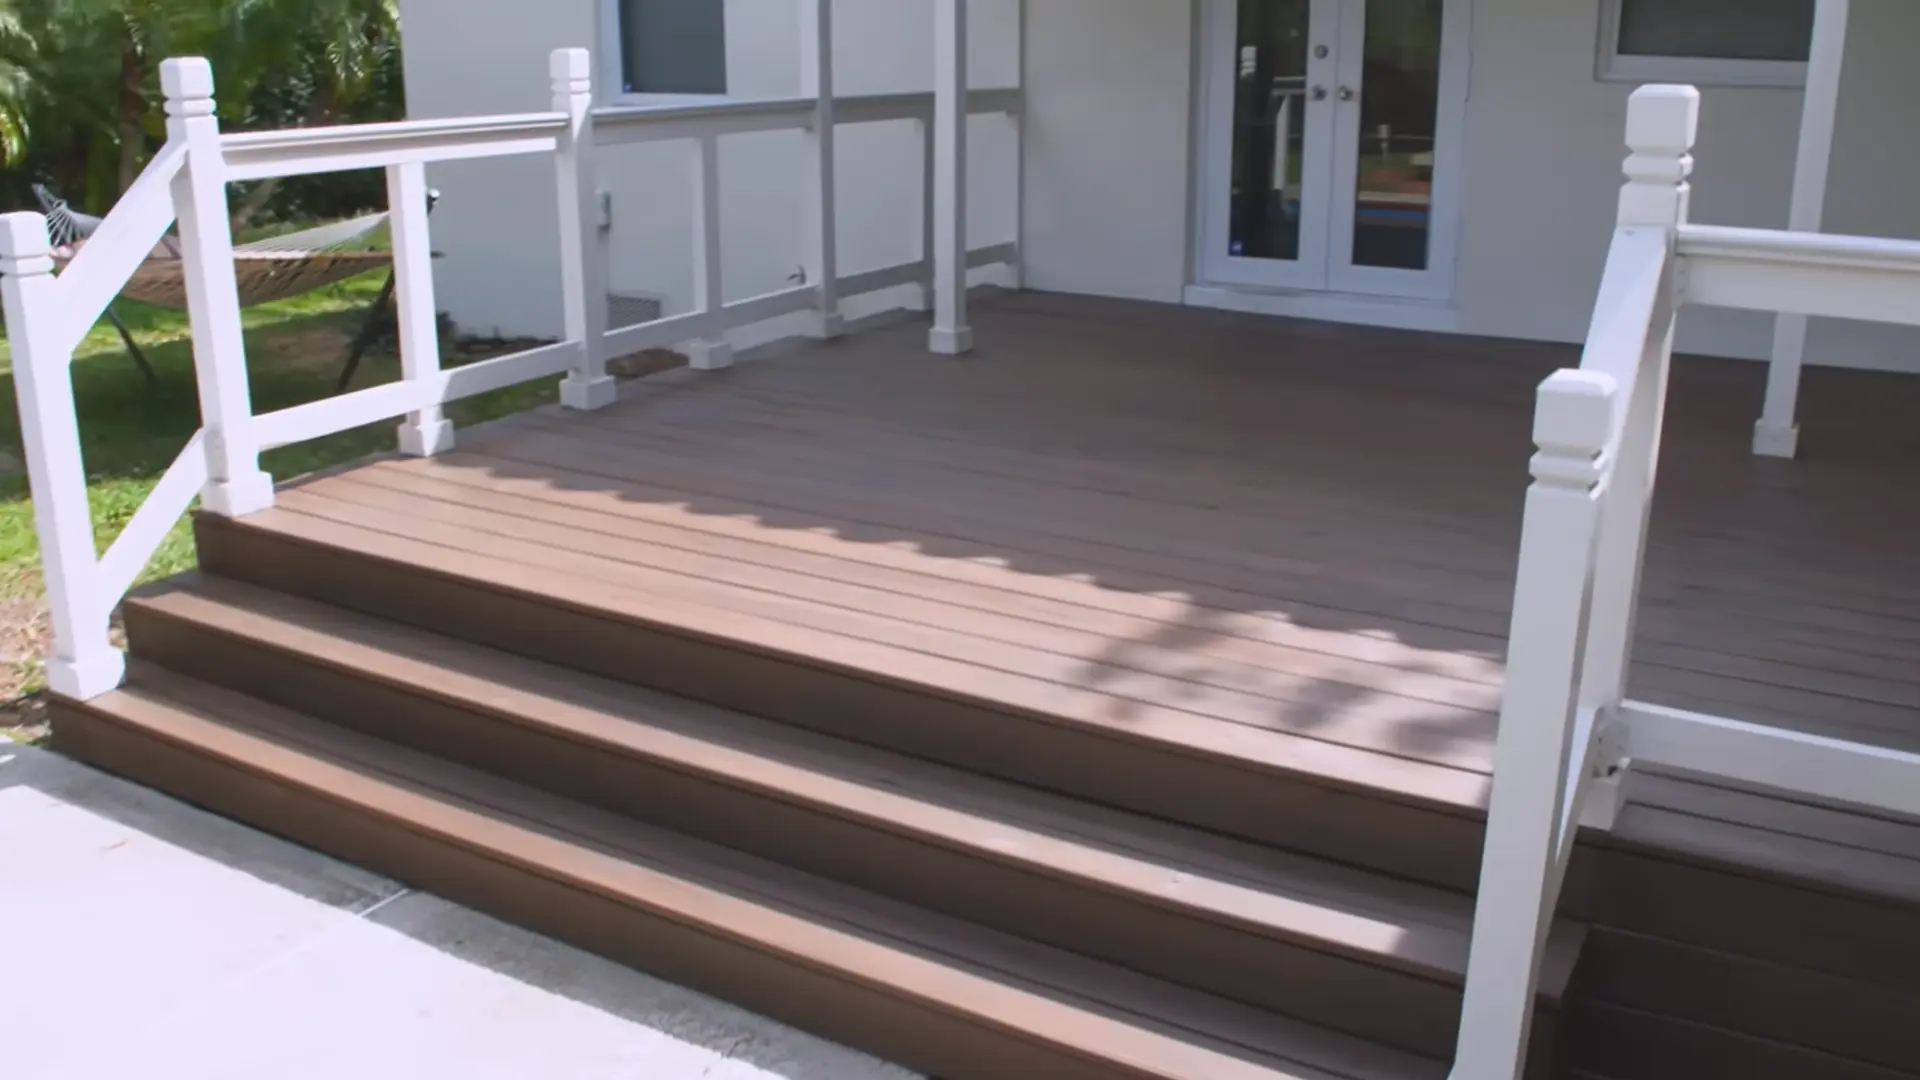
Follow the product label for drying time, rain resistance, and when the deck can be walked on again. Keep people, furniture, and pets off the surface until the stain has dried for the full recommended period.
Cool temperatures, shade, and high humidity may increase the drying time. Wait longer before returning heavy furniture, grills, planters, or rugs, since placing them too early can leave marks, cause sticking, or trap moisture beneath them.
NOTE: This video provides a practical look at preparing, cleaning, sanding, and staining a deck. Watch it before starting to better understand the tools, application method, and drying process.
Does a Stained Deck Need a Separate Sealer?
A stained deck does not always need a separate sealer, as many exterior stains already provide waterproofing. I always check the product label first, since it clearly states whether the stain is a stain-and-sealer formula.
Adding an unapproved clear coat can change the deck’s color, sheen, grip, and future maintenance needs. It may also prevent the surface from wearing evenly.
Use a separate sealer only when the stain manufacturer recommends a compatible product and application system.
Remember, stain mainly adds color and UV protection, while a sealer helps reduce water absorption and protects the wood from moisture damage outdoors.
Common Deck Staining Mistakes to Avoid
Small mistakes during preparation or application can affect how evenly the stain dries and how long the finish lasts.
| Mistake | Practical Solution |
|---|---|
| Applying stain over dirty wood | Clean the deck thoroughly, removing dirt, mildew, dust, and loose debris before staining. |
| Staining before the boards are dry | Allow the wood to dry completely, usually for at least 48 hours after cleaning. |
| Using too much pressure while washing | Use a fan tip, maintain the recommended distance, and test the pressure on a hidden area first. |
| Skipping old finish removal | Strip, sand, or pressure wash away loose coatings so the new stain can penetrate evenly. |
| Staining hot boards in direct sun | Work during cooler hours or on an overcast day to prevent rapid drying and overlap marks. |
| Applying thick coats | Apply thin, even coats and follow the manufacturer’s recommended coverage and coat count. |
| Stopping in the middle of a board | Coat each board from one end to the other to prevent dark lap lines. |
| Ignoring the product instructions | Check the label for preparation, application, drying time, weather limits, and compatibility requirements. |
| Returning furniture too soon | Wait for the full curing period before replacing furniture, rugs, grills, or planters. |
Careful preparation, thin application, and enough drying time will help the deck finish look smoother and remain protected for longer.
What are People Online Saying?

In this Reddit discussion, one homeowner explains how difficult it was to remove old solid stain from a 500-square-foot deck. They pressure-washed the surface, then used a rented floor drum sander with 28-grit paper.
Three passes removed about 90 percent of the coating in four hours, but sanding edges, curved boards, and tight spaces with an orbital sander took nearly 20 more hours. The work was tiring enough to burn out one sander.
Another user noted that level boards made the job easier and asked about raised screws. The homeowner replied that many old screws snapped when tightened.
What Homeowners Say After Staining their Own Decks
Homeowners often say preparation takes much longer than applying the stain. Cleaning, stripping, sanding, and drying can use most of the project time, especially when old solid stain is difficult to remove. Some coatings need sanding even after using a chemical stripper.
Testing a small area first can also prevent color surprises because aged boards may look different from store samples. Measure the deck carefully and buy enough stain for railings, stairs, rough wood, and normal waste.
Working in small sections helps prevent puddles and lap marks. Sun, shade, rain, snow, trees, and foot traffic can also affect how each area wears.
How to Maintain a Newly Stained Deck
Regular care helps the finish last longer and keeps moisture from damaging the wood beneath it.
- Sweep leaves and debris regularly: Wet leaves and dirt can trap moisture against the boards, encouraging staining or decay.
- Wash the surface gently: Use a mild cleaner approved for the stain, rather than aggressive yearly pressure washing.
- Move rugs and planters: Shift them occasionally to prevent trapped moisture, dark marks, and uneven fading.
- Inspect busy areas: Check stairs, entrances, grill zones, and furniture paths each season for early wear.
- Repeat the water test: Recoat when water begins to soak in rather than form beads.
Address fading early, before peeling or bare wood makes maintenance harder.
When to Hire a Deck Staining Professional
Some deck projects are safer and easier with professional help. I would hire a deck-staining professional if the deck has soft posts, sagging framing, loose railings, unstable stairs, or other signs of structural movement.
Several peeling coating layers may also require strong strippers or mechanical sanding equipment. Elevated decks, steep stairs, and hard-to-reach railings can make ladder work risky. A professional can test unknown coatings and choose a compatible stain system.
Large decks are difficult to finish evenly before the edges dry. Recurring mold or moisture issues should also be addressed by checking drainage, shade, ventilation, and structural problems before applying another coat.
Final Thoughts
A good deck finish comes from patience, not from rushing to open the stain can. I have learned that careful cleaning, enough drying time, and steady application make a bigger difference than any single tool.
Match the stain to the wood, test a small area, and follow the product label for weather, coat count, and curing time. Work in manageable sections so the color stays even and the boards do not become sticky or patchy.
Afterward, keep the surface clean and watch for fading or water soaking into the wood. Small maintenance steps can prevent a much larger repair later.
What deck stain, preparation method, or application tool worked best for you? Share your experience in the comments section below.
Frequently Asked Questions
Can Deck Stain Hide Cracks or Damaged Wood?
No. Stain may soften the appearance of small marks, but it cannot repair cracks, rot, or loose boards. Fix damaged wood first so the finish remains even and secure longer.
How Long does Deck Stain Usually Last?
Most deck stains last two to four years, depending on product type, weather, sunlight, foot traffic, wood condition, and maintenance. Horizontal boards usually need recoating sooner than railings or posts.
Is It Possible to Stain Over a Painted Deck?
Deck stain should not be applied directly over paint because it cannot penetrate the wood. Remove loose paint, sand the surface, and confirm product compatibility before beginning any work outdoors.
Why does Deck Stain Stay Sticky After Drying?
Sticky stain usually comes from thick application, cool weather, high humidity, poor ventilation, or insufficient drying time. Avoid walking on it and follow the manufacturer’s guidance before correcting it safely

James McLaren, with a rich background in architecture from the University of Manchester, has been contributing his expertise to the world of creative construction and home innovation for over 20 years. His journey began as a project manager for a leading construction firm, where he honed his skills in bringing complex designs to life. James joined our platform as a freelancer in 2019, quickly becoming a favorite for his insightful and practical advice. He has been a pivotal force to our wing ever since, bringing our readers a blend of technical know-how and creative flair. Beyond his professional life, James is an avid woodworker and enjoys restoring vintage furniture, a hobby that complements his professional insights beautifully.