
Hanging floating shelves can be tricky. Many DIY enthusiasts struggle with uneven shelves or weak supports that can’t hold much weight.
We understand the frustration of trying to create a sleek, modern look only to have wobbly shelves.
But don’t worry! We’re here to help you master the art of hanging floating shelves like a pro.
In this guide, we’ll show you how to install sturdy, level floating shelves that look great and function well.
We’ll cover everything from choosing the right materials and tools to measuring, drilling, and securing your shelves.
By the end, you’ll have the skills to hang floating shelves that impress your guests and last a long time.
Floating Shelves- What Are They?
Floating shelves are wall-mounted storage units that appear to “float” without visible support.
Unlike traditional shelves, they don’t show brackets or hardware, creating a clean, streamlined look on your walls.
Floating shelves offer a sleek look that fits well in modern homes. They create smooth lines and a simple style that many people enjoy.
These shelves can make a room feel bigger and less crowded. By freeing up floor space and reducing visual clutter, they give the illusion of more room.
Functionality and Versatility of Floating Shelves
Floating shelves are not just pretty – they’re useful, too. They provide storage in tight spots where regular shelves might not fit. You can put them in corners, above toilets, or in narrow hallways.
These shelves are also easy to customize. You can choose different sizes, materials, and places to put them, allowing you to match them to your needs and home decor style.
Whether you want wood, metal, or glass, you have a floating shelf option.
Tools and Materials Required to Hang Floating Shelves
| Category | Item | Description |
|---|---|---|
| A. Essential Tools | Drill and Bits | Using the correct drill and drill bits is crucial for making precise holes and ensuring the integrity of the installation. |
| Stud Finder | A stud finder is necessary to locate wall studs, providing a secure installation anchor point. | |
| Self-Centering Drill Guide | This tool ensures accurate drilling, preventing mistakes that could compromise the overall installation quality. | |
| B. Quality Materials | Wood Selection | Choosing the right type of wood is important for both durability and aesthetic appeal, affecting the longevity and look. |
| Steel Brackets | Solid steel brackets are preferred for their strength and stability, ensuring the shelves can support weight effectively. | |
| C. Optional Tools and Materials | Level and Square | These tools help ensure that shelves are perfectly level and aligned, contributing to a professional and neat appearance. |
| Sandpaper or Sander | Smoothing edges and surfaces is necessary for a professional finish, eliminating rough spots and ensuring safety. |
Step-by-Step Guide to Hanging Floating Shelves
1. Preparing the Space
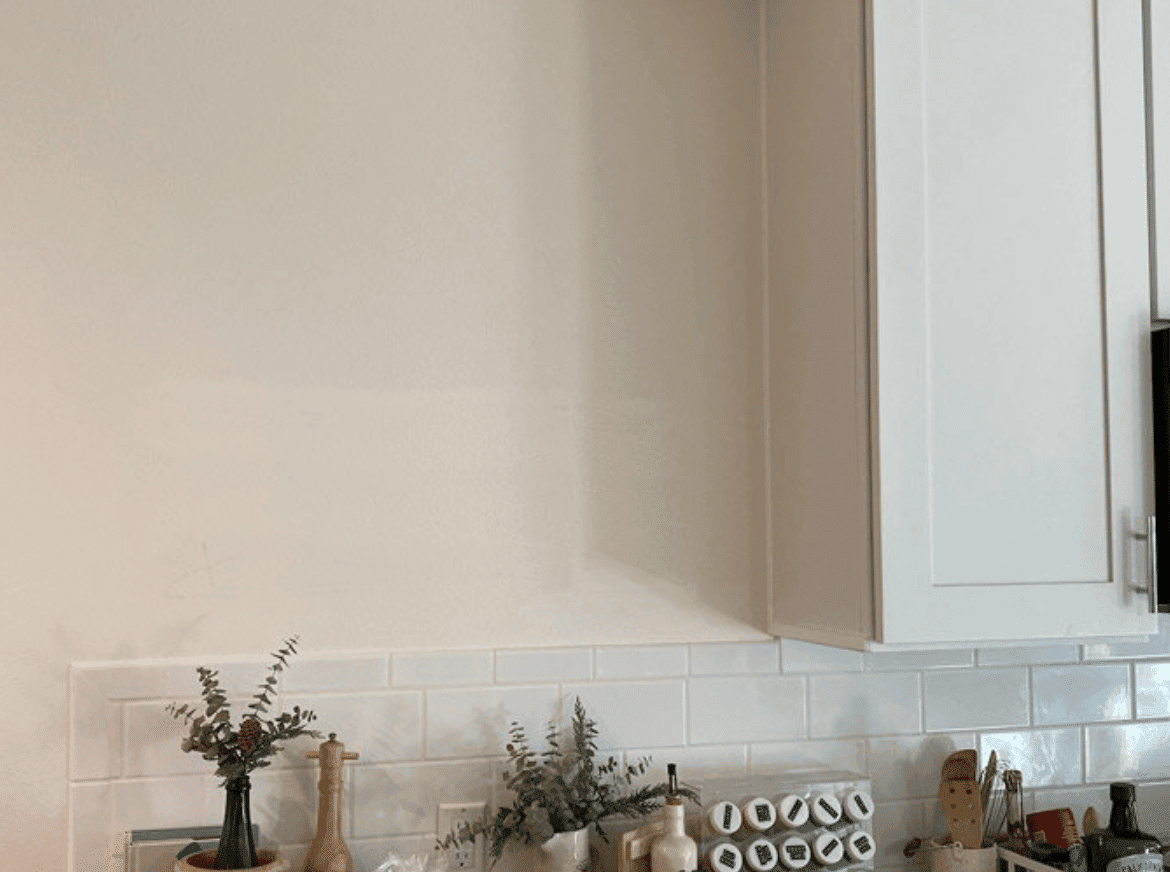
When setting up floating shelves, start by picking the right spot. Consider the room’s use and wall type.
Living rooms are great for display shelves, while kitchens benefit from storage options. Next, find the wall studs for a secure setup.
Use a stud finder, sliding it across the wall until it signals. Mark these spots carefully. Then, focus on precise measurements.
Decide on shelf height, use a level to draw a straight line, and mark where the shelf ends will be. Take your time with this step – good measurements now mean better results later.
Remember, different walls may need other tools, so plan accordingly. With these steps, you’re ready to begin the installation process.
2. Measuring and Cutting Shelves
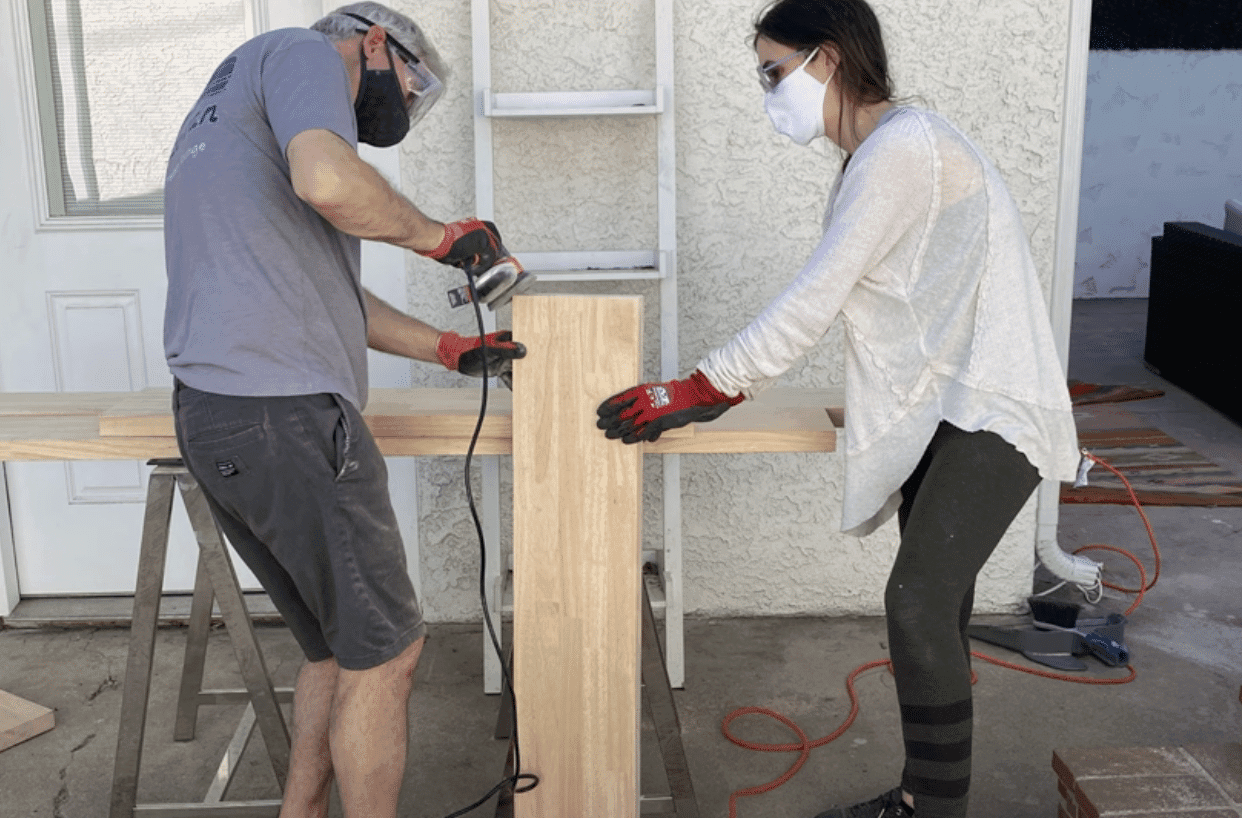
Getting the right measurements is key when making floating shelves. Even small errors can cause big problems during installation. To avoid mistakes, measure twice and cut once.
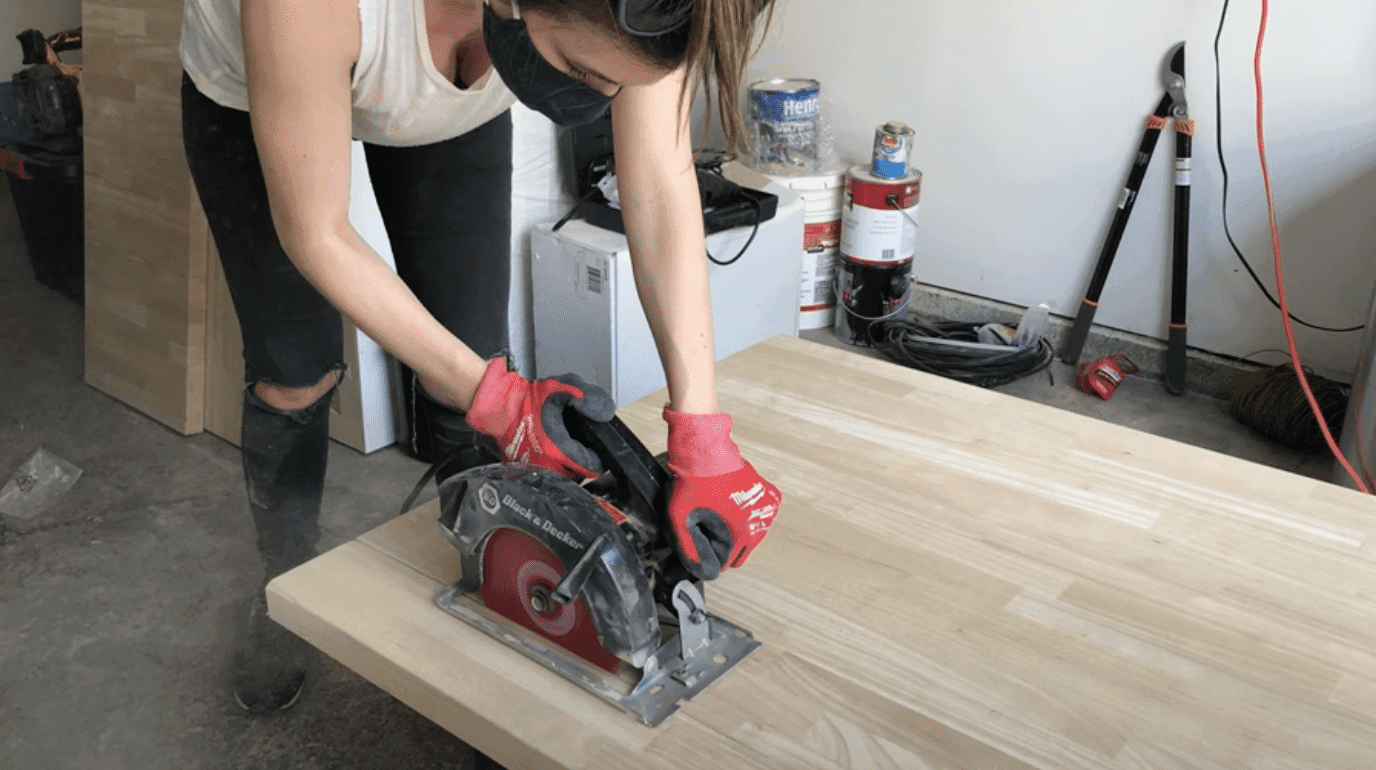
Depending on your shelf material, you can use tools like a circular saw or jigsaw to cut. If you’re new to this, practice on scrap wood first.
Here’s how to cut:
- Measure shelf length twice before cutting
- Mark cut line clearly with a pencil
- Use a circular saw for straight cuts
- Choose a jigsaw for curved or intricate cuts
- Clamp wood securely before cutting
- Wear safety goggles and dust mask
- Cut slowly to avoid splintering
- For thick shelves, make multiple passes
- Sand-cut edges to smooth them out
- Clean sawdust off before finishing
3. Installing the Brackets
Installing brackets is a key step in hanging floating shelves.
- Mark bracket positions on wall
- Use level to ensure marks are straight
- Find studs with stud finder
- Drill pilot holes at marks
- Insert wall anchors if not hitting studs
- Screw brackets into place
- Check brackets are level
- Ensure brackets are secure
- Add extra brackets for heavy shelves
- Double-check all connections
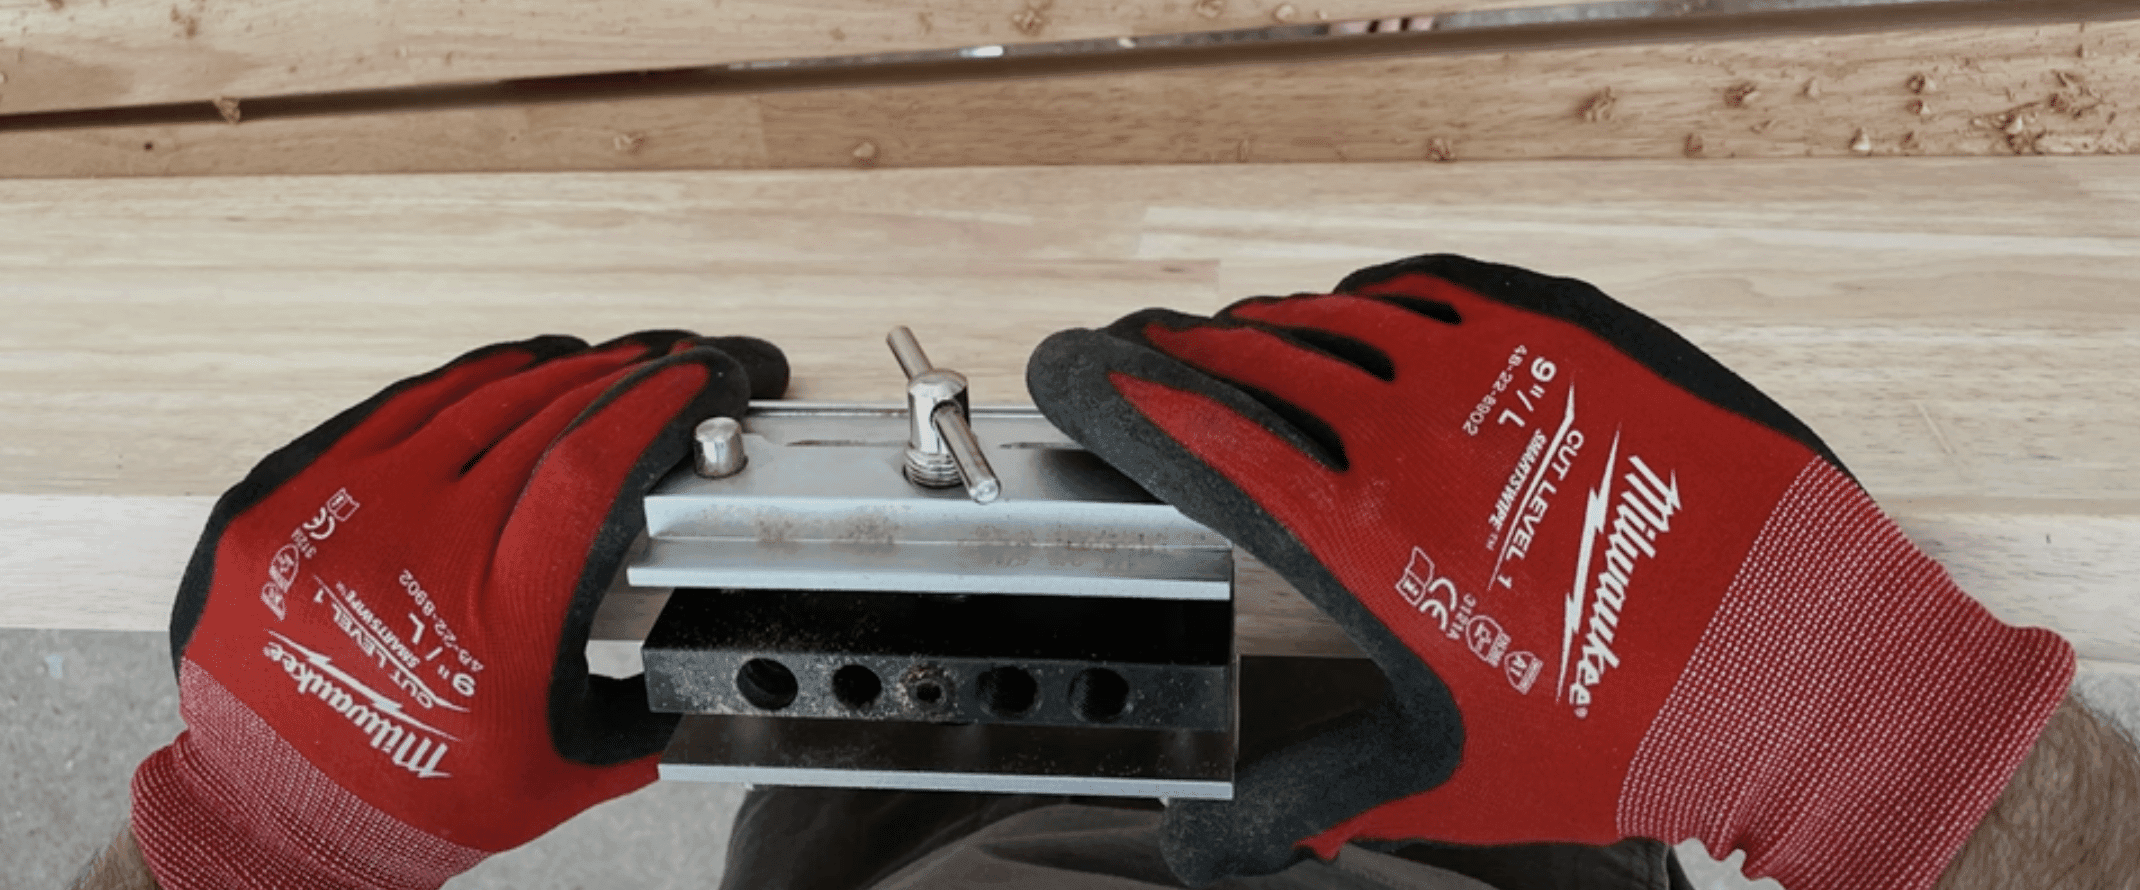
4. Drilling Holes in the Shelves
- Measure and mark drill points on shelf
- Double-check measurements
- Use a square to ensure marks are straight
- Center punch marks to guide drill bit
- Choose correct drill bit size
- Use a self-centering drill guide for accuracy
- Clamp shelf securely before drilling
- Drill slowly to avoid splintering
- Keep drill perpendicular to shelf
- Clean out holes after drilling
5. Mounting the Shelves
Mounting your floating shelves is the final step in the installation process. Before you begin, double-check that your brackets are securely fastened and perfectly level.
Clean both the shelf and bracket surfaces to ensure a good fit.
Now, it’s time to mount the shelf:
- Carefully lift the shelf to the bracket height
- Align the shelf holes with the bracket pins
- Slowly slide the shelf onto the brackets
As you slide the shelf, ensure it’s fully seated on all brackets. Once in place, use a level to check if the shelf is straight.
If it’s not, you may need to adjust by slightly loosening the bracket screws and repositioning.
After adjustments:
- Tighten all connections securely
- Give the shelf a gentle tug to test stability
- Wait 24 hours before placing heavy items on the shelf
With these steps, your floating shelves should be securely mounted and ready for use.
Add Finishing Touches
After mounting your floating shelves, it’s time for the finishing touches. Start by giving your shelves a final sanding to ensure smooth edges and surfaces.
This step not only improves the look but also prevents splinters.
For sanding and finishing:
- Use fine-grit sandpaper for a smooth finish
- Wipe away dust with a clean cloth
- Apply wood stain or paint if desired
- Let the finish dry completely
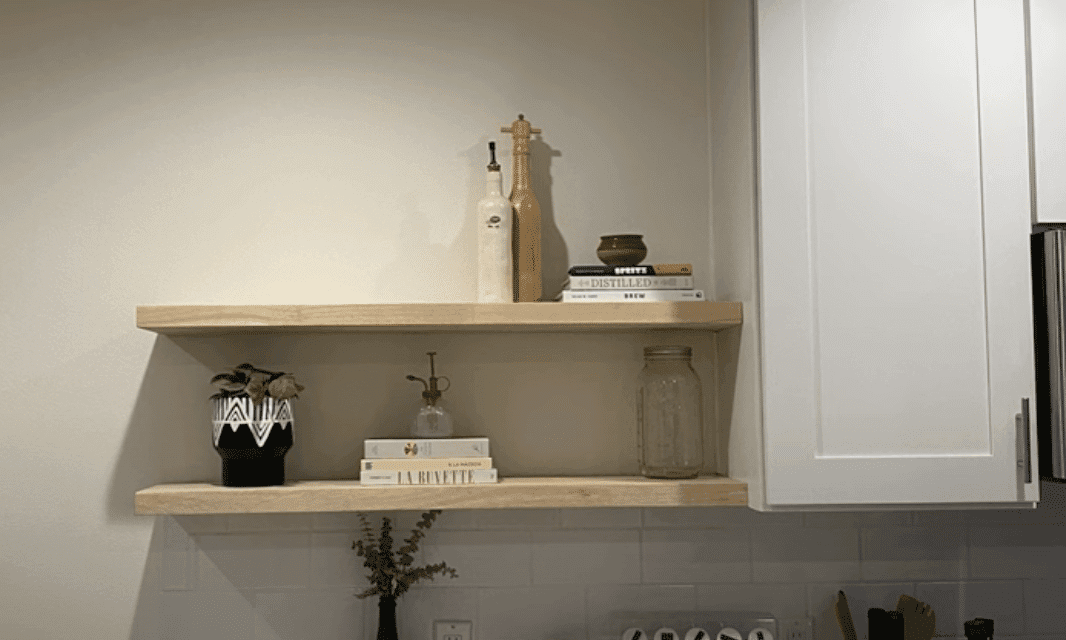
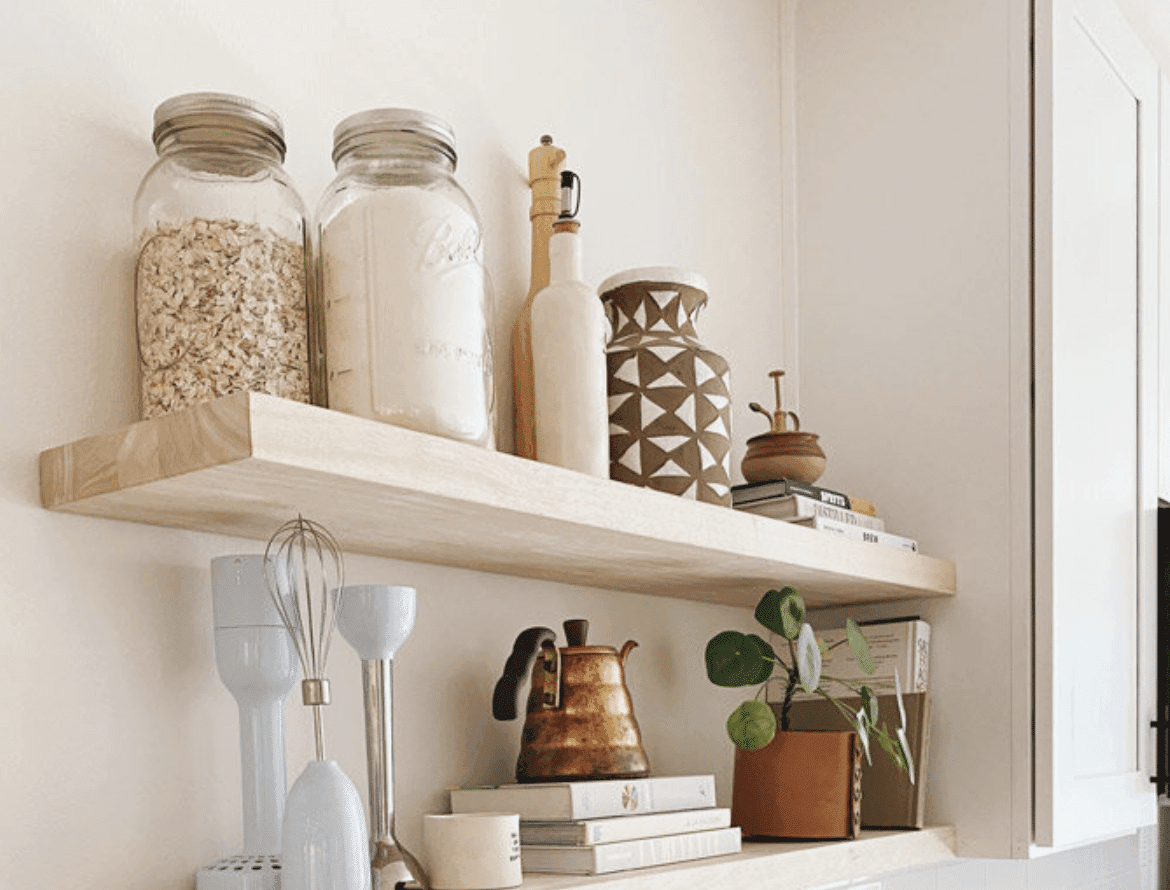
Once your shelves are ready, it’s time to style them. Balance everyday items with decorative pieces to mix function and style.
Here are some ideas:
- Group items in odd numbers for visual appeal
- Use books as both decor and functional storage
- Add plants for a touch of nature
- Display family photos or artwork for personalization
Remember, your shelves should reflect your personality. Don’t be afraid to showcase items that are meaningful to you.
Rearrange items occasionally to keep the look fresh and interesting. With these finishing touches, your DIY floating shelves will be functional and eye-catching.
Troubleshooting Common Issues
1. Uneven Shelves
Uneven shelves can be frustrating, but they’re often easy to fix. Start by using a level to determine which side of the shelf is higher.
Once you know, loosen the bracket screws on that side. Gently adjust the bracket downward, then retighten the screws. Check with your level again to see if it’s even.
You might need to repeat this process a few times, making small adjustments until the shelf is perfectly level. Don’t rush this process – small, gradual changes will give you the best results.
2. Wobbly or Loose Shelves
Wobbly or loose shelves can be unsafe and unsightly. First, check if the brackets are secure in the wall. If they’re loose, tighten all the screws.
For screws that spin freely, replace them with slightly larger ones. In drywall, you might need to use wall anchors for extra support.
If the shelf is loose on the brackets, remove all items and ensure it’s fully seated. Tighten any screws connecting the shelf to the brackets.
For stripped screw holes, fill them with wood filler, let it dry, then re-drill. With these steps, you can turn shaky shelves into stable storage spaces.
For a detailed tutorial on how to hang floating shelves, check out the YouTube video below:
Summing It Up
Now you’re equipped with the know-how to hang floating shelves like a pro. Remember, careful planning and precise measurements are key to success.
Take your time with each step, from finding studs to making final adjustments.
Don’t be discouraged if you encounter minor issues—they’re part of the learning process and can be easily fixed with the troubleshooting tips we’ve shared.
Your new floating shelves will add style to your space and provide practical storage solutions.
Whether displaying cherished items or organizing everyday essentials, these shelves offer versatility and visual appeal.
We’d love to see your floating shelf projects! Share your results in the comments below.
And if you found this guide helpful, why not pass it along to a friend who’s been thinking about adding floating shelves to their home?

James McLaren, with a rich background in architecture from the University of Manchester, has been contributing his expertise to the world of creative construction and home innovation for over 20 years. His journey began as a project manager for a leading construction firm, where he honed his skills in bringing complex designs to life. James joined our platform as a freelancer in 2019, quickly becoming a favorite for his insightful and practical advice. He has been a pivotal force to our wing ever since, bringing our readers a blend of technical know-how and creative flair. Beyond his professional life, James is an avid woodworker and enjoys restoring vintage furniture, a hobby that complements his professional insights beautifully.