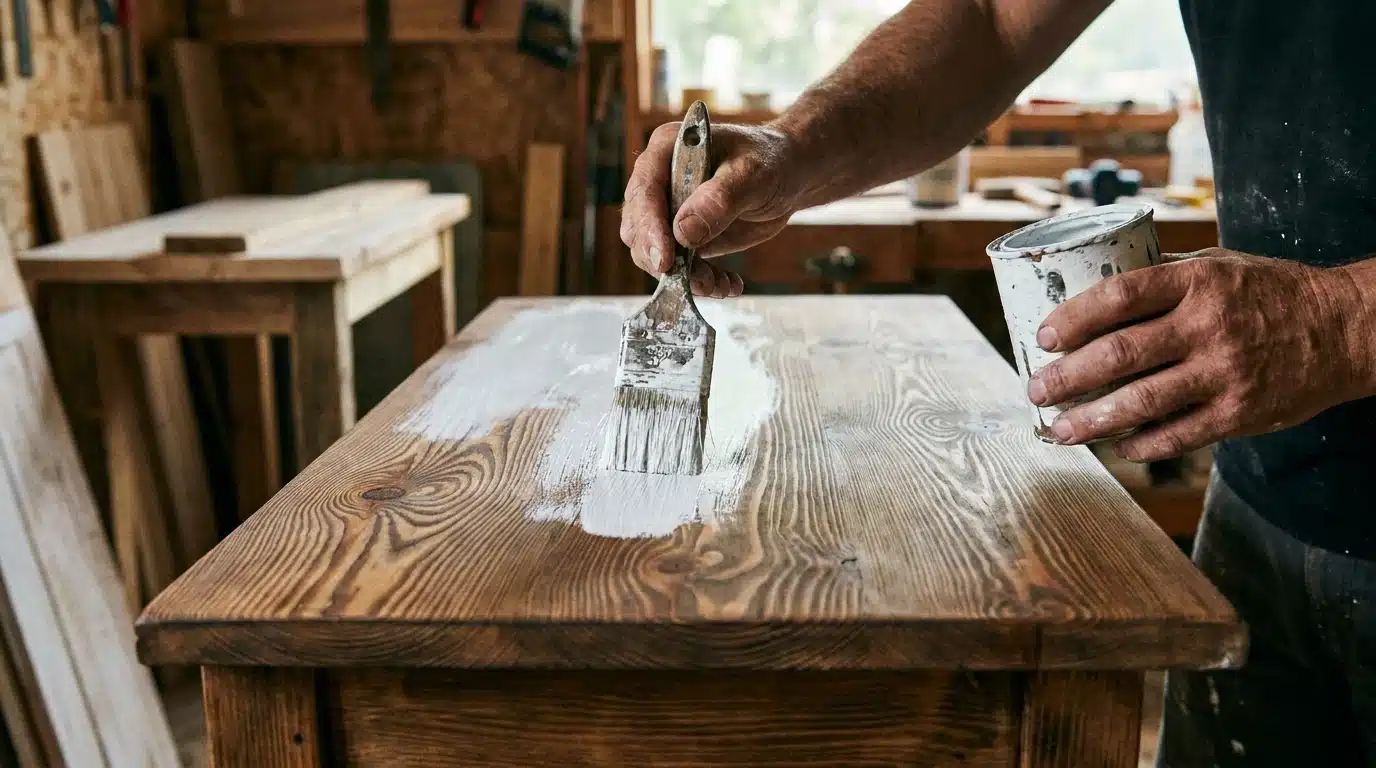

That old cabinet in the corner doesn’t have to go to the dump.
A little white pigment and some patience can turn tired wood into something soft, faded, and full of character.
Learning how to whitewash wood isn’t complicated, yet the results look like they came straight out of a coastal cottage or a farmhouse kitchen.
Grain stays visible, texture stays honest, and the finish feels lived-in rather than painted on.
I’ve refinished more dressers, shelves, and pine boards than I can count, and whitewashing is still the technique that changes a surface without erasing what makes the wood interesting in the first place.
What Whitewashing Wood Actually Does to the Surface
White washing involves more than just adding color. It releases the grain and allows the wood to breathe again.
Diluted paint sinks into pores and cracks, softening harsh tones instead of hiding them completely.
Grain patterns stay visible, texture stays real, and the surface picks up a soft, sun-bleached look.
Bare spots absorb more pigment, dense areas resist, so no two boards are identical. This unevenness is intentional. Wood also becomes more porous after treatment, altering its absorption of stain or sealant.
It’s more of a subtle modification than a cover-up.
Choose the Right Whitewashing Method for Your Wood
Different wood surfaces require different techniques.
Choose according to the wood type, desired appearance, and your available time.
- Diluted paint wash: Water down white latex paint and wipe it on for a quick, budget-friendly finish.
- Pickling stain: A specialty product made for raw wood that gives deeper, more even coverage.
- Lime wash: Uses actual lime for a chalky, matte texture, best suited for rustic or farmhouse styles.
- Whitewash glaze: Thicker and slower to dry, giving more control over blending on detailed furniture.
- Gel stain in white: Clings well to vertical surfaces like cabinets without dripping.
Supplies and Tools You Actually Need
Gather everything before starting; running back and forth wastes time and dries out your mixture.
| Item | Purpose |
|---|---|
| White water-based paint | Base for the whitewash mix |
| Clean water | Dilutes paint to the right consistency |
| Mixing container | Holds and blends the mixture |
| Wide paintbrush | Applies whitewash along the grain |
| Clean cloths | Wipes back excess for the final look |
| Fine-grit sandpaper | Smooths surface before and between coats |
| Tack cloth | Lifts dust before application |
| Drop cloth or plastic sheet | Protects floors and nearby surfaces |
Prepare the Wood Before Applying Whitewash
Skipping prep can ruin the entire job.
Start by sanding the surface with fine-grit paper, working along the grain, not against it.
Dust settles into pores fast, so wipe everything down with a tack cloth afterward.
Old finishes need to go too. Strip away any wax, varnish, or sealant that could block absorption. Check for stains or oil residue, since these create patchy results once whitewash goes on.
Apply wood filler to fill cracks or gouges and allow it to fully cure.
Once dry, sand again for a smooth, even base.
Clean wood absorbs pigment evenly, giving the finish a deliberate appearance.
Step-by-Step Process: How to Whitewash Wood
Follow these steps carefully; rushing isn’t worth it. Whitewashing values patience more than speed.
Step 1: Mix the Whitewash
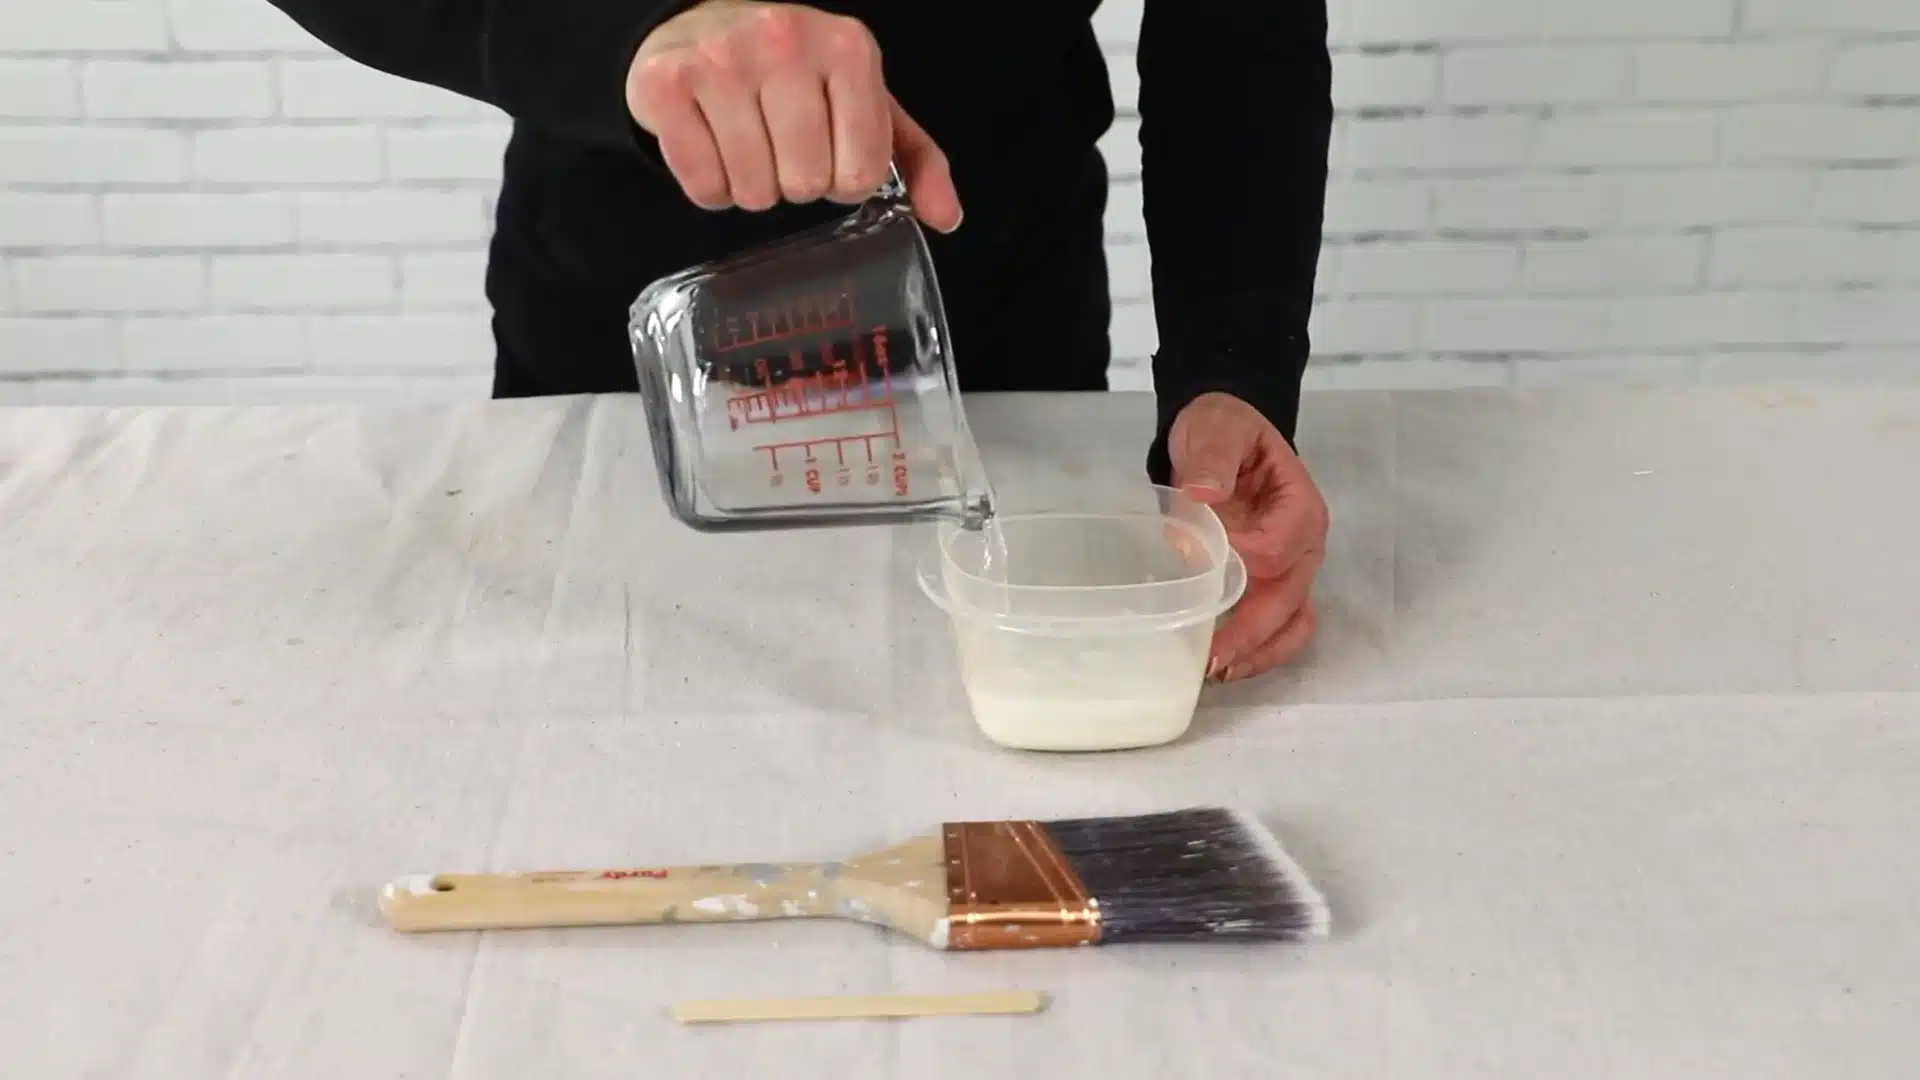
Start by combining one part white water-based paint with one part water in a clean container.
Stir until the mixture is smooth and consistent, with no unmixed paint at the bottom.
This 1:1 ratio provides a balanced starting point, allowing you to observe its behavior before choosing whether to make it lighter or more opaque for your particular piece of wood.
Test the mix on a scrap piece first, since paint brands vary in thickness and pigment strength.
Add a little more water or paint as needed until the mixture reaches the desired consistency for your project.
Step 2: Apply to the Wood
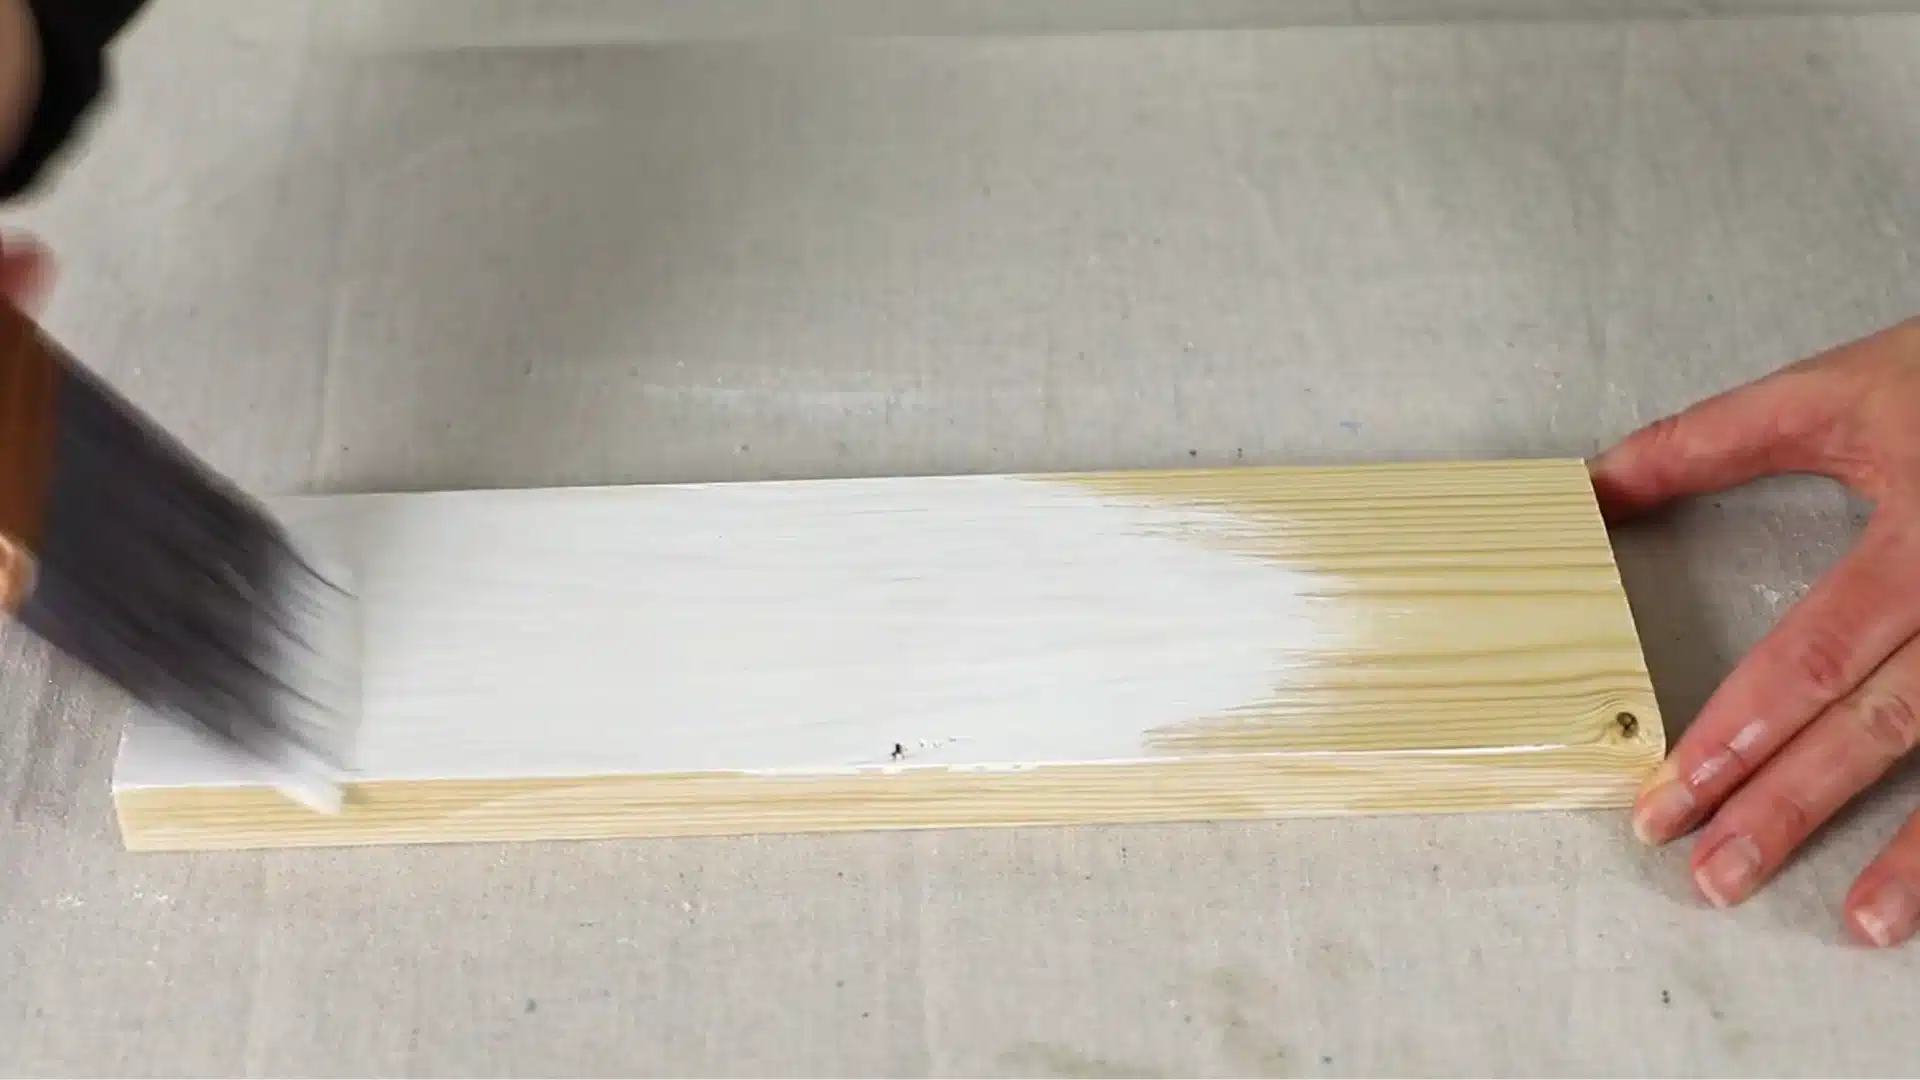
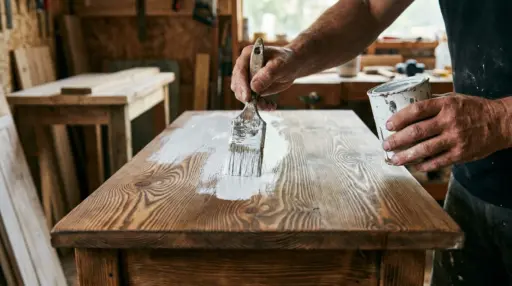
Apply the whitewash mixture evenly to the wood, following the grain for a natural appearance.
Ensure the coverage allows the wood to absorb the mixture without causing pooling.
If working on a large piece, divide it into sections to control drying and prevent uneven patches. Keep your brush strokes long and steady to avoid visible lines, since short, choppy strokes can leave marks when the wood dries.
Work quickly but carefully, since the next step depends on timing.
Step 3: Let It Soak In
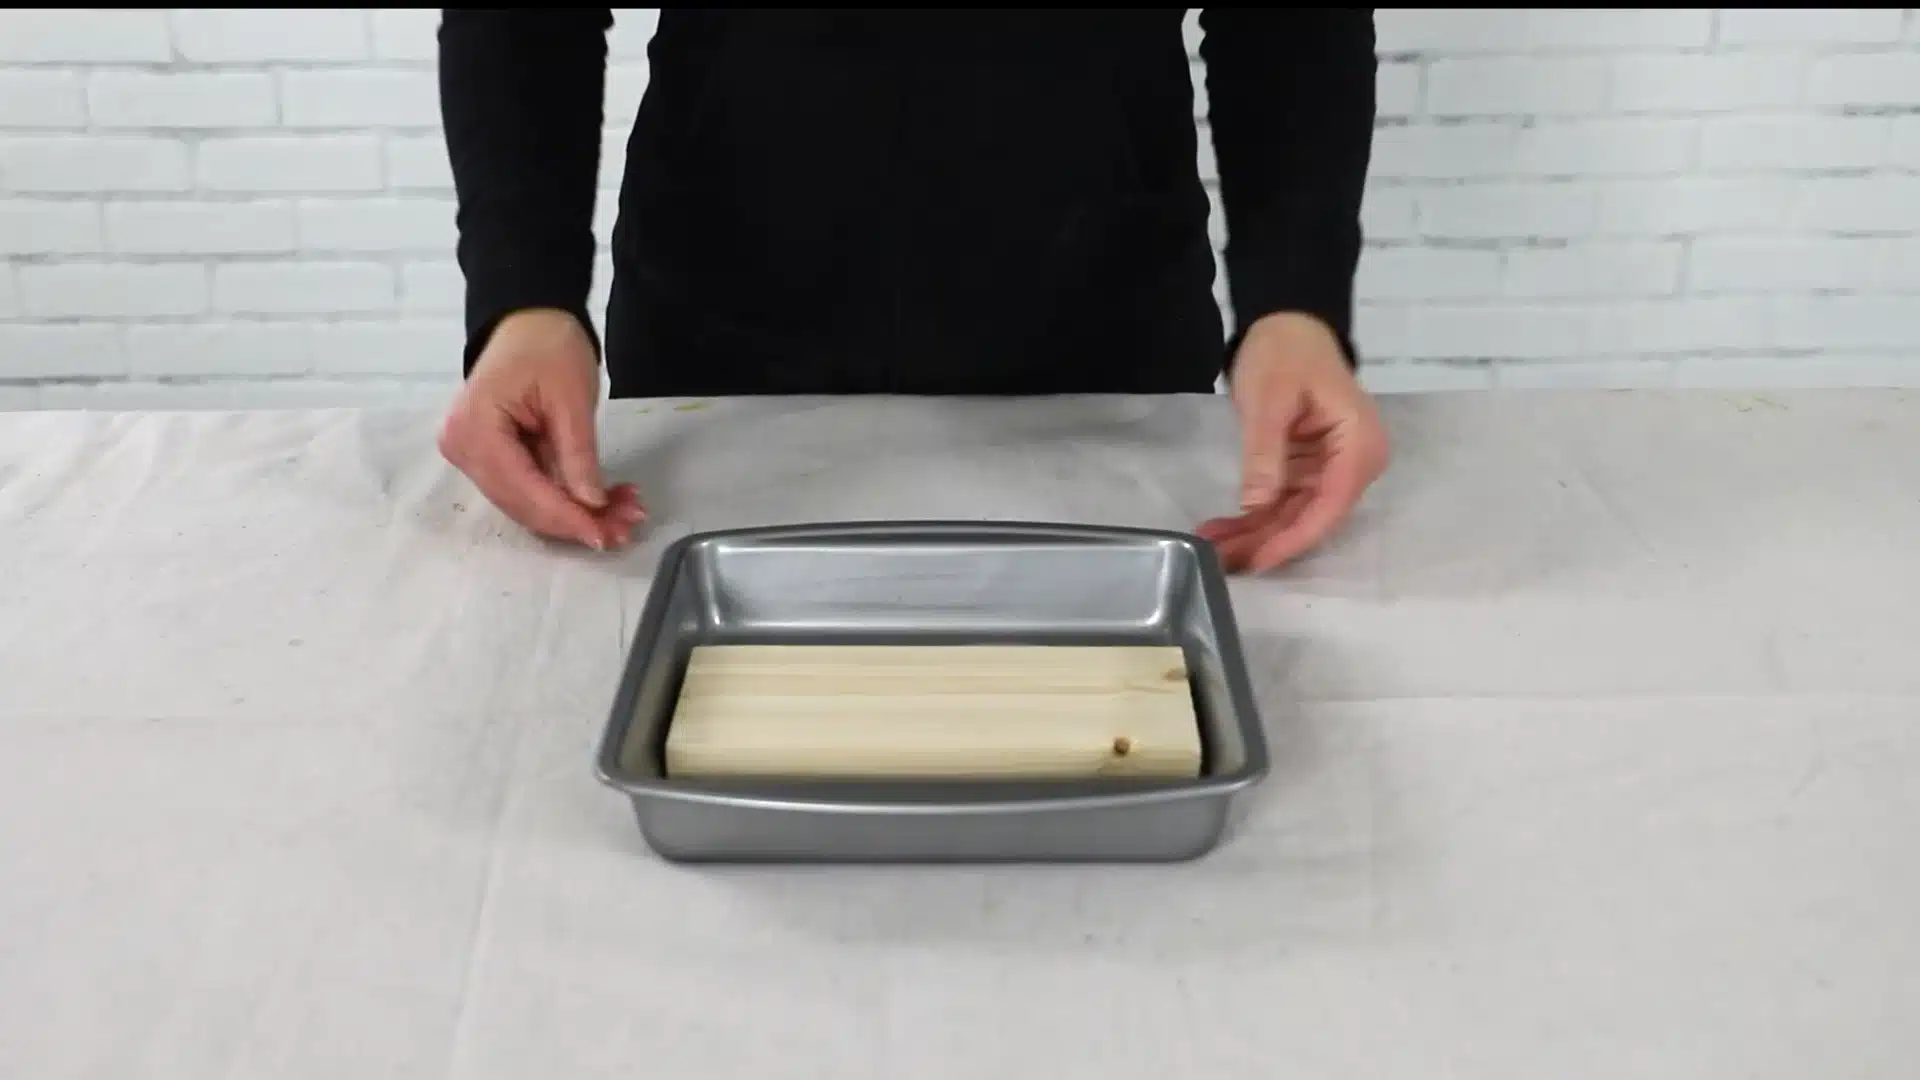
Let the whitewash rest on the wood for about one minute.
This gives the mixture time to settle into the grain and begin lightening the surface. Monitor it carefully; waiting too long can cause the paint to dry or become tacky, complicating the next step’s even wiping back.
Room temperature and humidity both affect how fast this happens, so warmer rooms may need a shorter wait.
Set a timer if you tend to lose track, since even a minute can feel longer when you’re focused on the wood.
Step 4: Wipe Away the Excess
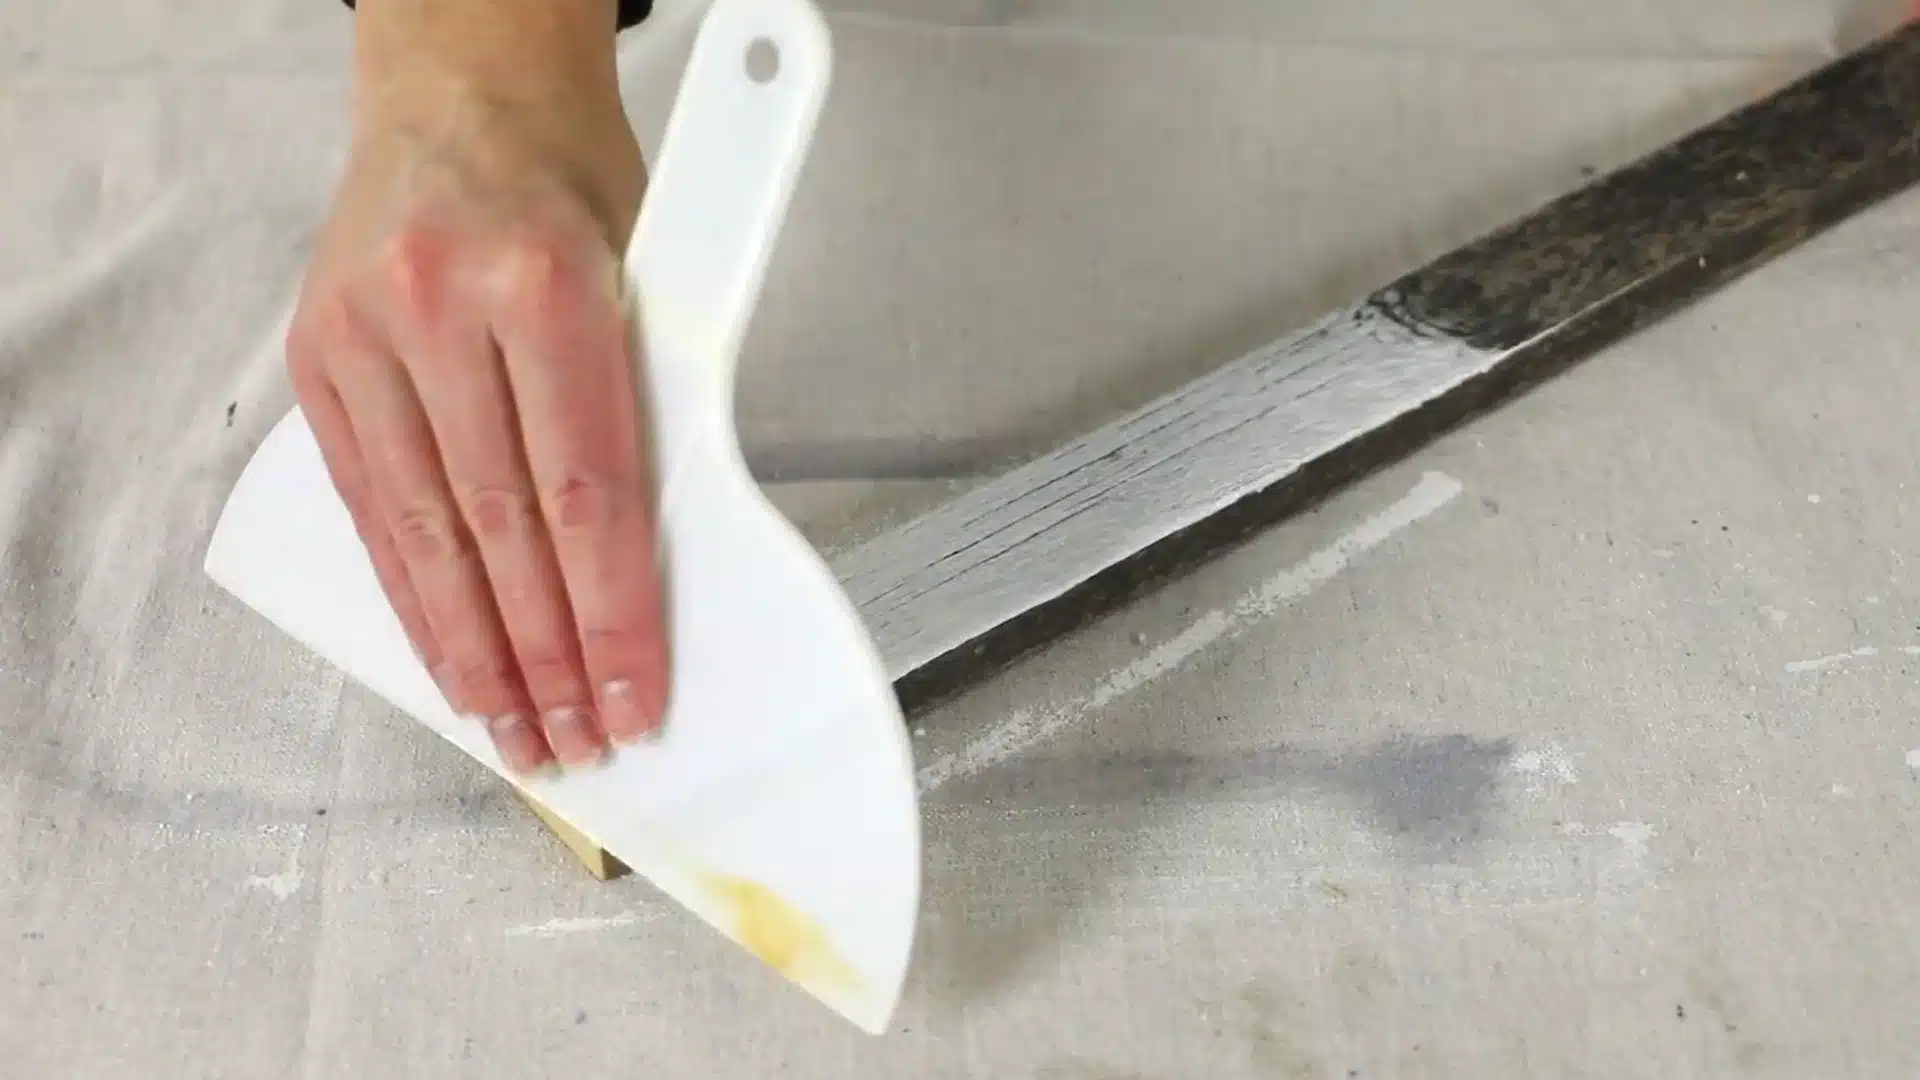
Take a clean cloth and wipe off the excess whitewash.
A slightly damp cloth will leave more pigment behind, resulting in a more opaque finish. Wiping multiple times with a drier cloth removes more product, making it lighter and more transparent.
This step shapes the final look; work with the grain for a smooth, consistent result.
Switch to a fresh section of cloth often, since a saturated cloth just pushes paint around instead of lifting it.
Step back periodically to check the look under good light.
Step 5: Dry and Add a Second Coat if Needed
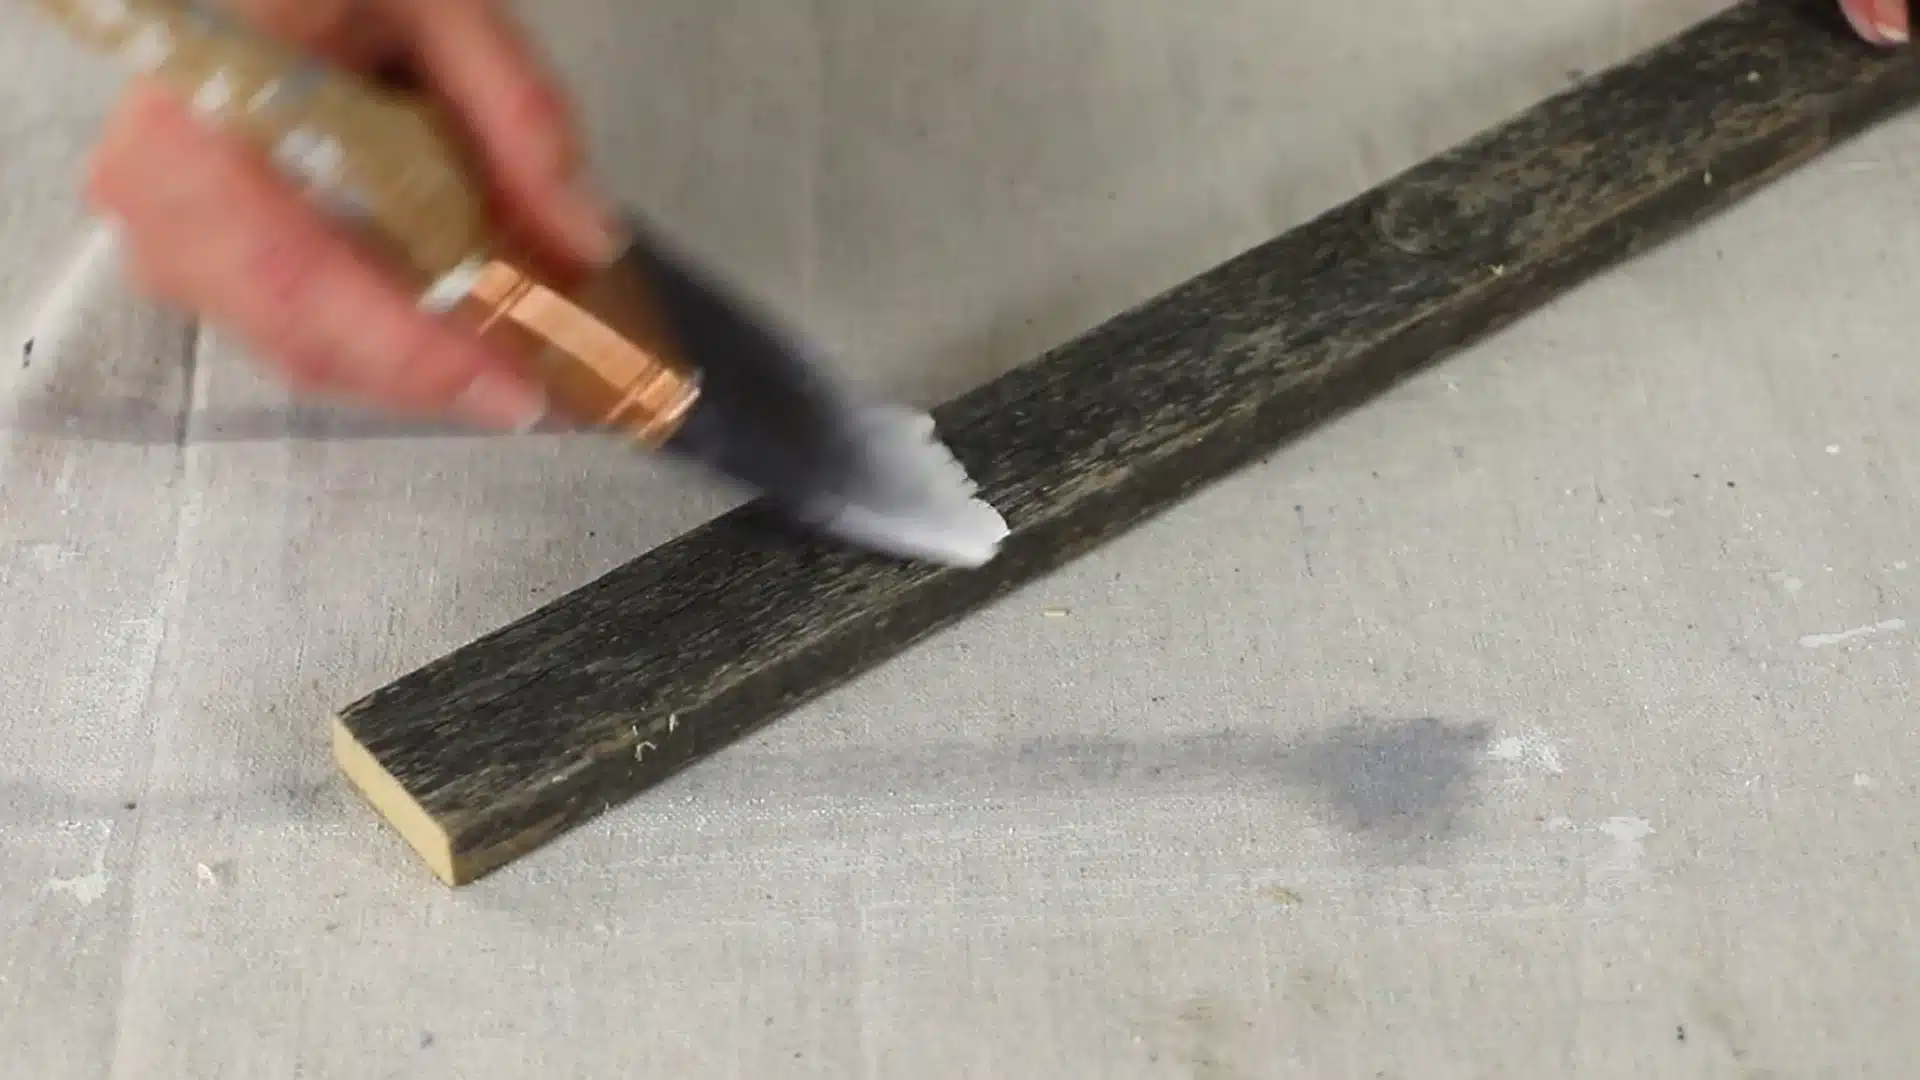
Let the piece dry completely before deciding if it needs more coverage.
If the finish still looks too translucent for your taste, apply a second coat once the first has fully dried.
Applying thin layers gradually provides better control than aiming for full opacity all at once, reducing the risk of a blotchy or uneven surface.
Give each coat a full drying window, usually a few hours, before judging the color accurately.
Once satisfied, a coat of sealant protects the finish and locks in the tone for the long run.
For detailed step-by-step technique, check out this video walkthrough from This Old House
How to Keep the Wood Grain Visible
Grain visibility depends on restraint.
Thin your mixture more than usual, since heavy paint smothers texture fast.
Wipe aggressively immediately after application instead of letting the whitewash sit and build up.
Always brush and wipe along the grain, never across, so pigment settles into natural lines rather than masking it.
Choose raw or lightly sanded wood over heavily filled surfaces, since open pores hold the effect better.
A soft white finish over textured grain is exactly the look rustic and farmhouse interiors lean on, and it only holds up when the pigment stays thin. Soft-bristle brushes help too, applying pigment without pushing it too deep.
Test on scrap first. A gentle touch now prevents the need for extensive sanding later.
How to Seal Whitewashed Wood Without Losing the Look
Sealant protects the finish, but the wrong pick changes everything.
Glossy topcoats amplify shine and can make whitewash look plasticky.
Matte or satin polyurethane keeps the chalky softness intact while adding durability. Water-based sealants stay clear over time, whereas oil-based versions can yellow and dull the white tone.
Apply thin coats with a foam brush, avoiding heavy layers that pool in grain lines.
Let each layer cure fully before adding another.
A light final sanding between coats keeps the surface smooth without stripping color underneath.
Can You Whitewash Wood Without Sanding?
Skipping sanding is possible, but results vary.
Clean, bare wood with no existing finish can take whitewash directly, as long as it’s free of dust and grease.
Sealed or painted surfaces are trickier, since pigment struggles to grip a glossy layer.
A liquid deglosser works as a shortcut, breaking down the sheen without full sanding. The same logic shows up in paint options built to skip sanding, where the right formula does the surface prep instead of a sander.
Rough or splintered wood still needs at least light smoothing for safety and even absorption.
Skipping preparation often results in uneven color or peeling later on.
How to Whitewash Stained, Painted, or Finished Wood
Existing finishes will resist whitewash unless you treat them properly beforehand.
This is what truly gets the job done.
- Strip heavy varnish or polyurethane: Use a chemical stripper to remove thick protective coatings completely.
- Sand glossy paint or stain: A medium-grit pass dulls the sheen enough for pigment to grip.
- Apply a bonding primer: Gives whitewash something to adhere to on slick, non-porous surfaces.
- Use chalk paint as a base: Naturally matte and porous, it accepts whitewash without extra stripping.
- Test absorption on a hidden spot: Confirms whether the surface needs more prep before committing.
Whitewashing Wood for Different DIY Projects
Project type influences technique as much as wood species, due to varying durability needs.
It’s the same reason whitewashed wood walls hold up differently than a whitewashed side table.
| Project Type | Wood Type | Whitewashing Tip |
|---|---|---|
| Furniture | Oak, pine | Focus on even coverage; hands touch surfaces often, so seal well |
| Wall paneling | Cedar, plywood | Larger areas need faster wiping to avoid uneven drying |
| Flooring | Oak, hardwood | Requires heavier-duty sealant to withstand foot traffic |
| Outdoor decor | Cedar, teak | Use exterior-grade sealant to handle moisture and sun exposure |
| Picture frames | Pine, reclaimed wood | Small scale allows finer detail work and controlled blending |
How to Maintain and Touch Up Whitewashed Wood
Whitewashed surfaces need gentle care to stay looking fresh.
Dust regularly with a soft, dry cloth, since buildup dulls the chalky finish over time.
Skip harsh chemical cleaners, as they strip pigment and leave patchy spots behind. For scuffs or scratches, dab on a matching whitewash mix with a small brush, blending edges carefully.
Let touch-ups dry fully before judging the color match.
High-traffic pieces like tabletops or floors benefit from a fresh sealant coat every year or two.
Sunlight can yellow sealants; check regularly. Small fixes now avoid larger repairs later.
Whitewashing Wood: Safety and Mistakes Worth Avoiding
A few missteps ruin projects fast, and a little caution goes a long way. Here’s what to watch for.
- Skipping ventilation: Open windows or use a fan, as paint fumes build up quickly indoors.
- Wearing no gloves or eye protection: Chemical strippers and deglossers irritate skin and eyes on contact.
- Overloading the brush: Too much mixture at once causes drips and uneven pooling.
- Ignoring dry times between coats: Rushing leads to smearing and a muddy, inconsistent finish.
- Mixing incompatible products: Combining oil- and water-based sealants can lead to cracking or poor adhesion.
Can You Remove Whitewash From Wood?
Removing whitewash is doable, though it takes patience.
Sanding works for lighter coats, gradually stripping pigment down to bare wood. Heavier or sealed layers usually need a chemical stripper first, softening the finish so it lifts more easily.
Wipe away residue with a damp cloth once the stripper finishes working.
Deep grain lines sometimes hold onto trace pigment, requiring a second pass or fine steel wool.
Always test removal methods on a hidden area first, since some wood species react differently to stripping agents.
Wrapping It Up
Whitewashing rewards patience over perfection.
Small missteps sand out, and thin coats always beat one heavy layer. Mastering how to whitewash wood comes down to reading absorption, timing, and touch rather than following a rigid formula.
Keep a rag nearby, test on scraps, and trust the process even when results look uneven at first.
Grain will show through, tones will soften, and the piece will carry a character no factory finish replicates.
Tried this on a piece of your own? Drop a comment with what wood you used and how the finish turned out.
Frequently Asked Questions (FAQ’s)
1. What Paint to Use to Whitewash Wood?
Use white water-based latex paint diluted with water; it absorbs evenly and dries without yellowing over time.
2. Do I Need to Seal Wood After Whitewashing?
Sealing isn’t mandatory, but a matte or satin topcoat protects the finish and extends its lifespan significantly.
3. How Many Coats of Whitewash on Wood?
Most projects need one or two thin coats; build gradually until you reach the opacity you want.
4. How Long Does Whitewash Last?
Unsealed whitewash lasts a few years indoors; sealed surfaces can hold their look for a decade or longer.
5. What’s the Difference Between Limewashing vs Whitewashing?
Limewash uses actual lime for a chalky, mineral finish, while whitewashing relies on diluted paint for its effect.

James McLaren, with a rich background in architecture from the University of Manchester, has been contributing his expertise to the world of creative construction and home innovation for over 20 years. His journey began as a project manager for a leading construction firm, where he honed his skills in bringing complex designs to life. James joined our platform as a freelancer in 2019, quickly becoming a favorite for his insightful and practical advice. He has been a pivotal force to our wing ever since, bringing our readers a blend of technical know-how and creative flair. Beyond his professional life, James is an avid woodworker and enjoys restoring vintage furniture, a hobby that complements his professional insights beautifully.