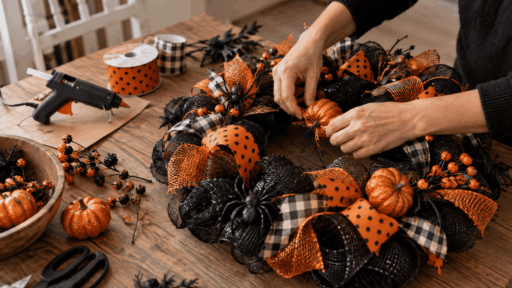
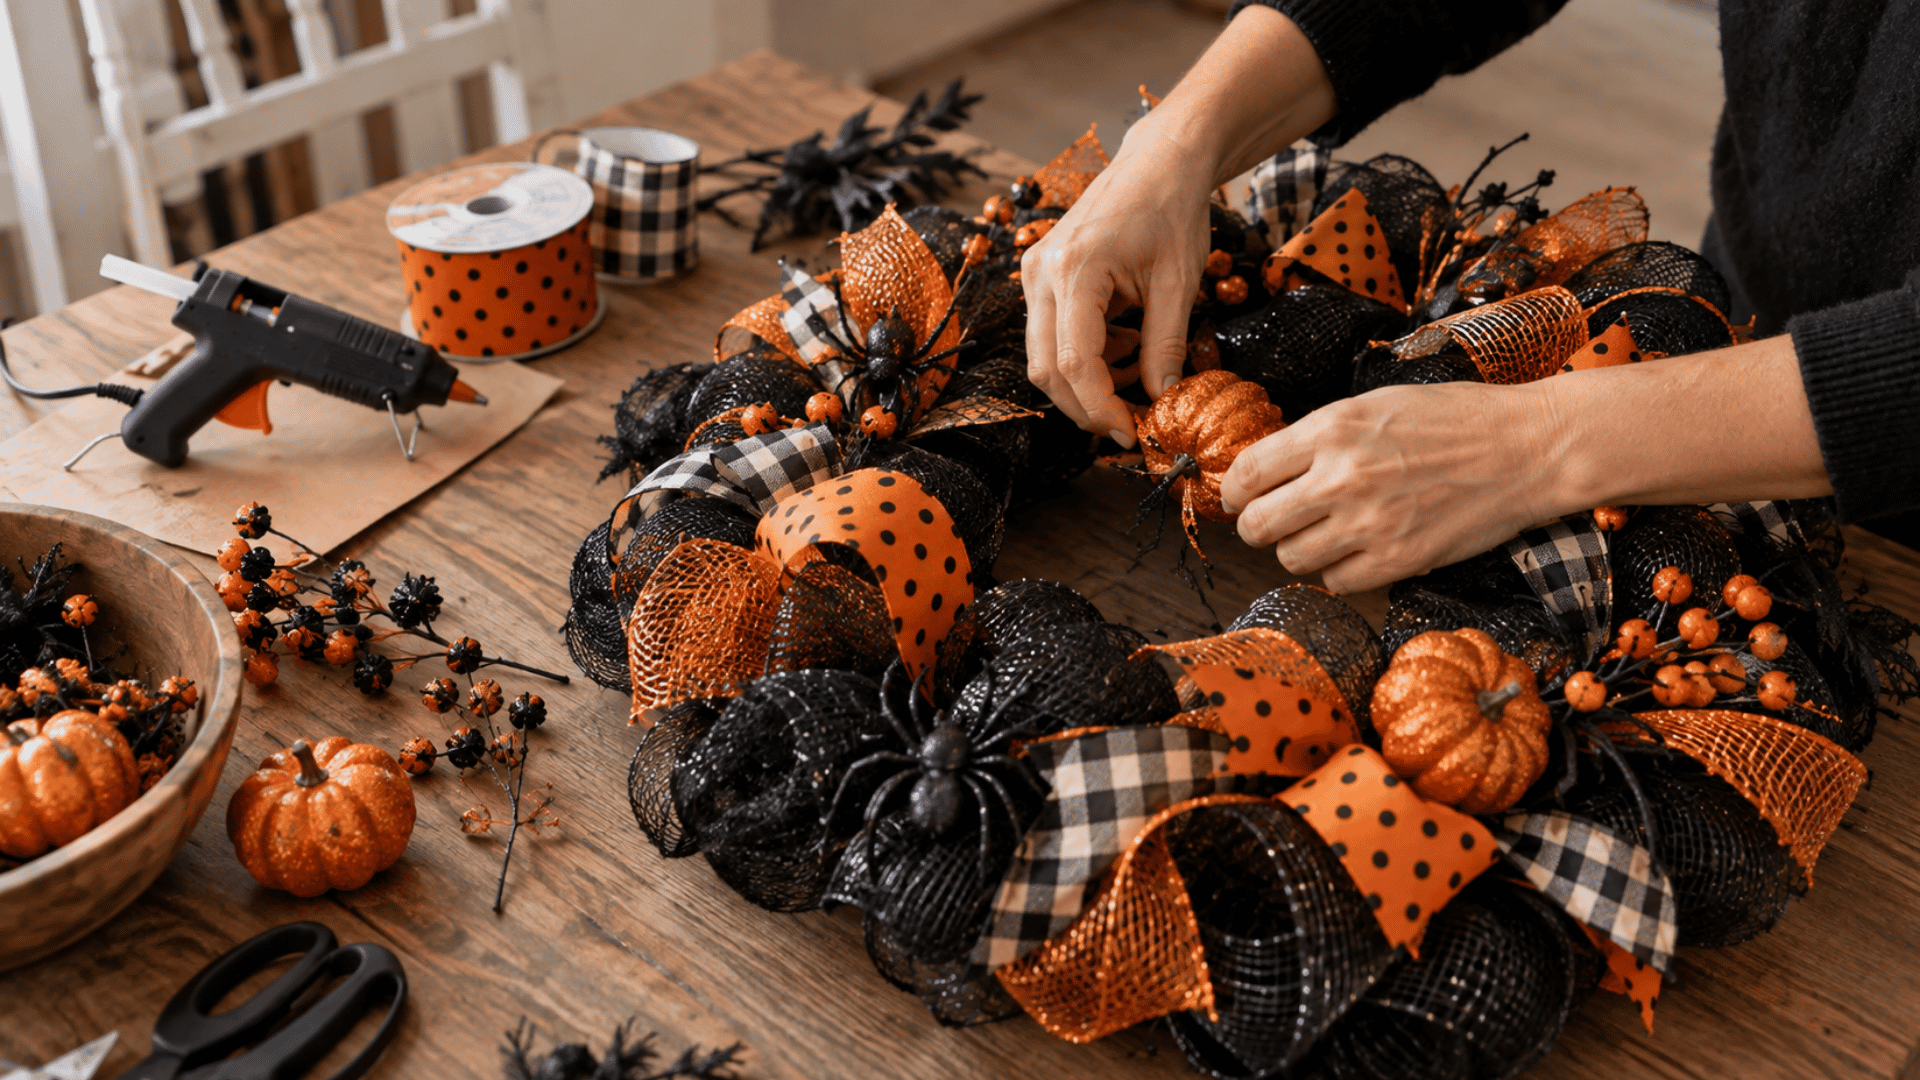

A diy halloween wreath can look great without needing fancy supplies or perfect craft skills. The harder part is often getting everything to look balanced once the ribbons, mesh, and decorations start piling up.
It is easy to add too much, leave awkward gaps, or end up with a wreath that feels busier than expected.
That can make a simple project feel more frustrating than fun. A better approach is to keep the design focused and let a few strong details do most of the work.
That way, the finished wreath still feels festive, handmade, and easy to display for Halloween.
What Materials Do You Need for a Halloween Wreath?
Most Halloween wreaths need only a simple base, a few decorations, and basic craft tools you can easily find or reuse.
- Wreath base: Use a grapevine, foam, wire, or pool noodle base depending on the shape, weight, and decorations being attached.
- Halloween decorations: Pick small pumpkins, spiders, bats, skulls, ghosts, or fake leaves that match the look planned for the finished wreath.
- Ribbon or fabric: Choose mesh, ribbon, burlap, or fabric strips in black, orange, purple, or another Halloween color for added texture.
- Fastening supplies: Keep floral wire, zip ties, pins, or twist ties nearby to hold decorations firmly without relying completely on glue.
- Hot glue gun: Use hot glue for lightweight decorations and smaller details that need a firm hold on foam or grapevine wreath bases.
- Scissors or cutters: Sharp scissors handle ribbon and fabric, while wire cutters make trimming floral wire and artificial stems much easier.
- Hanging ribbon or hook: A strong ribbon, wreath hanger, or removable door hook keeps the finished wreath secure without damaging the door.
How to Make a Halloween Wreath (Step by Step)
This Halloween wreath comes together by layering mesh, adding textured tulle, attaching ribbon details, and finishing it with a handmade sign.
The process focuses on creating a full wreath with different colors and textures while keeping the supplies simple and easy to find.
Step 1: Prepare the Halloween Sign
Carefully remove the garden stake from the back of the Halloween sign using a paint scraper. Sand away any rough cardboard around the edges.
Once the sign looks clean, attach pipe cleaners to all four back corners with hot glue. Add a small ribbon piece over each glued section for better hold.
Step 2: Cut the Deco Mesh and Tubing
Cut the black and orange deco mesh into 22-inch strips. The tutorial uses four rolls of each color.
For the black mesh tubing, wrap it around a 7½-by-5½-inch piece of cardboard and cut both ends. This creates evenly sized pieces without measuring each section separately.
Step 3: Prepare the Ribbon Pieces
Cut each Halloween ribbon into 10-inch sections. The tutorial uses a mix of black, orange, pumpkin, spiderweb, and other patterned ribbons to keep the wreath looking full and varied.
Prepare eight pieces of each design, then dovetail the ends by folding each ribbon in half and cutting diagonally.
Pair the ribbons by design before building the bundles so assembly stays quicker and more consistent.
Step 4: Make the Mesh Cruffles
Take one 22-inch mesh strip and roll one end inward three or four times. Repeat on the opposite end, then scrunch the center section together.
This creates two curled ends with a ruffled middle. The tutorial calls this the cruffle, or Woodland ruffle, method because it helps limit fraying.
Step 5: Build the Three Bundle Styles
Use two mesh pieces in every bundle to create a fuller base. Add four pieces of black mesh tubing to each orange bundle for the spider-like detail shown in the tutorial.
The other two bundle styles use black mesh with different ribbon pairs.
Secure each bundle with half a pipe cleaner, then spread and adjust the ribbon so the patterns stay visible before attaching it to the frame.
Step 6: Attach the Bundles to the Frame
Attach each bundle to the center bars of the 18-inch wire wreath form. Place one bundle on a crossbar, then add three bundles between crossbars.
Continue around the entire frame while alternating the three bundle styles. Twist each pipe cleaner tightly and bend the ends forward to keep the back neat.
Step 7: Attach the Center Sign
Place the prepared Halloween sign in the center once you’ve secured all mesh bundles. Feed the four pipe cleaners through the ribbon and mesh until they reach the wire frame.
Twist them firmly around the frame from behind. Fluff nearby mesh and reposition ribbon tails until the sign sits evenly.
Step 8: Add Pumpkin Picks and Finish
Shorten the pumpkin pick stems if needed, then test a few positions before using glue.
Add hot glue to each stem and push the picks deep into the deco mesh so they sit firmly in place. The tutorial uses eight pumpkin picks in total.
Finish by fluffing the mesh, spreading the ribbon tails, and adjusting any crowded areas until the wreath looks balanced from every angle.
Follow the video below to see these wreath-making steps in action, from the first layer to the finished design.
How Can You Make a Halloween Wreath on a Budget?
A Halloween wreath does not need a long shopping list or expensive craft supplies. Start by reusing an old wire, foam, or grapevine wreath frame already stored at home.
Check discount and dollar stores for simple seasonal items such as plastic spiders, mini pumpkins, faux leaves, and mesh.
Leftover ribbon, fabric scraps, or burlap from earlier projects can add color and texture without extra spending. You can also make small decorations at home using paper or felt.
Cut out bats, ghosts, pumpkins, or simple shapes, then attach them with glue or floral wire to fill empty spaces.
Halloween Wreath Ideas for Different Styles
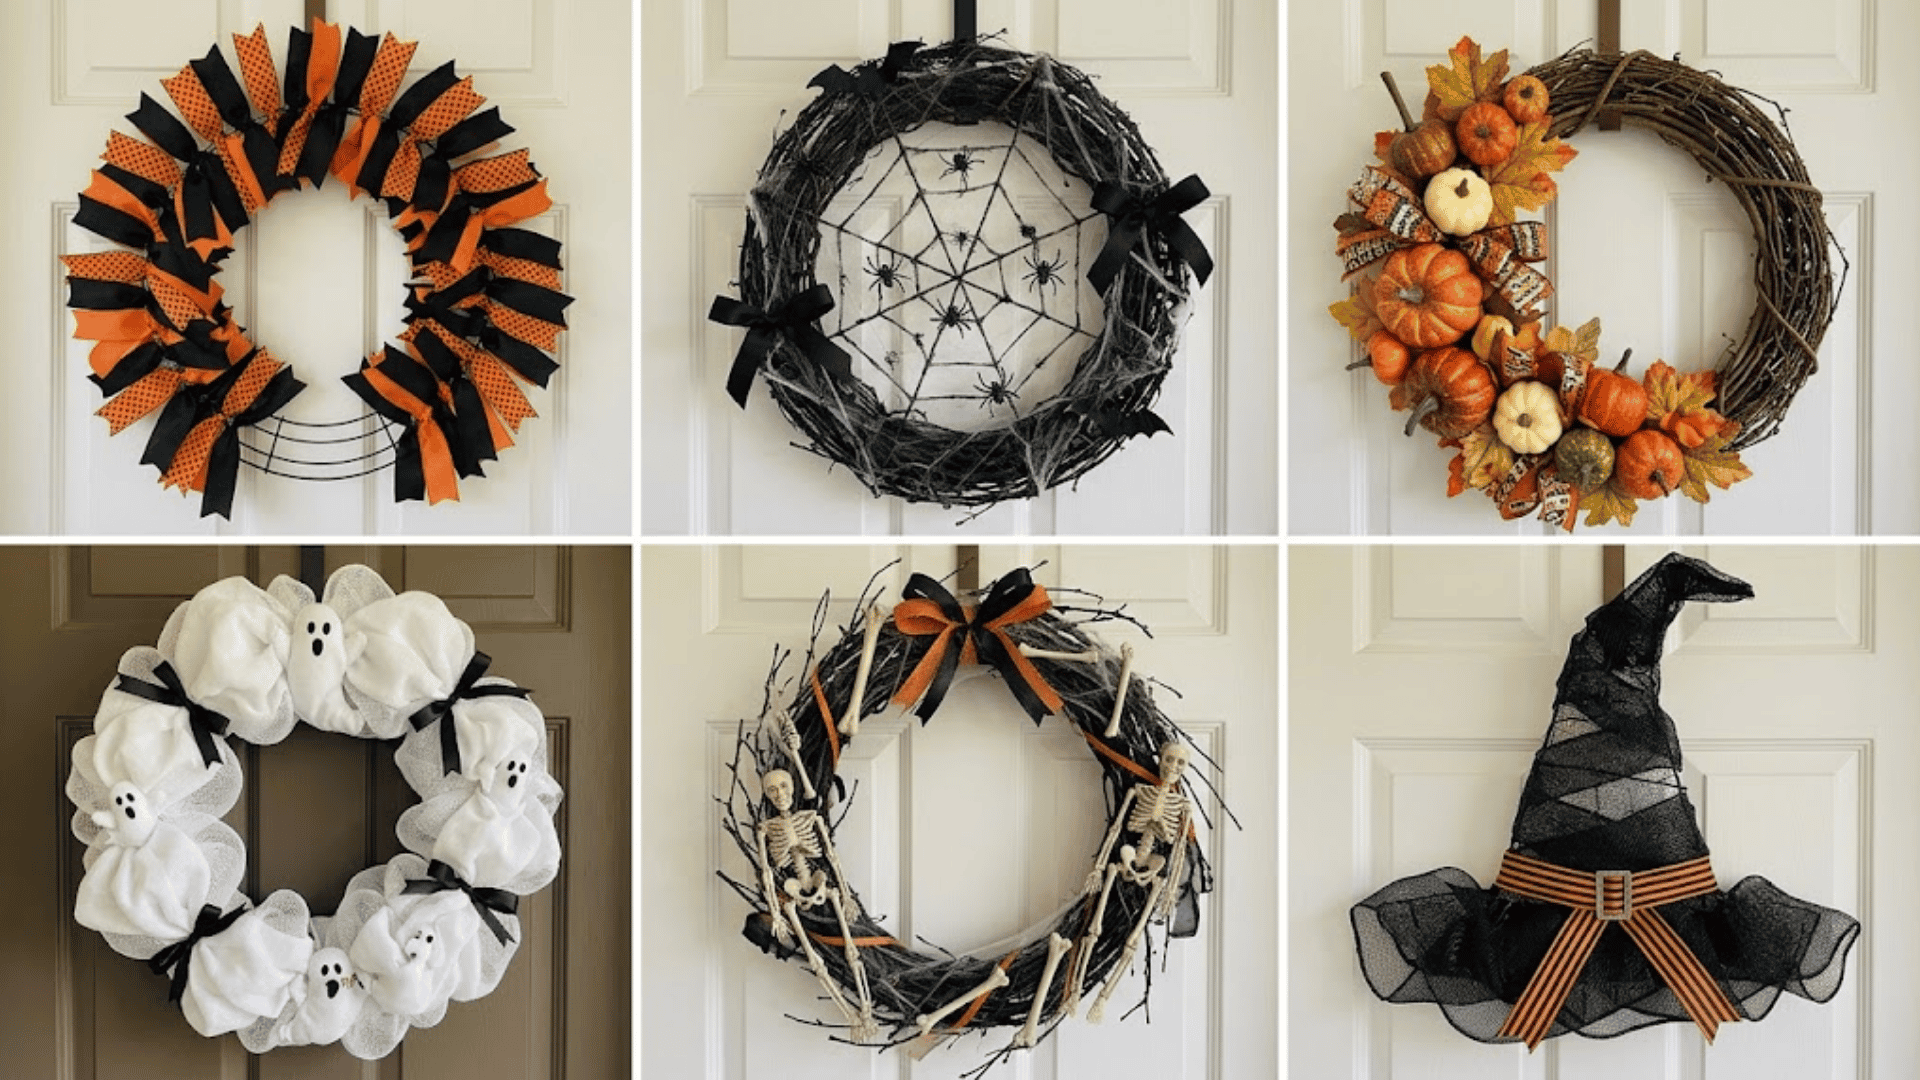
These Halloween wreath ideas use different colors, shapes, and decorations, so it is easy to pick a style that suits the space.
Black and Orange Ribbon Wreath
Layer black and orange ribbon around a wire or foam base, mixing solid and patterned pieces for a simple traditional Halloween look.
Spider Web Wreath
Stretch faux webbing across a dark wreath base, then add plastic spiders, black ribbon, and small bat accents to give the design a simple spooky finish.
Mini Pumpkin Wreath
Attach small faux pumpkins around a grapevine or foam wreath, then fill open spaces with autumn leaves, ribbon, or short stems for extra texture.
Ghost Wreath
Use white fabric, mesh, or small ghost decorations around the wreath base, then add black accents so the design stays clear and playful.
Witch Hat Wreath
Shape ribbon, mesh, or fabric around a wreath form to resemble a witch hat, then add a buckle, bow, or striped ribbon for detail, pulling inspiration from the kind of pieces found in classic witch decor collections.
Skeleton Wreath
Add small plastic skeleton pieces or bones around a dark wreath base, spacing them evenly so the design looks bold without feeling crowded.
How to Give a Halloween Wreath a Finished Look
A few small design choices can make a homemade wreath look cleaner, fuller, and more balanced without adding much extra time or cost.
- Choose a limited color palette: Stick with two or three main colors so the wreath looks more connected and the decorations do not compete with each other.
- Place larger pieces first: Add signs, bows, pumpkins, or other bigger decorations before smaller accents so the main layout feels balanced from the beginning.
- Balance decorations around the wreath: Spread similar colors, shapes, and textures across different areas instead of grouping everything together in one heavy section.
- Secure every loose piece: Check ribbons, picks, mesh, and small decorations before hanging, then tighten wire, pipe cleaners, or glue wherever anything feels unstable.
- Think about outdoor placement: Use weather-friendly materials for exposed doors, and avoid lightweight decorations that may fade, loosen, or shift easily in wind or rain.
The Bottom Line
A homemade wreath can add a personal touch to Halloween without feeling overly polished or store-bought. The small handmade details are often what give it the most character.
A halloween wreath can also be changed from year to year, which makes it easy to keep the look fresh without starting from scratch.
Once it is finished and hung, the wreath becomes part of the season rather than just another craft project.
The result should feel fun, personal, and suited to the space. That is what makes a handmade Halloween wreath worth creating in the first place.
Frequently Asked Questions
How Long Does it Take to Make a Halloween Wreath?
Most simple Halloween wreaths take about one to two hours, depending on the number of decorations and how detailed the design is.
Can a Halloween Wreath Be Stored and Reused Next Year?
Yes. Store it in a wreath box or large container in a cool, dry place so the shape and decorations stay protected.
What Size Wreath Works Best for a Front Door?
A wreath around 20 to 24 inches wide usually fits a standard front door well without covering too much of the surface.

James McLaren, with a rich background in architecture from the University of Manchester, has been contributing his expertise to the world of creative construction and home innovation for over 20 years. His journey began as a project manager for a leading construction firm, where he honed his skills in bringing complex designs to life. James joined our platform as a freelancer in 2019, quickly becoming a favorite for his insightful and practical advice. He has been a pivotal force to our wing ever since, bringing our readers a blend of technical know-how and creative flair. Beyond his professional life, James is an avid woodworker and enjoys restoring vintage furniture, a hobby that complements his professional insights beautifully.