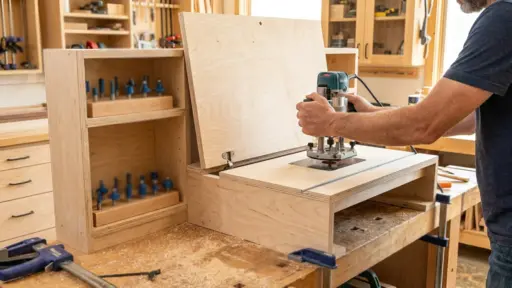
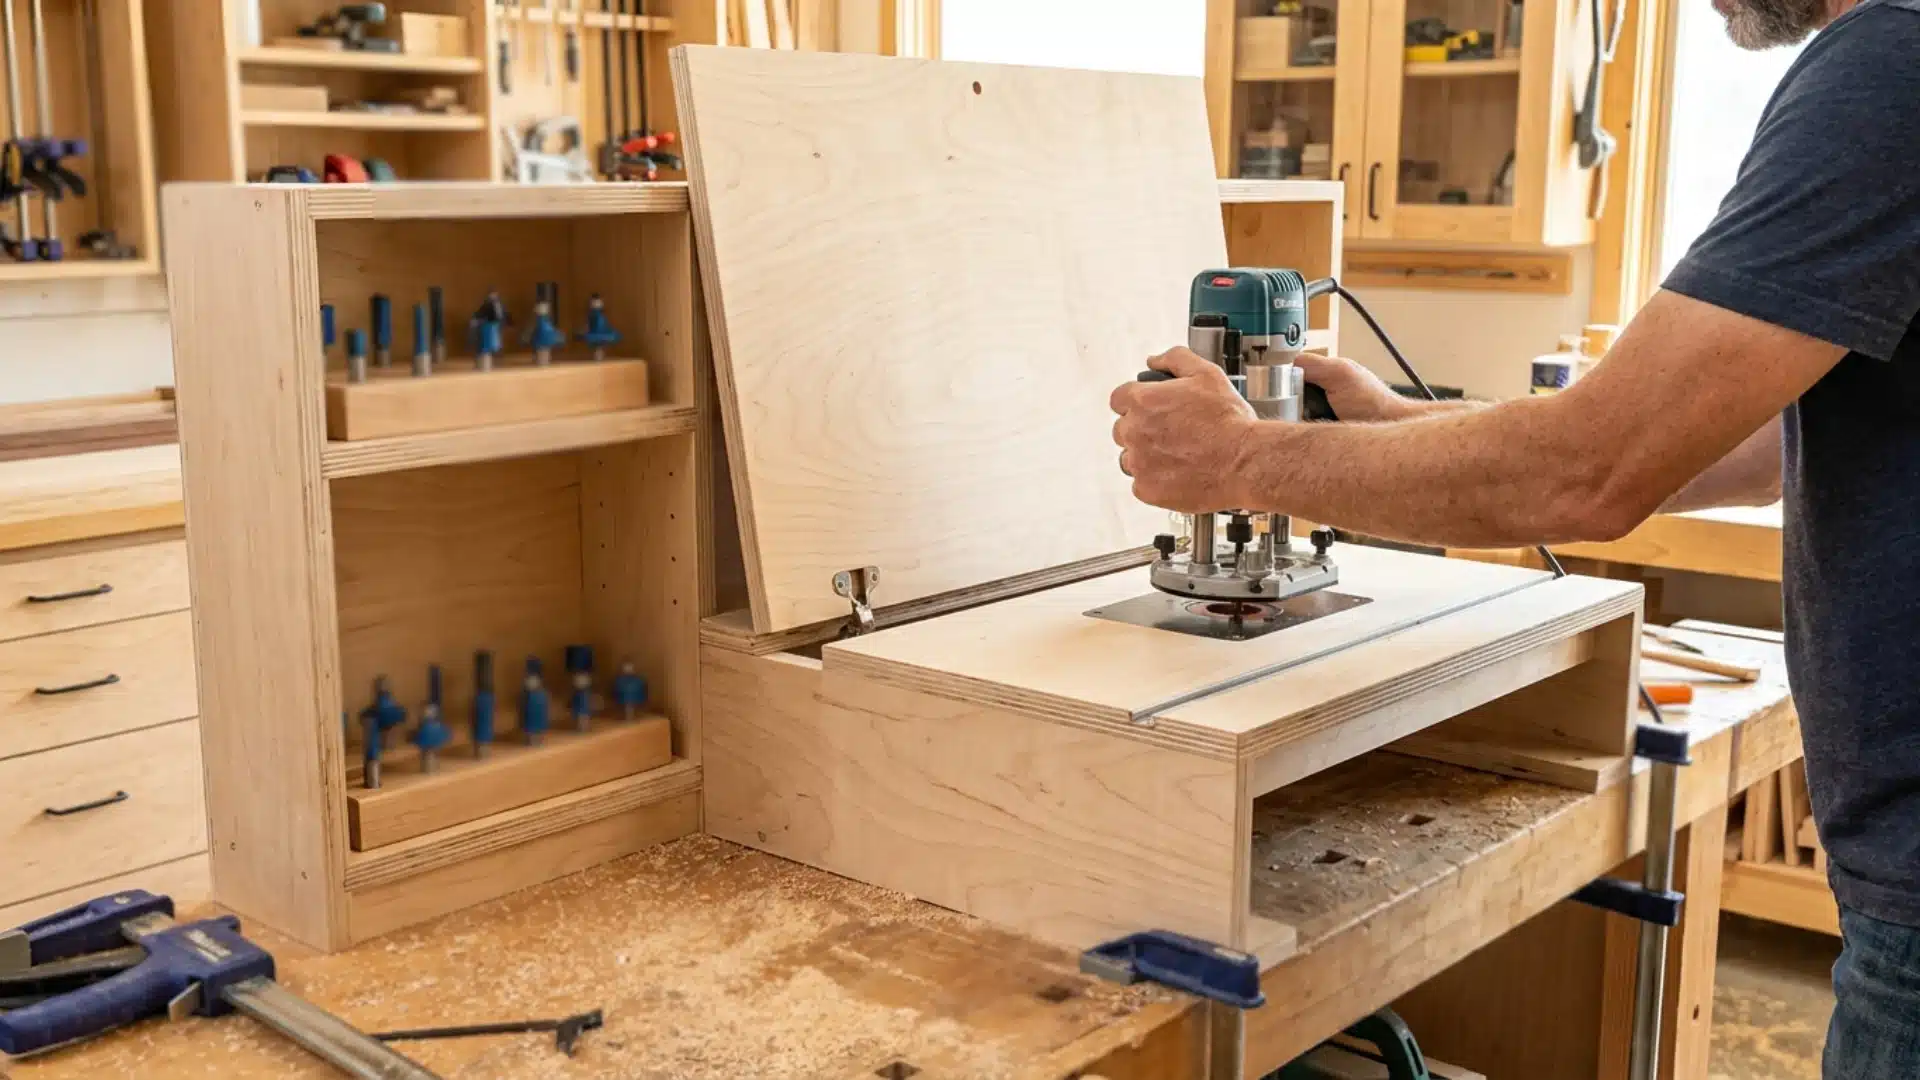

A DIY router table is a plywood platform that holds a handheld router upside down, turning it into a stationary tool.
You move the workpiece along a fixed bit to achieve more stable and controlled cuts compared to freehand work.
Most builds use one plywood sheet, a mounting pattern from the router’s sub-base, and a shop-made fence.
I built my first table on a Saturday afternoon, using tools already sitting in the garage. The fence needed reclamping twice before it sat flush, but once aligned, the edge work that had taken three passes now took one.
It is still the table I rely on today.
Decide What Your DIY Router Table Needs to Do
Before you start cutting, determine your actual workload.
Consider the pieces you currently have and their shank sizes.
Consider table height, since hunching over a low surface wrecks your back fast. Will this table live in a corner, or roll out only on project days? Storage matters too: bits, wrenches, and push blocks need a home.
Nail down these details first, and every decision after this gets easier.
Choose the Right Router Before Building the Table
Your table’s performance depends on the router mounted beneath it.
Look for soft-start technology, which prevents the motor from jerking when powering on.
Check the router’s weight too. Heavier models sit steadier but strain your back during bit changes. Dust port compatibility matters more than people expect; a mismatched port means chips everywhere.
Check brand parts availability, as replacement brushes and bearings eventually run out.
Noise level matters for a garage shop next to a nursery. Test the depth adjustment before buying.
Some find it clunky, others smooth. Small details determine if you enjoy this table for years.
Plan the Router Table Around Its Critical Dimensions
Getting these measurements right is crucial; otherwise, the entire build could be compromised.
- Tabletop Size: 24×32 to 36×24 inches works for most home shops.
- Tabletop Thickness: 3/4 to 1.5 inches resists sagging under weight.
- Fence Height: 4 to 6 inches is sufficient to support stock without blocking your view.
- Miter Slot Size: 3/4-inch wide, 3/8-inch deep; fits standard sleds.
- Insert Plate Opening: 8 to 9.5 inches square, matched to your router’s base.
- Edge-to-Bit Distance: A minimum of 10 inches is required to keep large panels stable.
Materials that Make a DIY Router Table Rigid and Flat
Before beginning, collect all necessary materials and tools for a seamless build.
If you’ve worked with layered plywood builds before, the sequence here will feel familiar.
| Material | Purpose |
|---|---|
| 12mm Baltic birch plywood | Forms a stable, void-free tabletop base |
| Wood glue | Laminates layers for added fence thickness and rigidity |
| Threaded insert | Lets the fence lock tight without stripping the wood |
| Candle wax | Lubricates the insert for smoother, straighter installation |
| Adjustment knob | Secures fence position without loosening over time |
| Sandpaper | Removes rough spots that cause uneven workpiece contact |
Build the Tabletop without Creating an Uneven Surface
Lay your material on a flat reference surface before cutting anything.
A warped starting sheet stays warped no matter how careful you are afterward.
Glue two layers together instead of relying on one, then clamp evenly across the whole surface, not just the edges. Uneven clamping pressure creates hidden dips that later appear under a straightedge.
Let the glue cure fully before moving the panel. Rushing this step invites warping.
Apply the same number of coats to both faces to prevent uneven sealing, moisture pull, and panel bending.
Recheck the flatness after sealing, not only after the glue-up.
How to Build a DIY Router Table
All steps were finished in one afternoon without the need for a dedicated workshop. Here is the full build process from start to finish.
Step 1: Mark the Center
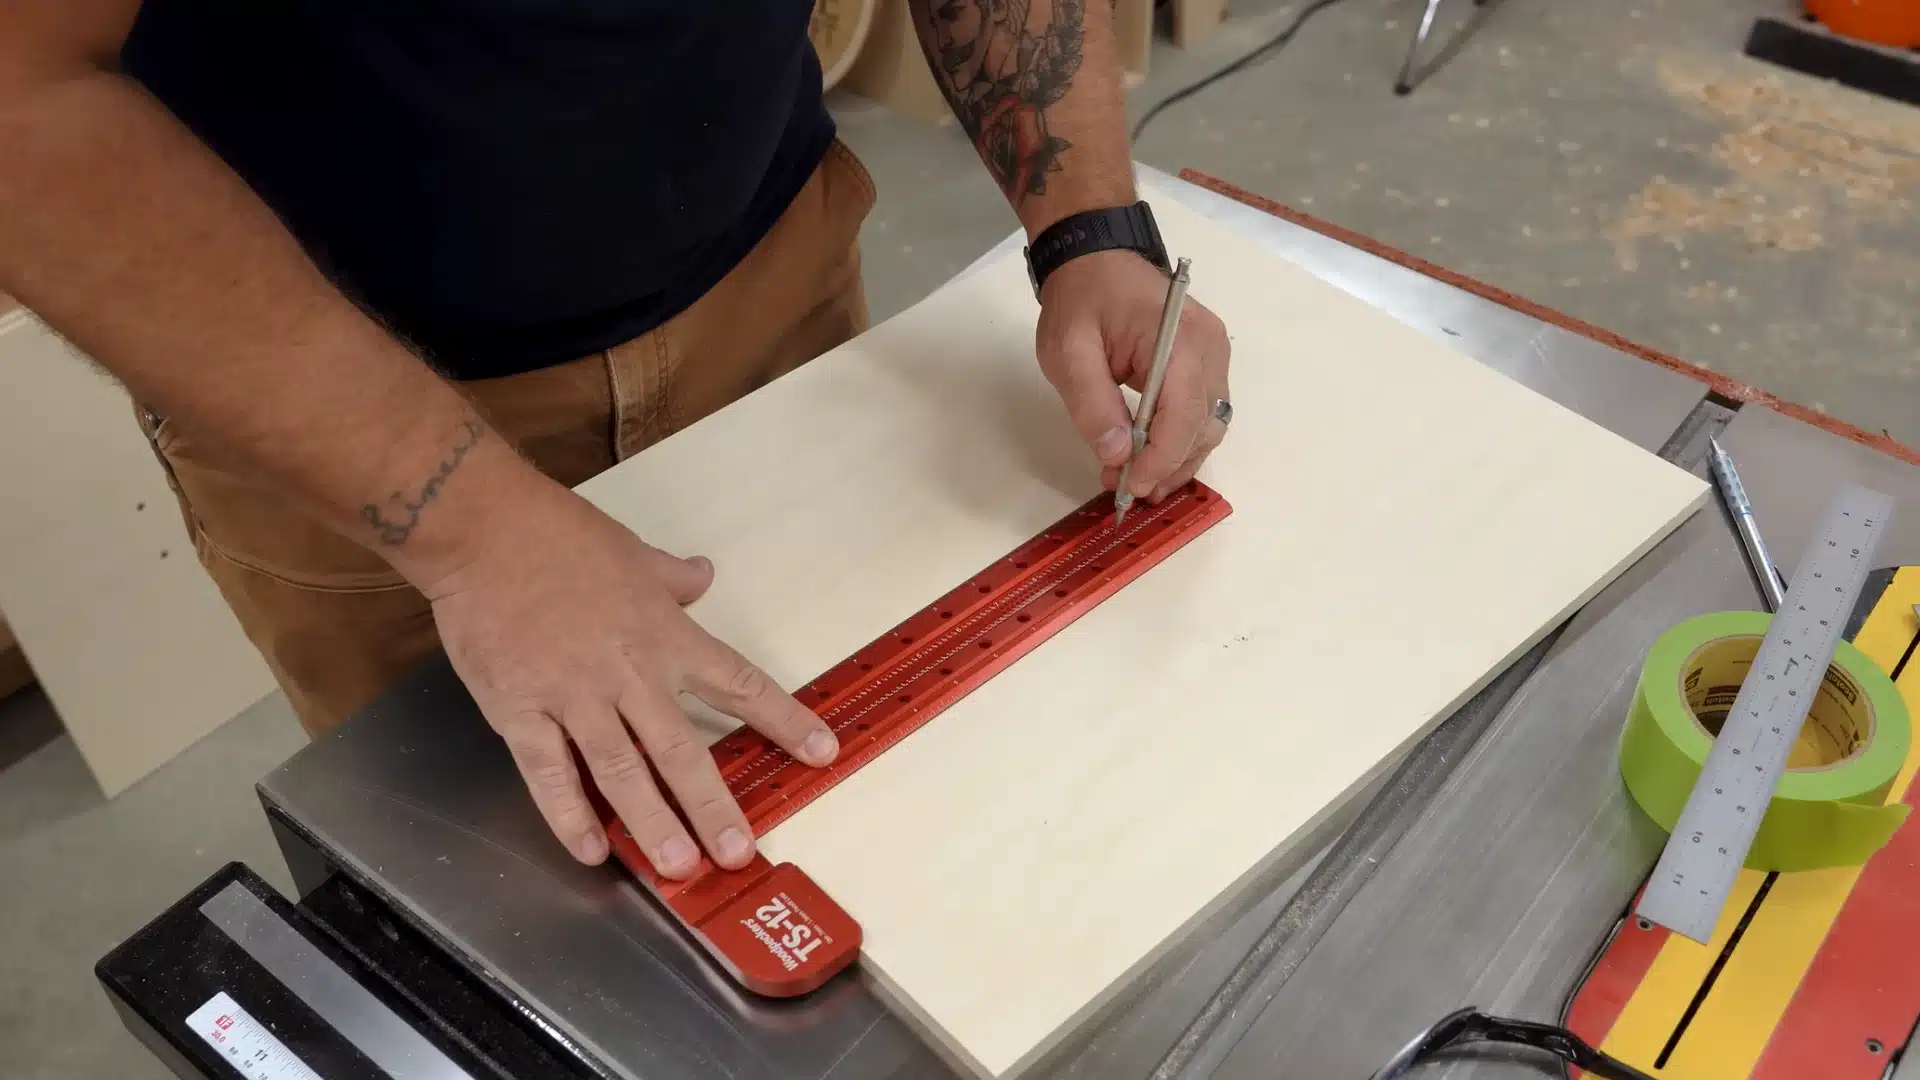
Find your plywood’s exact center before drilling anything.
Draw crosshairs on the 16×20 inch plywood at the 10-inch mark across the width and the 8-inch mark across the length. The point where these lines cross becomes your center. That’s where the router bit opening goes.
A sharp pencil keeps this mark accurate, so skip the marker if you have one on hand.
Double-check measurements before drilling, as a shifted center affects subsequent steps.
Step 2: Drill the Router Bit Opening
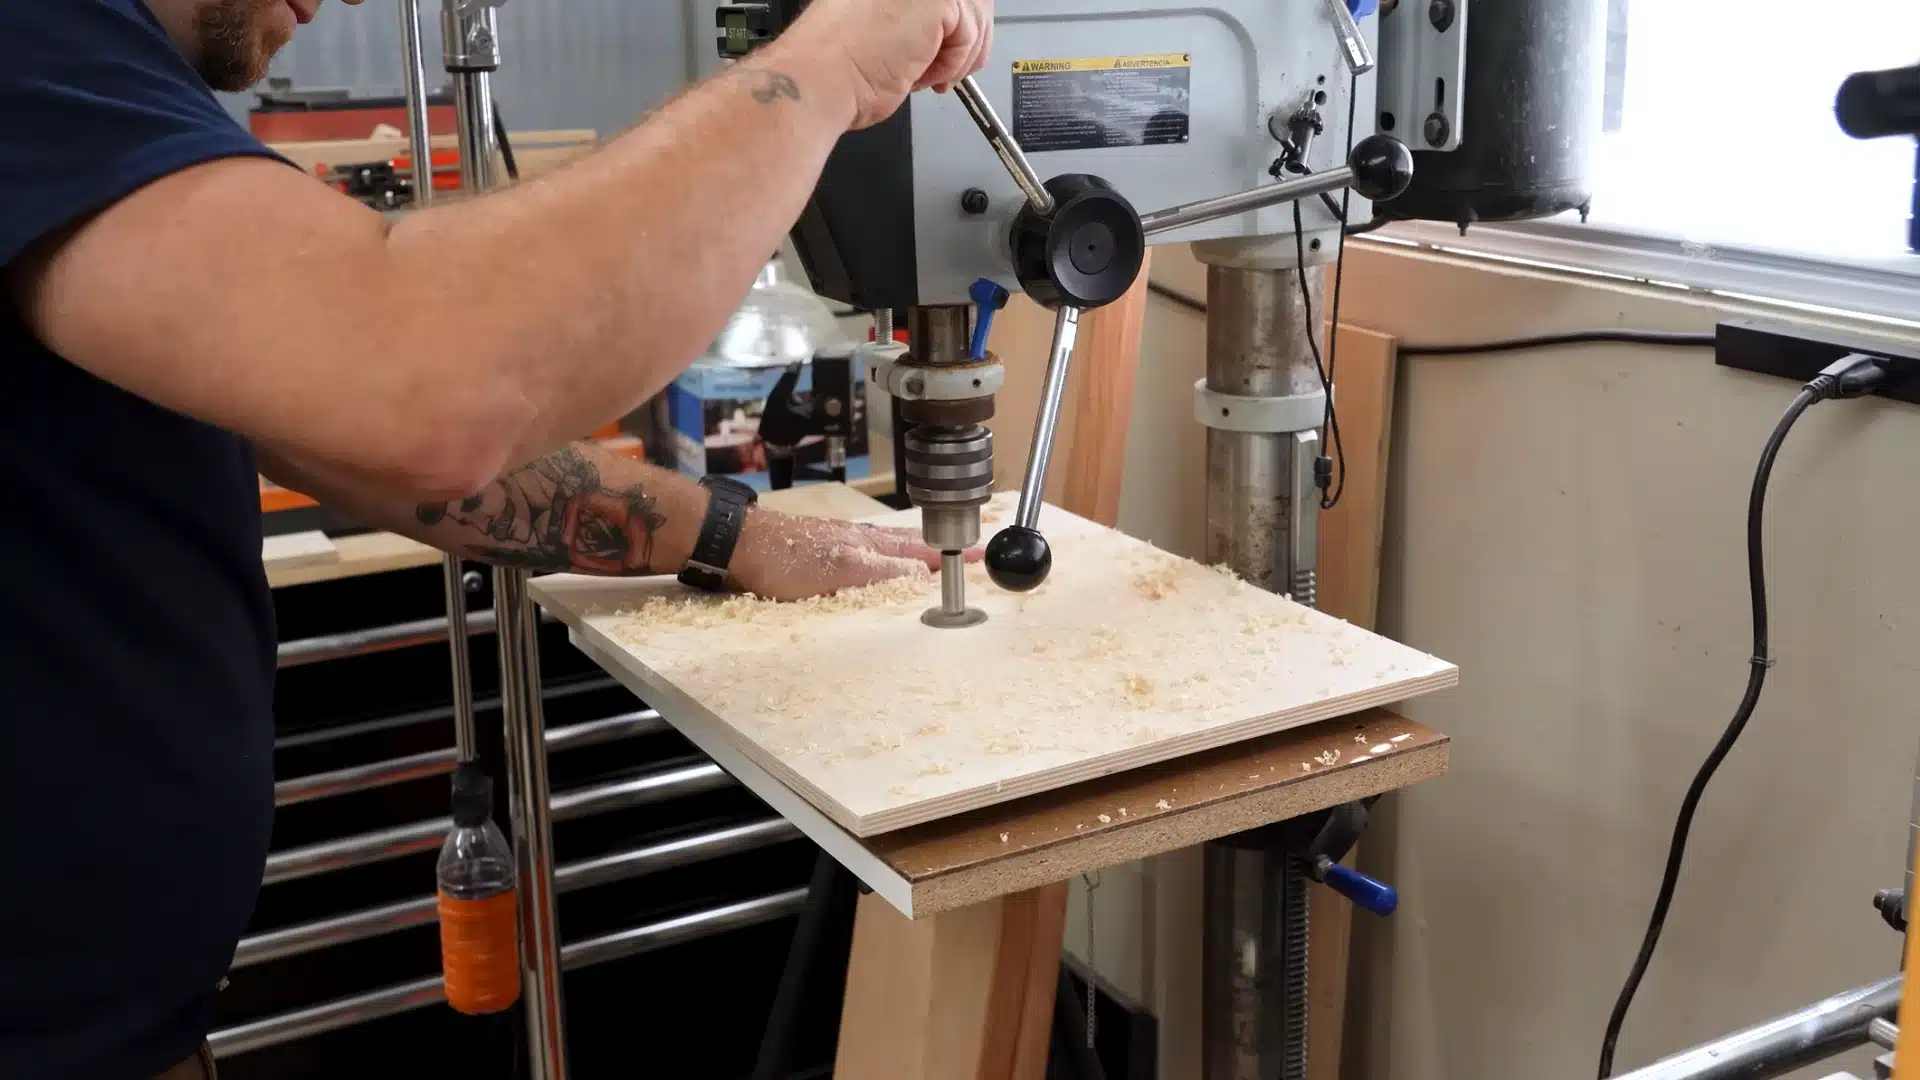
Drill straight through the center point using a 1¾ inch Forstner bit. This size clears even the largest bit you’ll use.
It gives the bit enough room to spin freely without striking the edges of the opening.
Keep the drill level as you cut, since a tilted hole leaves an uneven opening underneath.
Back the bit out slowly near the end to avoid blowing out the bottom face.
Step 3: Mark the Mounting Holes
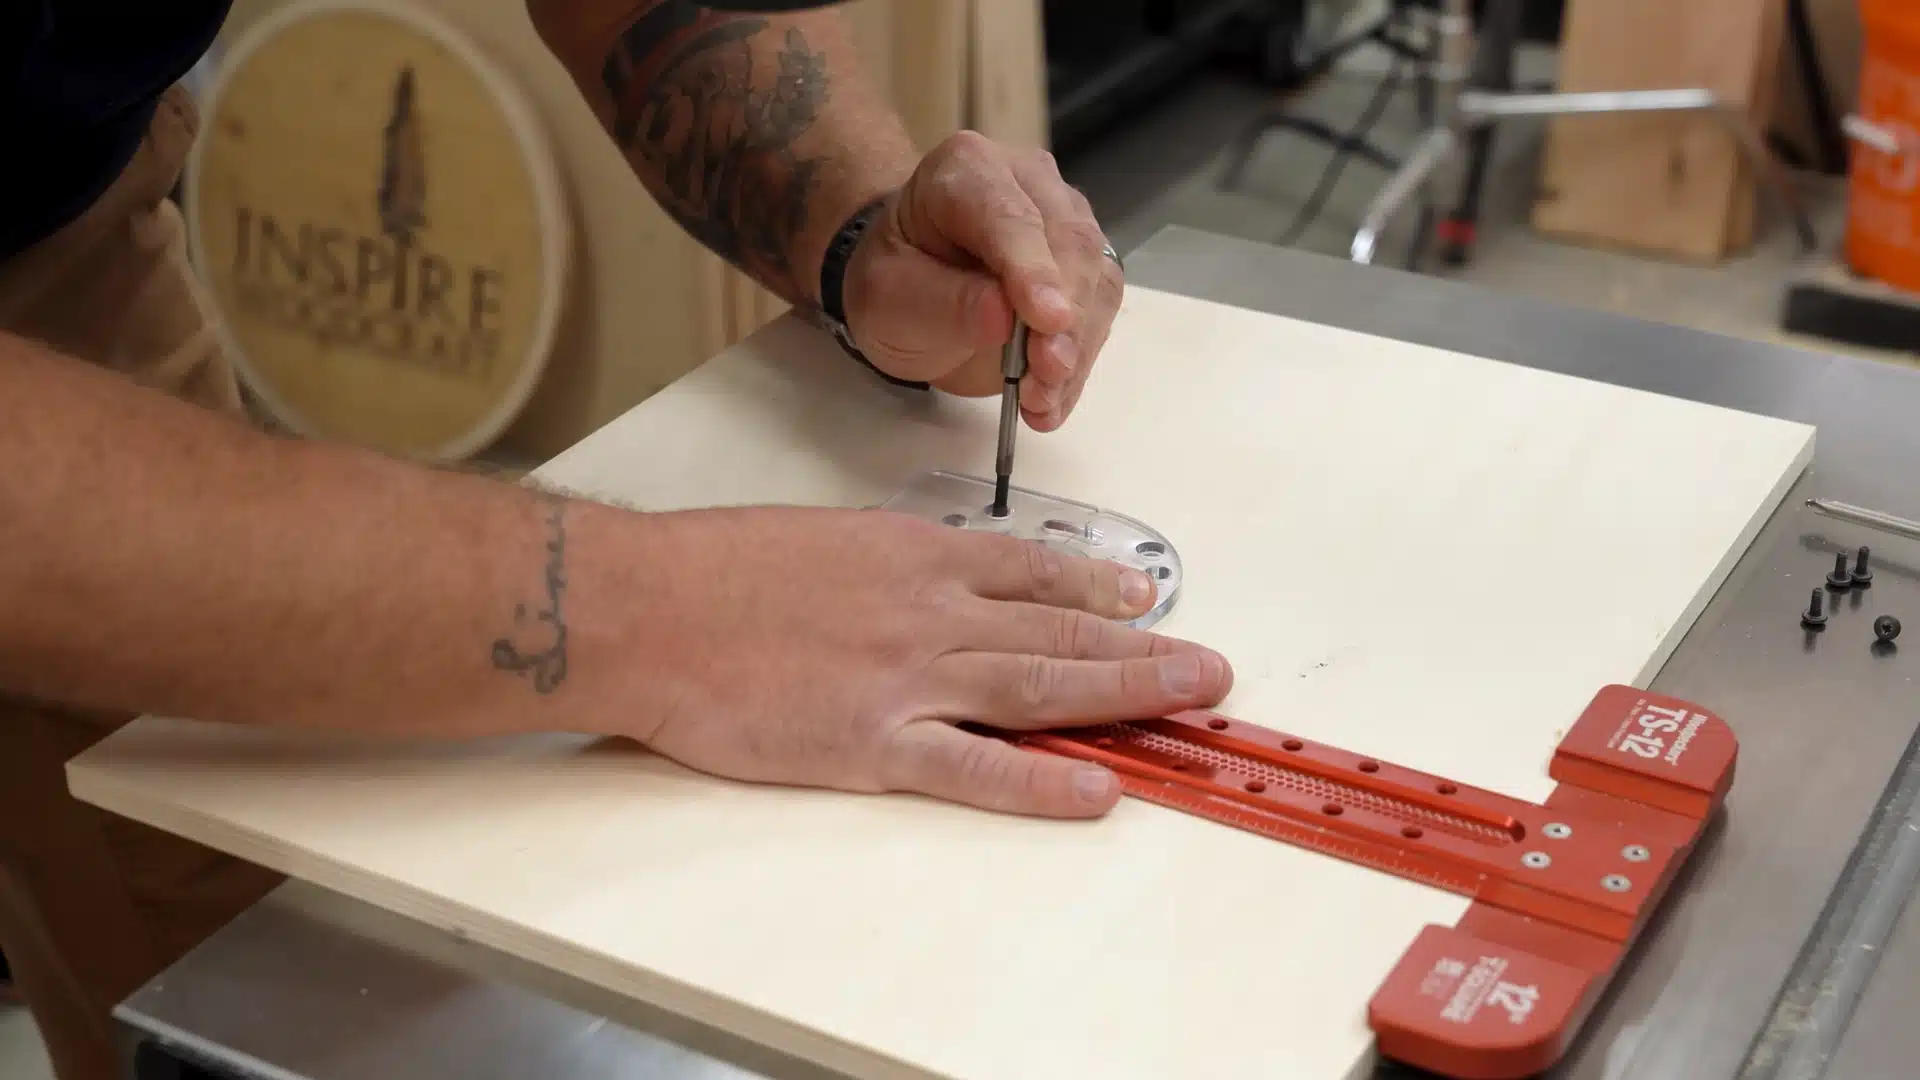
Remove your router’s sub-base. This plate holds the mounting hole pattern you need.
Align its center circle with the hole from Step 2, square it up, then use a ¼ inch Forstner bit to dimple each mounting location. A self-centering punch works too, if you own one.
Press firmly but briefly at each point, enough to leave a clear guide mark.
Skipping this step could lead to a crooked router mount later.
Step 4: Counterbore the Mounting Holes
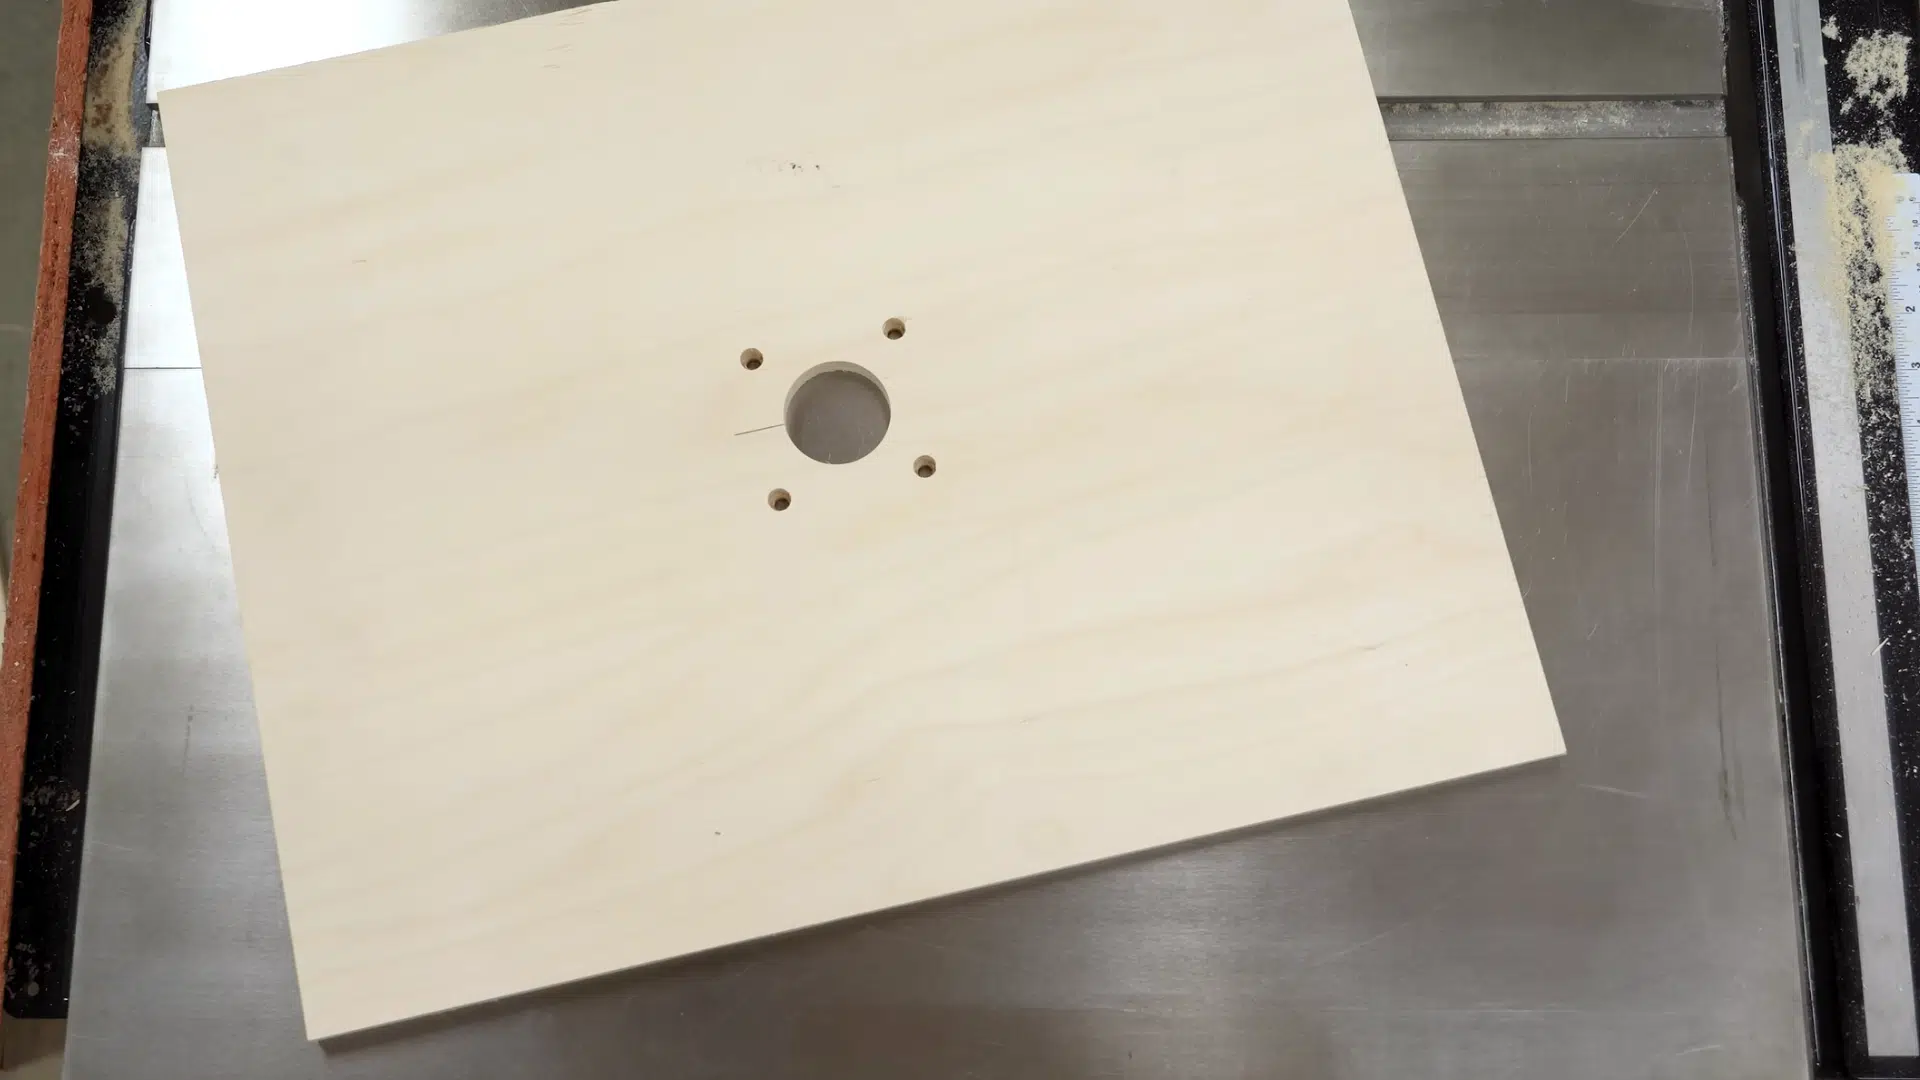
Screw heads should be flush with or below the surface.
Start with a 3/8 inch Forstner bit, drilling just deep enough to recess each head. This leaves a small dimple marking the center of the next hole. Switch to a ¼ inch bit and drill through completely for the screw shaft.
Clear away shavings between passes so you can see each dimple clearly.
Maintaining a uniform depth in all holes ensures the router stays level after mounting.
Step 5: Build the Fence
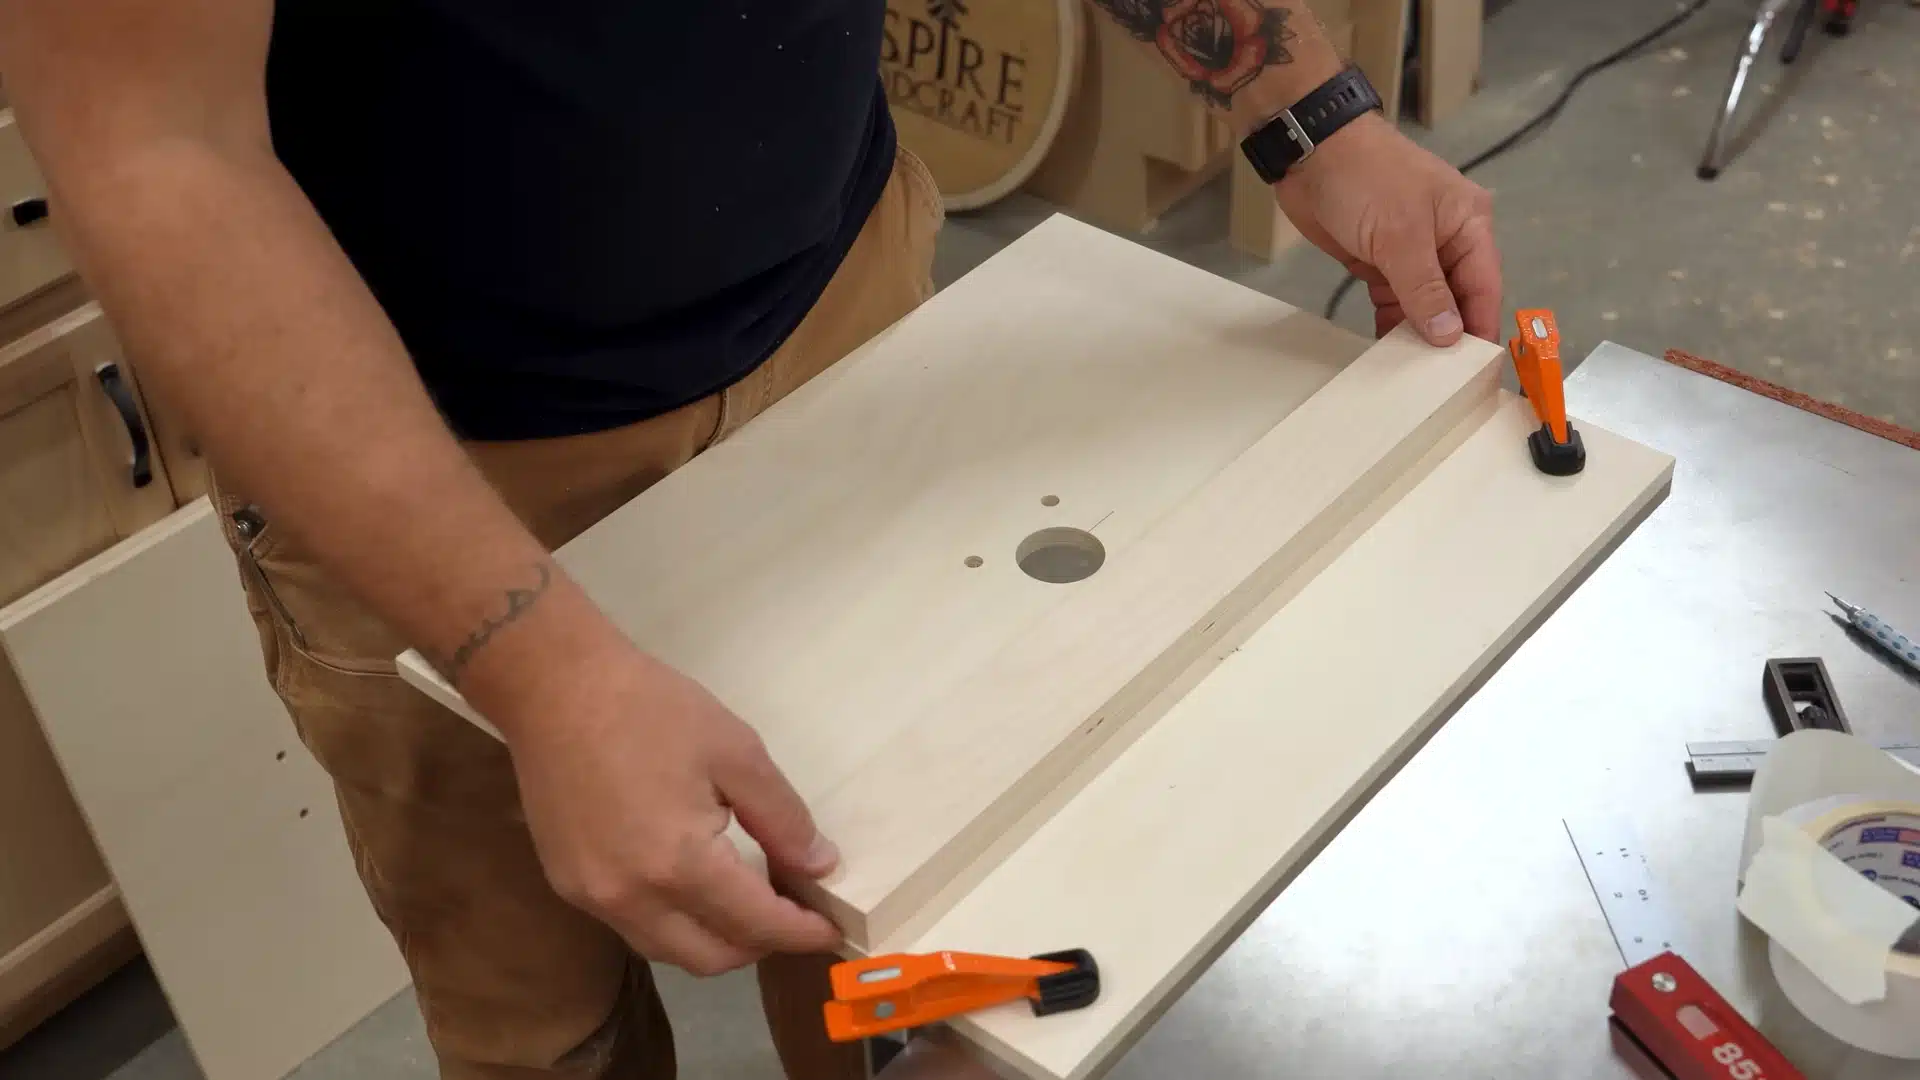
Glue two plywood pieces together for added thickness, then trim the result down to 1 inch thick by 2¼ inches wide.
Cut it to match your table’s width exactly. This piece becomes the fence guiding workpieces past the bit. Clamp the glued pieces tightly while curing, since gaps here weaken the whole fence.
Let the glue fully set before trimming to prevent shifting.
Step 6: Position the Fence
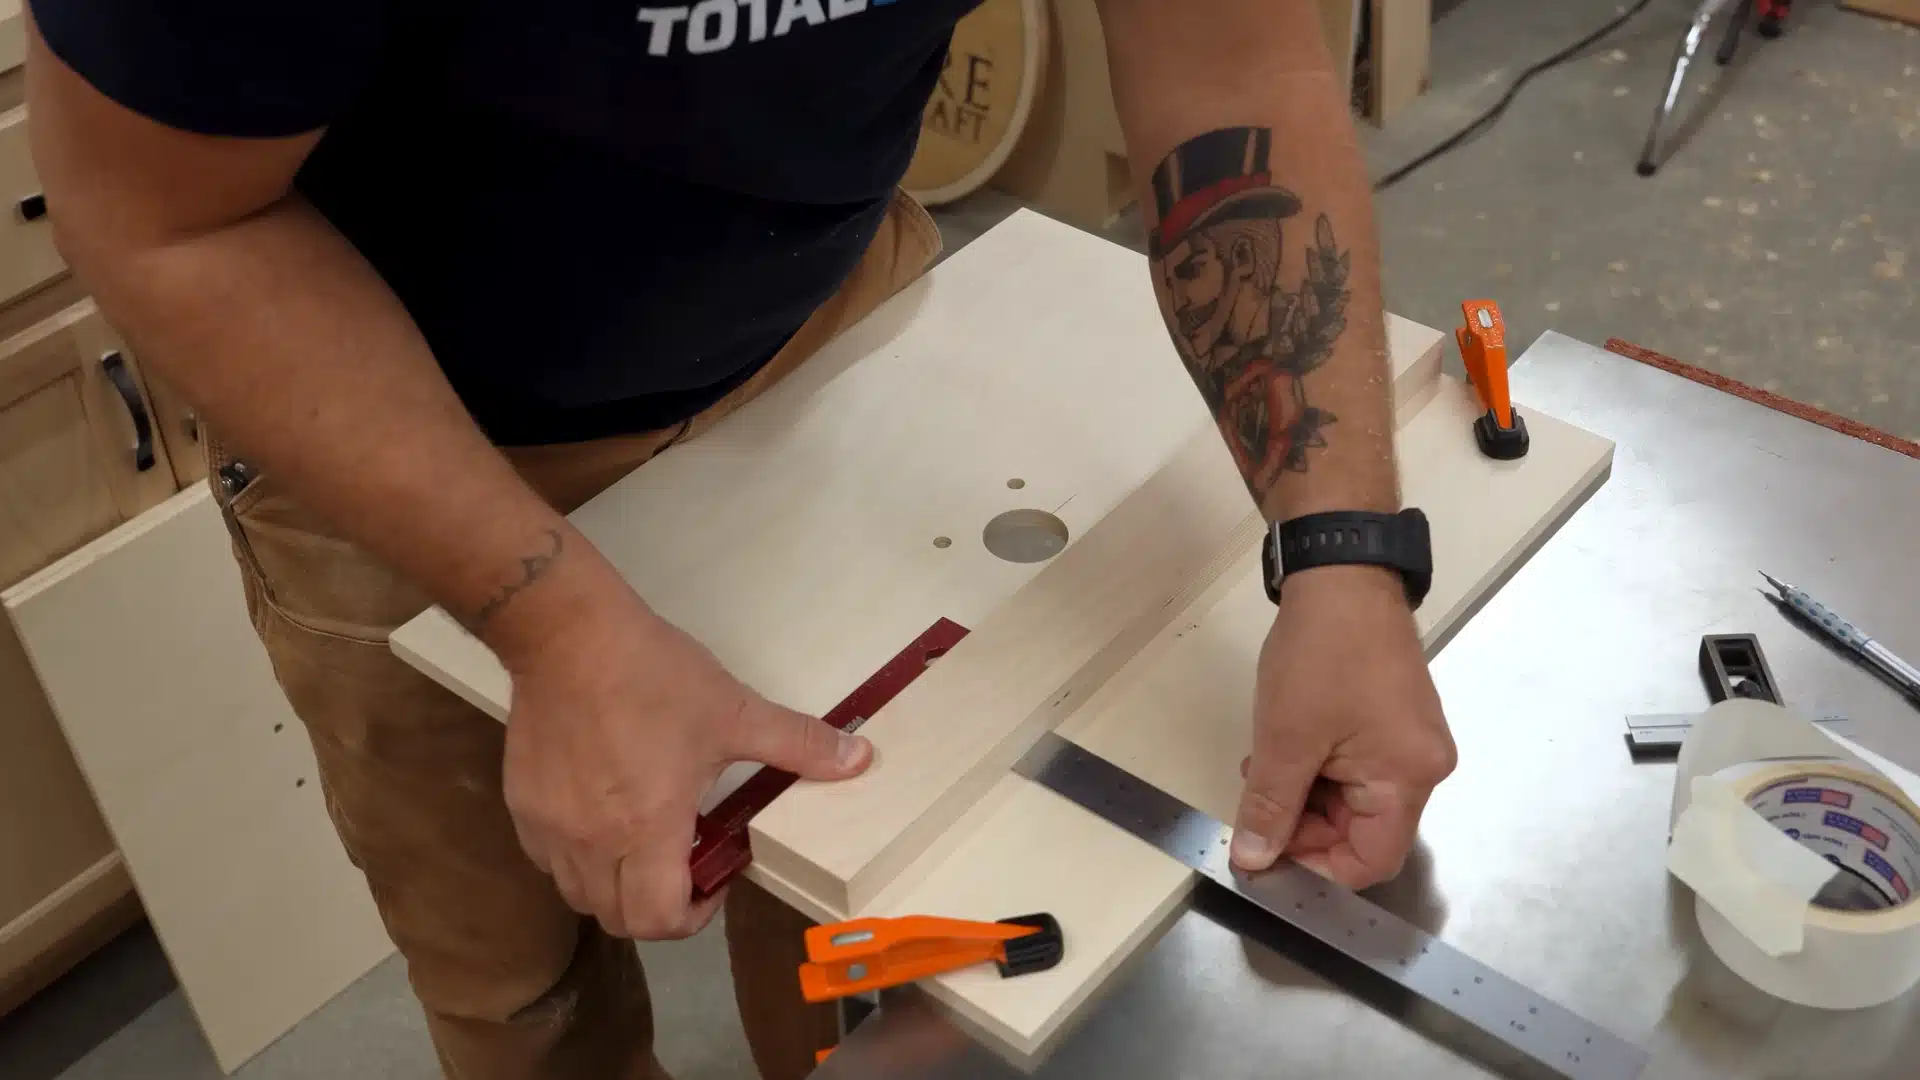
Secure the table to a work surface before proceeding.
Begin the fence approximately 4 inches away from the back edge to allow space for clamps later.
Mark where the adjustment knob should sit on the right side. Use double-sided tape to temporarily hold the fence in place. Slide the fence slightly to test comfortable hand positioning before locking anything down.
This trial run prevents you from redrilling holes in incorrect locations.
Step 7: Drill for the Adjustment Knob
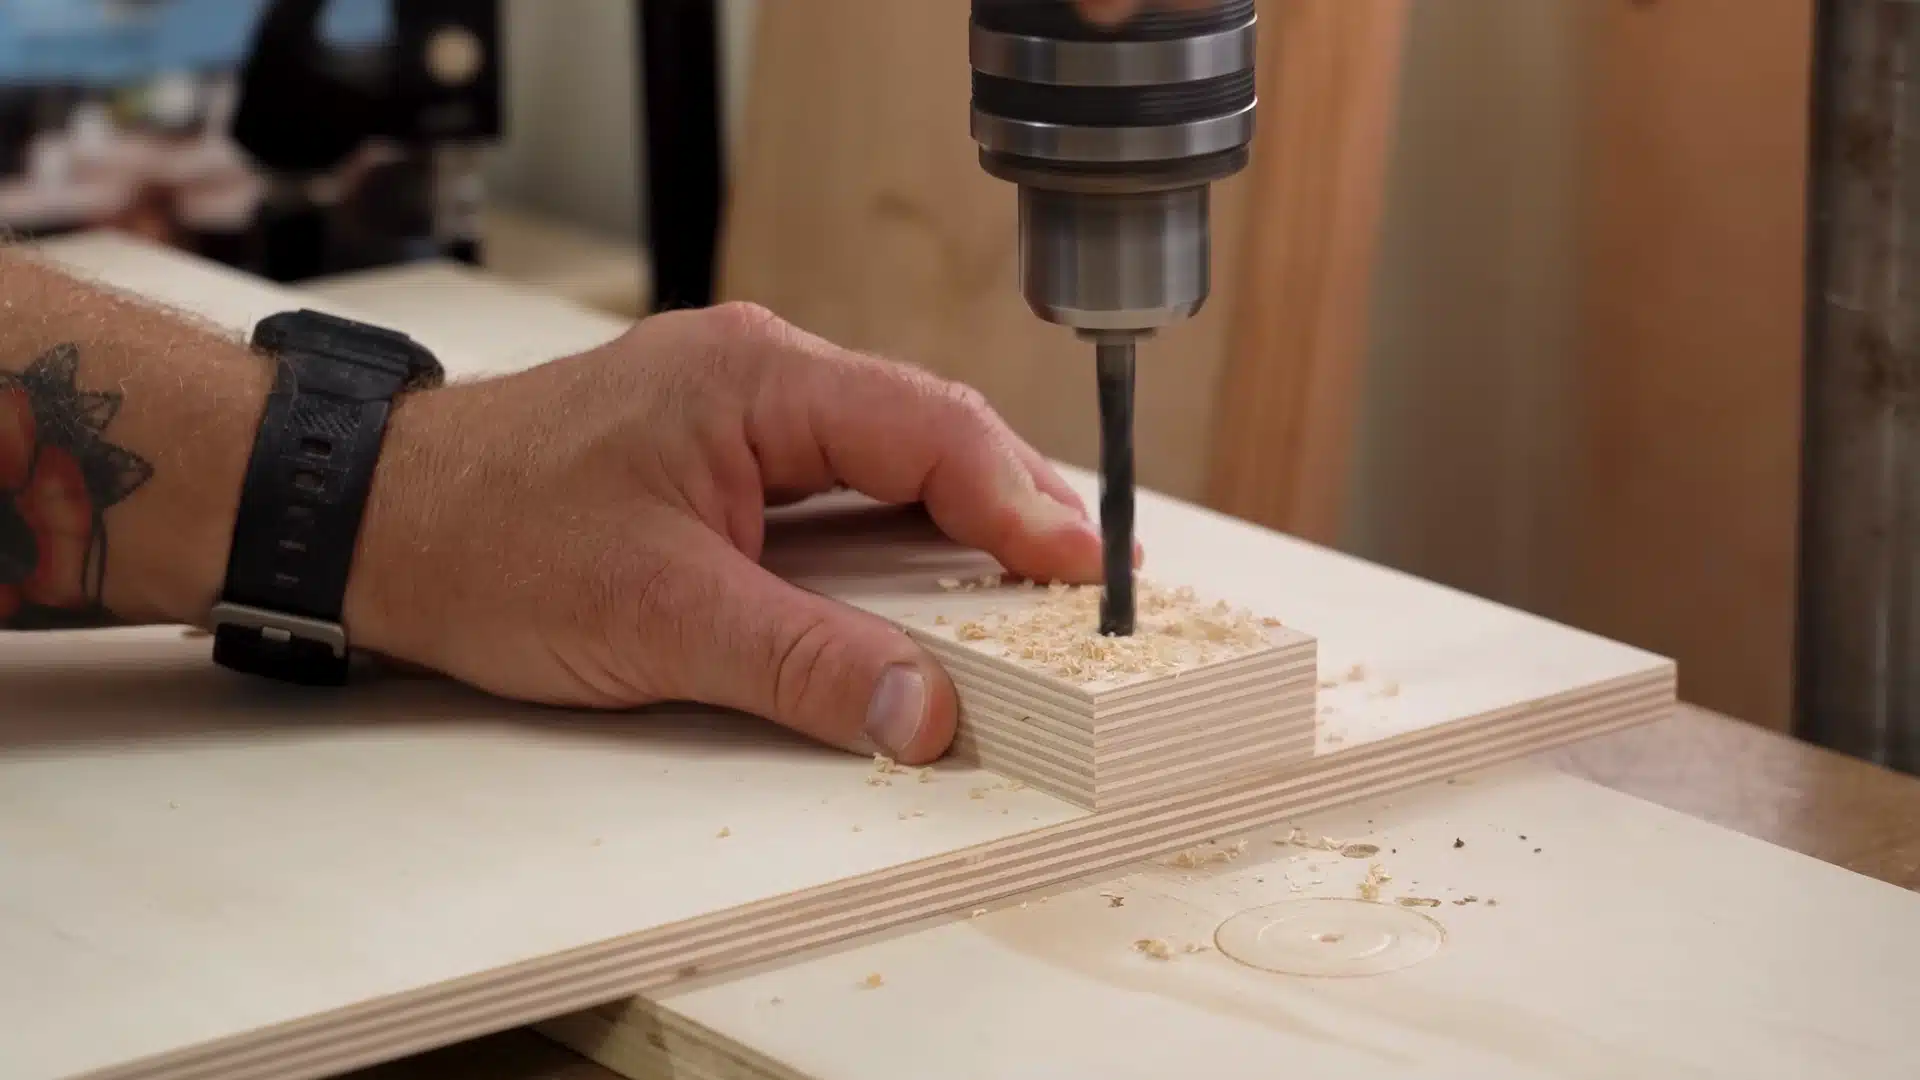
With the fence taped down, drill a 5/16 inch hole through it and slightly into the tabletop, using your Step 6 mark as the guide. Remove the fence, then continue the same hole through the rest of the tabletop with a 3/8-inch bit.
Keep the drill steady through both materials to maintain a straight, aligned path.
A loose part here can interfere with the knob’s grip later.
Step 8: Install the Threaded Insert
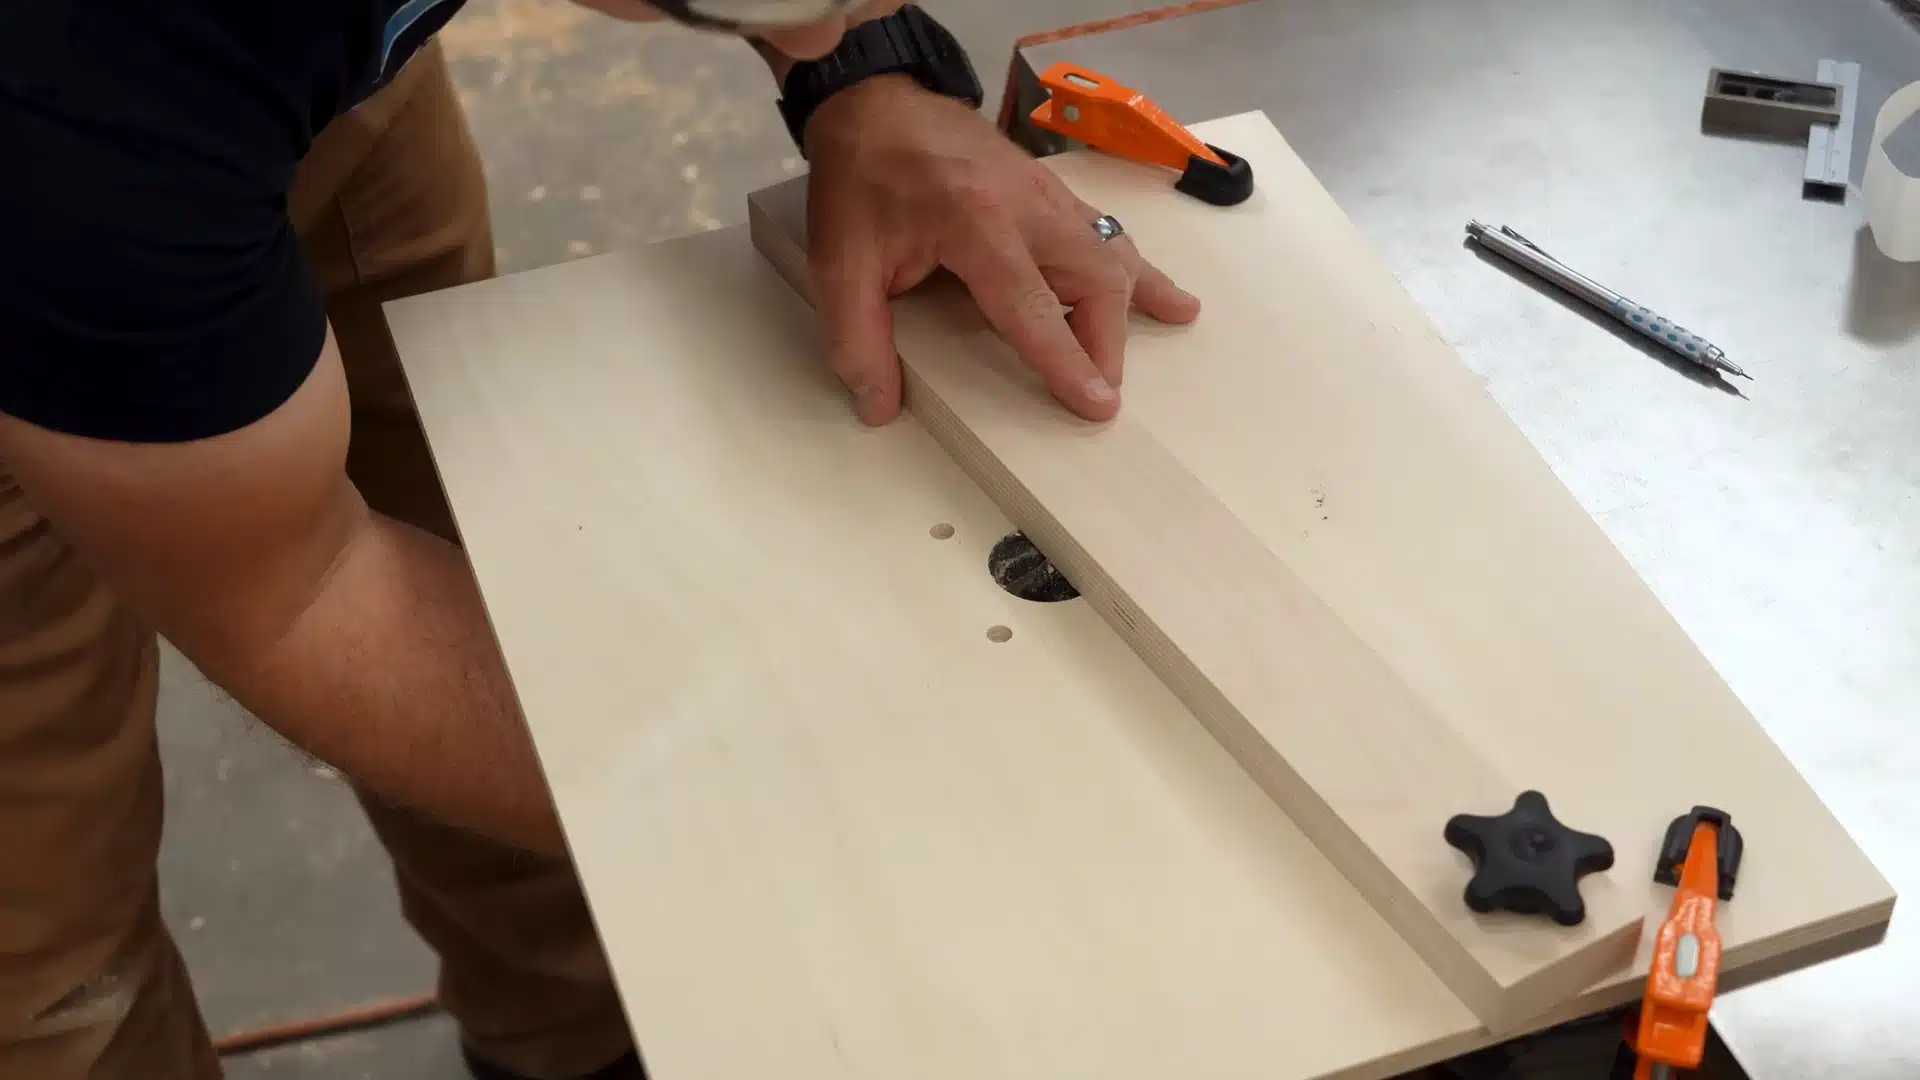
The 3/8 inch hole is designed for a threaded insert.
Use candle wax as a lubricant, then fit it into the tabletop from underneath. The wax ensures smooth seating and prevents sticking during the installation process.
Rotate it slowly and evenly, ensuring it stays flush with the surface.
The misaligned insert is prone to stripping and fails to secure the knob properly.
Step 9: Mark the Bit Relief Cutout
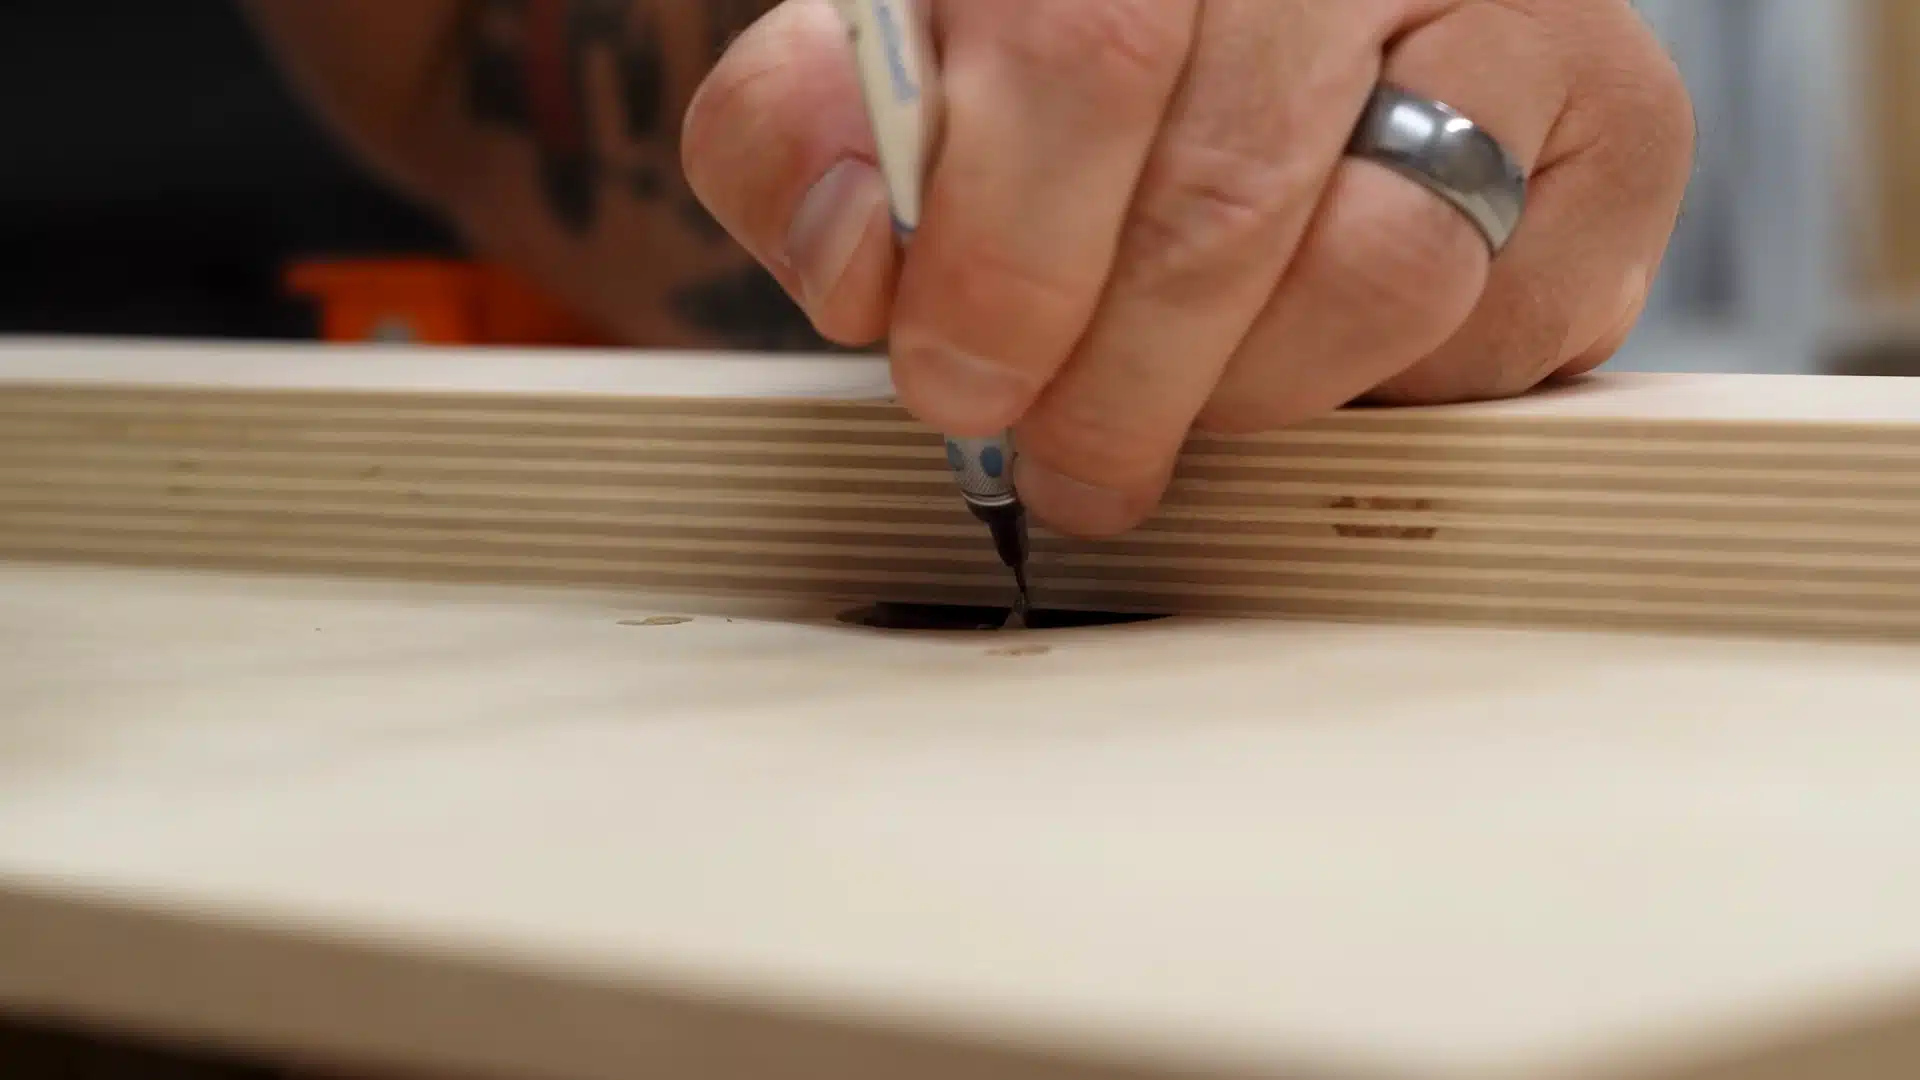
Push the same Forstner bit from Step 2 back through the table opening from underneath.
Pivot the fence inward until its edge meets the bit’s point. Mark that contact spot on the fence with a pencil.
This shows exactly where the relief notch belongs. Hold the fence steady while marking, since any shift throws off the notch’s placement. Double-check the mark against the bit’s actual width before moving to the drill press.
Step 10: Drill the Relief Cutout
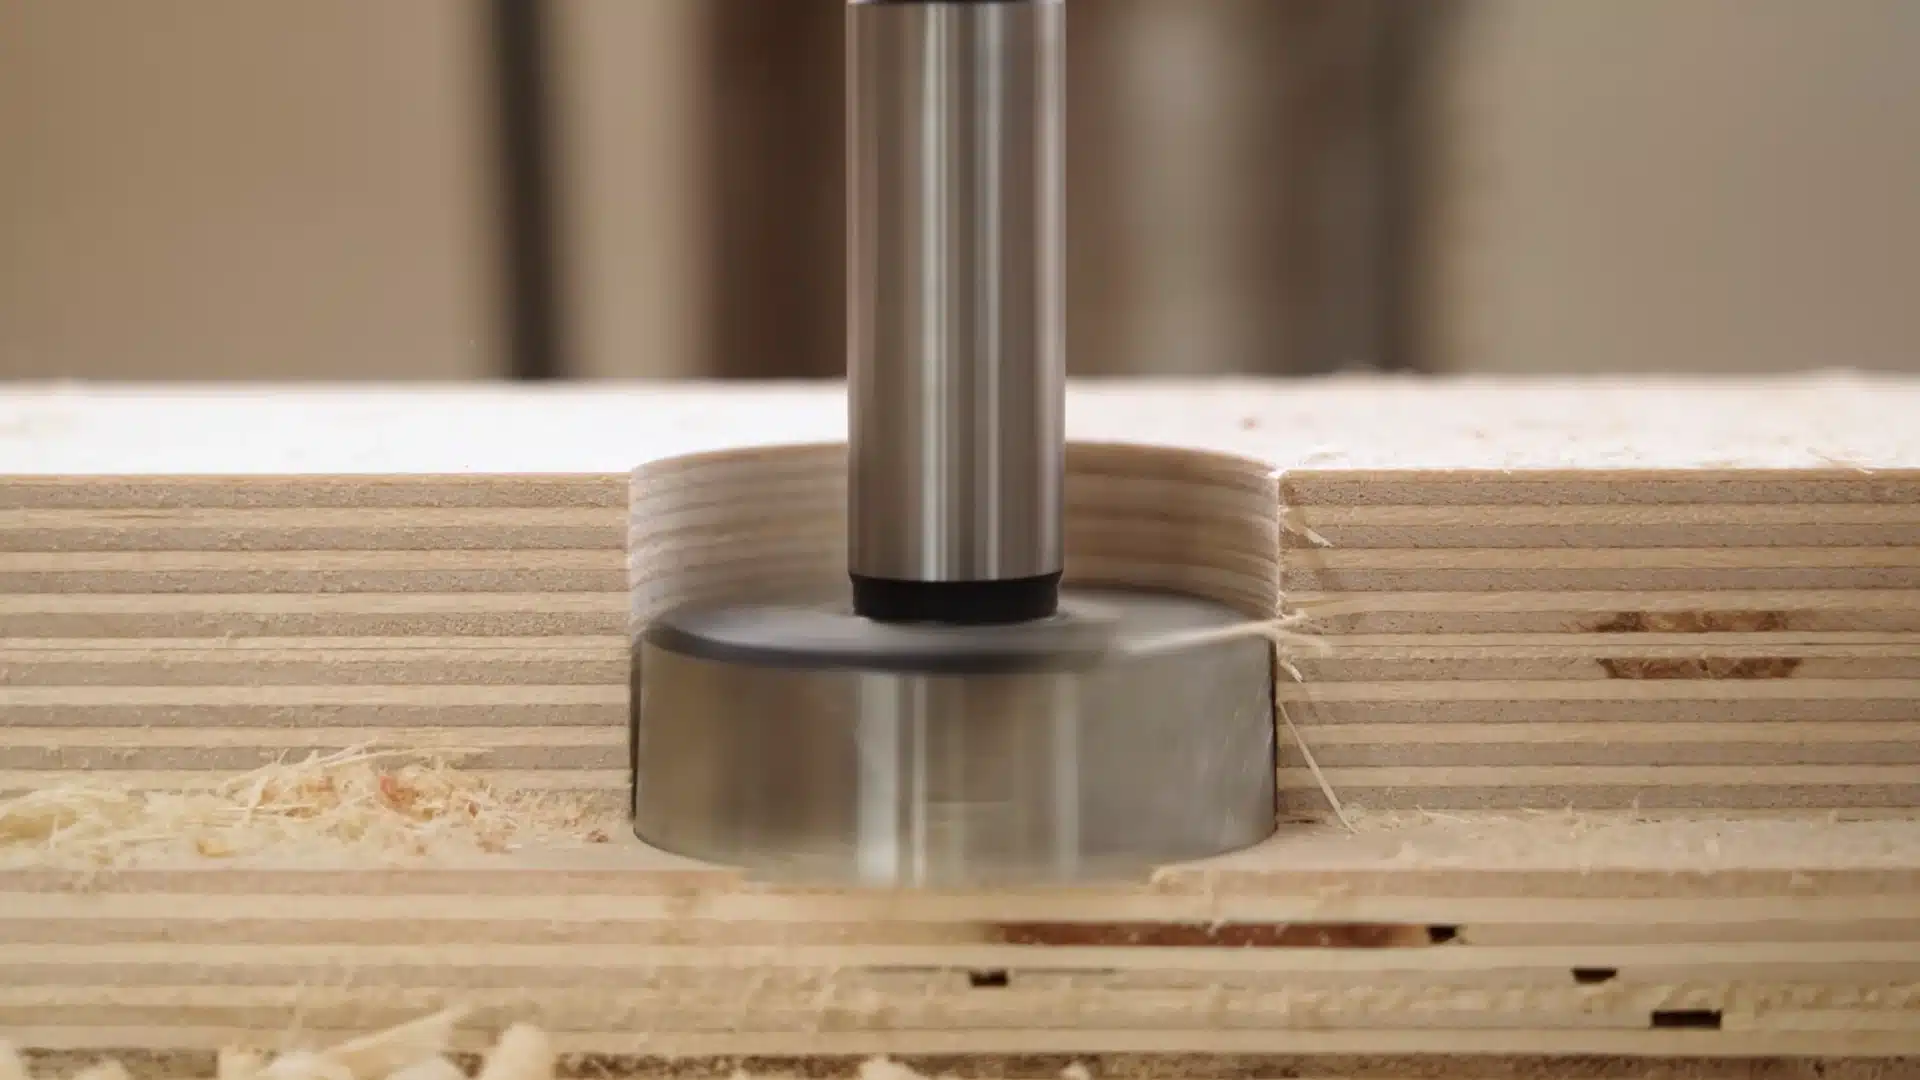
Insert the Forstner bit into the drill press.
Align your pencil mark and the fence edge with the bit’s point, then clamp everything down securely.
Drill a half-circle straight through the fence. This notch provides clearance for bits and allows debris to escape freely. Go slowly through the cut to keep the edges clean and even.
A rough notch can snag chips rather than release them.
Step 11: Sand and Finish
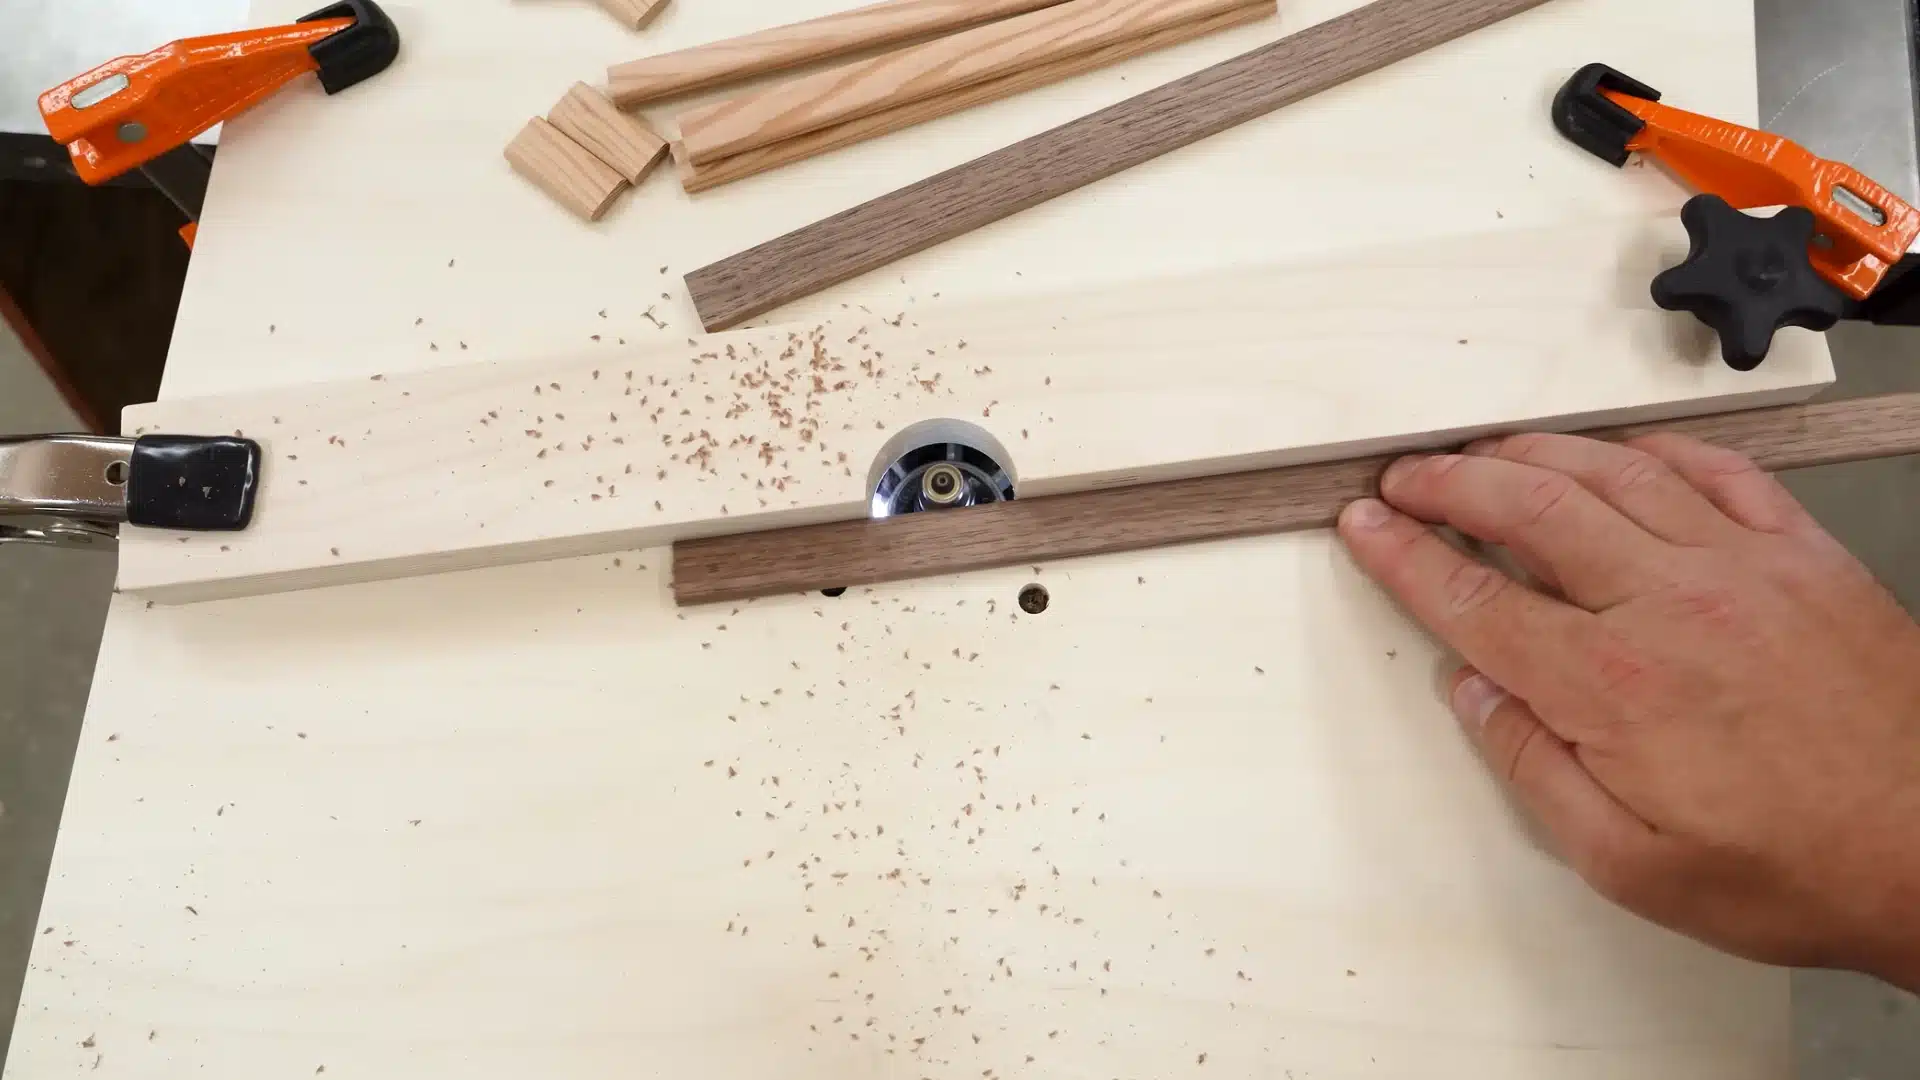
Sand the whole table to eliminate rough areas.
Smooth out all sharp edges to prevent catching or splintering during use.
Once complete, your portable router table is ready for its first project.
Wipe away all dust before your first test cut, since leftover grit affects how smoothly stock slides across the surface.
A quick coat of finish adds protection if you plan on using the table often, and the same prep steps for raw wood apply here before you seal it.
For a detailed step-by-step process, check out this video by Inspire Woodcraft
Common DIY Router Table Problems
Even a well-planned build encounters obstacles. Here are the common pitfalls:
- Bit wobble: This typically indicates a worn collet or bent shaft, rather than a defect in the table.
- Workpiece kickback: Happens when the feed direction opposes the bit’s rotation.
- Fence drift during cuts: Theloose adjustment knob allows vibration to shift the fence during the cut.
- Burn marks on wood: Feeding too slowly causes the bit to stay in place, scorching the surface.
- Uneven bit height: A shifting router base can alter the cut depth during the cut.
- Excess vibration: Unsecured table legs or an unclamped base increase motor movement.
- Dust buildup around the opening: Blocks visibility and conceals the cut line.
Router Table Upgrades Worth Adding After the First Build
Once your table earns its keep, small upgrades make a real difference.
A miter gauge track opens up crosscuts and angled work you couldn’t do before.
Feather boards hold stock steady against the fence, freeing both hands for control.
A start switch mounted at table height beats reaching underneath every time. Interchangeable insert plates let you swap bit openings without redrilling the whole top. Add T-track along the fence for clamps and stop blocks.
LED task lighting above the bit area eliminates shadows during detailed cuts.
Each one solves a specific annoyance you’ll notice after enough hours at the table.
Different Types of Router Tables
Router tables are available in various styles, designed for different space requirements and project types.
Comparing these options helps you choose the best fit before building or purchasing.
| Type | Description |
|---|---|
| Benchtop | Compact table for a workbench or sawhorses, good for tight spaces. |
| Standalone | Freestanding unit with its own base and fixed height. |
| Cabinet style | Enclosed base with storage and often built-in dust collection. |
| Router table wings | Attaches to a table saw, combining two tools in one space. |
| Portable or folding | Lightweight plywood build made for easy transport and storage. |
| Combo kits | Pre-made top with fence, miter slot, and insert plate included. |
| Extension table | Extra surface added to an existing saw or workbench. |
Router Table Safety: What You Shouldn’t Skip
Safety habits matter more than any fancy jig. Always unplug the router before changing bits or adjusting the fence.
Push sticks keep fingers clear when guiding small pieces past the cutter. Eye protection stops flying debris before it becomes a problem. Ear protection matters too, since router noise damages hearing over repeated sessions.
Never remove the bit guard unless the setup absolutely requires it.
Check that the stock sits flat against the table before every pass, since tipped material can catch unpredictably.
Tie back loose hair and skip loose sleeves near the spinning bit.
Keep your work area clear of clutter that could cause a stumble mid-cut.
Wrapping Up
A flat surface, a steady fence, and a mounted router ensure precision over guesswork.
This DIY router table build proves you don’t need a big budget or a fully stocked shop to get there.
Each drilled hole and squared edge plays a role in how smoothly your next project turns out. Treat the table as you would any shop tool; it will serve you for years. Use it for weekend projects or keep it set up.
Built your own version of this table, or run into a snag along the way?
Drop a comment below and tell us what you changed. Real builds always reveal tricks plans on paper can’t catch.
Frequently Asked Questions (FAQ’s)
1. What is the Best Material for a Router Table Surface?
MDF and Baltic birch plywood top the list, since both stay flat and resist warping under vibration.
2. Can I Use Plywood for a Tabletop?
Yes, plywood works well for tabletops, especially void-free grades like Baltic birch that resist sagging over time.
3. Which Thickness of Plywood is Best for a Table?
Three-quarter-inch plywood suits most builds, though laminating two layers adds extra rigidity for larger tops.
4. What Type of Wood is Best for Making a Table?
Hardwoods like maple or oak hold up well, but MDF and plywood remain more affordable for tables specifically.
5. Where Can I Find Cheap Wood Tabletops?
Check home improvement stores, online marketplaces, or local sawmills for scrap and offcut bins with usable pieces at low prices.

James McLaren, with a rich background in architecture from the University of Manchester, has been contributing his expertise to the world of creative construction and home innovation for over 20 years. His journey began as a project manager for a leading construction firm, where he honed his skills in bringing complex designs to life. James joined our platform as a freelancer in 2019, quickly becoming a favorite for his insightful and practical advice. He has been a pivotal force to our wing ever since, bringing our readers a blend of technical know-how and creative flair. Beyond his professional life, James is an avid woodworker and enjoys restoring vintage furniture, a hobby that complements his professional insights beautifully.