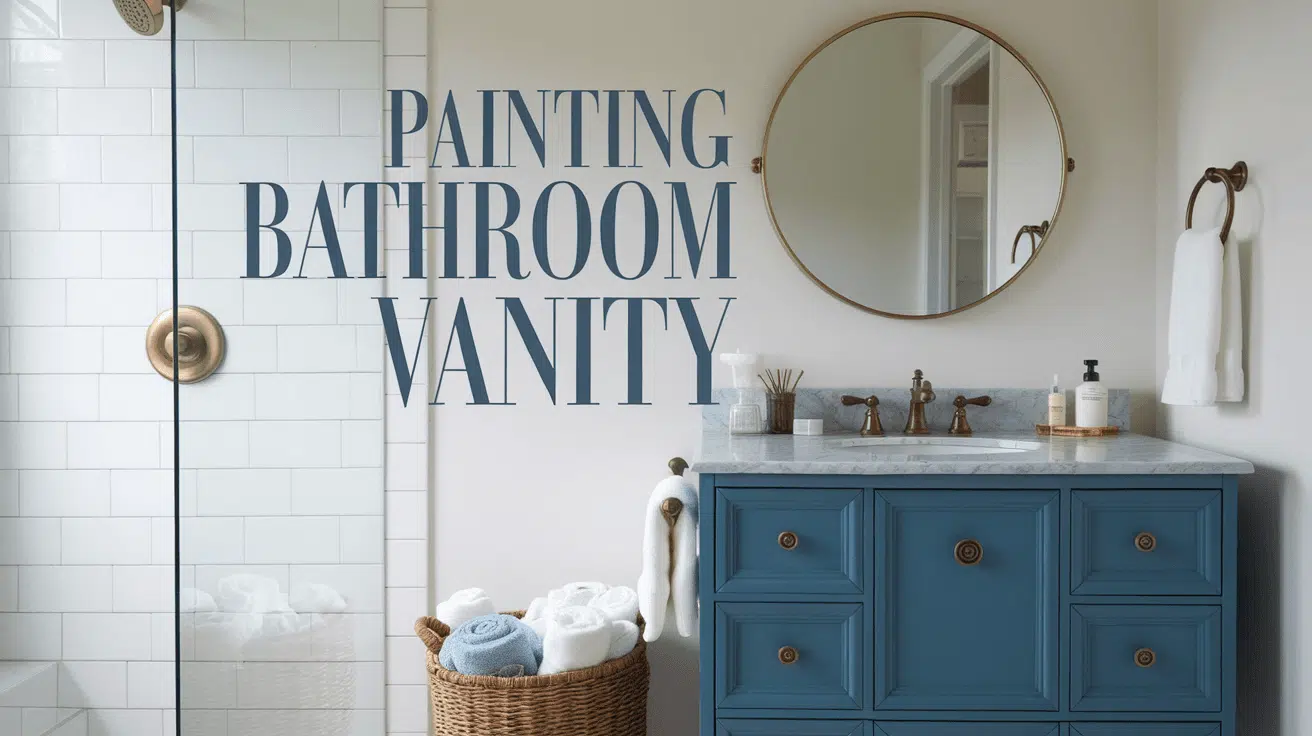
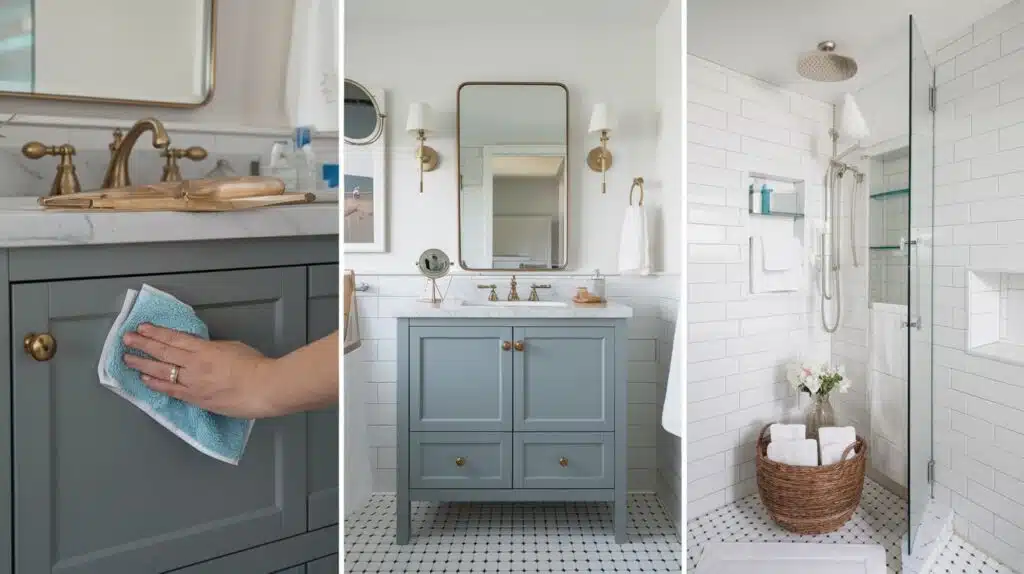
Re-invent your bathroom vanity with a fresh coat of paint – a budget-friendly upgrade that packs a serious style punch.
If your current vanity looks dated or you’re just craving a change, painting offers a perfect solution without the hefty price tag of replacement.
Before grabbing your paintbrush, proper preparation is key to achieving a durable, professional-looking finish for daily bathroom use.
I will guide you through selecting moisture-resistant paint, preparing your surface correctly, and applying paint like a pro.
You will save hundreds of dollars compared to buying new ones and give your bathroom a custom look that reflects your style. Get ready to alter your space with this practical DIY project.
Why Painting Your Bathroom Vanity is a Game-Changer?
Let’s be real—bathroom renovations can drain your wallet faster than a leaky faucet. But here’s a secret that savvy homeowners know: painting your bathroom vanity can transform your space without breaking the bank.
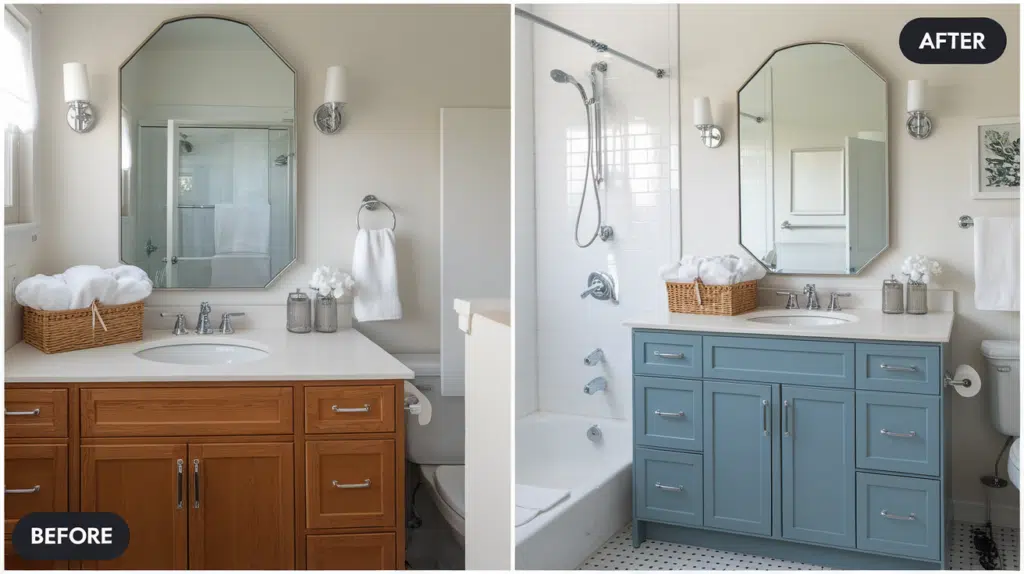
This weekend project can take your dated oak cabinets from ’90s drab to modern fab or turn that builder-grade beige into something that makes you smile in the morning.
The best part? You don’t need to be a DIY expert to pull this off. With some basic supplies, patience, and a free weekend, you can give your bathroom a fresh look that’ll have guests asking who your contractor was.
Trust me, the satisfaction of telling them, “I did it myself,” is worth every minute of prep work.
Your Must-Have Tools for Vanity Transformation

I’ve found these tools essential for success when I paint bathroom vanities.
For paint supplies, I always grab high-quality bonding primer, moisture-resistant cabinet paint, foam rollers, and 2-inch and 1-inch paintbrushes for smooth coverage. My orbital sander with 120 and 220-grit sandpaper makes prep work a breeze.
Protection is key, so I use drop cloths, painter’s tape, a respirator mask, and safety goggles. I rely on TSP cleaner, a putty knife, wood filler, and lint-free cloth for cleaning and prep.
I will never forget my screwdriver set for hardware removal and plastic bags for organizing those small pieces.
Pro tip: While a paint sprayer is optional, I’ve found it helpful for larger vanities. And don’t forget good lighting – it makes all the difference in catching imperfections!
Why DIY Instead of Hire?
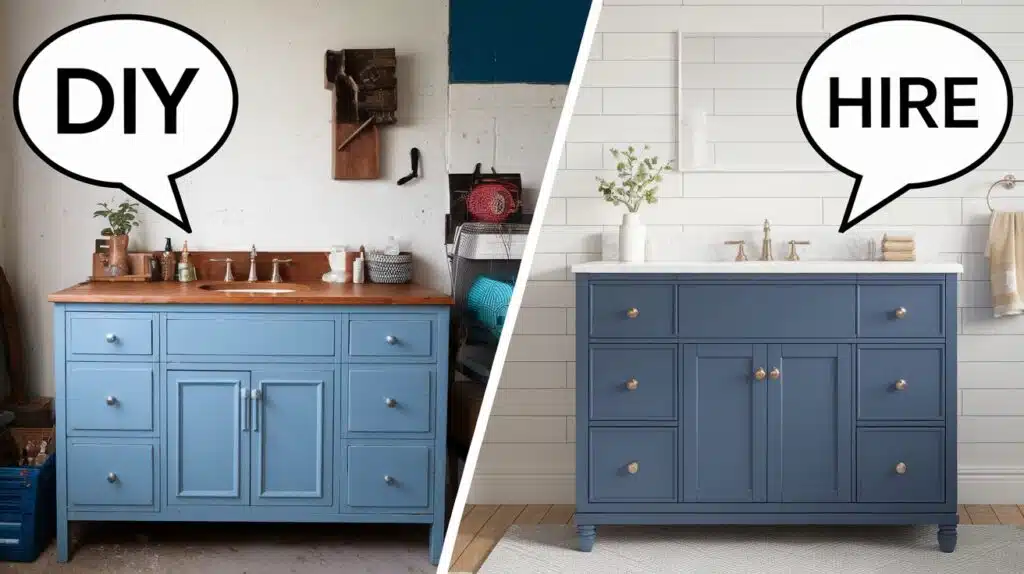
When I painted my bathroom vanity, I was shocked that hiring a professional would cost me around $200 to $600. money I’d rather spend elsewhere.
I found that doing it myself only required about $50 to $100 in supplies and a weekend of work.
Sure, it took some elbow grease, but the satisfaction of seeing my remade vanity, knowing I did it myself, was priceless.
Plus, having complete control over color choices and timing meant I could work at my own pace and get exactly the look I wanted.
If you’re reasonably handy and patient enough to follow the steps carefully, painting your vanity is a doable DIY project that will allow you to pocket significant savings while learning valuable skills for future home projects.
Step-By-Step Guide For Painting Bathroom Vanity
Painting a bathroom vanity is an easy and cost-effective way to refresh your bathroom. It allows you to update the look without the expense of replacing the entire unit.
Prep work, such as cleaning, sanding, and priming, can give your vanity a smooth, polished finish.
The right paint can upgrade the entire space, whether for a bold color or a more neutral tone.
Plus, it’s a DIY-friendly project that doesn’t require expert skills. With the right tools and patience, your bathroom can feel new again.
STEP 1: Prepare the Space
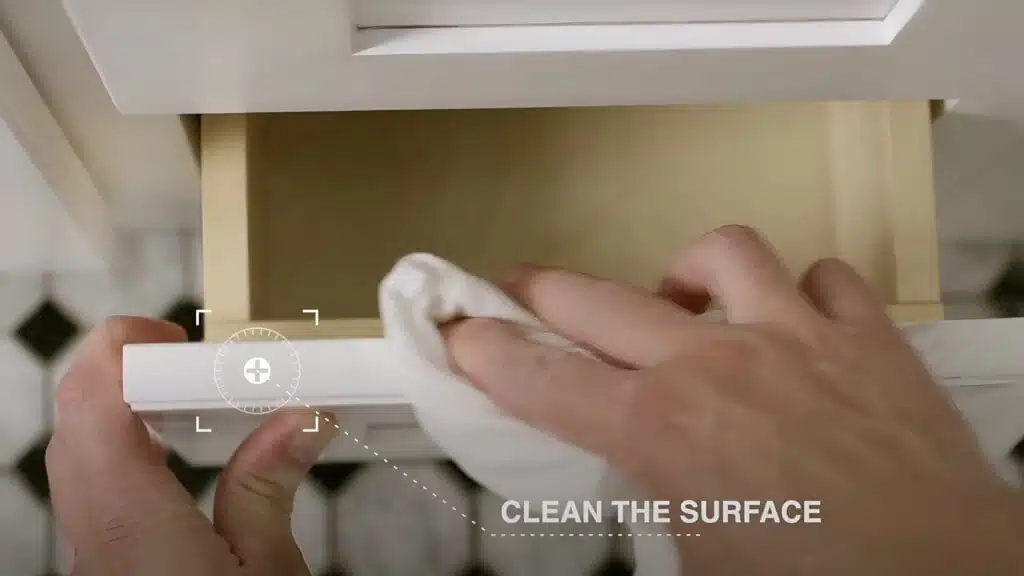
Before starting, remove all items from the vanity and clean the cabinet and surrounding area with a damp cloth.
Use a degreaser if needed, but rinse thoroughly with water to ensure a clean, contaminant-free surface. Lay a drop cloth around your workspace to catch dust and paint drips.
Pro Tips:
- Use a lint-free cloth to avoid leaving fibers behind on the surface.
- If the area is small, consider opening windows for ventilation to speed up drying times.
- Keep all cleaning supplies nearby to address any spills or messes quickly.
STEP 2: Remove Hardware and Doors
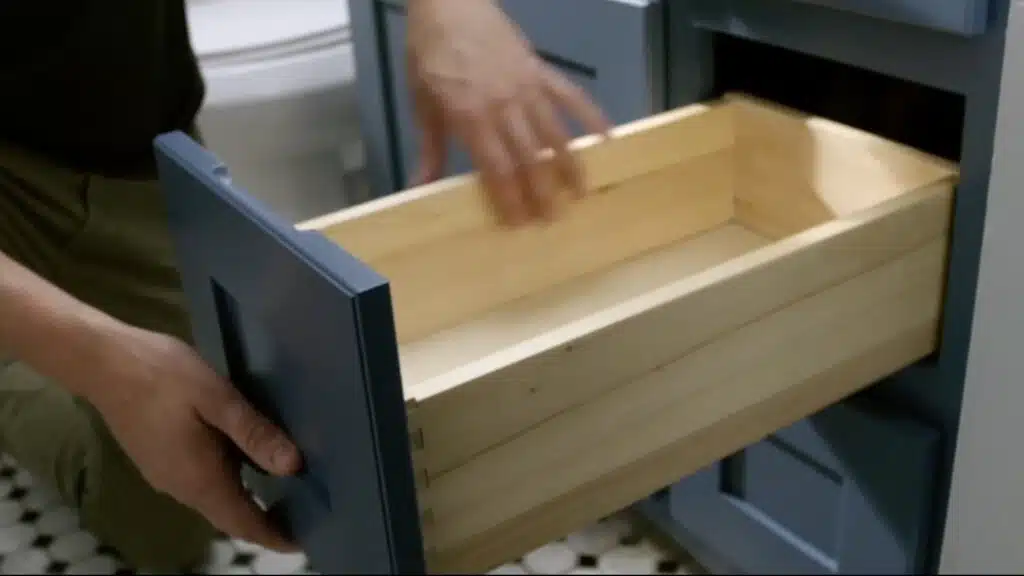
Take off the drawers and doors, removing all hardware like knobs, pulls, and hinges. Keep screws and hardware in a safe place to easily reassemble later.
This step will help ensure that all vanity areas are accessible and painted evenly without obstruction.
Pro Tips:
- Label or organize screws and hardware in separate bags or containers for easy reassembly.
- Take a photo of the hardware placement to help guide the reattachment later.
- If hinges are old or rusty, consider replacing them for a fresh look.
STEP 3: Sand and Smooth the Surface
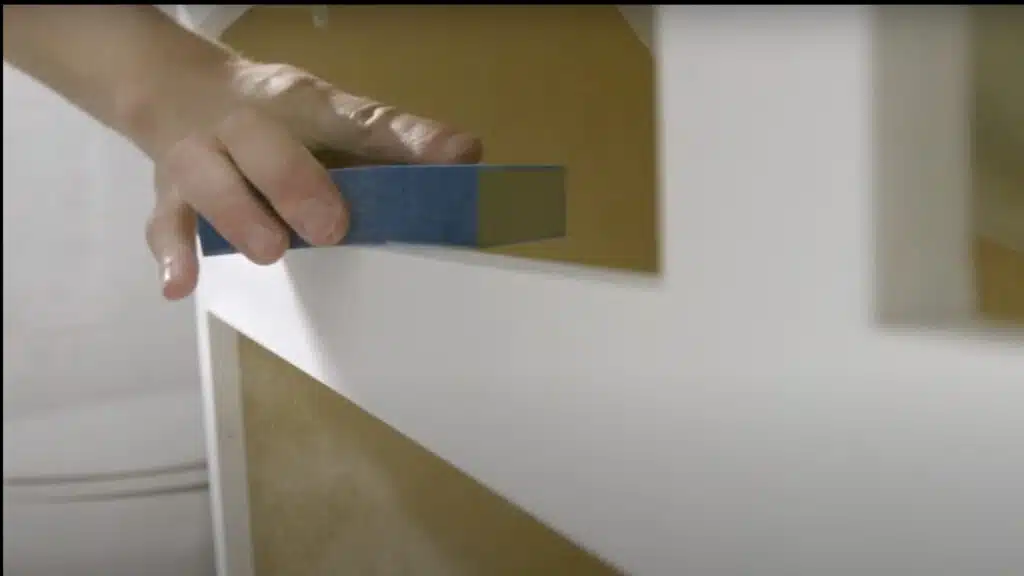
If the vanity has been previously painted or has a clear coating, sand it down using medium-grit sandpaper to remove any imperfections or old finish.
Once smooth, use fine-grit sandpaper for a light, even finish. Vacuum up the dust and wipe down the surface with a microfiber cloth.
Pro Tips:
- Sanding in the direction of the wood grain ensures a smoother, more professional finish.
- After vacuuming, a tack cloth removes any remaining fine dust.
- If the surface is glossy, you may need a coarser grit to ensure good adhesion.
STEP 4: Prime the Vanity

Use a large paintbrush or roller to apply an even coat of bonding primer to the cabinet frame, doors, and drawers. Lay flat surfaces down to prevent drips.
If you’re transitioning from a dark color to light, you may need a second coat. Allow time for drying between coats.
Pro Tips:
- Use a high-quality primer to ensure better paint adhesion and durability.
- Don’t skip the primer if you have previously painted or glossy surfaces.
- Apply thin layers of primer to avoid streaks or drips.
STEP 5: Apply Paint and Reassemble
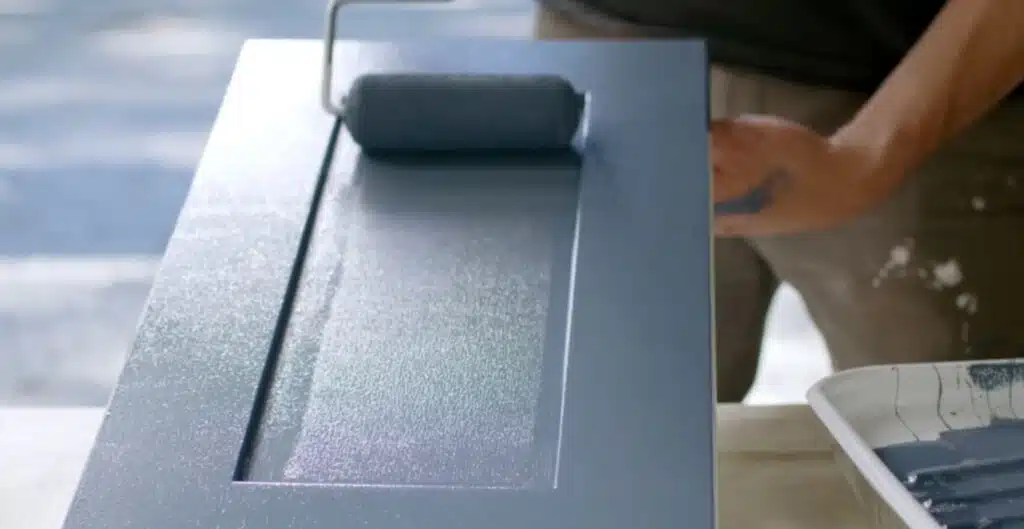
Once the primer is dry, apply two coats of advanced interior paint for a smooth, furniture-like finish. Use a smaller brush for edges and details.
After the paint cures, reattach the hardware and place the doors and drawers back in their proper spots for a refreshed vanity.
Pro Tips:
- Use a paint with a built-in topcoat for extra durability in the bathroom’s high-humidity environment.
- Allow the paint to dry fully before handling or reassembling to prevent smudging.
- Sand lightly between coats for a glass-like finish.
Watch How It’s Done: Painting Bathroom Vanity Video Tutorial
For more information, check out this video tutorial by Benjamin Moore Paints.
Maintaining Your Painted Vanity: Longevity, Common Mistakes, and Costs
1. Long-Term Care & Maintenance
- Gentle Cleaning: Use a damp microfiber cloth with mild soap; avoid harsh chemicals or abrasive scrubbers.
- Water Protection: Wipe up spills immediately to prevent peeling and warping.
- Prevent Scratches: Apply a clear topcoat for durability and use felt pads inside cabinets to protect shelves.
- Humidity Control: Install an exhaust fan to reduce moisture buildup, which can cause paint to warp or peel.
2. Common Painting Mistakes to Avoid
- Skipping Prep Work: Always clean, sand, and prime before painting for a smooth, lasting finish.
- Using the Wrong Products: Choose moisture-resistant, semi-gloss, or satin paints for bathrooms.
- Rushing the Process: Allow each coat to dry completely; reassembling too soon can ruin the finish.
- Ignoring Protective Coatings: Apply a polyurethane or polycrylic sealant for extra durability.
3. Time & Cost Estimates
- Time Required: 5-7 hours (spread over a couple of days for drying and curing).
- Approximate Cost: $50 – $150, depending on the paint quality, primer, and supplies.
Paint Recommendations

Over the years, I’ve tried various paints on bathroom vanities, but Benjamin Moore Advance and Sherwin-Williams ProClassic are absolute game-changers.
I swear by these because they’re specifically formulated for cabinets, leaving a factory-like finish against water splashes and daily use.
While these paints might cost a bit more, trust me – they’re worth every penny. I’ve learned that cheaper alternatives can leave brush marks and don’t stand up to the humid bathroom environment.
For a water-based option, I always reach for Benjamin Moore Advance. It flows beautifully, levels like a dream, and the semi-gloss finish wipes clean easily.
If you’re feeling brave, oil-based paints offer incredible durability, but I prefer water-based paints for easier cleanup and lower odors when working in small bathroom spaces.
Here are certain paint recommendations:
Summing It Up
After tackling numerous vanity painting projects, I can tell you it’s worth the effort. The key to success lies in not rushing the process—proper prep work and drying time between coats make all the difference.
I’ve found that taking an extra day to let everything cure properly prevents those frustrating chips and scratches.
Remember, even if your first coat doesn’t look perfect, don’t panic – that’s normal. Multiple thin coats will give you that smooth, professional finish.
Once you’ve finished, give your newly painted vanity at least 48 hours to cure before reattaching the hardware and putting items back fully.
Are you looking to refresh your bathroom on a budget? Trust me, painting your vanity is the smart way to go. The makeover you’ll achieve is simply incredible.
Ready to roll up your sleeves and save hundreds? Let’s modify that vanity together!

With a Master in Architectural Studies from University of Pennysylvania, Marwa Haydar has pioneered living spaces since 2005. Her expertise, initially honed in a prestigious architectural firm, is evident in her approach to creating environments. Marwa became part of our team in 2019 and has since been a driving force in our home improvement section, known for her practical yet stylish solutions. She’s been spearheading our design workshops since then, infusing her passion for teaching into her work. In her leisure time, Marwa enjoys exploring historic architecture and is an enthusiastic pottery hobbyist, further enriching her understanding of form and texture.