
Most riders spend thousands on their bikes and almost nothing on where those bikes actually live. The average home garage is a mix of holiday bins, garden tools, and a lone tire with no clear purpose.
If you own a motorcycle and you’re serious about maintaining it, storing gear properly, and actually enjoying the wrench time, that setup is costing you hours and frustration every season. A purpose-built motorcycle garage doesn’t require a full renovation or a professional contractor. It requires a plan.
Why the Garage Is Already Your Most Valuable Room
Here’s something most homeowners don’t act on even when they know it: the garage is the most functional space in the house when it’s set up with intent. A 2024 survey by the CRAFTSMAN brand found that 76% of respondents said their garage could become the most productive room in the house, yet half of those same homeowners described the space as disorganized. For riders, that gap matters even more.
A motorcycle demands more intentional storage than a car. Helmets crack under pressure. Leathers degrade in heat and sunlight. Oils and chain lube need controlled conditions. When your bike is sitting in a cluttered bay next to a bag of grass seed, you’re not set up to do proper maintenance, and you’re definitely not getting out of the door quickly on a Saturday morning.
The good news: most two-car garages have more than enough square footage to create a dedicated motorcycle zone without sacrificing storage for everything else. You’re reorganizing, not rebuilding.
The Four-Zone Rider’s Layout
This is the framework worth building around. Every well-designed motorcycle garage divides into four distinct zones, each with a clear job. Mixing them up is what creates the mess most riders are trying to escape.
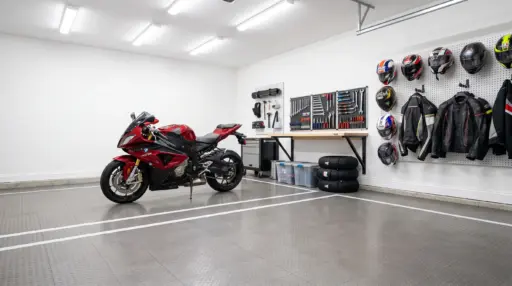
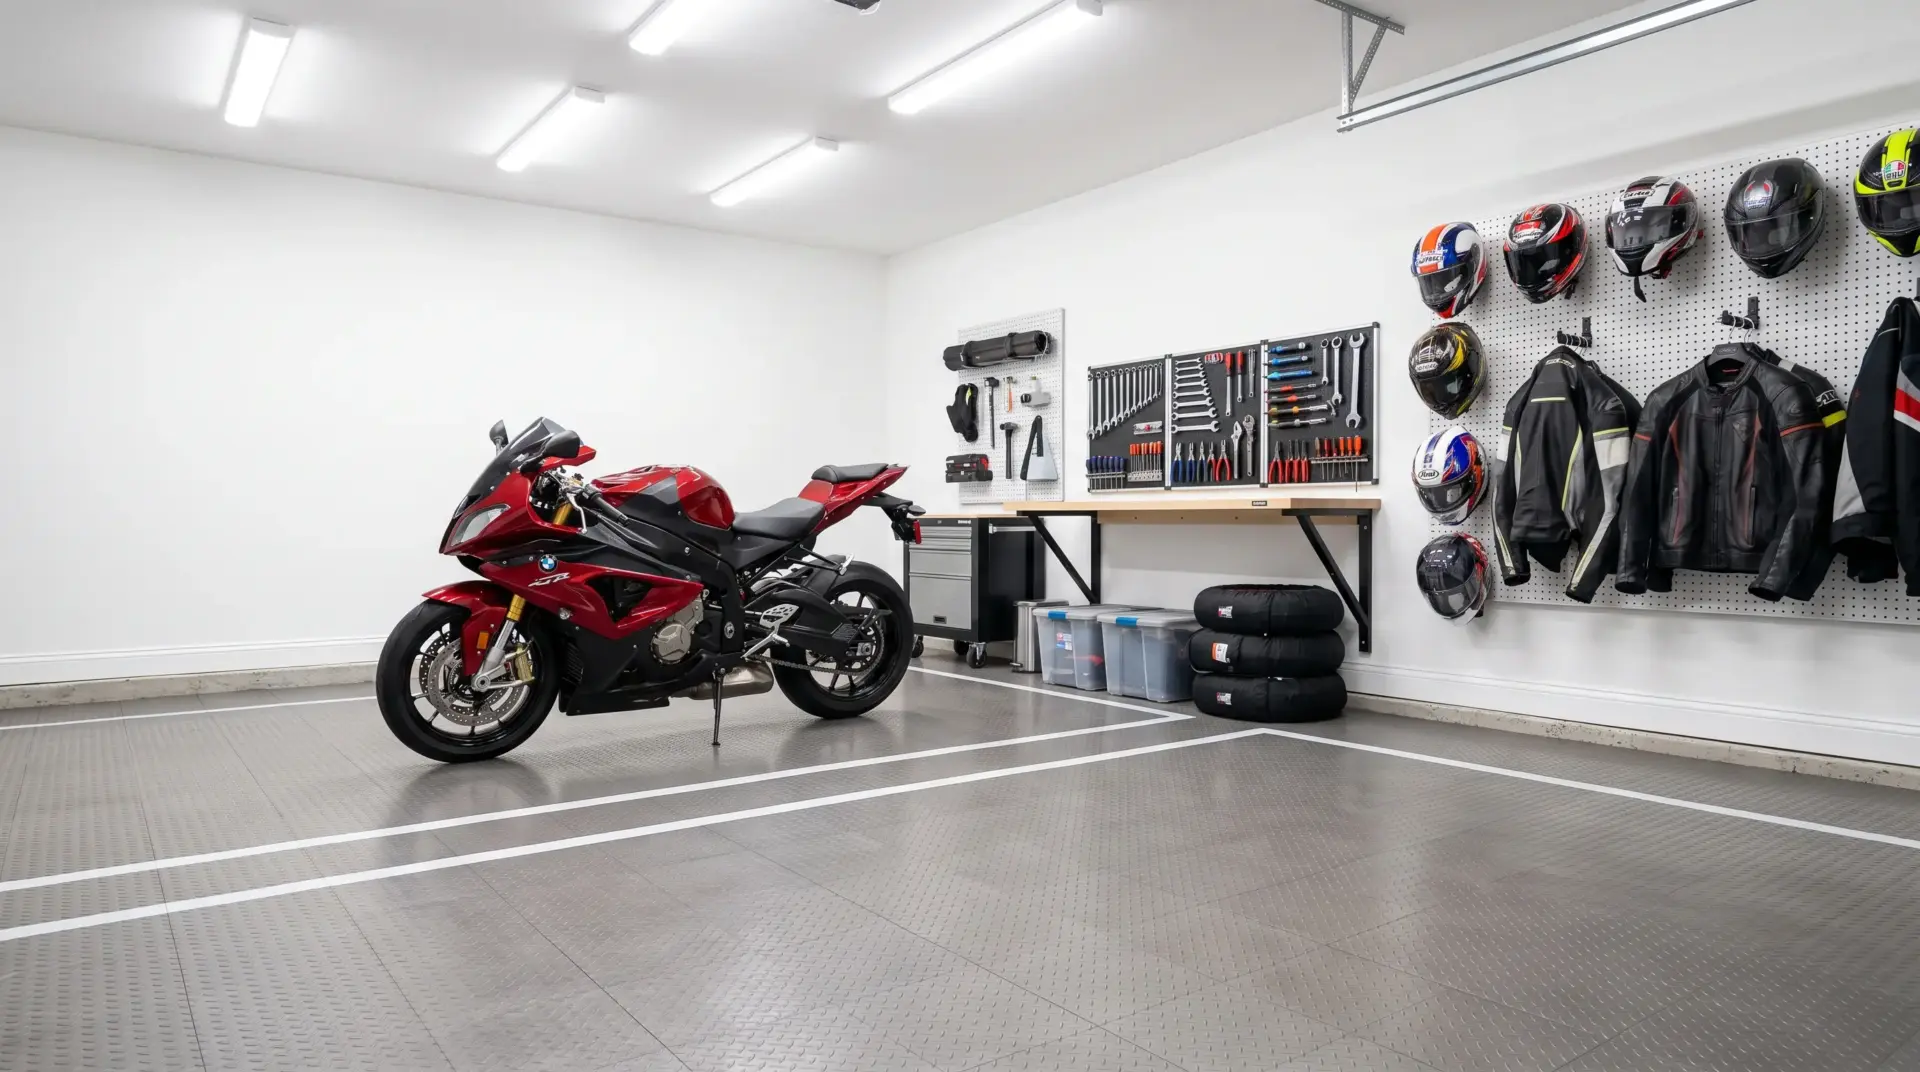
Zone 1: The Parking Zone. This is where the bike lives when it’s not being ridden. It needs a minimum of 4 feet of clearance on both sides for comfortable movement and at least 8 feet of depth. If you own more than one bike, mirror the layout rather than doubling up in a single lane. Interlocking rubber floor tiles work well here. They cushion a dropped tool, protect the concrete from oil drips, and you can swap individual tiles if one gets stained beyond cleaning.
Zone 2: The Maintenance Zone. Positioned directly adjacent to the parking zone. This is your workbench, your lift or paddock stand area, and your tool wall. It doesn’t need to be large; 6 by 8 feet is enough for most single-bike work. A foldable workbench keeps the footprint small when you’re not actively wrenching.
Zone 3: The Gear Wall. Helmets, jackets, gloves, and boots all need a dedicated home. A simple pegboard panel mounted at eye level with helmet hooks spaced 18 inches apart keeps everything visible and ventilated. One common mistake: stacking helmets. Even light pressure over weeks can compress the EPS liner without any visible external damage.
Zone 4: The Road-Ready Station. More on this one below. It’s the most overlooked zone and arguably the most important for daily riders.
Flooring, Lighting, and Ventilation
Get these three right and every other decision becomes easier. Get them wrong and no amount of organization fixes the experience.
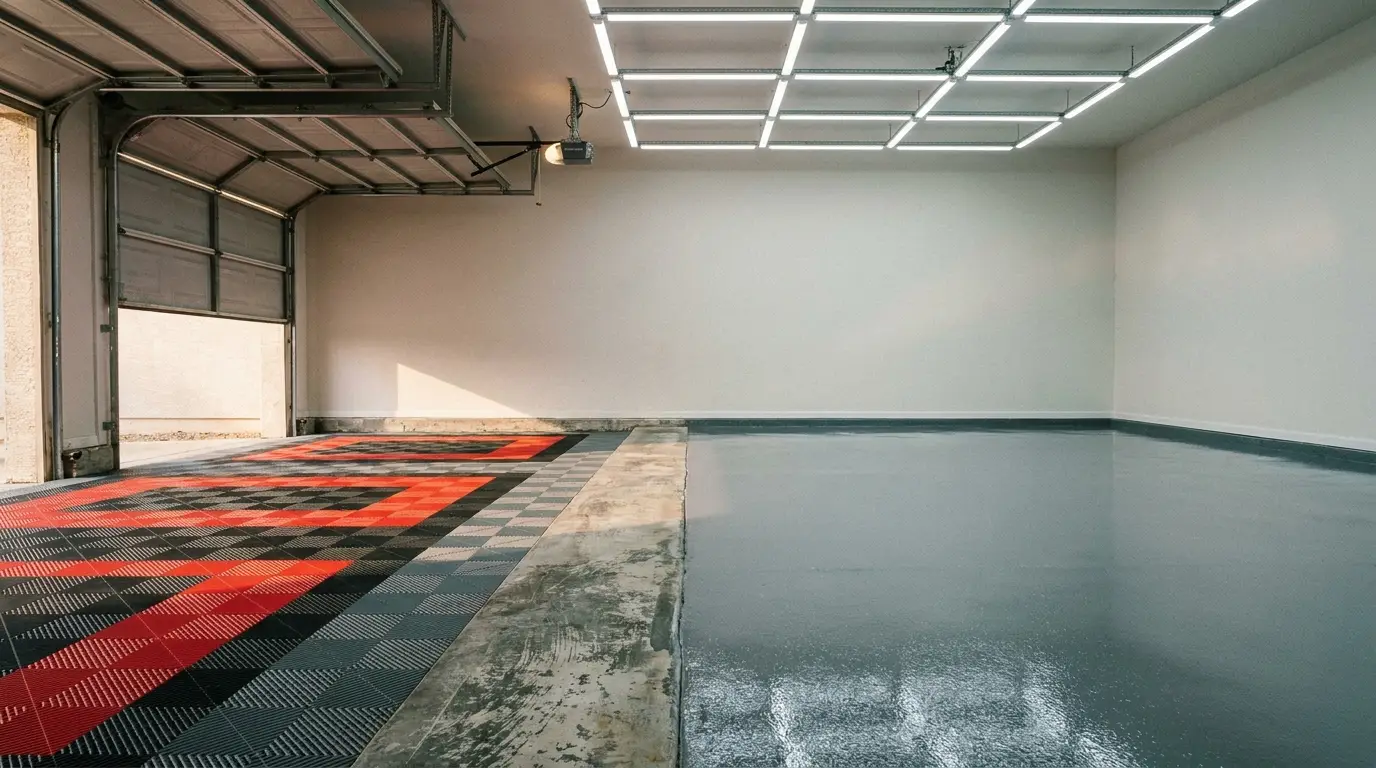
Flooring: Concrete is porous, cold, and slippery when wet. For a motorcycle garage, your two best options are epoxy coating or modular tile. Epoxy gives you a seamless surface that’s easy to clean and handles chemical spills without absorbing them, but it requires two to three days of cure time and proper surface prep.
Modular tiles are faster, forgiving of imperfect concrete, and can be rearranged as your layout evolves. For a motorcycle bay specifically, a raised modular tile in the parking zone and epoxy everywhere else is a combination a lot of serious home mechanics land on.
| Flooring Option | Best For | Prep Required | Approx. Durability |
|---|---|---|---|
| Epoxy Coating | Full bays, chemical resistance | High (grinding, etching) | 5 to 10 years |
| Modular PVC Tile | Parking zones, quick installs | Low (dry, clean surface) | 10 to 15 years |
| Rubber Mat | Spot coverage under a lift | None | 3 to 5 years |
Lighting: The default single overhead bulb in most garages is genuinely not enough for motorcycle work. You need shadow-free coverage at bench height, which means LED shop lights mounted in a grid pattern plus a portable task light you can direct under fairings or into engine bays. Aim for a minimum of 50 foot-candles at the work surface. Daylight-balanced LEDs (around 5000K color temperature) make it easier to spot leaks, corrosion, and cable fraying.
Ventilation: Running an engine briefly in a closed garage to warm it up before a cold morning ride is something almost every rider does. A single wall-mounted exhaust fan wired to a timer solves this cleanly. Position it on the wall opposite the garage door and low, since exhaust fumes are heavier than air.
“The best home garage is the one that removes excuses. If your space makes it easy to work, you’ll work. If it fights you at every step, you’ll leave things undone until they become real problems on the road.”
This reflects a consensus widely echoed among experienced home mechanics and motorcycle maintenance communities, where the relationship between workspace quality and maintenance consistency is a recurring theme.
Smart Storage for Every Kind of Rider Gear
According to the National Highway Traffic Safety Administration’s 2024 data, motorcycles make up 3% of all registered vehicles in the United States, which represents millions of households with bikes that need proper storage solutions. The variety of gear those riders carry is wider than most people account for when planning a garage.
A few storage decisions that make a real difference:
- Mount a shallow cabinet at eye height on the gear wall for documents, registration copies, and emergency contacts. Clear-front drawers mean you can find things in two seconds, not two minutes.
- Use a dedicated locked cabinet for oils, brake fluid, and chain lube. These need to be separated from other garage chemicals to prevent contamination, and keeping them locked reduces the risk of a child or pet reaching them.
- Add a small dehumidifier to the gear wall zone if you live in a high-humidity area. Leather gear is expensive and moisture damage happens slowly and invisibly until it’s too late.
Setting Up Your Road-Ready Station
Zone 4 sounds minor until you realize how often riders leave without things they need, or spend ten minutes hunting for items that should be within arm’s reach. The road-ready station is a single organized spot near the parking zone that holds everything you grab before a ride and everything you check after one.
That means a hook for your helmet, a shelf for gloves and earplugs, a charging station for your GPS and comm unit, and a small wall-mounted folder or pocket for your essential documents. That document folder is where a lot of riders underinvest.
At minimum, it should hold your insurance card, your bike’s registration, and the contact information for a lawyer for motorcycle accident situations, because having that information accessible from your garage beats scrambling for it when you actually need it.
The road-ready station is also where your pre-ride checklist lives. Print it, laminate it, hang it at eye level. Tire pressure, chain tension, lights, fluid levels. Five minutes before every ride is worth more than any single upgrade you’ll ever bolt onto the bike.
A Concrete Example: The 22-by-20 Two-Car Bay
Consider a standard 22-by-20-foot two-car garage with two bikes. The right wall runs the full 22 feet and becomes the gear wall and storage cabinets. The left 10 feet of depth goes to both parking zones, side by side, with interlocking tiles.
The remaining 10 feet on the left wall becomes the maintenance zone with a 6-foot foldable bench and a wall-mounted tool panel. The road-ready station sits between the two parking zones at the back wall, centered, so both riders can access it without crossing paths. Total DIY time for this layout: one weekend for flooring, one afternoon for wall systems, one evening for wiring the fan and shop lights.
That’s a rider’s garage. Not a storage unit with a bike in it.
Start With One Zone This Weekend
You don’t need to rebuild everything at once. Pick the zone that frustrates you most right now and fix that one first. If you can never find your helmet, build the gear wall. If maintenance is a nightmare, clear and dedicate the bench area.
Small, committed changes compound faster than a single ambitious weekend that exhausts you halfway through. Get the flooring down in the parking zone, hang four good lights, and you’ve already got a better setup than most riders working at home. The rest follows naturally once the foundation is right.

Holding a Master’s in Architecture from the University of Texas at Austin, Emily Rodriguez has dedicated more than two decades to the art and science of building renovation. Starting her journey in historic preservation, she developed a profound respect for blending old with new in building design. Emily became a vital part of our team in 2019, renowned for her insightful and innovative renovation tips. She has been leading our DIY home improvement series since ever since, where she shares her wealth of knowledge in turning outdated spaces into modern havens. When not engaged in writing or consulting, Emily is a passionate advocate for heritage conservation and enjoys exploring vintage architecture, a hobby that complements her professional expertise.