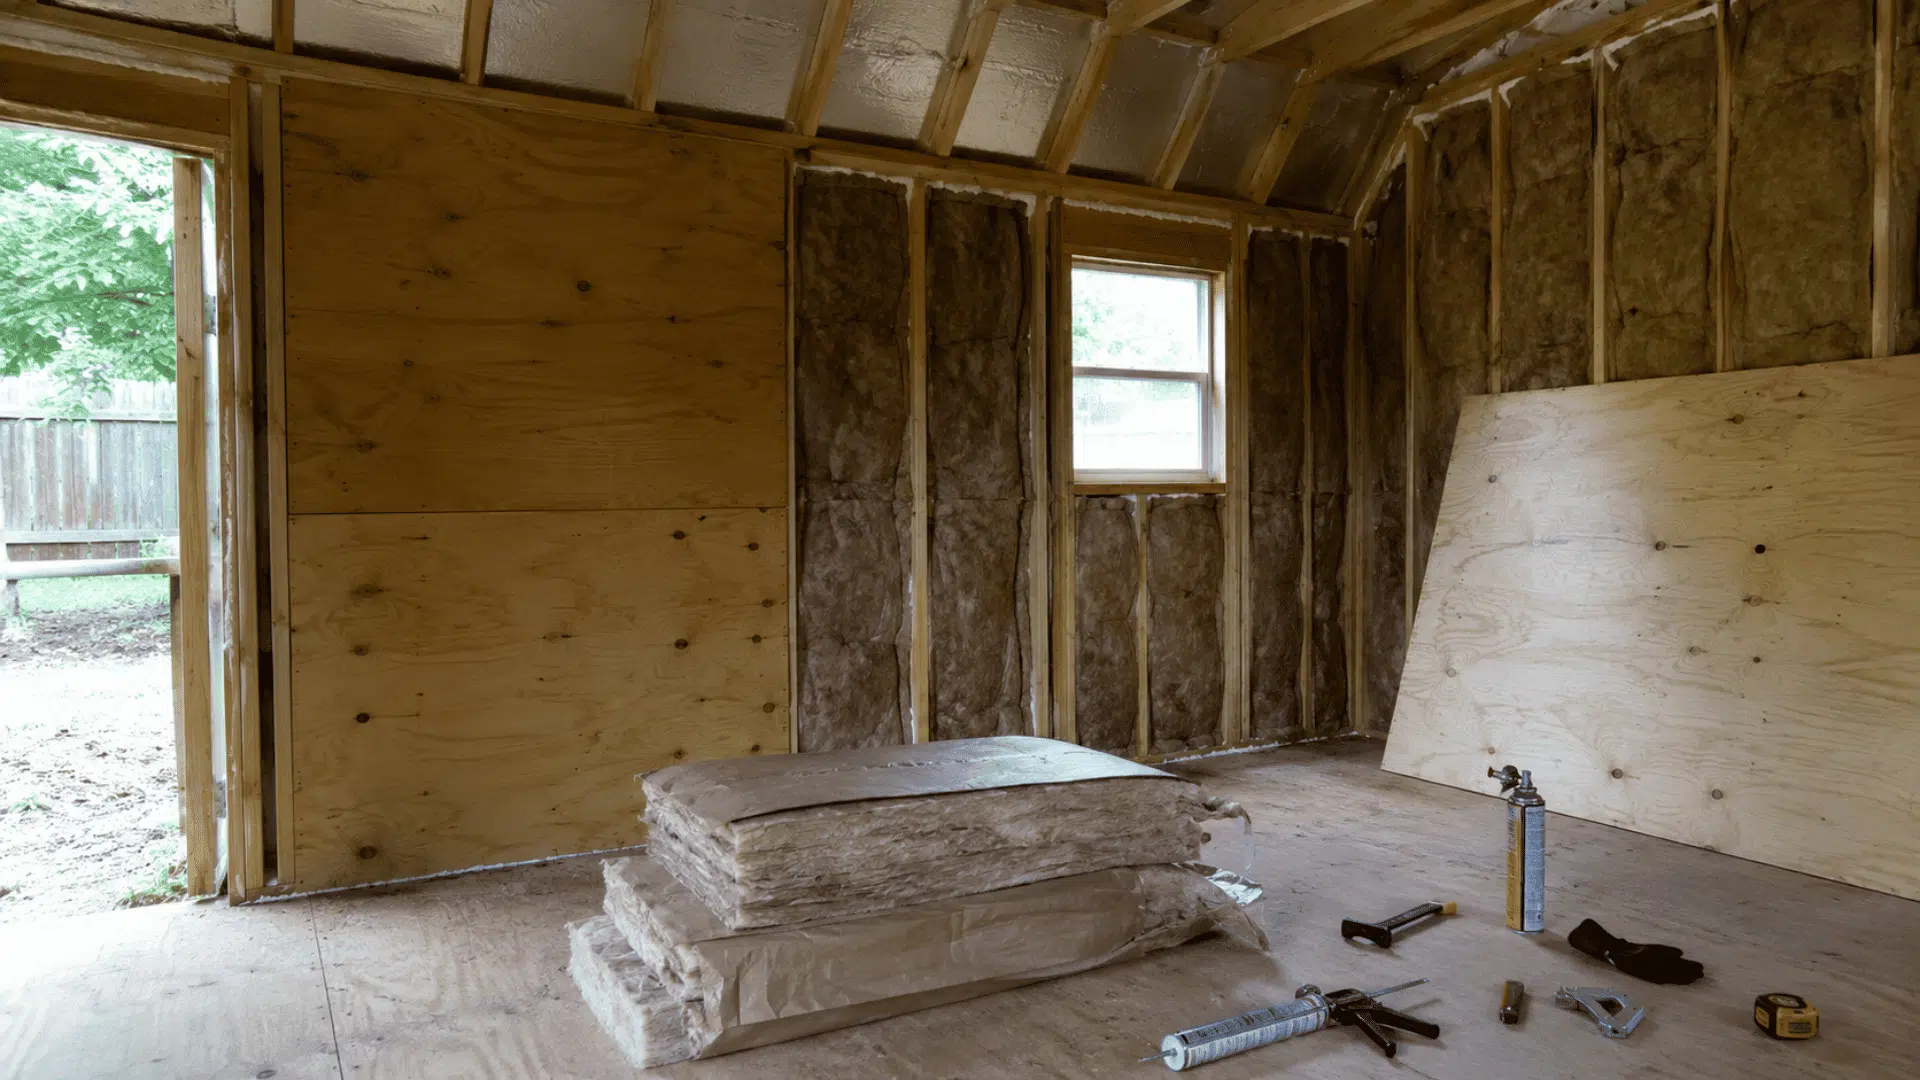

Insulating a shed the right way starts with sealing air leaks, not stapling batts between the studs. I learned this after two summers of my own shed turning into an oven despite full fiberglass in every wall.
Wood-framed, metal, and plastic sheds all trap heat and cold differently, so the process isn’t identical across shed types.
According to the Department of Energy, uncontrolled air leakage is one of the largest sources of wasted energy in any structure, sheds included.
That’s why sequence matters more than which material you buy: check for moisture, seal gaps, then insulate the roof, walls, floor, and door with a vapor-control layer suited to your climate.
Below is the order you should actually follow, shed type by shed type.
Quick Answer: The best way to insulate a shed is to seal every air gap first, then insulate the roof, walls, floor, and door with a vapor-control layer matched to your climate and shed material.
What to Check Before You Insulate a Shed
Before insulating a shed, check for moisture, rot, roof leaks, and how you plan to use the space, since these decide which materials and steps apply.
I always crawl the shed before buying a single batt.
The EPA advises drying any water-damaged material within 24 to 48 hours to prevent mold growth, per its mold and moisture guidance. That’s why repairs come before insulation, not after.
Check these before starting:
- Roof leaks or dark staining on rafters
- Rot or soft wood around the base plates
- Condensation marks on metal panels
- Gaps under the door or around windows
- How the shed will be used: storage, workshop, office, or gym
- Stud and rafter cavity depth
- Whether local permits apply for electrical or HVAC work
Fixing a leak after insulation is already in place takes far more time than fixing it first.
What is the Best Insulation for a Shed
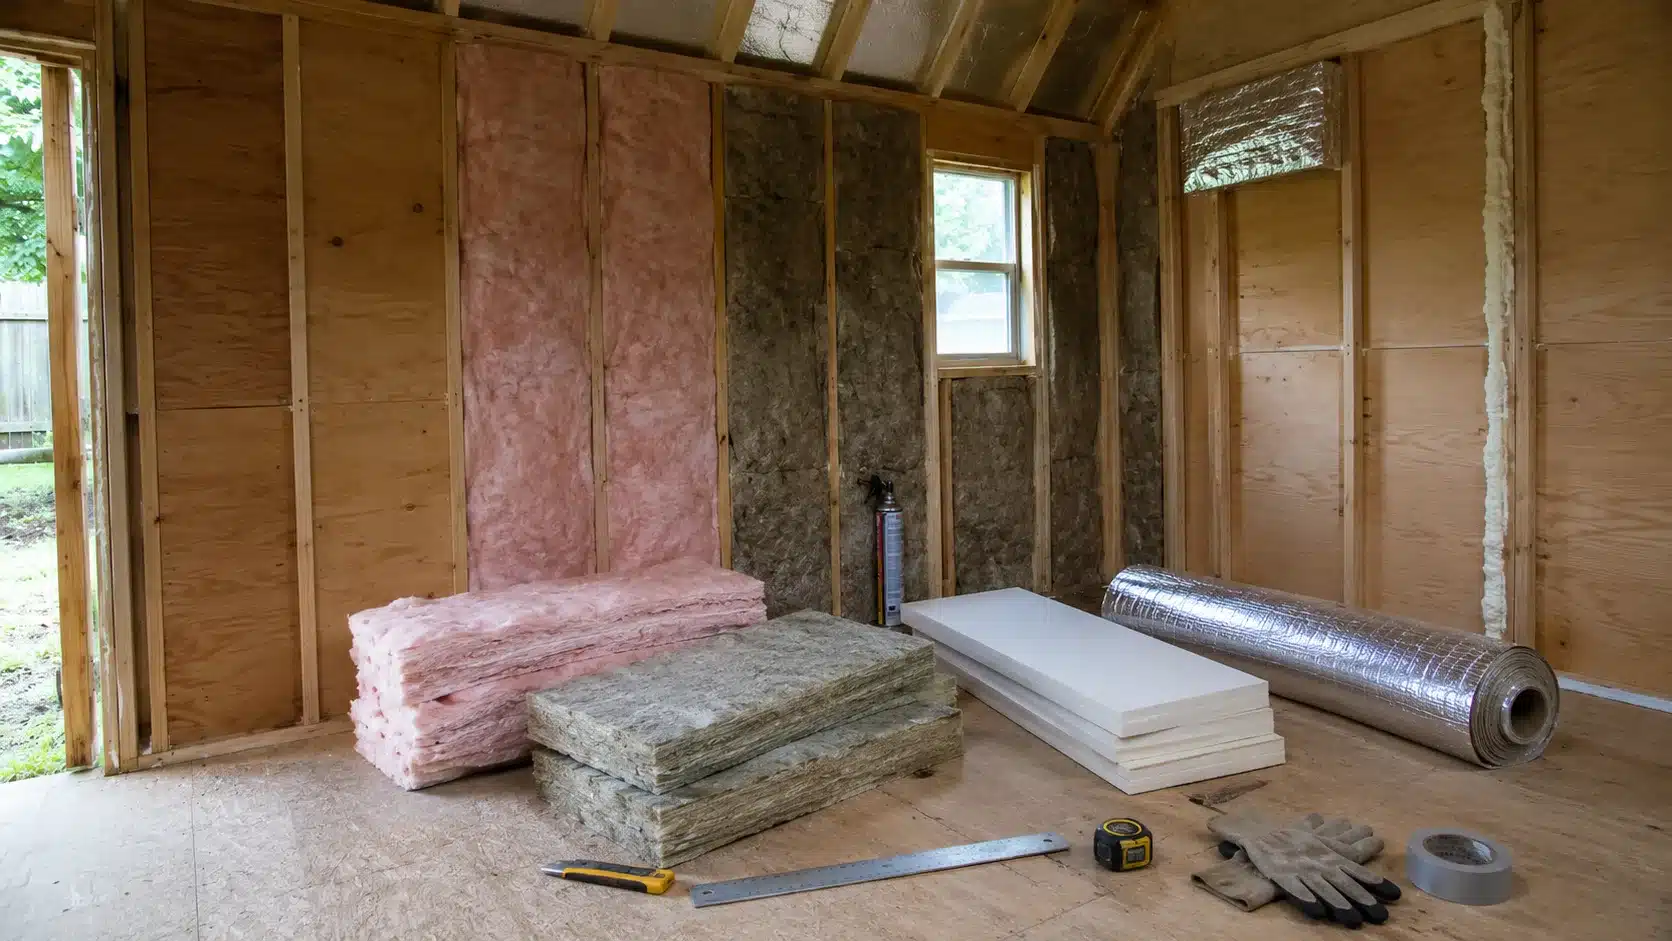
The best insulation for a shed depends on your budget, cavity depth, and whether you need sound control or moisture resistance, and here’s how the main options compare:
| Material | Best Use | Main Benefit | Main Limitation |
|---|---|---|---|
| Fiberglass batts | Standard walls and ceilings | Lower cost | Loses R-value if compressed |
| Mineral wool | Workshops, music rooms | Dense fit, sound control | Costs more than fiberglass |
| Rigid foam board | Floors, thin cavities | High R-value per inch | Needs taped seams to perform well |
| Spray foam | Metal or irregular framing | Insulates and air-seals at once | Higher cost, pro install often needed |
| Reflective foil | Hot, sunny climates | Cuts radiant heat | Not a substitute for bulk insulation |
How to Insulate a Shed Step by Step
Insulating a shed step by step means gathering the right materials, sealing air leaks first, then working from the roof down to the floor.
I follow this exact order every time, regardless of shed size.
Materials Needed
- Insulation of choice: fiberglass batts, mineral wool , rigid foam board, or spray foam
- Utility knife or insulation saw
- Caulk gun and exterior-grade caulk
- Spray foam sealant for gaps and penetrations
- Staple gun, if using faced batts
- Vapor-control sheeting rated for your climate
- Plywood, OSB, or drywall for the interior finish
- Weatherstripping for the door
- Gloves, mask, and eye protection
Step 1: Seal Air Leaks Before You Insulate
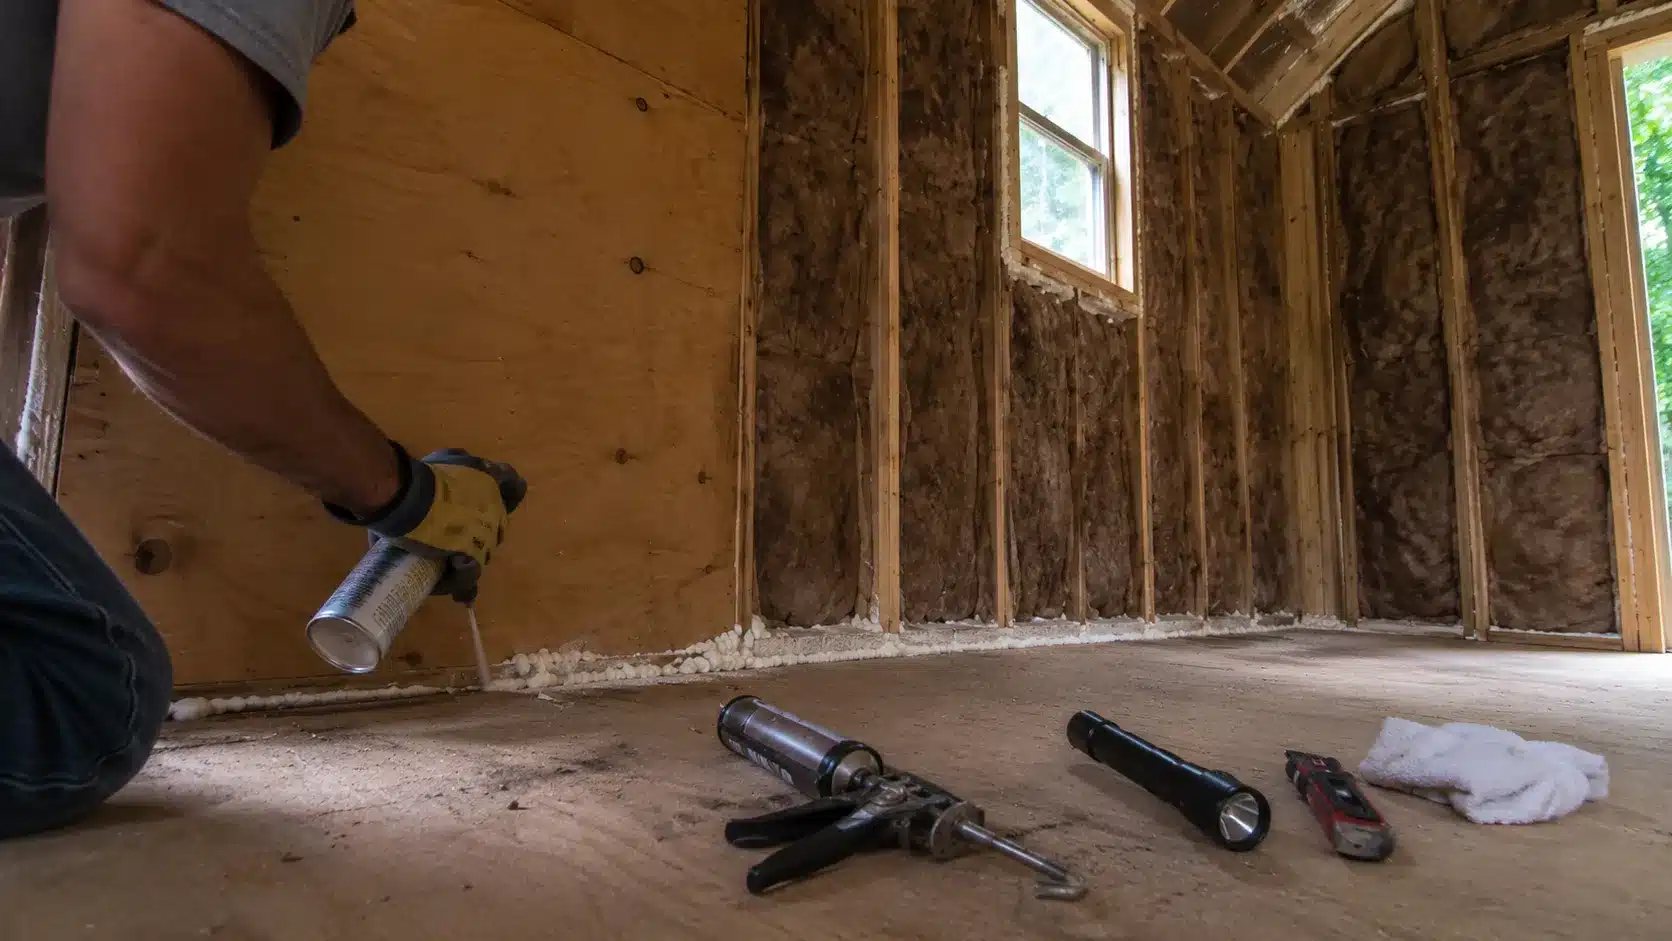
Empty the shed, inspect every surface for leaks or rot, and repair any damage before touching insulation.
Then seal gaps around the door, windows, wall plates, and penetrations with caulk or spray foam. Air sealing first is what actually makes the insulation work.
Step 2: Choose a Vented or Unvented Roof
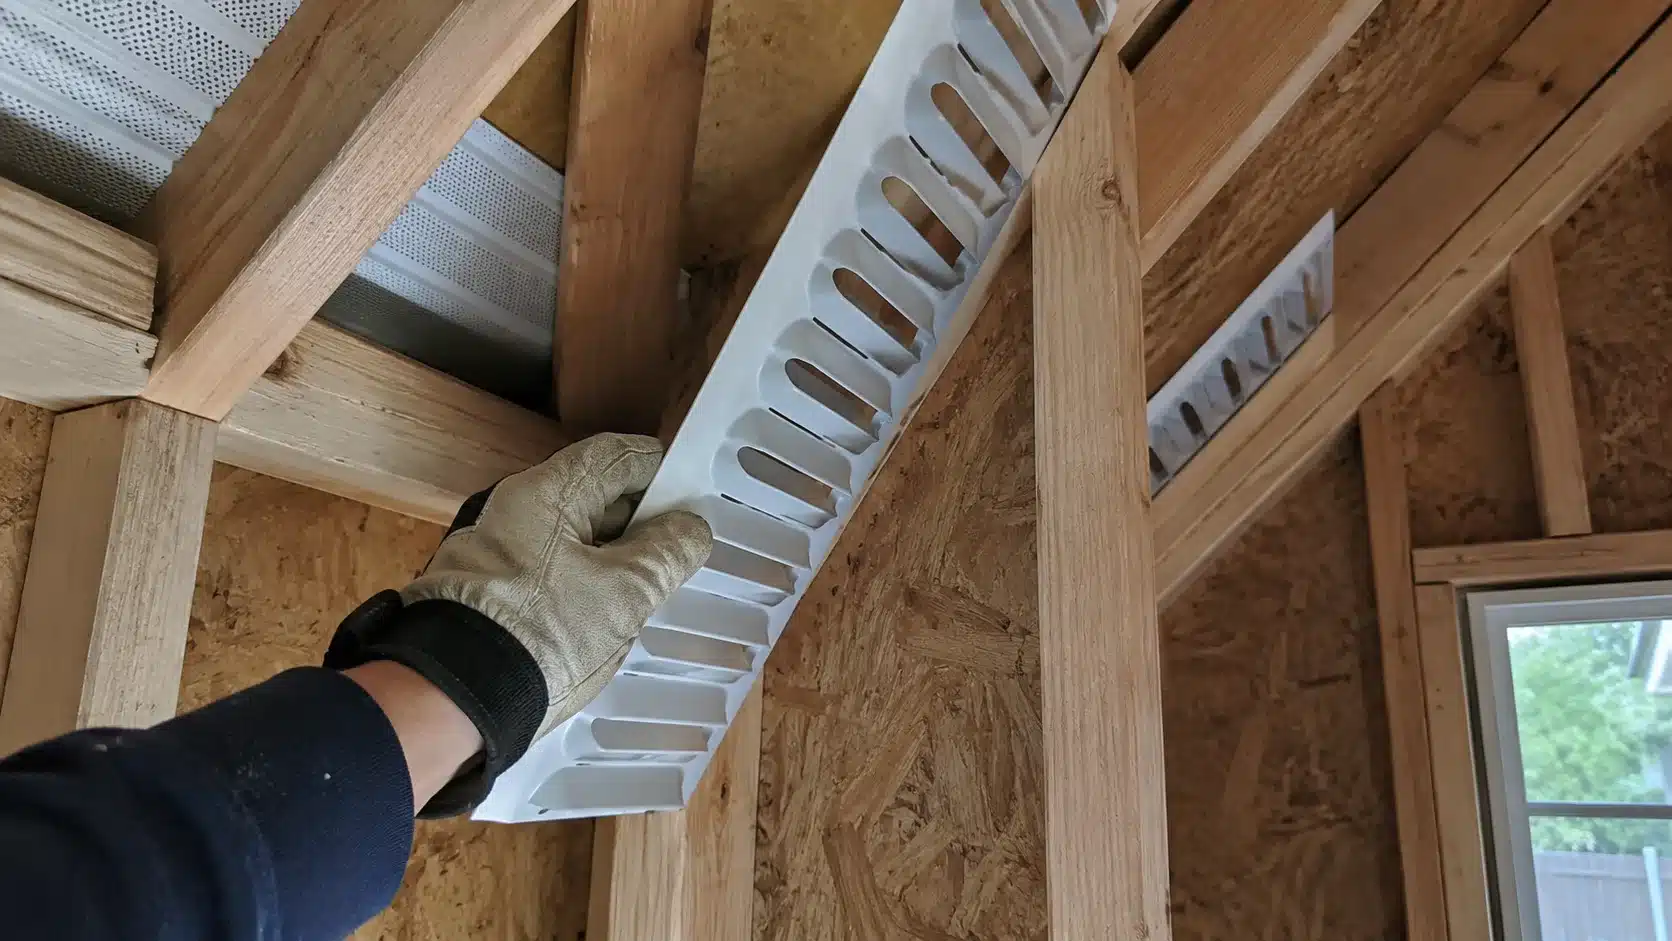
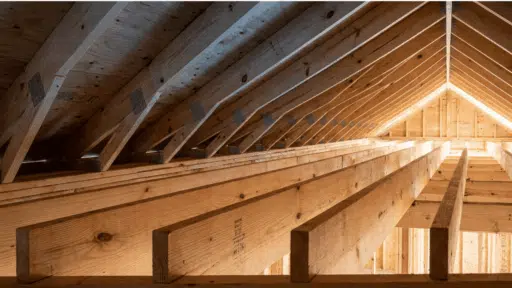
Decide early whether the roof stays vented, with soffit intake, ridge exhaust, and baffles, or goes unvented, with air-impermeable insulation sealed straight against the deck.
Most wood-framed sheds do better with a vented roof
- Vented roof: insulation below the deck, with soffit intake, ridge exhaust, and baffles to keep airflow open. Best for standard wood-framed sheds in most climates.
- Unvented roof: air-impermeable insulation directly against the roof deck, sealed with no ventilation channel. Best for sheds with foam against the deck or complex rooflines.
Step 3: Insulate the Roof and Walls
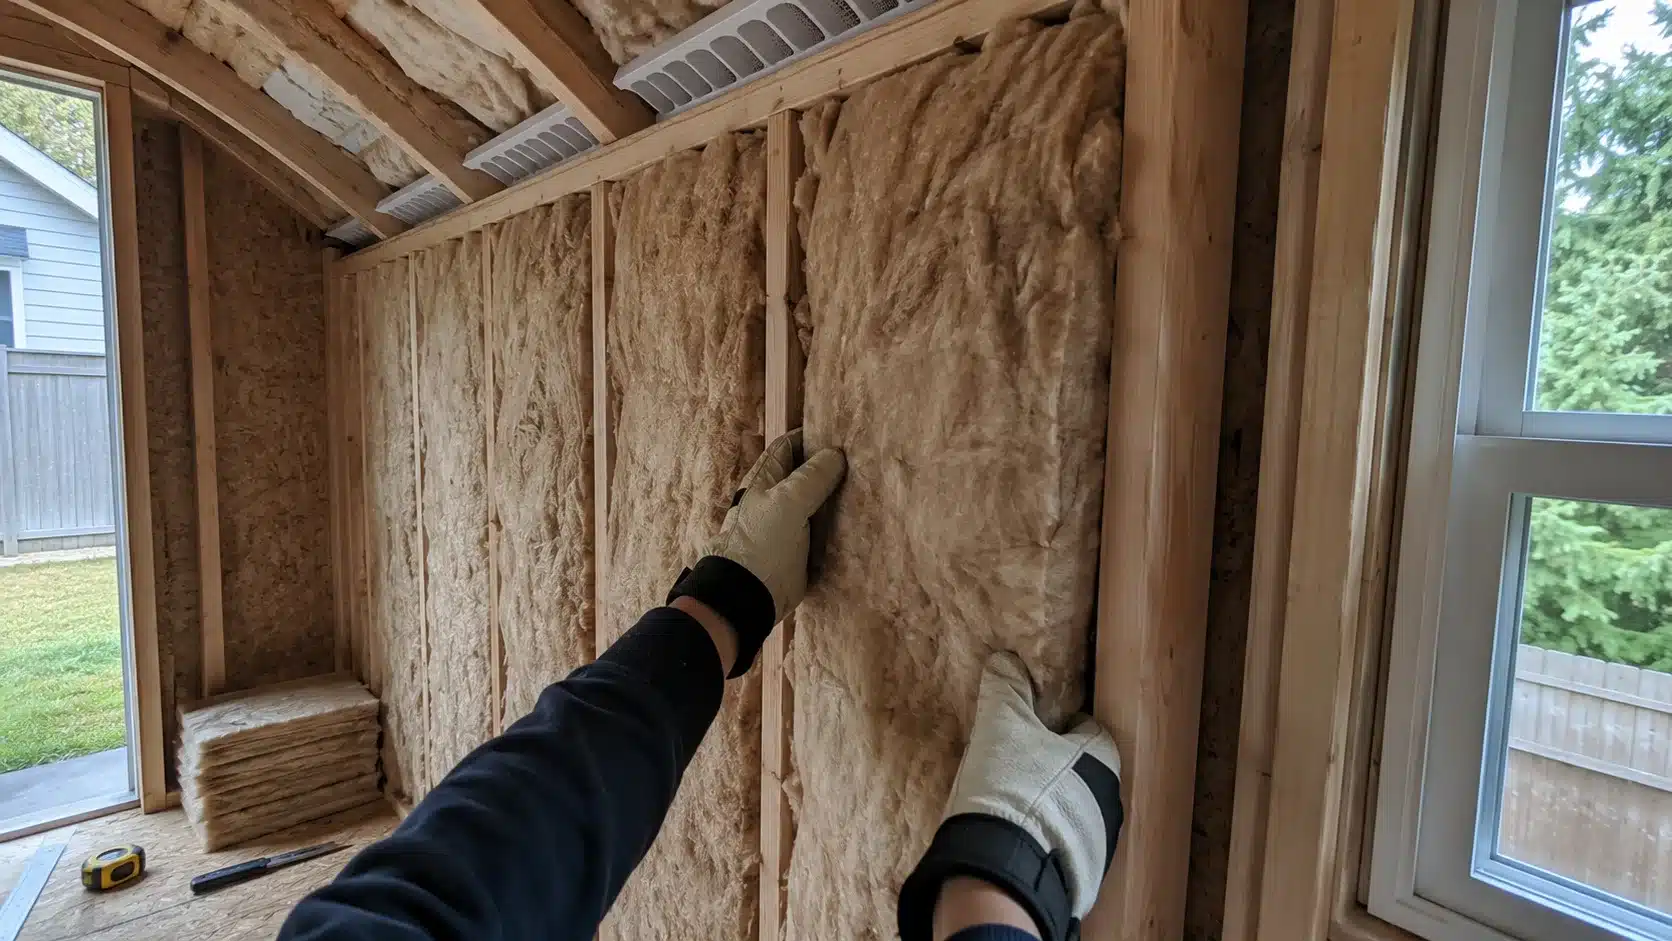
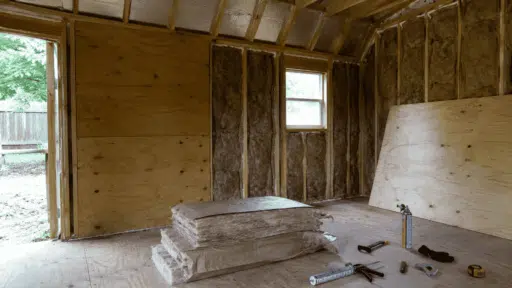
Insulate the roof or ceiling first, then the walls, filling each cavity to its full depth without compressing the material around wiring.
Tip: Never compress a fiberglass batt to fit a shallow cavity. A compressed batt delivers less real-world R-value than the same product installed at full thickness.
Step 4: Insulate the Floor and Door
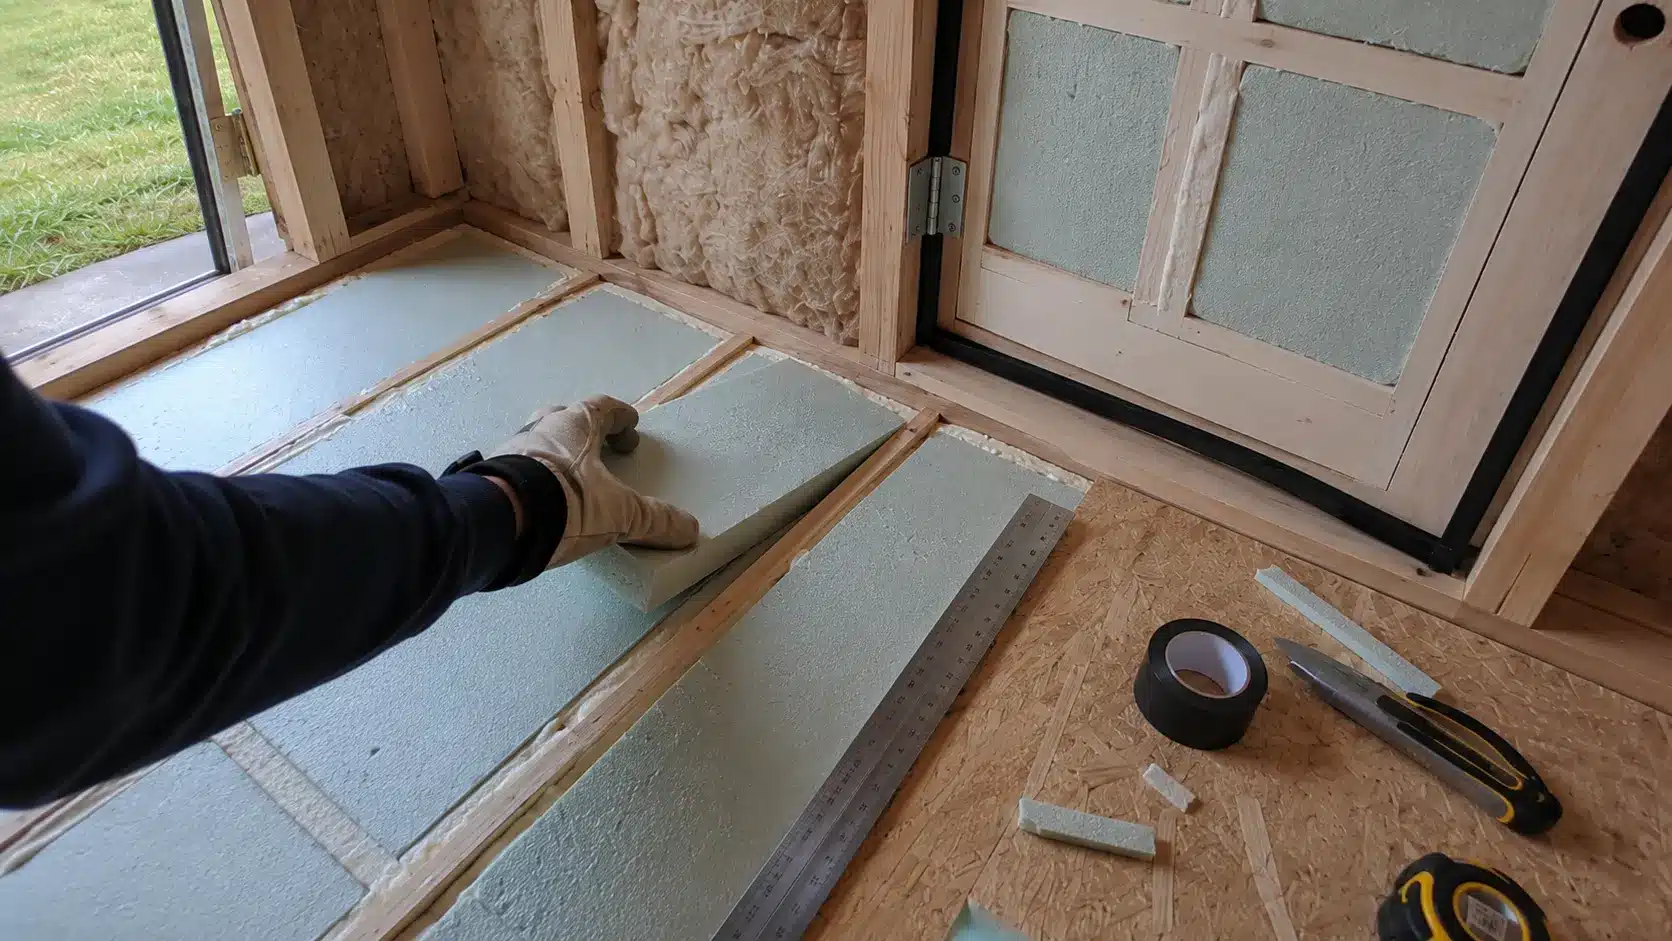
Insulate the floor if the shed sits on a slab or gets used year-round, then insulate the door panel and add weatherstripping around the frame.
Storage sheds on skids can usually skip the floor step.
Step 5: Add Vapor Control and Finish the Interior
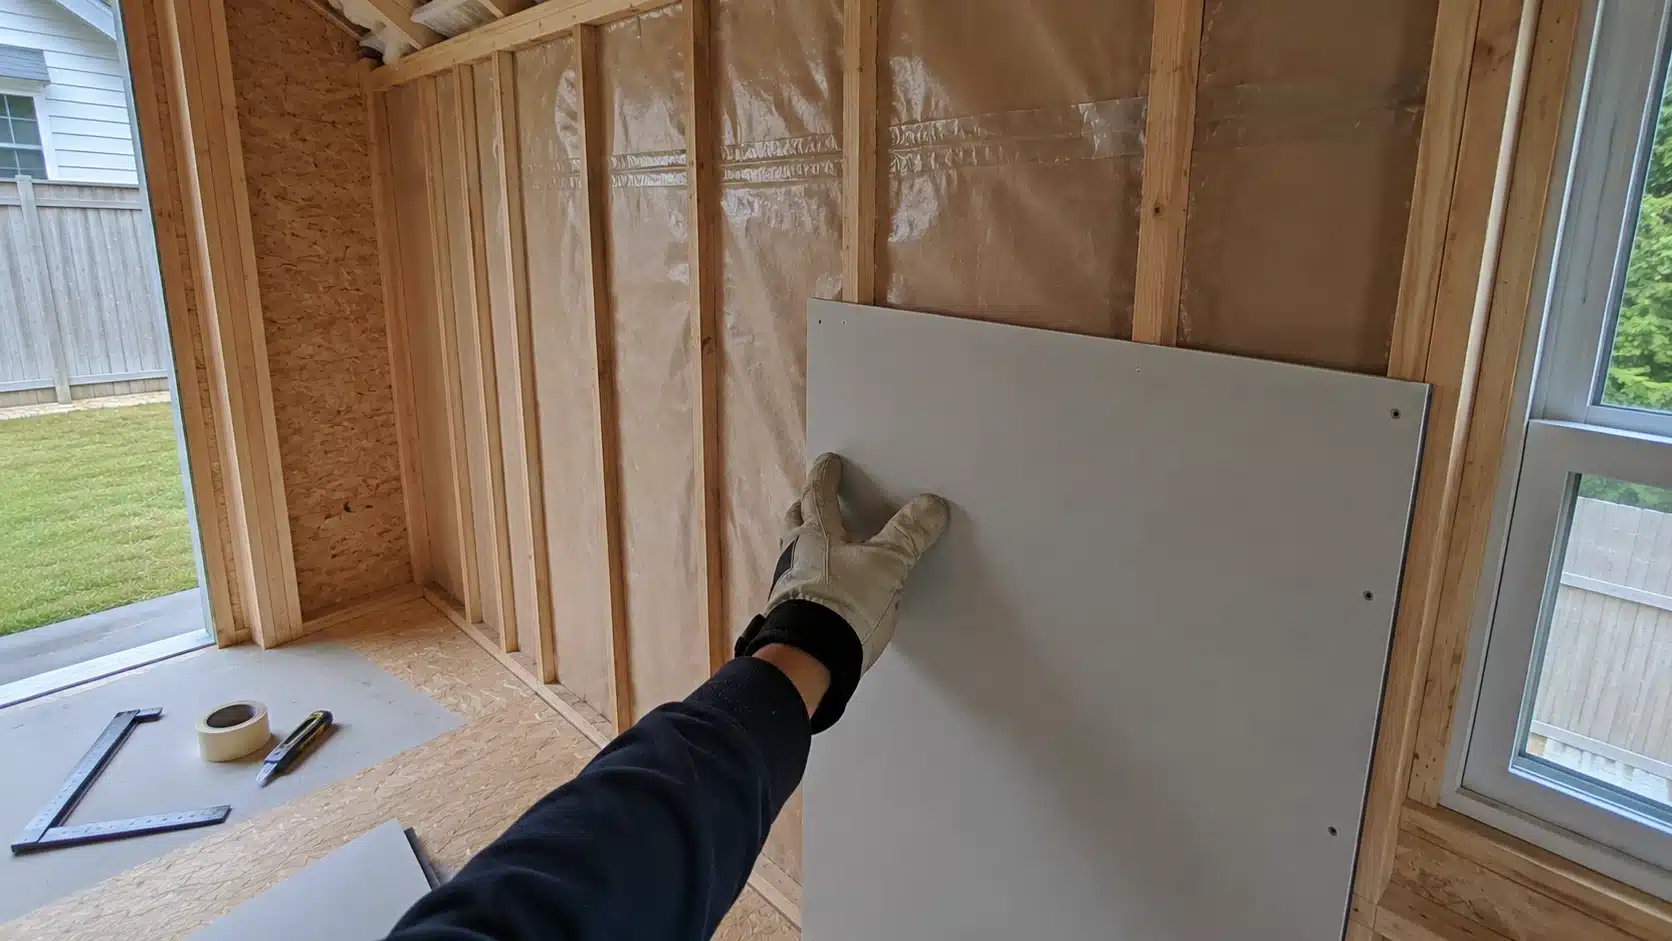
Add a vapor-control layer matched to your climate, not a one-size-fits-all plastic sheet, then cover everything with plywood, OSB, or drywall.
Tip: Check your local building or fire code before leaving rigid or spray foam exposed. A protective layer like drywall is often required.
How to Insulate Different Types of Sheds
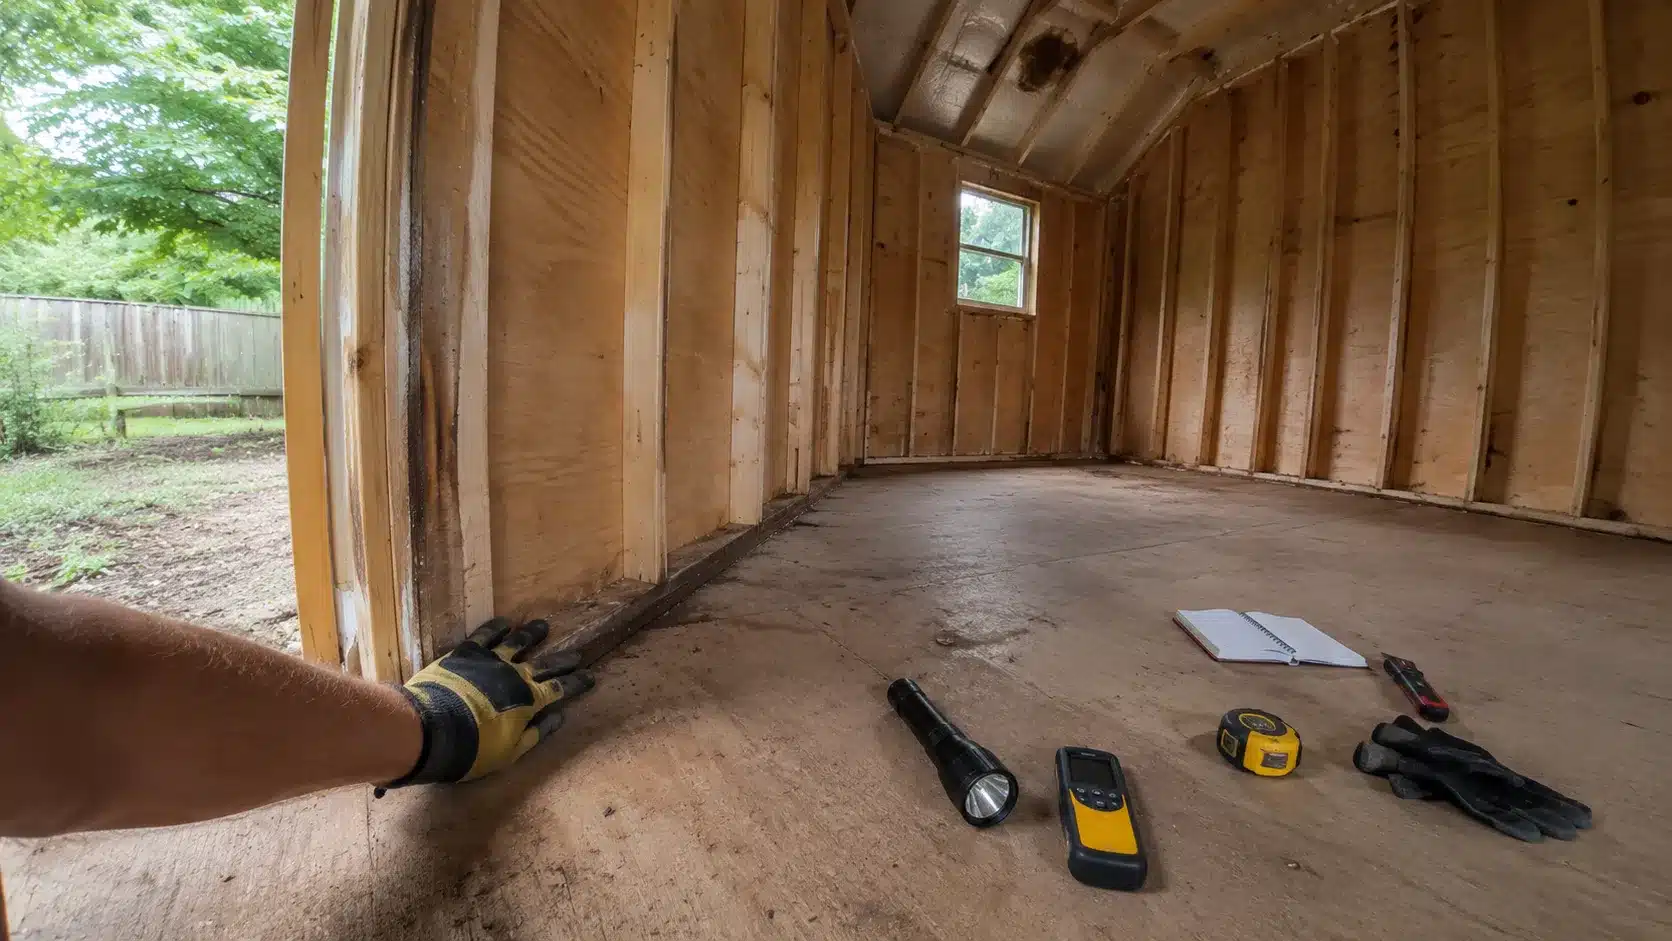
How you insulate a shed changes based on whether it’s built from wood, metal, plastic, or sits on a concrete slab, since each material handles moisture and framing differently.
| Shed Type | Insulation Method | Finishing Tip |
| Wood-framed | Batts or rigid foam fit directly into existing stud and rafter bays | Finish with OSB or drywall screwed straight to the studs |
| Metal | Continuous air-impermeable layer, usually spray foam or rigid foam, with sealed seams | Add furring strips before finishing, since screws don’t hold in bare metal |
| Plastic or resin | Build a light interior stud frame; check manufacturer instructions before drilling or gluing | Finish with thin paneling attached to the frame, not the shell |
| Concrete slab | Rigid foam board directly on the slab before any subfloor | Finish with a plywood subfloor and flooring, never carpet straight on foam |
How to Prevent Condensation After Insulating a Shed
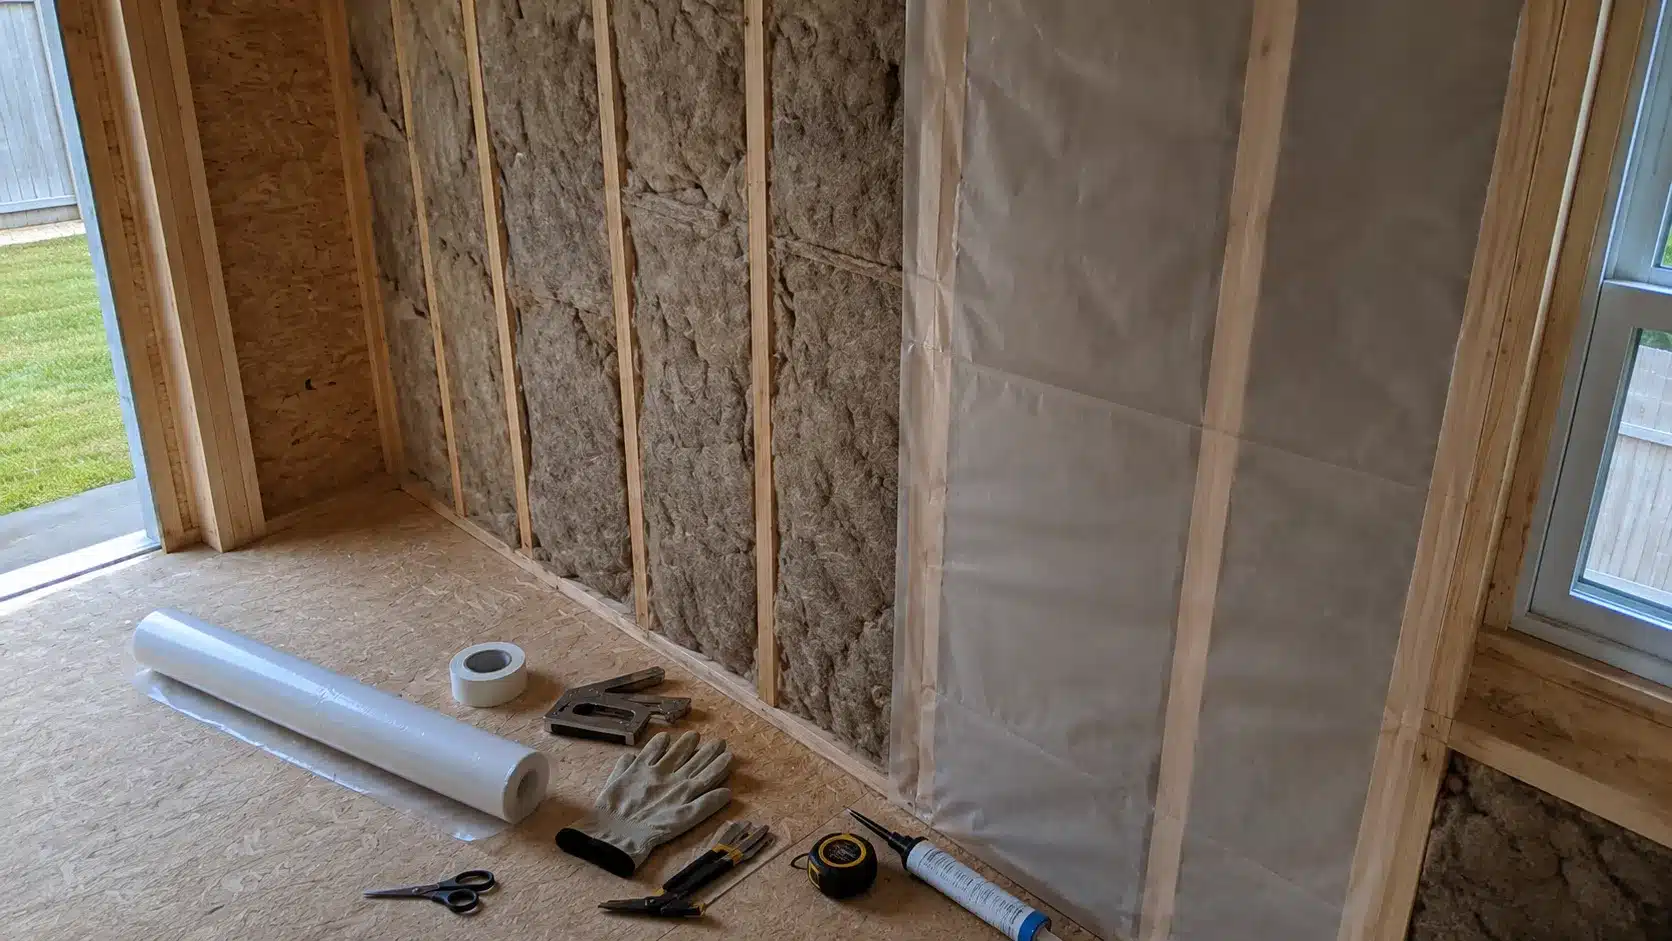
Preventing condensation after insulating a shed depends on matching the vapor-control method to your climate. A system that works in one region may trap moisture in another.
This was the biggest correction I made after my first insulation attempt.
The Building America Solution Center notes that vapor-retarder requirements depend on climate zone and exterior cladding. Many hot and mixed-humid climates do not need a dedicated interior vapor barrier.
Use these climate-based guidelines:
- Hot and humid: Moisture can move inward through the walls, so avoid interior polyethylene sheeting.
- Hot and dry: Focus on roof insulation, air sealing, and exterior shading to reduce heat gain.
- Mixed humid: Use a wall assembly that can dry in at least one direction as seasonal conditions change.
- Cold or very cold: Install an interior vapor retarder rated for the local climate to reduce winter condensation.
- Marine: Repair roof leaks, siding gaps, and other exterior water-entry points before adding insulation.
Tip: Skip the one-size-fits-all plastic vapor barrier. Match the vapor-control layer to your climate zone instead of copying advice written for a different region.
What R-Value does Shed Insulation Need
Shed insulation typically needs R-13 to R-21 for walls and R-30 or higher for roofs, though the right number depends on climate zone and cavity depth. There’s no single national figure that fits every shed.
I’d rather match the R-value to what the cavity can physically hold than chase a number that requires compressing the batt.
- 2×4 wall cavity: typically R-13 to R-15
- 2×6 wall cavity: typically R-19 to R-21
- Roof or ceiling: typically R-30 and up, ventilation permitting
How Much does it Cost to Insulate a Shed
Insulating a small to mid-size shed typically costs between $300 and $1,500 in materials, with spray foam and professional labor pushing costs higher.
My own materials landed close to $400, mostly because I skipped spray foam and did the sealing myself.
| Item | Typical Cost Range |
| Fiberglass batts (small shed) | $150 to $350 |
| Mineral wool batts (small shed) | $250 to $500 |
| Rigid foam board (floor only) | $100 to $300 |
| Spray foam kit (professional install) | $1,000 to $3,000+ |
| Air-sealing materials: caulk gun , seam tape, weatherstripping | $30 to $80 |
| Interior finish: plywood or drywall | $200 to $600 |
Bottom Line
Insulating a shed comes down to sequence more than any single product: check for moisture, seal air leaks, then insulate the roof, walls, floor, and door with a vapor-control layer that fits your climate.
I’ve now insulated one shed the wrong way and one the right way, and the difference shows up most in summer, not winter.
Skip the one-size-fits-all plastic-sheet advice, match your material to your shed type (wood, metal, plastic, or slab), and don’t expect insulation to fix a shed that’s already damp.
If you’re turning a shed into a workshop, office, or year-round space, treat the whole enclosure, roof, walls, floor, and door as one connected system rather than a wall project.
That’s what actually keeps a shed usable in July and January.
Frequently Asked Questions
Does a Shed Need a Vapor Barrier?
Not always. According to DOE’s climate guidance, many mild and hot climates skip a dedicated interior vapor barrier; only certain cold zones typically need one.
What is the Cheapest Way to Insulate a Shed?
Air-sealing gaps and adding fiberglass batts to stud bays is usually the lowest-cost option, especially for a basic storage shed rather than a full workshop.
Can You Insulate a Metal Shed?
Yes. Metal sheds need a continuous air-impermeable insulation layer plus condensation control, since bare metal panels sweat quickly with temperature swings.
Do You Need to Insulate the Floor of a Shed?
Only if the shed sits on a slab or is used year-round; unheated storage sheds on skids can usually skip floor insulation.
How Much R-Value Does a Shed Need?
Shed wall insulation typically needs R-13 to R-21, based on climate zone and standard 2×4 or 2×6 cavity depth in wood-framed construction.

Holding a Master’s in Construction Management from Purdue University, William Ray has dedicated more than two decades to studying and applying construction principles. His professional journey includes a tenure with a prominent construction firm, where he specialized in project management and building technologies. William brought his knowledge to our team, providing in-depth insights into practical construction techniques. As the leader of our beginner’s guide to building since 2019, he has a knack for breaking down intricate processes into easily digestible content. When not involved in writing or onsite consultations, William enjoys woodworking and volunteering in community building projects, which aligns with his passion for hands-on construction and community service.